
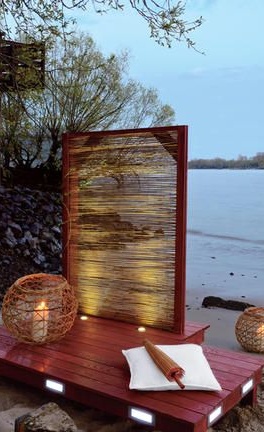
Today's workshop will help you make a magnificent terrace with lighting, on which you can relax on quiet evenings. Believe me, such an addition in your country house or in the yard will be a great place for solitude or a romantic date.
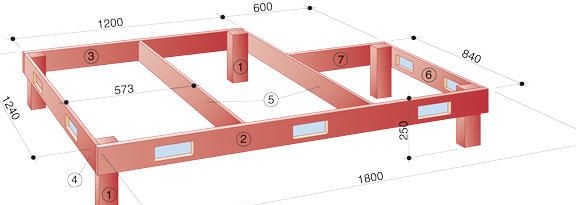
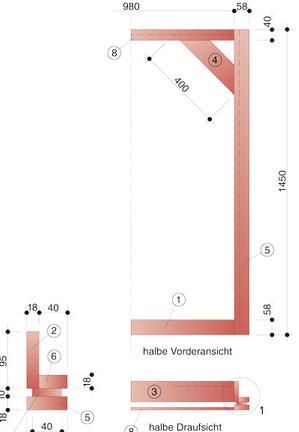
To begin with, you will need to cut all the necessary pieces of wood. Here are two drawings (a drawing of the base and a drawing of the frame under the panel), which dimensions should each detail be. Fig. 2, 3
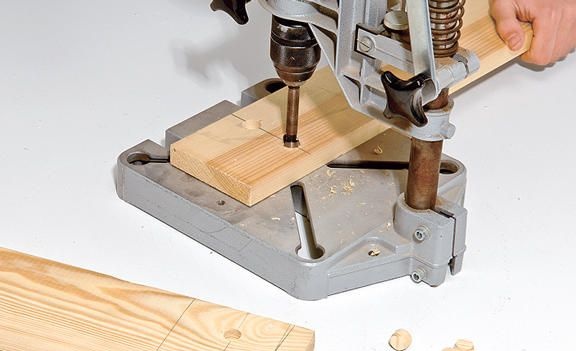
After all the blanks are ready, make holes in the parts so that you can then put them together. Make holes as you see fit, as you see fit. Fig. 4
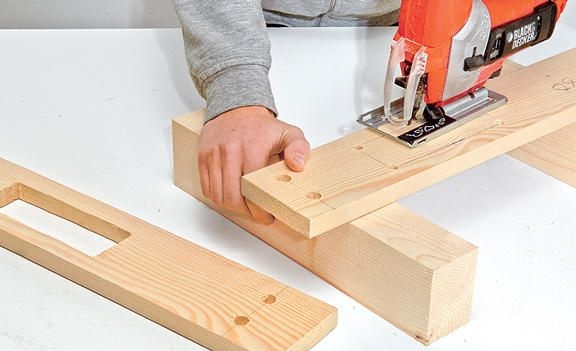
Using a jigsaw, cut openings for your fixtures. Approximately on each side should be two pieces. But you can do more or less. Fig. 5
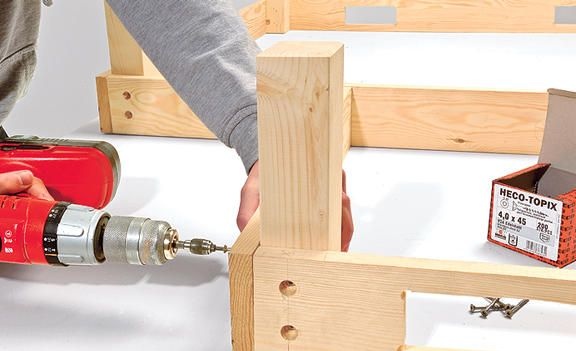
Now screw in the corners of the legs that you had to cut in advance. Fig. 6
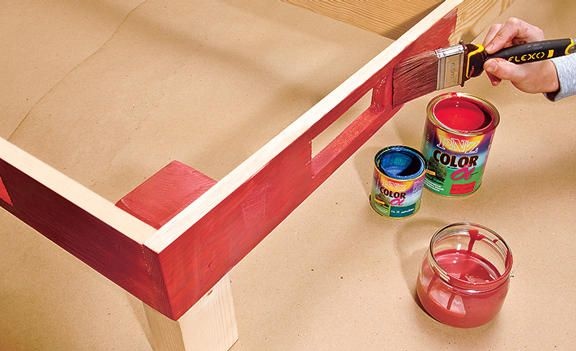
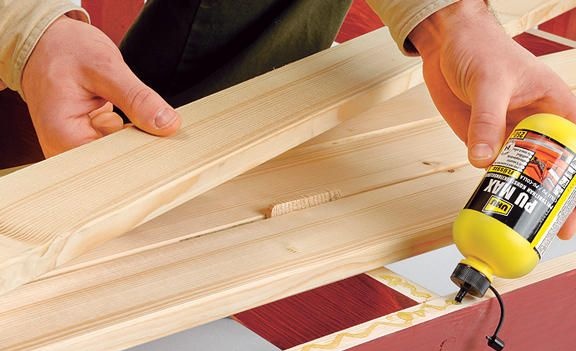
The next step is to paint your terrace. But just before the painting, be sure to apply a primer to all the details of your building. You can choose the paint for the terrace you want (from black to white) Fig. 7
In the holes that you prepared for the fixtures, we insert the fixtures themselves and fasten them to liquid nails. Fig. 8
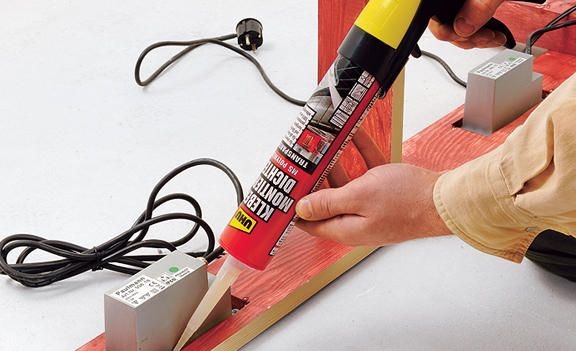
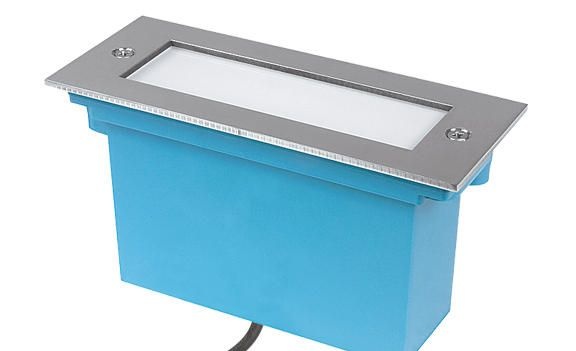
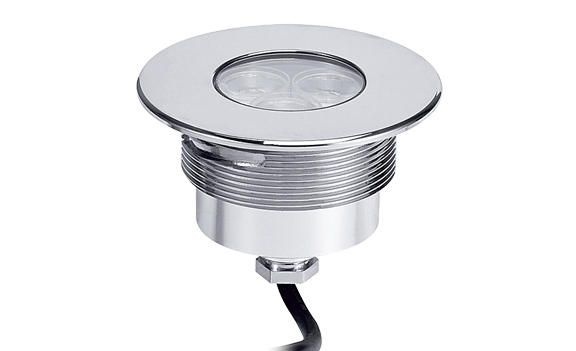
We used lamps of this type. They are quite well sealed, which eliminates a number of problems. Fig. 9
On the surface on which you can soon relax, you need to carefully glue the necessary boards. Fig. 10
After the "seat" of the terrace is ready, proceed to the manufacture of a vertical frame. According to the above diagram, collect all the necessary parts and tighten them with self-tapping screws. Fig. eleven

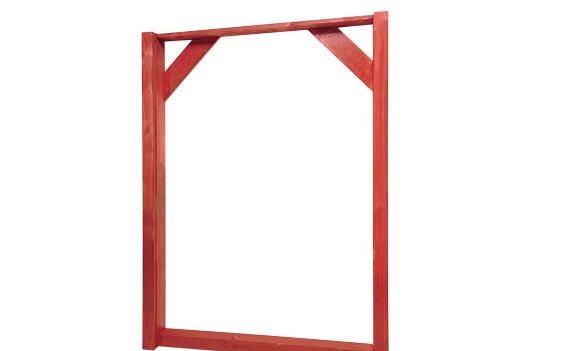
Ultimately, the vertical frame for the panel should look like this. 12
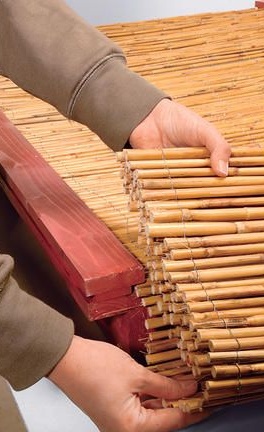
As for the bamboo mat, there is nothing complicated. To get started, you just need to insert it into your frame. And all business! Fig. thirteen
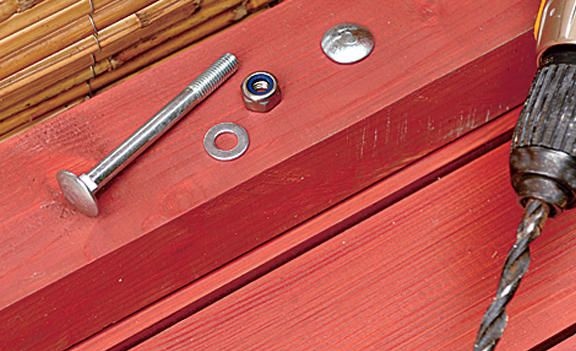
Next, attach the vertical frame already from the panel to the very base of the terrace. To do this, use the mounting bolts. Fig. 14
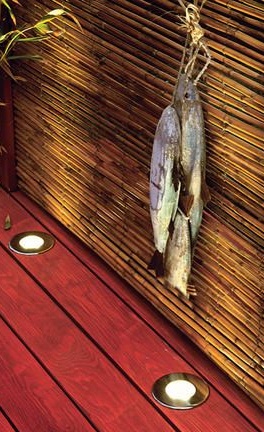
Now there is very little left. It is necessary to cut holes for round fixtures. They will highlight the frame. This may not be necessary, but in this case your frame will hardly be visible in the dark. Fig. fifteen

These lamps are sealed, like the previous ones. But you choose at your discretion. Fig. 16
Now it remains to simply attach and connect them to electricity. Here they are already in business. Fig. 17
Well, congratulations! All the work is done. Have a nice rest!