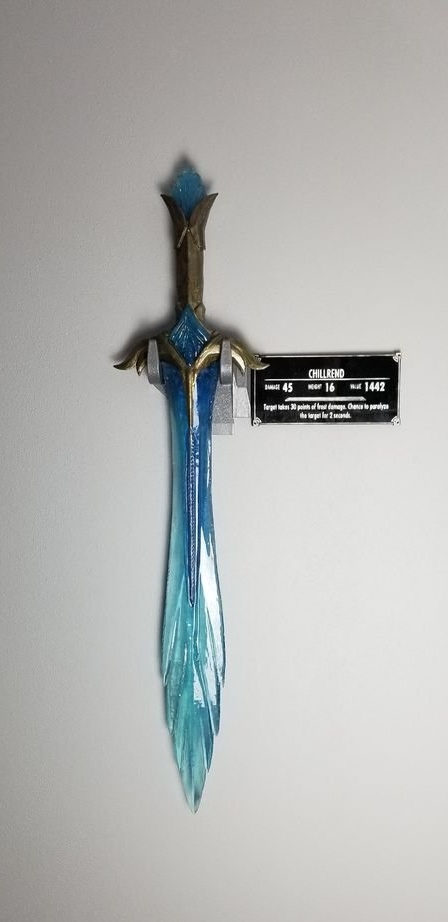
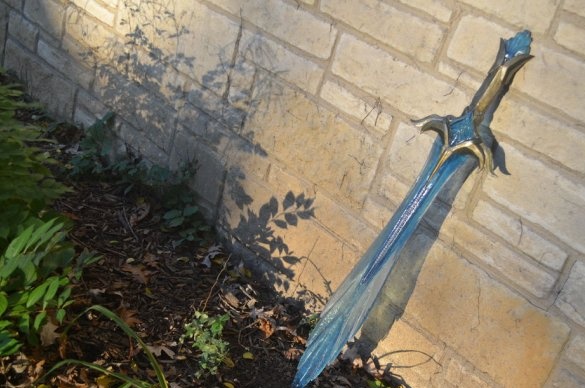
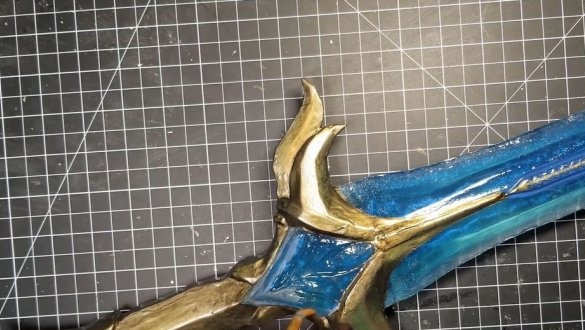
Making such an epoxy sword will be interesting to fans of the RPG genre, namely, Skyrim and Oblivion lovers.
Tools and materials:
-3D printer;
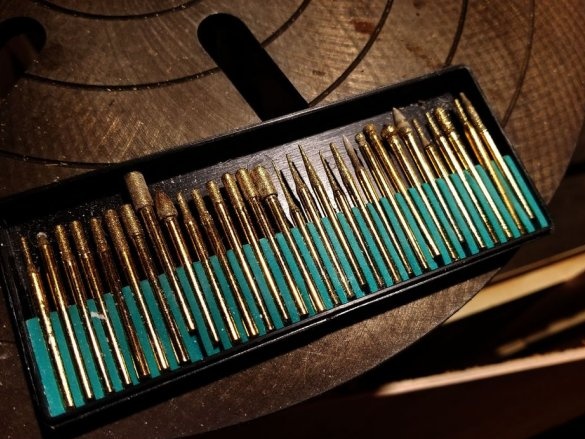
-Dremel;
-Dyes;
UV resin;
-Ultraviolet lamp;
-Brush;
Epoxy resin;
-Aerosol paint;
-Computer with software;
Step One: Template
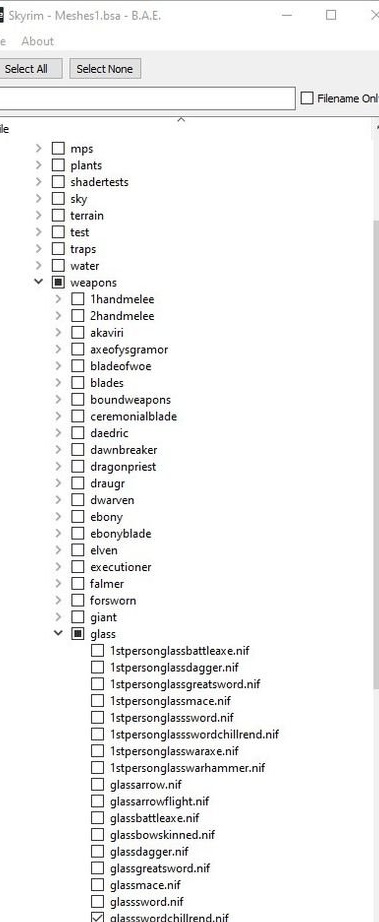
First you need to “extract” the sword sample from the program sub-directory. Download the program Bethesda. This is a free program that Skyrim moderators usually use.
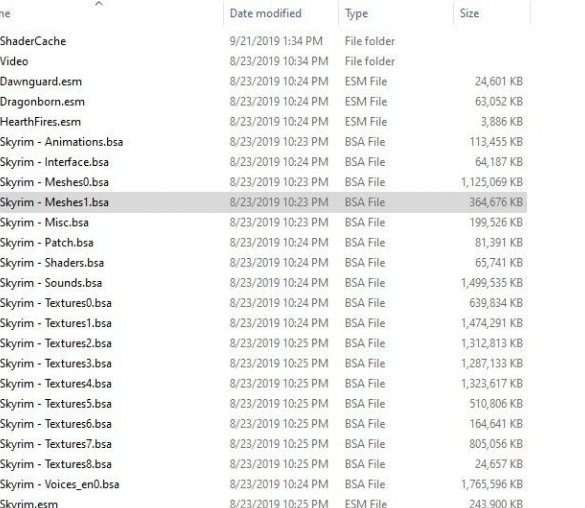
Open the program, go to the folder with the installed game. Drag the file "Skyrim - Meshes1.bsa" into the program window. Select and retrieve "glassswordchillrend.nif".

Step Two: Editing
Now you need to edit model.
Download program Nifskope. This is another common freeware program.
Exporting to .obj
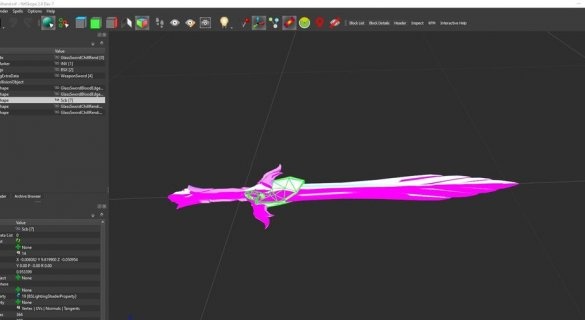
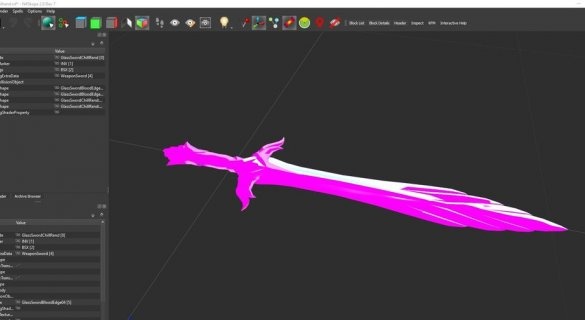
Run NifSkope and open the just extracted glassswordchillrend.nif file
Now you need to orient the sword so that you can see the scabbard. They need to be removed.
Right-click on the shell above "Block", and then click "Delete", the shell will be deleted.
We click on the file, move the cursor to “Export”, click “Export.obj”, click “OK” in the pop-up window and then save .obj.
Next you need to convert to .stl
Open .obj in the 3D file editor, for example, the built-in Windows 3D Builder.
We select the model according to size, in this case 92 cm in length.
The model is thin, so we increase the z axis to 165%.
Save as .stl file.
Step Three: Adapt to Printing
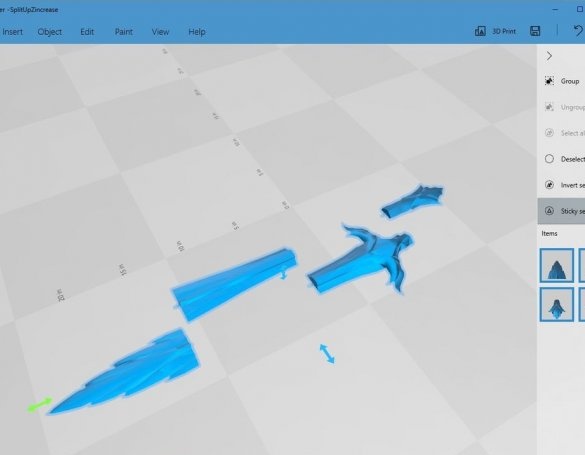
Now you need to adapt the model for printing on a 3D printer, taking into account its desktop. Regarding the Creality CR-10 printer, you need to divide the model into four parts.
We do this using the same 3D Builder program.
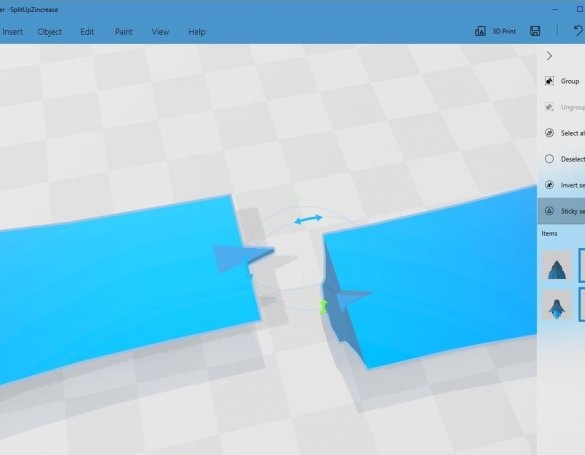
To facilitate assembly, you can make connecting grooves and pins.
Step Four: Printing
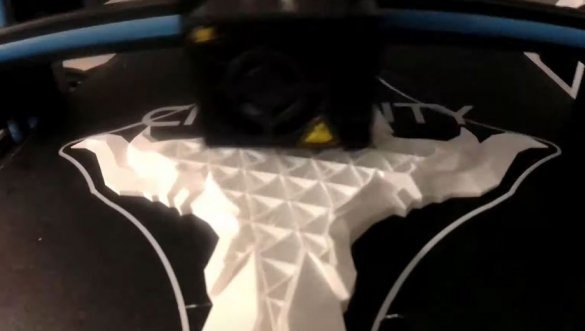
We print the details using the standard setting of PLA Normal with cubic fill.
Step Five: Build
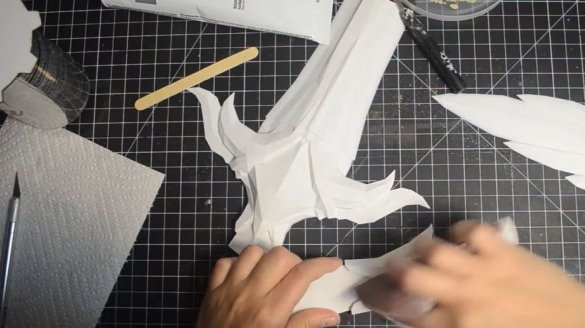
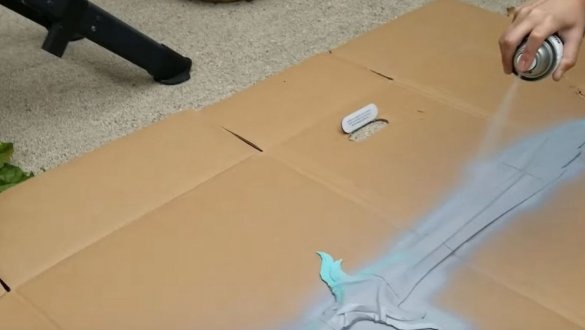
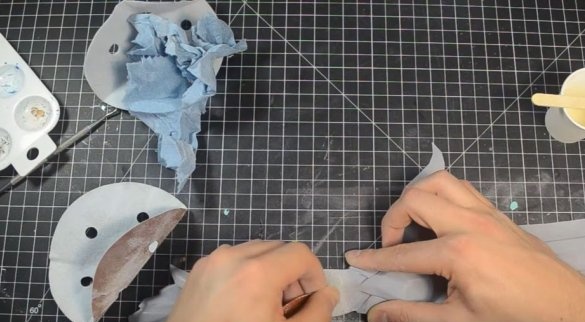
Next, we grind the printed parts 120 with a sandpaper. Apply acrylic putty on the parts. This operation will smooth the surface. After a while we grind again.
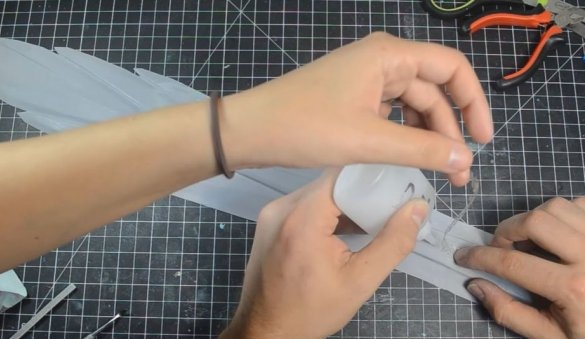
Glue the details of the sword. We apply a primer and grind.
We attach decorative elements carved from acrylic to the sword.
Step Six: Mold
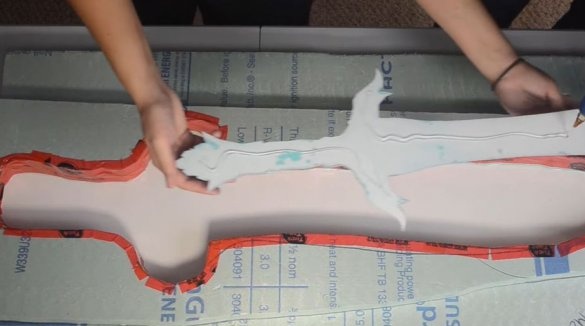
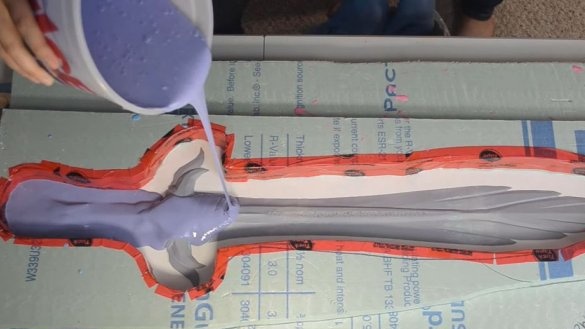
We make a mold from expanded polystyrene. We glue the model of the sword inside the mold with hot glue.
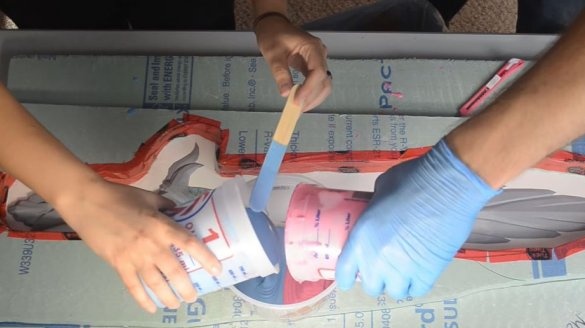
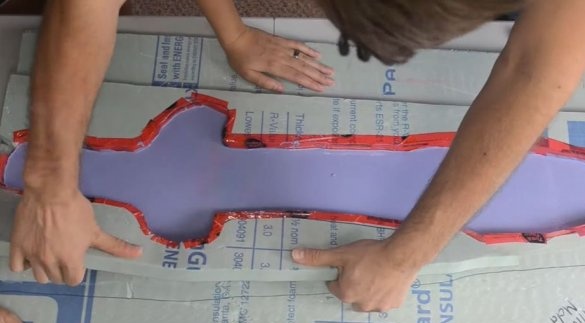
Fill the mold with silicone.
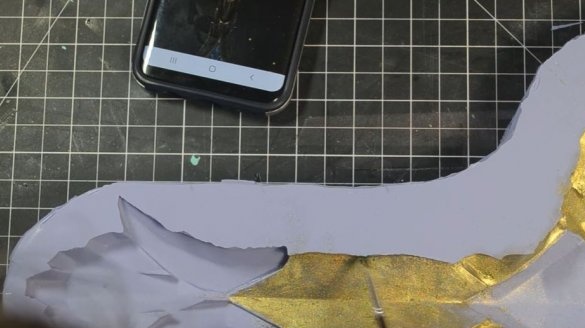
After silicone hardens, the casting is removed from the mold. From the casting we extract the printed details of the sword.
Step Seven: Epoxy Fill
Now you need to pour the epoxy into the silicone mold. But first you need to paint over some elements. The hilt of the sword and the edge from the hilt to the tip is painted in gold color.
Knead epoxy and add blue pigment. You need a little pigment, just give a blue tint. Pours the resin into the mold.
Step Eight: Sword Processing
After curing the epoxy, the sword is removed from the mold. Uneven edges need to be trimmed and then UV glue applied to the edge.
With the help of an engraver, we apply a drawing.
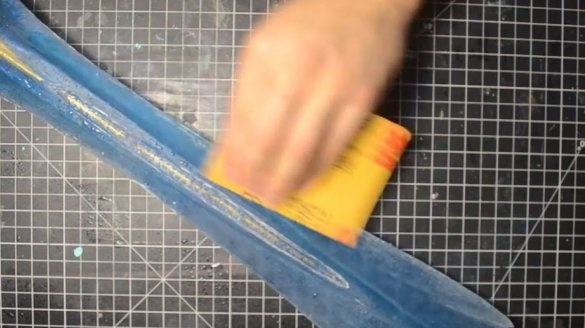
Grind and polish the blade of the sword.
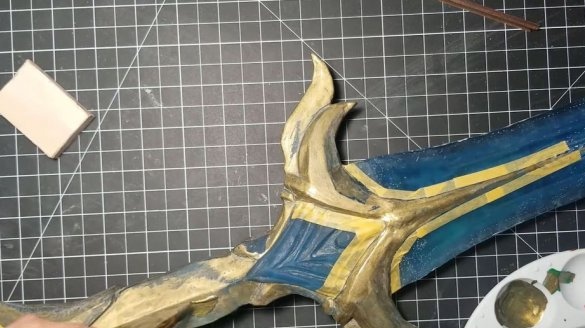
Paints the threads on the handle.
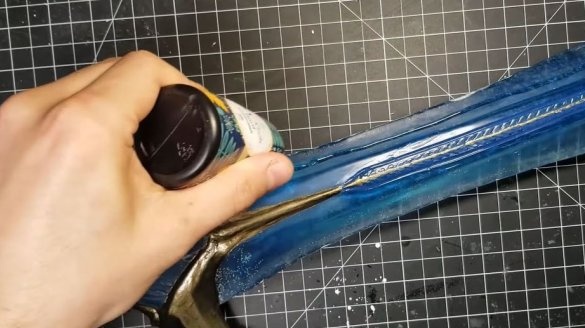
Apply UV resin to the entire surface of the sword. This will give it shine.
The master additionally printed a mount for hanging the sword on the wall and an information plate.
Files for printing can be downloaded below.
SwordHolder.stl
Chillrendshttskswg
