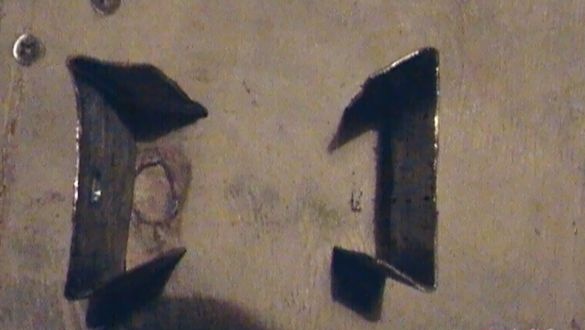
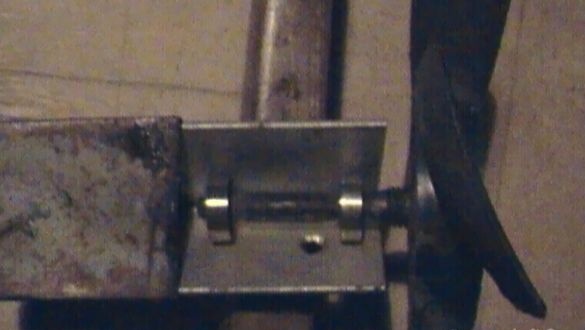
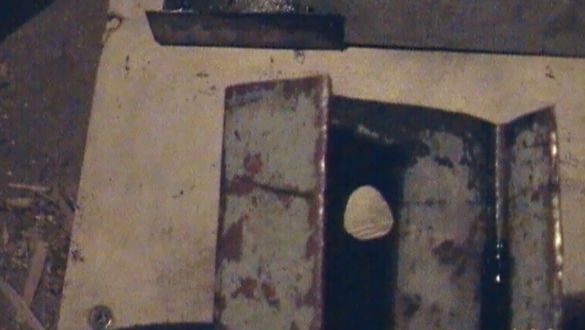
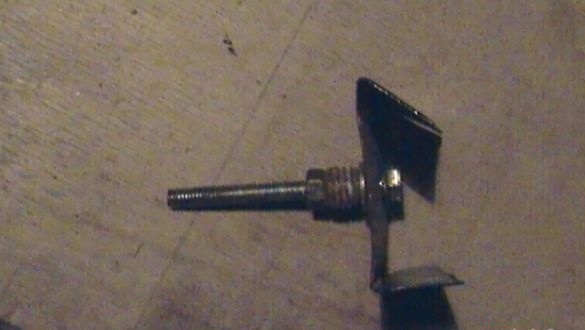
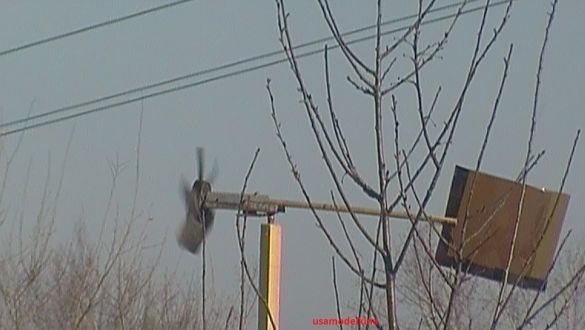
He made a groove with a wood chisel until he “took off” the beating. Then he worked with a small rasp to the desired size. Bearings: single row ball bearings, dimensions: 19x7 mm. I put the bearings on the resulting axis and cut it to the required length. For the base I took an aluminum corner with a shelf of 35 mm and 2 pieces of tin, 1 mm thick. Tin bent so that you could push it to the corner. I installed bearings with a fan on the shaft and put a “rotor” in the “base” slid the prepared cover out of tin. I drilled a ᴓ6.5 mm hole in the second tin. For support I prepared: a 6x50mm M6 bolt, 2 M6 nuts, 2 washers, ᴓ slightly larger than the bolt head and one large washer. Assembled design. Tighten so that the tin freely rotates on the bolt. I drilled a ᴓ5 mm hole at the top of the base, and 4.5 a M5 thread in the plumage stick. I connected the plumage stick to the base with a screw and pulled the second tin. He tapped a tin on the corner (base) and stuck a load to adjust the center of gravity. For a rack I sawed off a bar 2.5x2.5 cm and drilled a 6mm hole in the end. Having made a vertical cut with a hacksaw for metal, he set the plumage and put the weather vane into the end of the bar. The weather vane is ready. I wish you all good luck in business.
DIY weather vane
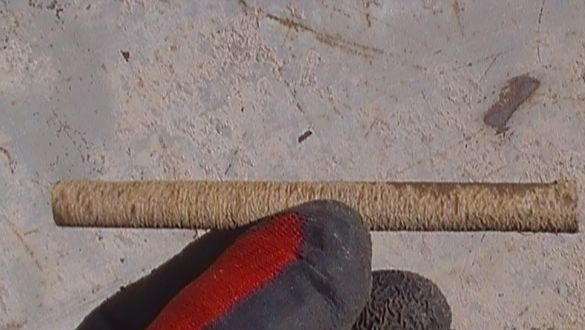
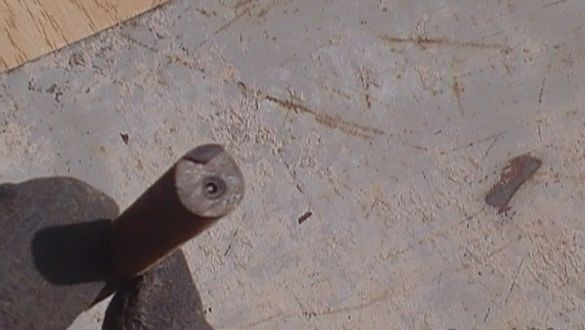
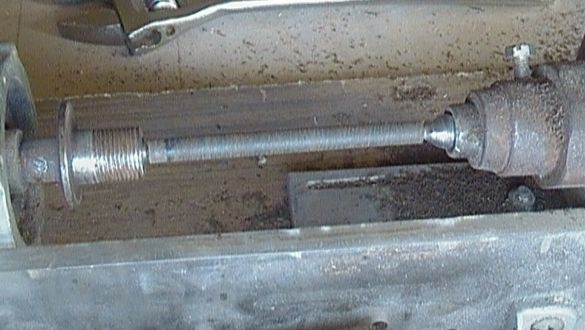
I wanted to make a weather vane. In the morning, you get up and look: what and where the wind is blowing from is convenient! From a hard rubber stick I cut a piece of the right length: Drilled Center: and inserted it into a wood lathe (home-made).
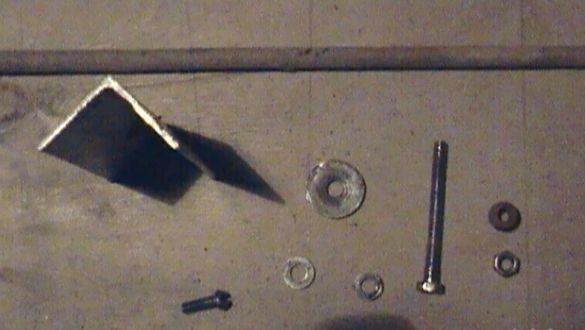
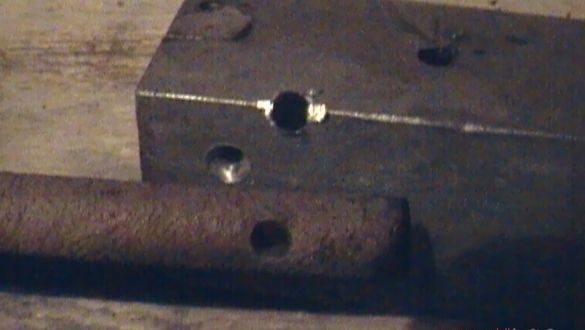
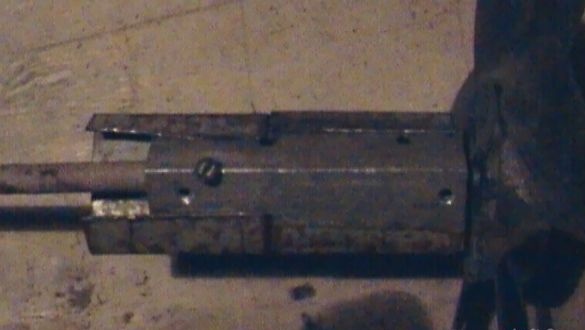
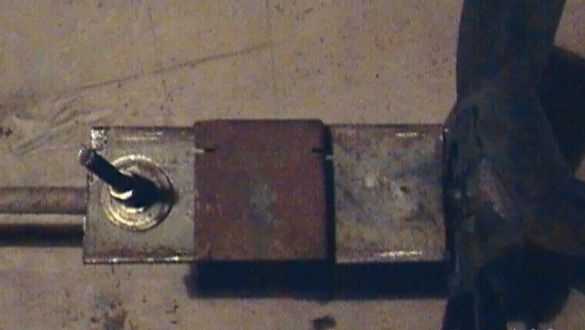
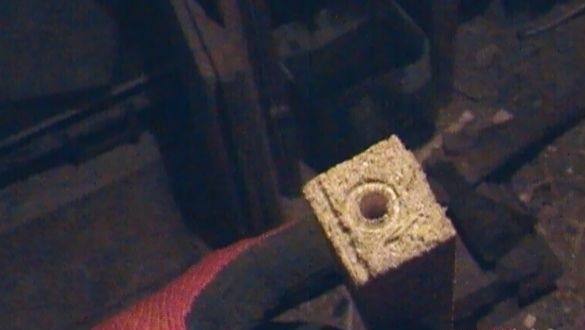
He made a groove with a wood chisel until he “took off” the beating. Then he worked with a small rasp to the desired size. Bearings: single row ball bearings, dimensions: 19x7 mm. I put the bearings on the resulting axis and cut it to the required length. For the base I took an aluminum corner with a shelf of 35 mm and 2 pieces of tin, 1 mm thick. Tin bent so that you could push it to the corner. I installed bearings with a fan on the shaft and put a “rotor” in the “base” slid the prepared cover out of tin. I drilled a ᴓ6.5 mm hole in the second tin. For support I prepared: a 6x50mm M6 bolt, 2 M6 nuts, 2 washers, ᴓ slightly larger than the bolt head and one large washer. Assembled design. Tighten so that the tin freely rotates on the bolt. I drilled a ᴓ5 mm hole at the top of the base, and 4.5 a M5 thread in the plumage stick. I connected the plumage stick to the base with a screw and pulled the second tin. He tapped a tin on the corner (base) and stuck a load to adjust the center of gravity. For a rack I sawed off a bar 2.5x2.5 cm and drilled a 6mm hole in the end. Having made a vertical cut with a hacksaw for metal, he set the plumage and put the weather vane into the end of the bar. The weather vane is ready. I wish you all good luck in business.
He made a groove with a wood chisel until he “took off” the beating. Then he worked with a small rasp to the desired size. Bearings: single row ball bearings, dimensions: 19x7 mm. I put the bearings on the resulting axis and cut it to the required length. For the base I took an aluminum corner with a shelf of 35 mm and 2 pieces of tin, 1 mm thick. Tin bent so that you could push it to the corner. I installed bearings with a fan on the shaft and put a “rotor” in the “base” slid the prepared cover out of tin. I drilled a ᴓ6.5 mm hole in the second tin. For support I prepared: a 6x50mm M6 bolt, 2 M6 nuts, 2 washers, ᴓ slightly larger than the bolt head and one large washer. Assembled design. Tighten so that the tin freely rotates on the bolt. I drilled a ᴓ5 mm hole at the top of the base, and 4.5 a M5 thread in the plumage stick. I connected the plumage stick to the base with a screw and pulled the second tin. He tapped a tin on the corner (base) and stuck a load to adjust the center of gravity. For a rack I sawed off a bar 2.5x2.5 cm and drilled a 6mm hole in the end. Having made a vertical cut with a hacksaw for metal, he set the plumage and put the weather vane into the end of the bar. The weather vane is ready. I wish you all good luck in business.


