When drilling, there is often a need for a vise, especially when it comes to drilling small objects. The use of pliers is fraught with serious injuries, and the drill with this approach breaks down very often. There is a way out of the situation, you will need a small vise. The main task here will be mobility. You can take a vice with you to the place of work and no longer have difficulty drilling.
The author made a vise of metal using a corner. Such a vice will serve for a long time, they are strong, simple, though a little heavy, but they will confidently stand at work.
Materials and tools for homemade:
- steel corner;
- welding ();
- grinder ();
- drill ();
- wrenches, pliers, etc .;
- marker;
- nuts, washers, threaded rod, bearing and other little things;
- paint;
- Dostochka for the manufacture of linings on the "lips".
Vise manufacturing process:
Step one. Vise pattern
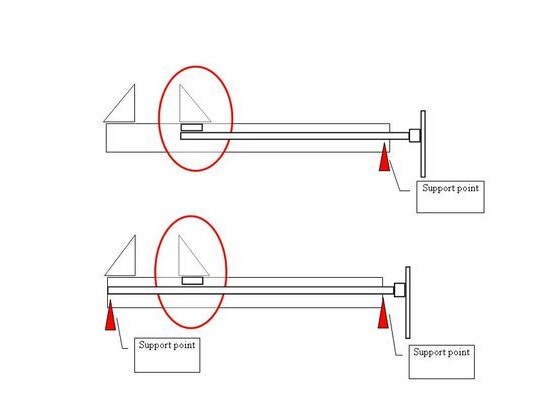
First of all, study the drawing proposed by the author. Length fixtures is 260 mm and a width of 180 mm.
Step Two Cut the blanks
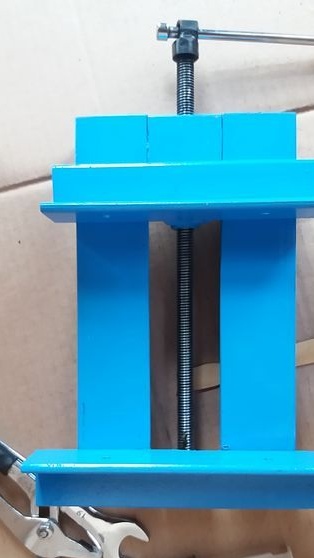
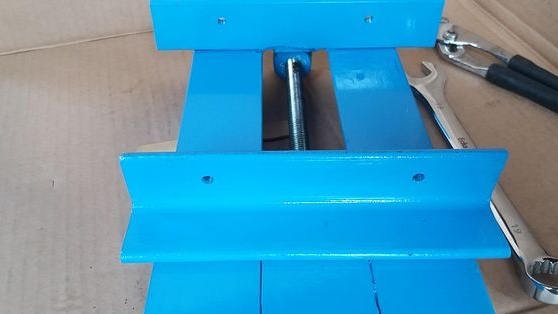
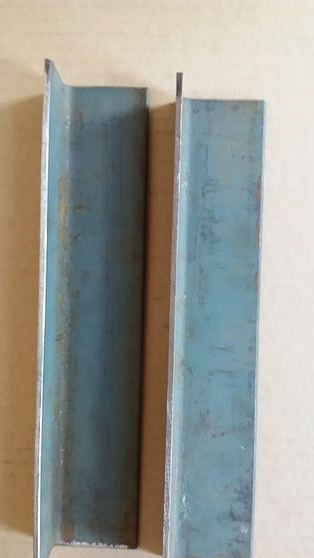
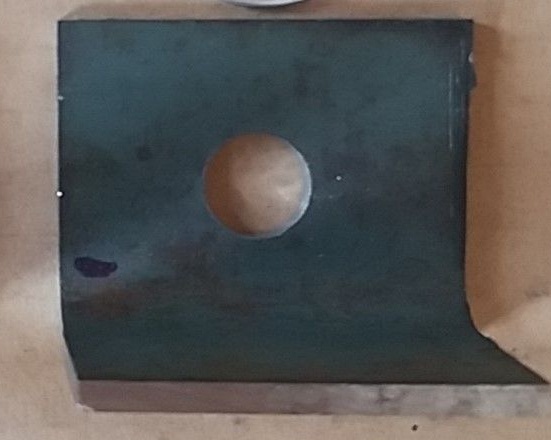
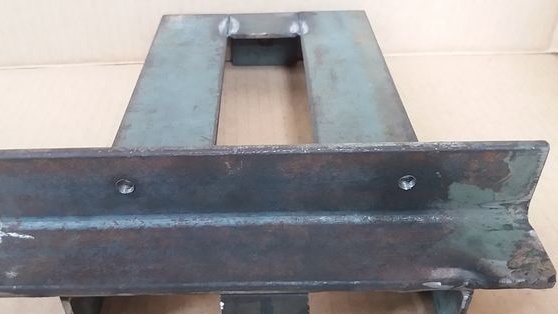
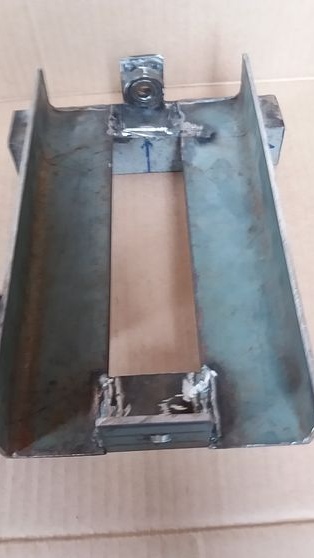
In accordance with the scheme you have to cut out all the necessary workpieces from the corner. These are two “lips”, one of which moves, and the second represents an emphasis. These are also the two parts that form the frame. Well, you also need to make two supports. As a result, you will get two parts from a corner 180 mm long and two more 260 mm long.
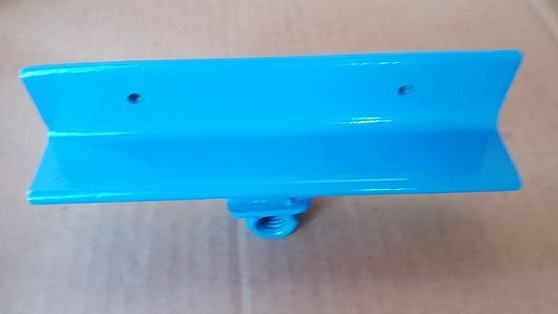
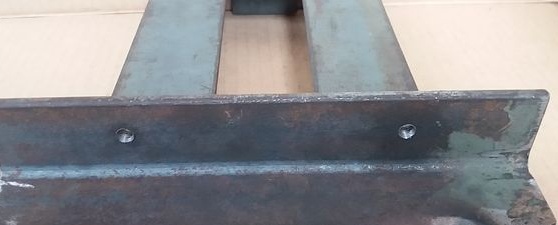
In the lips, drill two holes for attaching wooden linings.


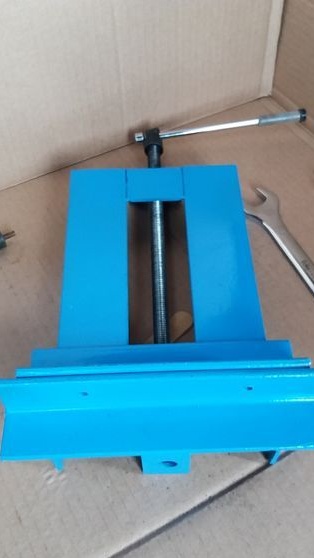
Step Three Making the front support
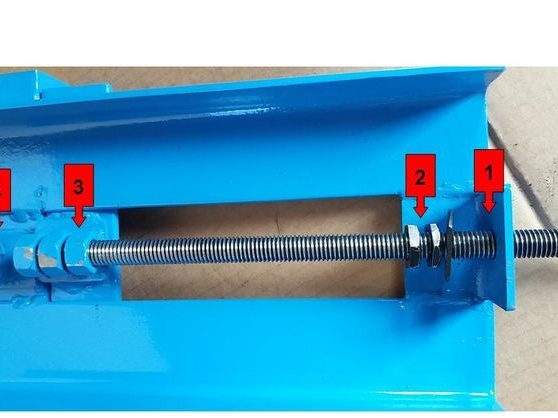
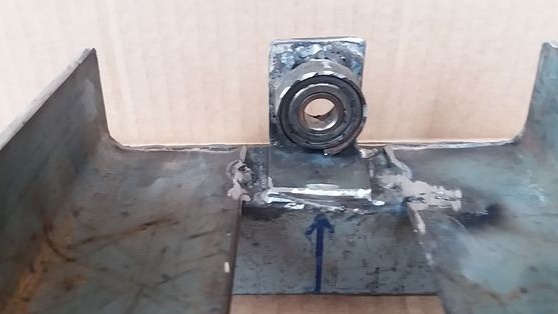
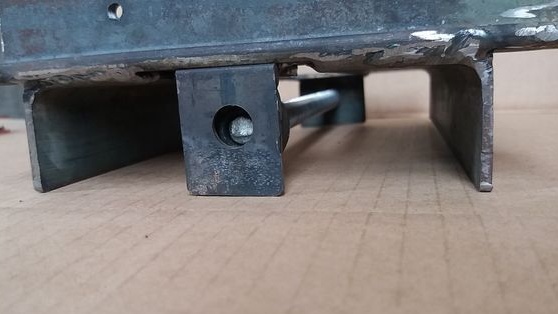
At this step, the author makes a front support, near which there is a vise handle. This part should have two points of support, especially the support that holds the shaft when squeezing the vice should be especially strong. The author makes a support from a corner piece, we drill a hole in it that is necessary in diameter.
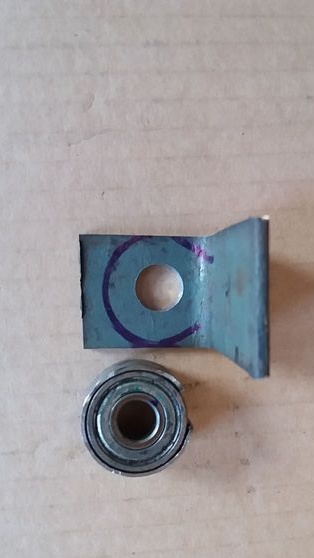
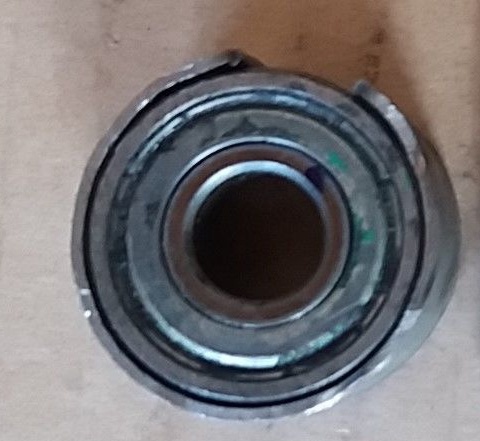

A threaded shaft on the other side supports a 12x25x8 mm bearing. Do not fasten the bearing tightly to the support by welding, as this will soften the metal, and replacing it will be problematic. It is best to weld a piece of pipe in diameter to the support and insert the bearing into it.
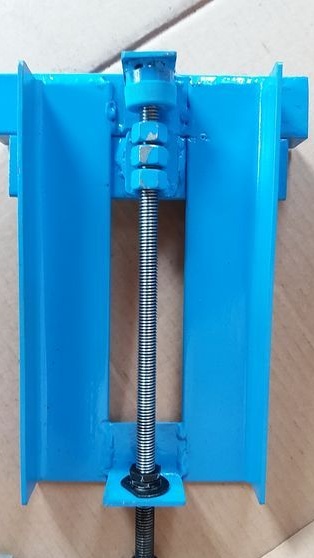
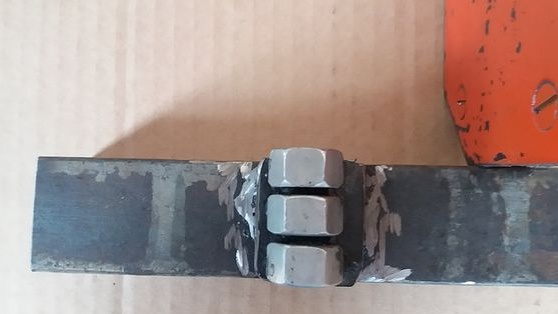
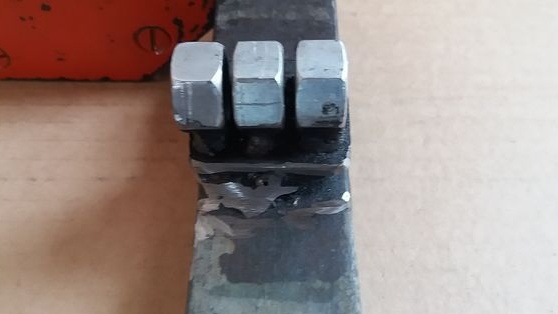
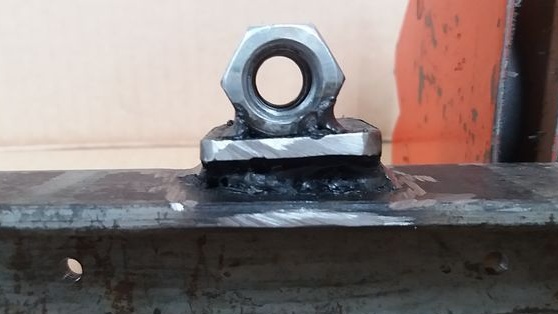
You also need to make a part for the moving part. For this, the author needed three nuts and a steel plate. Weld the nuts to the plate. Just try not to overheat the metal, as it will become soft and the thread will quickly wear out.
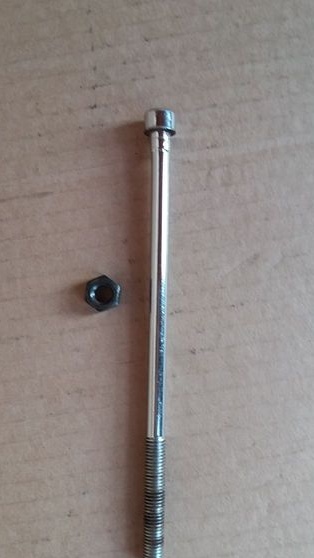
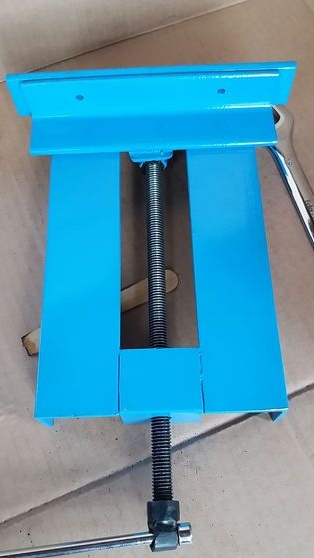
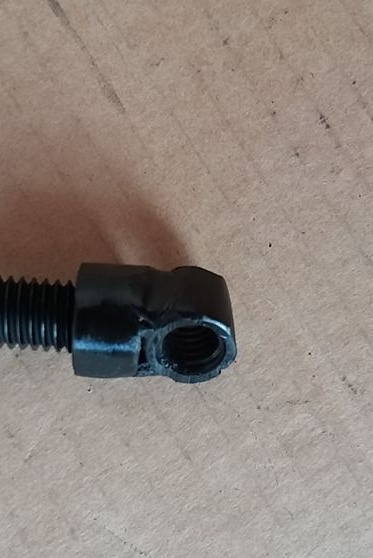
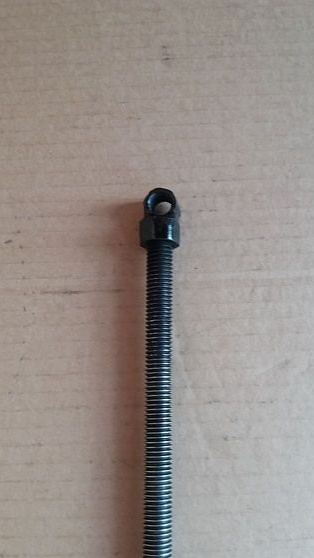
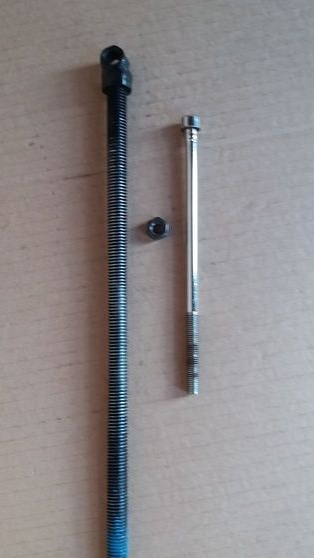
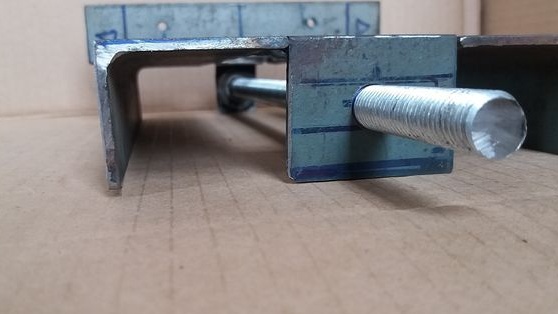
Step Four Shaft preparation
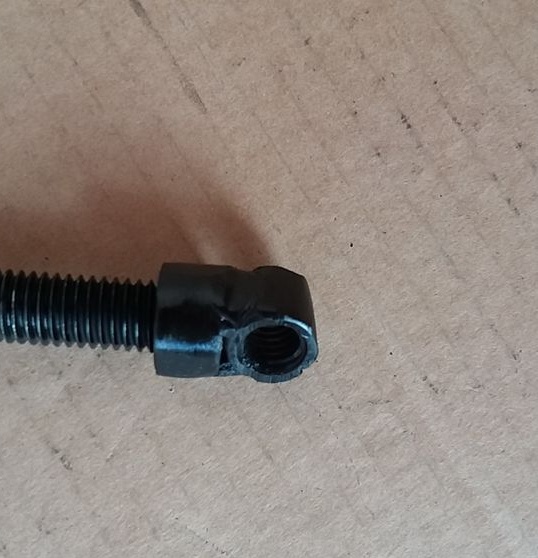
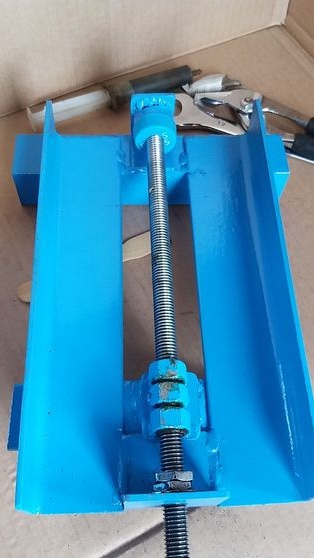
The author used a threaded rod as a shaft. We weld a nut or two to one part so that the lever can be inserted.For the lever you will need a rod made of strong steel, a quality bolt will do.
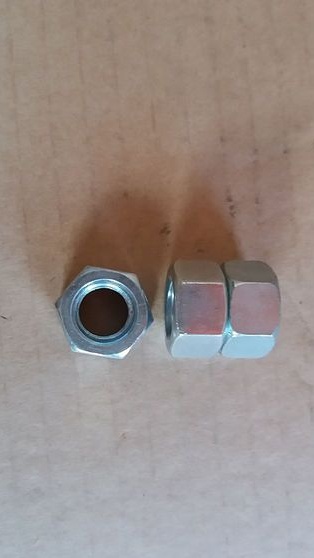
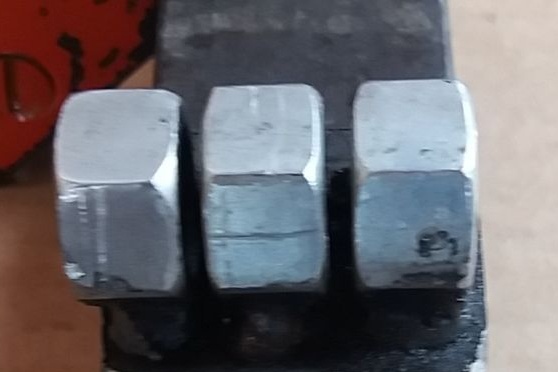
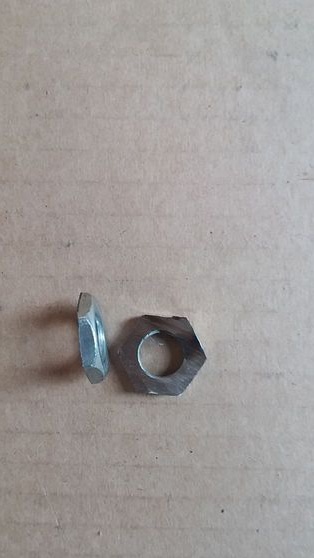
To fix the shaft, prepare two nuts. The author apparently had a shortage with nuts, so he decided to cut one nut in half

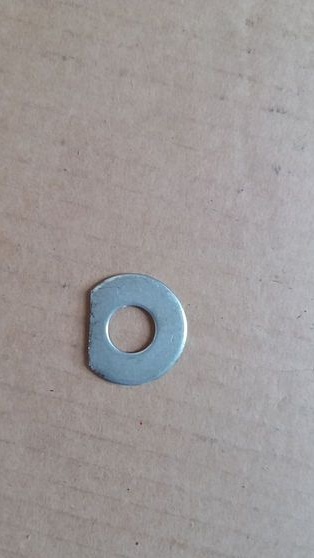
Also prepare the washer so that the support glides better. Ideally, this pair is lubricated.

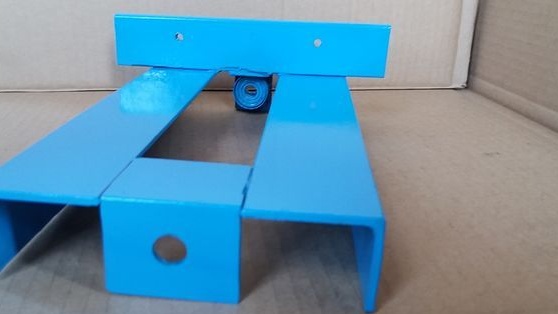
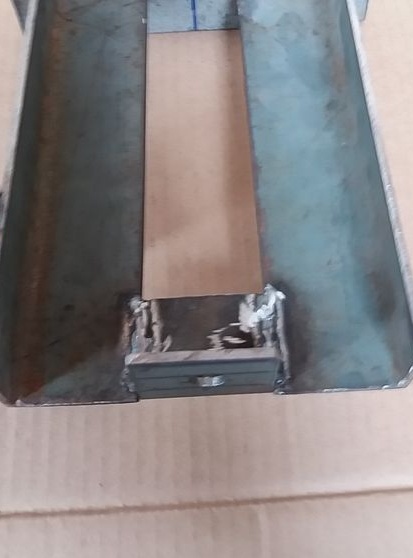
Step Five Assembly of the fixed part
We take welding and begin to assemble the frame. Weld the support first to the edge of the frame. Welding should be of high quality, since considerable efforts are made here.
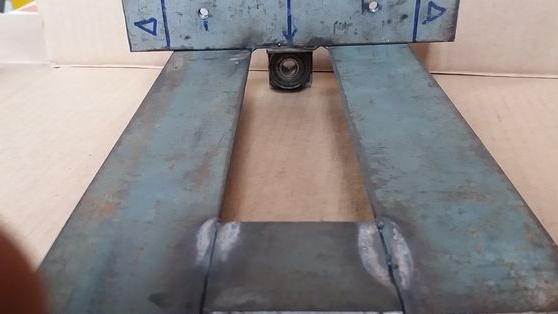
Also weld the front support and rear support with a bearing that supports and guides the shaft. After that you can insert the shaft in its place. The most important thing in this matter is that the rod runs as parallel to the frame as possible, otherwise the vice will wedge at a certain distance from the support.
Step Six Fasten the moving part
Earlier we welded three nuts to a steel plate. Now we have to weld this plate to the moving “lip”. To do this, we wind the part on the shaft and grab the lip. After making sure that the vice is working properly, we finally weld the part in its place. When everything has cooled, do not forget to properly lubricate the threaded connections.
Seventh step. Build completion
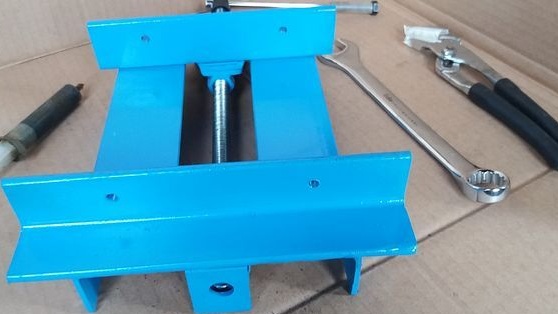
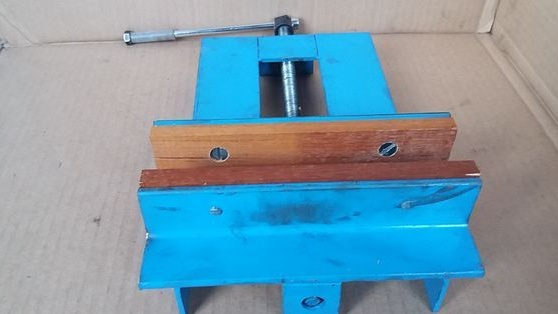
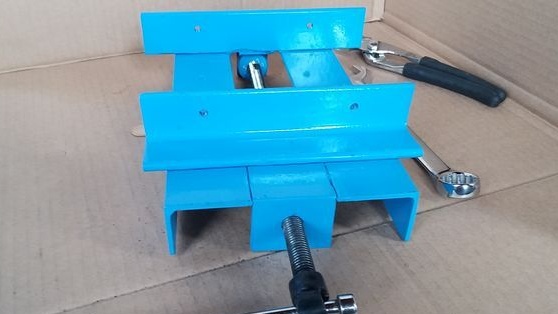
In conclusion, the author decided to paint his vise. This will protect them from rust, and the eye will please. When the paint dries, screw the wooden linings to your lips, this will allow you to firmly clamp the product. Now you can insert the shaft and lever into place.
The vise is ready! Good luck and enjoy using it.