

Hello dear the inhabitants of our site and site visitors!
Today I want to introduce you to my next creation. Since I have a main hobby and I like to draw, I want to present to you a folding easel.
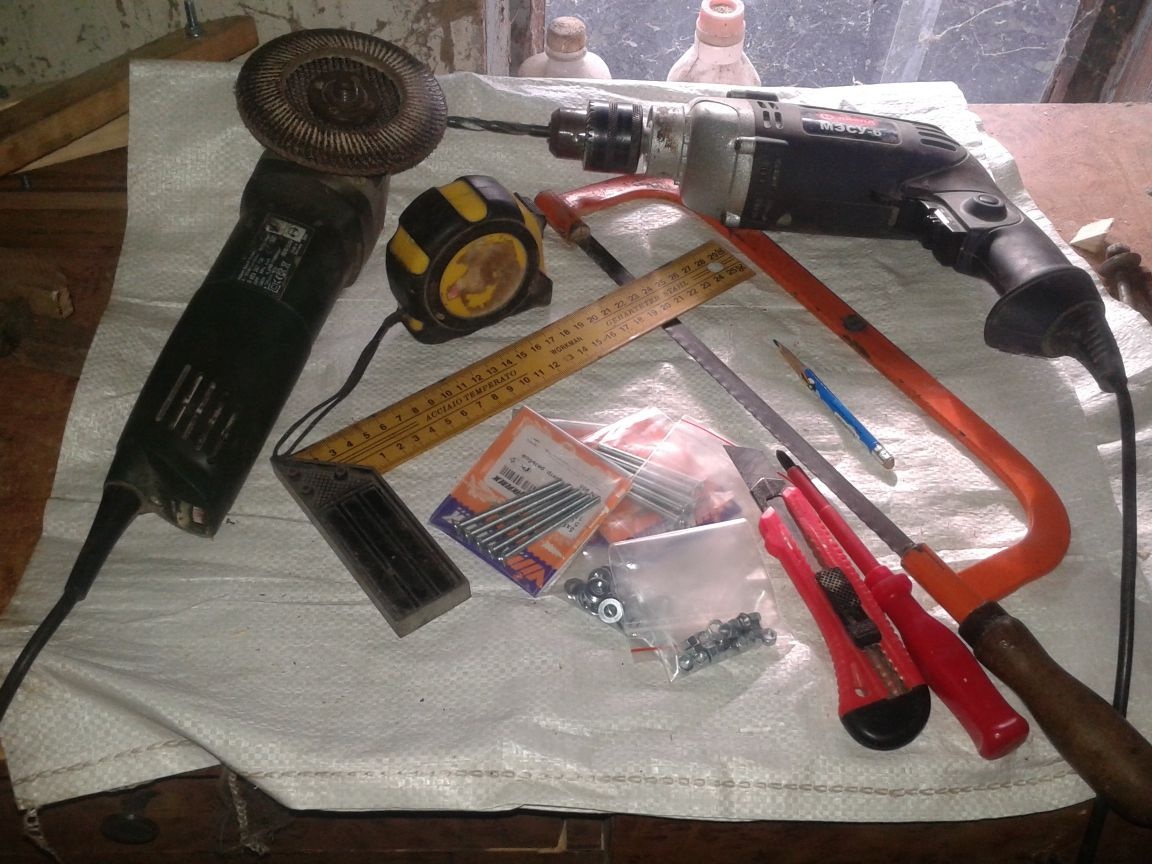
To make it we need:
Drills and drills of different diameters
Grinder with saw and flap wheels
Curly screwdriver
Five bolts with washers and nuts
Wood planks
Tape measure and pencil
Wood screws, small nails
Little eyelet.
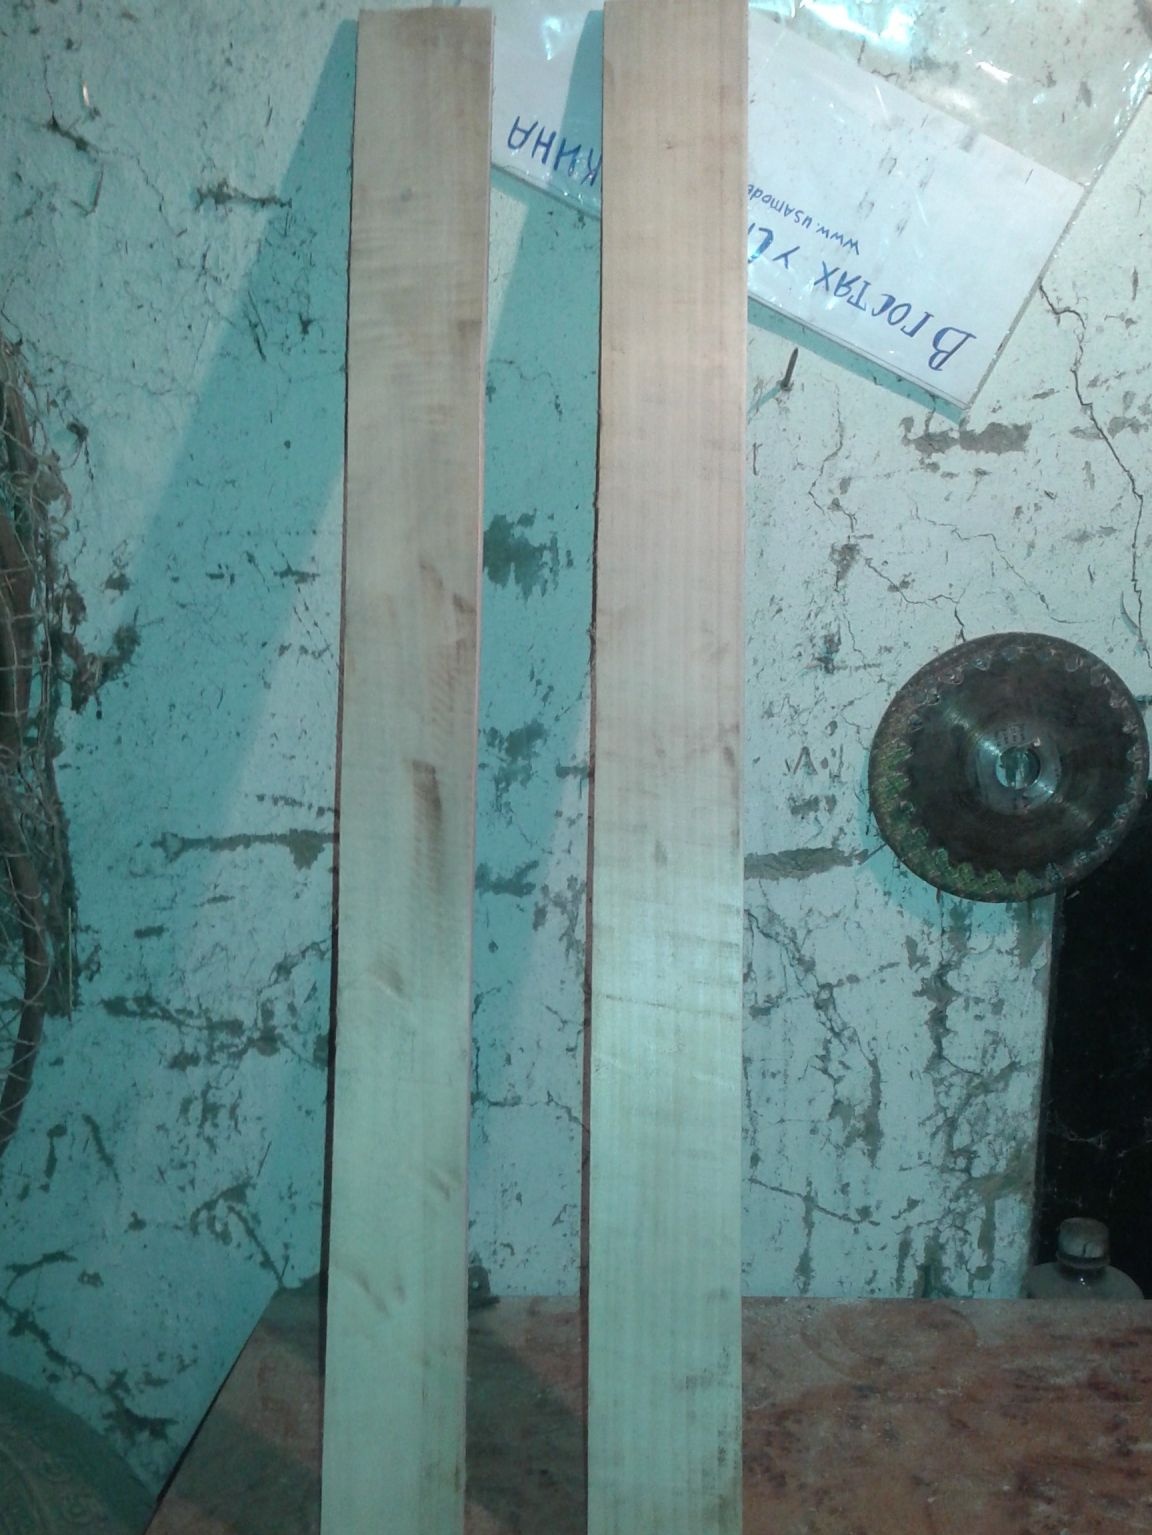
Step 1. We take to start the bar
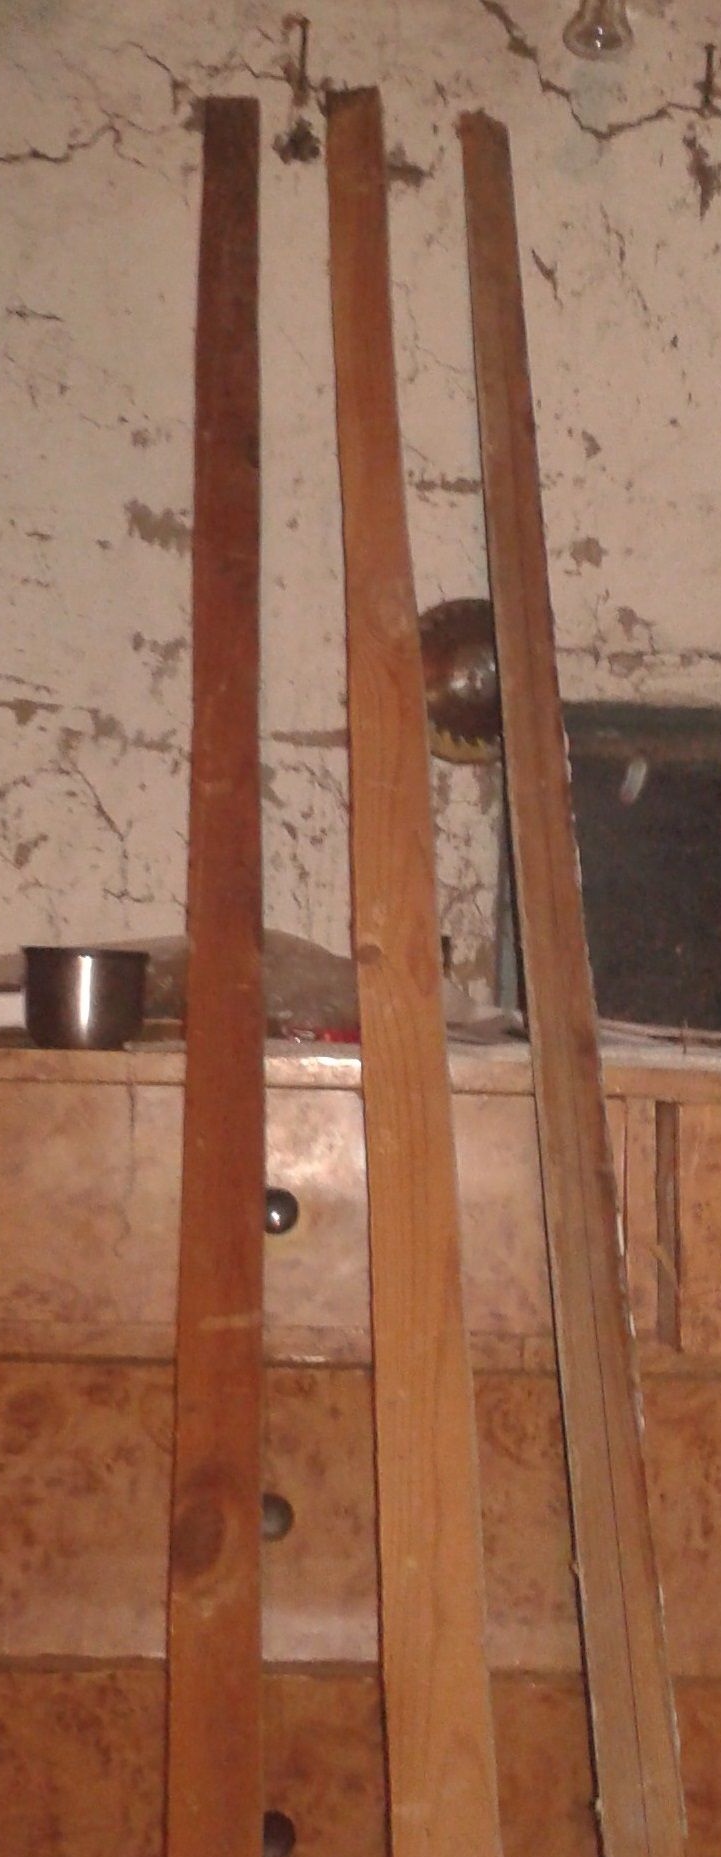
We will need four of them. My legs will be 160 centimeters in length.
Slide for sliding canvas holders 150 centimeters.
Step 2. Saw off the length we need. Grind the workpiece.
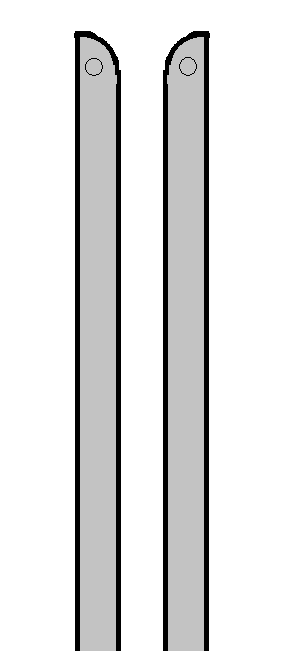
Now, in advance, round the upper ends of the slats, as shown in the diagram, and drill holes for fasteners in them. 1.5-2 centimeters from the edge.
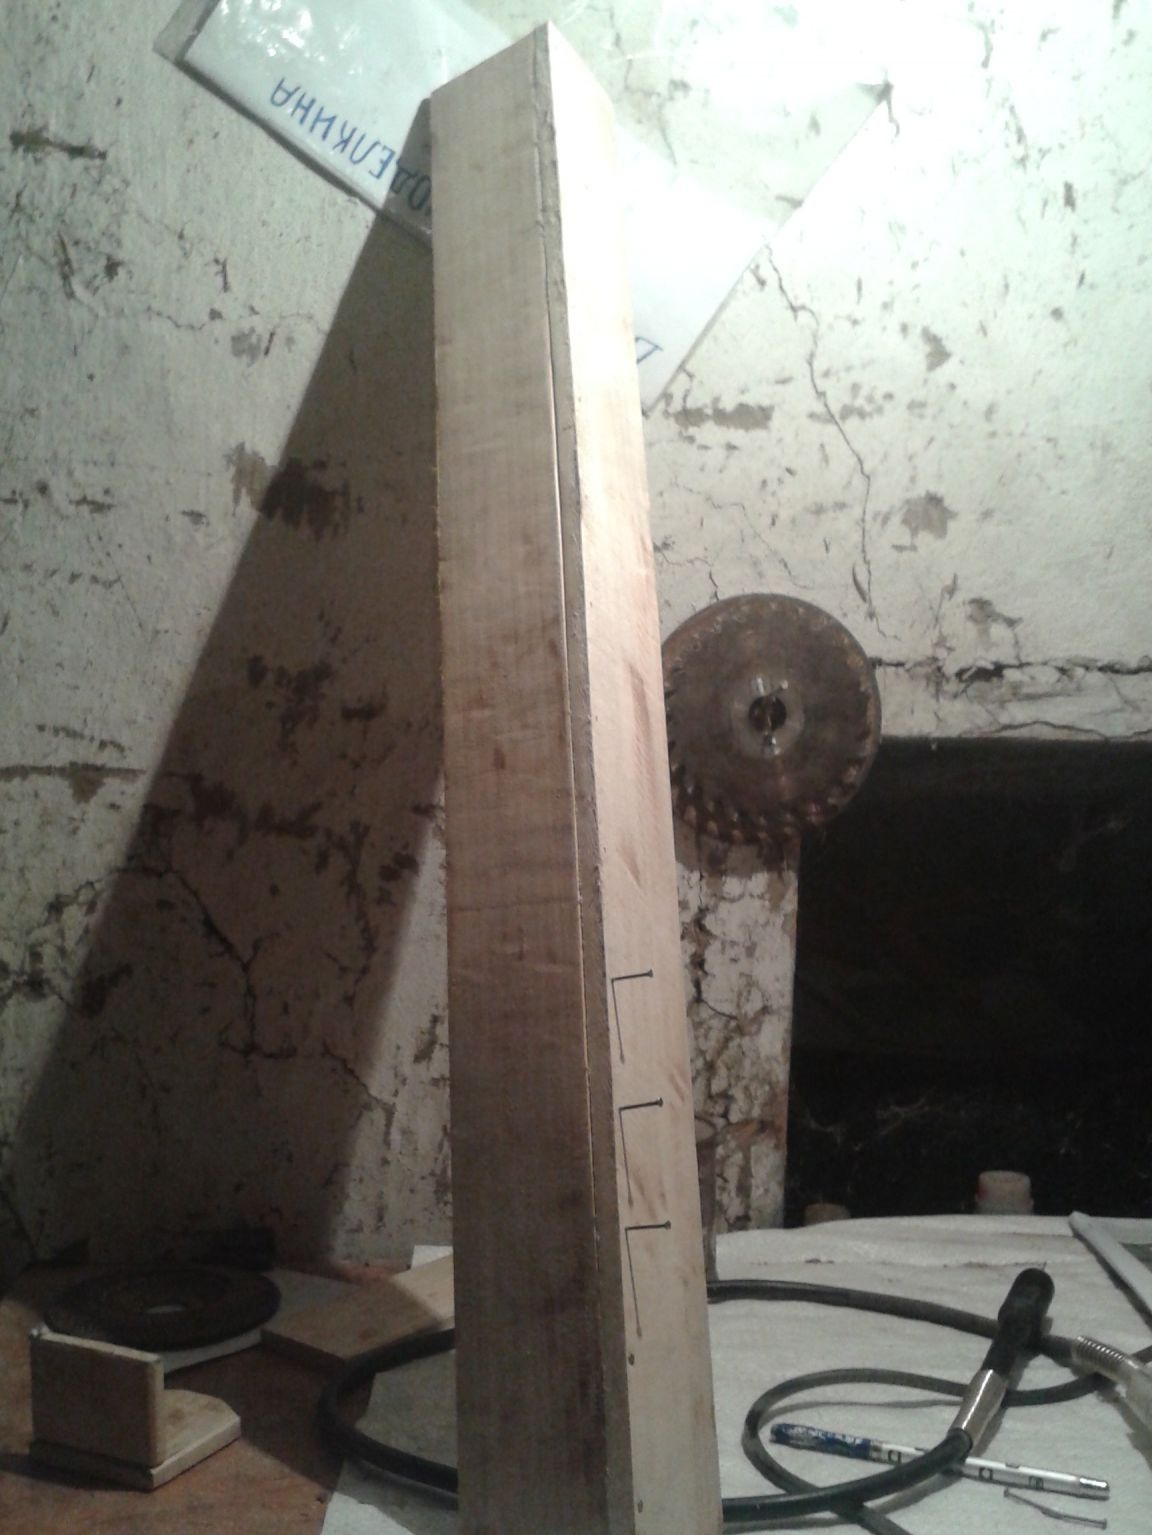
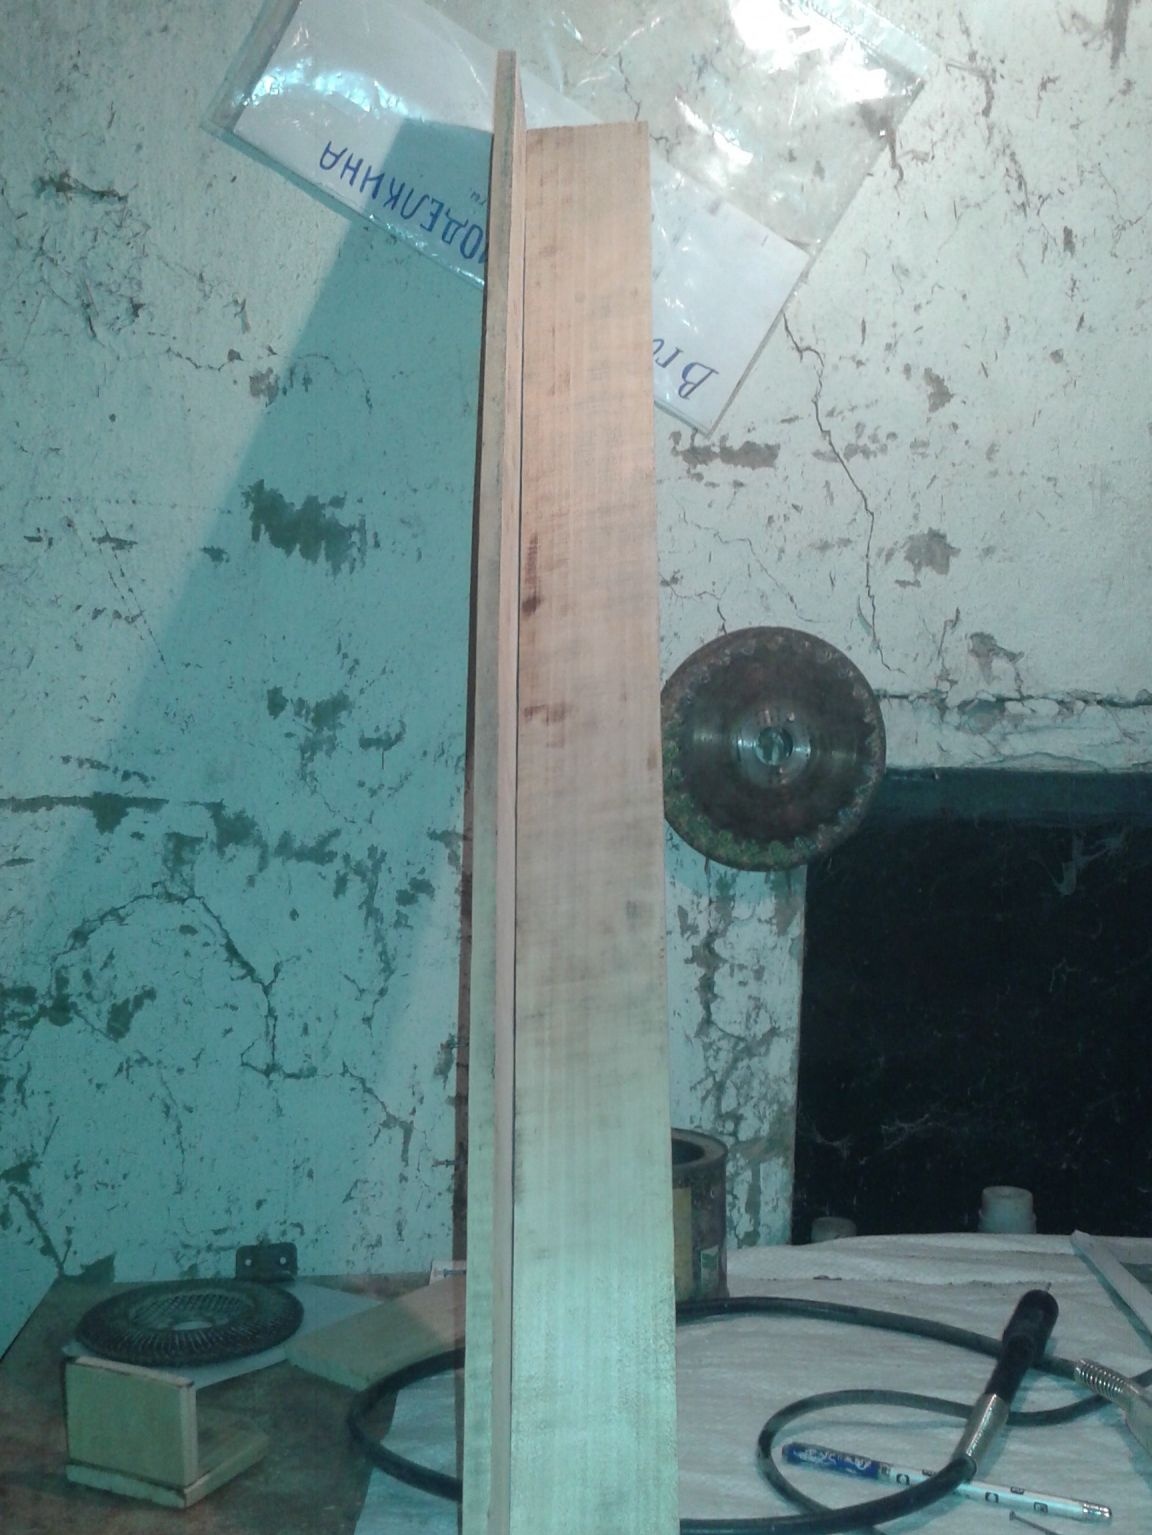
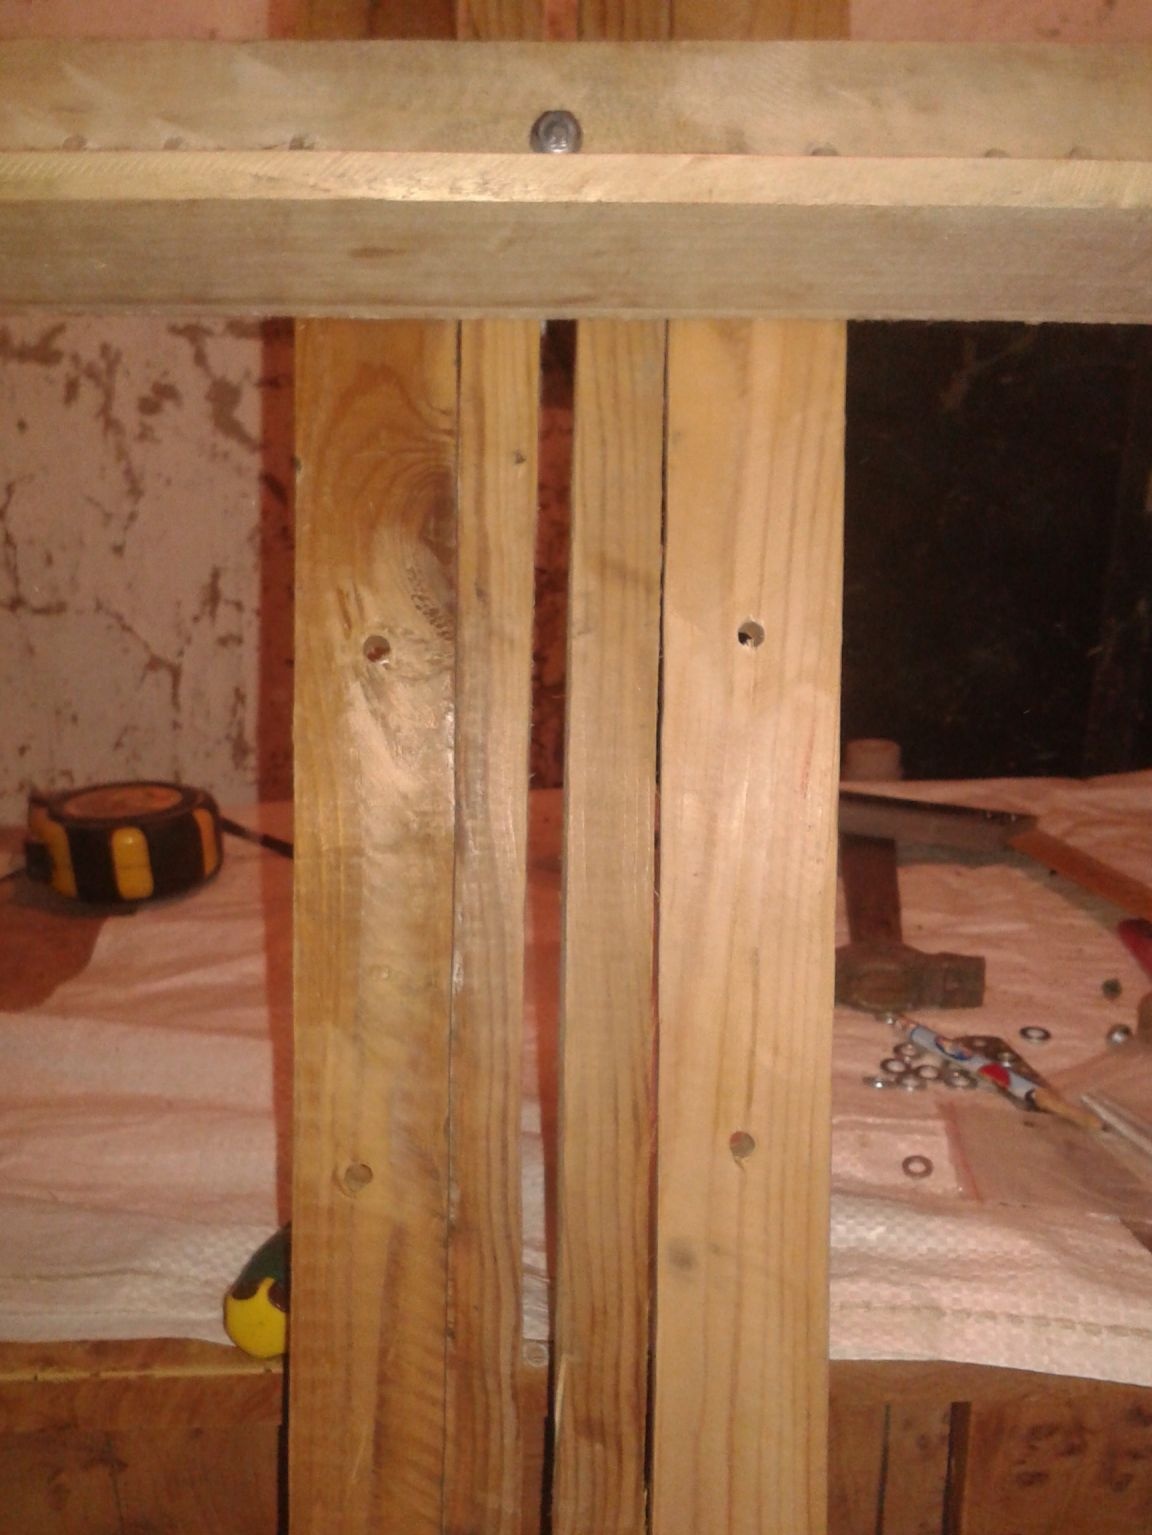
Step 3. Now take the bar, which will serve to change the installation height of the canvas stand and its upper clamp.
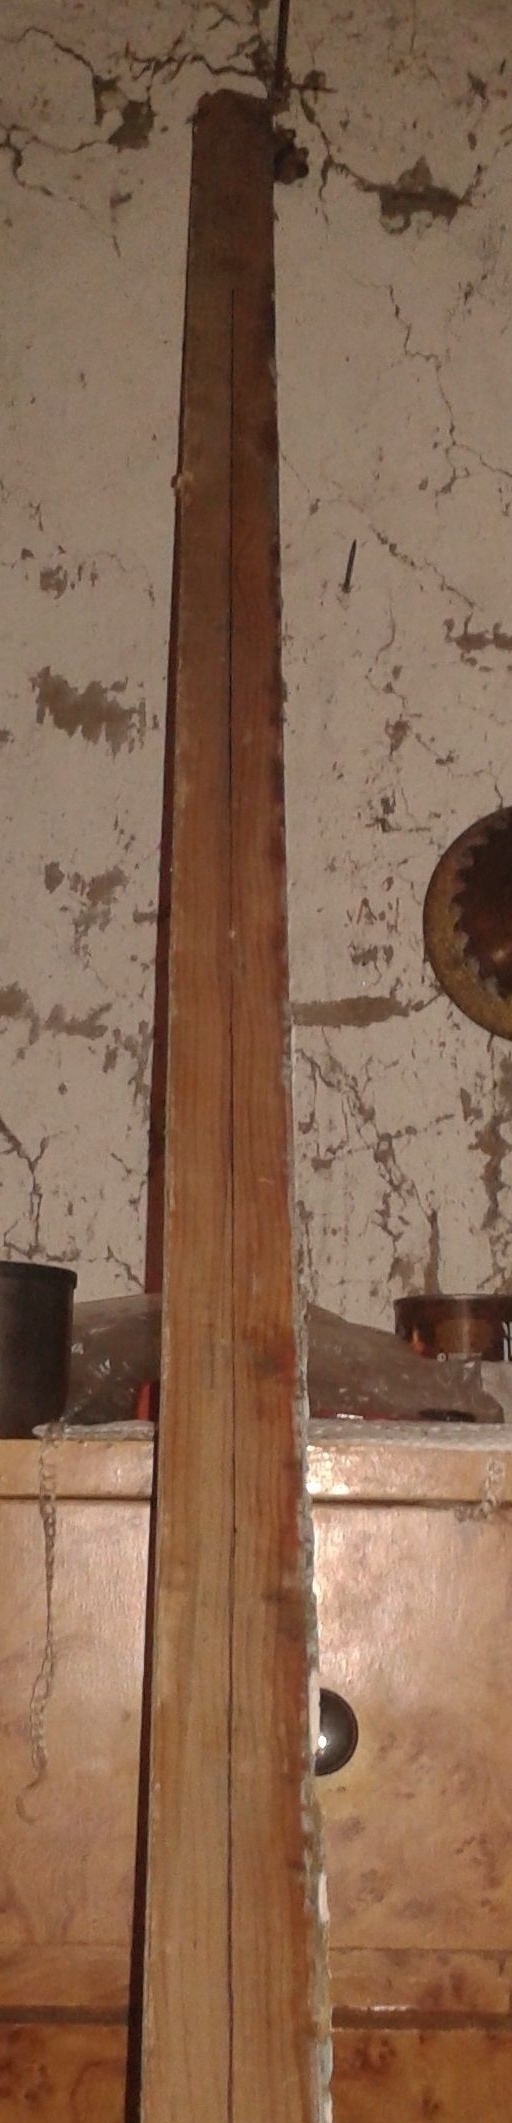
The height of this workpiece is 155 centimeters. We mark it exactly in the middle and make a cut along the marking line, before reaching the edge a couple of centimeters on each side. It turns out such a detail:
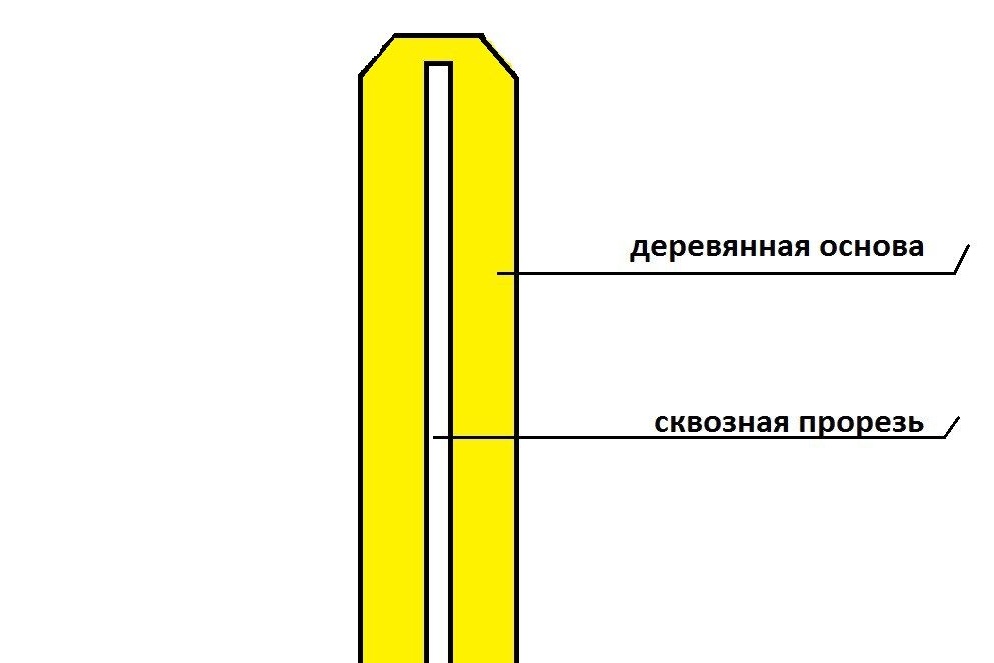
I was enthusiastic about the process, so I missed a couple of stages, I didn’t shoot it in the photo.
We mow the top edge, make it more streamlined.
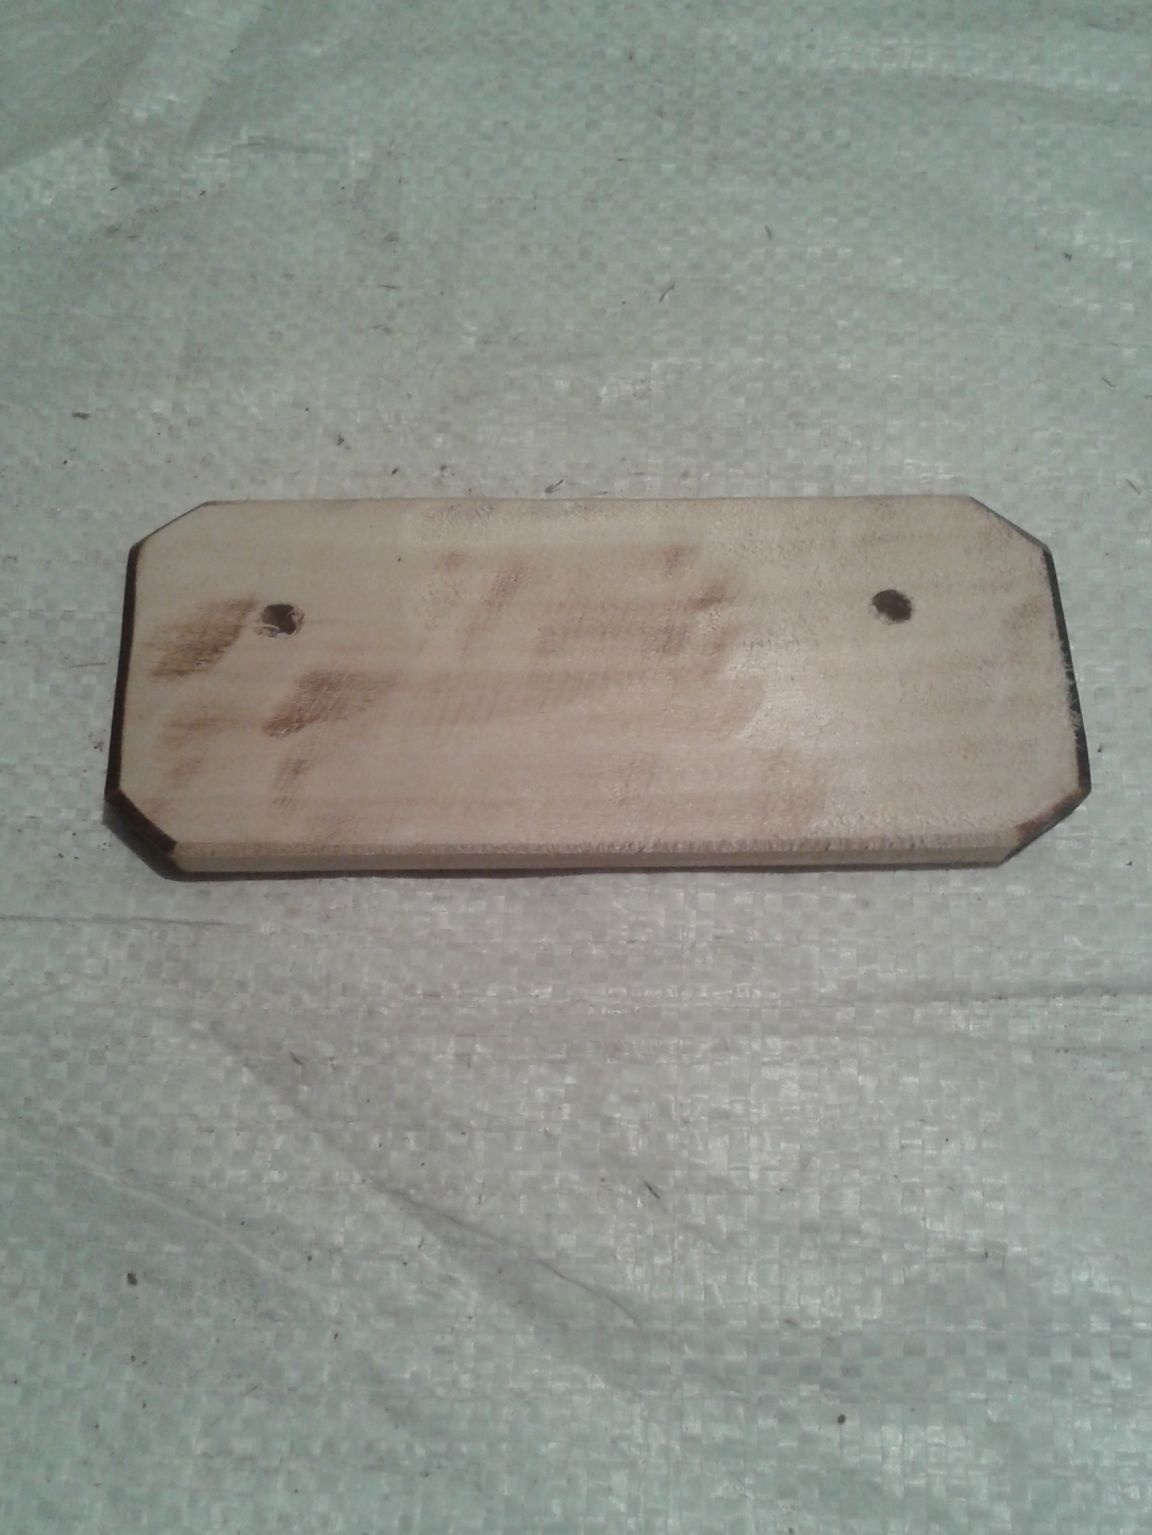
Step 4. Now you need to make the part for fastening the legs of an easel. To do this, take a plank, a bar length of 15 centimeters. We grind it and grind it in corners from four sides. We drill holes for fixing the legs. Immediately made the upper holder for the canvas. In height, it will be convenient for you, it does not matter. The main thing is that its lower edge in a raised state at the very top of the sliding bar is flush with the notch.
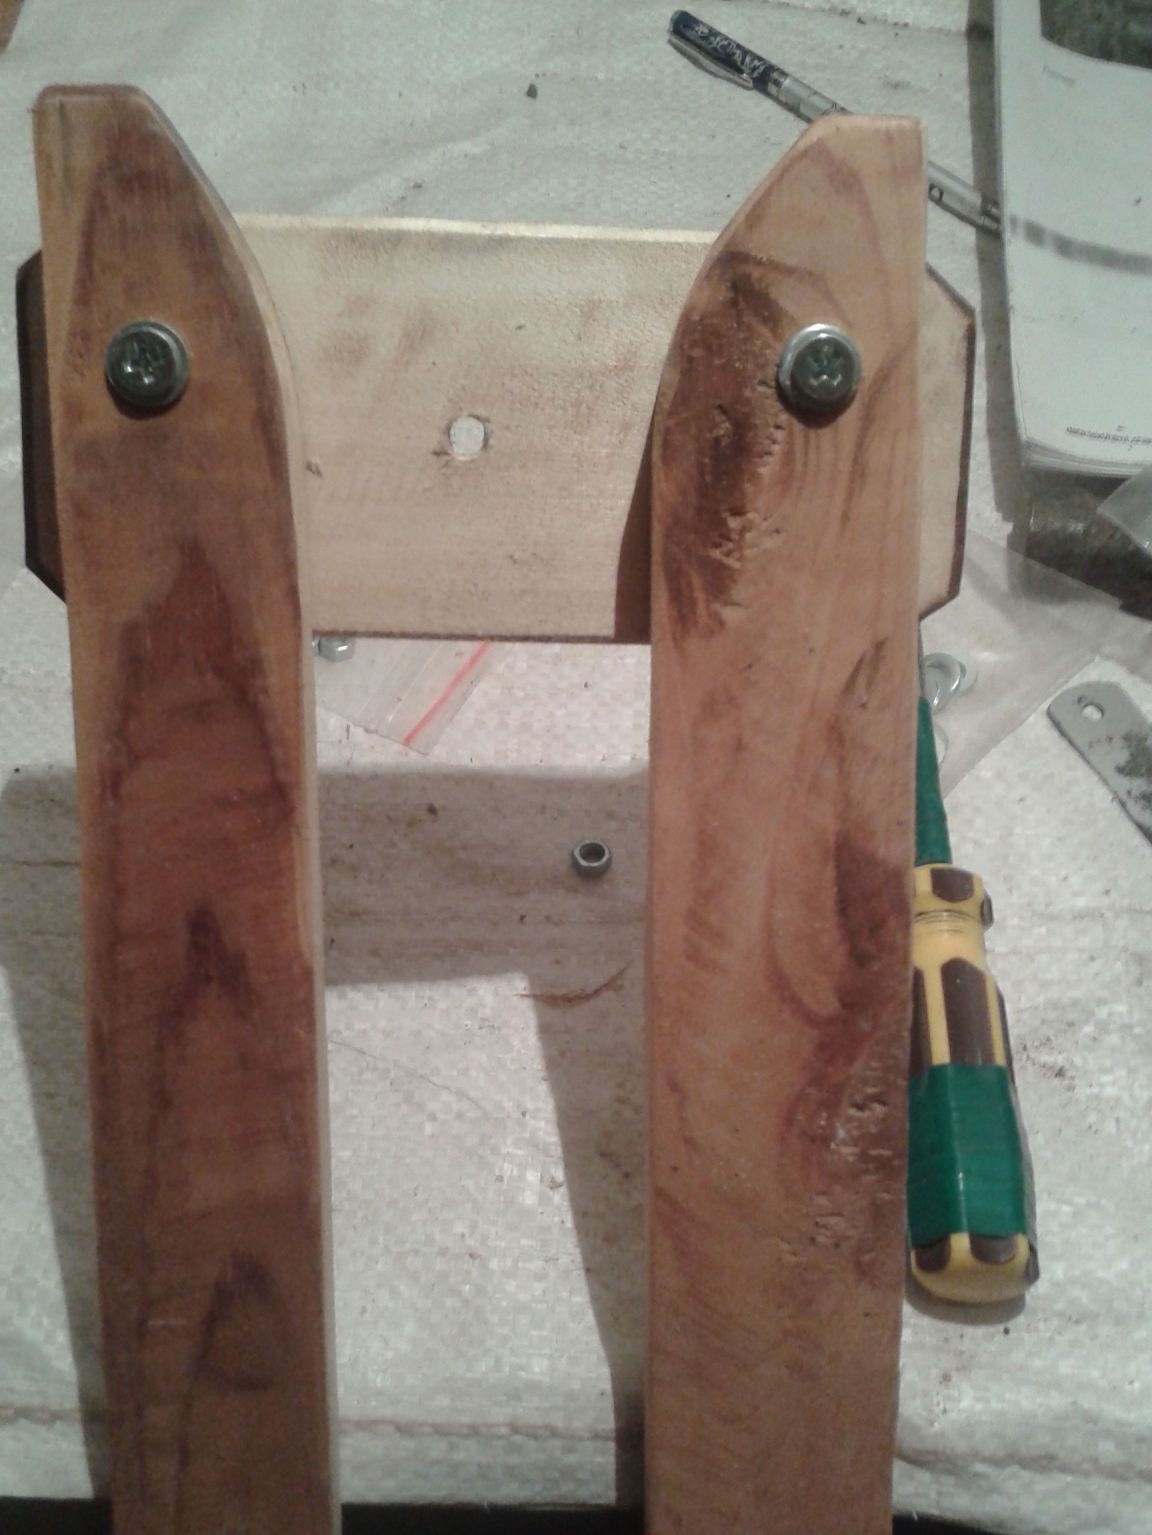
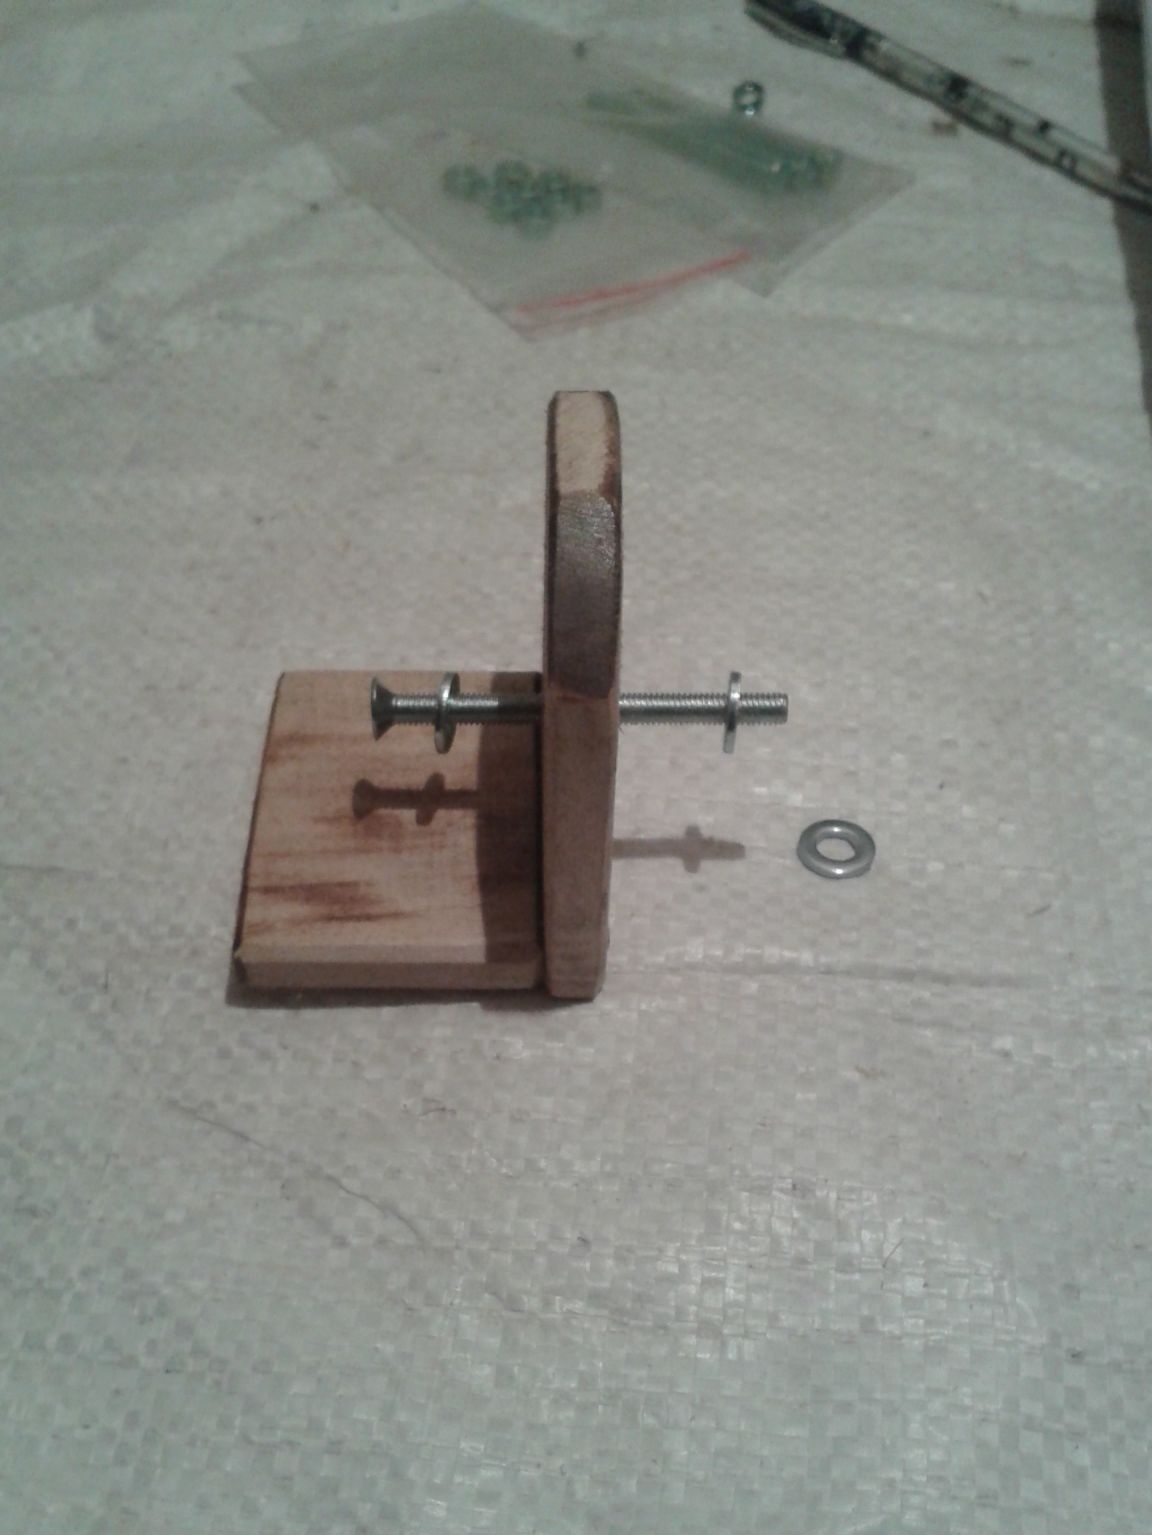
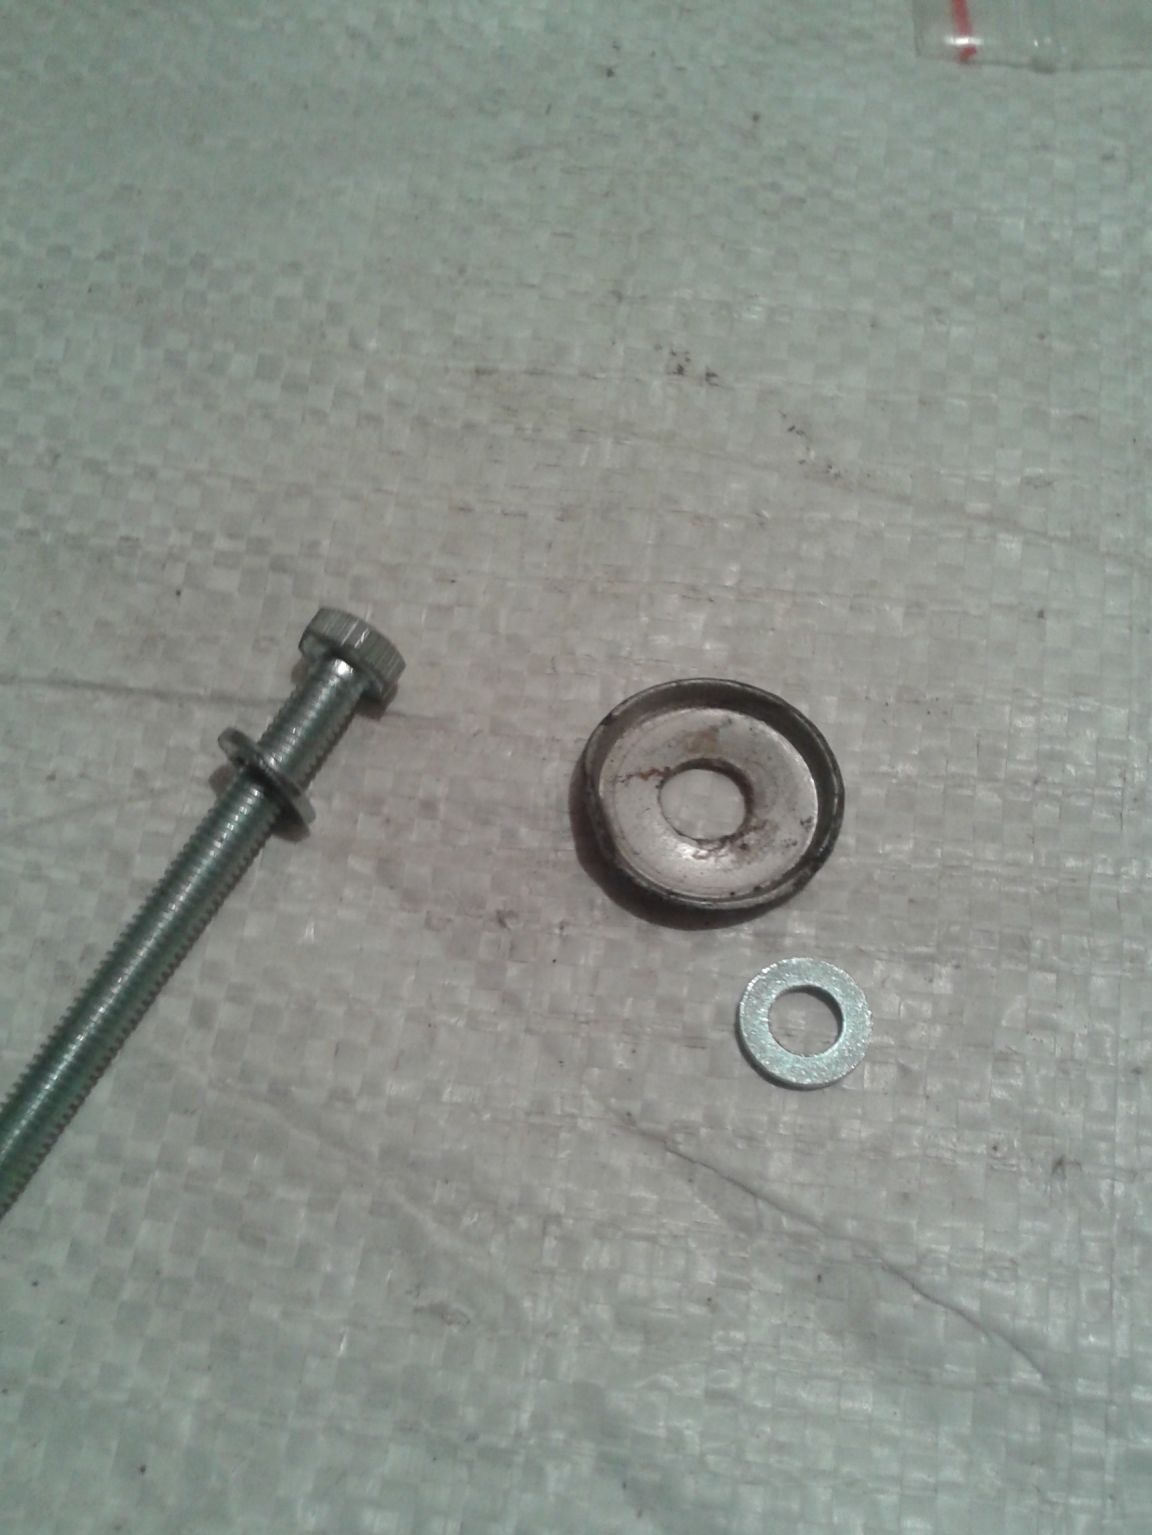
Step 5. Drill the holes in the legs for mounting. We take a bolt, three washers and fix the legs now to the base.
We perform similar actions with the second leg. As a result, we should get this kind of workpiece:
In the mounting blank we drill a hole for the slotted bar.
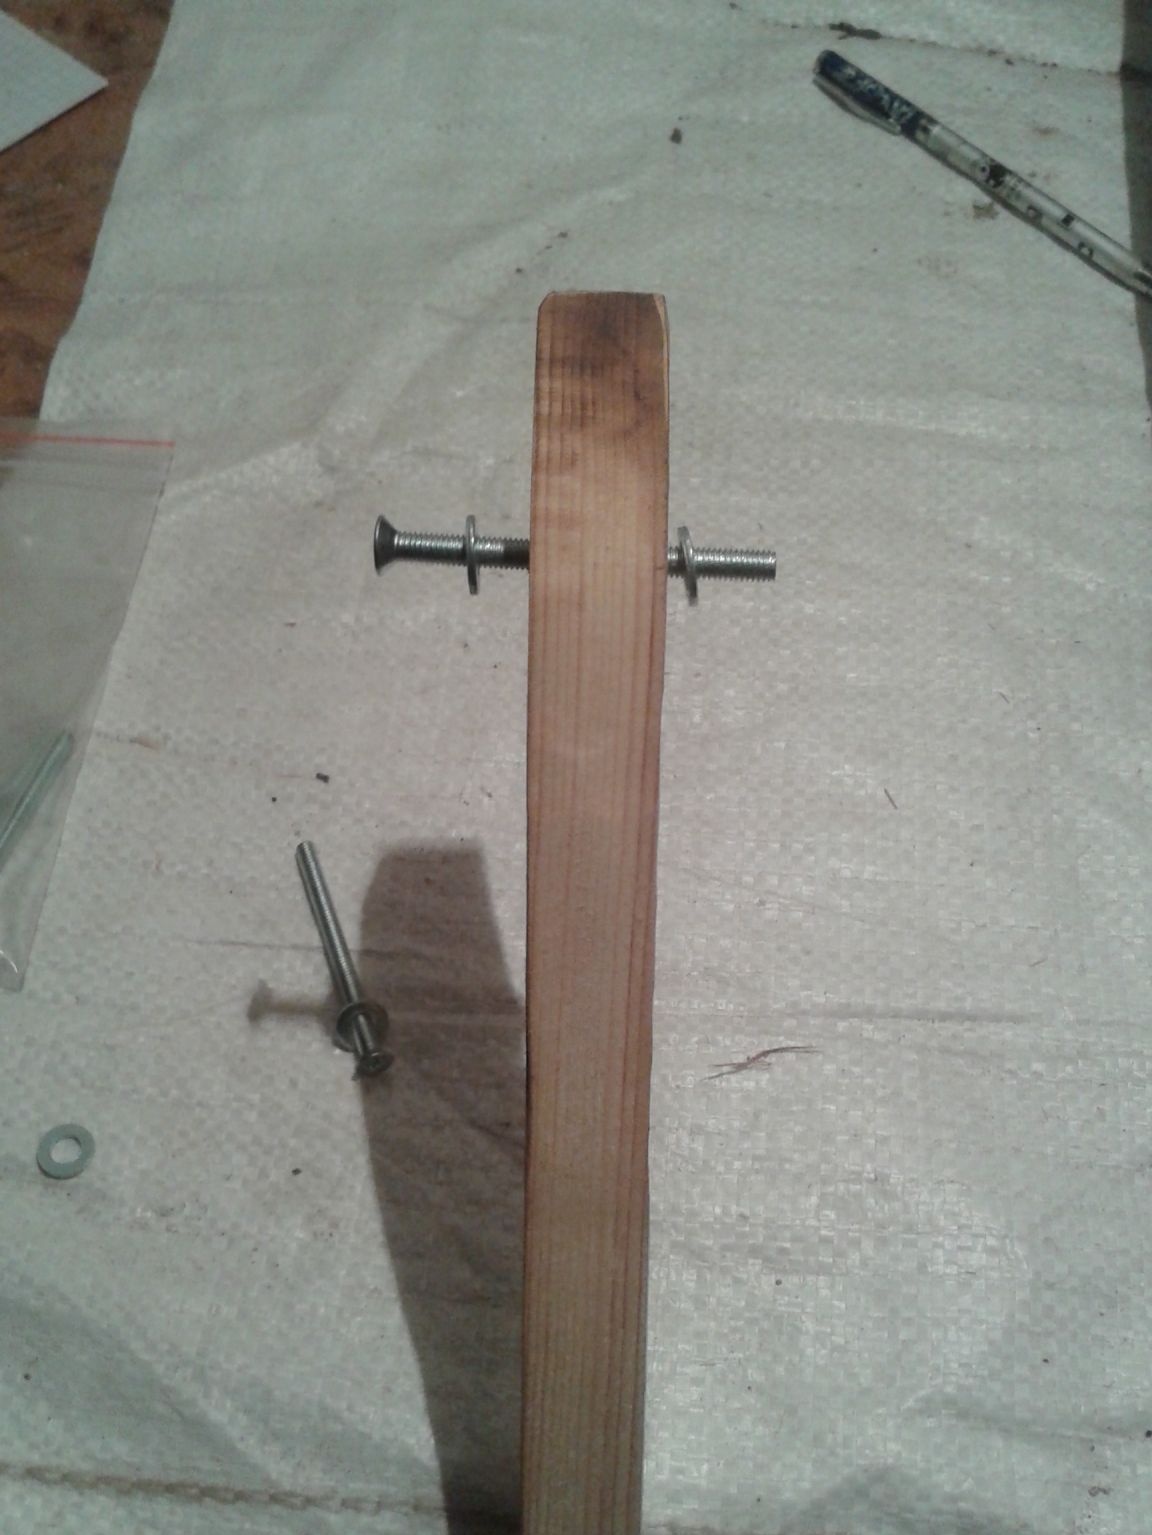
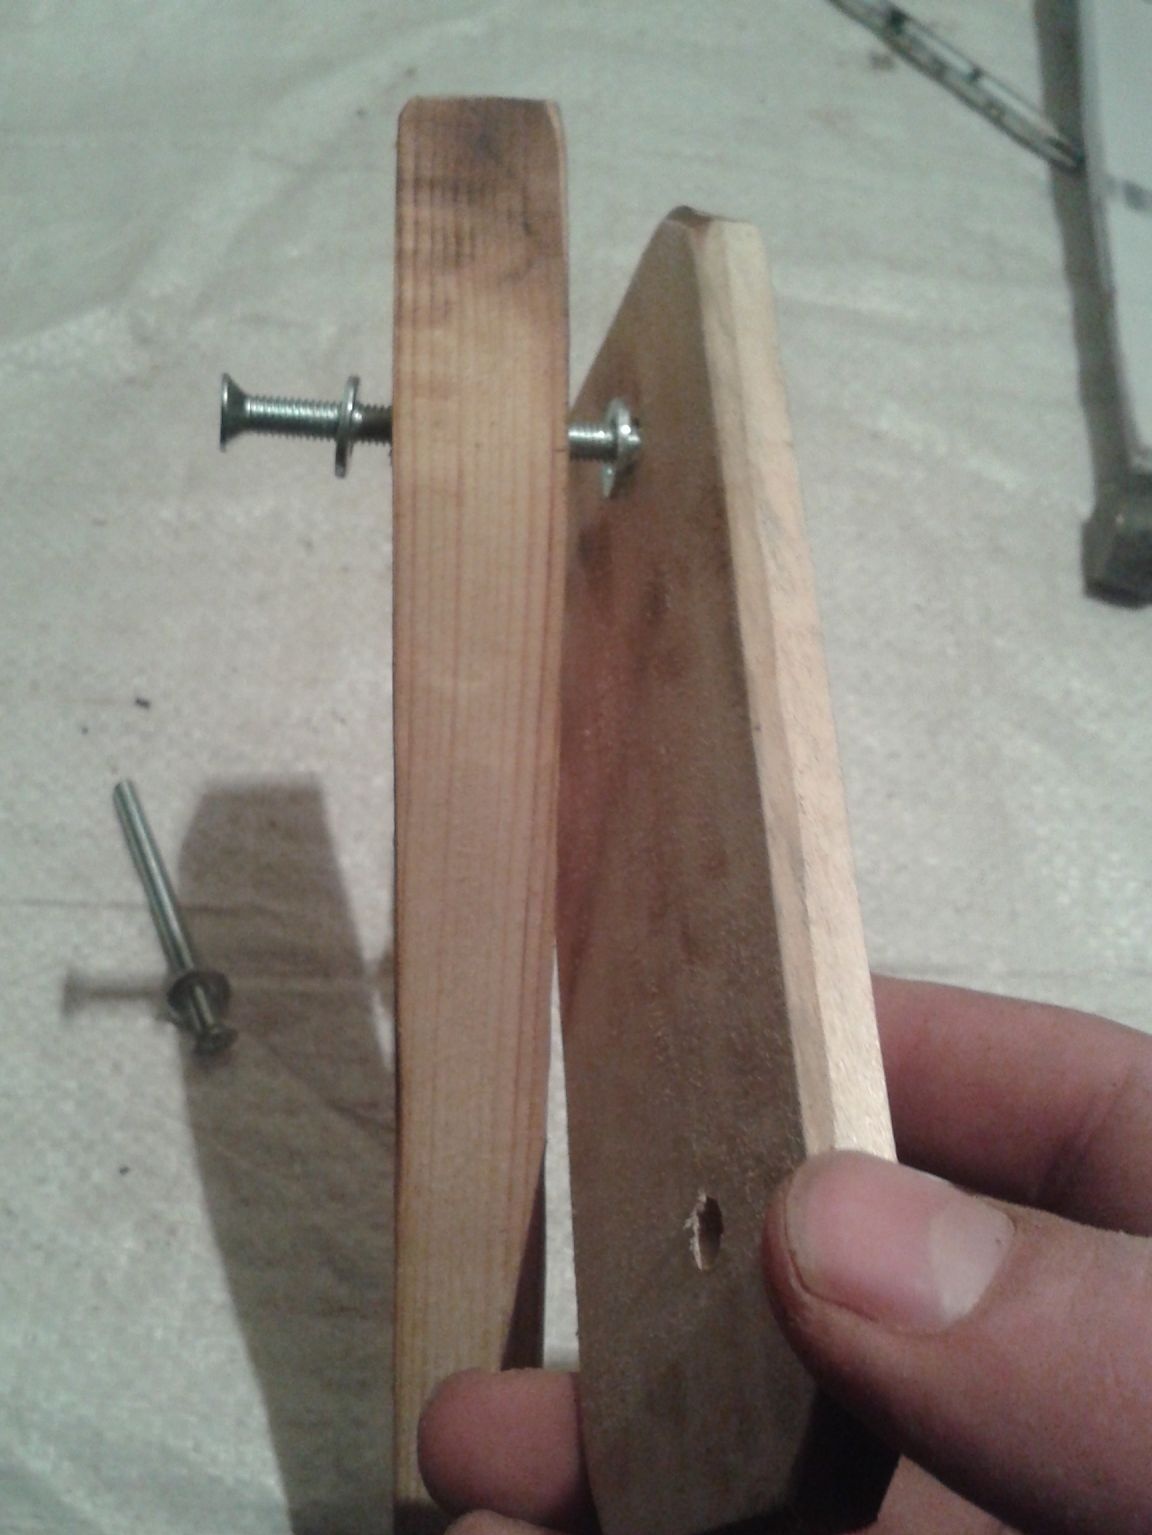
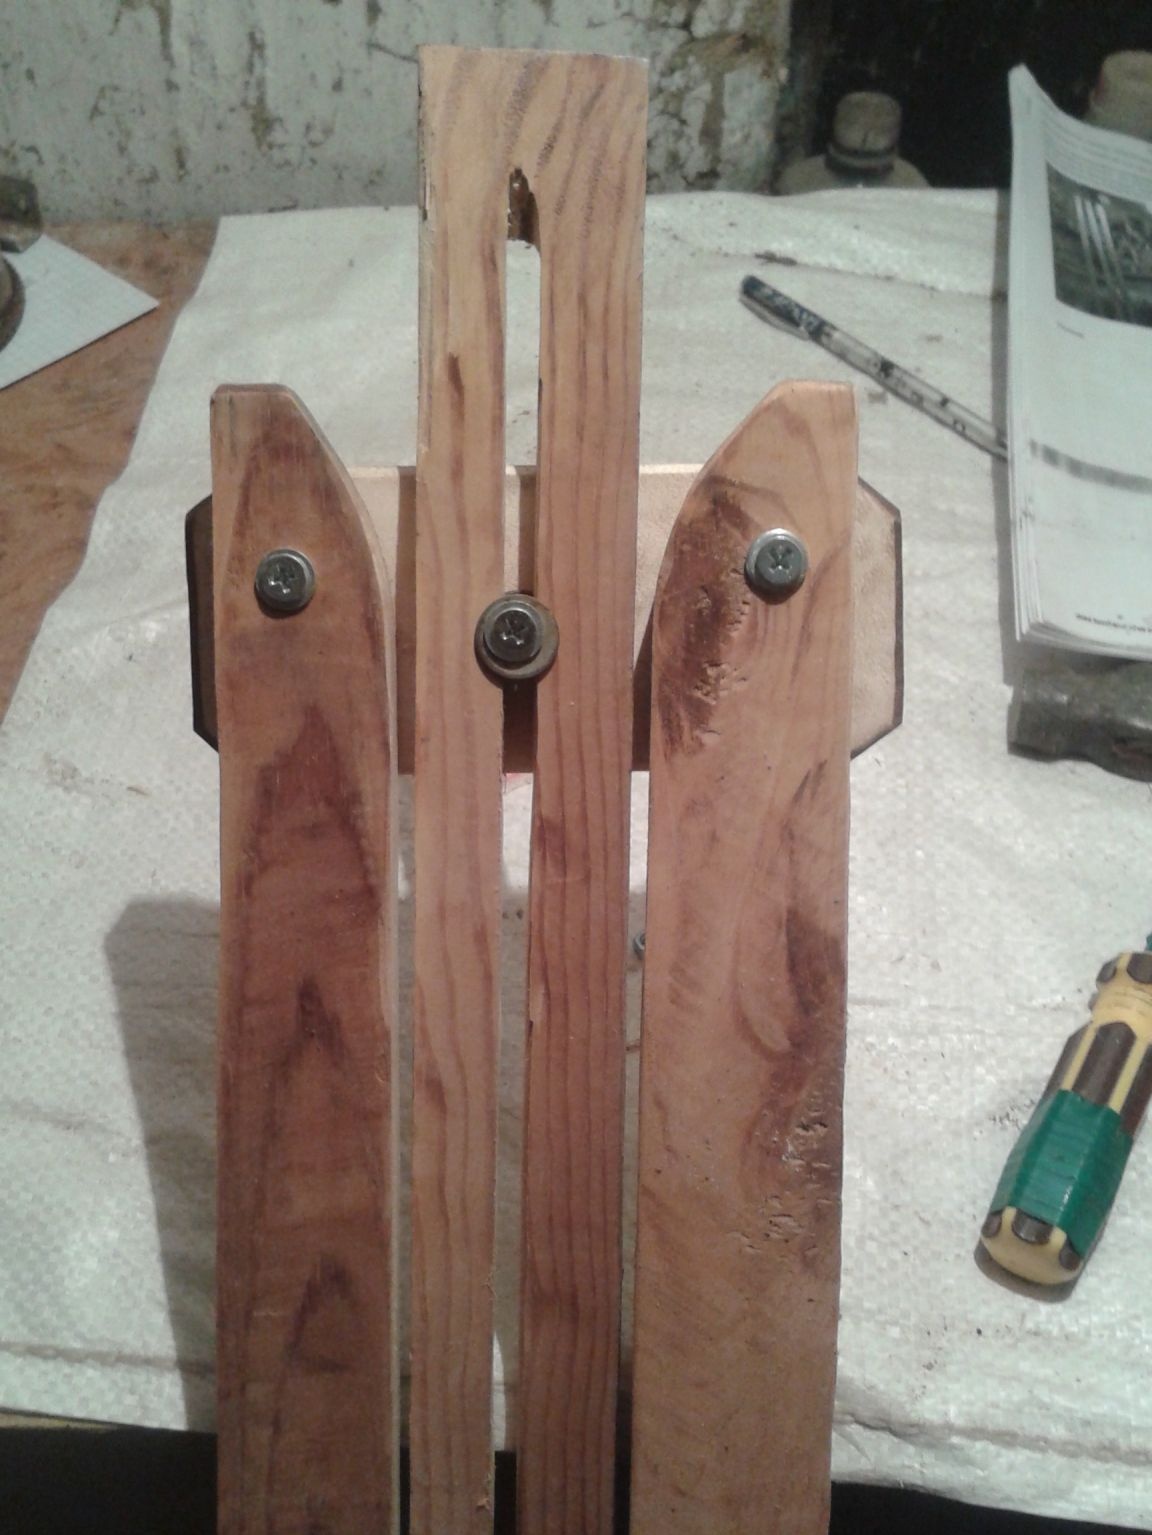
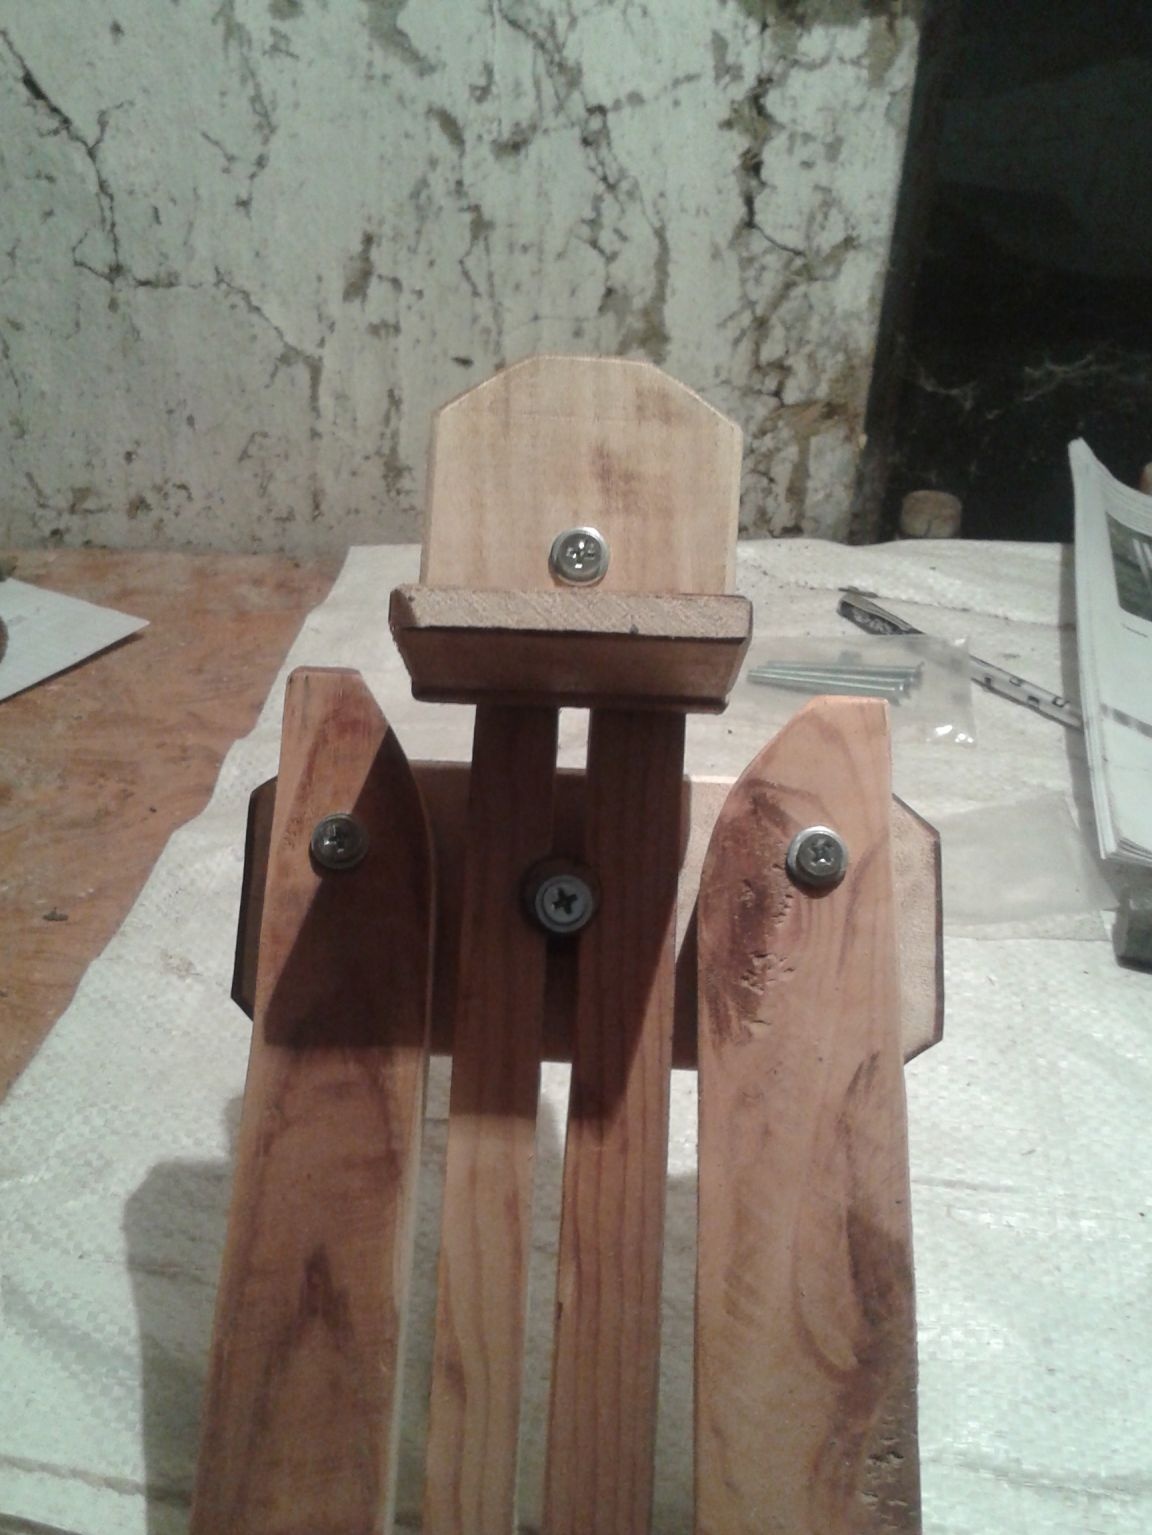
Step 6. We begin to fasten the welt baron which the holders for the canvas will be mounted, so to speak the basis of our future easel.
In order to fix this part, we need two wide washers so that they do not creep into the slot when shifting. I tightened the screws firmly so that the parts were well fixed. The result is this:
Step 7. Now we make holders for pictures. Starting from the top of the easel. To do this, I took the parts already prepared and began to combine them. I made the connection with the help of small nails. Holds tight, neat look. In order not to split the trims, I drilled small holes for nails at the points of attachment.
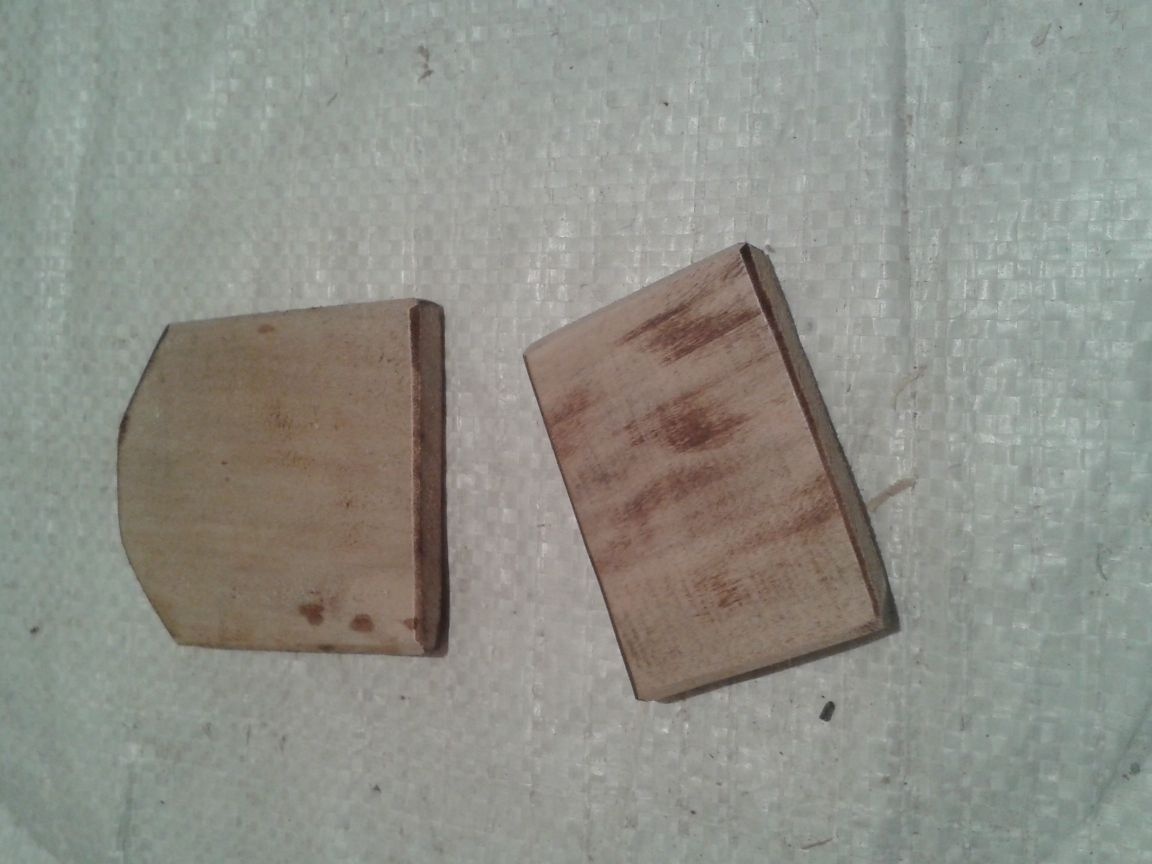
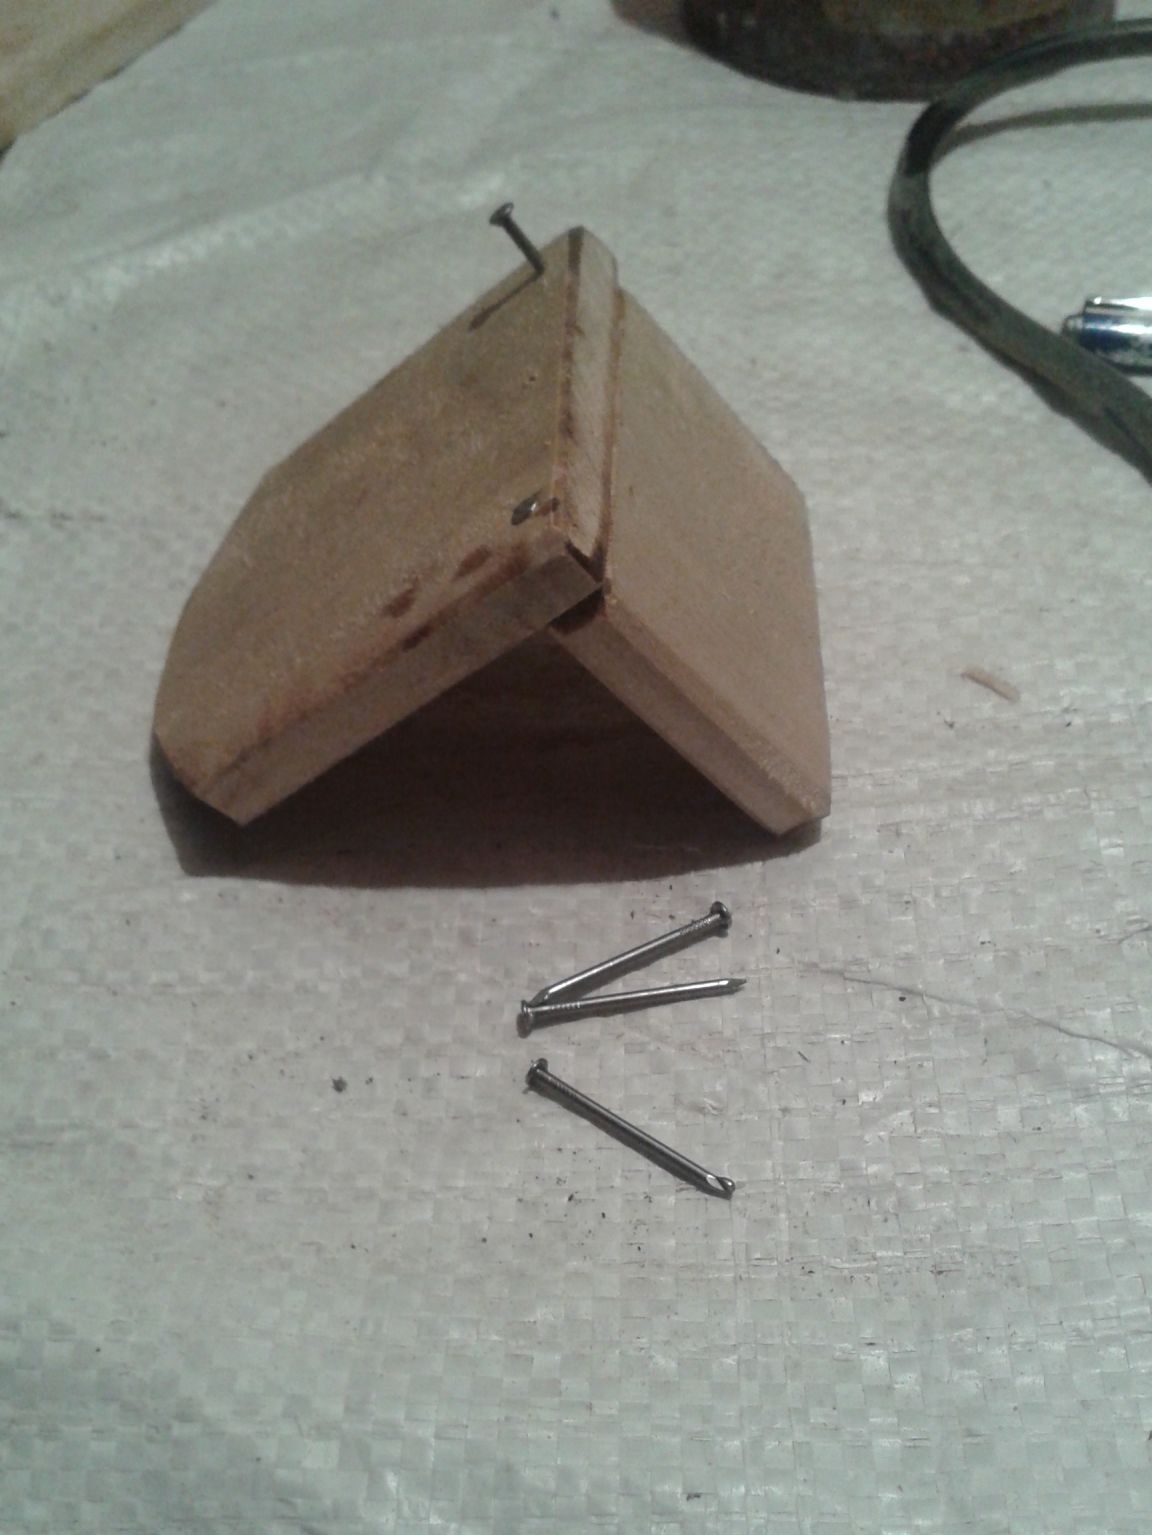
We smooth the corners along the edges of the workpiece.
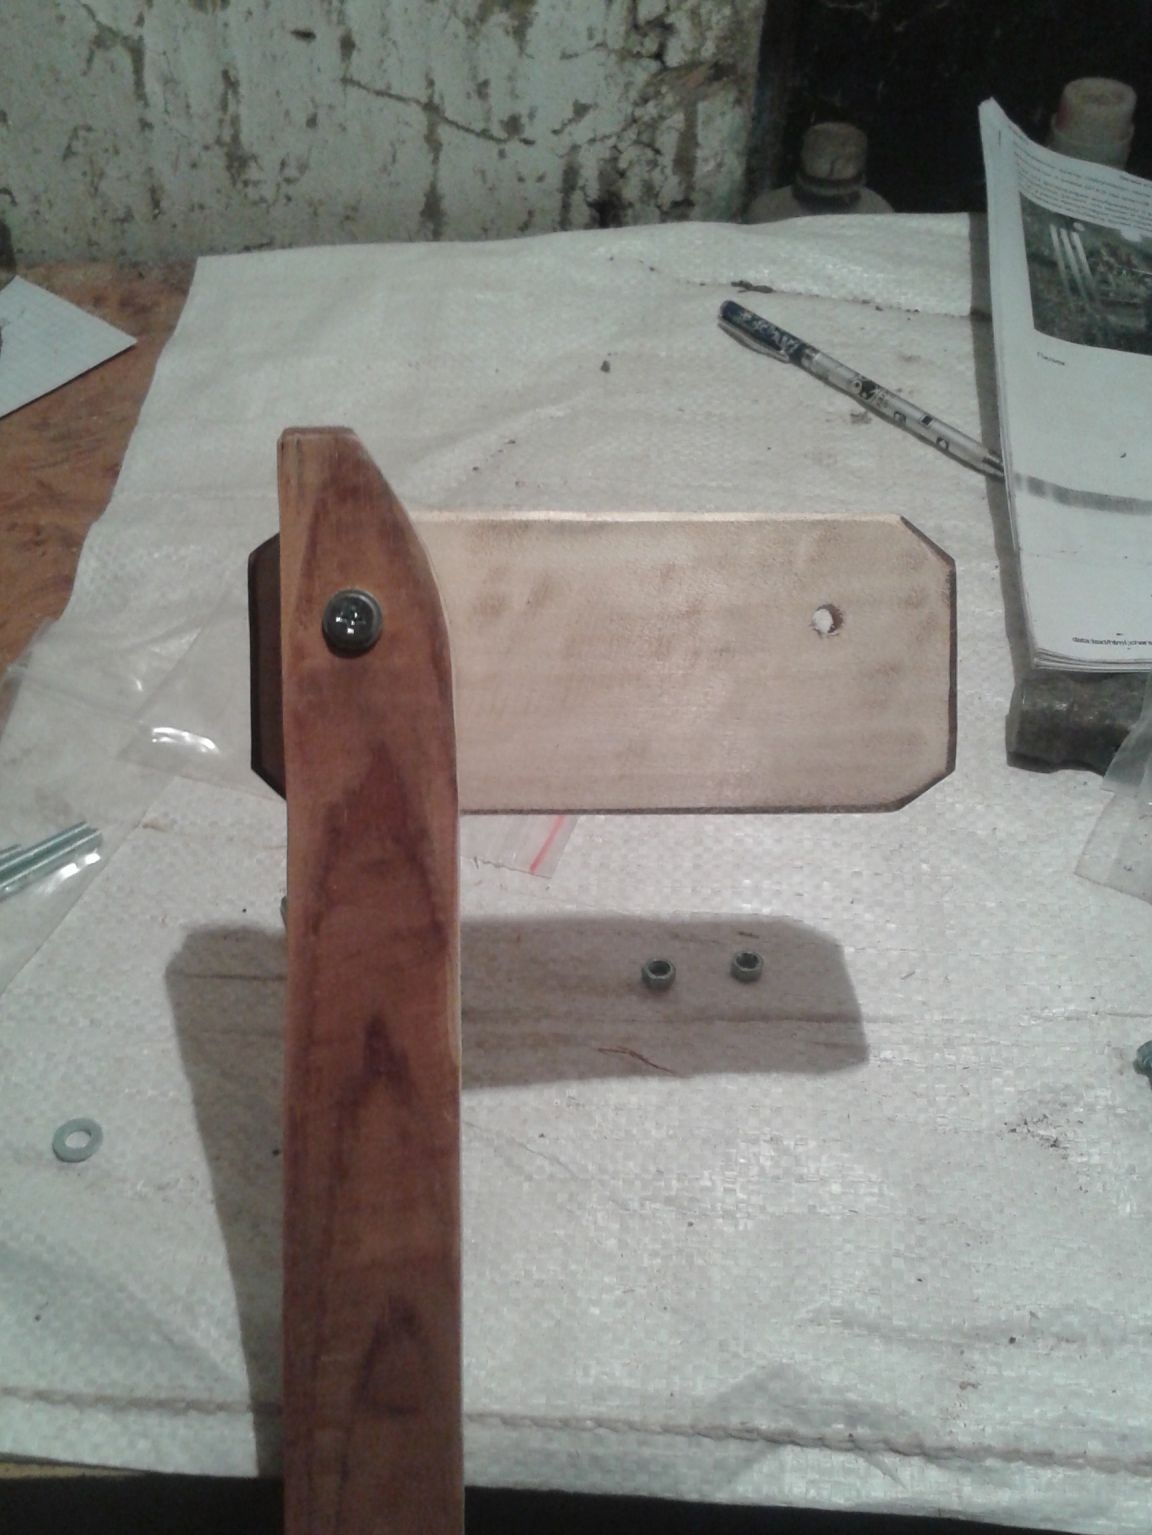
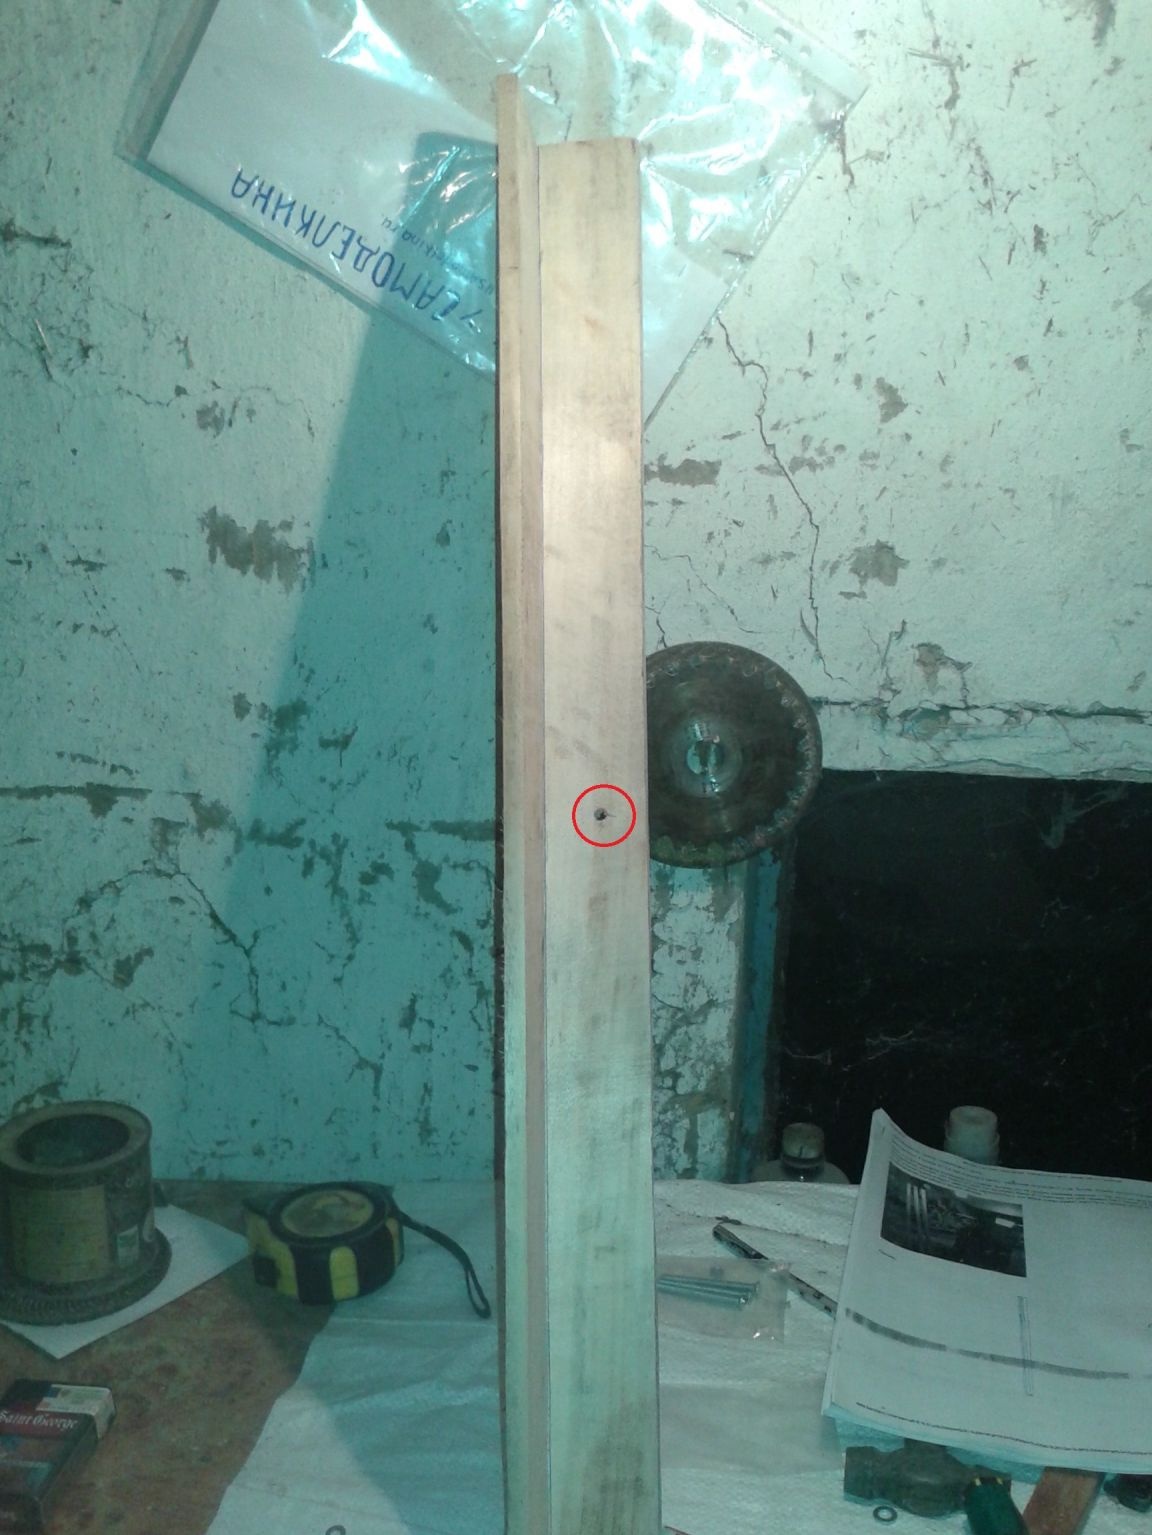
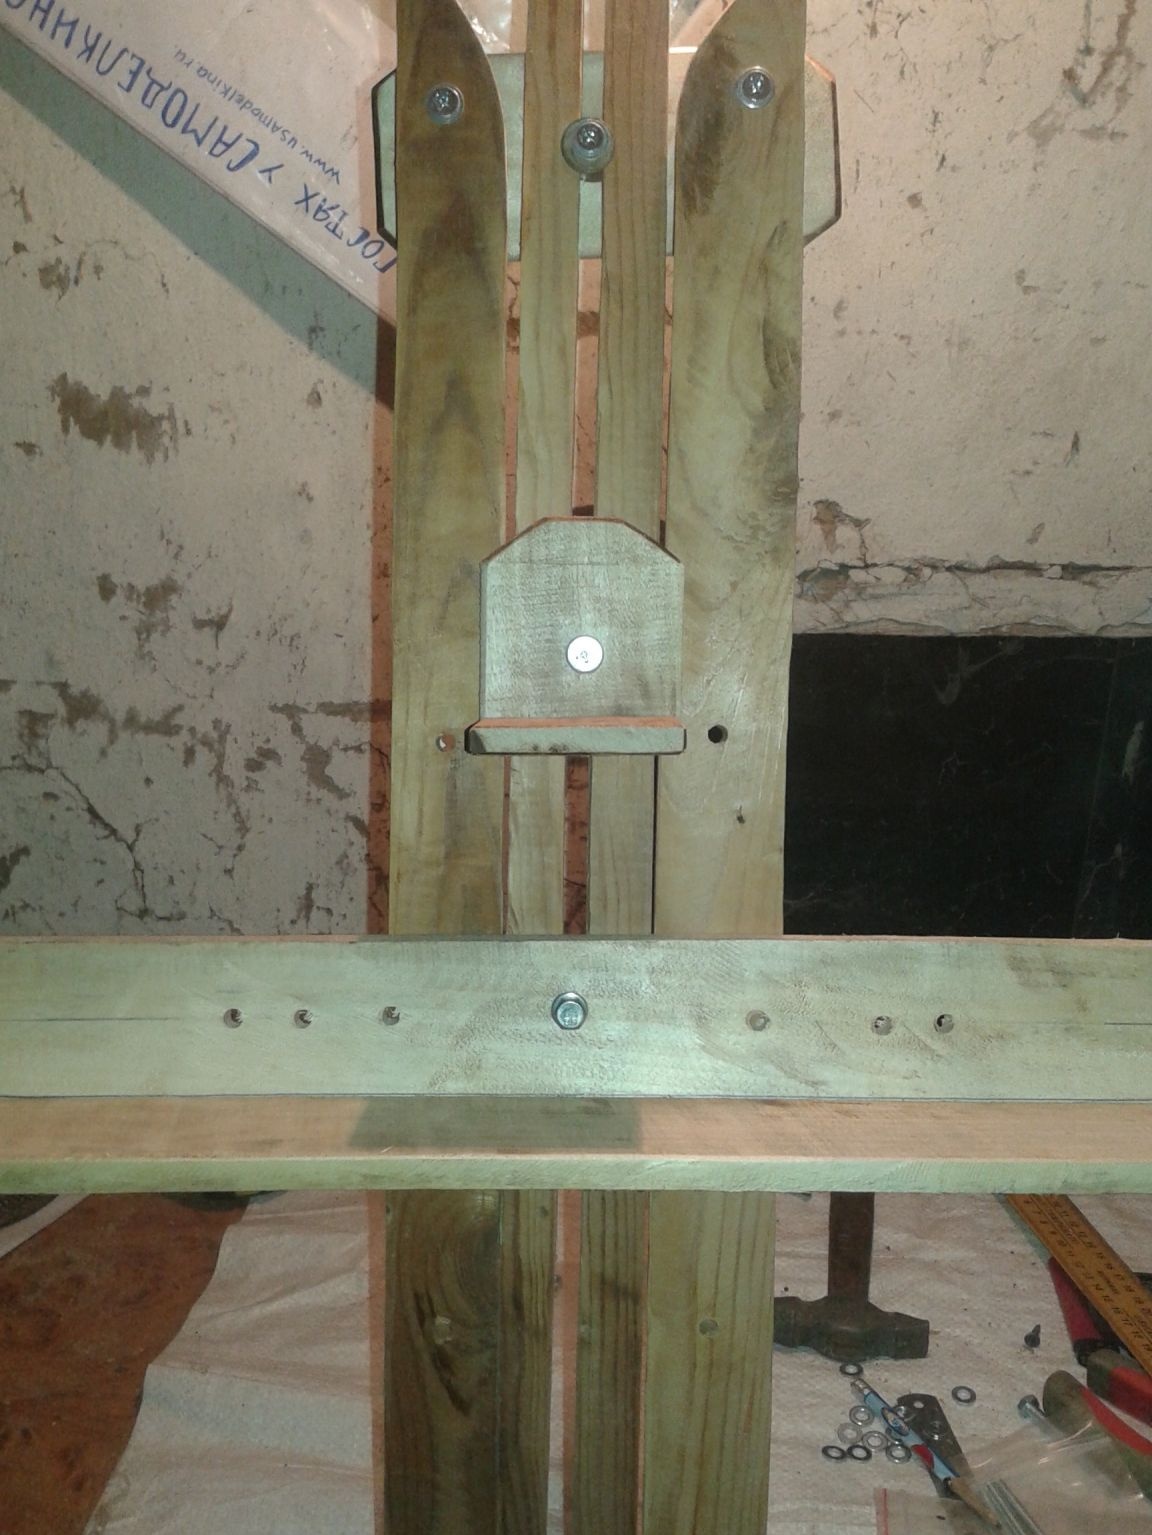
Step 8. In the middle of the received part, we drill hole for attaching to the sliding bar.
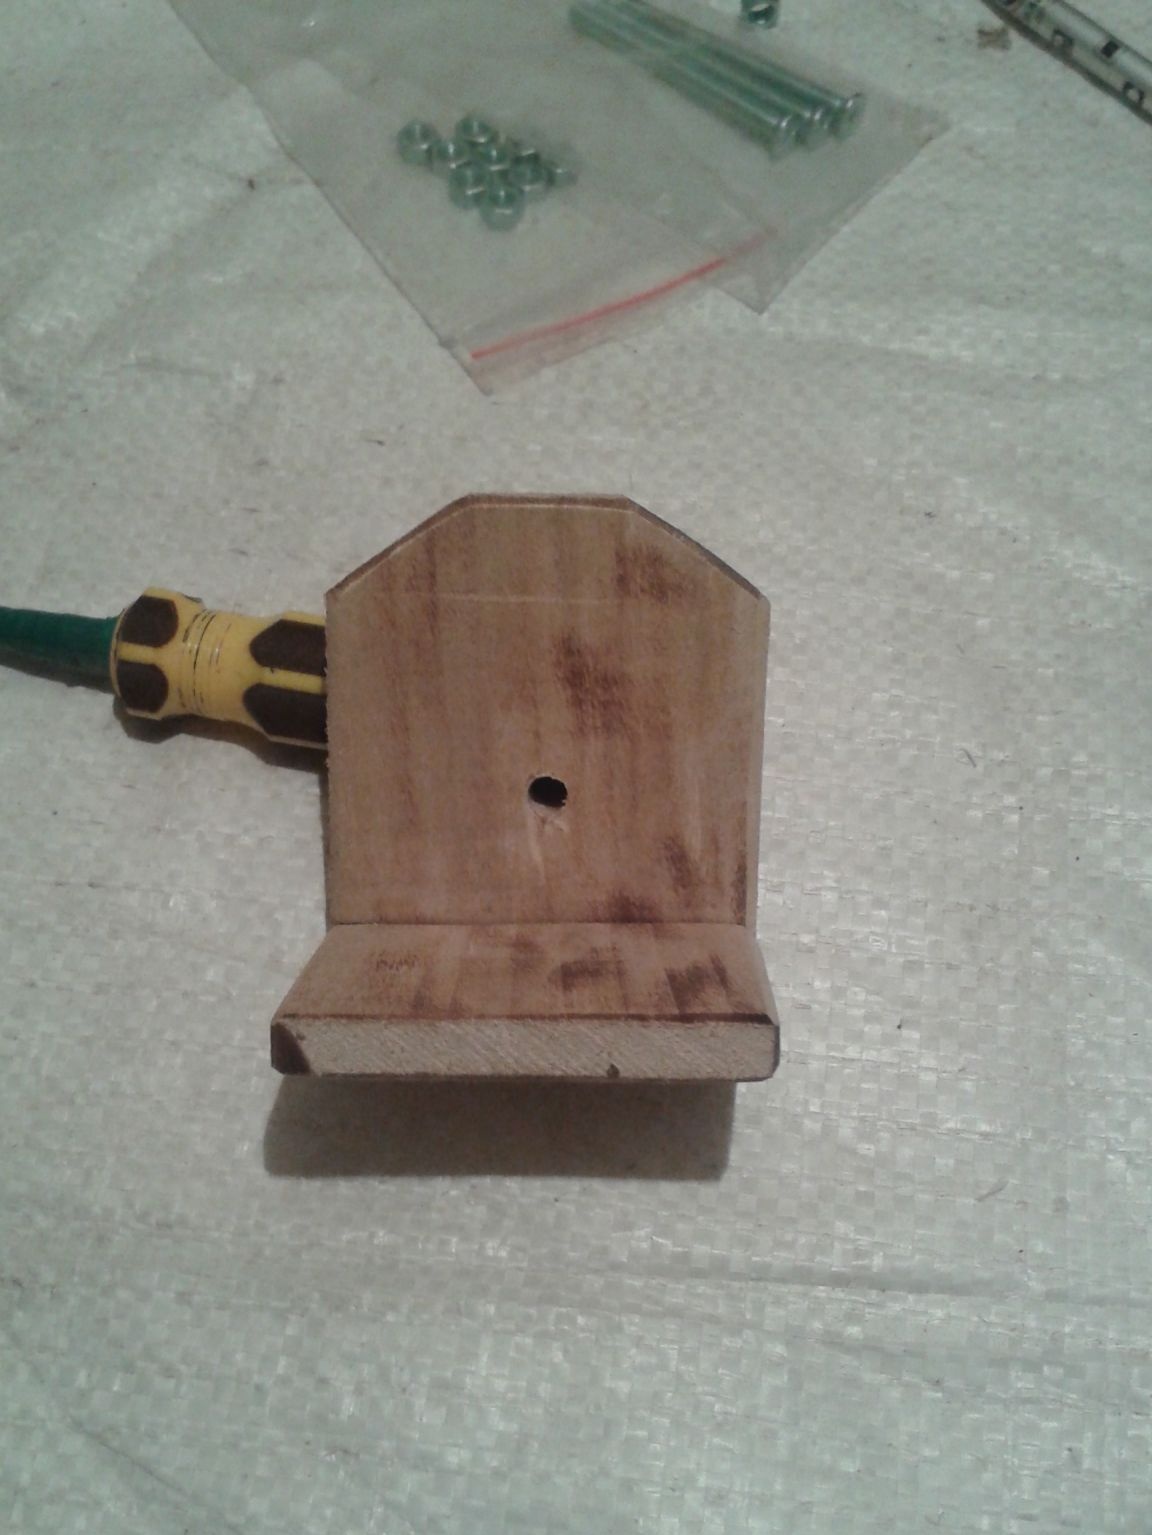
Now we take a bolt, washer and nut and fasten to the easel base.
It turns out such a design.
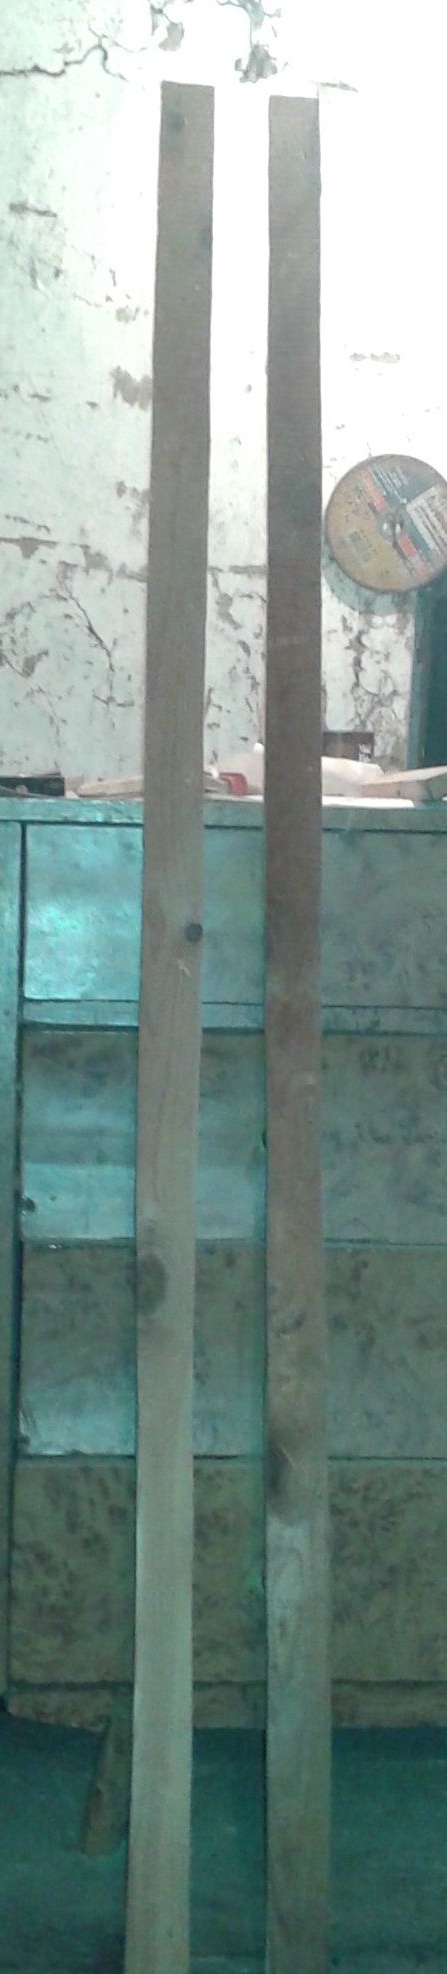
Step 9. Now we need to collect the support for the canvaswhich will be attached at the bottom of the sliding bar. To do this, I needed two planks with a length of 70 centimeters. Sand them. As with the upper holder, we drill small holes for nails along the edge of the fastening parts. We collect the details.
In the finished part, in the middle, we drill holes for fastening.
Step 10. Now we fasten the canvas stand to the sliding bar. You will also need a wide washer.
As a result, here comes such a prefabricated part.
Step 11. The next step is to determine the size installed canvases and, accordingly, drill holes in the legs and support of the canvas to fix the canvas at a certain height. Since I almost always draw on stretchers of the same size, I accordingly adjusted the height to fit my canvases.
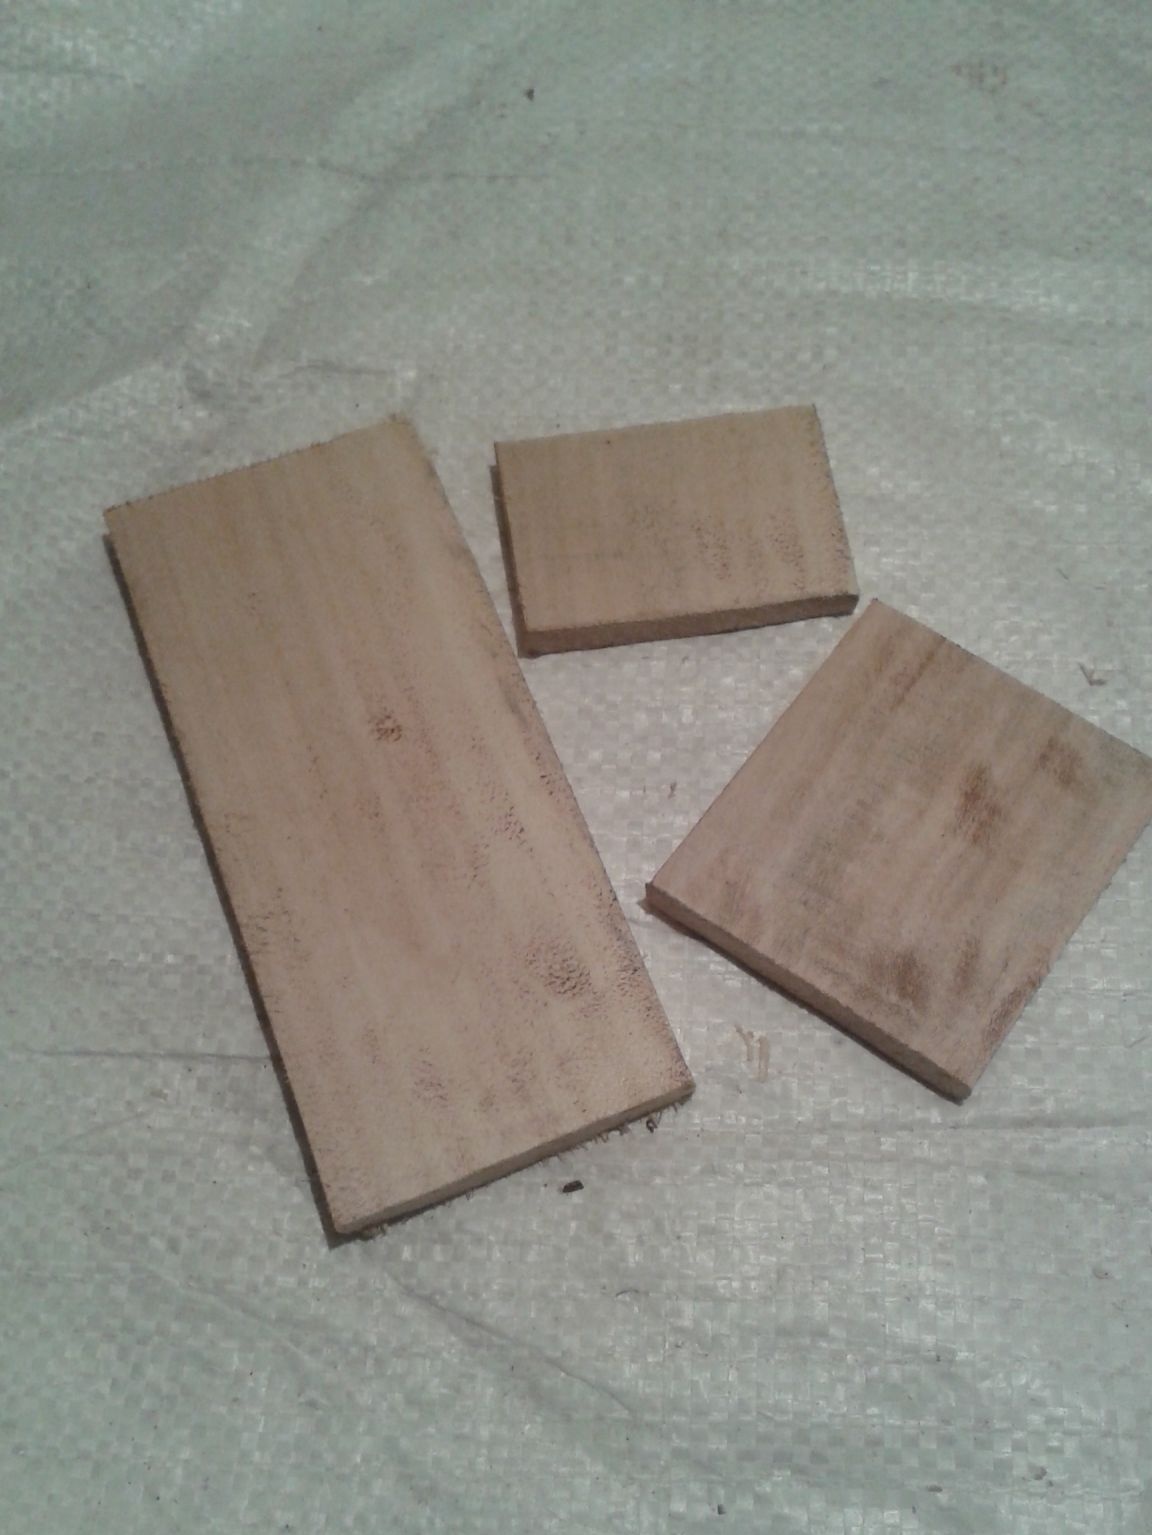
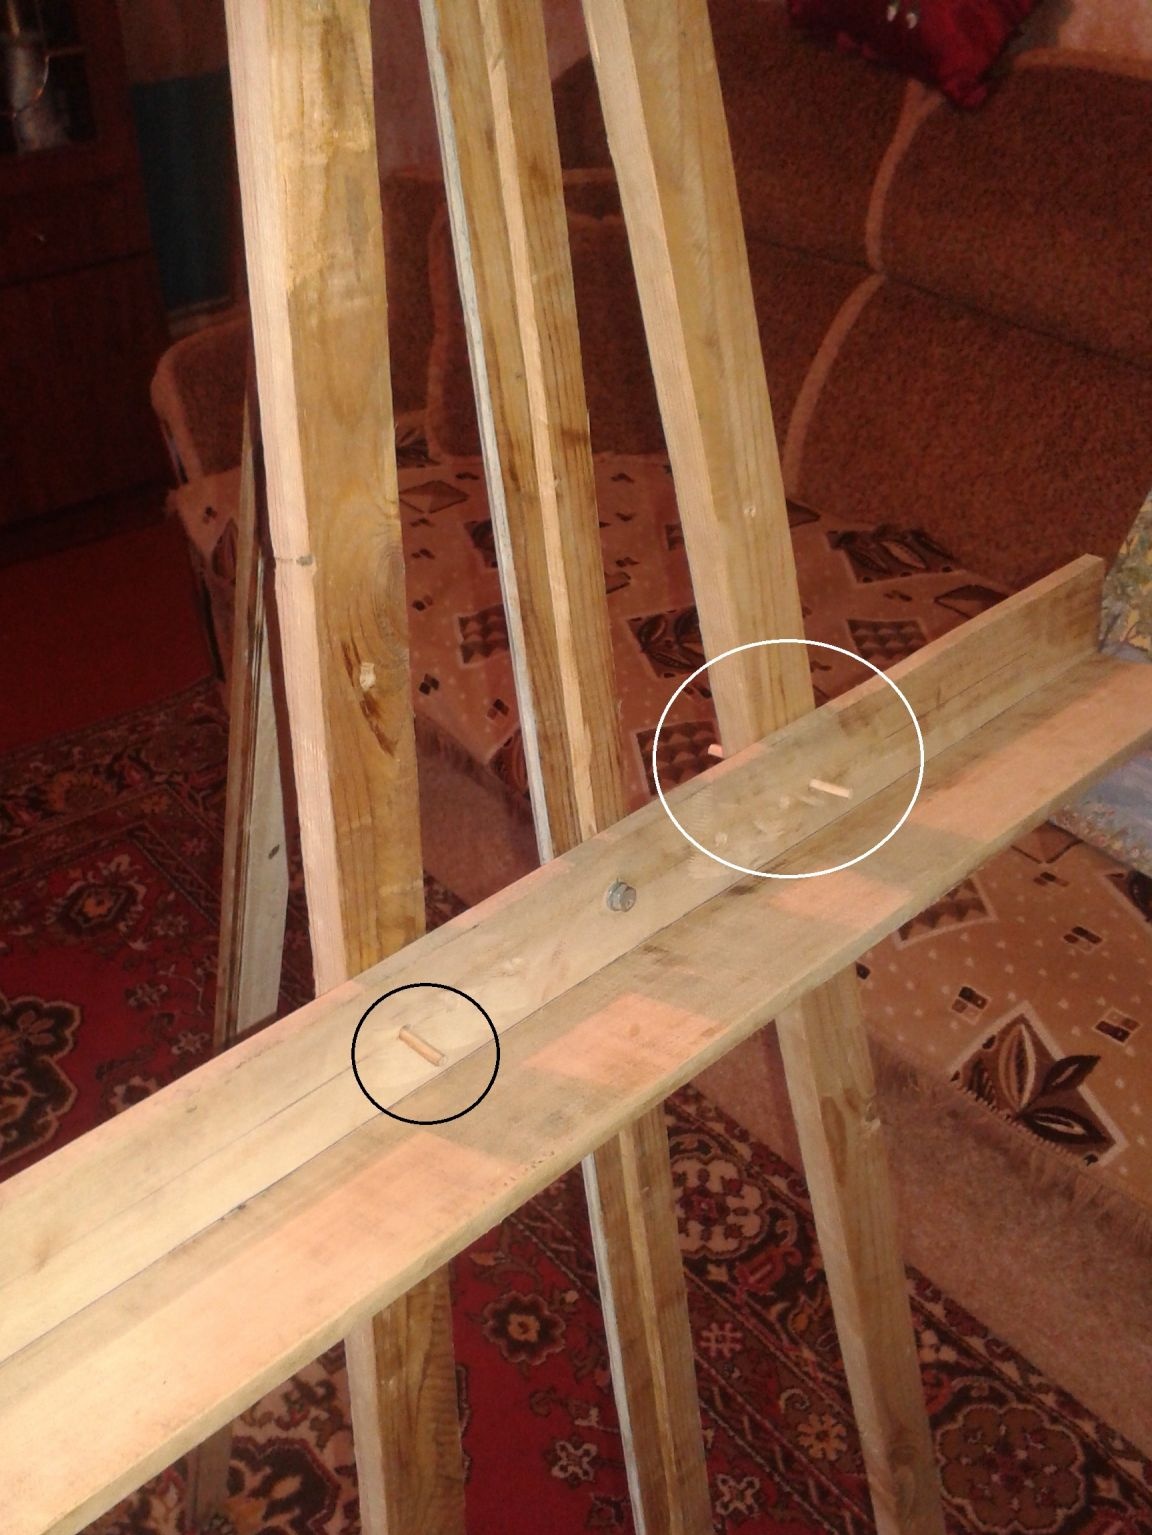
Step 12. Mounts to secure the canvas support to the legs I decided to make of wood. Simple wooden pegs. He took the usual scrap of the plank, trimmed it with a clerical knife for the diameter of the hole and sanded it.
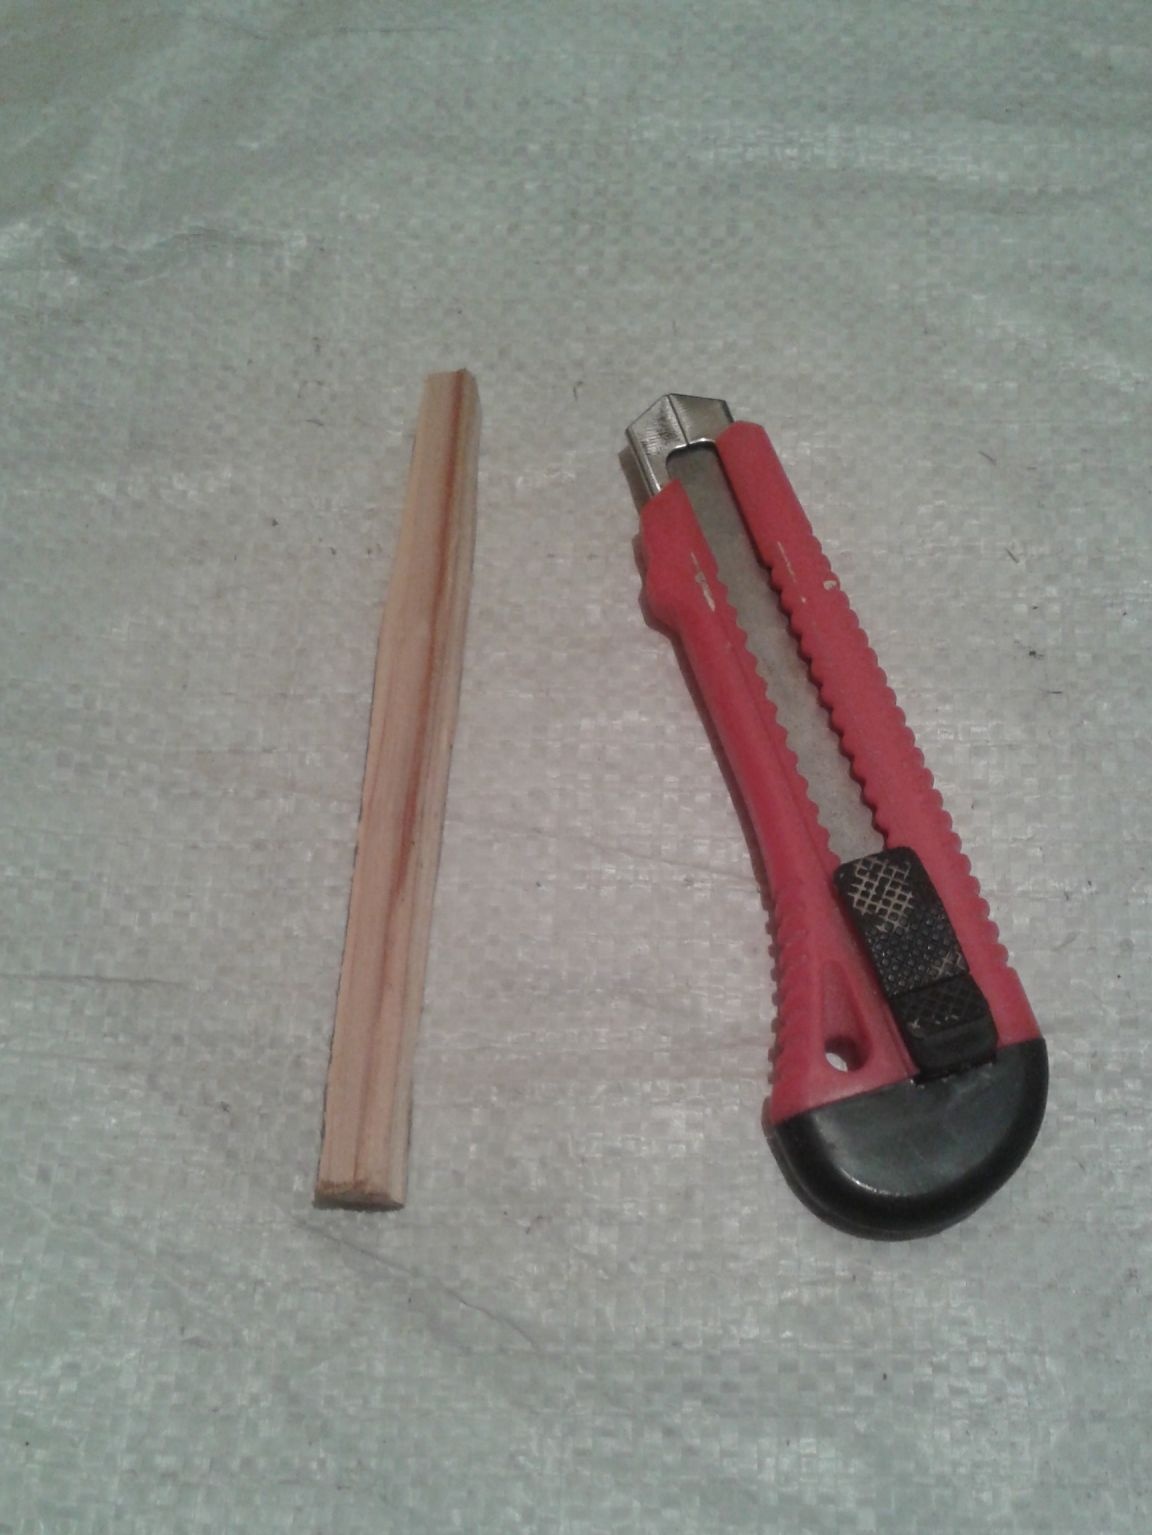
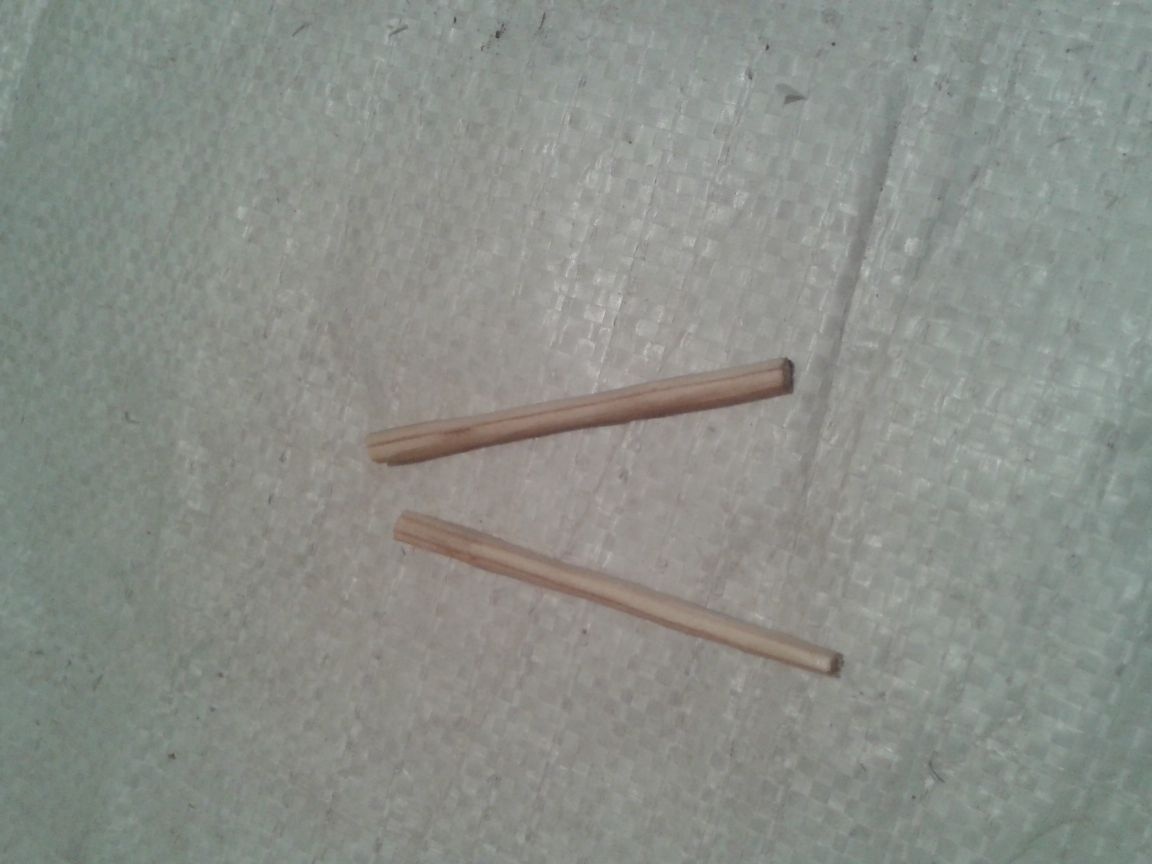
The result was such pegs.
Step 13. Now we have to assemble and attach support leg to the base of the easel. There, where we have already fixed the legs themselves and the sliding bar. To do this, we will need wood screws and a small eyelet. I made a leg support 155 centimeters long.

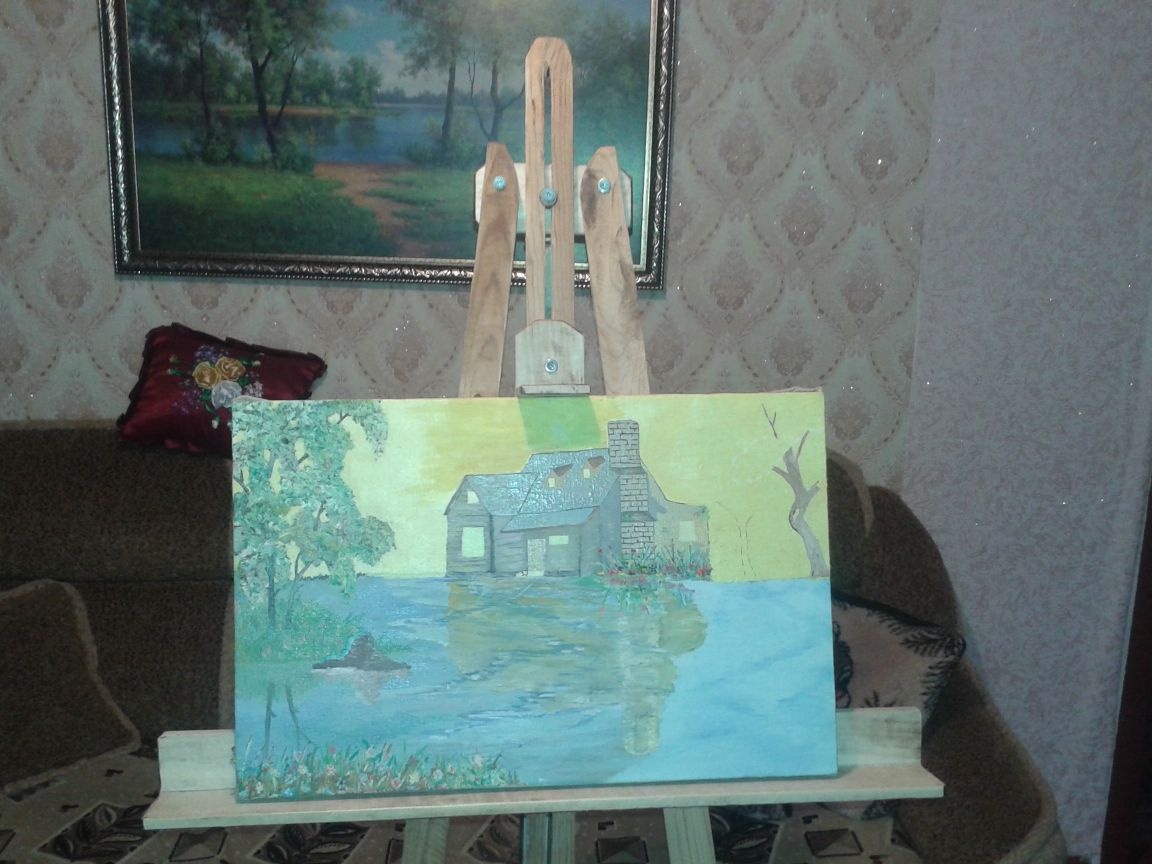
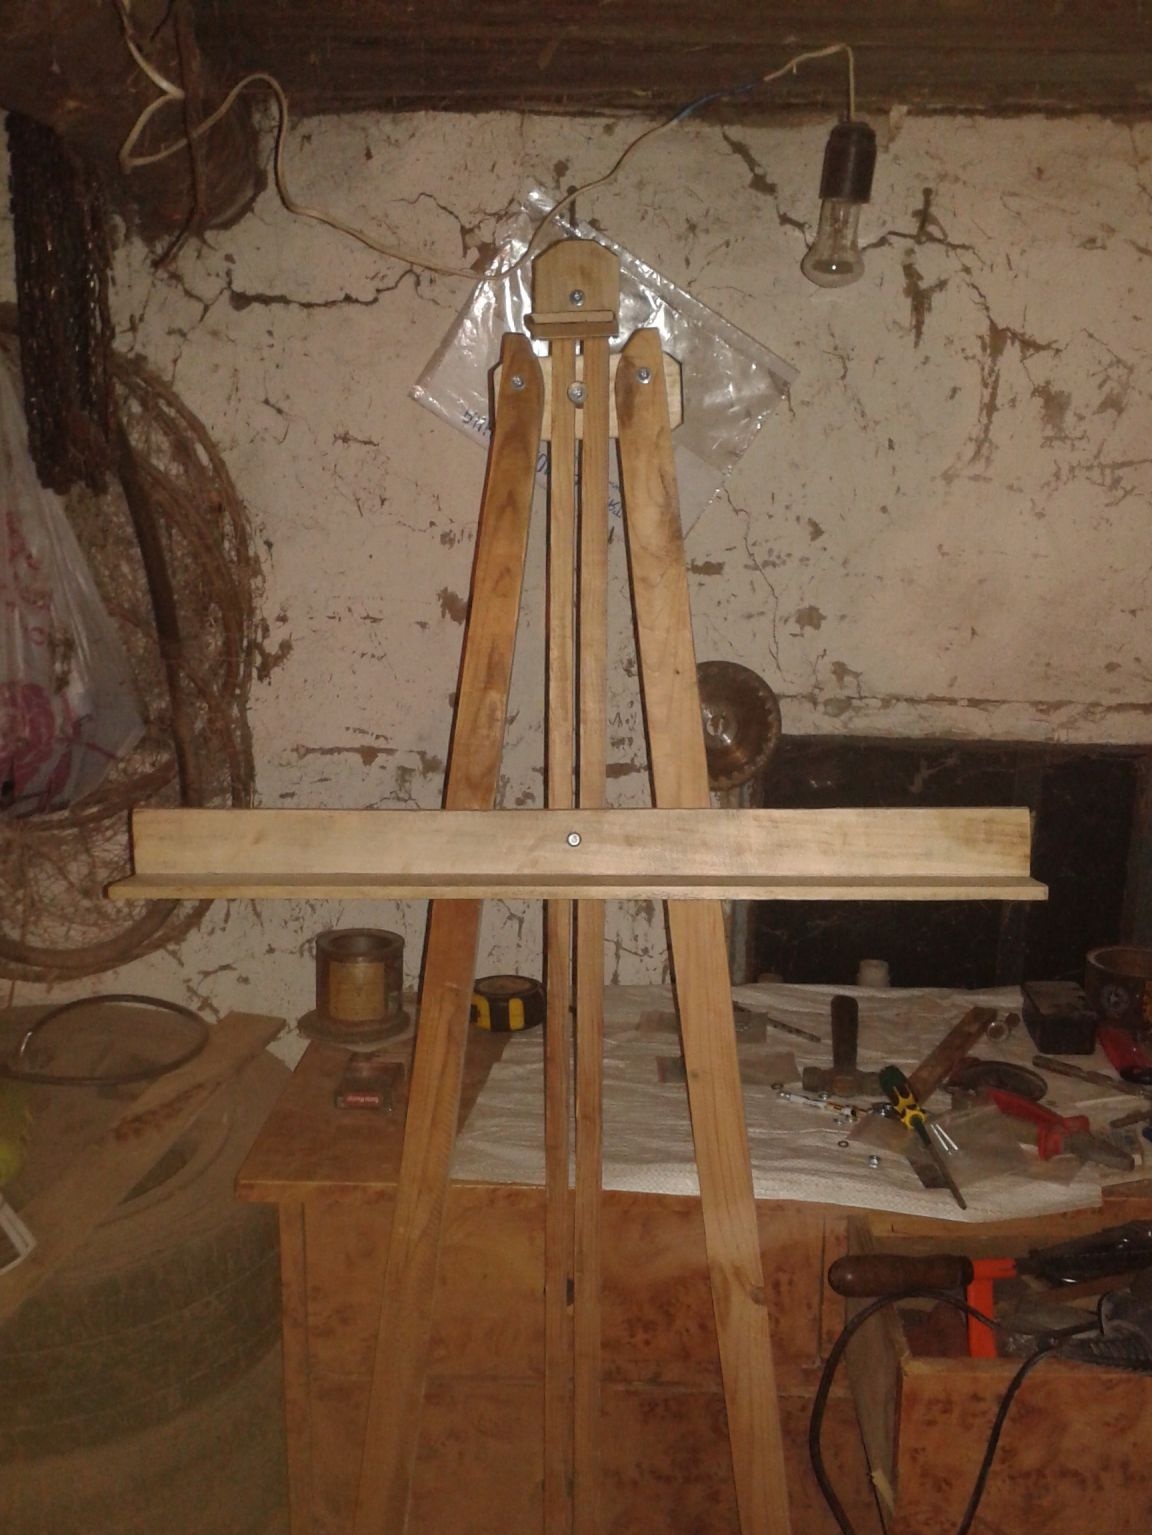
For the convenience of attaching the support leg, I removed the sliding bar. After fixing, we return everything to its place. In the end, this is an easel.
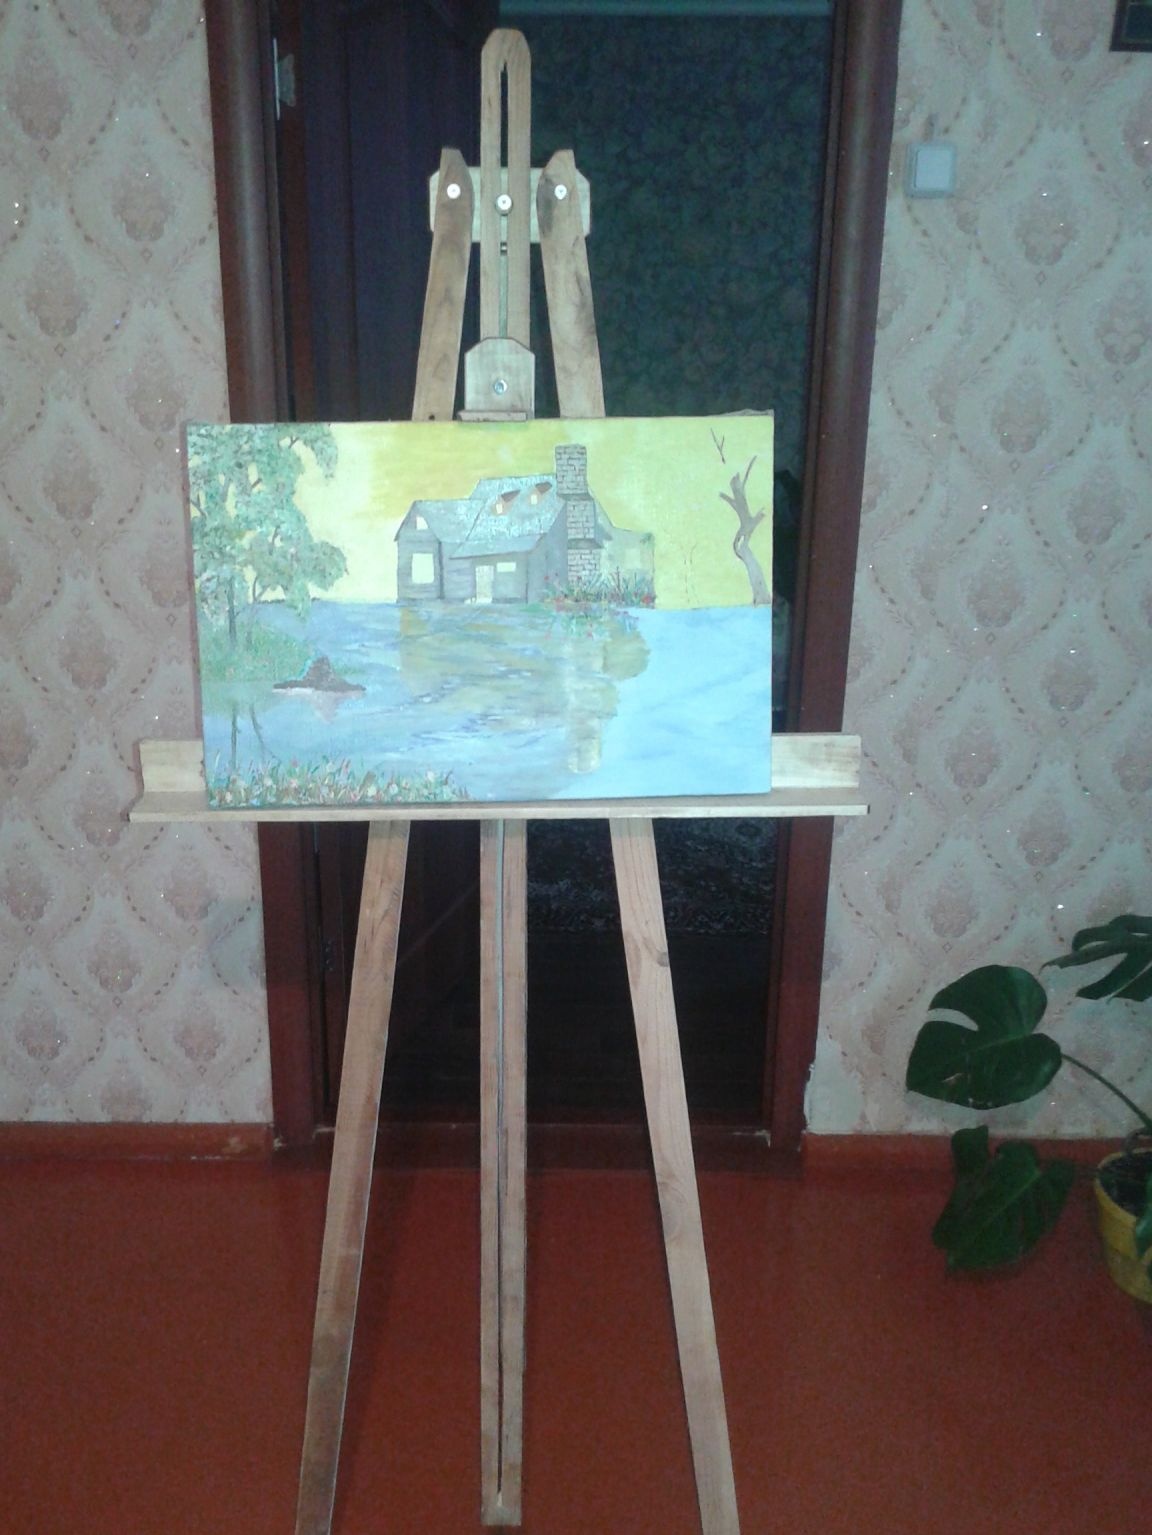
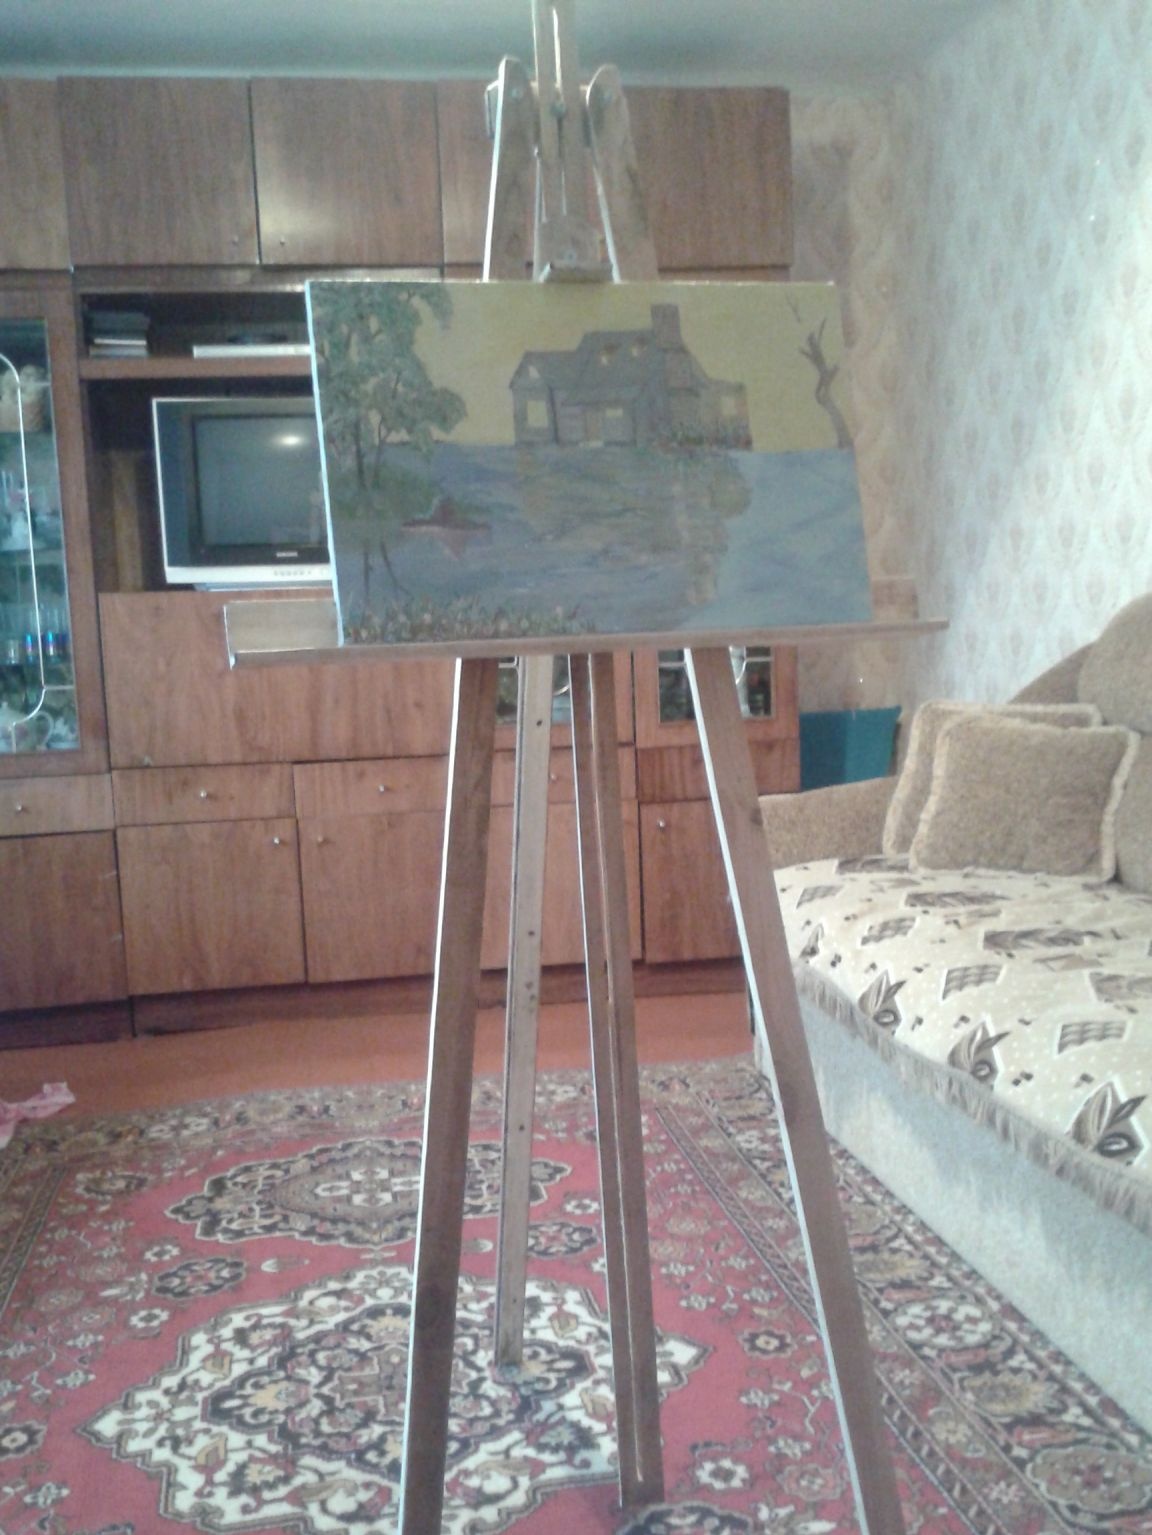
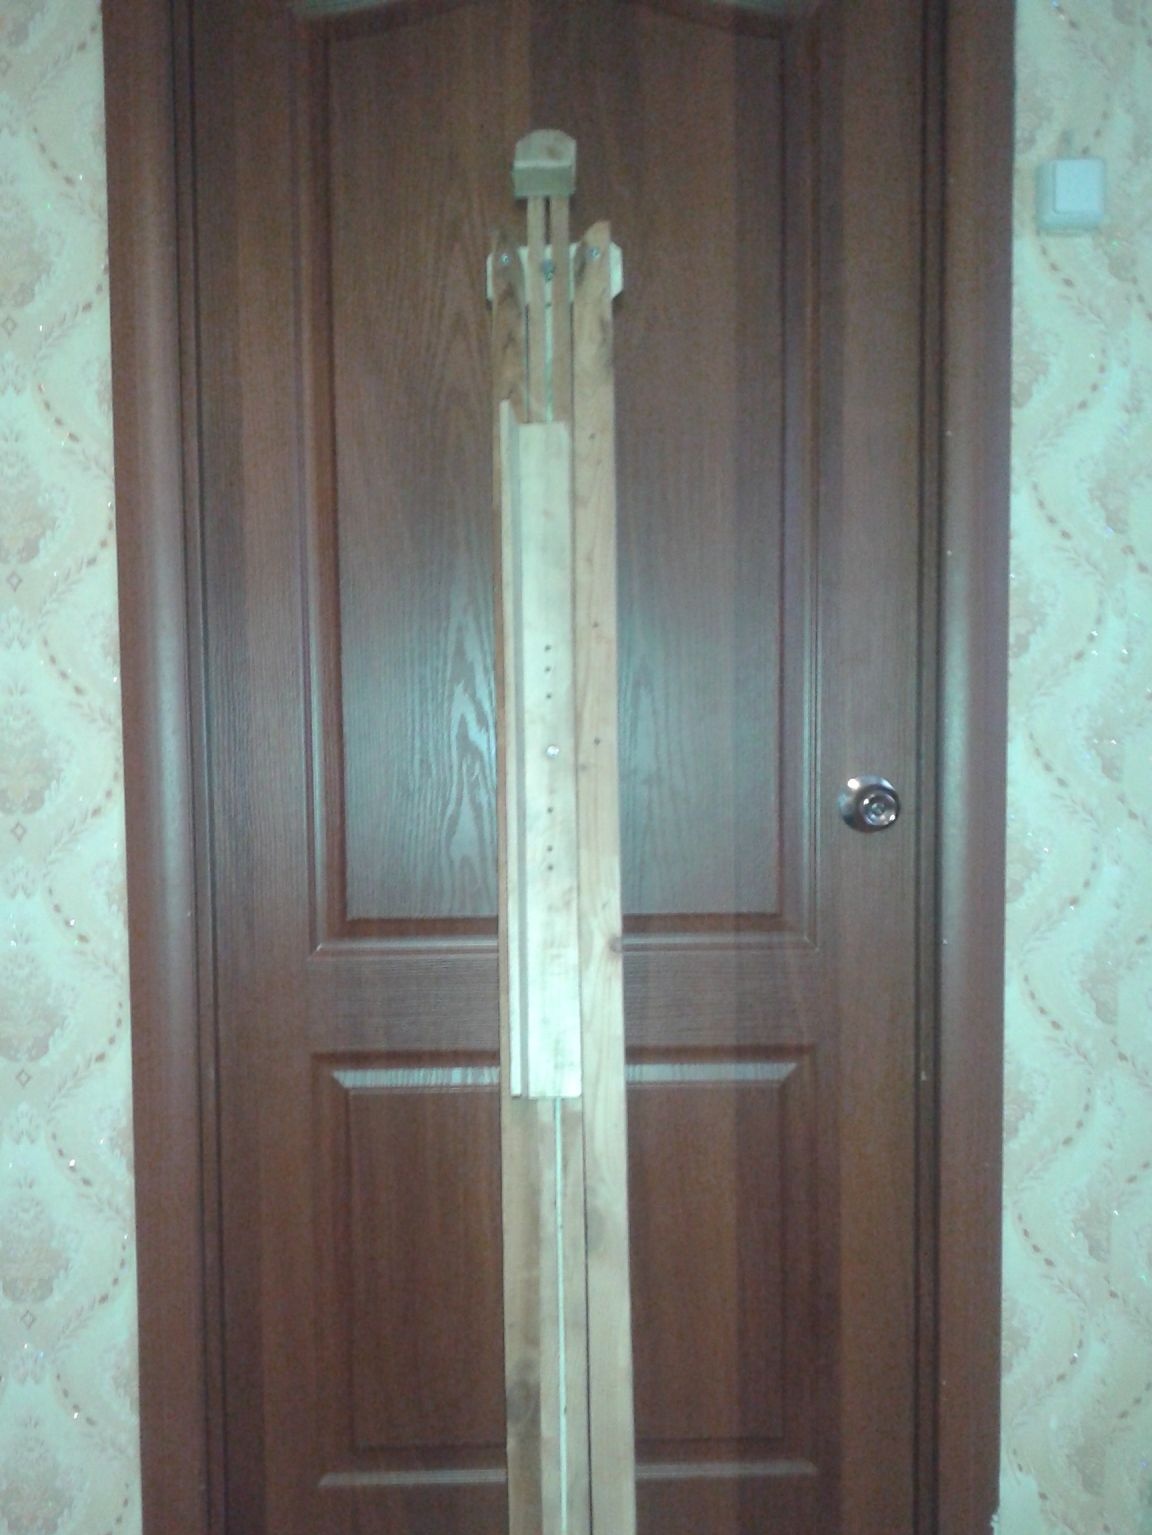
And here is an easel when folded. It remains only to sand some roughnesses in the design and varnish. the easel turned out to be compact, it can be easily cleaned in a closet, under a bed, on the mezzanine, etc.
P.S. to fasten parts to the sliding bar, it is best to use bolts with a wing nut. I did not find them on sale. But this is not so important. If you don’t have such a component, then do it like mine. Then it will be possible to safely change to the wing.
On this I say goodbye to you.