
The original program is for Arduino, it was taken from the original project.
Materials and tools for creating a scanner:
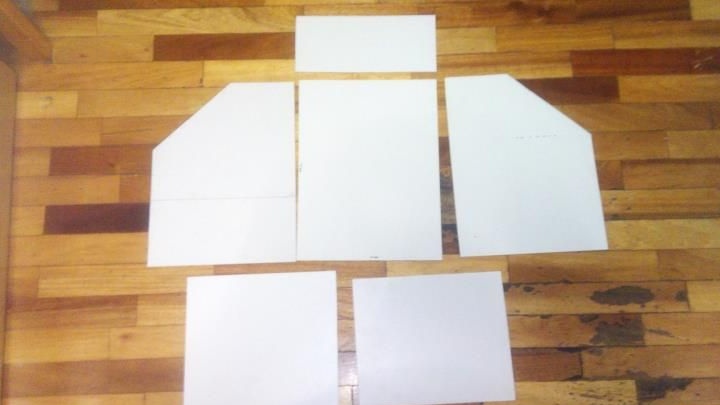
- 4 sheets of MDV 600X300 mm, thickness 5 mm (they are needed to create the body);
- stepper motor (NEMA 17 200 steps);
- driver for the L298N stepper motor;
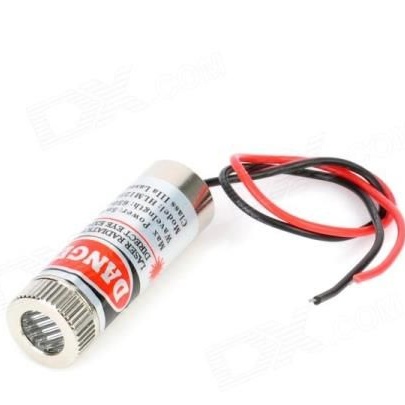
- 5 mW laser module (used from the manufacturer Red Line);
- to power the device you need a source of 12 V - 2 A;
- Webcam model Logiteck C270.
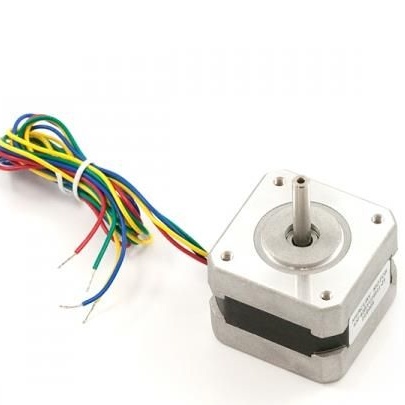
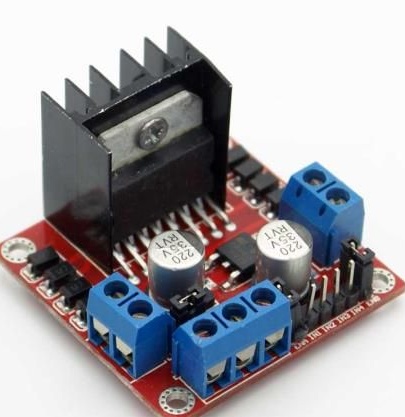
The original homemade product uses the A4988 stepper motor driver, and as for the stepper motor, it is also NEMA 17. Otherwise, the elements of the homemade product are exactly the same as in the original version.
Scanner manufacturing process:
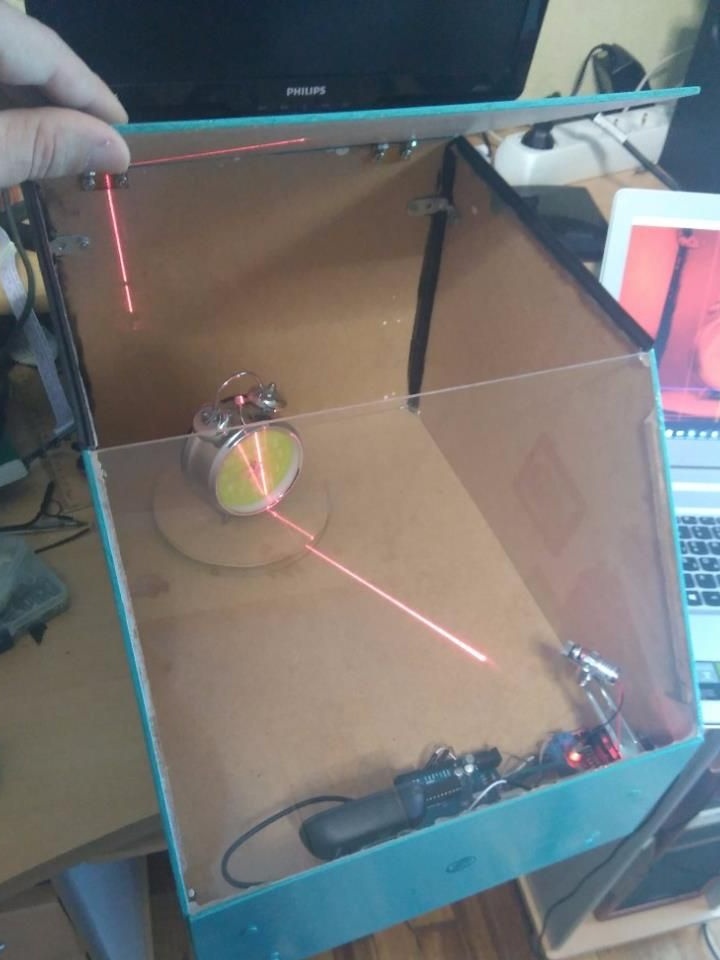
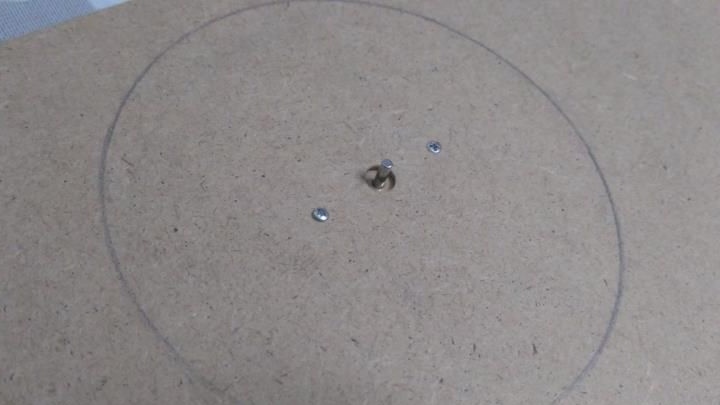
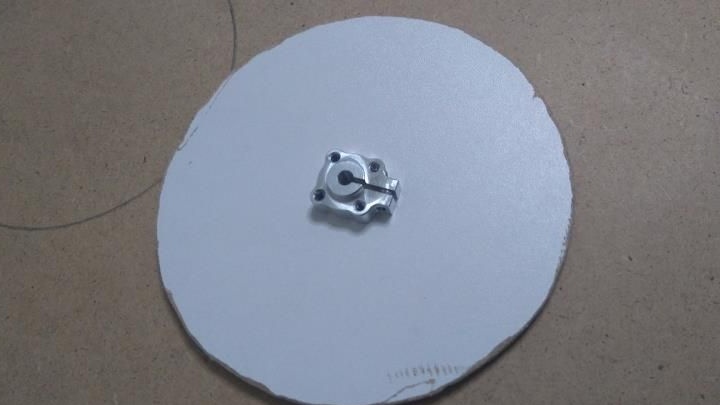
Step one. Making the body
The whole process of creating a housing for the scanner can be seen in the photo. The most important thing in this business is accuracy. The laser module of the stepper motor and the webcam should be clearly in the right places, according to the project.


Step Two We connect electrical equipment
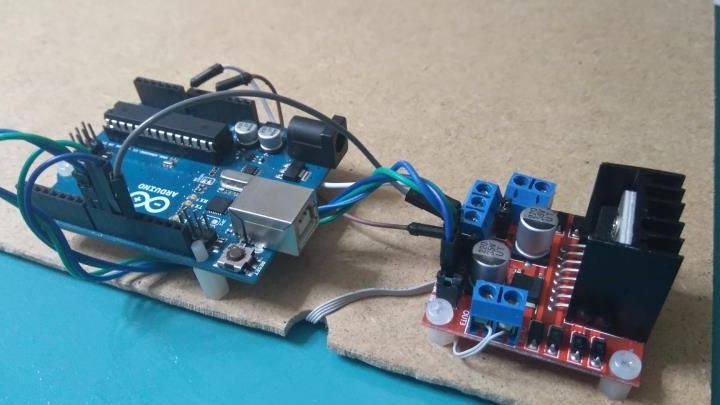
There are two ways to connect equipment, this with and without a shield. Let us consider in more detail each of these options.
Connection without shield
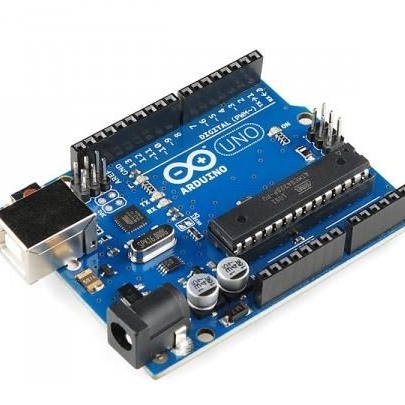
If you decide to assemble the device without using a shield, then the terminals of the L298 stepper motor are connected to the Arduino pins under the numbers 10, 11, 9, 8. In principle, you can use other pins, but you will need to make changes to the sketch.
As for the laser module, it must be connected to pin A4 on the Arduino controller. After that, you can connect the USB cable and power.
Connection with shield
You need to install the FabScan shield on the Arduino. As for the stepper motor driver, it needs to be installed on the rails that are provided for this. The contacts of the stepper motor are connected to the corresponding contacts on the shield.
The laser module must be connected to pin A4 on the Arduino. That’s all, after that the power and USB cable are connected.
Step Three Sketch installation
Now you need to download and install the official sketch for FabScan. To flash Arduino, you need to download the Codebender plugin and then click the "Run on Arduino" button. In this case, the sketch can be installed directly through the browser from the official site.
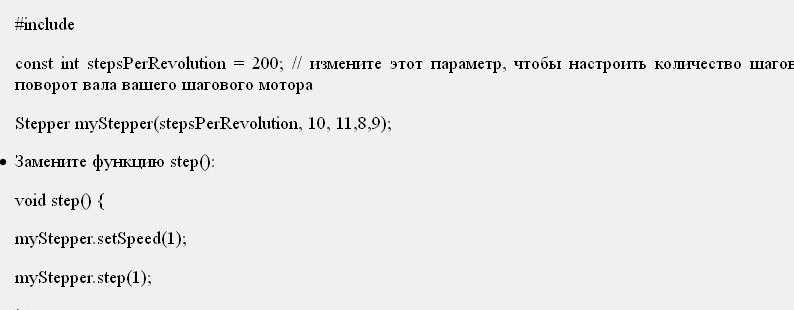
If the shield was not used, then you need to click the Edit button and then add the following lines:

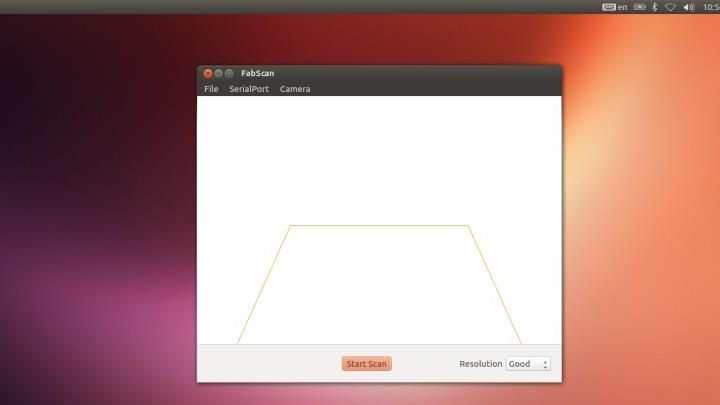
Step Four Scanner software
To install the program, you need to download the “FabScan Ubuntu Live DVD” image, after installation the FabScan software will appear.
In the program you need to make some settings:
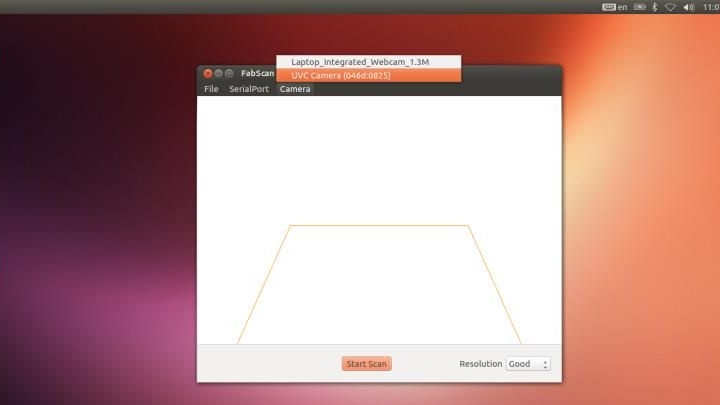
- First you need to select SerialPort;
- then select Camera;
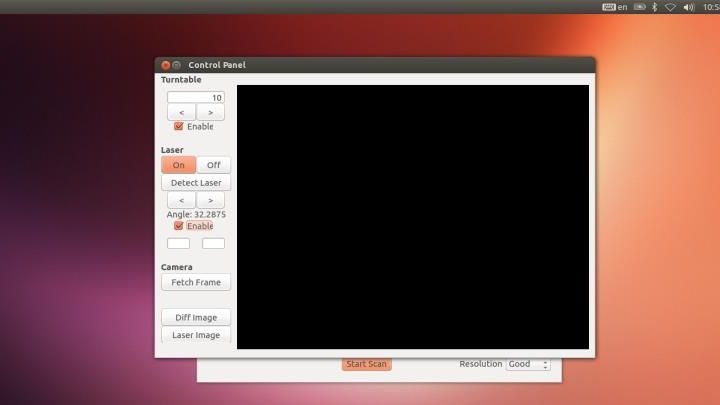
- after that File - Control Panel;
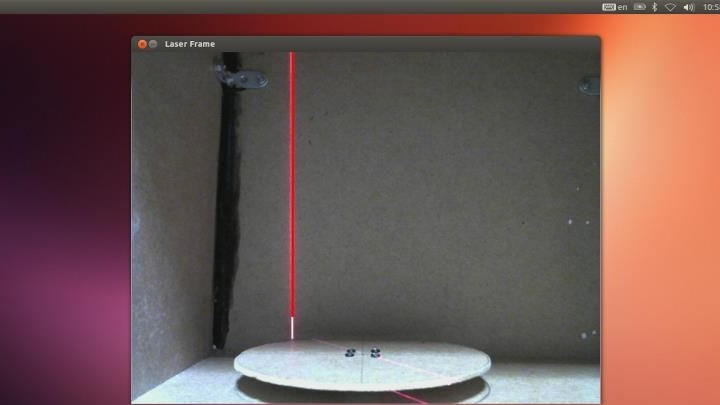
- then click detect laser and select “enable” (at the same time, you do not need to put any objects in front of the laser);
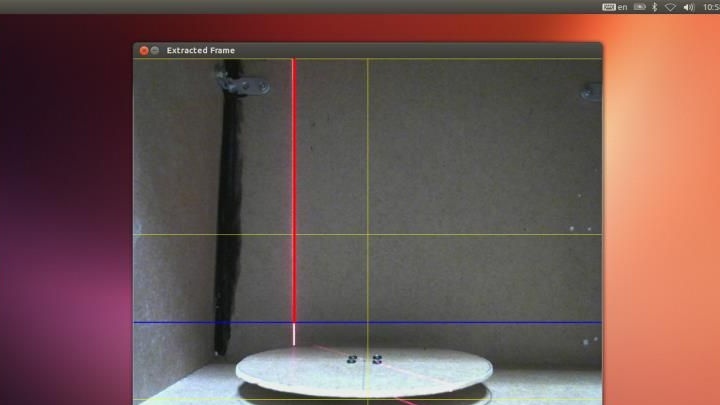
- Well, now click “Fetch Frame”, with the blue horizontal line touching the bottom of the rotating table. The yellow line should be in the center of the table. If the camera is not installed correctly, the image will be of poor quality.

That's all, the program is configured. Now you can put some object into the scanner, and after that we press the Start Scan button.
Step Five Save image
After the scan of the object is completed, the image can be saved in .pcd or .ply format. You can still save in stl format, but it already depends on the platform used.
To open an object that was previously saved, you need to select File - OpenPointCloud.
In conclusion, the object is processed in MeshLab. After that, it can be printed on a 3D printer.