
Materials and tools for work:
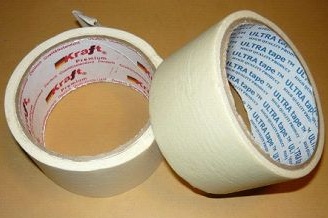
- masking tape;
- scissors;
- compressor for painting;
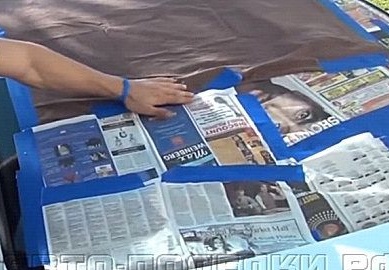
- newspapers for closing windows, etc .;
- a set of Control Spray (produces a clear stream);
- plasti dip (this is a Rubber Dip in black).
Car tuning process:
Step one. Body preparation for painting
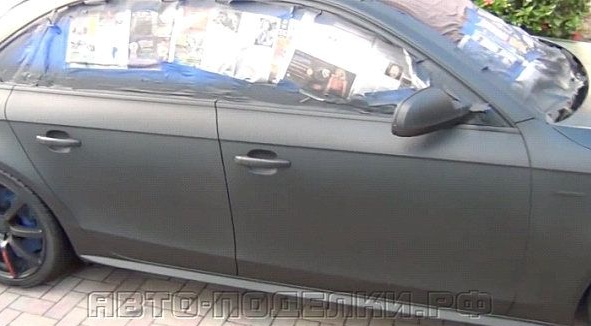
In order not to paint over the unnecessary elements of the car, they must be properly covered with newspapers and masking tape. Perhaps the most important component is the radiator, so you need to start with it. If you paint over the radiator with liquid rubber, it will become inefficient and the car will overheat. To close the radiator, you need to remove the front protective grille and then cover it with newspaper.
As for the headlights, here the author decided not to glue them completely, he glues masking tape only around the edges. After painting, plasti dip can be very easily removed from the headlights, resulting in very even edges.
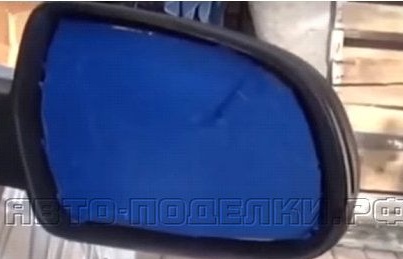
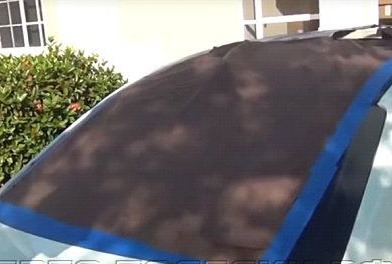
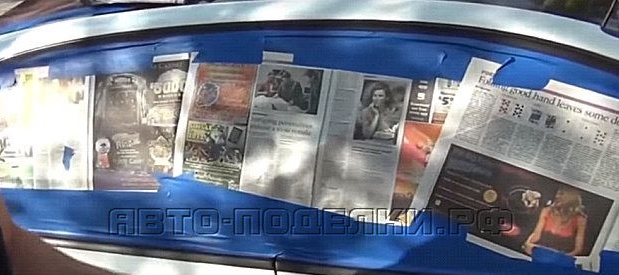
Still masking tape you need to glue the brakes under the disc and caliper. We must not forget about the side mirrors, you need to glue their mirror part. As for glasses, they are all sealed with newspapers and masking tape.
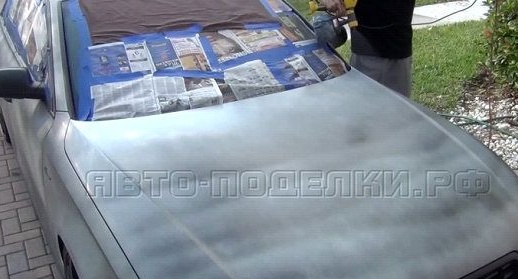
Registration number must be removed. At the back, the lights need to be glued with tape only at the edges, that is, exactly the same as in the front. The better the machine will be prepared for painting, the less then the work will be in the end. However, if some kind of error was made somewhere, this is not so scary, because such a coating is very simply removed from the surface.
It is also important to recall that the car must be very well washed, it should not be greasy.
Step Two Car painting
After preparatory work, you can apply a rubber coating to the car. The paint regulator must be adjusted so that the paint is applied as efficiently as possible. The speed controller must be set to medium or low division. It is also important to ensure that the paint mixes evenly, there are a lot of examples when it lays crookedly and in pieces.
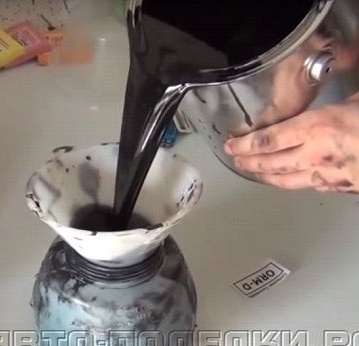
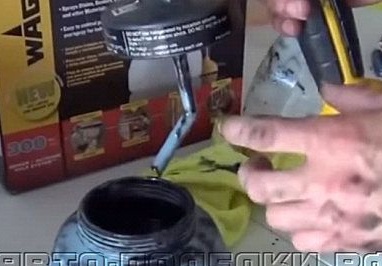
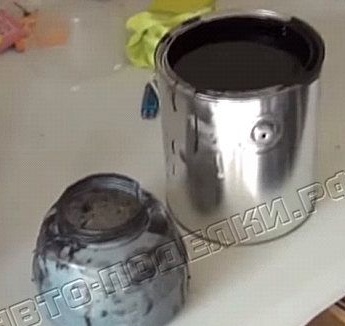
To pour plasto dip into the gun, you need to use a funnel. You do not need to immediately fill the tank to the brim, it is best to pour a little more than half of the gun for the first time. It is important to remember that the gun has a small dead zone, in this regard, before painting the car from the gun, you need to paint some other elements, for example a wall the garage, gates and so on. In this case, you need to adjust the spray gun so that the paint goes smoothly and evenly. Only after this can you start painting the car.
You need to start painting from the back of the car, while the most difficult part will remain at the end, just when the master has already gained experience. You need to paint the car from top to bottom, you should not linger in one place and drive the gun back and forth for a long time, the layer should be uniform. You need to stand at a distance of 20-30 cm from the car, holding on to it with your hand, and in this position just drive the gun up and down.
It is important to pay attention to how the paint supply tube is located. It should be constantly in the paint, otherwise, if the supply of paint is interrupted, the work will not be done well. The gun will always be at one angle, and this is the angle you need to count on when filling the gun with paint.
In total, about 3-4 layers of paint are applied. After the first layer, the car will be striped, this is quite normal, this phenomenon indicates that the paint is applied evenly, without smudges and bubbles. After about three layers of paint have already been applied, the color will become uniform. It happens that after painting there are unpainted spots, it’s also not scary, they can be painted after the car is completely painted.
When applying the second layer, the transparency of the paint overlaps by about 65-70%, that is, the car’s native color will be almost invisible. In the process of painting, the main thing is not to rush, otherwise leaks may occur.
Step Three Final work
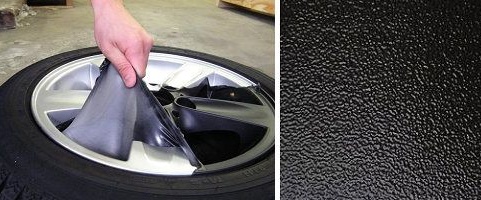
After the paint has dried, newspapers as well as masking tape can be removed from the car. It is important not to forget to remove the newspaper from the radiator, as well as the brakes. It is necessary to remove the adhesive tape very carefully and smoothly, otherwise, if you pull, you may get a break in the coating and an uneven border is formed. Carefully remove the masking tape from the headlights, after which the coating itself can be removed from them, this is done quite simply. The result is a very even and beautiful border of the headlights.
If it so happened that other undesirable elements of the car were painted over, then this is not a problem, such a coating is perfectly removed from any surface.
That, in fact, is all. So in a simple way you can apply a rubber coating to your car.