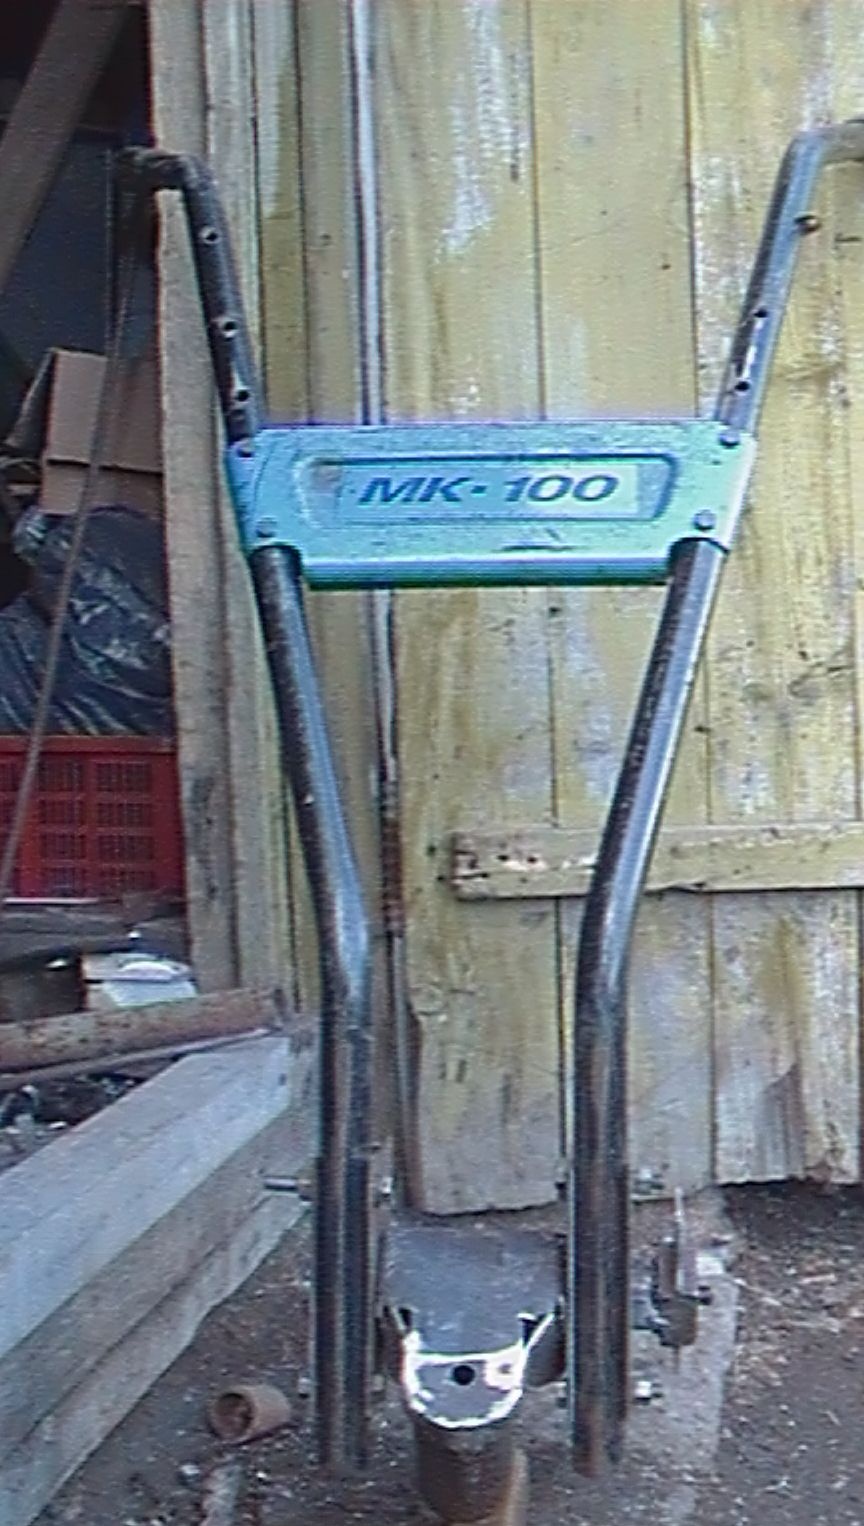
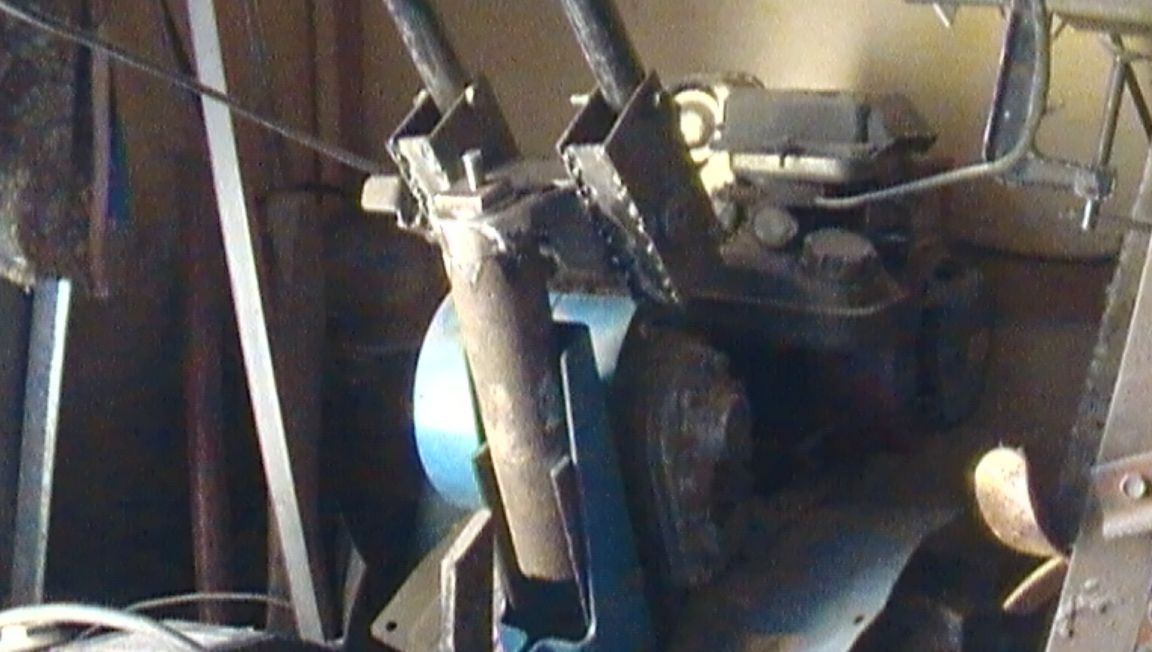
I’ve been using the Neva 100 motor cultivator for 5 years.
There are no complaints, but lately I have become unhappy with the fact that the control knobs (steering wheel) have a constant, not adjustable position.
When processing corners and hard-to-reach spots, you have to use “physical force” (pulling on yourself), no reverse gear. Before the next tillage I decided to “modernize” this part of the cultivator.
To do this, I needed: an electric drill with drills, a grinder with cutting discs, electric welding, a caliper, files (round and flat), a core, a hammer, a bench vise, scrap metal, a metal brush, taps M10 x 1, M6 and a die M10 x 1 with handles, protective equipment.
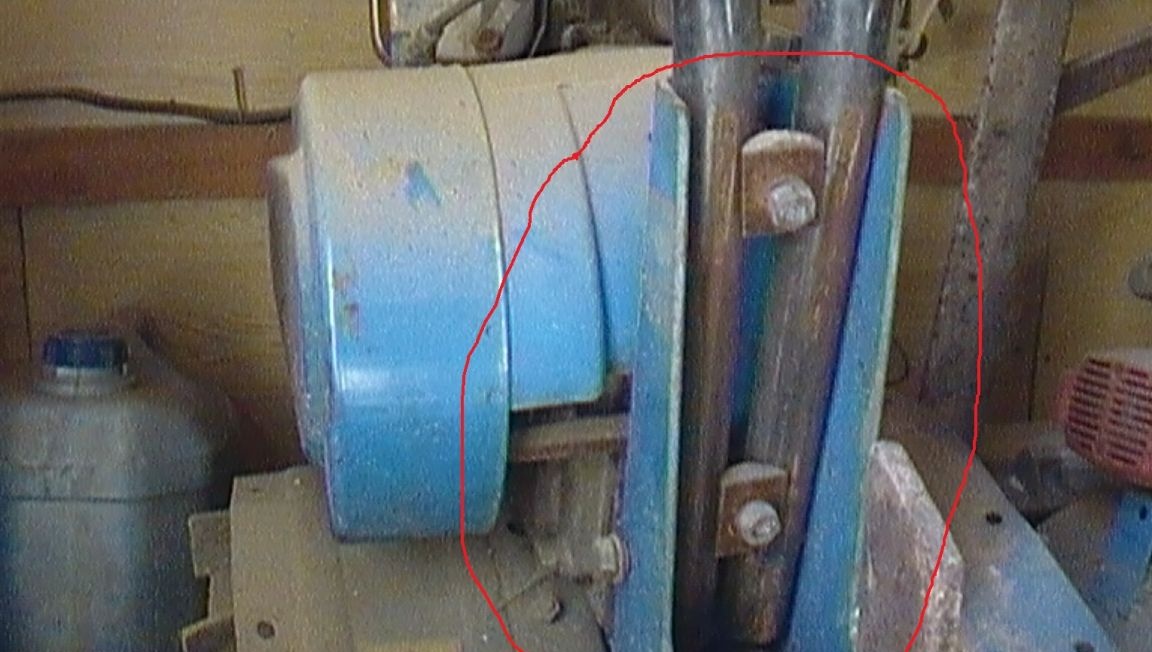
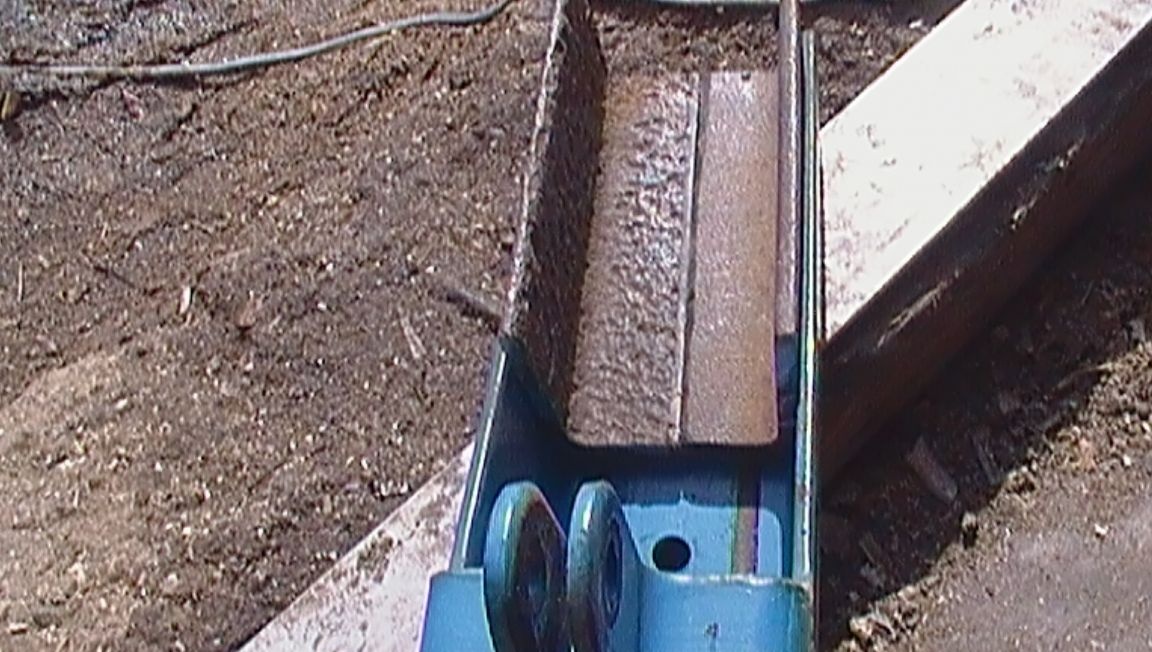
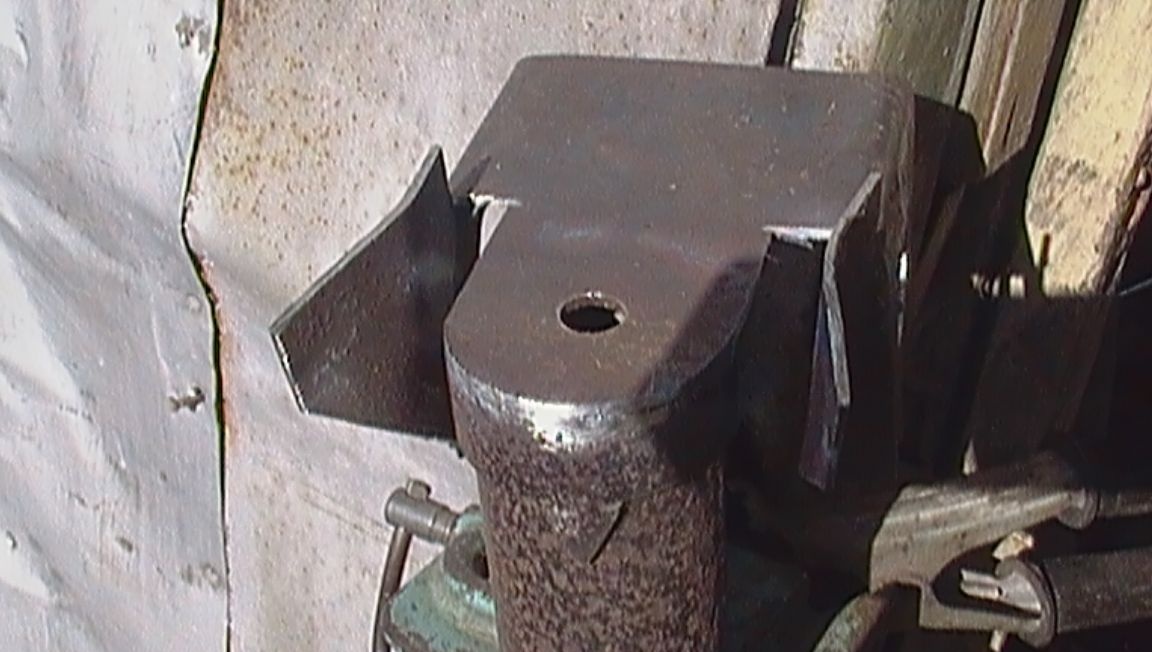
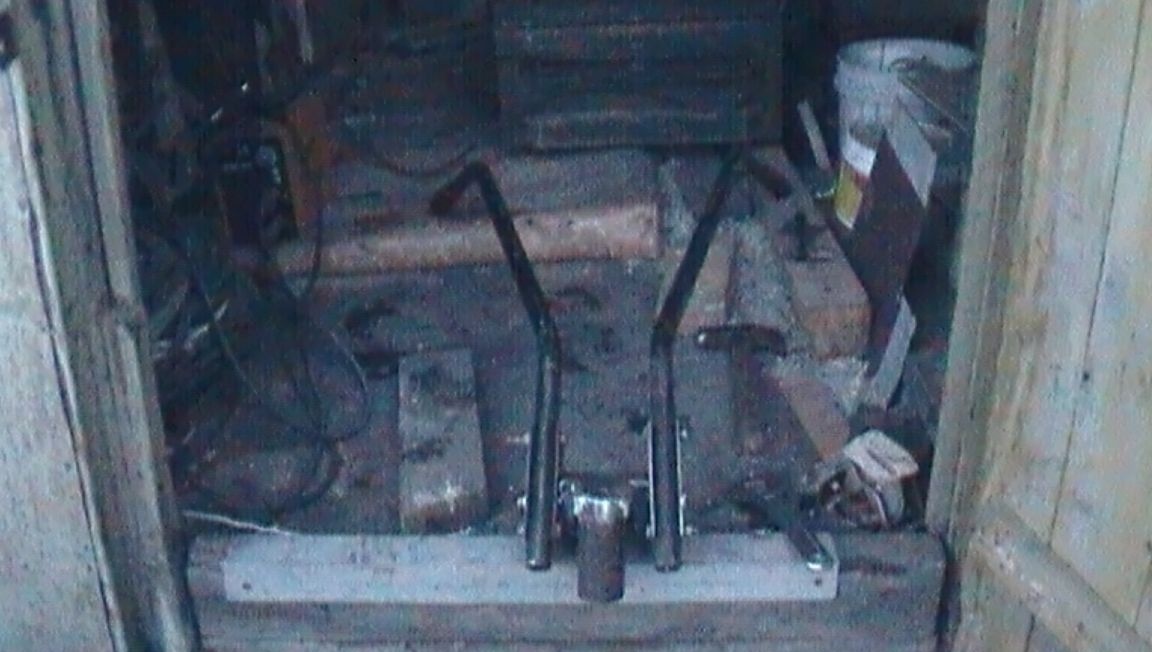
He took off the part in which the future part will be mounted.


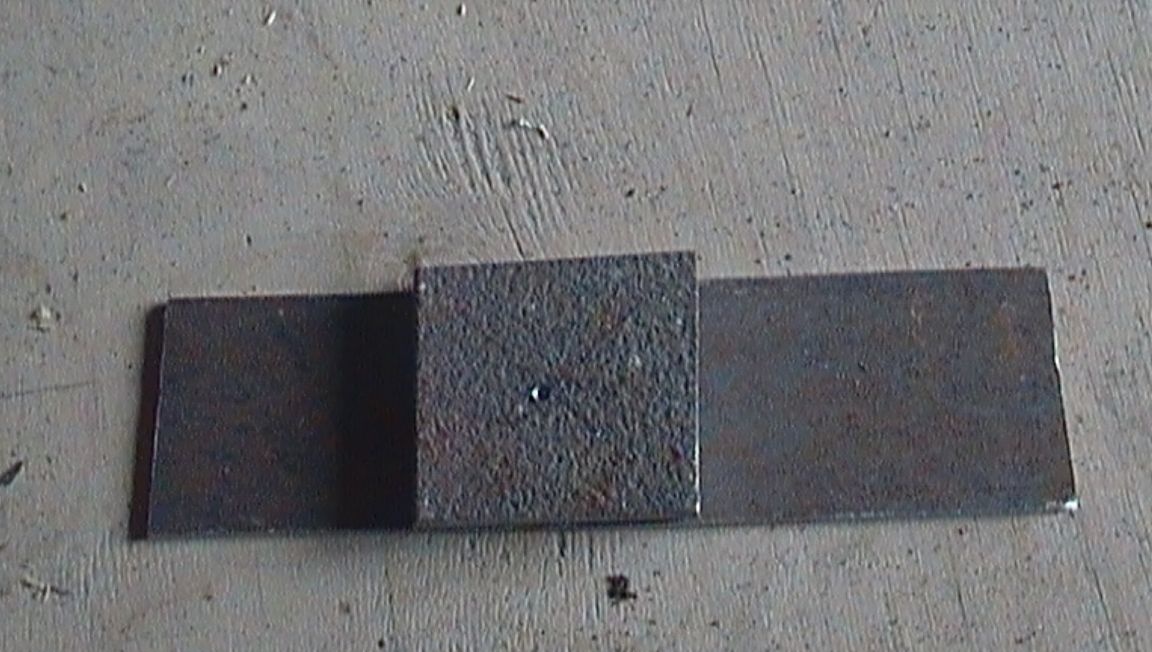
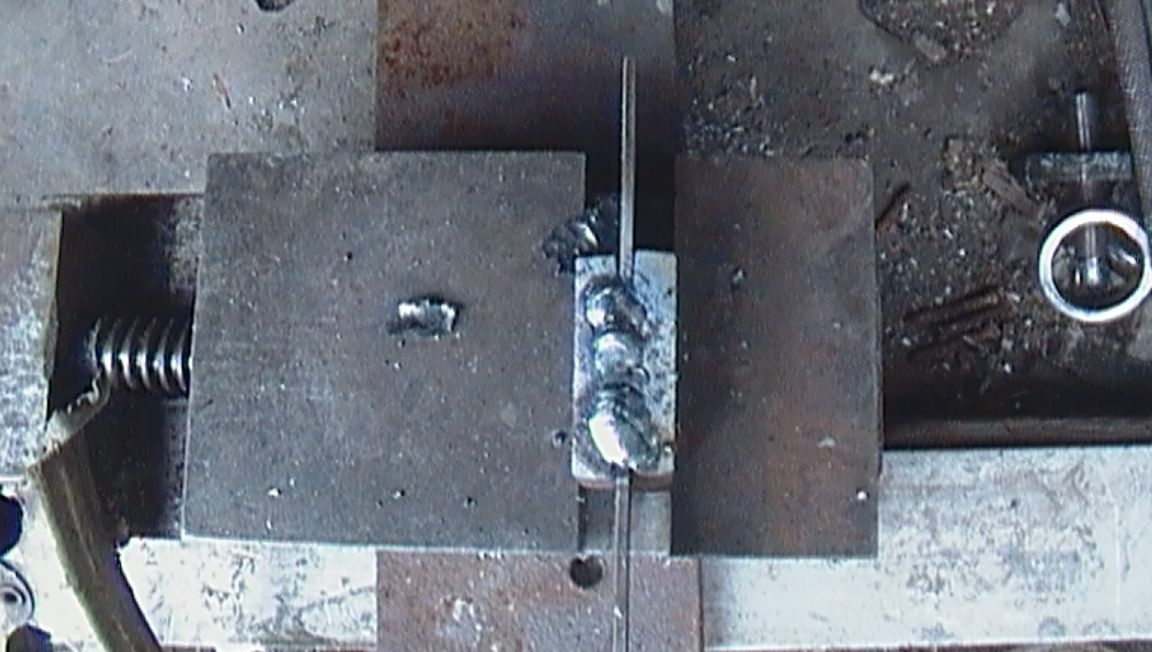
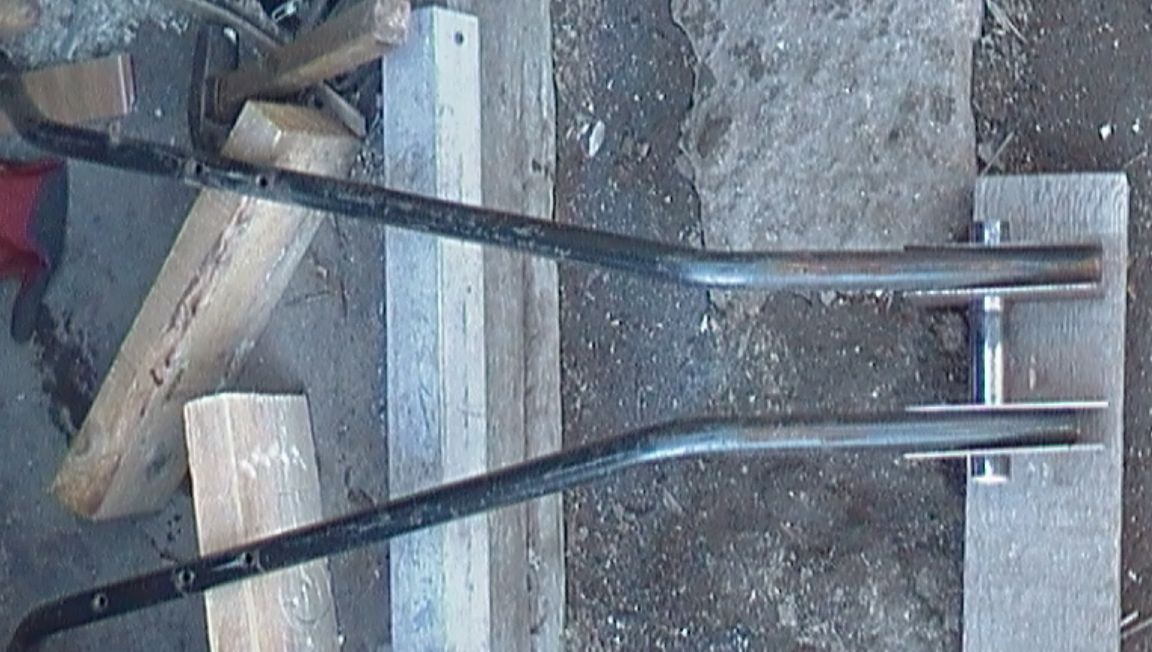
I found a pair of corners with a shelf of 50 mm and a thickness of 5 mm. I cleaned of dirt with a brush fixed in an electric drill. Cut length 120 mm. At one corner I cut off, in width, half of the “shelf”.

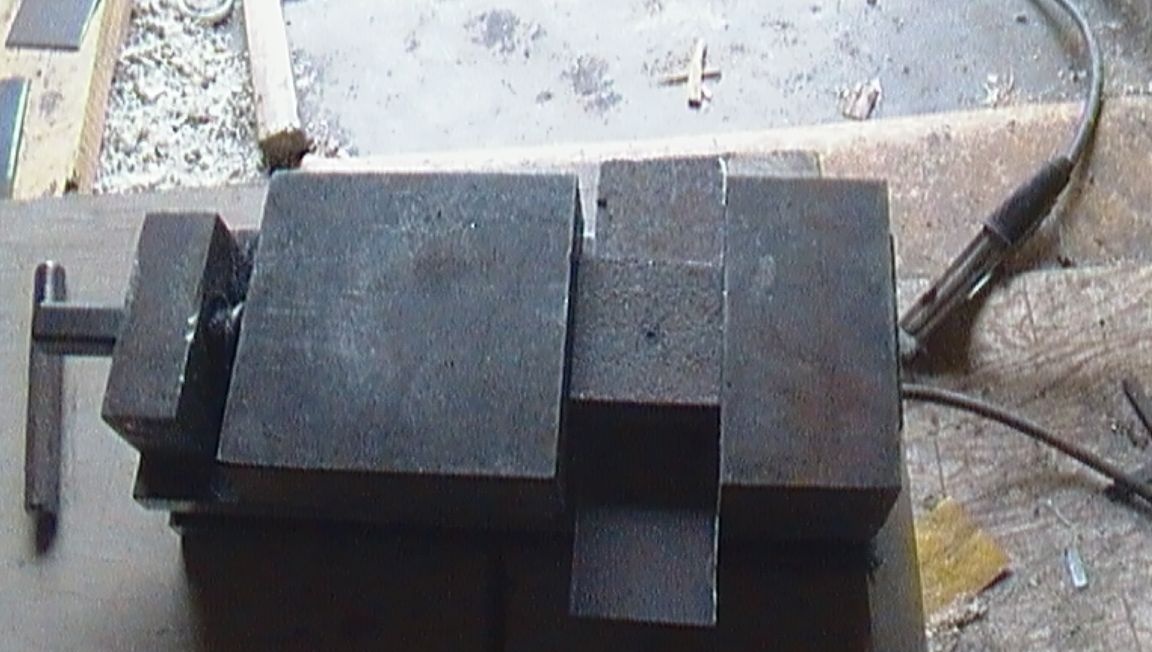
I put a caliper in the “rudder” mount and laid corners for marking on it, pressing them firmly against the “rudder” mount wall
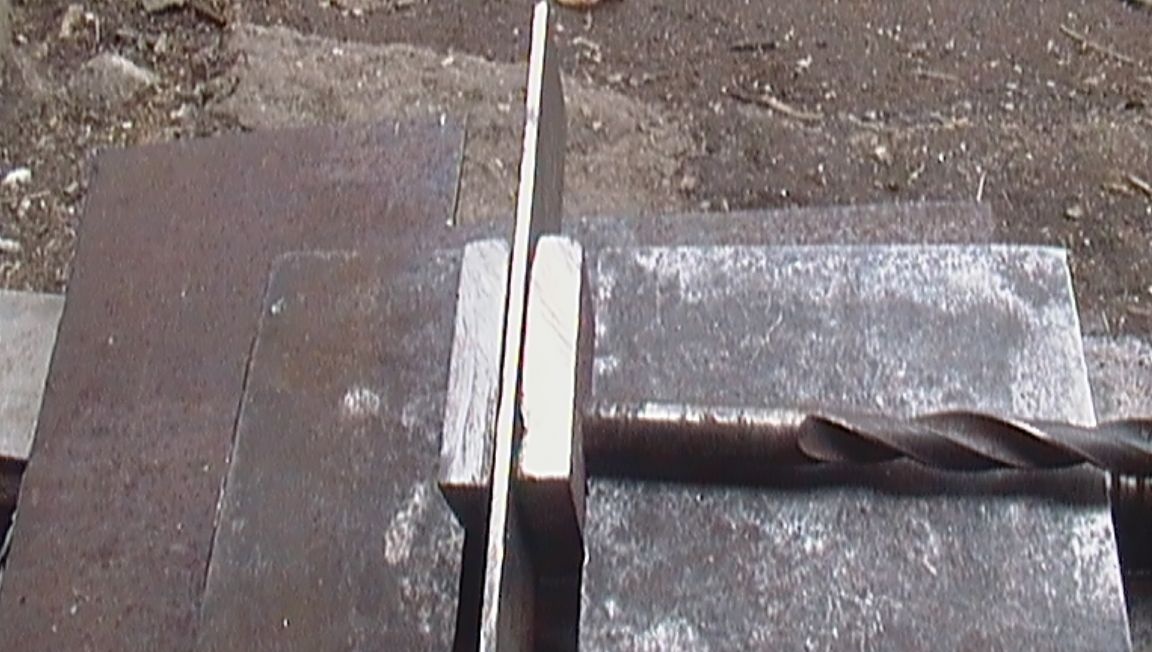
Having made the markup, I cut off the excess corner.
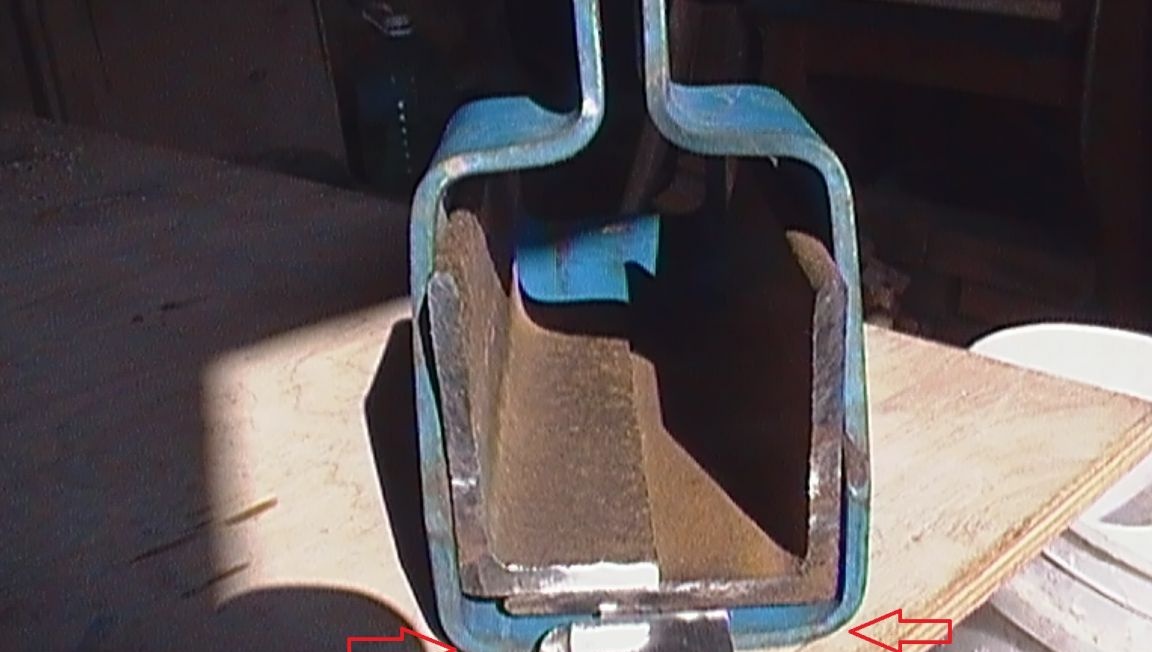
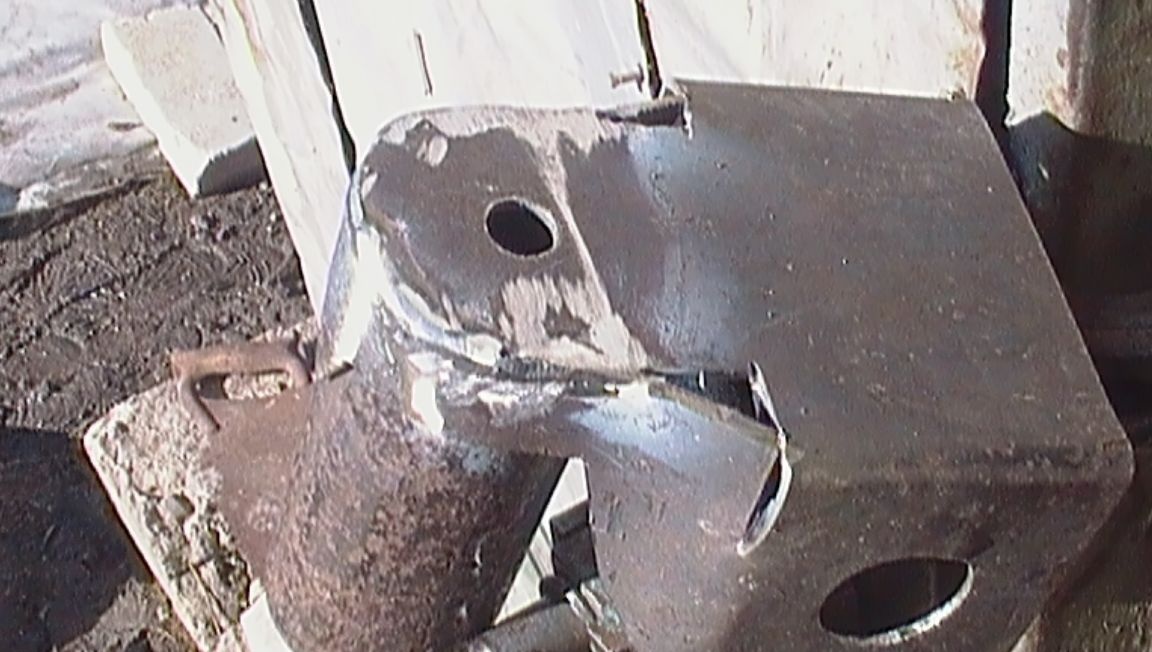
Having installed the corners on a piece of iron in the fastening of the “steering wheel”, welded them on both sides.
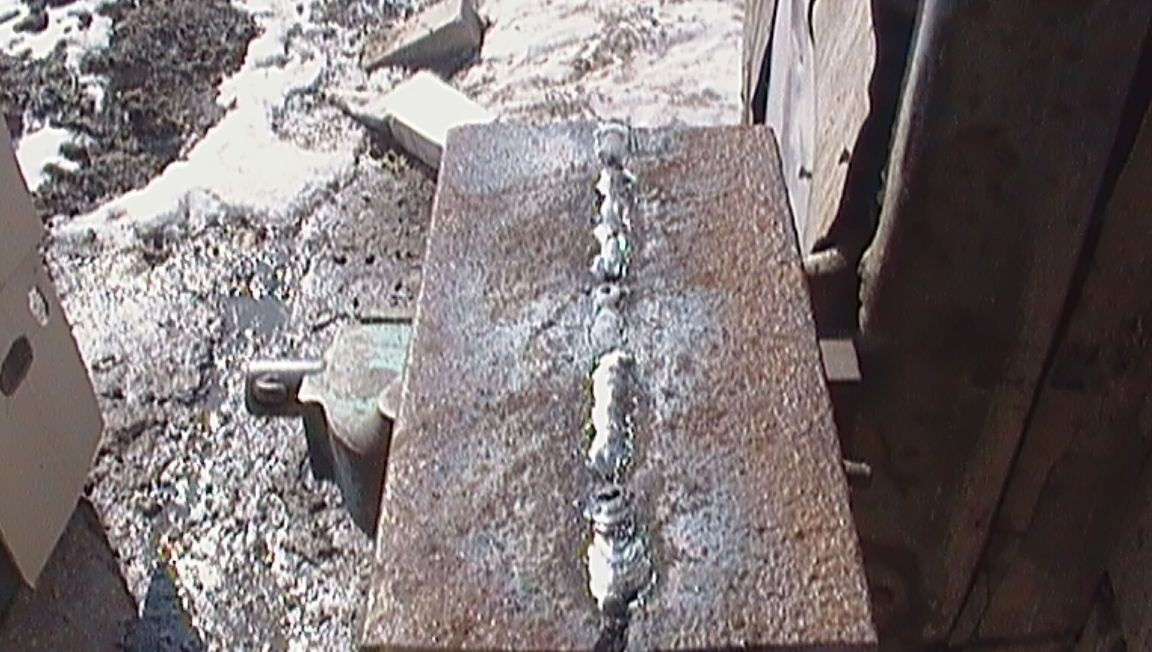
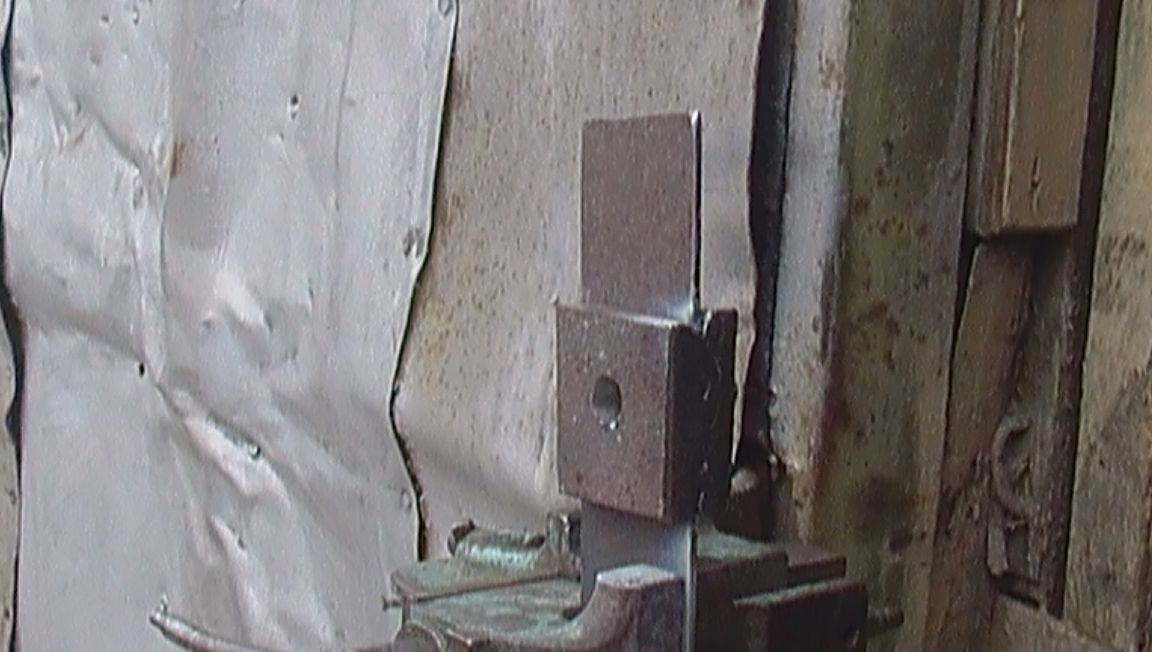
Having processed the outer seam and the outer corners, for a more snug fit, I got - brands. Which is not bad "lay" in the mount.

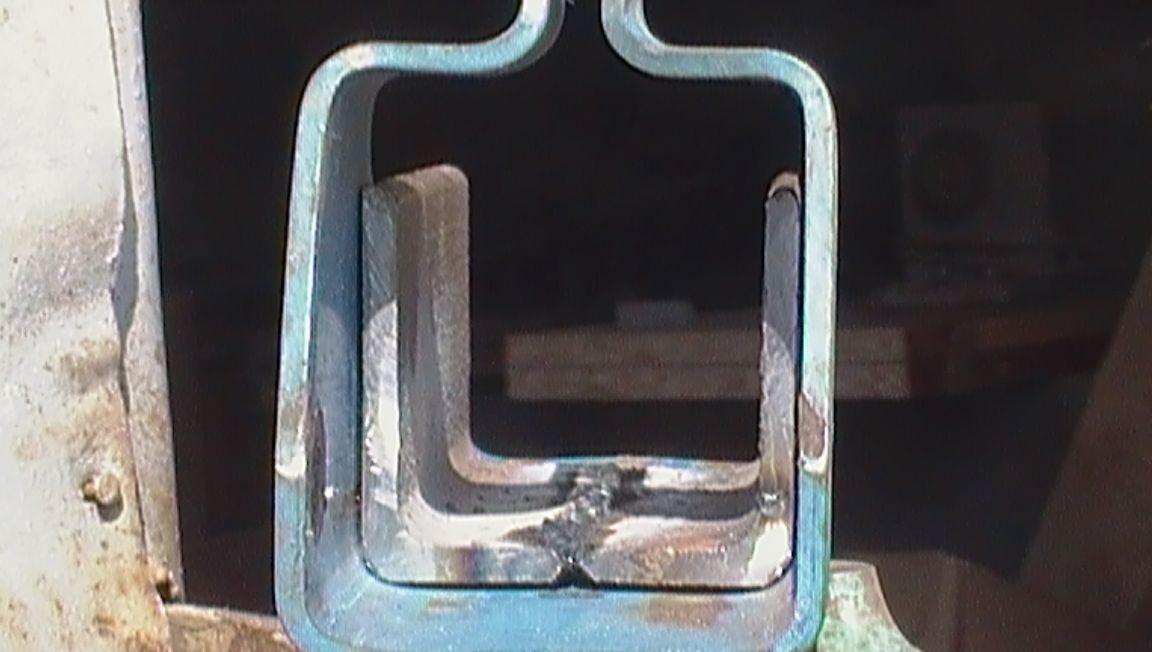
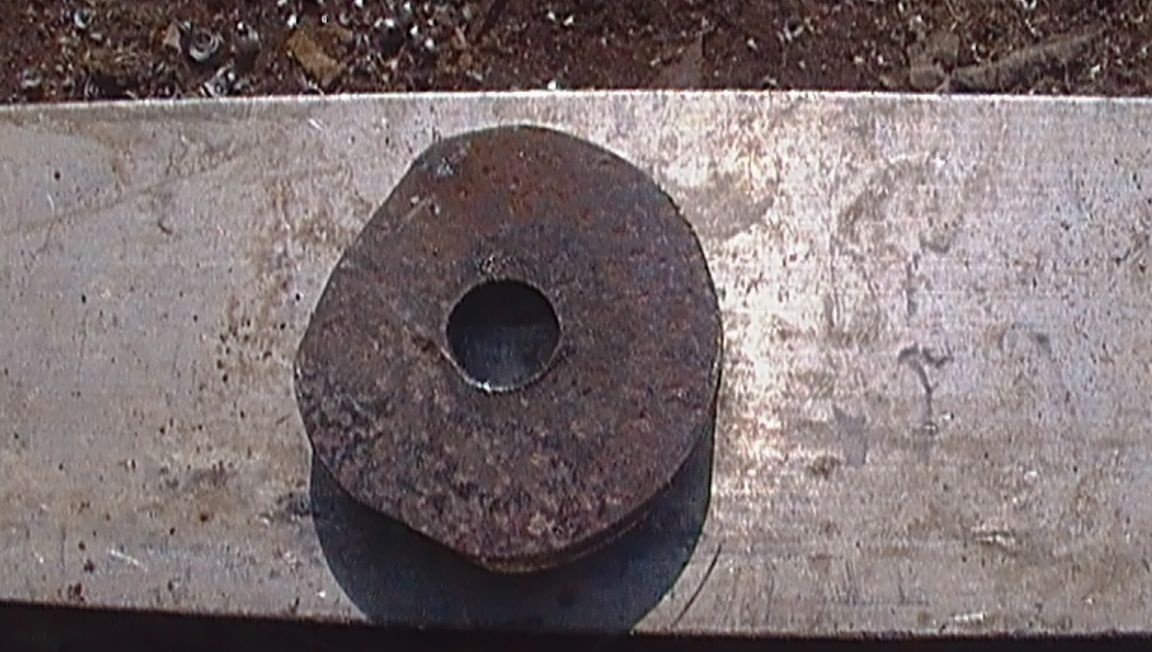
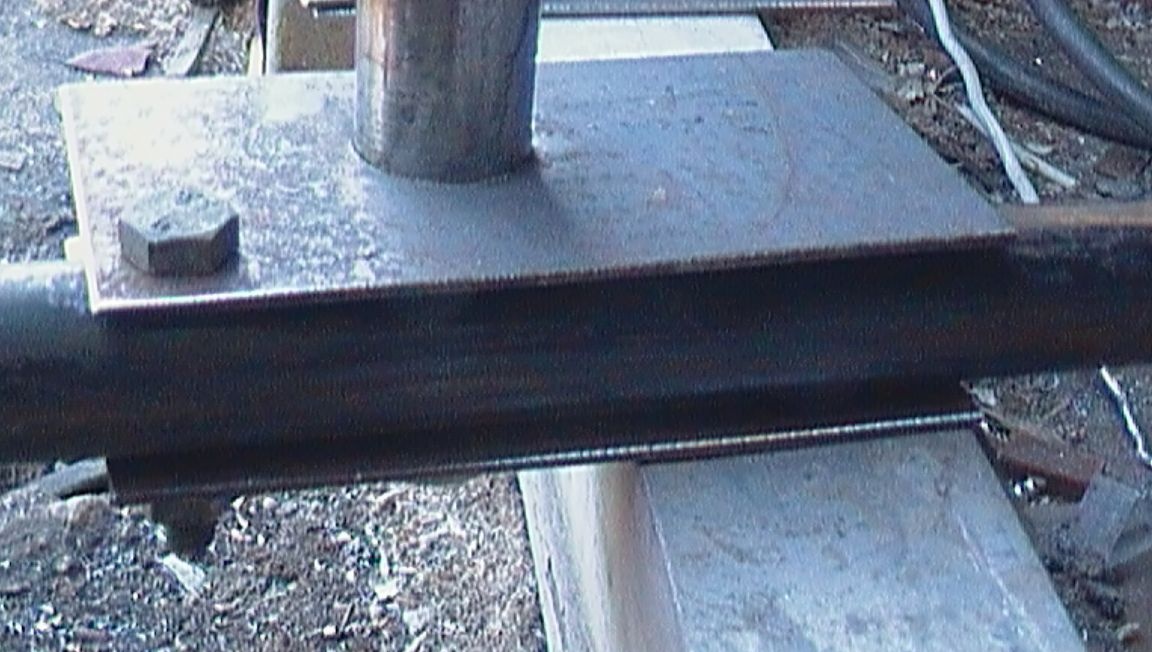
Through a regular hole, I drilled a T-bolt under an 8 mm bolt.
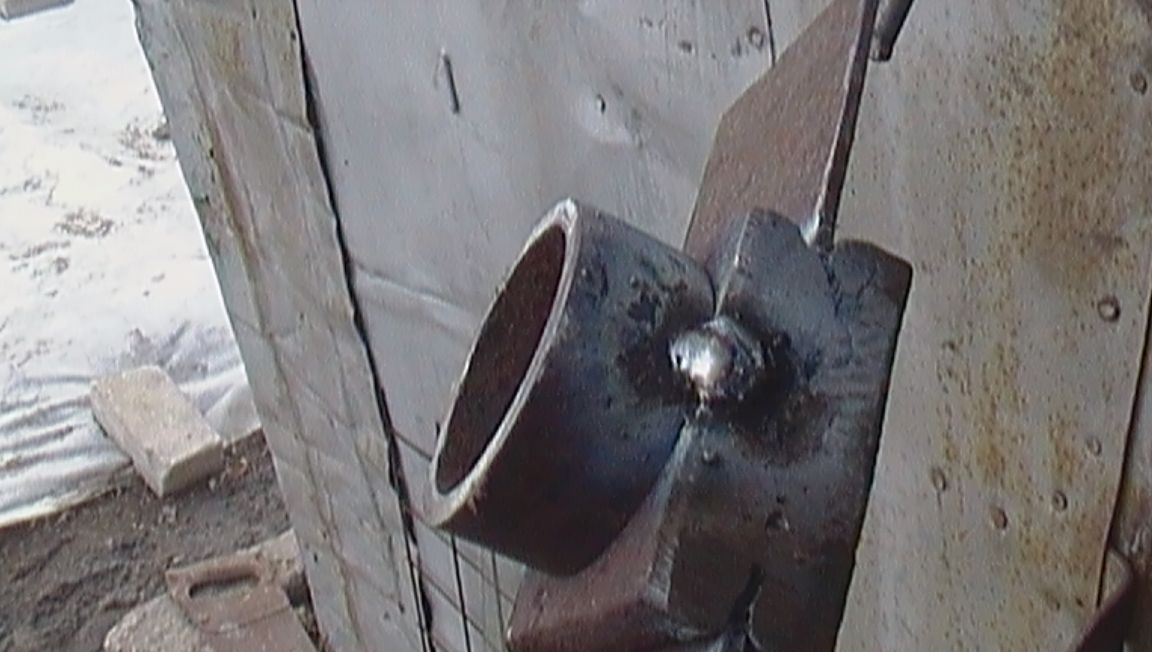
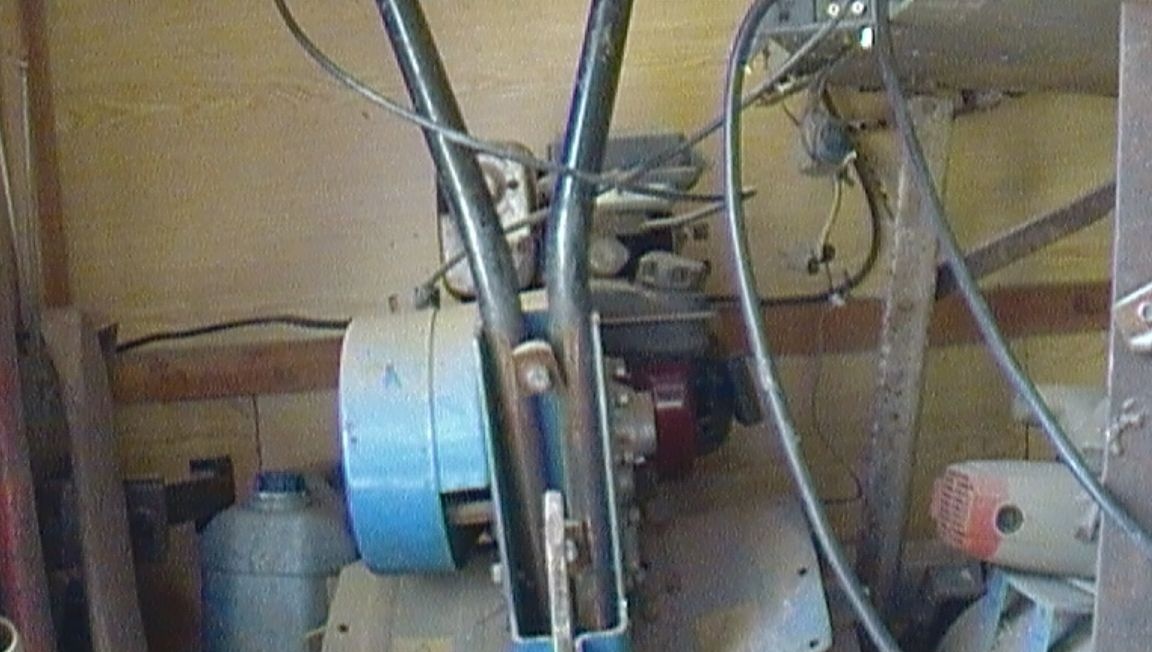
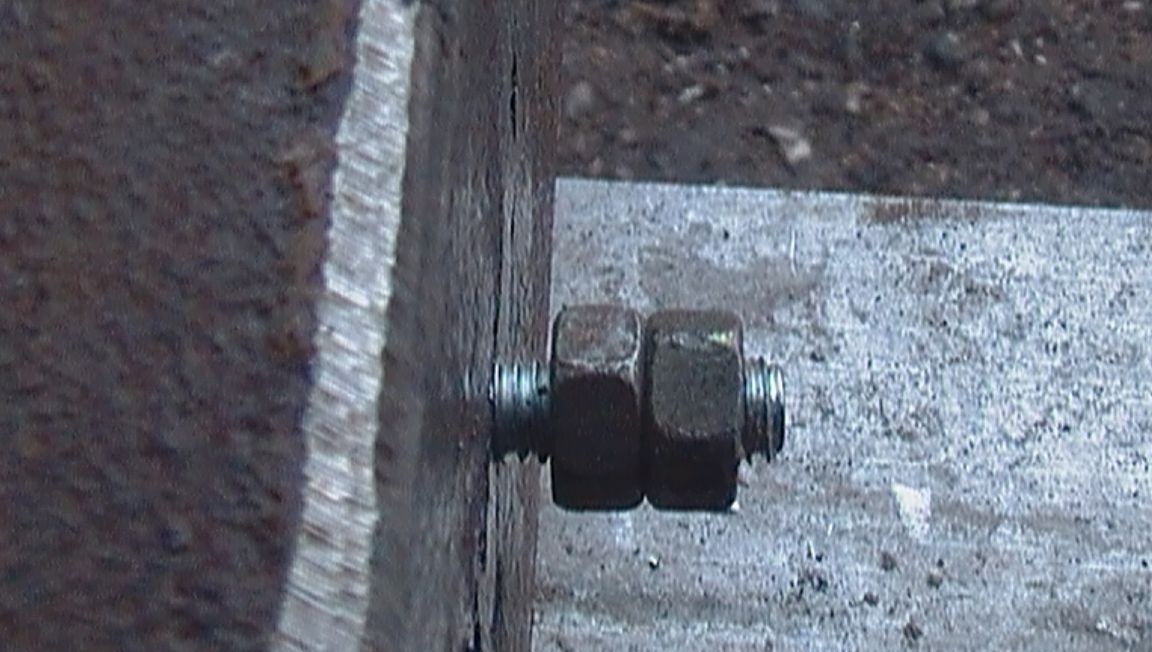
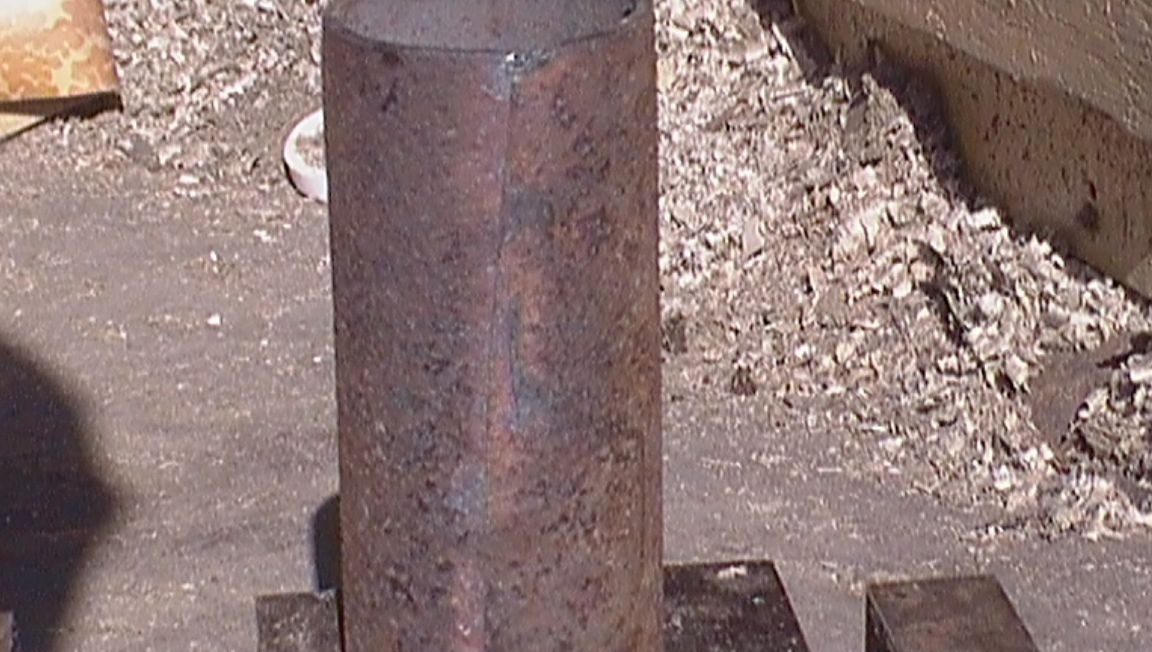
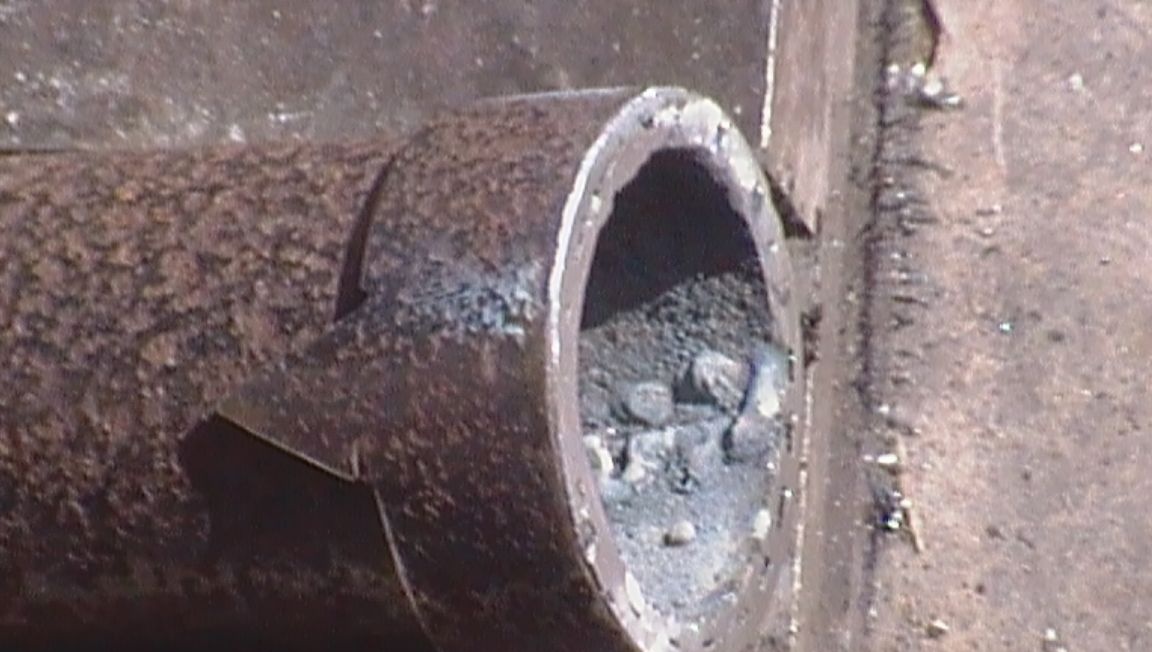
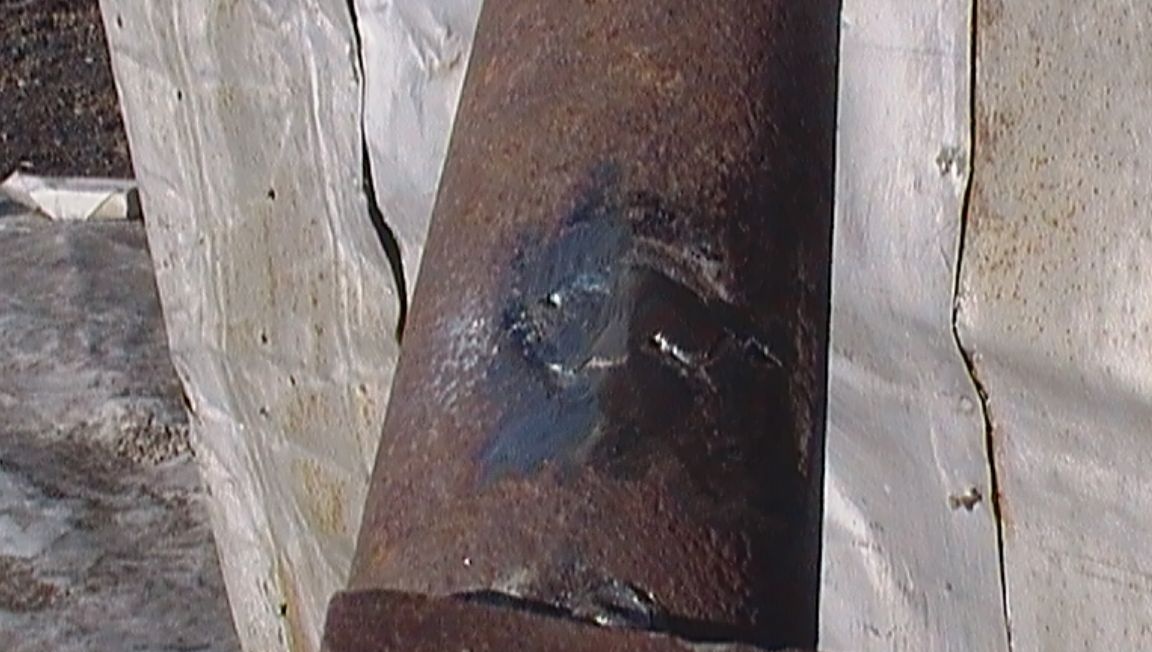
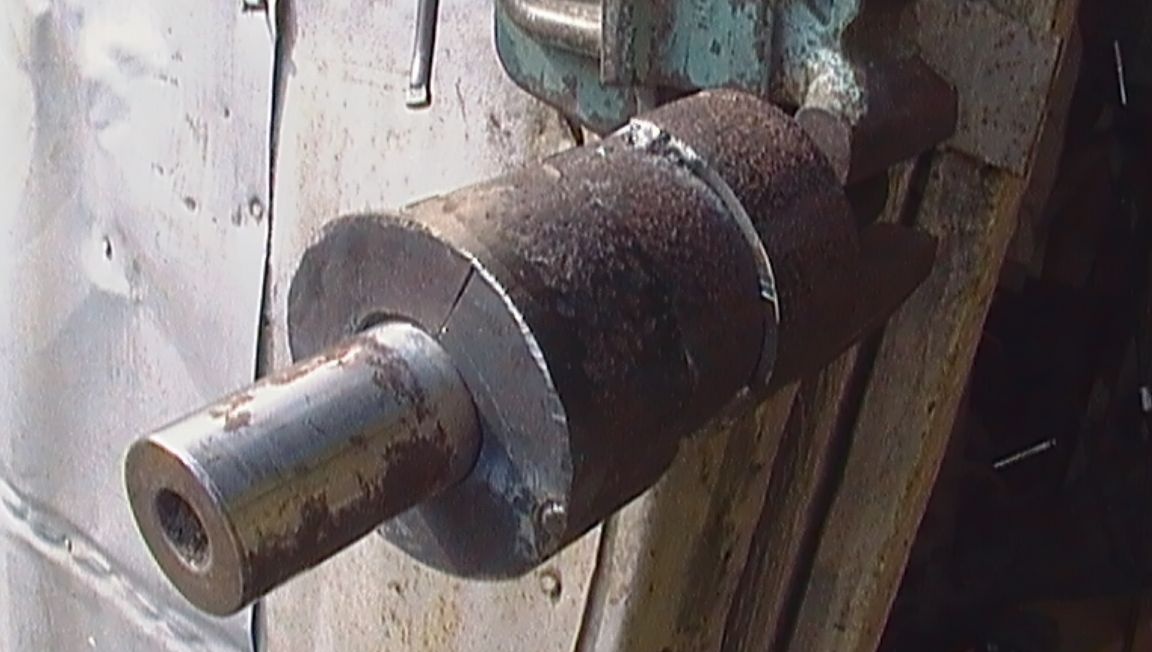
I picked up a pipe, ᴓ51 mm., I will call it a guide, which fit tightly into the brand and welded it to the brand
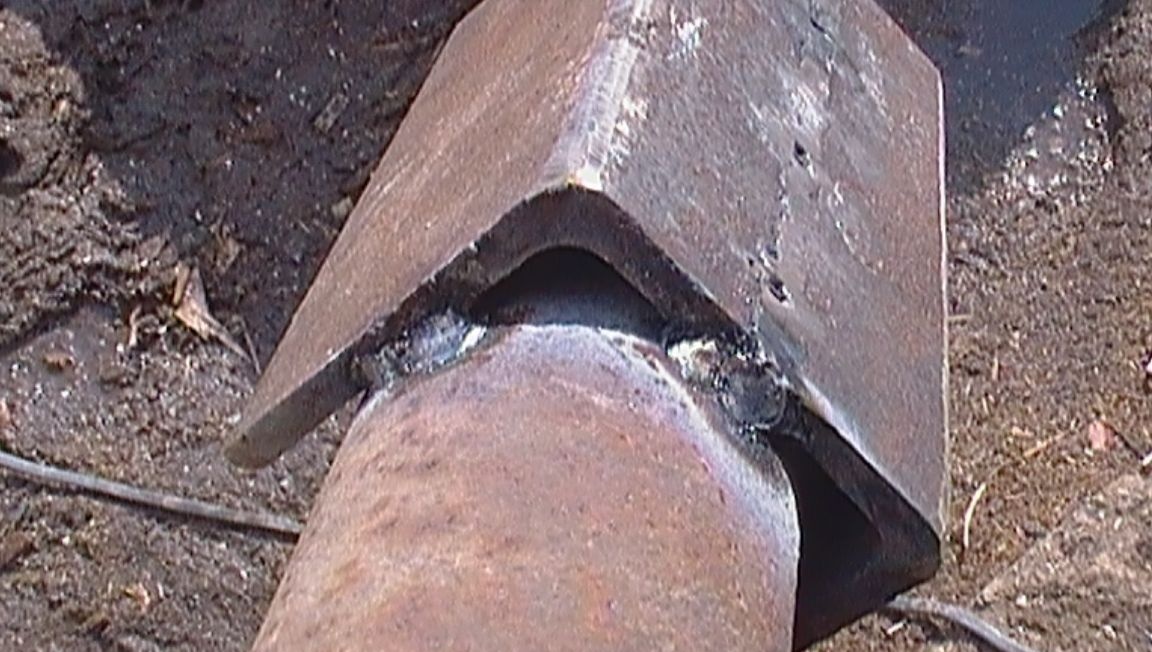

For tougher mounting of parts, I drilled a through hole in the mount, and in the brand with a pipe I cut M6 thread. The thread was cut only with the first tap to tighten the stud. He twisted the hairpin with the help of 2 nuts. The result is a pretty strong connection.

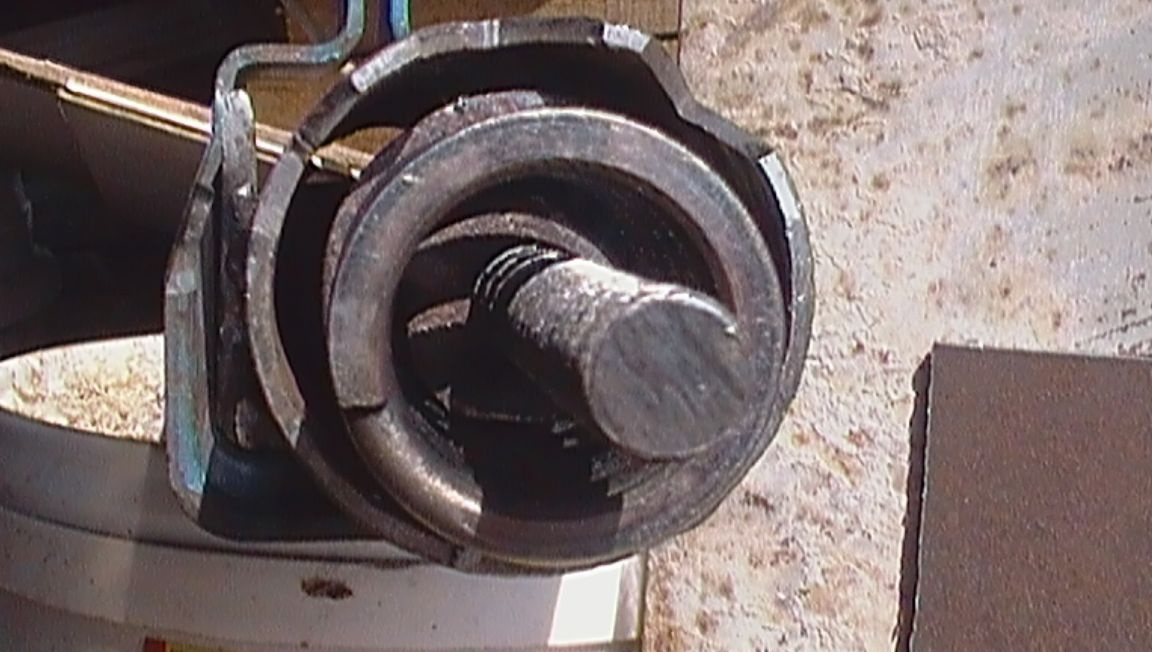
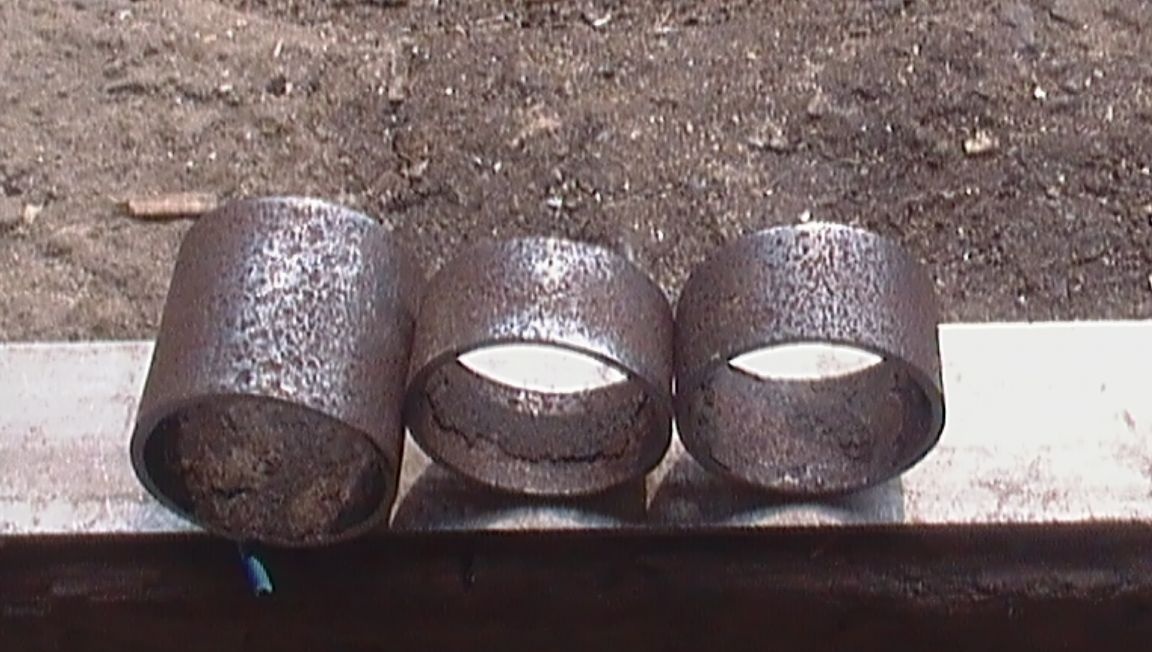
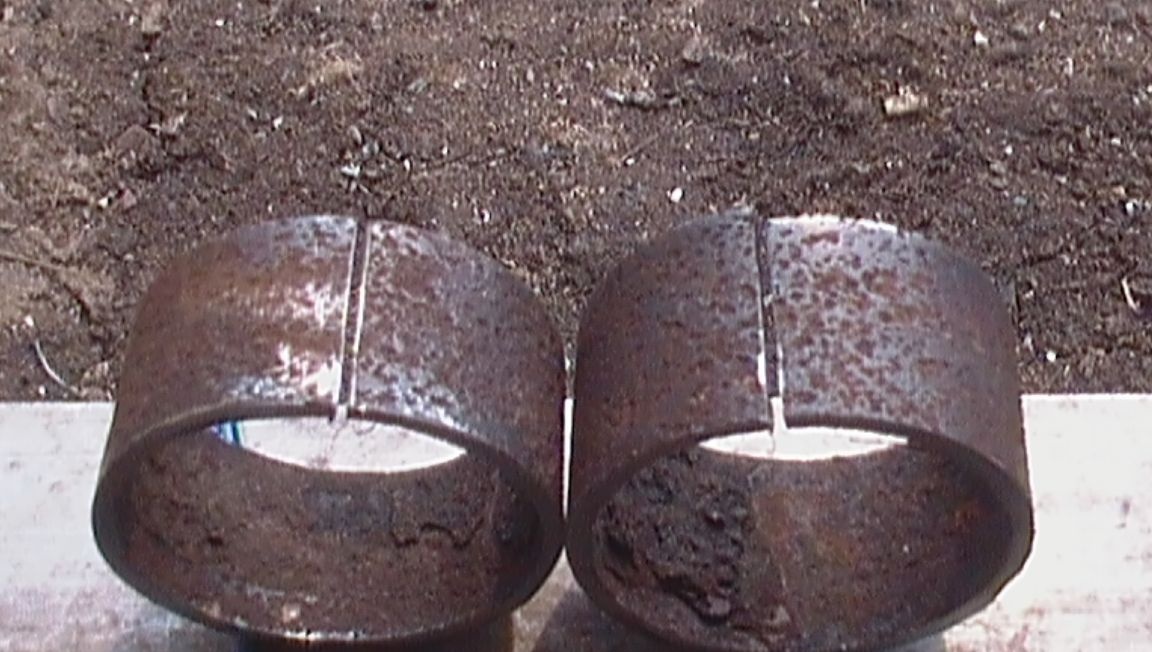
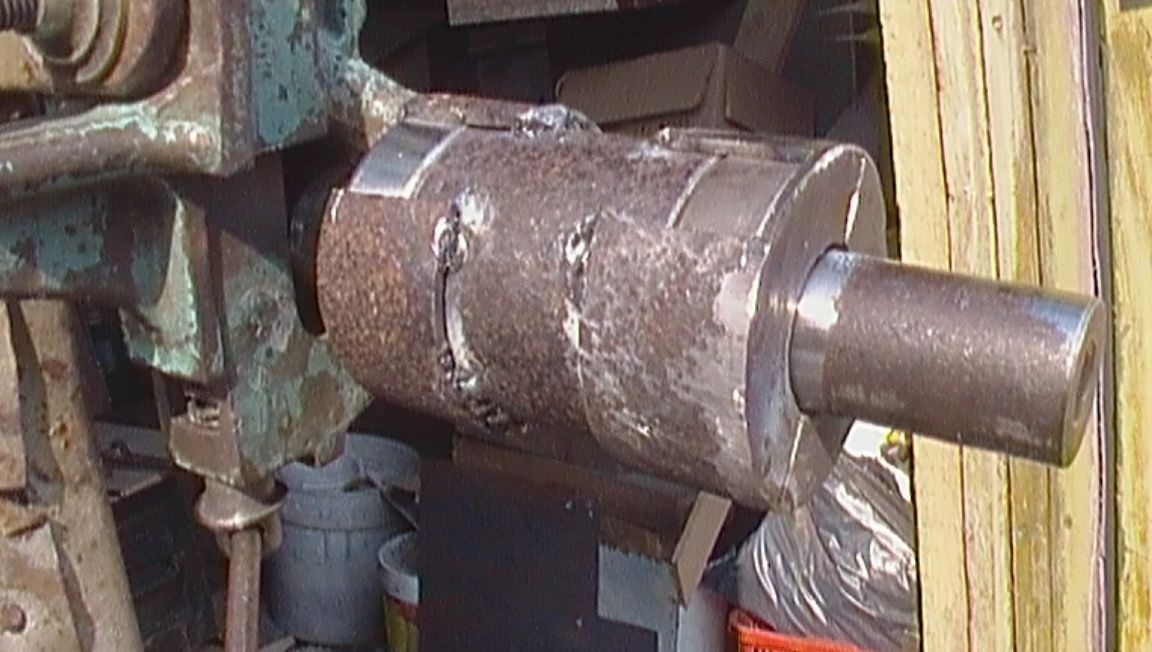
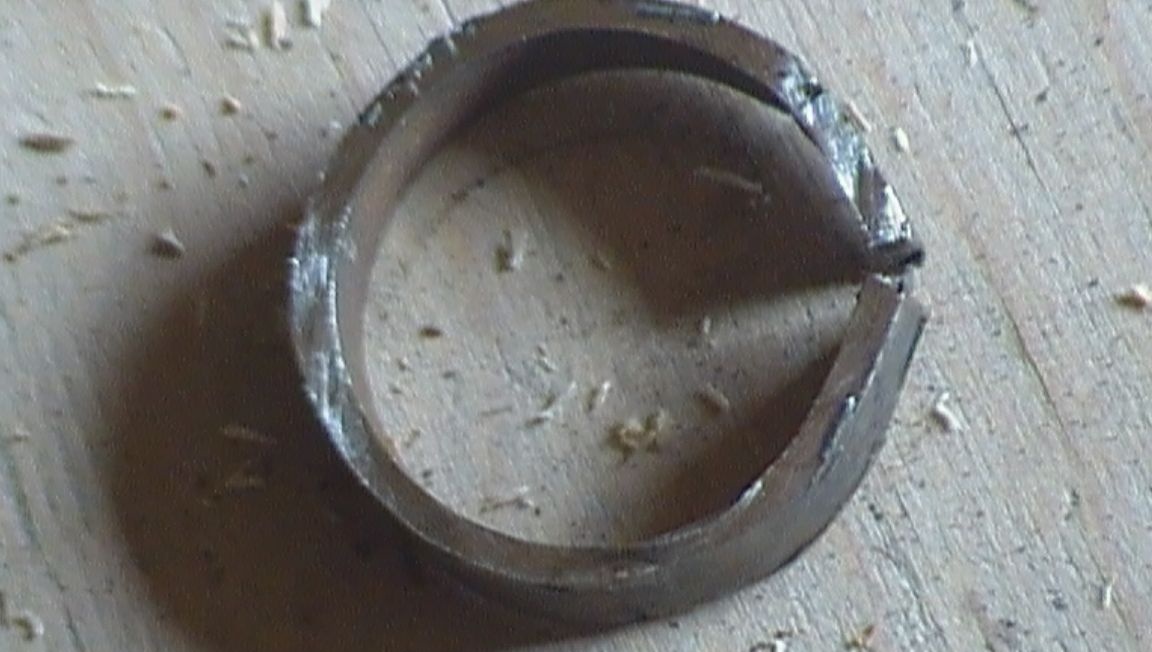
For the "sleeve" had to take the same pipe. And as a result of longitudinal cutting and squeezing in a vice, a workpiece is obtained that fits tightly into the pipe (guide).
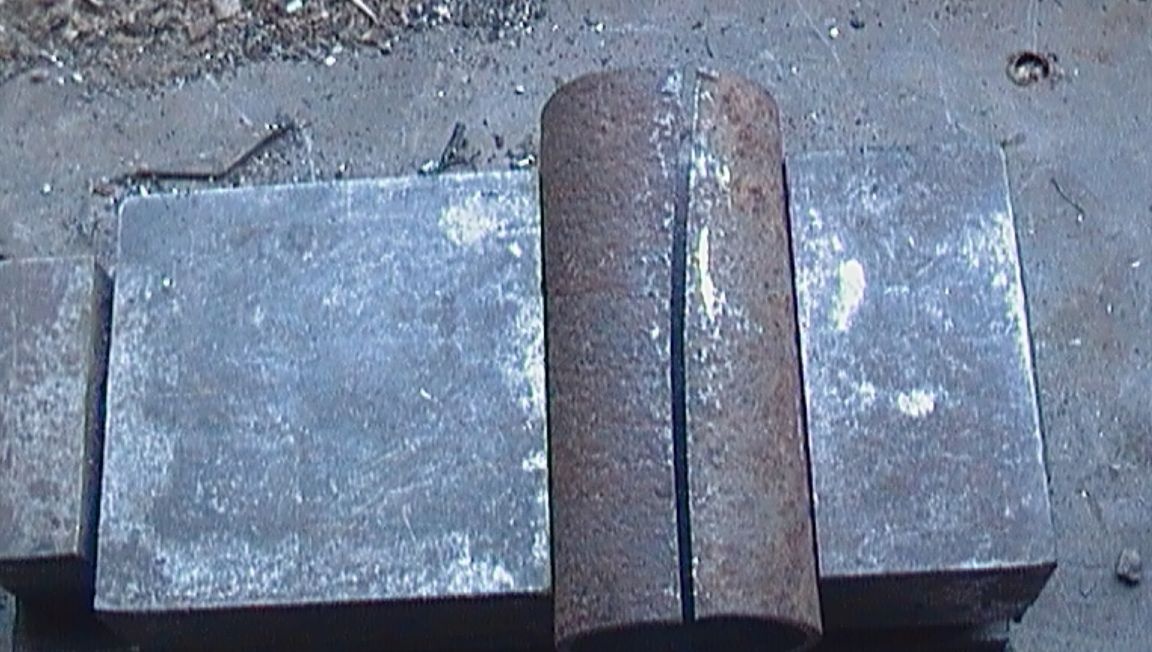

Without removing the workpiece from the vise, I weld the seam from the inside
From the outside it looks like this
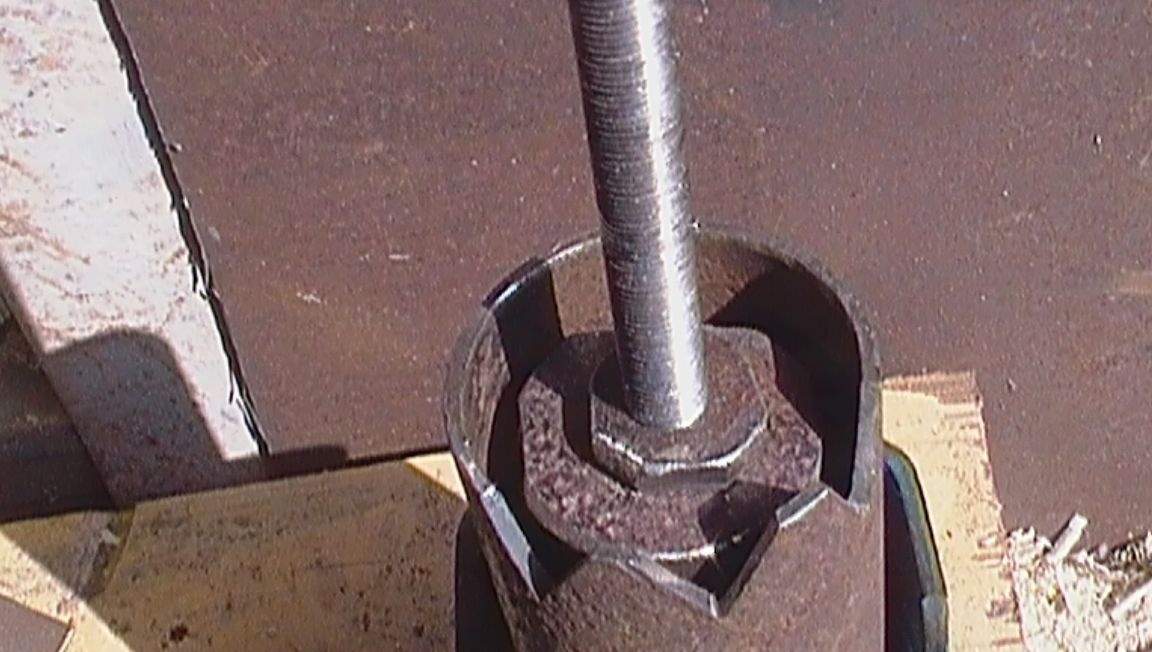
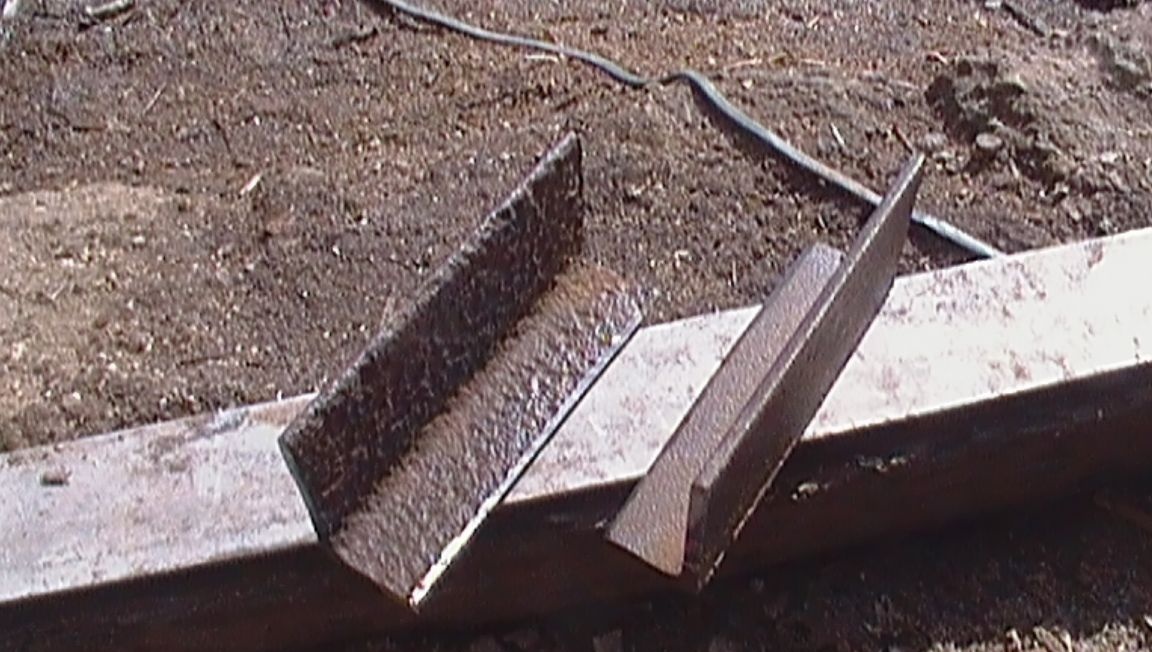
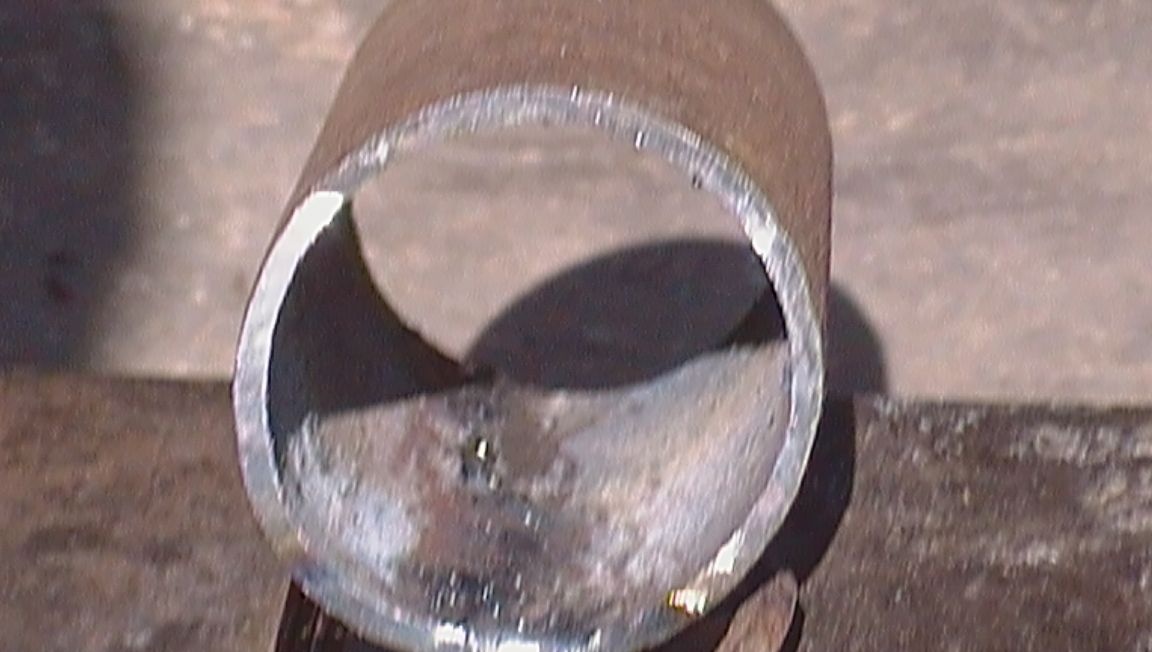
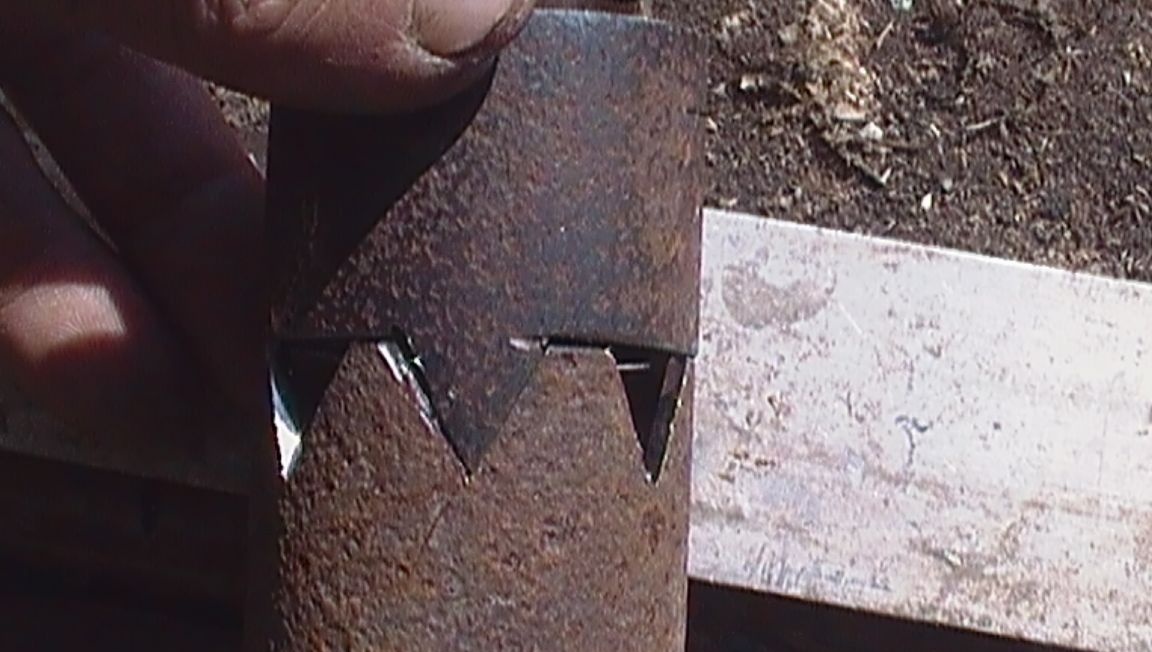
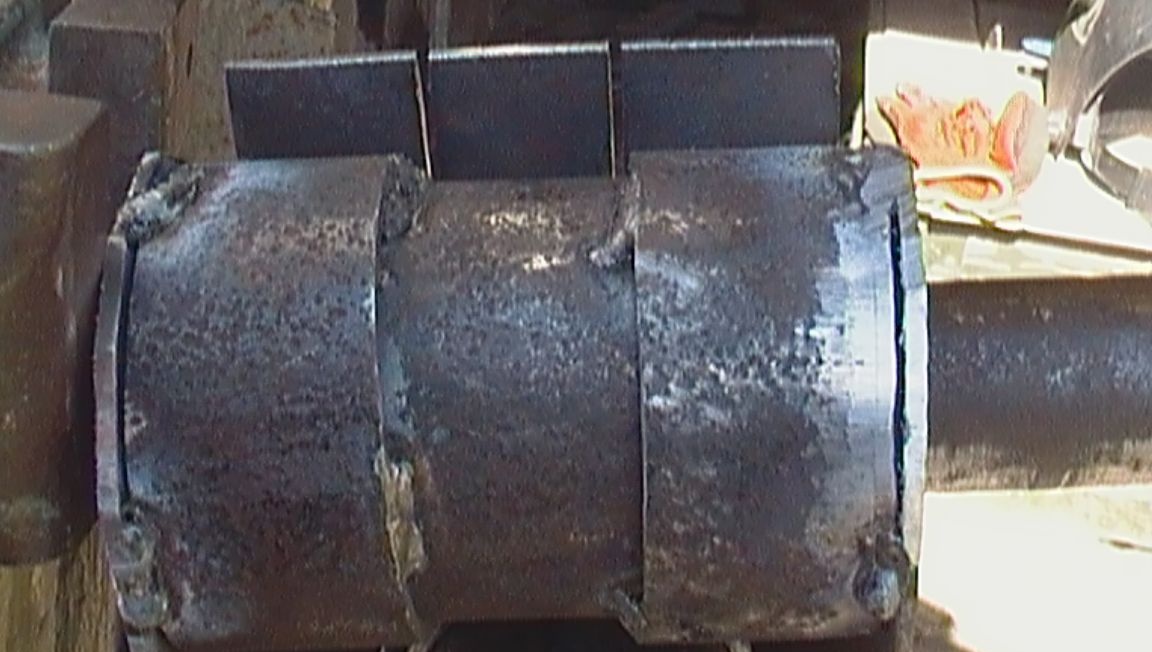
Having cut off a new piece of pipe, about 70 mm, I will call it a "skirt." He made a marking and sawed out an isosceles triangle with a side of 15 mm. I cut off the excess on the markup.
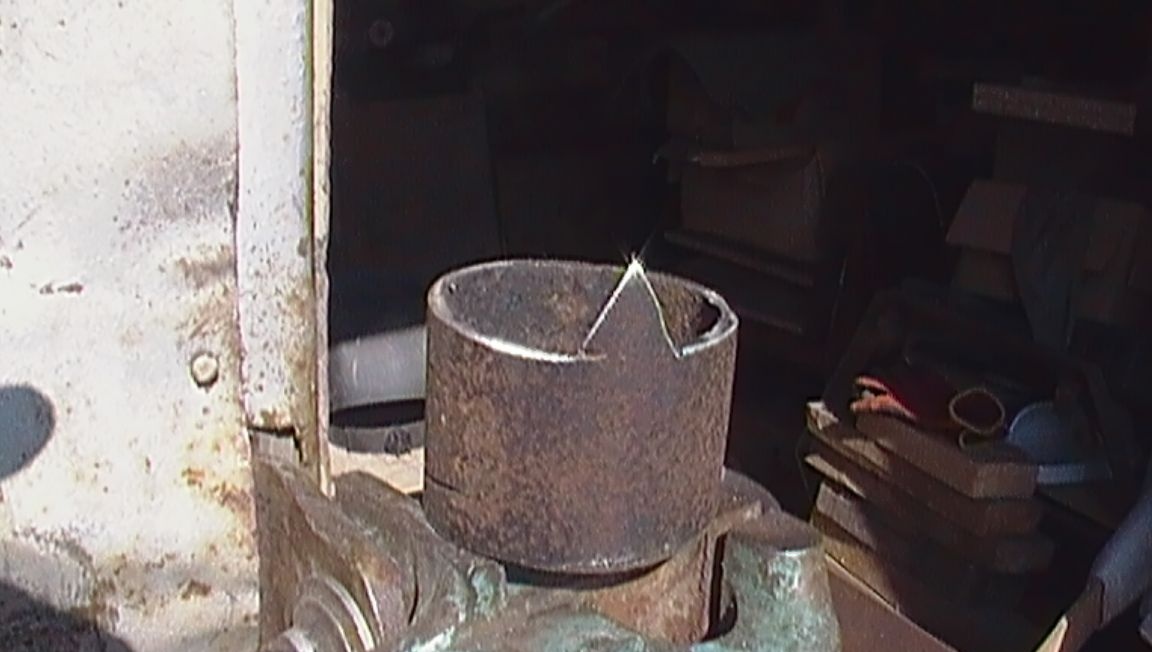
Having processed the inner surface of the “skirt” and having removed the inner burr with a file, I tried on the “skirt” on the sleeve. Having removed the sleeve, he laid the skirt on the guide tube and outlined the finished triangle. I made a cutout for marking.
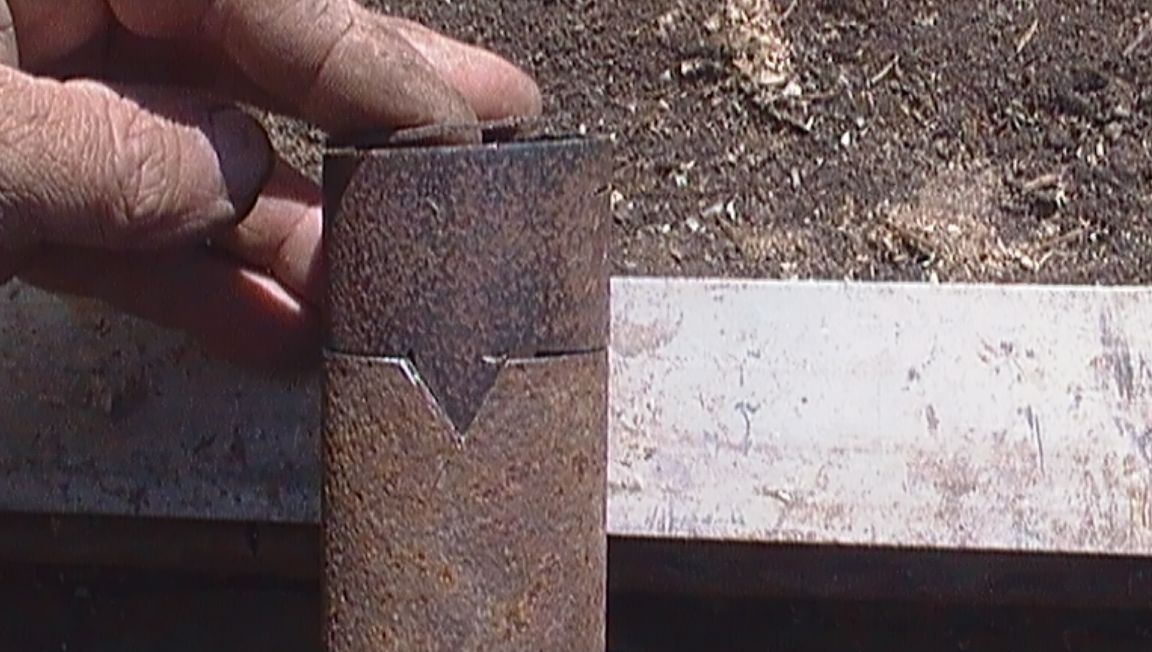
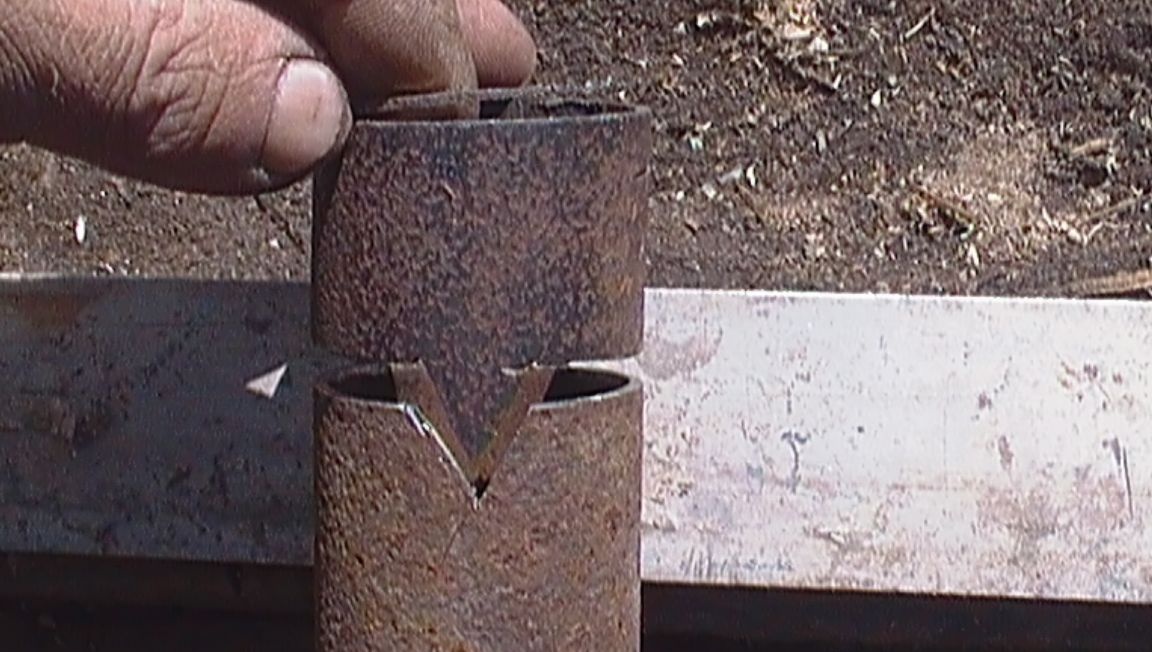
Having departed from the top of 7 mm, I made a marking and sawed out the second triangle.

In a similar way sawed the third triangle.
Re-wearing a skirt on a sleeve, he took it by welding. Trimmed the edges, boiled along the end and leveled.
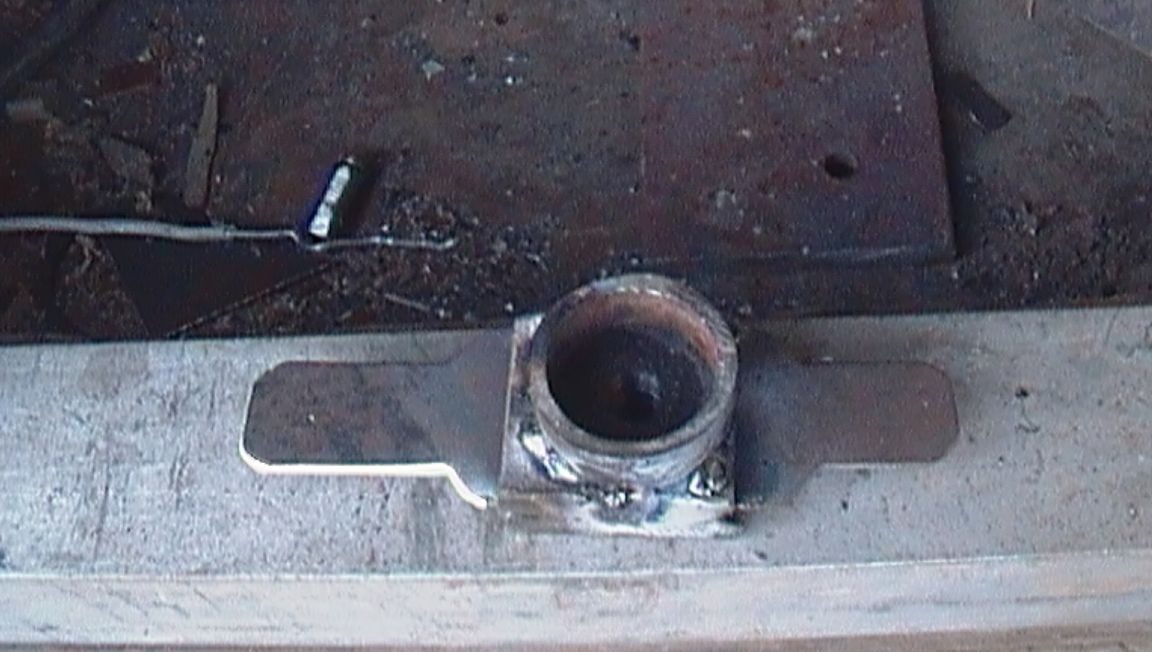
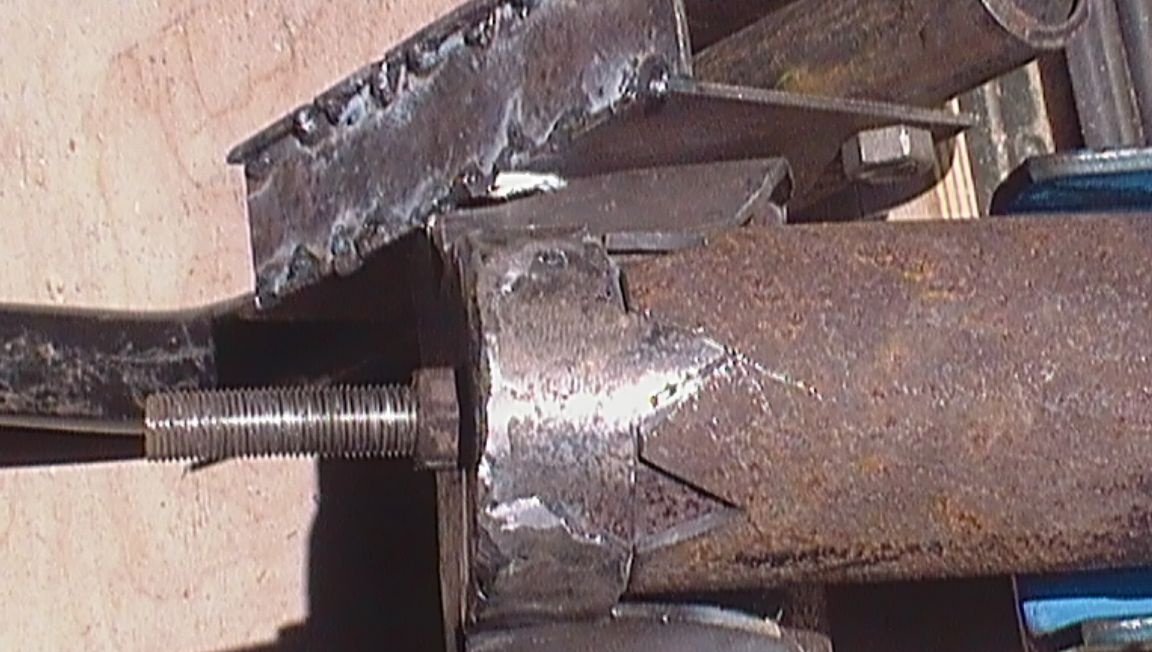
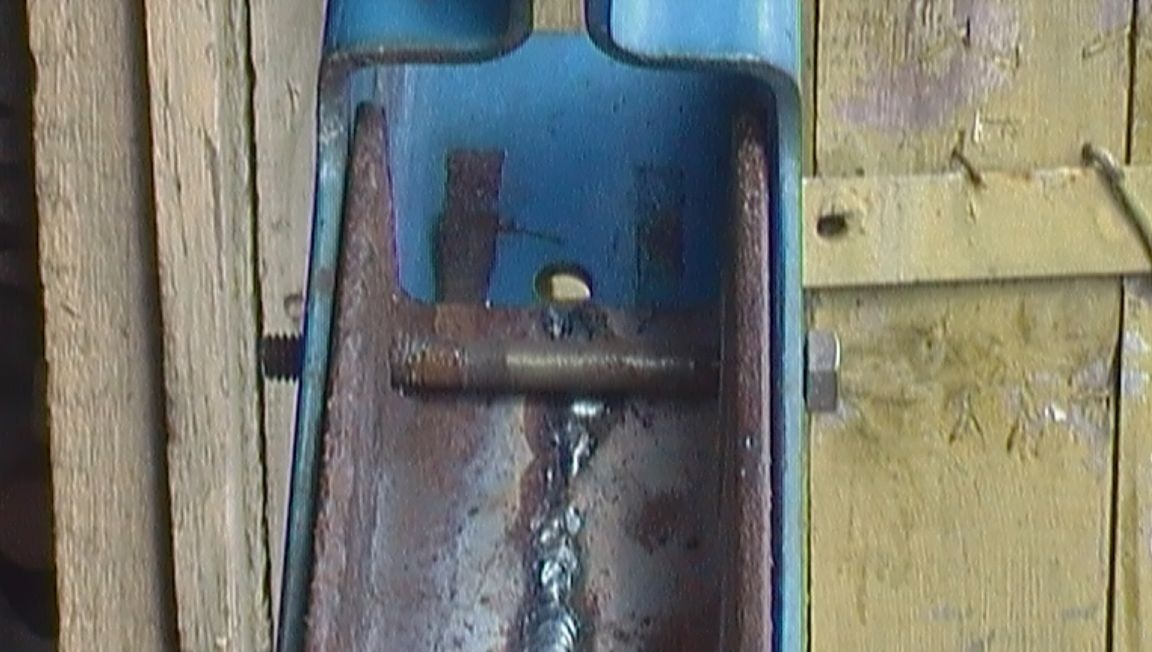
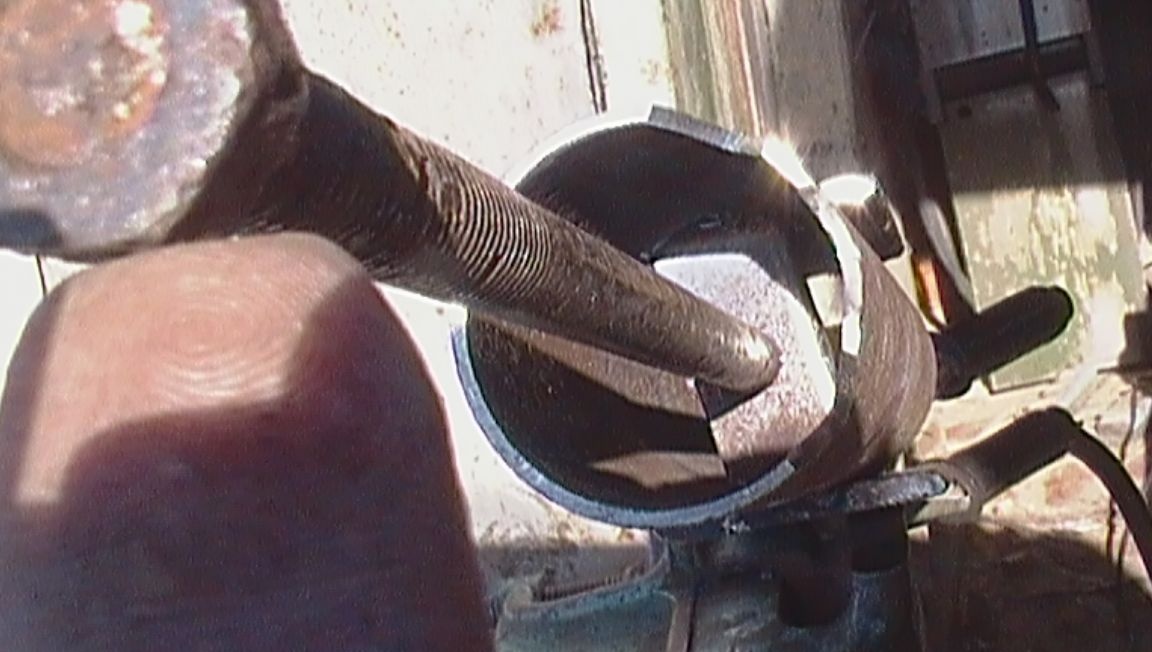
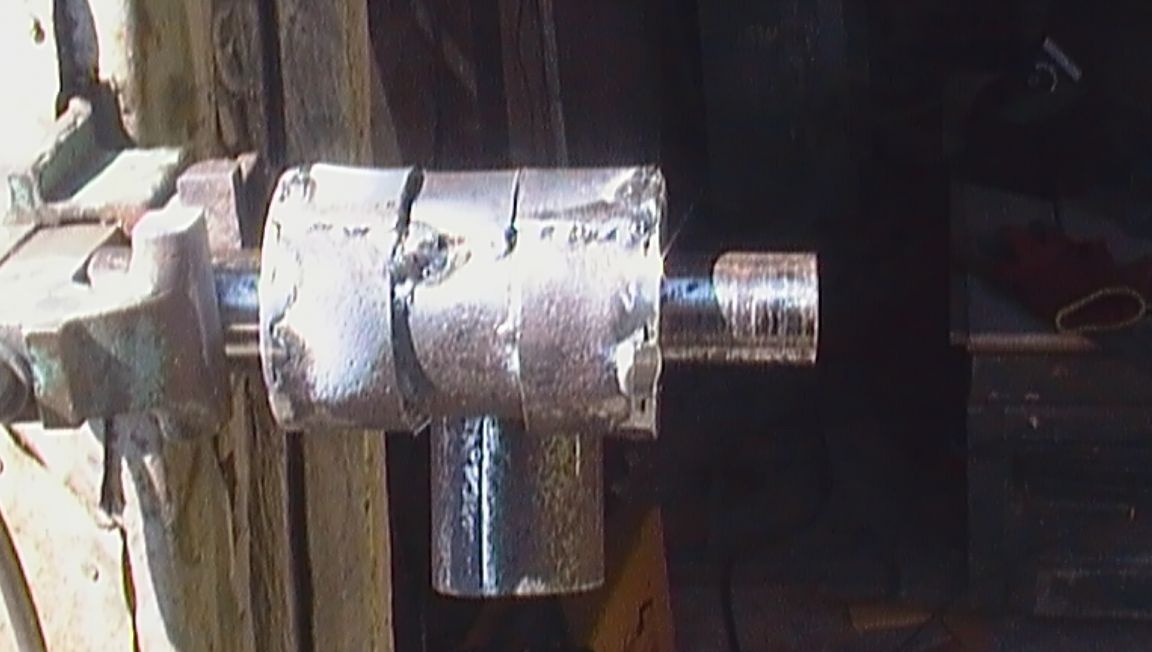
For fixing the sleeve in the guide tube, sawed, on opposite sides, holes
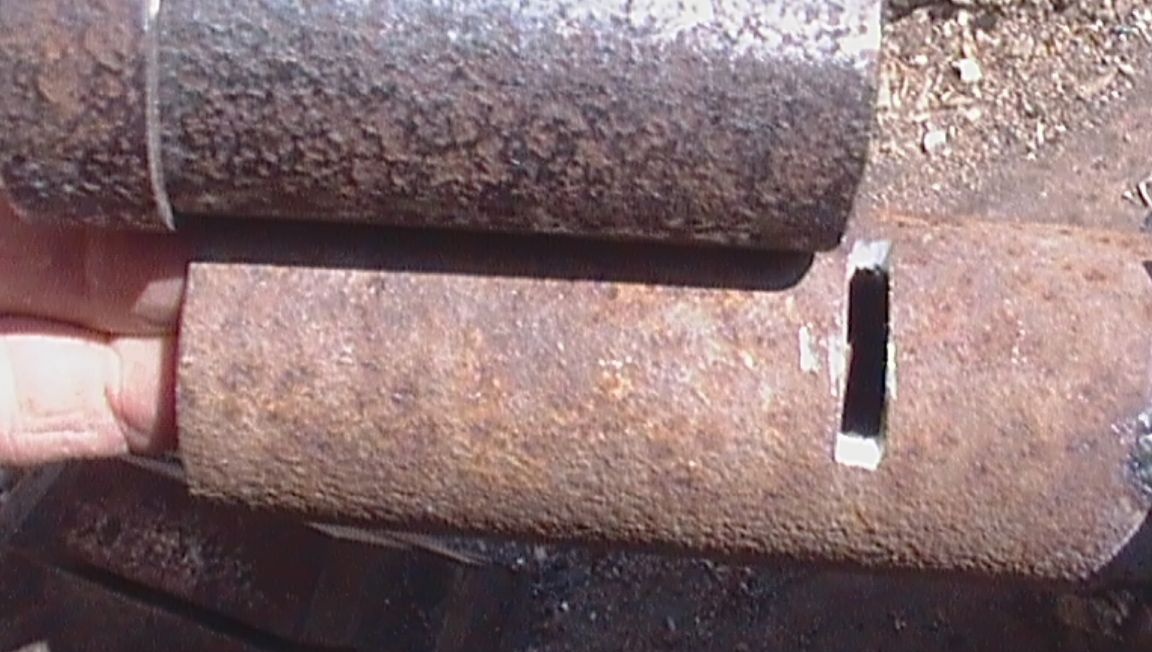
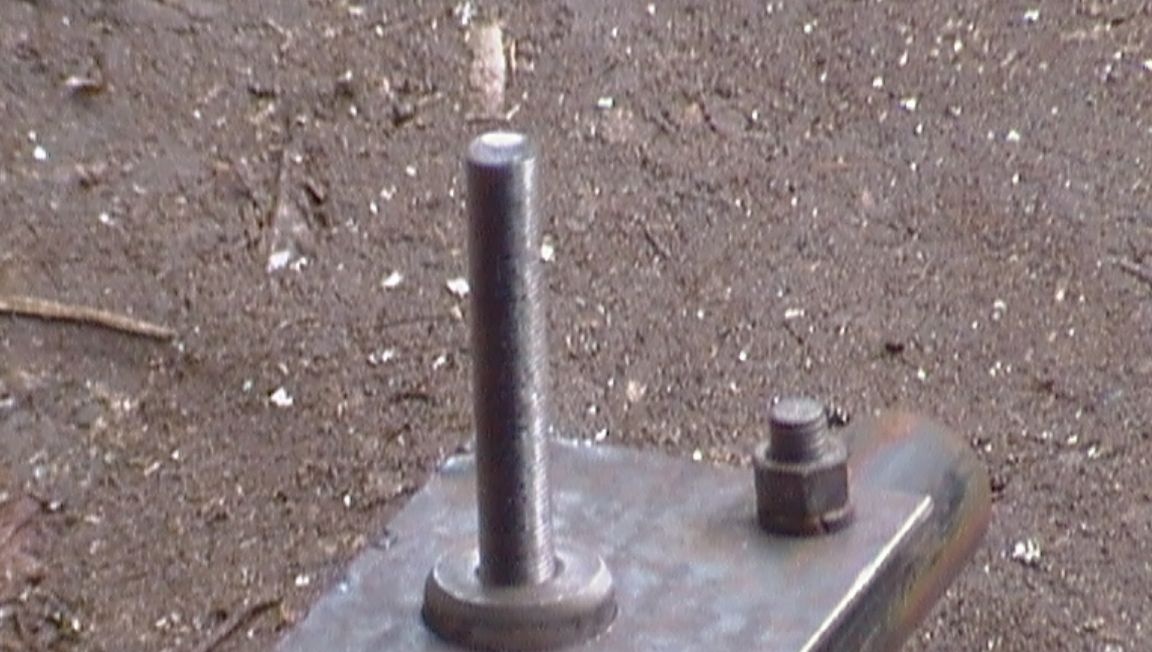
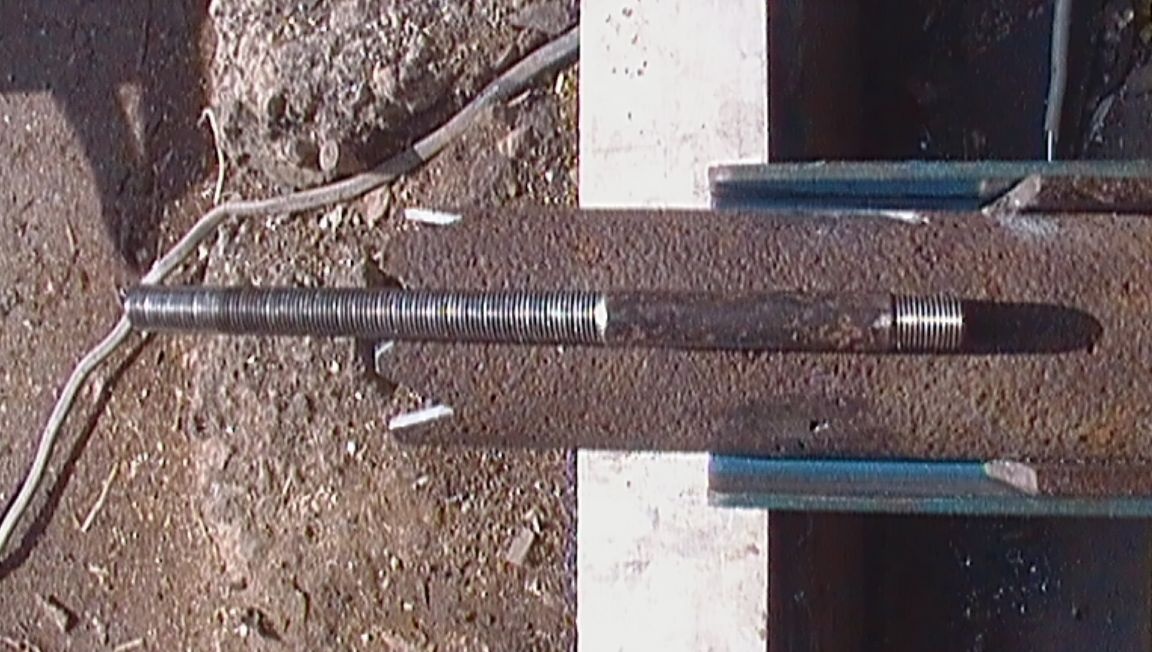
For a metal strip remaining from a corner. Having tried the strip in the guide pipe, I drilled a hole and cut the thread M10 x 1. I inserted the strip into the guide pipe and boiled it.
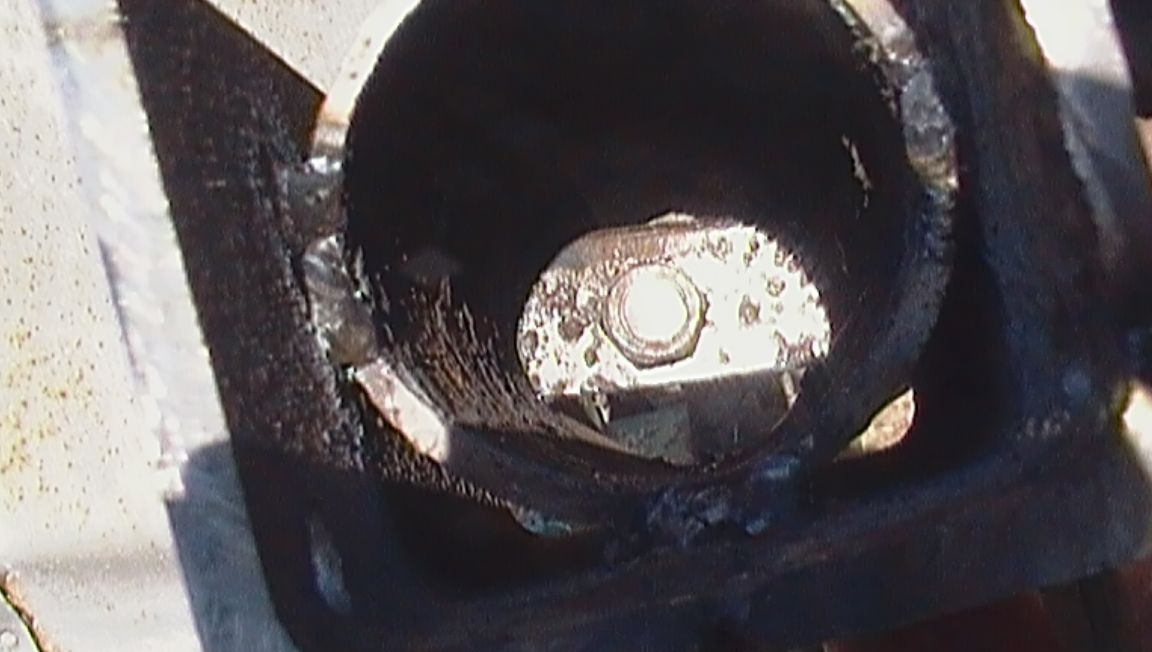
An old long bolt came in handy for the tightening bolt, at the end of which I cut the thread M10 x 1. I tightened the tightening bolt and tightened the lock nut.
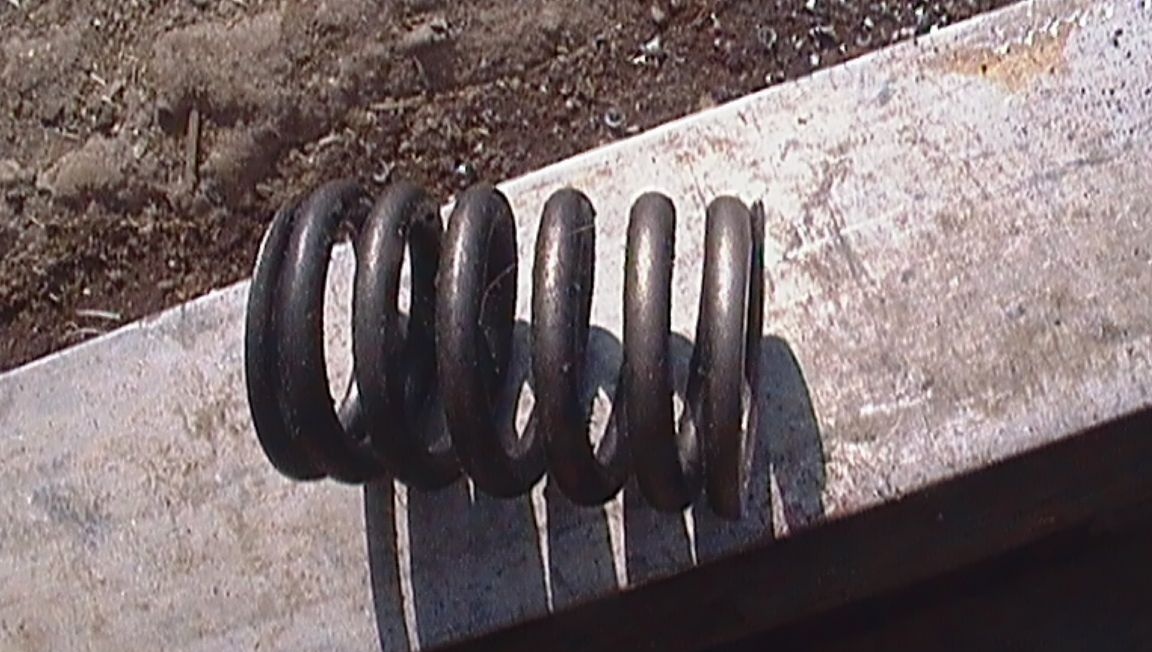
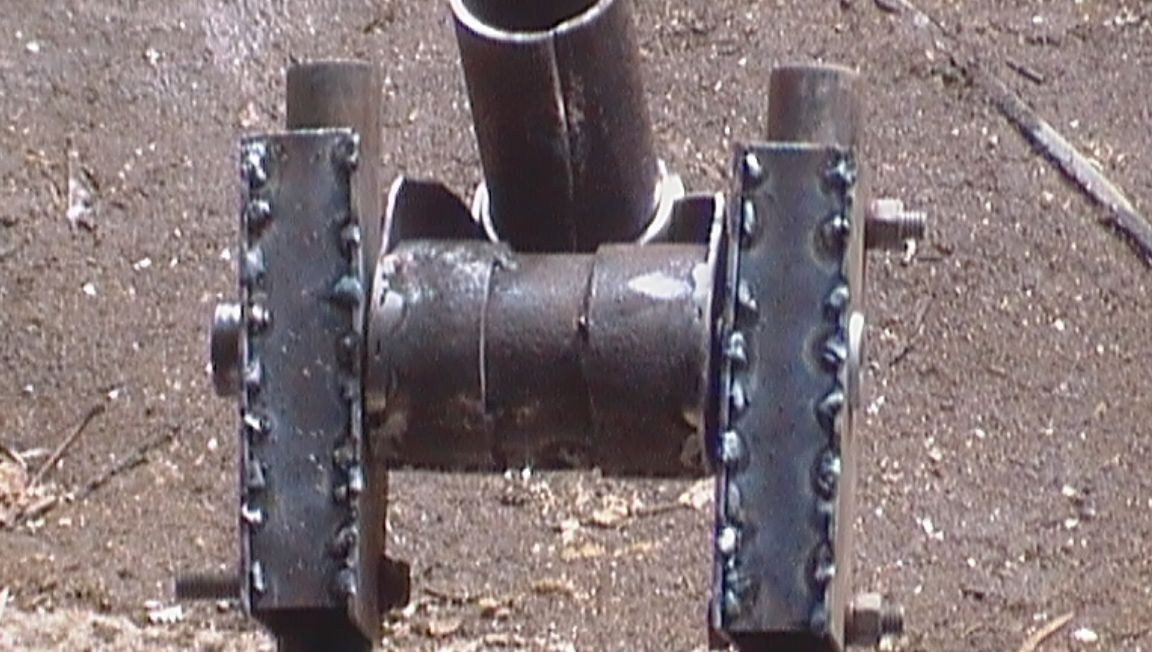
To adjust the "steering wheel" up - the bottom took 2 ball bearings, to which came the old king pin from mine auto.
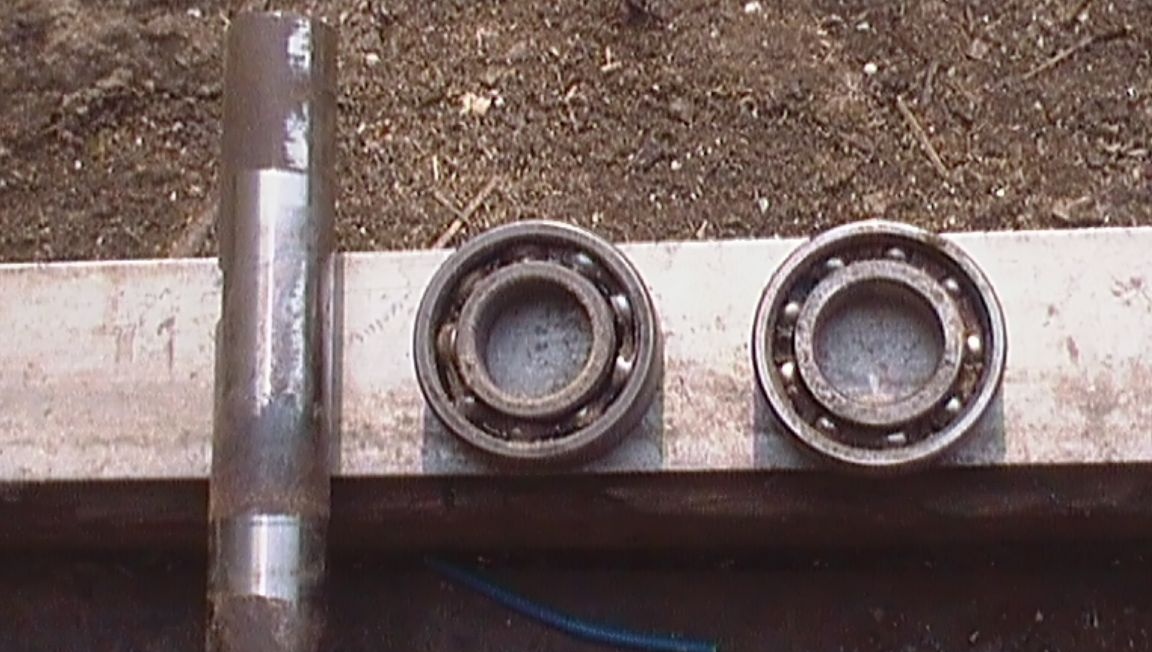
For the spacer sleeve and cage - the same pipe 51 mm.
He made a cut on the clips.
Spreading the clips along the section, inserted bearings and tapped with a hammer to give the clips a circle.
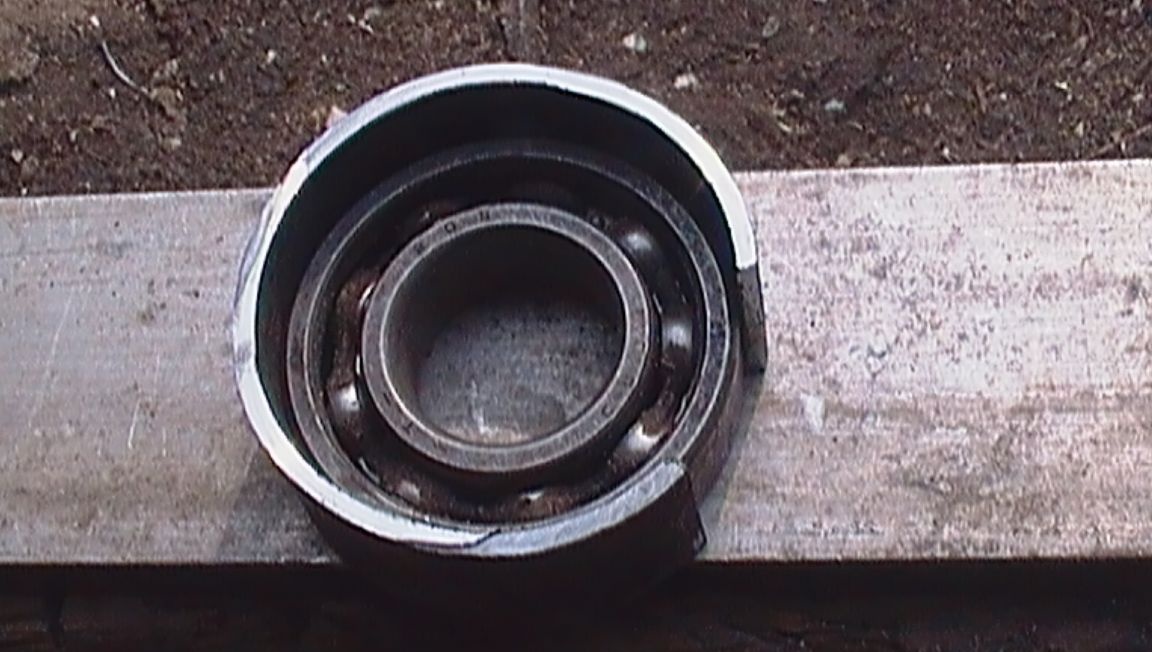
Made a fitting. To tightly clamp the bearing to the spacer sleeve and the correct placement of the cage, it was necessary to make a coupler (stud with M6 thread).
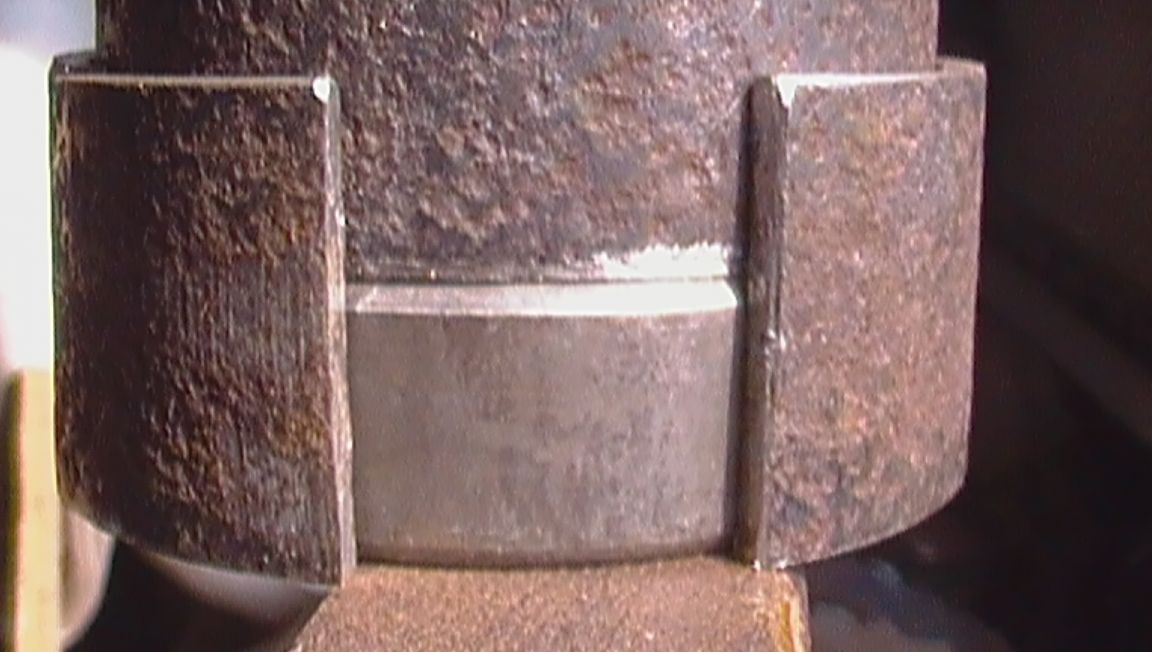
Welding one clip, pulled off and welded the second. Inserted the axis.
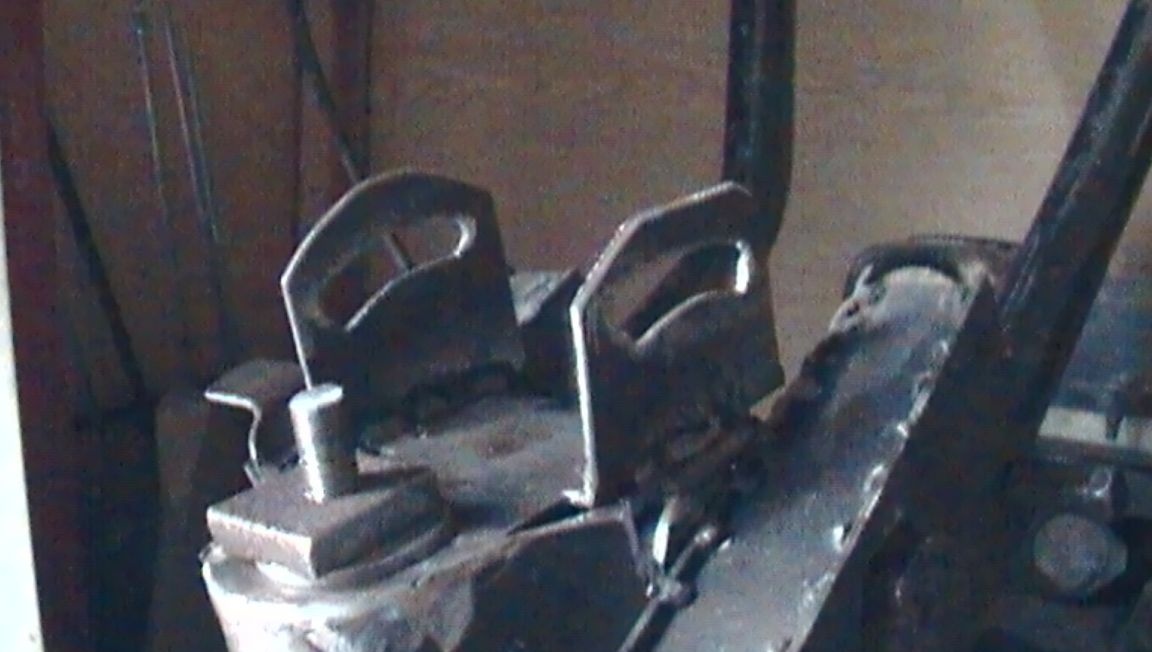
To fasten the clips of vertical adjustment from a sheet of steel, 2 mm thick, cut a rectangle and made a marking.
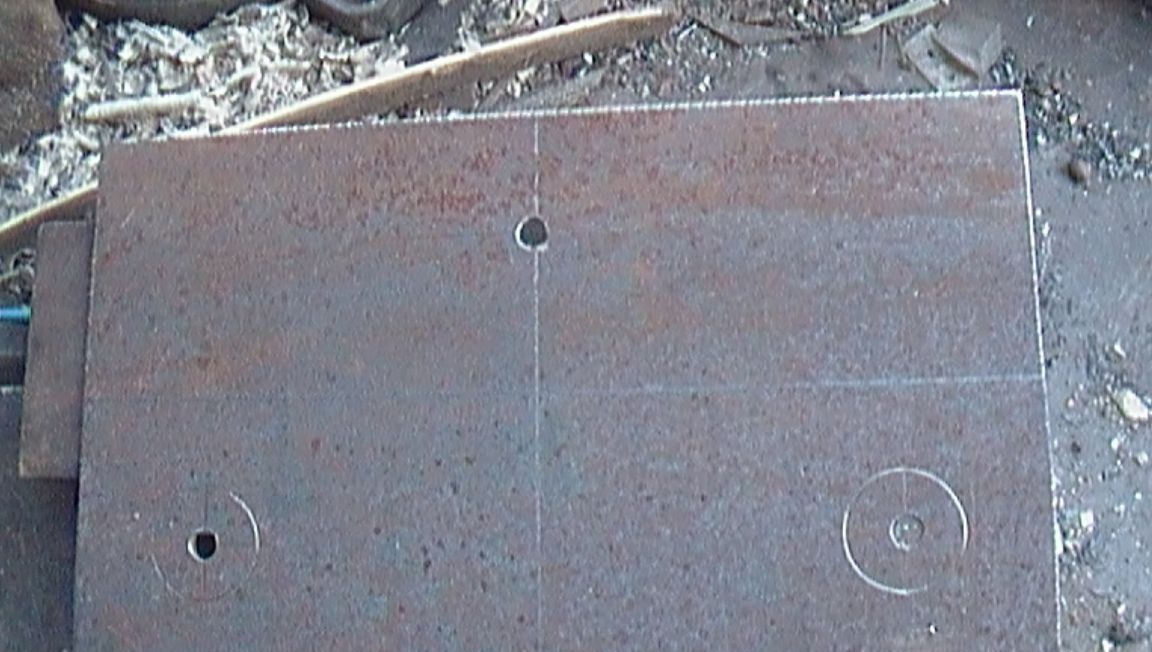
Drilled holes: 10 mm, - a bolt of fastening of the plug; 2 holes 26 mm, - the axis of the vertical steering wheel adjustment. After marking and trimming the metal made bends.
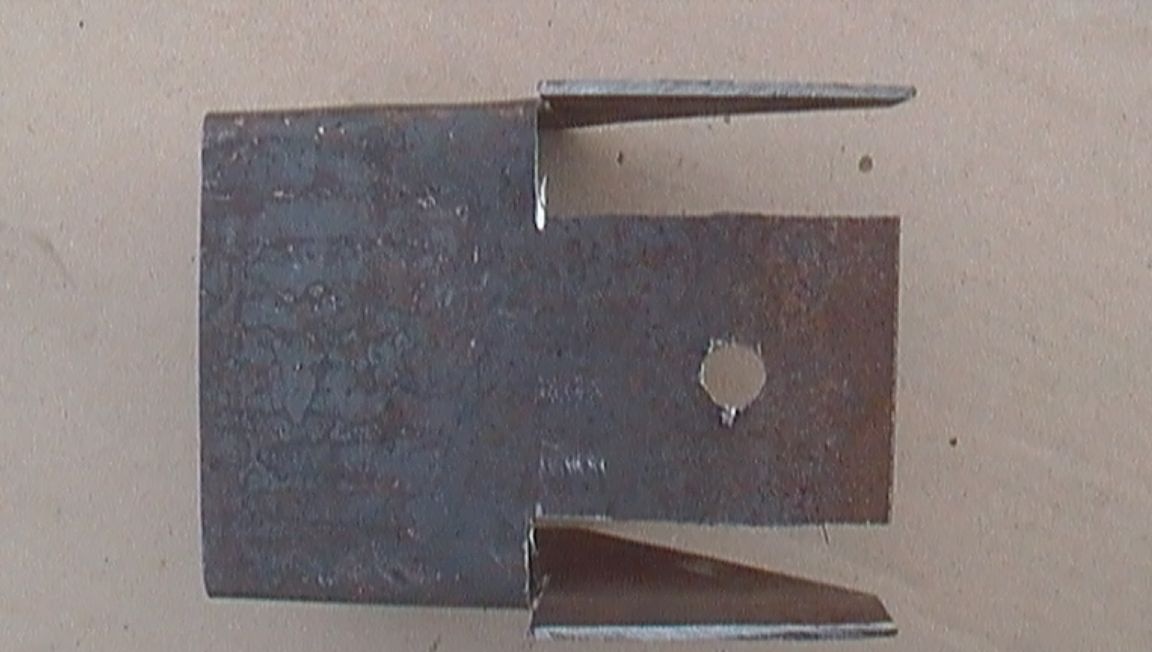

Welded clip holder to the sleeve.
He bent, trimmed and welded the sidewalls to the sleeve.
I inserted the clip into the holder and, having inserted the axle, I grabbed it with welding
Made incisions in the holder. He bent with a gas key and boiled the remaining seams.
For fastening the handles of the steering wheel, I cut 4 plates of metal 2 mm. He made a marking and drilled, in each plate, a 25 mm hole for the axis. I tried on plates with an axis to the handles of the steering wheel.
Having made the marking, I drilled a hole of 8 mm and screwed it to one handle.
Having drilled the second hole, I screwed the second bolt. I tried on the installation site.

In a similar way he made a second pen.
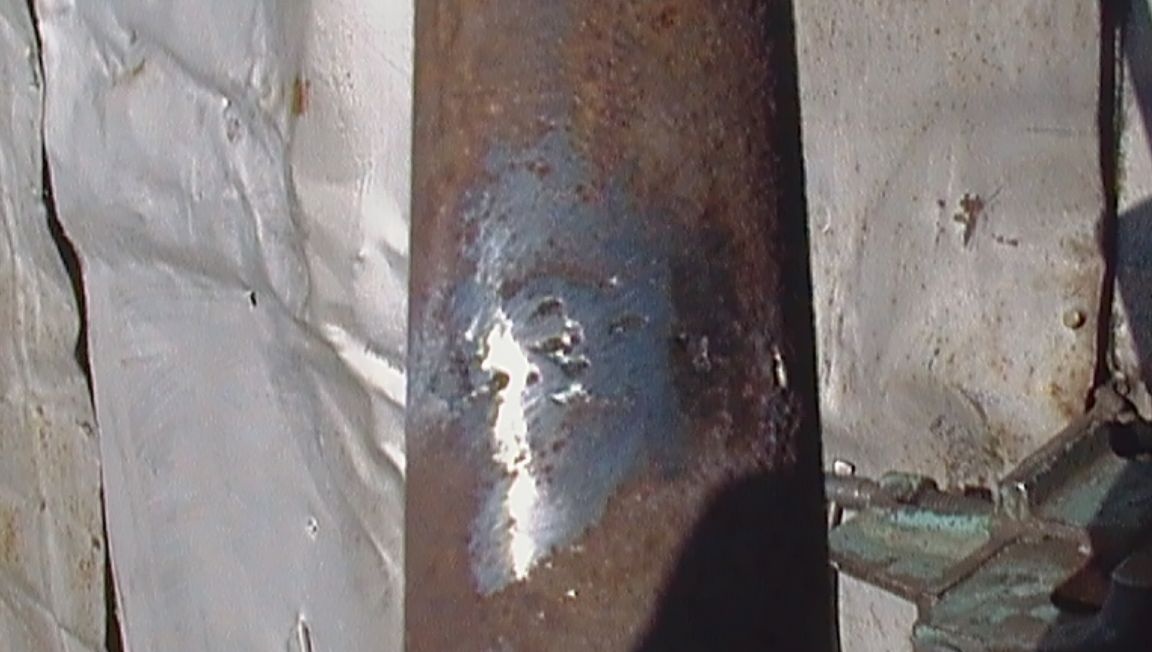
For rigidity, cut and pasted 2 strips. After boiling by welding.
In order that the axis would not go beyond what was required, a stop was required. For him, cut off a strip with a width of 8 mm. I made a ring out of it, bending it around the axis.
Set the ring on the axis and scald it.