
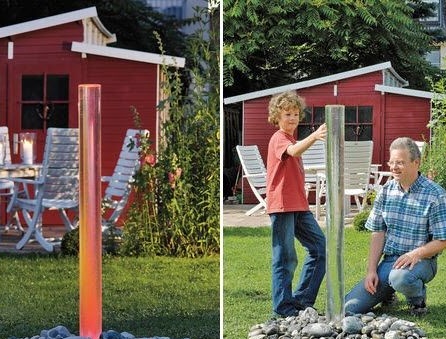
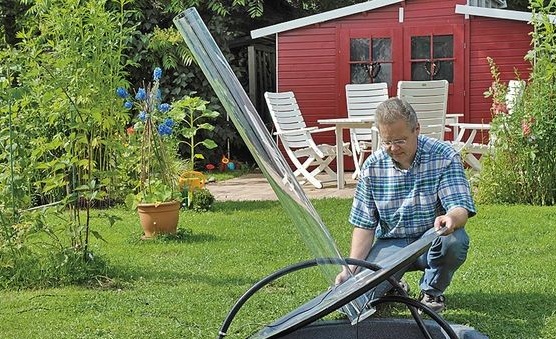
Good day, dear guests of the site and the inhabitants of our site. I want to bring to your attention an interesting idea for landscape design at your homestead. The idea itself is not new, but its implementation is worthy of more careful consideration. Let's see a master class for making a fountain pillar.
For the manufacture of this product to the author such components and tools were needed:
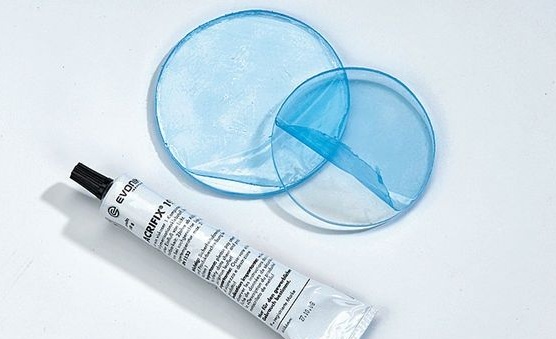
Plastic transparent pipe, clamps, jigsaw, drill, glue and transparent sealant. You also need a water tank and always with a lid, a hose fitting and a water pump.
Let's get down to work on making a fountain!
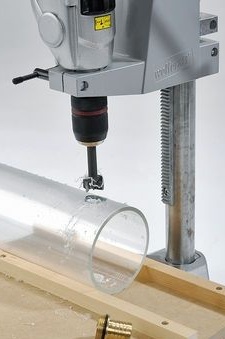
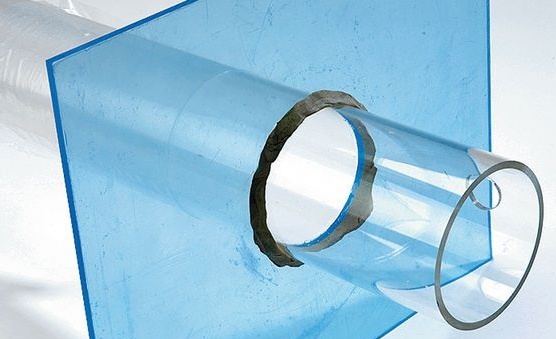
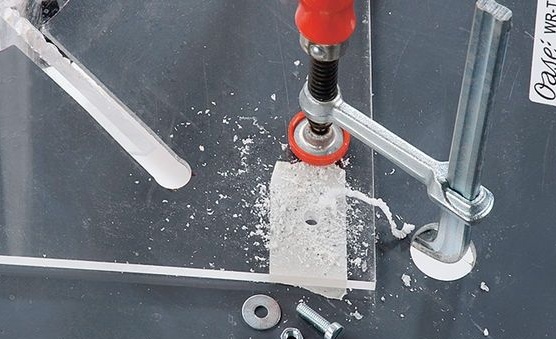
The first step in the manufacture of this product was to drill a hole in the lower side of the pipe to fit the size of the water supply fitting.
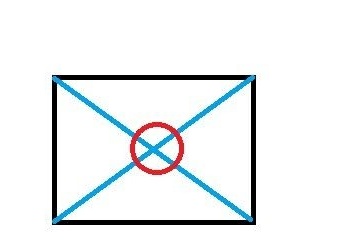
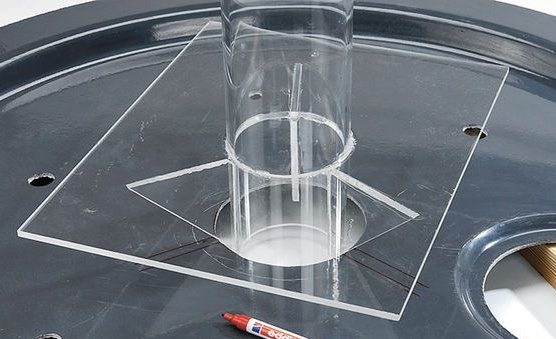
The second stage for the author of the idea is the creation of a support, the foundation of the pillar. For this, a quadrangular piece of plexiglass or a piece of plastic is used. It cuts a hole under the pillar. It should be a little more than the diameter of the pipe itself. To do this, place a space on the base and mark the hole for the pipe with an electric jigsaw. To cut a circle exactly in the middle, take a ruler and draw two diagonal lines on a piece of the base. The intersection of these lines will be the center. We process a cutting hole with an emery cloth.
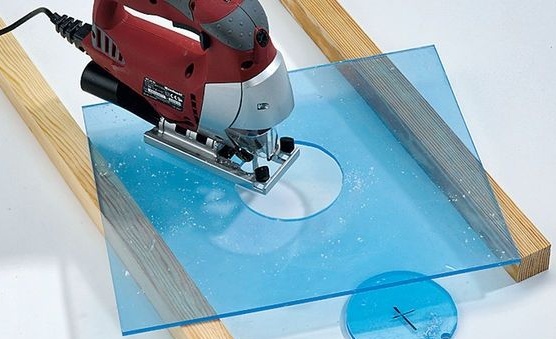
Do not throw out the sawn circle, it will come in handy later on.
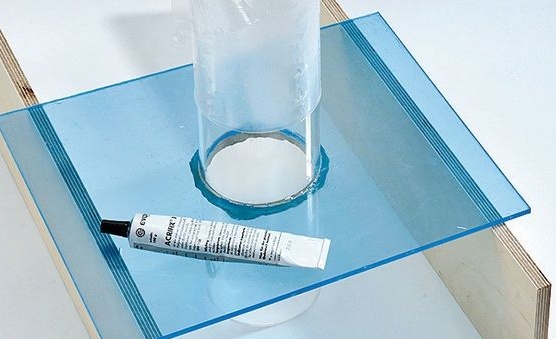
The next step in the manufacture of the fountain is the connection of the base and the pipe. We insert the pipe into the cut hole on the base and fasten the parts with sealant and glue. It is better to apply the sealant from the inside, so that the front side is free from flaws. And we apply glue already from the front side.
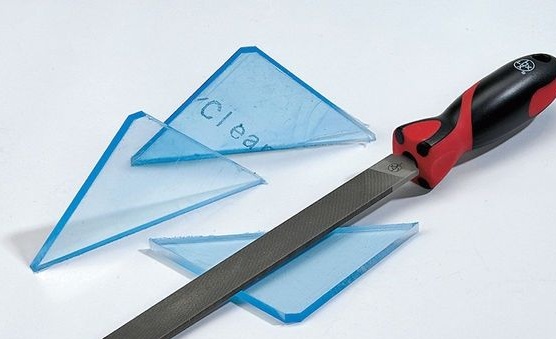
Then I made four stiffeners of a triangular shape from the same material as the base, the base of our fountain. They will be attached to the base and pipe with glue for greater stability of the fountain.

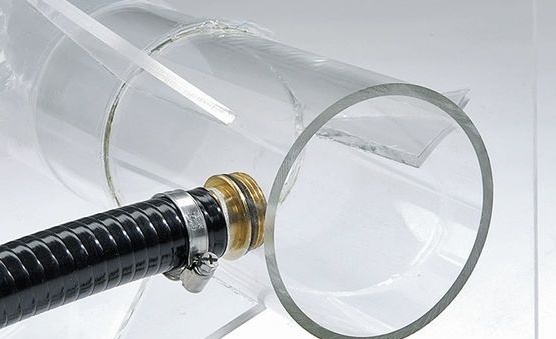
The next step is to attach the hose fitting to the fountain pipe.
Now we needed that cut circle.Cut one more, but smaller in radius than the pipe. We glue them together with glue, so that a kind of lid is obtained. With this cover, we close the bottom hole of the pipe, putting this plug on the glue.

With the fountain for now. Now you need to prepare the lid from the container, in which the author will later place his fountain.
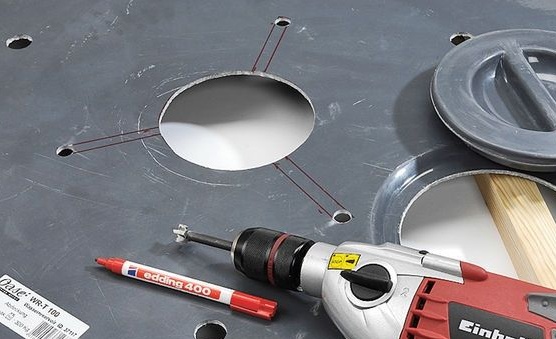
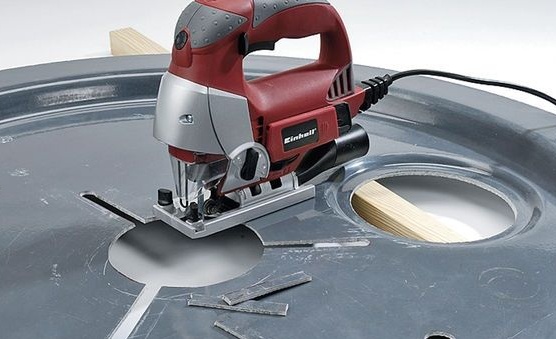
Also in the middle of the lid we cut a hole for the pipe and for stiffeners. For these purposes, again, we will use an electric jigsaw.
We fix the base with a fountain on the inside of the container lid. We make holes and put the base on the bolts.
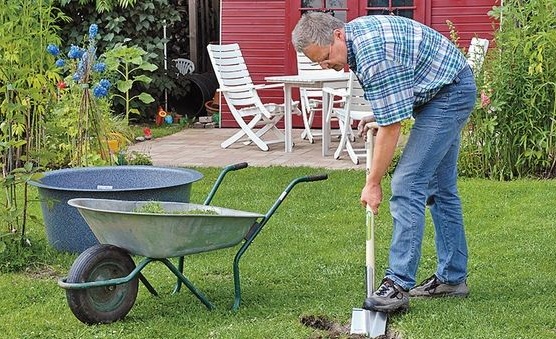
Next, select the place where you want to install the fountain and marking the place on the ground, we begin to dig a recess for the tank itself. Lower the tank into the pit.
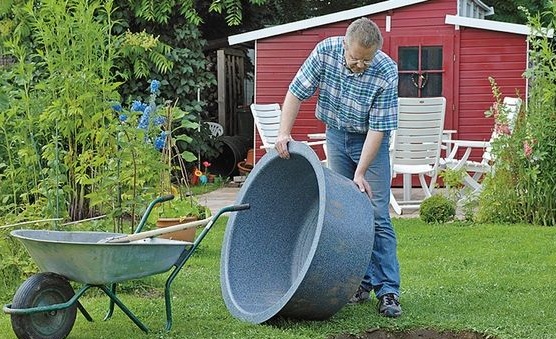
Level the capacity.
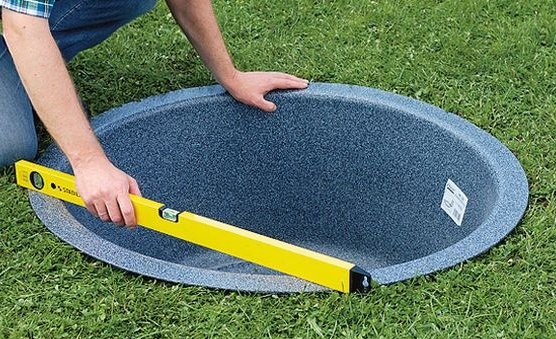
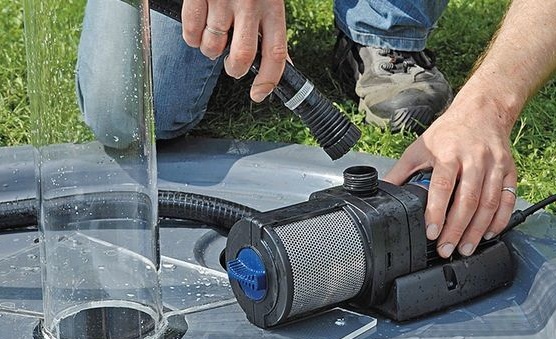
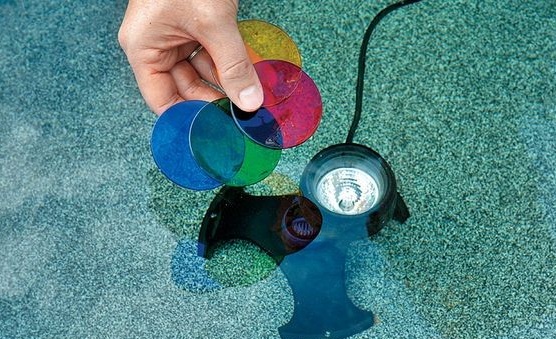
After the manipulations, when the tank is installed and aligned in the pit, we turn to the main point. We collect water in the tank and connect the pump. Under the bottom of the pipe, which he closed with a plug, install a lamp that can work under water. Through the hole in the lid we drag the cable.
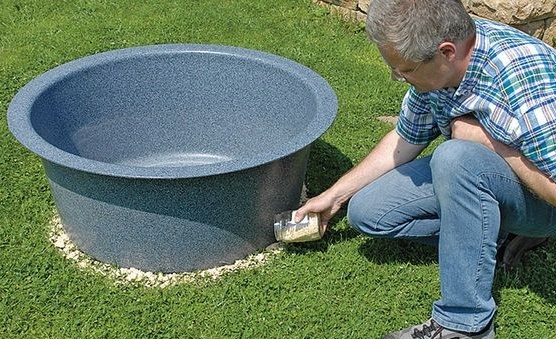
We close the container with a lid, and we decorate it ourselves with stones so that it is not visible. The decor element will be wonderful.
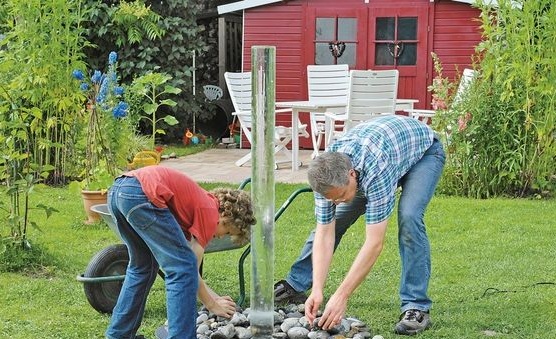
If you get tired of one color, you can easily change it to another. It is enough to throw the stones from the lid and pull out the lamp through the cable hole, install a different color filter on it and again place it under the base of the fountain.
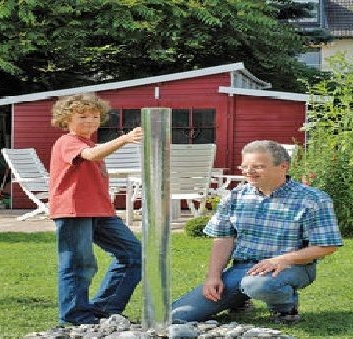
It will look especially beautiful in the dark. Wish you success!