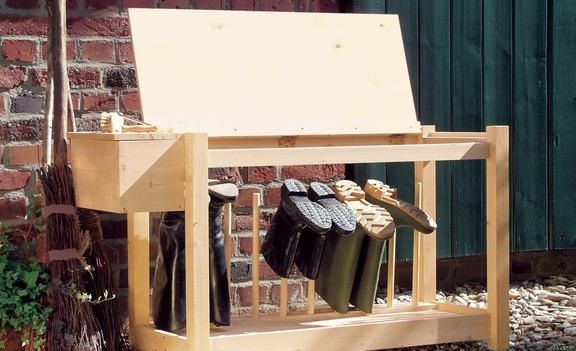
Hello dear the inhabitants of our site and site visitors. I want to bring to your attention an interesting shelf-box for storing rubber shoes. Some work is always in full swing at its site - watering, gardening the garden and so on. It’s convenient to do it all in rubber boots. And do not soak your feet, and the grass will not creep into the shoes, since the shafts are high. Since daily business is always there, then shoes should always be at hand. The main task is the convenience of its storage. You won’t bring it into the house every time and pull it out as necessary. Inconveniently. Therefore, using the example of the author of this master class, I will show and tell you how to make a rather interesting design for storing rubber shoes in a summer cottage, out of the house.
To begin with, we will need production drawings and their sizes.

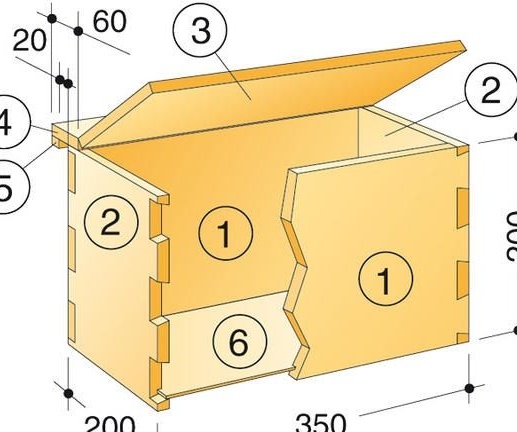
First you need to make a few of these parts, as shown in the photo below. As you can see, it implements the principle of a rather complex spike connection, with the help of which the frame of the future product will be interconnected. If it is difficult for you to implement such a connection principle, then it can easily be replaced by another. This is not important.
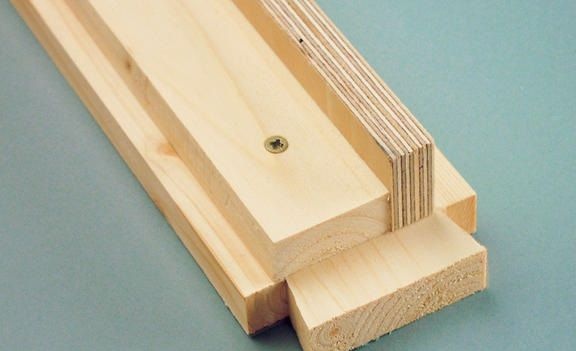
In the next structural part, such a notch-groove is made to connect the parts. They sit on furniture glue. But also, for the strength of the entire joint and the entire structure, you can drive in small cloves or small self-tapping screws, having previously drilled holes in the parts so that the workpieces do not crack under the influence of a twisted self-tapping screw.

Similar actions are performed with all parts of the frame during the assembly process.
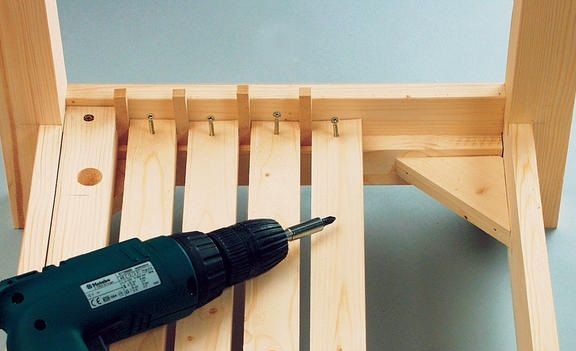
In the lower part of the frame, in the dreams of connecting parts, we fasten the spacer corners. This will give the structure strength, stability, as well as prevent the body from shifting to the sides. We fasten pre-prepared planks with small screws on wood. This is a floor construction. You need to fix them through a short distance from each other. Firstly, it will reduce the weight of the assembled structure, and secondly, after the whole box is assembled and covered with a water-repellent composition, shoes can be washed right in it. Water through the slots will drain and not linger in the structure.

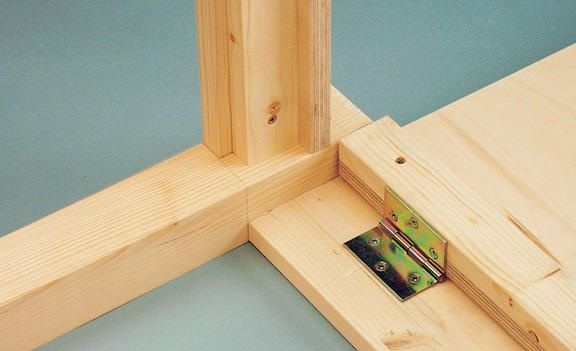
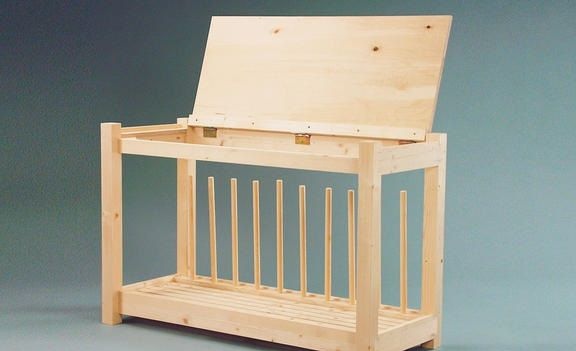
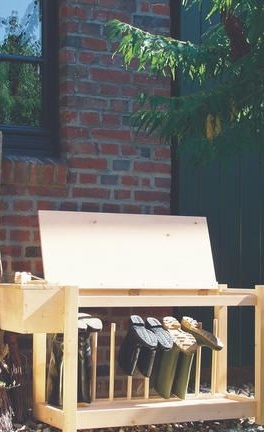
Next, we attach to the top of the thing to be assembled using loops and install the cover from plywood or particleboard. It is good in that in case of rainy weather, it can be closed. If the weather is sunny, they open it and you can dry your shoes after washing or after they have washed it.
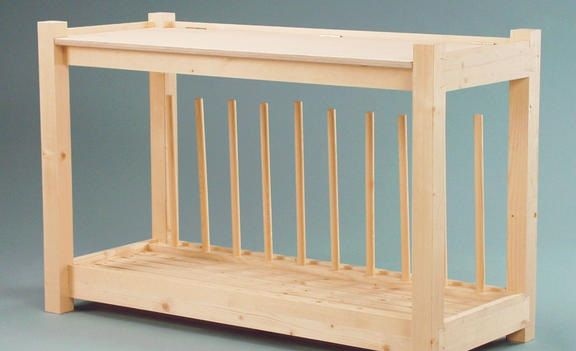
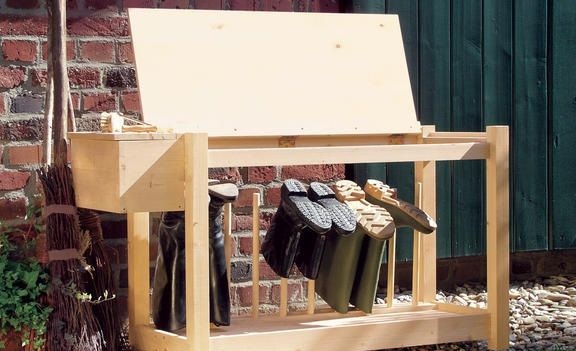
In the lower part of the bar we drill holes and install shoe holders in them. They are also made of wood and are given a rounded shape. They will wear boots and other shoes. This is what an almost finished shoe shelf with an open and closed lid looks like.
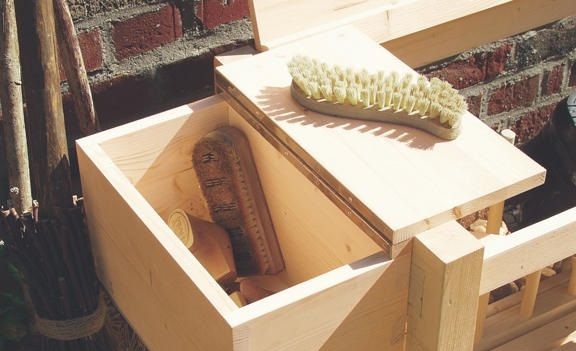
Now we make a small hinged box. You can put a variety of shoe into it. fixtures - cleaning cream, brush and so on. From the boards we assemble a small rectangular frame. We fix the bottom. Further, in the upper part we make a device so that this box can be hung on the shelf itself. We also make a cover for it. It is attached using conventional or piano loops.
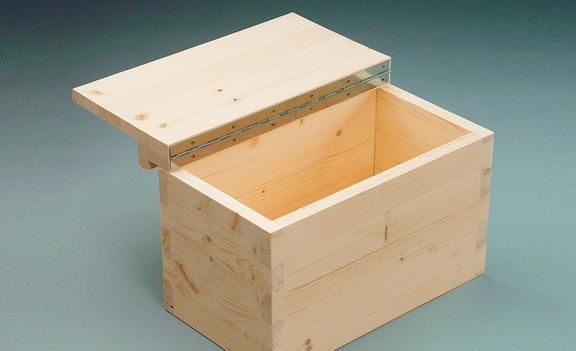
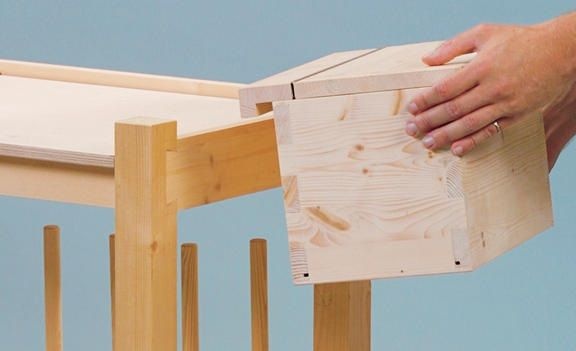
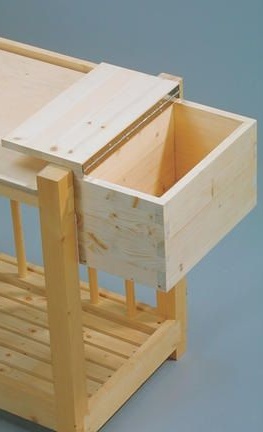
This box can be conveniently removed if you do not need it, or hung back so that all the things stored in it are always with one hand and you do not have to look for them. Pretty comfortable and functional thing. All parts are varnished, stained or other composition that will protect the wood from damage and decay. She will not be afraid of wet weather.
In the end, all the work turned out to be such a convenient and very functional thing.
I wish you all good luck in your work and new homemade products to everyone.
