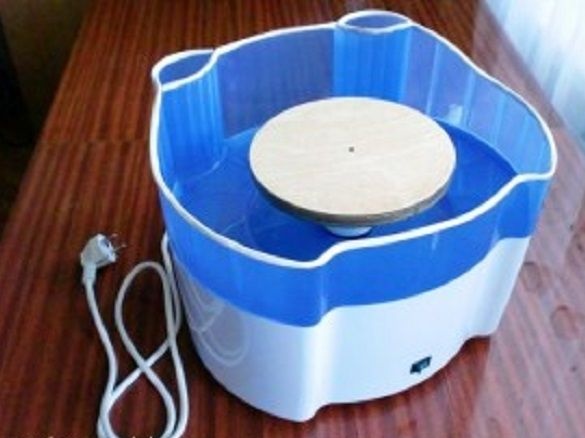
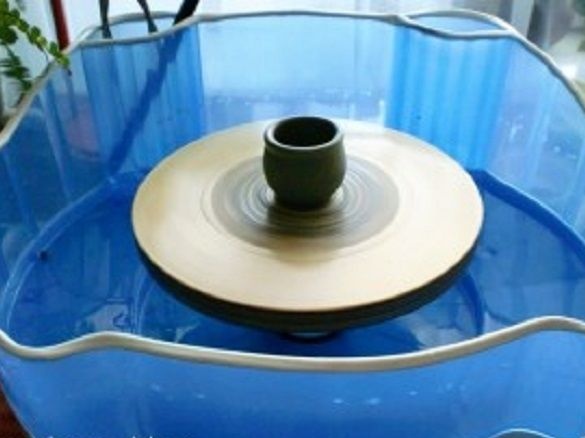
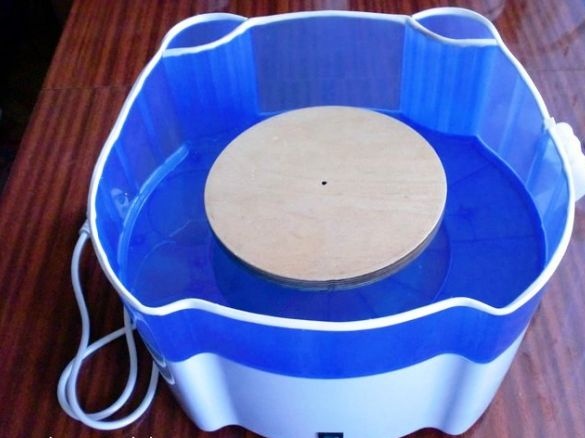
Today we will describe the creation of a pottery wheel from a washing machine. The machine is an activator type, a spinning disk in it is located in the middle horizontally, which already facilitates the work. You just need to modify the machine a little. By homemade it was acquired a long time ago and was no longer used. According to the author, clay can weigh up to three hundred grams on such a potter’s wheel. A potter’s wheel made of a machine is well suited for those who begin to master pottery.

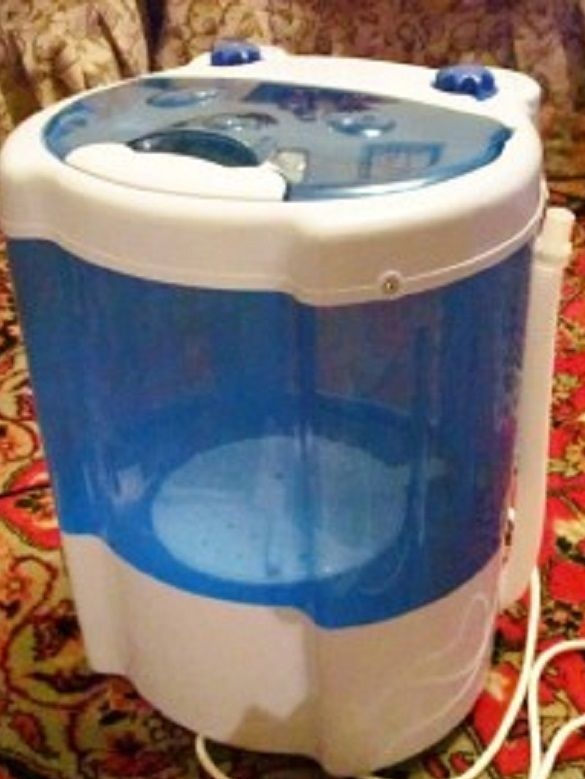
Tools and materials.
1. The washing machine
2. Plywood
3. Yacht varnish with white spirit
4.Plastic bubble
5.Switch
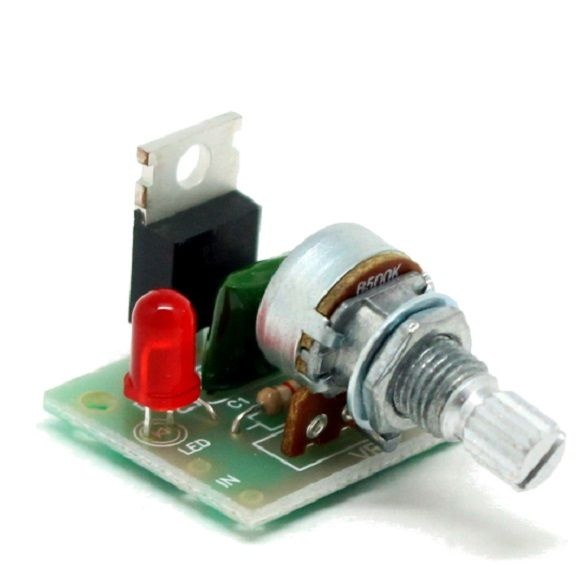
6. Speed controller
7. Impeller
8. Screwdrivers, wrenches
9. ruler
10.Marker
11.Izolenta
12. Metal cutting
13.Knife
Step 1.
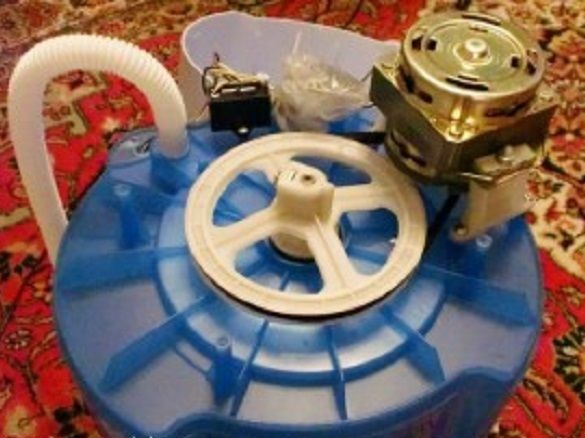
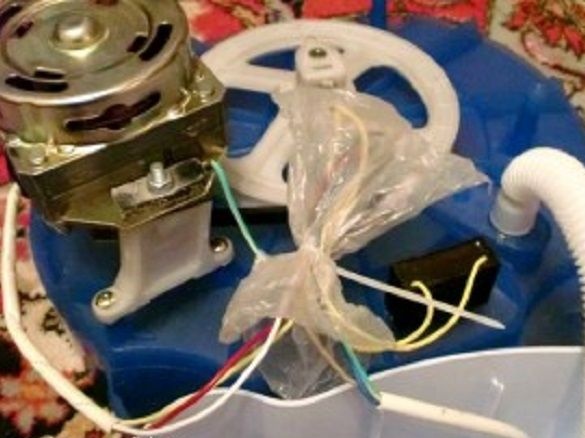
Having turned the machine over, it unscrews the bolts connecting the upper and lower parts. The electrician and the mechanic of the machine are mounted below. Namely: an engine connected to a pulley through a belt, a capacitor, a timer.
Step 2
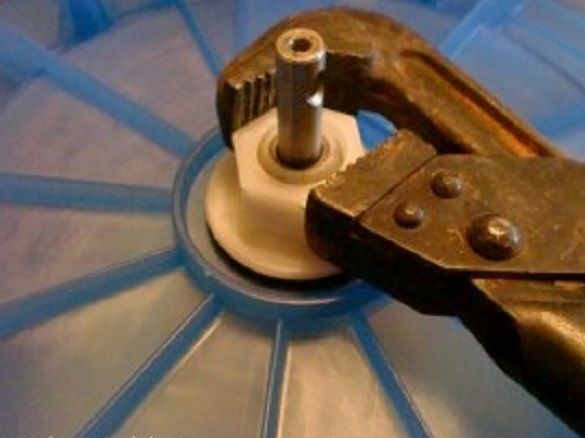
Unscrewing the wires, deletes the timer. Removes the belt. Unscrews the locking bolt and removes the pulley. Under the pulley, unscrews the nut and removes the plastic impeller from the inside.
Step 3
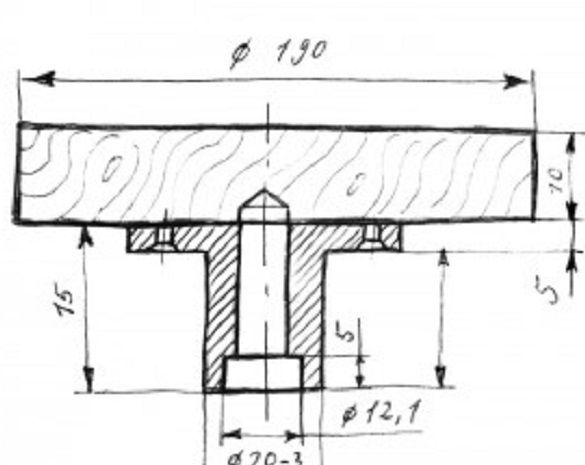
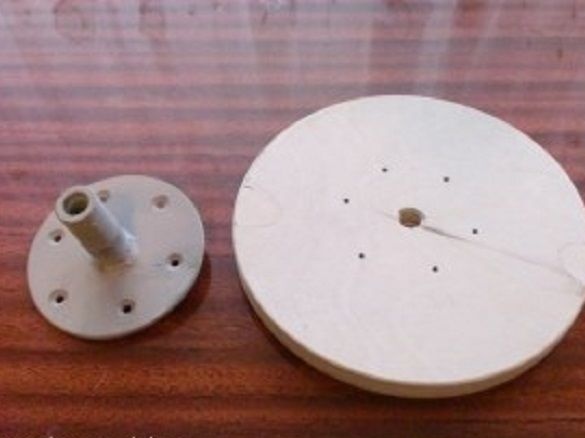
Since the impeller on the machine has a ribbed surface, and you need a flat one, the author makes the wheel himself. The wheel can be made in two ways, by turning all-metal from light metal or prefabricated from steel (holder) and moisture-proof plywood (work surface). That there would be no beating during manufacture, it is necessary to center the assembled parts.
Step 4
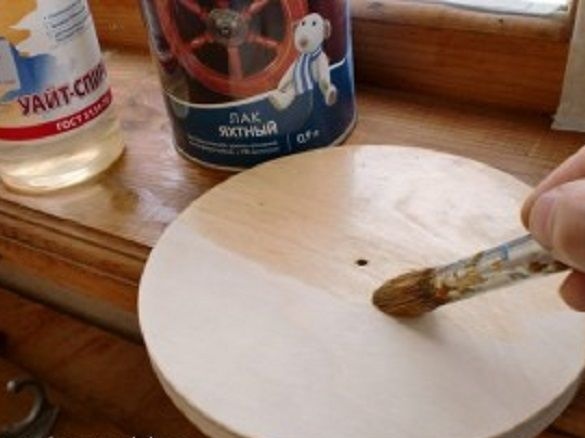
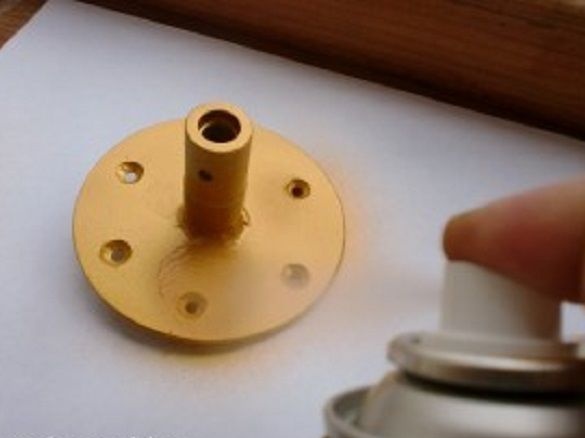
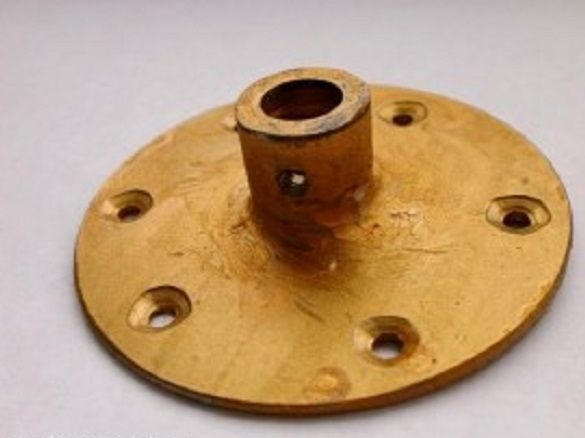
Mixing the yacht varnish with white spirit, makes an impregnation, applies it to a circle of plywood. After drying, apply yacht varnish (or any water-repellent). Primers and paints the base of the impeller.
Step 5
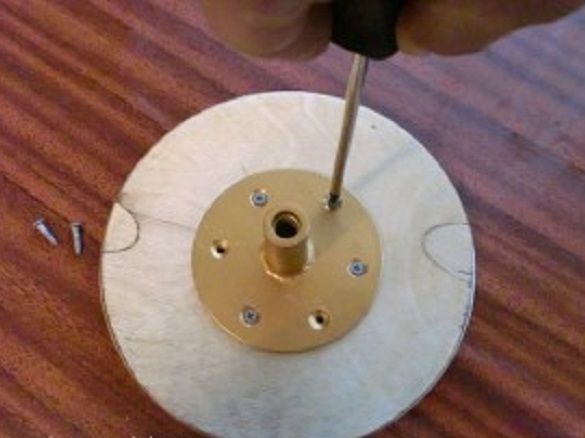
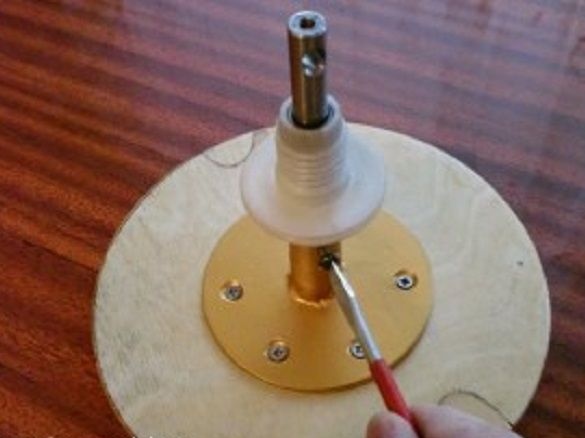
Assembles an impeller. Screws the metal base to the plywood wheel. Having established an axis, fixes it by means of a bolt.
Step 6
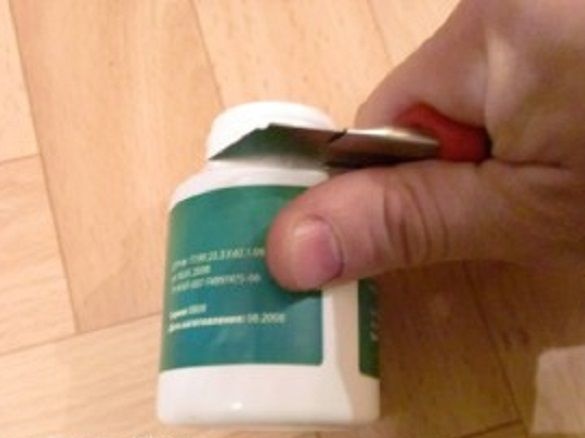
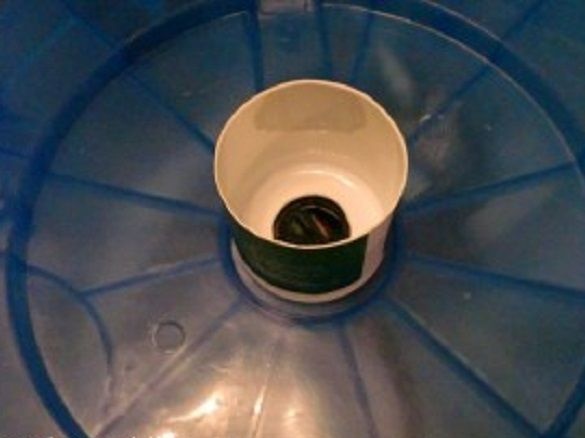
In order for whatever water gets inside, the top (below the cork) and the bottom of the plastic bubble are cut off and placed in the center of the machine from the inside. Installs the impeller assembly with the shaft.It is fixed with a plastic nut from the outside.
Step 7
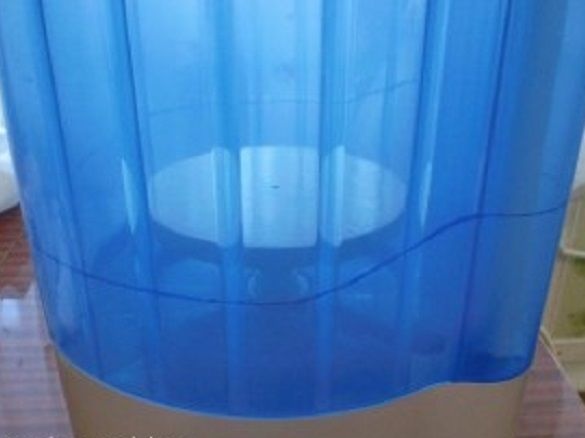
Around the machine’s circumference, a marker outlines a line above the impeller by 1 cm. Cuts off the upper part with a hacksaw.
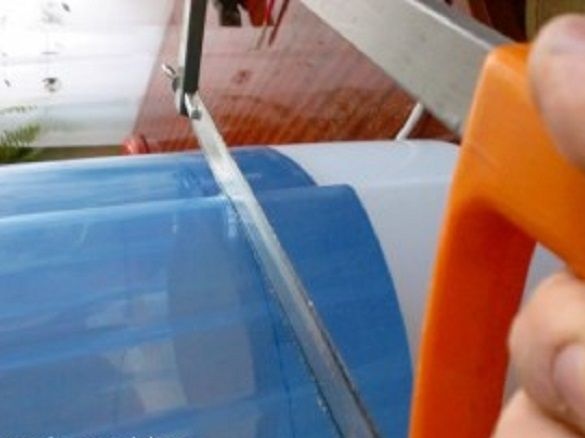
Step 8
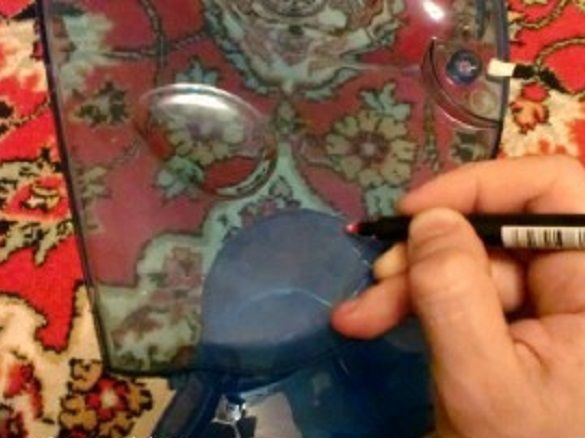
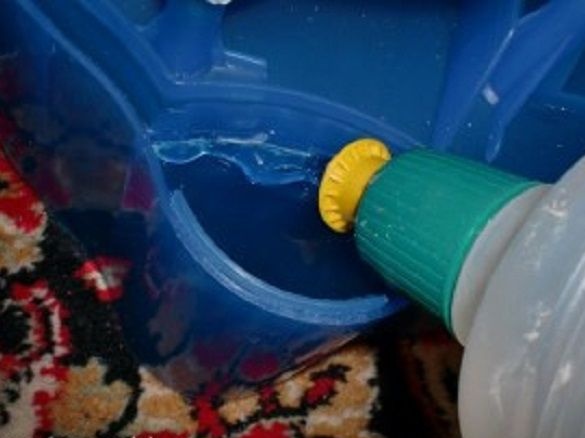
After removing the upper part, two holes formed in the housing. Of these, the author decided to make a stand for the instrument. Having cut out the plugs from the plastic, it sets them inside the hole and fixes it with glue.
Step 9
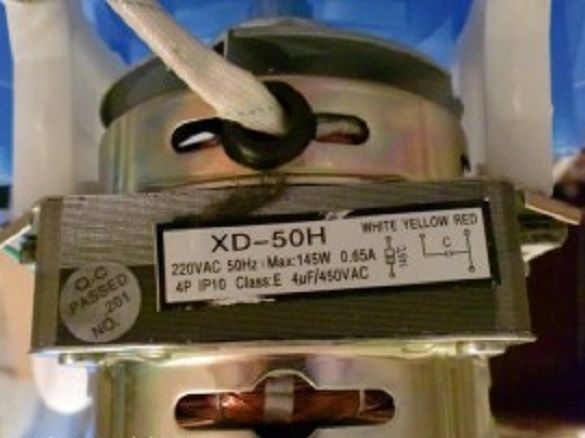
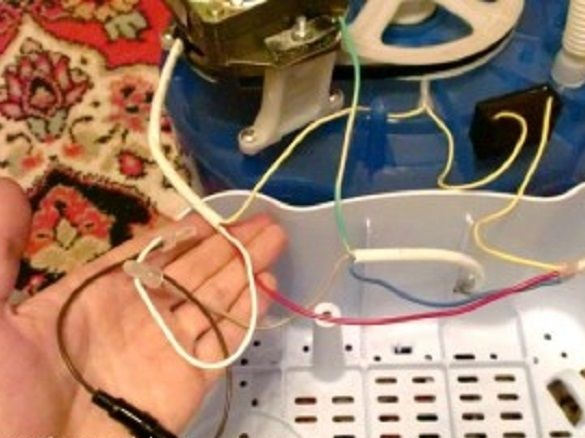
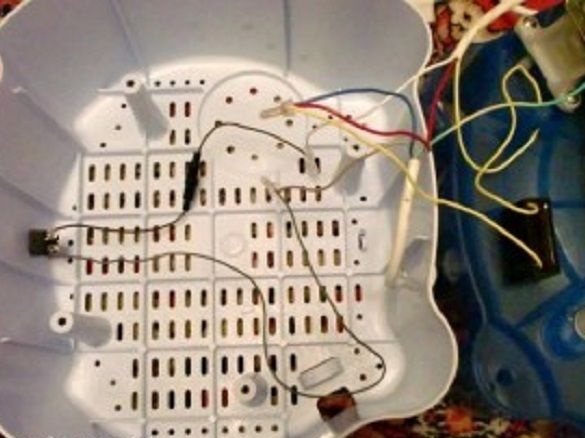
Next, the author connects an electric motor. According to the scheme, the yellow and red wires are connected to the outputs of the capacitor. A white wire is connected to one of the wires of the plug cable. A fuse is installed on it. The second wire from the plug is connected to the output of the capacitor with a red wire. By plugging in the machine, it checks that the pulley rotates clockwise. Accordingly, if you turn the machine over, the impeller will spin counterclockwise. If rotation is in the opposite direction then, you need to swap the wires coming from the engine on the capacitor.
Step 10
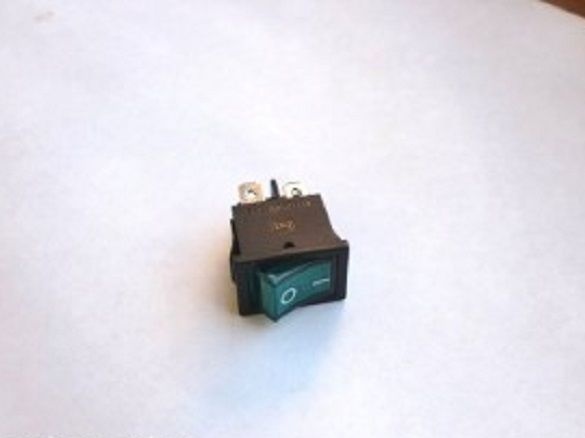
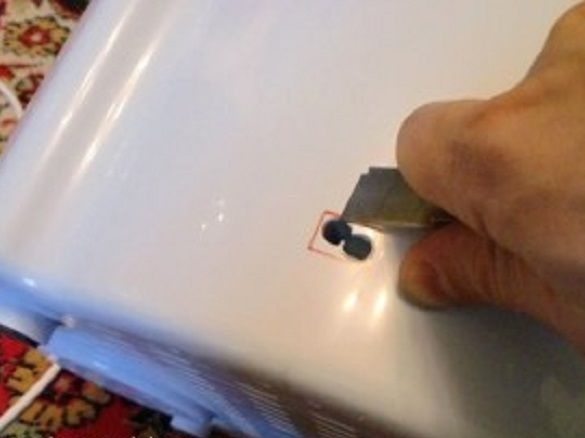
It cuts out the mounting space for the switch in the housing. Installs it, connects the wires.
Step 11
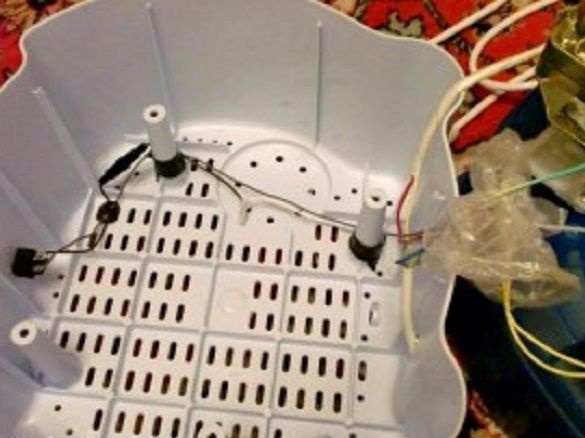
Compactly stacks wires and secures them. If possible, wrap the connection points with a plastic bag and tighten with clamps.
Step 12
Gathers together two halves of the body.
