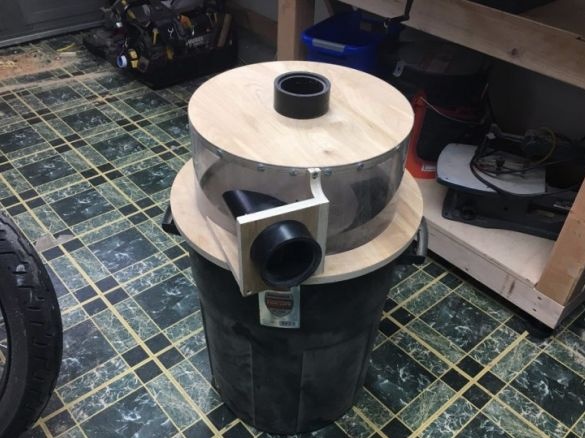
Installations of the "cyclone" type are used in industry for the purification of gases and liquids. The principle of the filter is based on the physical laws of inertia and gravity. Air (water) is sucked out of the apparatus through the top of the filter. A vortex flow is created in the filter. As a result, the contaminated product enters the filter through a pipe located on the side of the upper part. Since the debris particles are heavier, they settle on the bottom of the filter, and the cleaned product is discharged through the top. It is such a filter made for the workshop that we will consider today with the author homemade.
Tools and materials:
Trash bin for 76 l;
Plywood;
Polycarbonate;
Plastic pipe;
Coupling;
Fasteners;
Masking tape:
Manual frezer;
Electric jigsaw;
Drill;
Glue gun;
Band Saw;
Sander.
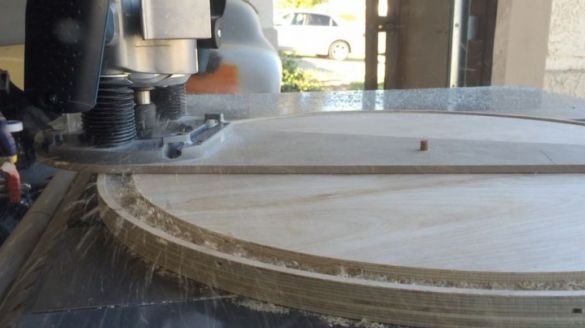
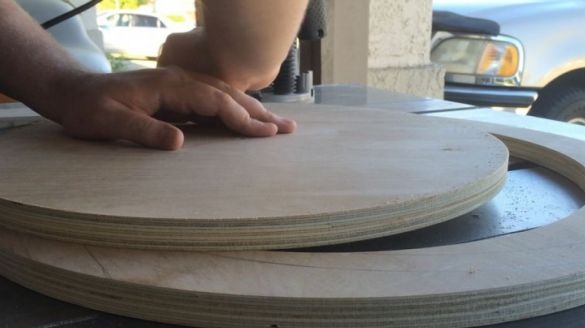
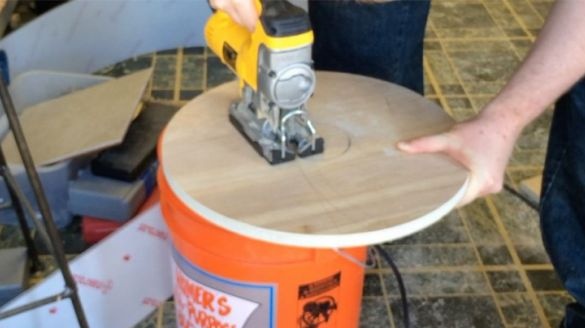
Since the diameter of the upper part of the container is 46 cm, the author cuts a circle with a diameter of 50 cm from plywood for the lid. On one side of the lid he chooses a groove of 2 cm. The depth of the groove is 1.2 cm.
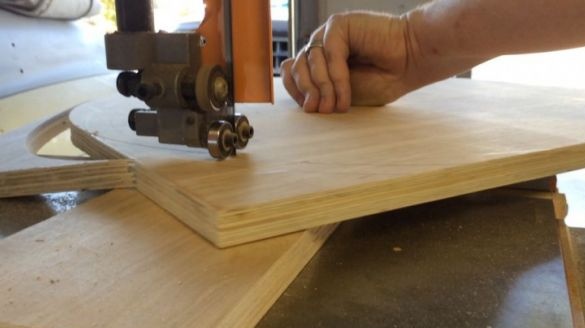
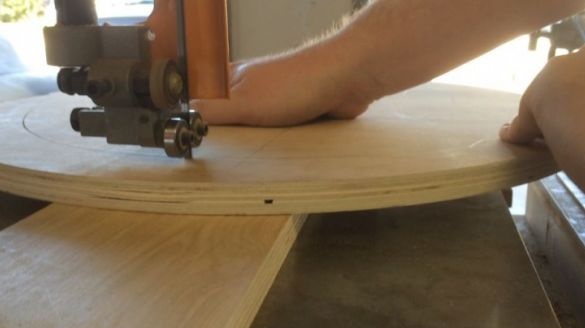
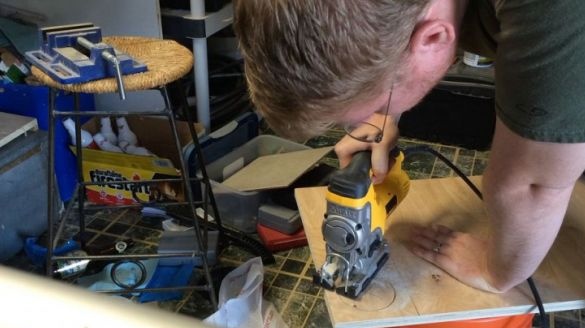
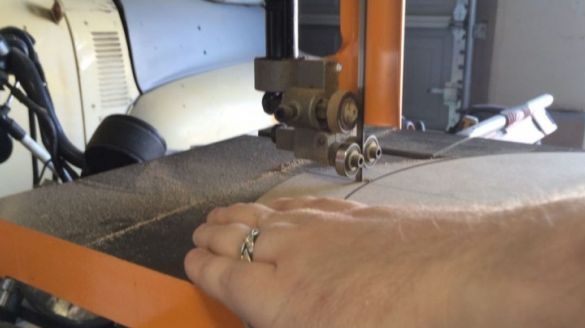
Then a circle with a diameter of 40 cm is cut out from the lid using a band saw.
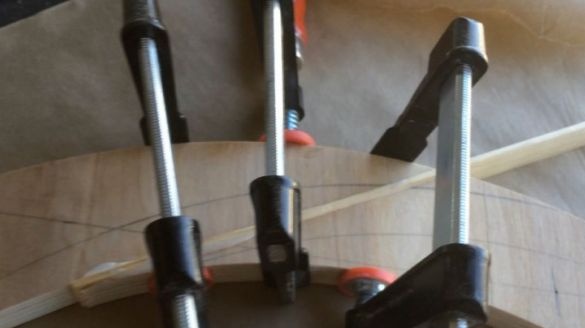
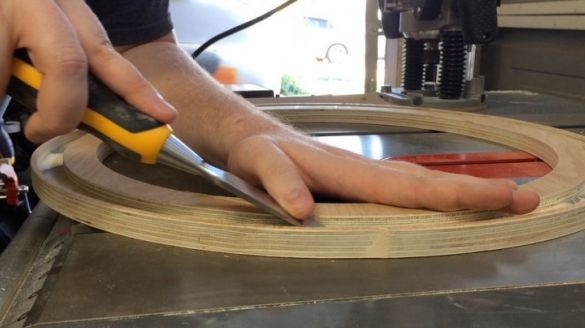
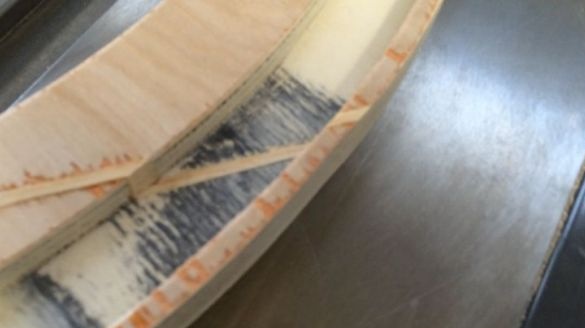
The place of the cut glues, polishes.
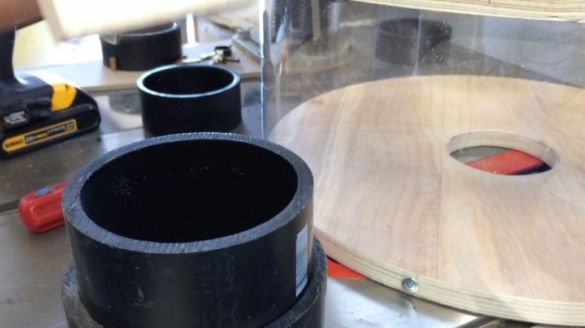
In a circle with a diameter of 40 cm, which remains from cutting the bottom cover, cuts out the middle of the diameter of the plastic pipe. This blank will be installed at the top of the device.
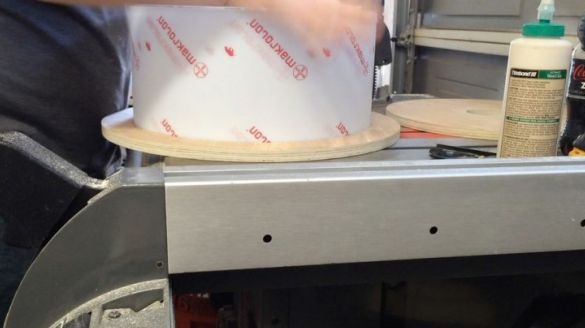
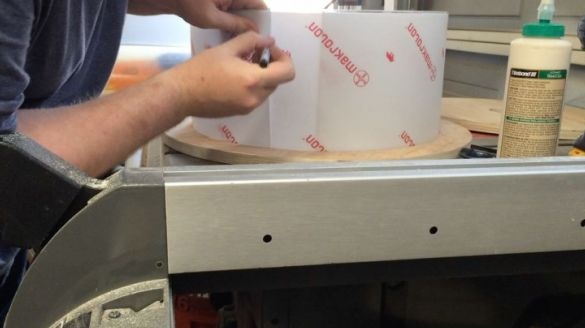
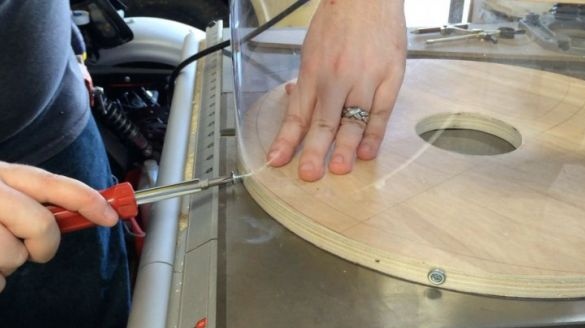
For the side wall, the author used transparent polycarbonate. This will allow you to control the operation of the filter and the filling of the trash can. Having rolled up the cylinder from polycarbonate, inserted it into the inner hole of the bottom cover. Outlined and cut at the junction. Got a cylinder with a diameter of 40 cm and a height of 15 cm.
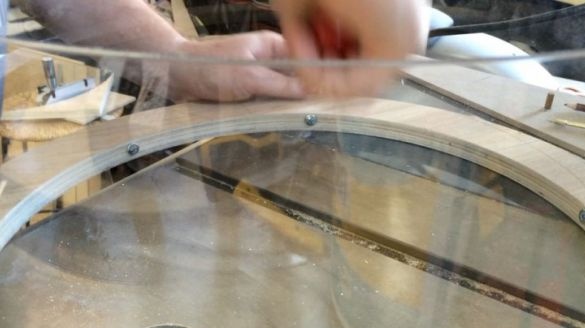
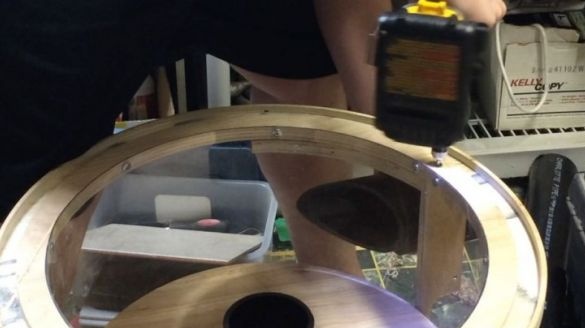
Having inserted the polycarbonate cylinder into the inner ring of the lower cover, it drills holes in 10 cm increments. It fixes the cylinder with self-tapping screws. Whatever the crush polycarbonate bottom of the screws should be flat.
The upper cover is inserted into another part of the cylinder. Fixes with tape. Drilling holes, fastens the polycarbonate with screws.
For the inlet and outlet, the author used a plastic pipe with a diameter of 7.6 cm, as well as two couplings for it.
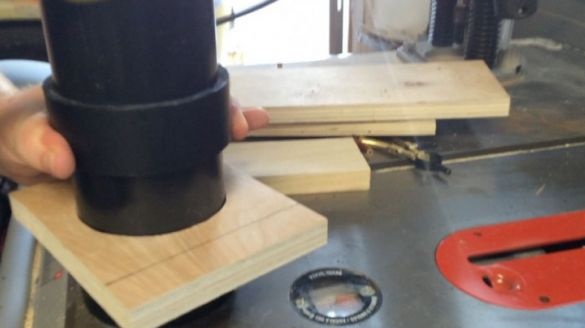
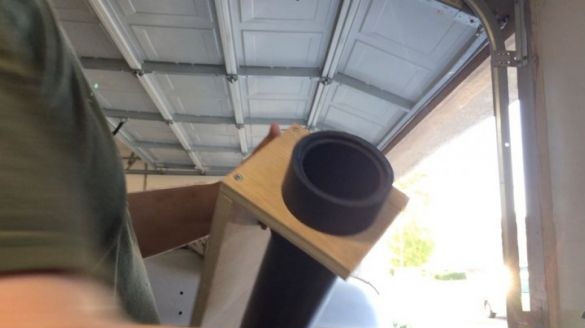
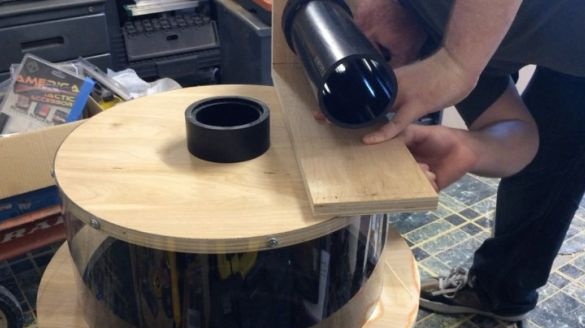
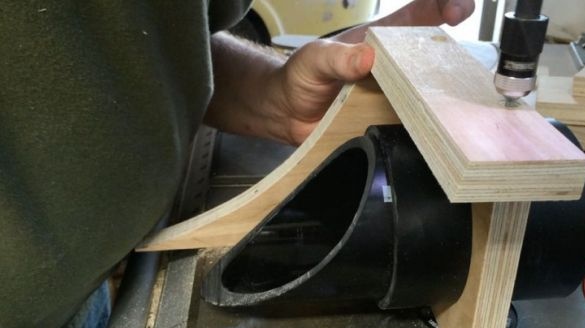
First makes an inlet. Cuts a piece of 23 cm from the pipe. Cuts the coupling in half. A rectangle with 12.5 and 15 cm sides is cut out of plywood. An 8.9 cm hole (outer diameter of the coupling) is cut out in the middle. Having inserted a pipe into the hole, it fixes it with a sleeve on both sides. Seals the seam with hot glue.
A cut out piece measuring 12.5 by 20 cm is screwed to the side wall of the rectangle (12.5 cm).
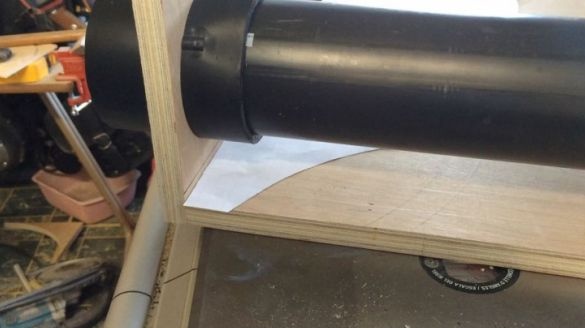
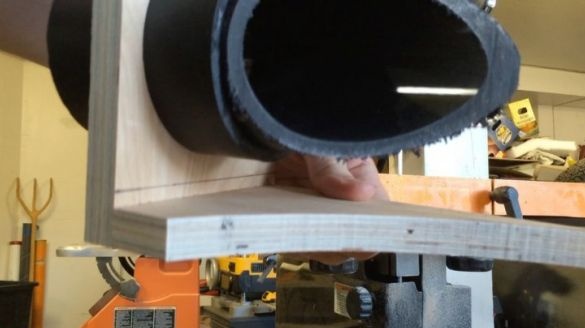
Then the author cuts the pipe and plywood so that the curvature of the cut coincides with the curvature of the cylinder.
1
Having attached the design to the installation site, it makes measurements for the manufacture of a vertical support. Cutting it, attaches to the body. Fastens where the seam of the cylinder goes, thus closing it.
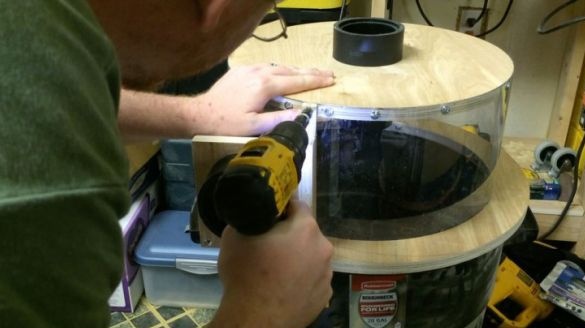
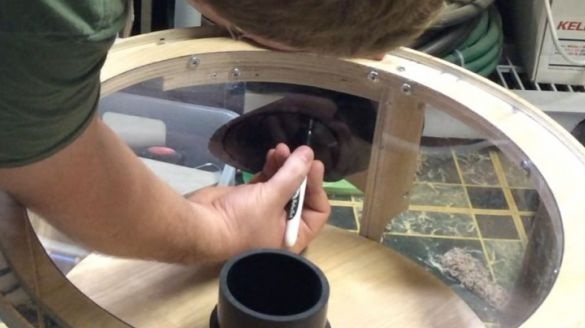
Marks the location of the inlet cutout on polycarbonate. Cut it with a drill.
Installs the inlet pipe into the hole, secures it. The seam is sealed with hot glue.
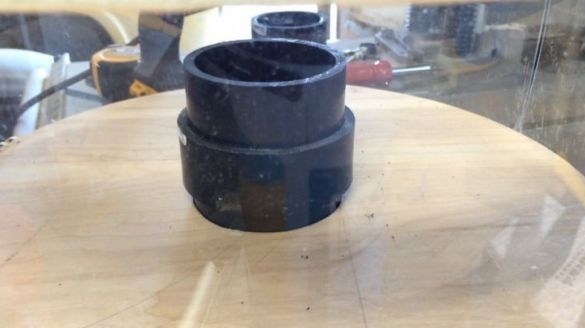
Next makes the outlet pipe. Cuts a piece of pipe 15 cm. Inserts it into the hole in the top cover. Installs the coupling on both sides. Processes with hot glue.
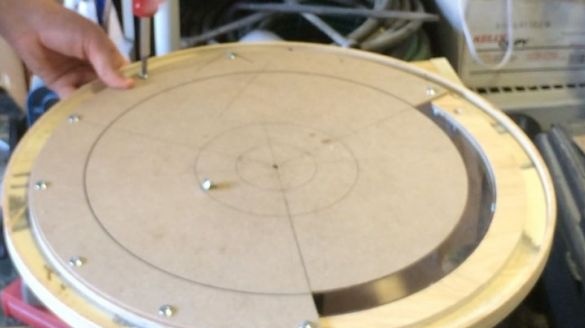
The author made the lower screen from MDF. Screen size 46 cm in diameter, thickness 3 mm. At a distance of 5 cm from the edge draws a circle. Measures an angle of 120 degrees. Cuts the strip between the sides of the corner. Screws the screen to the bottom cover so that the cutout starts immediately after the inlet pipe.
According to the author, such a filter is able to work both with household vacuum cleaners, and with those that are installed directly in the machines. Since debris remains in the filter, the combined use of a filter and a vacuum cleaner extends the last life.
The filter manufacturing process can be viewed in more detail in the video.

