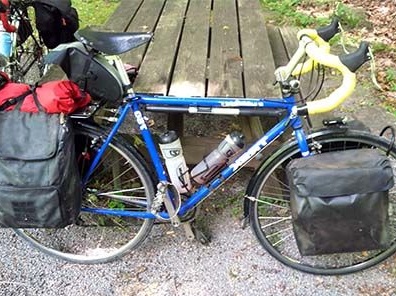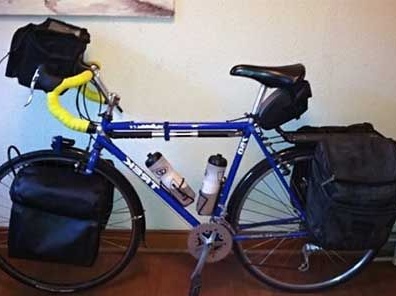
Going on a bicycle on a tourist trip, the question often arises of where to put things. After all, somewhere you need to put the container for cooking, you need to put the lights, a tent, food and other accessories somewhere. Of course, if there are not many things, you can do with a backpack, but even in this case a considerable load will go on your back. A way out of this situation will be trunks - special bags that are installed directly on bike.
One master decided to make such bags themselves, the design from the Internet was taken as the basis, in addition to this, the original project was improved.
Materials and tools for homemade:
- polyester (the main material for the bag);
- scissors;
- accessories for sewing;
- "Velcro" (using the bottom of the bag closes);
- soldering iron with a flat tip;
- liquid polymer coating Plasti Dip;
- corrugated plastic (to give rigidity to the form);
- aluminum slings (1/8 inch size);
- rubber ties and other little things.

We make trunks for the front fork of the bike:
Step one. We cut out the elements and sew the blank
The author decided to create the trunks from polyester. First you need to cut a long rectangle from the material, and then fold it in such a way that the letter U is formed. To create the side walls for the bag, you will need to cut two more rectangles of a suitable size.
The fabric is connected with a soldering iron, and in order to further strengthen the design, the author applies zigzag seams.
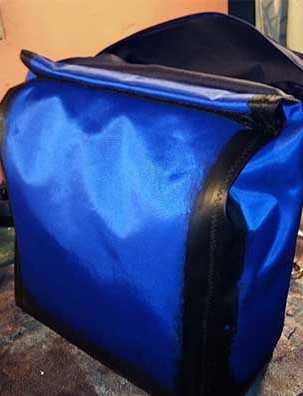
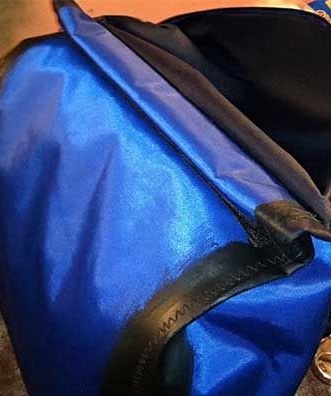
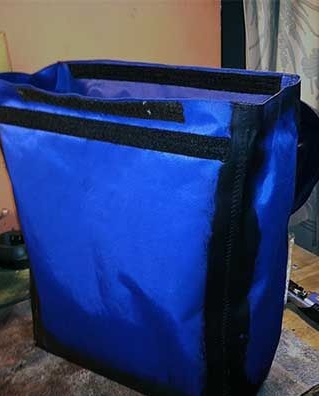
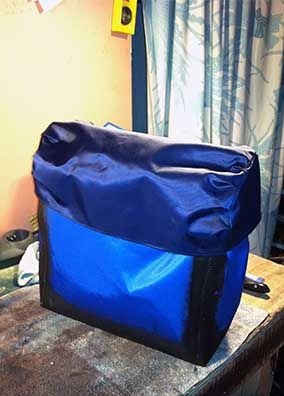
Since the bag will be closed with Velcro, two gaps will form in the area of the side walls through which moisture can pass. To solve this problem, a special hood is made that covers the upper part of the trunk.
Step Two Protective covering
Since polyester is moisture-permeable, in rainy weather the contents of the bag will get wet. The solution to this problem is to apply a special substance to the bag, this polymer coating is called Plasti Dip. The process of applying the substance to the bike bag is not pleasant, but it guarantees reliable protection of the fabric from wear and wetness.
To reliably soak the bottom and seams of the trunk, the author used an ordinary brush. In conclusion, the entire bag was sprayed with the aforementioned substance. You need to apply so many layers so that the material ceases to shine through if you look through it at the light bulb.
Only one Plasti Dip spray can was spent on two bike luggage.
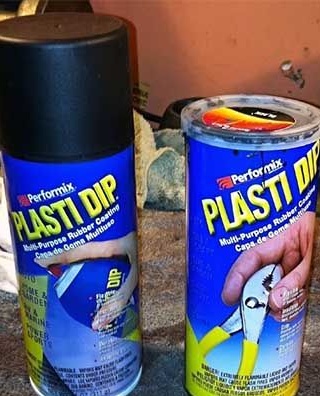
When working with Plasti Dip, you must adhere to safety measures. Since the substance is unsafe for health, you need to work in a mask. It is also important to know that Plasti Dip burns well, so when working with it, you must avoid an open source of fire.
Step Three Stiffening rib
To increase the stiffness of the bag and maintain its shape, the author installs corrugated plastic on the bottom of the trunk, it was removed from the old auto- trunk with which the bike is transported. The element has a shape in the form of the letter L, and its dimensions are sufficient to completely cover the bottom of the trunk.
In addition, two 1/8 inch aluminum slings were installed in the trunk. With the help of the large, the upper parts of the rings were fastened, and with the help of a small ring directly. They were mounted in such a way that they do not press on the corrugated plastic and at the same time maintain the shape of the trunk.
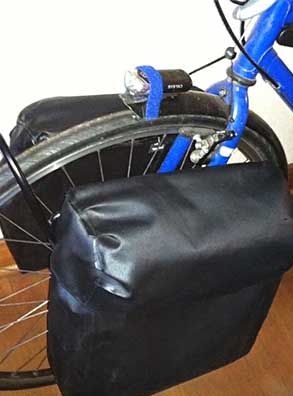
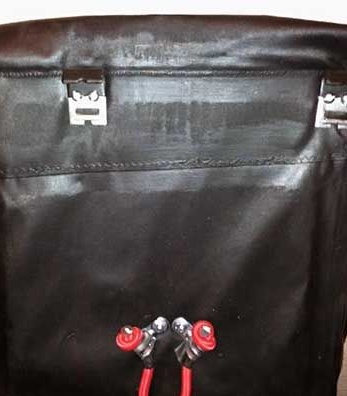
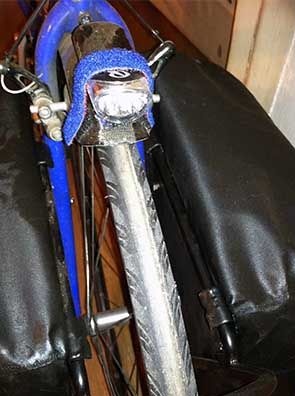
The trunk is fastened with bolts so that they do not unwind when riding, plumbing tape (Teflon) will be needed. That's all, the trunks for the front of the bike are ready. In the photo you can see what the back side of the bag looks like. To fix the author decided for the lower rack of the trunk, pi this approach the bag will be well fixed, and will not hang out.
Making trunks for the back of the bike
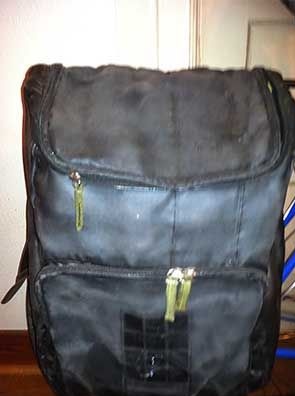
To make the trunks for the back of the bike, the author decided to use a simpler approach. For these purposes, two identical backpacks were found that are made from recycled bottles. To reduce the size, the author cut off belts from backpacks. Only the upper handle was left, with the help of which it is convenient to remove backpacks from a bicycle. In addition, various cylindrical objects of small sizes can be attached to the handles with rubber ties.
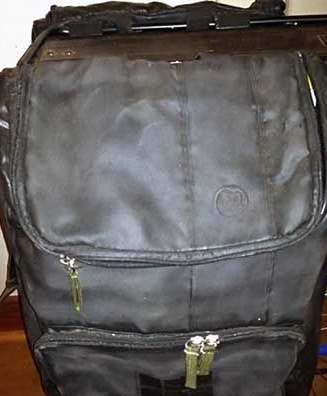
Since these backpacks also leak moisture, they also need to be treated with Plasti Dip. First, the substance is applied with a brush to the bottom and seams, and then the entire backpack is processed using a spray can. With the help of an aerosol it is possible to cover even lightnings, but during the drying process they need to be unfastened and fastened sometimes so that they do not stick together. After this, the lightnings will become tighter, however, they will better keep the ingress of water inside.
To protect the bike from rain, a hood is also made for it.
The mechanism of attachment to the rear of the bike
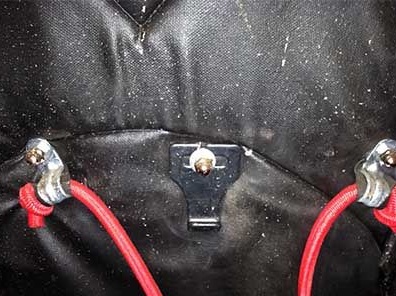
How exactly the trunk is attached to the back of the bike can be seen in the photo. In order to ensure a good tension of the fasteners, rubber ties are needed. With the help of them you need to connect the hook and the rear of the trunk.
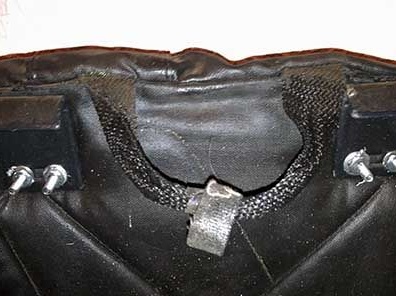
To ensure rigidity of the bag, the author, like the front bag, installs corrugated plastic on the bottom. However, here it was installed in two layers, since it was planned to load the rear trunks more strongly. Well, by the same principle, aluminum slings were installed in the backpack.
Conclusion
In the photo you can see what the bag looks like after several layers of polymer coating were applied to it. The photo clearly shows how the bottom sags, this is due to the fact that only one layer of corrugated plastic was used here.
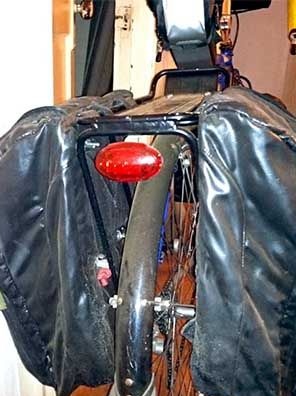
That’s all, the bike luggage is ready. According to the author, they do not get wet even with heavy rain, and are also quite resistant to physical exertion. The only drawback can be considered that if you get things out of the front trunk, then it can stagger a little from side to side.
