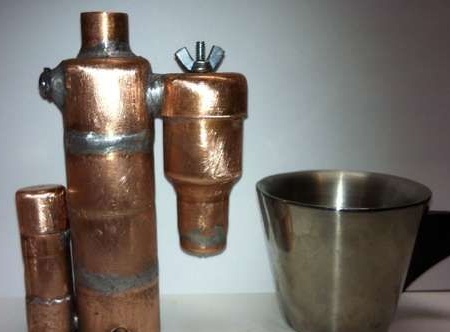
Many coffee lovers will appreciate this homemade. Thanks to this miniature coffee maker, you can easily prepare delicious espresso. Homemade assembly is easy and requires a minimum amount of materials for assembly.
What is espresso coffee?
To obtain such coffee, it is necessary to pass hot water under pressure through a special filter in which the coffee is located. Thanks to this, a large and tasty foam is immediately formed and very tasty coffee is obtained.
In total, espresso is divided into three portions, that is, 30, 60 and 90 ml (regular, double and triple). A certain amount of water requires a certain amount of coffee. On an ordinary espresso you need 7-8 g of coffee, on a double 14-16 g, and on a triple 21-24 g.
There is no common standard in terms of making espresso, there is only pressure that is necessary to create a drink, it is 9 bar. How to assemble such a machine, consider below.
Requirements for a mini-coffee maker:
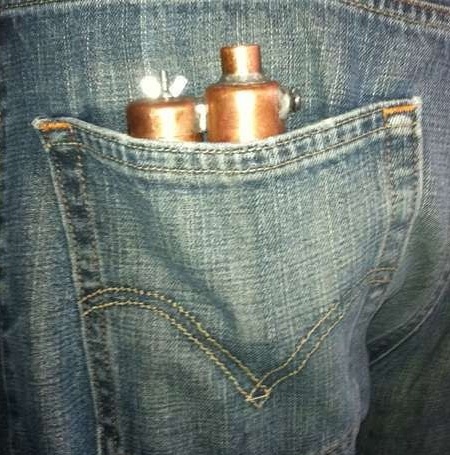
1. Such a coffee maker should fit in your jeans pocket;
2. Publicly available materials for manufacturing;
3. The minimum set of tools for homemade;
4. All the necessary nodes are assembled in a single building;
5. And finally, such a machine should not be costly.
Materials and tools for homemade:
- four plugs with a diameter of 1/2 ″;
- two plugs with a diameter of 1 ″;
- copper pipe with a diameter of 1/4 ″ (length approximately 100 mm);
- one adapter from 1 to 1/2 ″ (1 ″ - mother) (a boiler is made of it);
- one adapter from 1 to 1/2 ″ (1 ″ - dad) (a teapot is made of it);
- fitting (diameter 1 ″);
- three 1/2 ″ fittings (two are needed to create filters);
- a piece of tube with a diameter of 1/2 ″ and a length of 75 mm;
- for fastening, a 6 mm bolt 75 mm long and a wing nut will be needed.
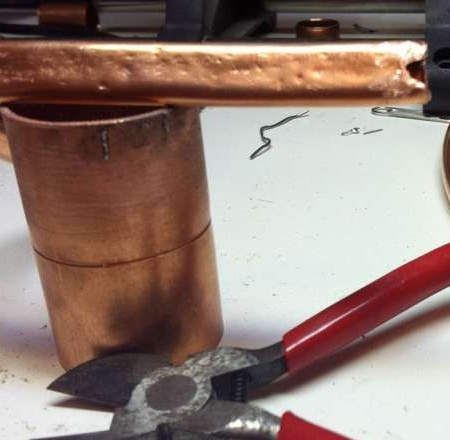
Under the filler hole, a bolt with a nut will be needed, the bolt length should be a maximum of 12 mm, the nut height should be about 10 mm.
For the heater, you will also need a small bolt with a nut. The diameter of the bolt must be such that it fits into the 1/4 inch tube. The length of the bolt should be about 12 mm.
As additional materials will still be needed: a small board, a syringe for 10 cubes, two rubber gaskets with a diameter of 1 ″, two rubber o-rings (such are in the mixers).
Of the tools you will need: a drill, a hammer, a drill with drills (3, 6 and 1.5 mm), a hacksaw, a soldering iron, sandpaper No. 150, pliers, wire cutters. A pair of large nails.
The process of making a pocket coffee machine:
Step one. We make a boiler
To make a boiler in an adapter from 1 to 1/2 inch, 4 holes must be drilled. Then a 1/2 ”tube is inserted into the adapter and sealed. In this case, it is necessary to use exclusively the solder that does not contain lead (lead is harmful).
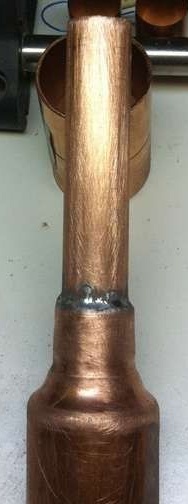
Then you need to take a 1/4 inch tube and step back from the edge of 25 mm, in this place a V-shaped cut is made. Then the tube bends at the cut point at an angle of 90 degrees. This place is then sealed. The long end of the tube must be flattened with a hammer.
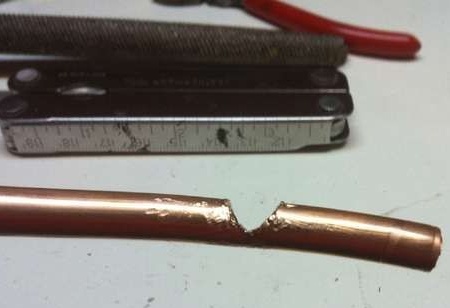
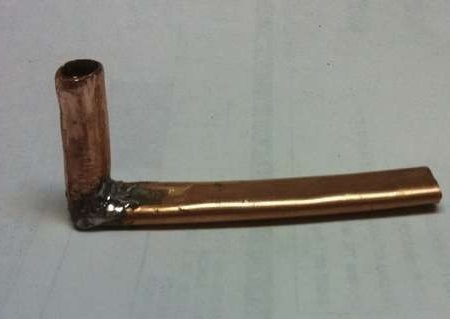
At the bottom of the flattened tube, the author cuts out a small notch. If the tube is not flattened, it will not fit into the boiler. The notch is needed so that the scale, if any, does not completely block the channel.
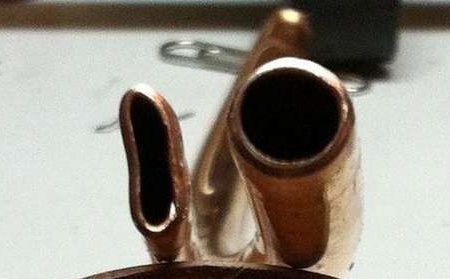

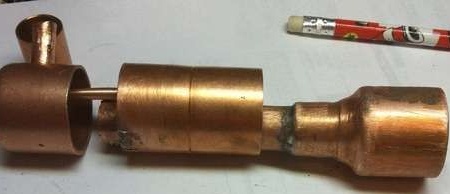
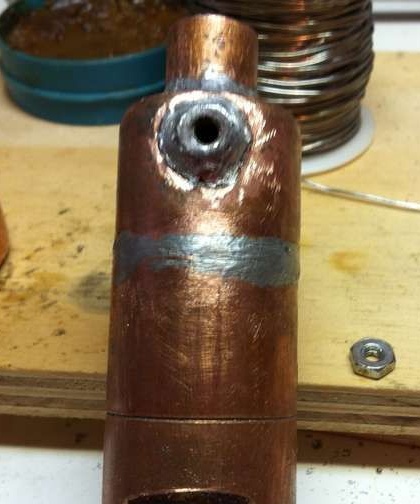
Now all the details can be collected as in the photo. They need to be well adjusted to each other. Now everything can be soldered. In parallel with the water supply pipe, do not forget to solder the nut.
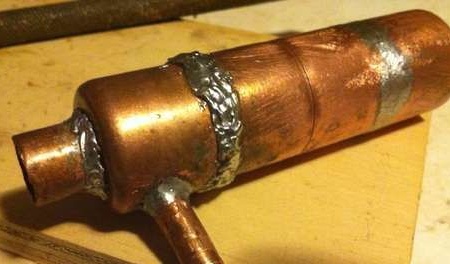
Step Two Making an alcohol burner
That's all, now the boiler is ready, it remains to equip the burner. As you guessed, the burner should be very small, however, it should burn for a long time in order to heat the boiler to the desired temperature. The way out of this situation was the placement of a tank with fuel for 10 cubes (made from a syringe). This supply of fuel is enough for the burner to work for 18 minutes. Next, you need to make a fuel dispenser. The author did not bother about this, he glued the upper part of the syringe with electrical tape, in which he pierced the hole with a needle.
With this approach, fuel enters the burner at intervals of a drop per second (approximately).
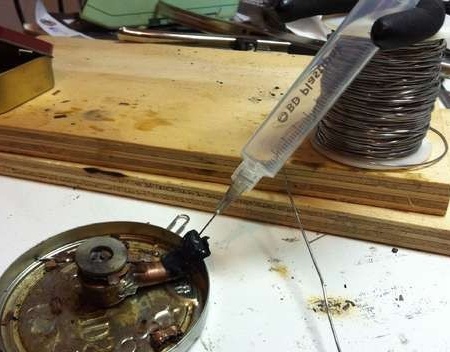
To make a burner, you must adhere to the drawing. In a wooden board you need to drill a hole with a depth of 12 mm and a diameter of 6 mm. With the help of this fixtures it will be easy to process the tubes, a kind of conductor.
The 1.4-inch tube must be inserted into the conductor and grooved in it. There should be a total of 4. It is still necessary to fit and solder the tube that will connect the syringe and burner.
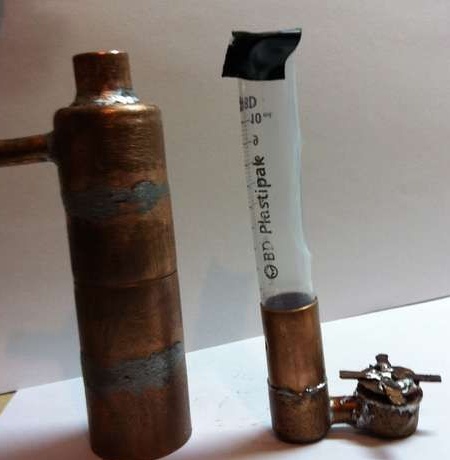
The fuel pipe is inserted into the heater, its lower part is sealed. You also need to solder the upper part of the heater.
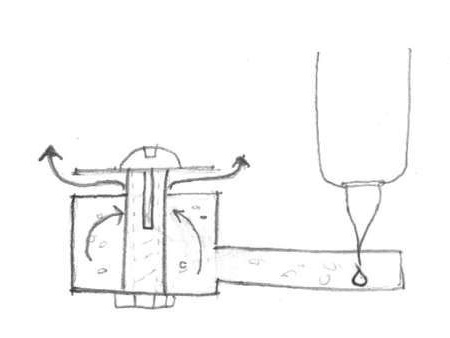
After the evaporation tube is installed, it is necessary to install a kind of gas burner on it. This is done from a piece of tube with holes, a bolt and a washer.
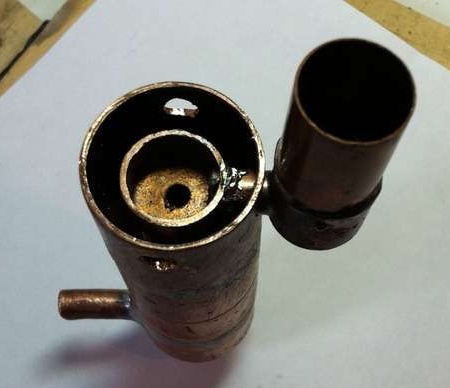
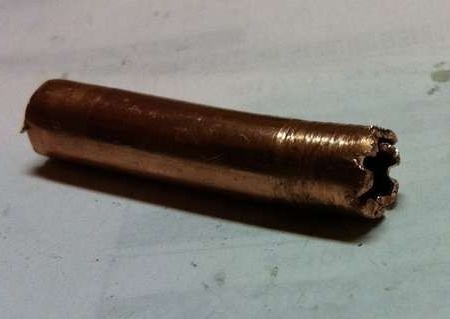
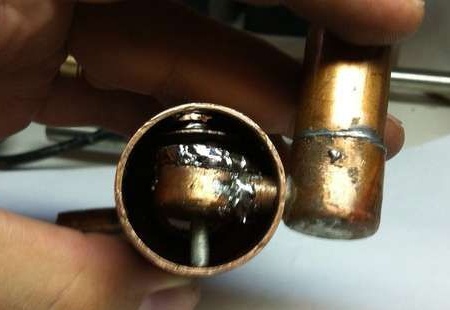
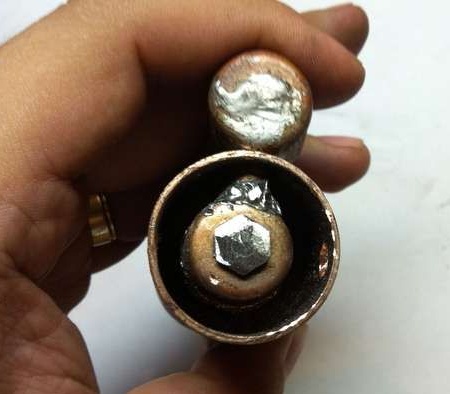
The syringe needle also needs to be modified, it must be cut to the desired length. It is not necessary to use nippers for such purposes, since the needle will be pinched and alcohol will not be able to enter the burner.
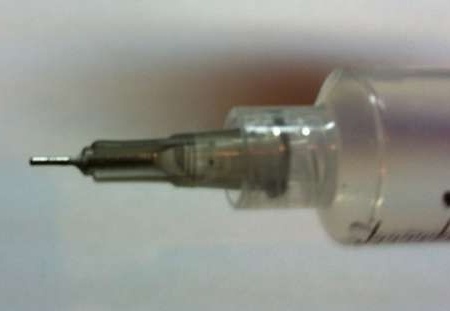
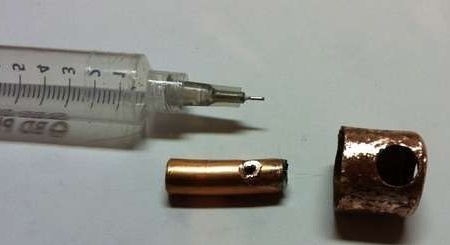
The syringe can now be inserted into the holder tube and sealed. The upper part of the syringe is sealed with electrical tape.
Step Three Making a teapot
First you need to take coffee and measure 7 g, this is necessary in order to determine how much it takes. To make a teapot, the author applies an adapter from 1 to 1/2 inch. The adapter must be sharpened so that a small cup for espresso fits under it. Metal filters are installed inside the teapot, they will also have to be made by yourself.
Everything is going according to the drawing. You need to take one fitting and saw it along, then it is flattened with a hammer. As a result, the thickness of the plate should be like a needle. After that, a circle is made from the sheet of metal obtained, it should be placed inside the 1-inch plug.
You will also need another circle, which should correspond to the outer diameter of the 1/2 inch plug.
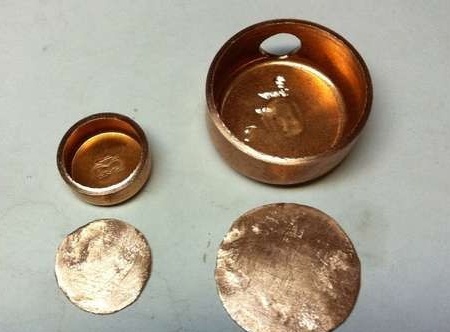
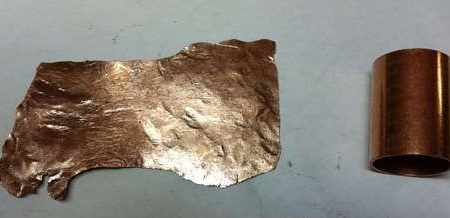
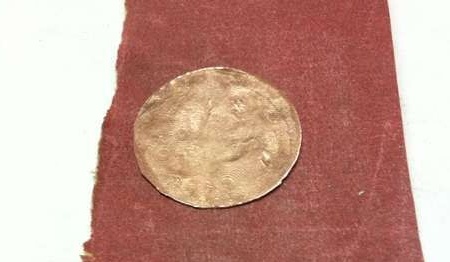
Now you need to make miniature holes in the plates. To do this, you will need a small nail, a hammer and a dock. With the help of a nail and a hammer in the plate you need to make a lot of tubercles.Further, these tubercles are ground with sandpaper until the cherished holes appear.
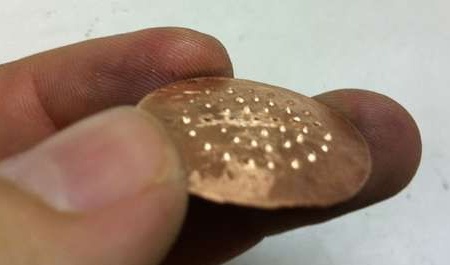
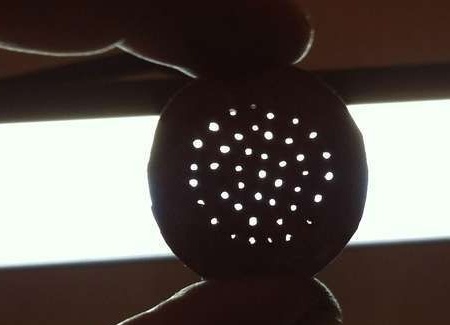
The smaller copper filter is soldered into the adapter
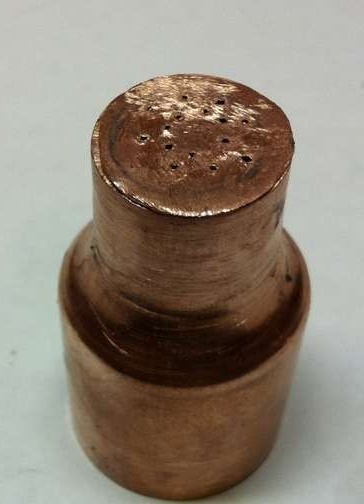
1/2 inch end cap is soldered to the adapter
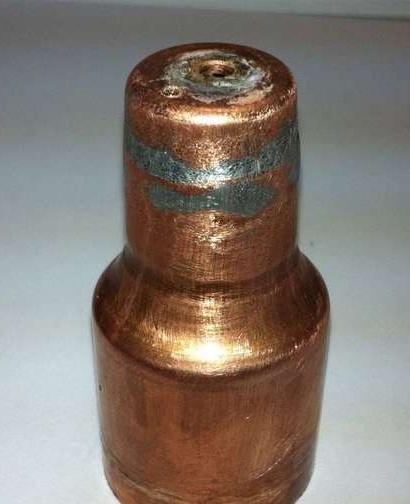
A water supply pipe comes out of the boiler, it must be cut so that it matches the shape of the inch plug. The joint between the plug and the tube is sealed. The author cut a ring from an inch hose; its height is 6 mm. This ring is mounted on the top of the teapot. Now you can install a copper inch filter and a gasket that secures it.
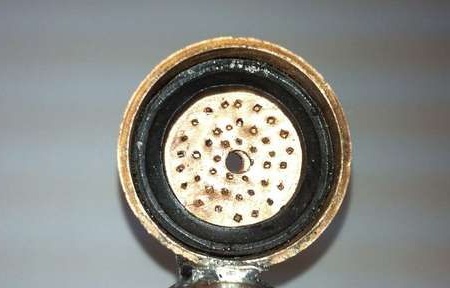
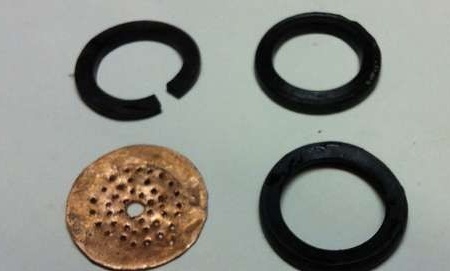
In both copper filters, 3 mm diameter holes need to be drilled. Thus it is necessary to strive to coincide their axes. Well, now the teapot can be assembled, its parts are fixed with a screw and wing nut.
The final stage. System setup and testing
To test and adjust the machine, it must be washed and then filled with water through the hole in which the nut is soldered. Then a bolt with a rubber gasket is screwed into this hole.
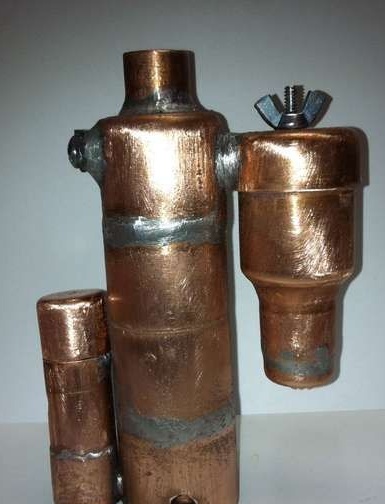
In the syringe, you need to type alcohol, and close the tank with a 1/2 inch plug. Now you need to wait a couple of seconds until the alcohol vapor reaches the burner. Now you can take the coffee machine by the teapot and use the lighter to heat the bottom of the burner. After about 10 seconds, the alcohol should flare up.
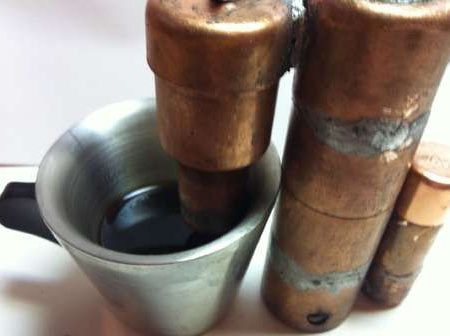
Well, now it remains only to wait, putting a cup under the teapot, it should be half full. After the machine has cooled, you can re-make coffee.
