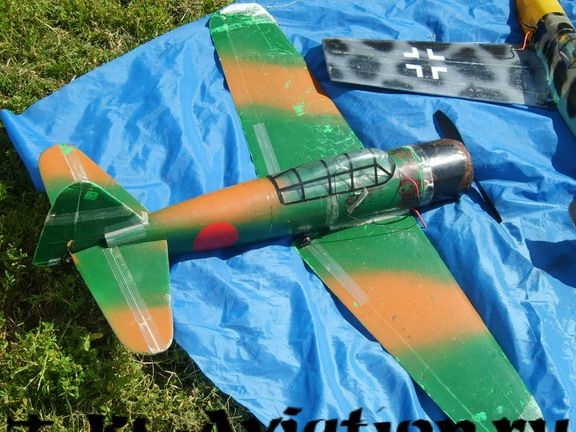
For those who don’t know, PET bottles for beer or soda water have a very interesting feature - they shrink when heated like a heat shrink tube. Due to this feature, various blanks can be made from this material for homemade. Due to its lightness and affordability, PET bottles are successfully used in the construction of aircraft models.
The most convenient way to make the fuselage for the aircraft. The most difficult here is the manufacture of blanks, but then you can make an unlimited number of blanks on it.
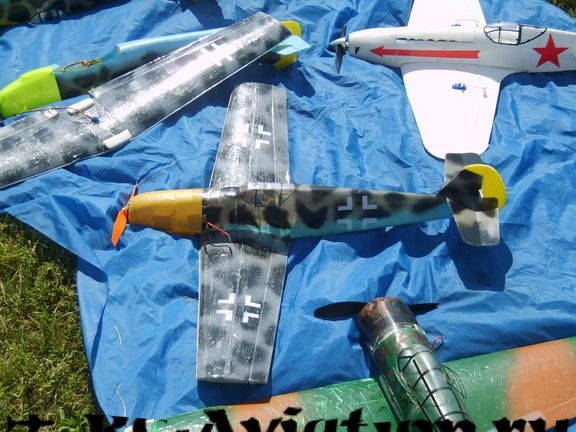
Materials and tools for homemade:
- hot air gun or gas stove (for heating PET);
- PET bottles;
- wooden beam (for the manufacture of blanks);
- a tool for woodworking (hacksaw, sandpaper, etc.);
- PVA glue;
- scissors;
- glue moment;
- paint, brush (and other materials for finishing the model).
Homemade manufacturing process:
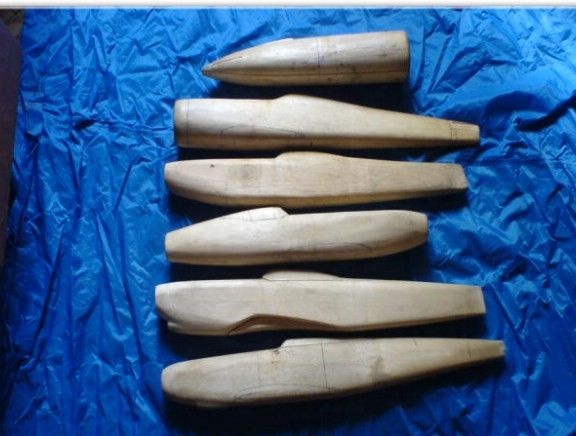
Step one. We make a blank
The blank will act as a template (form), it will be enveloped by PET when heated and take its shape. Creating blanks here is the most complex and painstaking process. Here you will need four bars, which are then glued with PVA glue. When the glue dries, all the necessary tools for woodworking come into play. As a result, after some efforts a blank will be created.
Step Two Bottle setting
It is very simple to plant a bottle; the main thing is to choose a suitable size for the disc. The bottom of the bottle is cut off and then a blank is inserted into it. Now PET can be heated, it is most convenient to use a building hair dryer. The bottle must be warmed evenly so that it grasps the blank from all sides.
As for the neck, it should be placed in the place where the engine will be located. Subsequently, the neck is carefully cut and the appearance of the fuselage does not deteriorate.
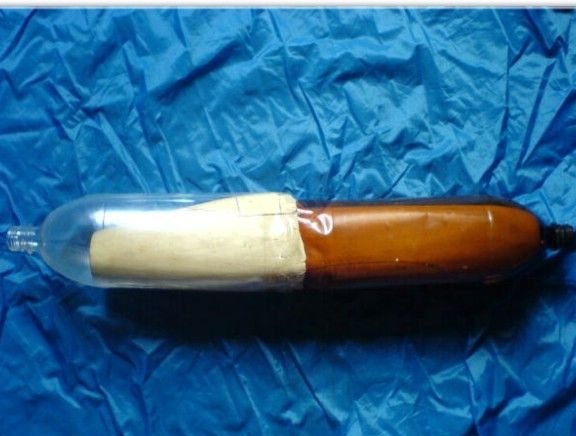
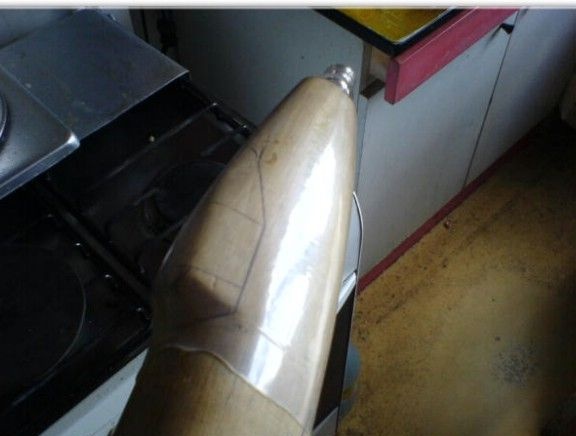
Depending on the size of the model, the creation of the fuselage may take 2 or more bottles.
Step Three The final stage.Stock removal and model assembly
Now the blank must be removed from the blank. For these purposes, from below you need to make a cut and then remove the blank from the future fuselage. But it is best to foresee everything so that many PET cuts are not necessary, that is, take into account the narrowing shape of the fuselage. Then the parts are glued together with Moment glue. Bonding areas must be pre-treated with sandpaper and degreased.
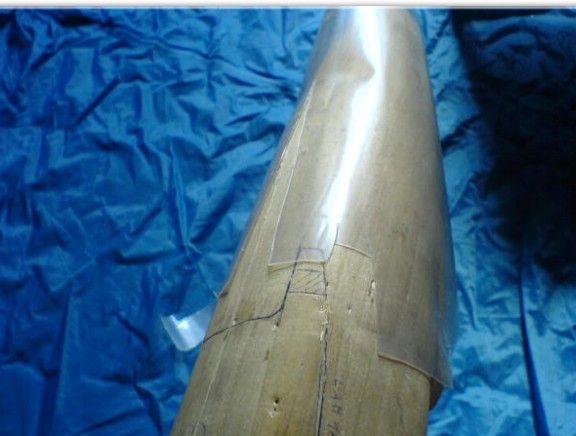
As for mounting the servos and the receiver, they are glued to the wall of the fuselage. First they need to be wrapped with paper tape.
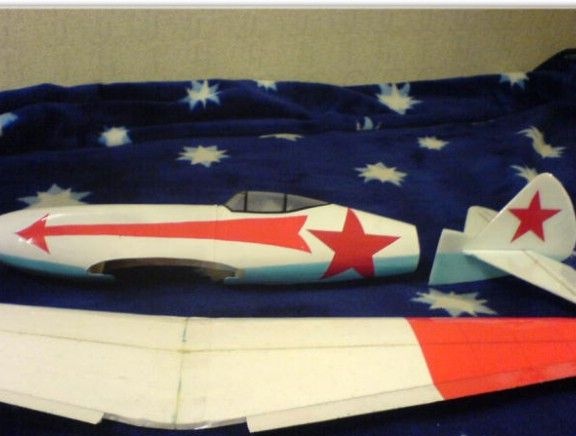
To install the wings, embedded parts with nuts are glued into the blank or plastic dowels are used.
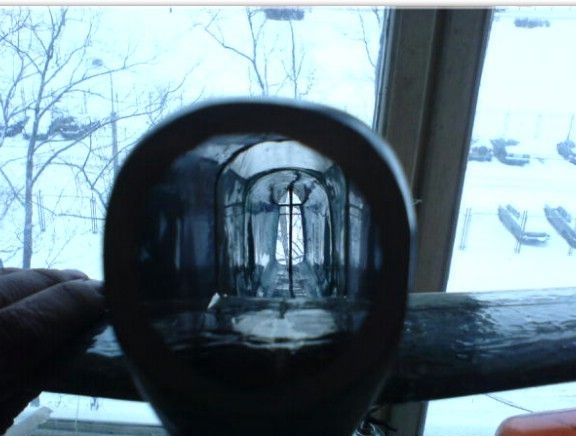
An interesting fact is that a model made using this technology does not require a rigid frame. You only need to strengthen the frame in the place where you will take model by hand. Here you can glue a couple of layers of the ceiling or half-beam.
Then the model can be painted, for such purposes acrylic, paint in cans and so on is perfect. Before painting, the model must be made matte with an emery cloth so that the paint adheres well to it. Still do not forget to degrease.
To make a wing, you need a foam sheet, the wing is cut out of it with a string. After gluing the spar, the wing is covered with tape. Homemade can be done on one spar as an example, or using ribs and a spar as on
The author made the tail part of the homemade product from coroplast; ceiling tiles with tight tape are also suitable. The easiest way to use the ceiling, two layers will be sufficient without the use of additional elements to give strength. The tail section is assembled separately, then it is inserted into the fuselage and fixed there with glue and pins (halves of toothpicks are suitable). That's all, after installing the engine and the necessary electronics, you can experience homemade work.
