

Introduction.
I managed to develop electronic a cigarette completely, from scratch - from the vaporizer to the operational docking of the battery with the atomizer
(moreover: the design of the evaporator is improved, including the charger for the battery) - using available components.
I have been using this design for quite some time and can fully recommend to everyone who wants to give up smoking tobacco cigarettes!
Personally, I have not smoked a single tobacco cigarette for almost four years !!! And it turned out for me calmly, without any discomfort. The result - the cough completely went away and now I am even annoyed by the smell of tobacco smoke (this is after a 45-year-old smoker experience!). I can afford to "soar" in my apartment: the bedroom and in any other room, absolutely without causing any inconvenience to others! I made two options: home and pocket (street) options and no "leaks" that users of branded atomizers (evaporators, far from cheap) write about during this time I did not find.
The device does not provide any scarce components and requires only accuracy in the manufacture and further
handling it.
Materials and components:

1. Nichrome wire diameter - 0.15 mm.
2. Silica cord diameter - 2 mm. (I order nichrome and cord in the electronic cigarette cigarette online store "Cigarette")
3. Syringe for 20 ml.
4. 3 ml syringe. 4a is a finished atomizer body from this syringe.
5. Cap from the disposable e-cigarette "PONS".
6. The tube from the telescopic room antenna is 2.5 mm in diameter.
7-8. Rubber liners.
9. The tube from the room telescopic antenna has a diameter of 4.5 mm.
10. The length of the power cable. Outer Diameter of Insulation: 4.2 ... 4.5 mm.
11. Contact plate from electromagnetic relay or any other suitable elastic plate.
12. Phosphoric acid.
13. The case of disposable e-cigarette "PONS" (metal).
14. Rubber of a car camera with a thickness of 3 ... .3.5 mm.
15. Collapsible plug "Tulip".
16. Collapsible plug "Tulip" (socket).
17. Battery size 18650 (U = 3.6 ... .4.2 v.)
18. For atomizer assembly: 3 ml syringe piston holder rod. and ballpoint pen housing, outer diameter 8 mm.
19. Syringe for refueling (any).
20. Glue "Moment"
21. Thread HB.
Photo 1The most difficult part of an electronic cigarette is the atomizer (vaporizer). Let's start with him.
The case is made of a 3ml medical syringe. We cut it on both sides so that the length is about 55 mm. Carefully process the slices, wash off the applied marks (by the way, they are easily washed off with diesel fuel).
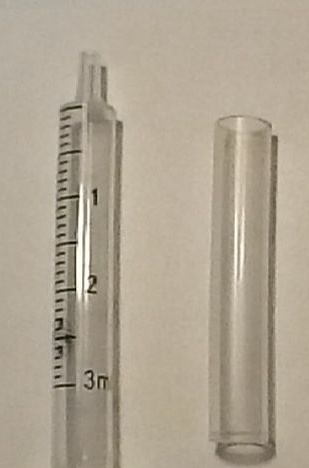
Photo 2With the pointed edge of the PONS disposable cigarette case, we cut out two liners from the rubber of the car camera.

Photo 3With a tube from a telescopic antenna with a diameter of 4.5 mm, we cut out the central holes on both inserts, and on one of them we pierce two holes with a syringe needle for the leads of the soft conductors from the heater.
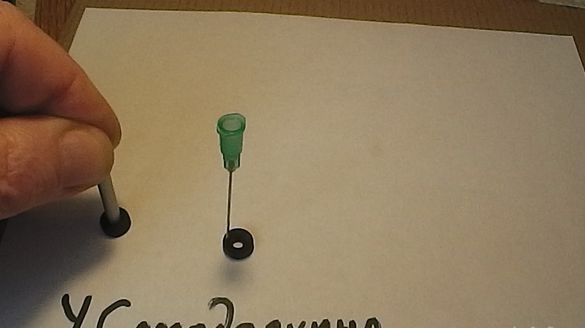
Photo 4From the same tube we make a central air duct with a length of about 35 mm. On one side we make a curved neckline in shape resembling a keyhole.
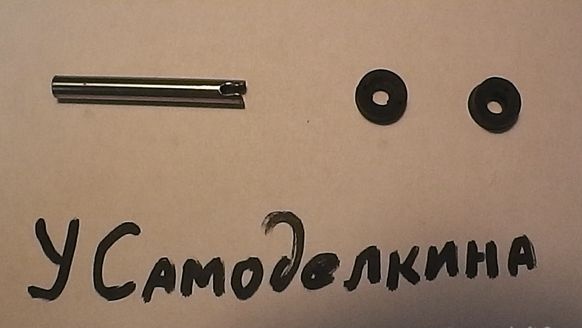
Photo 5The heater is a nichrome wire with a diameter of 0.15 mm, the ends of which are wound and soldered to soft stranded conductors with phosphoric acid. The working section of the heater should be 26 mm long. (selected experimentally).
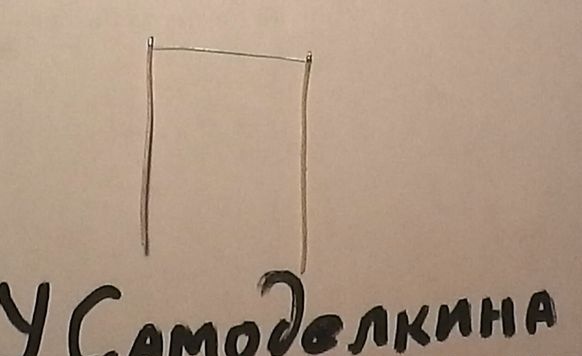
Photo 6Gently wrap it on a silica cord.
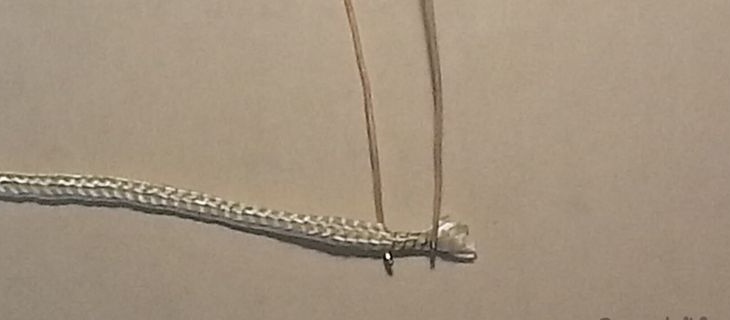
Photo 7The ends of the bends are passed into the punctured holes of the liner and stretched to the base. Trim the rest of the cord around the circumference of the liner. Then (this is important!) With a syringe needle we “loosen” the edges of the cord near the soldered contacts so that the villi in these areas are on top of the nichrome winding. If we do everything carefully and correctly, then when landing a brass tube in the air duct, it will not “short-circuit” the heater coil. Silica is a great insulator!
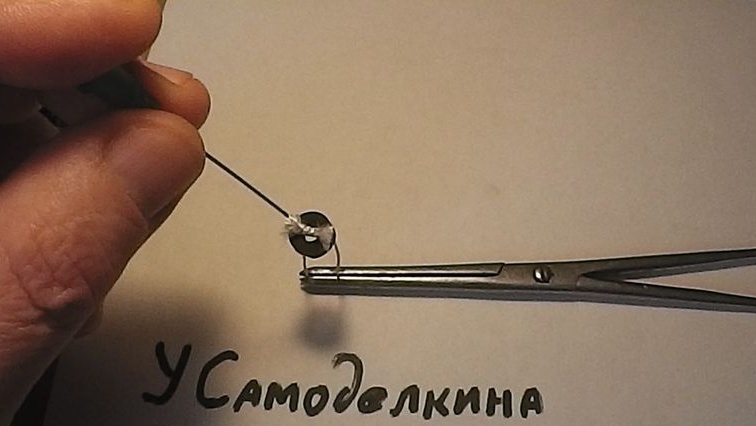
Photo 8Now gently insert the tube into the liner. I want to note that this process requires accuracy and a certain skill.
Honestly: I myself did not succeed the first time!
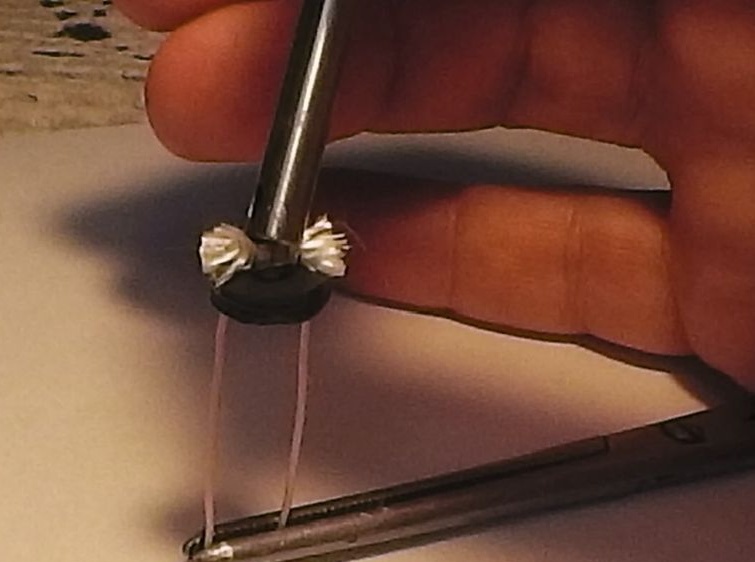
Photo 9After this, you must definitely check this area with the device. If we did everything cleanly, then the resistance should be
1.8 ... .2.0 Ohms.
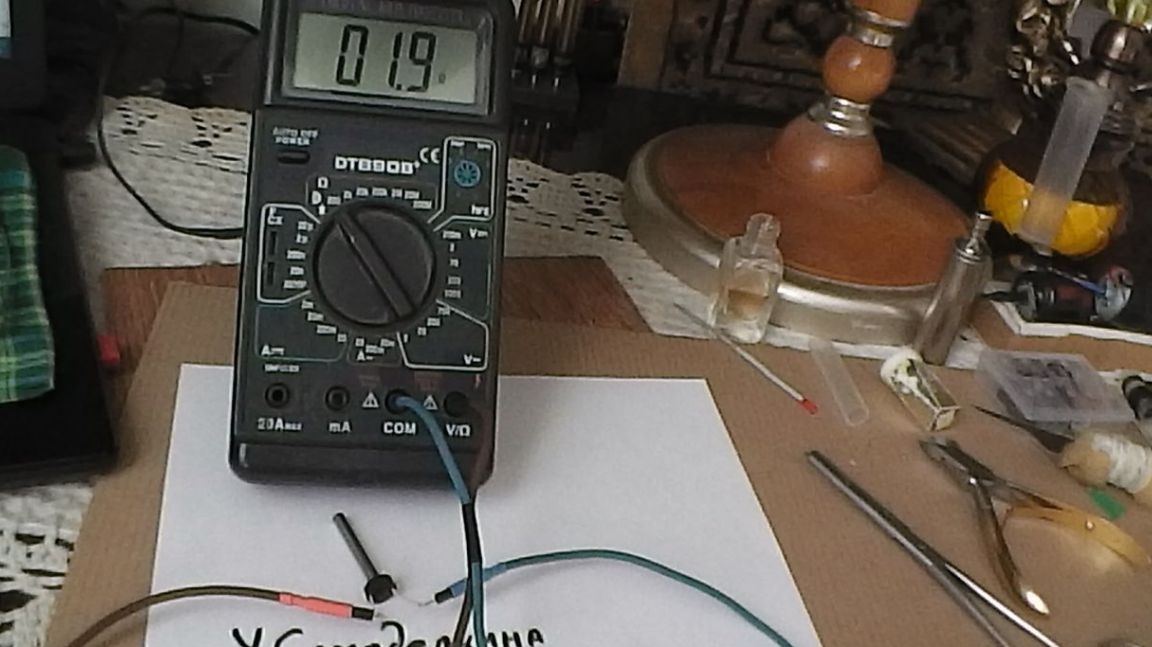
Photo 10Now collect the other end of the tube. Remove a piece of insulation of the power wire. Its outer diameter should be 4.3 ... 4.5 mm.
We insert it up to about half into the tube (it should come in fairly tightly), and we put the second insert on the rest.
This is done so that when inserting the assembled structure into the atomizer body, the liner does not "slide" along the tube.
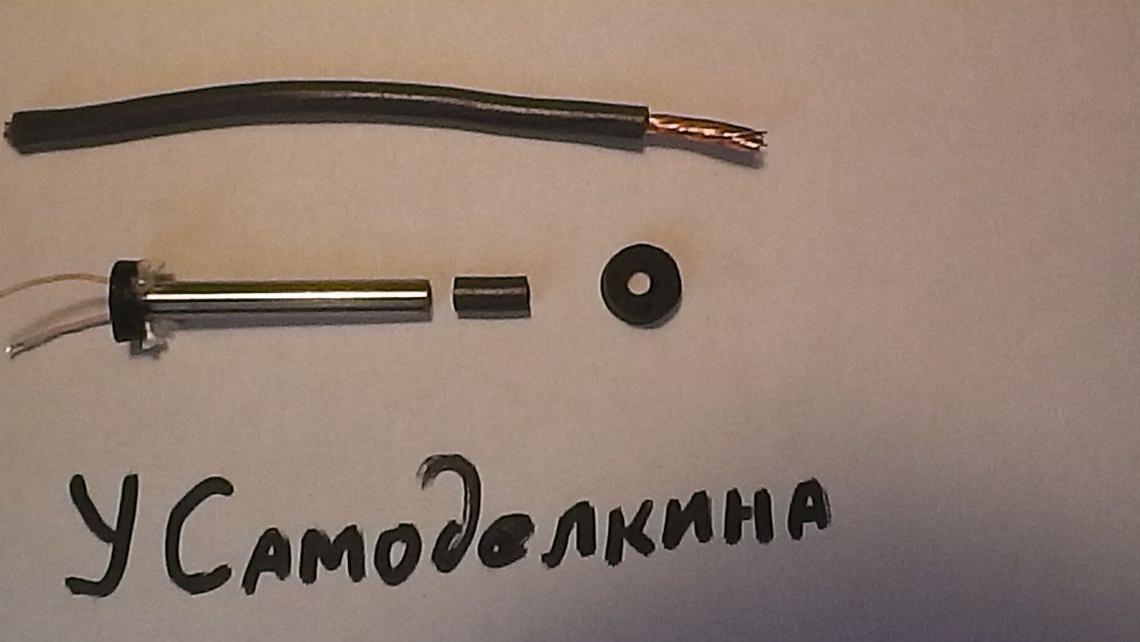
Photo 11We insert the assembled assembly into the body of the former syringe. To facilitate this process, it is better to lubricate the circumference of the liners with refueling liquid.
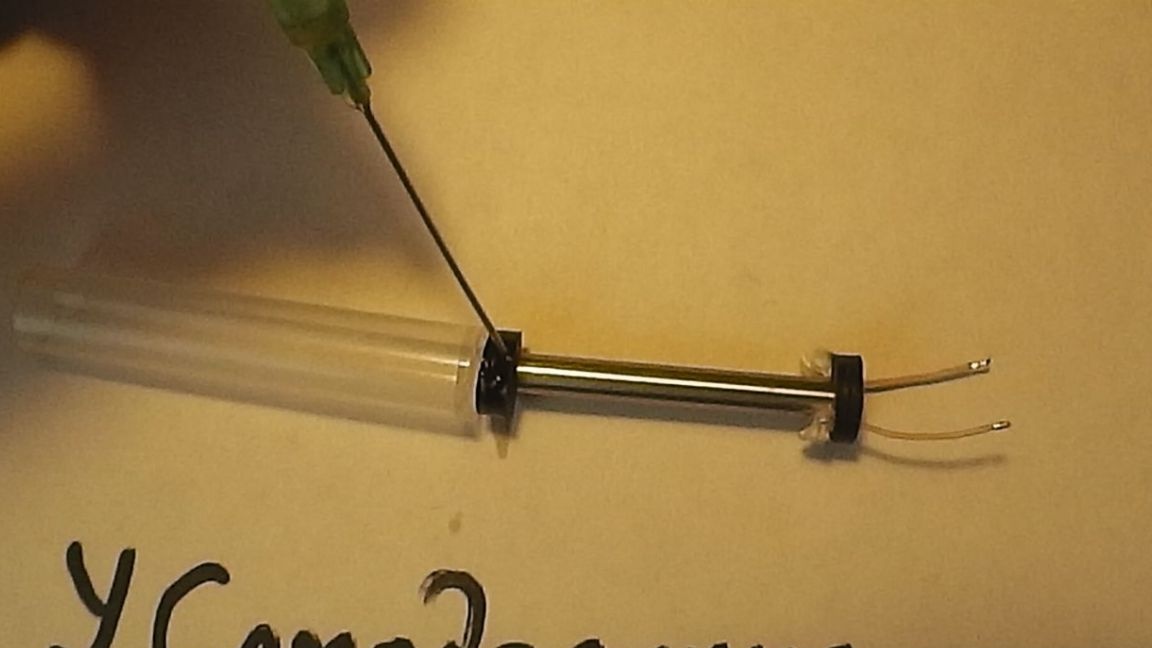
Photo 12When inserting, it is better to exert pressure on the central part, where the edge of the curly cutout of the tube is located. To do this, you can use the piston rod from the same syringe with side slots to exit the soft conductors.
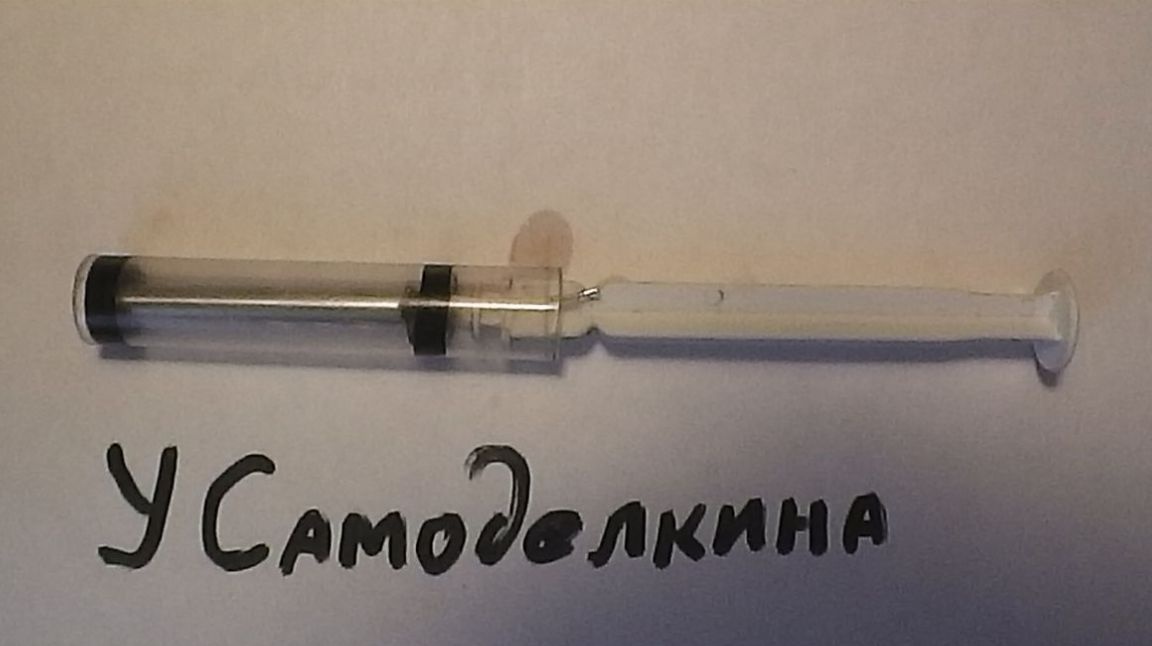
Photo 13We drill an air hole with a diameter of 1 ... 1.5 mm,
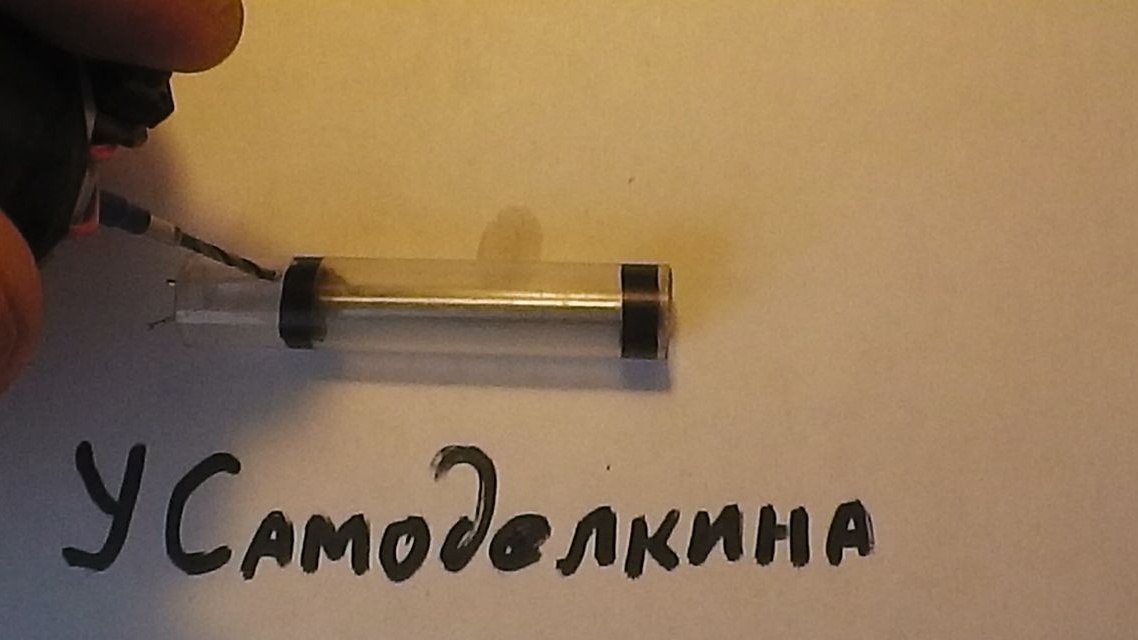
Photo 14Solder the leads of the conductors to the plug "Tulip", previously shortening the "negative" output,
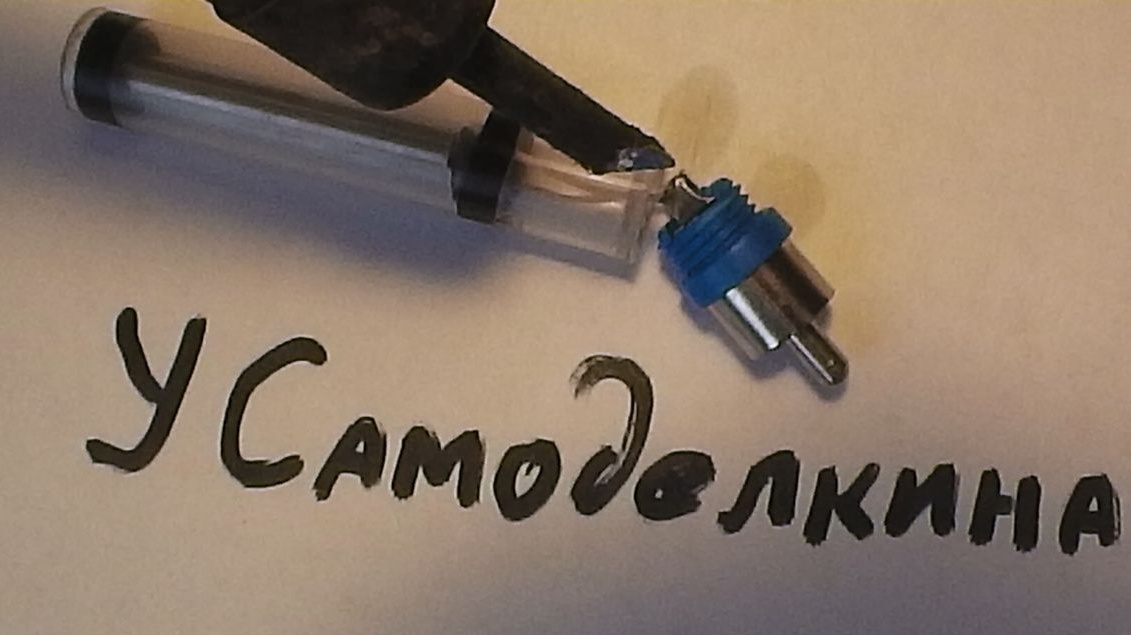
Photo 15We put on the “mouthpiece” side of the cap from “PONS” a, cutting a hole with a diameter of 1.5 ... 2.5 mm in the center on it and the atomizer is ready.
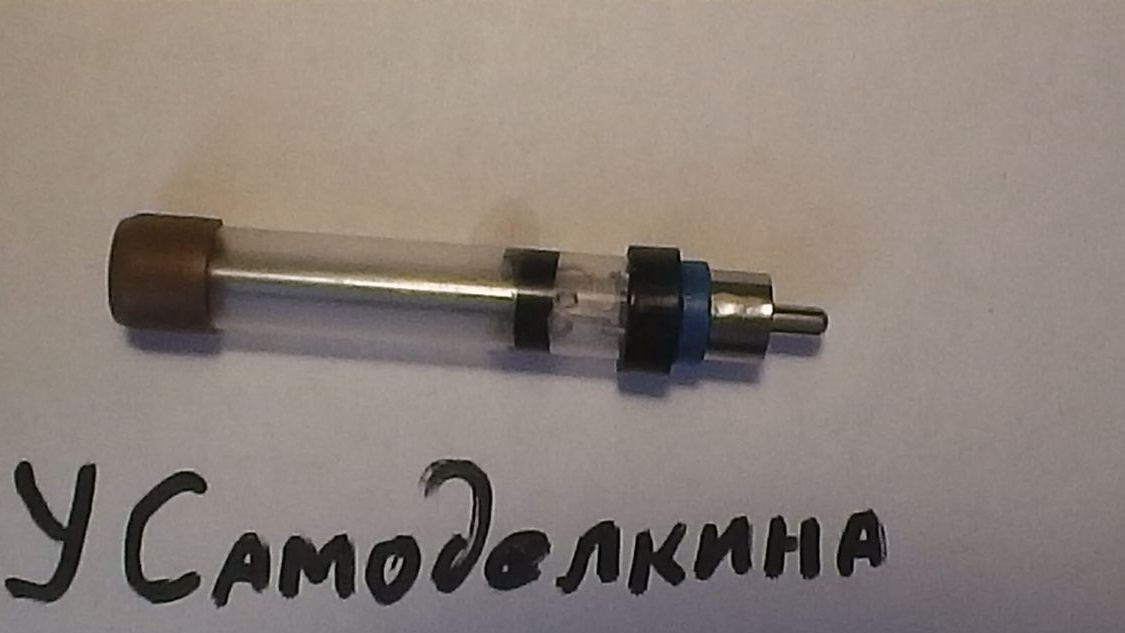
Photo 16Now the feed block. At the socket of the connector "Tulip" completely remove the negative output.
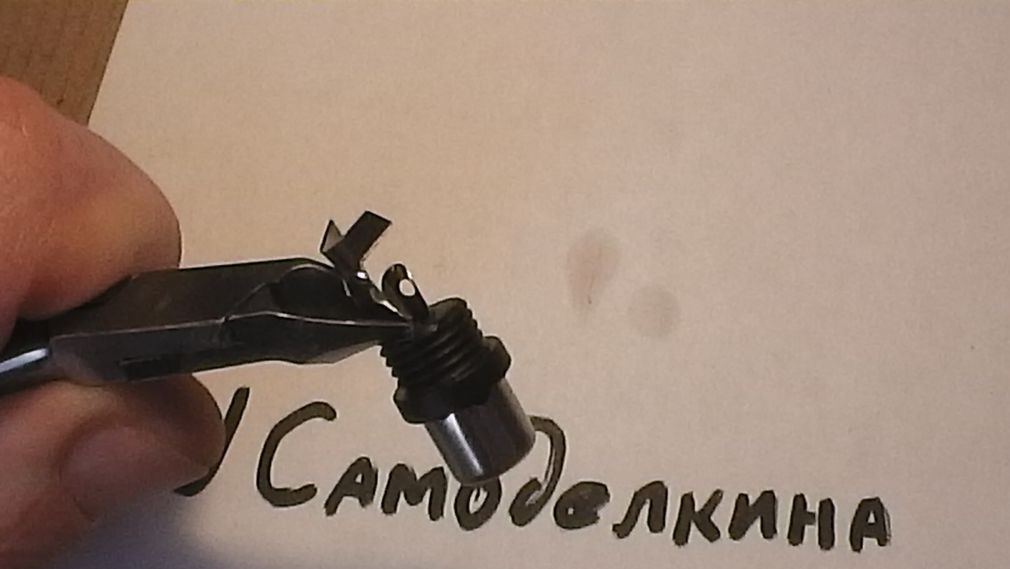
Photo 17Solder the positive terminal of the connector to the positive terminal of the battery as accurately as possible in the center (for aesthetic reasons). Be careful not to short-circuit it to minus the battery! Nearby is the edge of the body (minus).
Photo 18Since the positive terminal of the connector does not have high mechanical strength, I do so. I wrap the already soldered terminal with a HB-shnoy thread quite tightly, periodically lubricating the area with “Moment” glue until it is filled, until the winding is equal in diameter to the threaded part of the connector.
Photo 19Switching with us will be done on the negative circuit. Therefore, I chose the simplest and most reliable way.
We solder the spring brass strip to the battery case. Since it is made of iron, it must be soldered with phosphoric acid.Then we cut the strip and make a bend so that when you click on it, it provides reliable contact with the outer cup of the inserted atomizer.

Photo 20For appearance, you can wrap it with adhesive decorative film or use a heat shrink tube with a diameter of 20 mm.

Photo 21We take out the rubber piston from the 20 ml syringe and cut the hole in the center with the sharpened body from the “PONS” cigarette.
Photo 22Its diameter allows you to well "sit down" and culturally close the winding of the threads after drying.
Photo 23The atomizer must be refilled from the bottom up (as in the photo) so that the liquid does not leak into the compartment with the side air hole. After refueling, leakage is excluded in any position of the atomizer only if the upper liner is tight. Therefore, for refueling, you need to pierce the liner with a sharp needle of the syringe by rotational movement.
After refueling, when the needle is pulled out, the hole will be tightened and the necessary tightness will be ensured.
A small leak in the compartment is observed when the liquid level drops by about three quarters of the volume of the filling compartment. Leaked liquid is easily removed with the same syringe through the side air hole and returned to the bottle with liquid for subsequent filling. If you monitor the level and refuel in time, there will be no leaks.

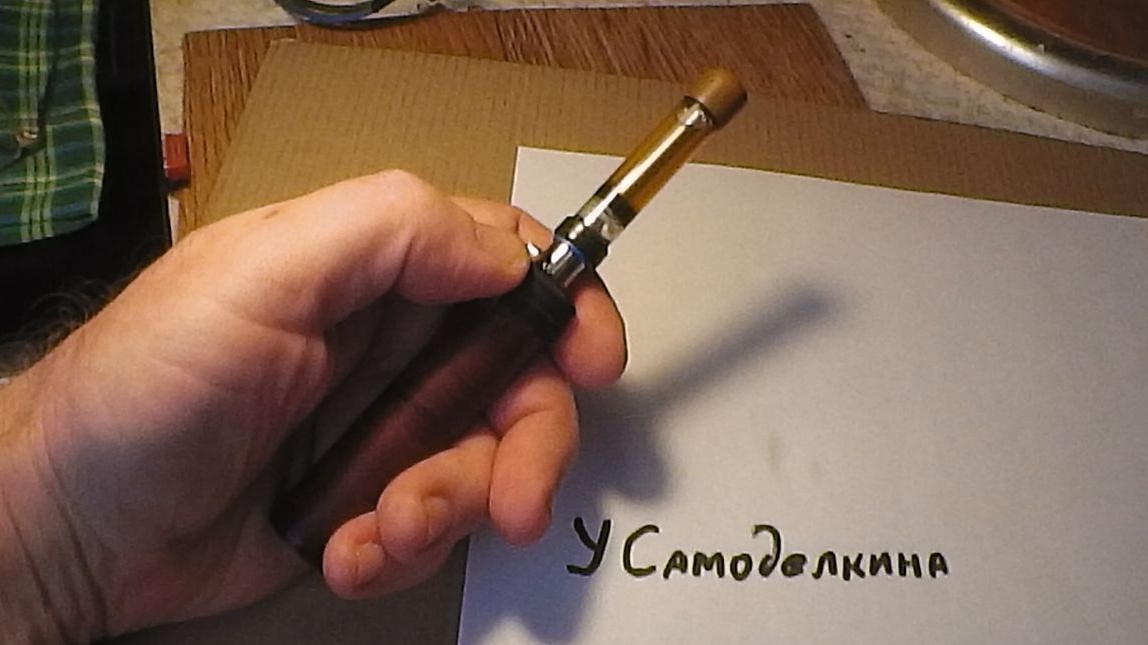
Photo 24That's all. Smoke on health!
Conclusion
Best regards: Vladimir Kachanov.