


The original idea of a homemade desktop microphone for the computer, from what was at hand. The result was a pretty good (stylish) thing, in no way inferior to the purchased ones.
So, let's begin.
We will need.
Materials:
1. Old lamp.
2. The body of the flashlight.
3. Three-core cable.
4. Mini-jack (3.5 mm.).
5. Wind protection from the microphone.
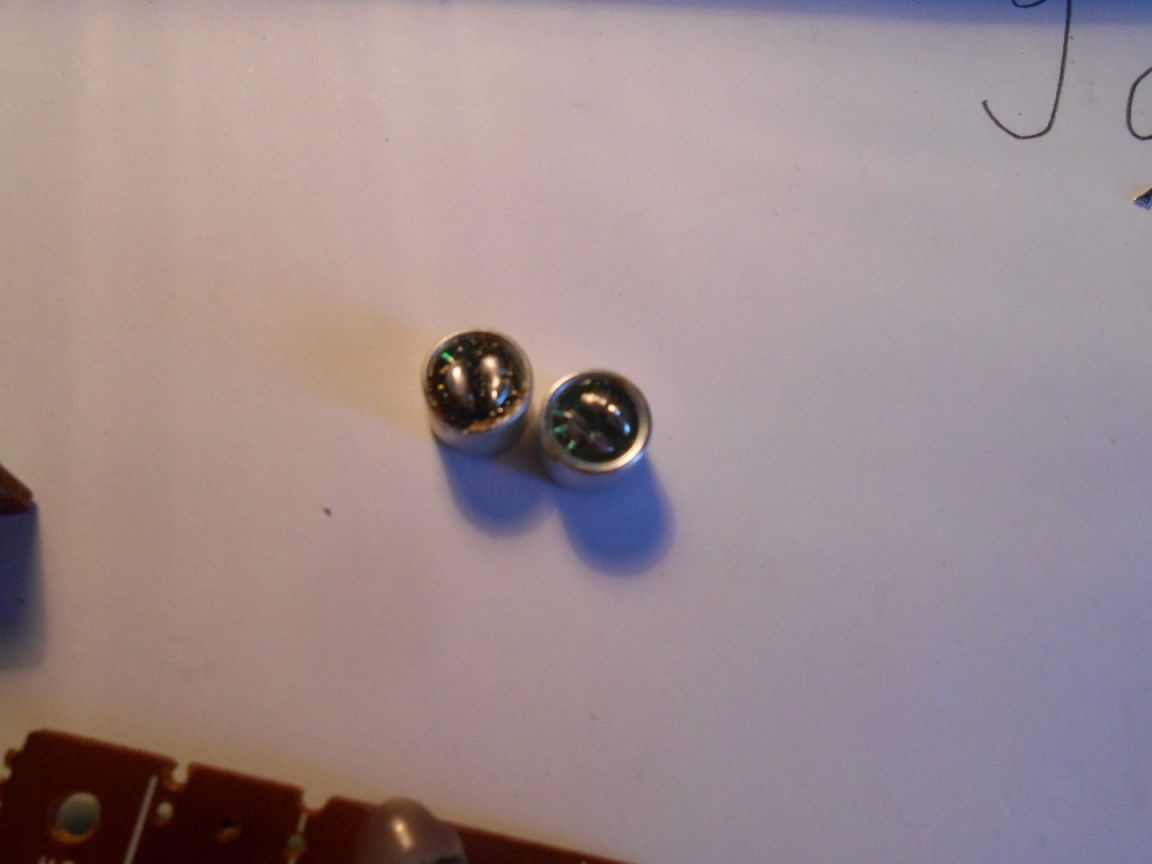
6. Condenser microphones (2 pcs.).
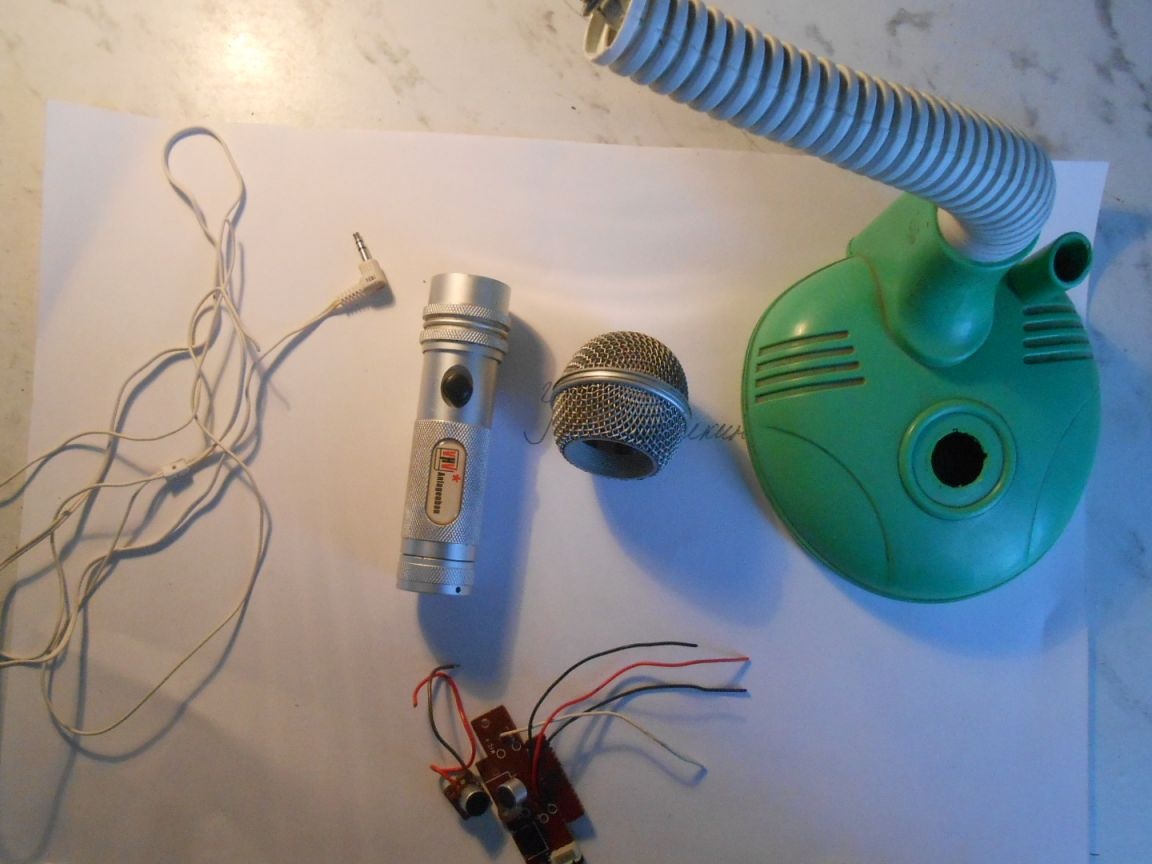
Instruments:
1. Pliers
2. Glue.
3. Soldering iron (solder, flux ...).
4. The knife.
First, take the cable and remove the insulation. We can see 5 veins of which we need only THREE. The cable that was in the photo, it turned out to be defective, for this we will do makeshift.
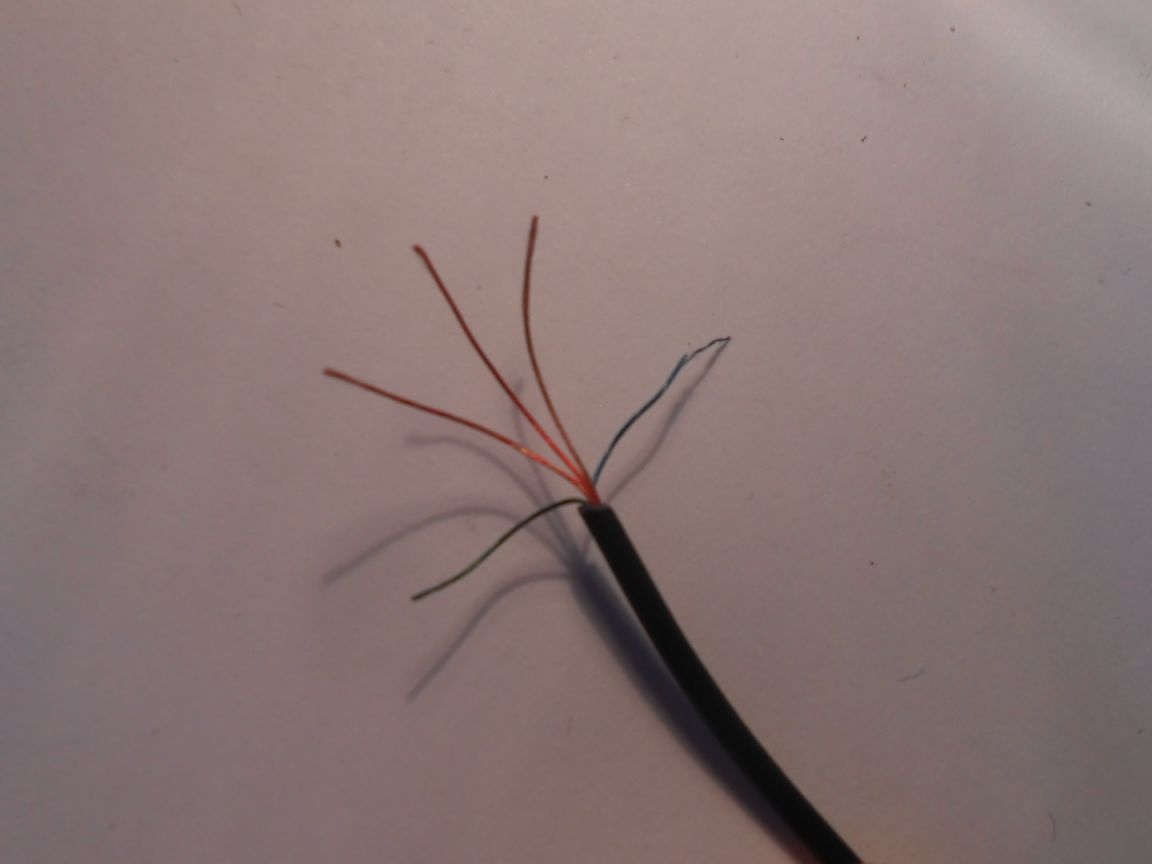
I left green, blue and orange. And the rest is cut off, we no longer need it.
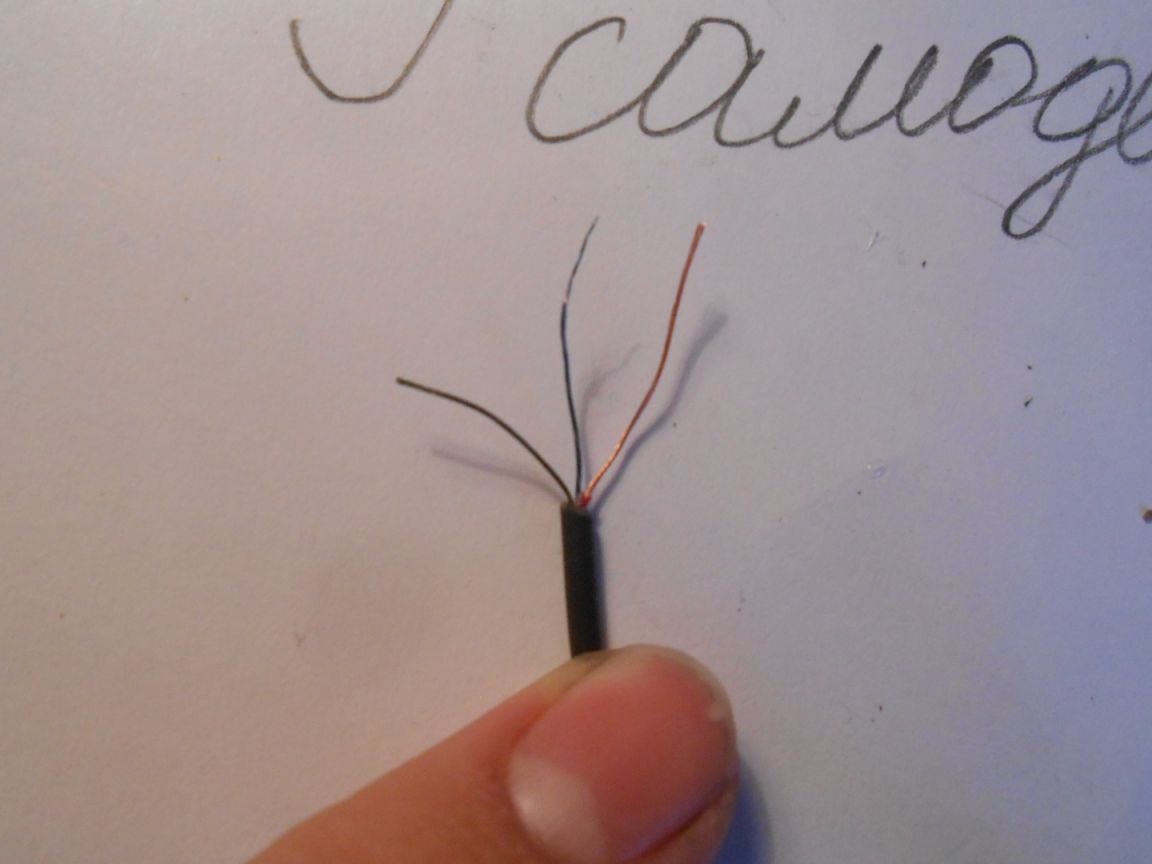
Tinned with soldering flux ALUMINUM, or citric acid.
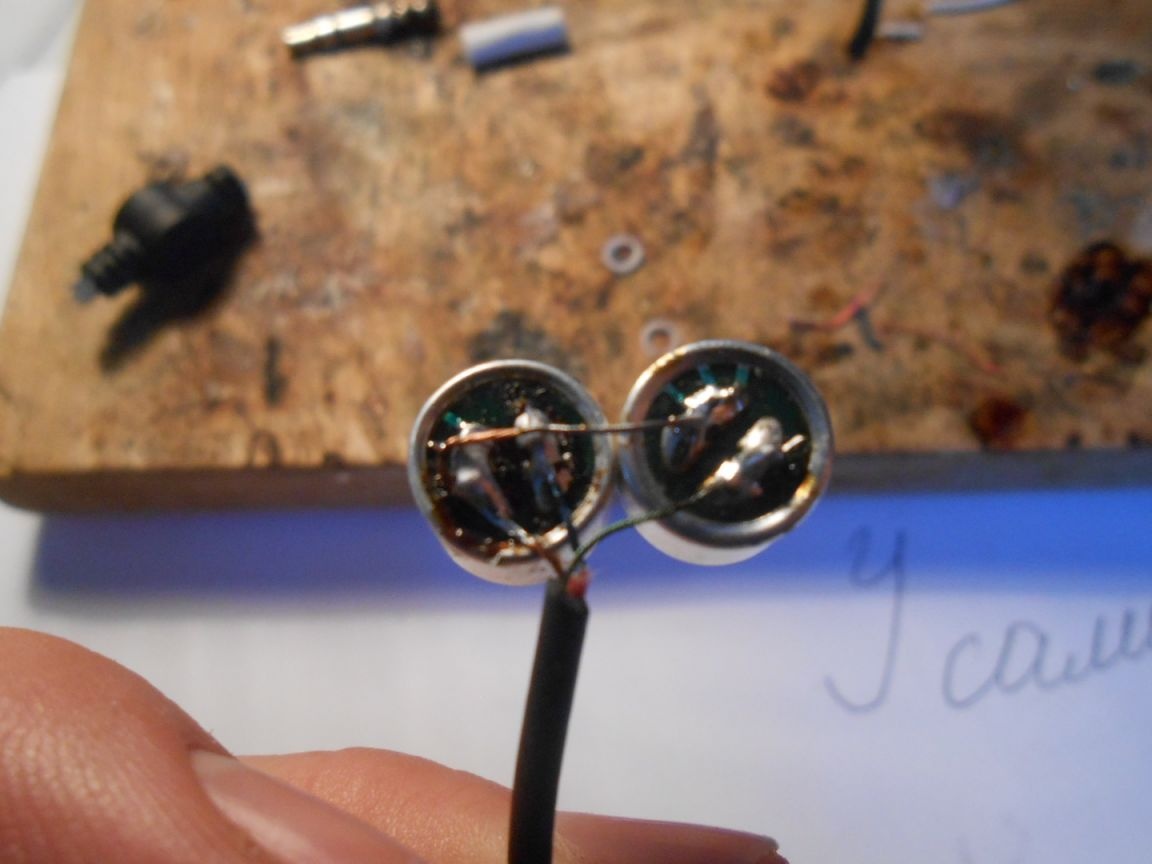
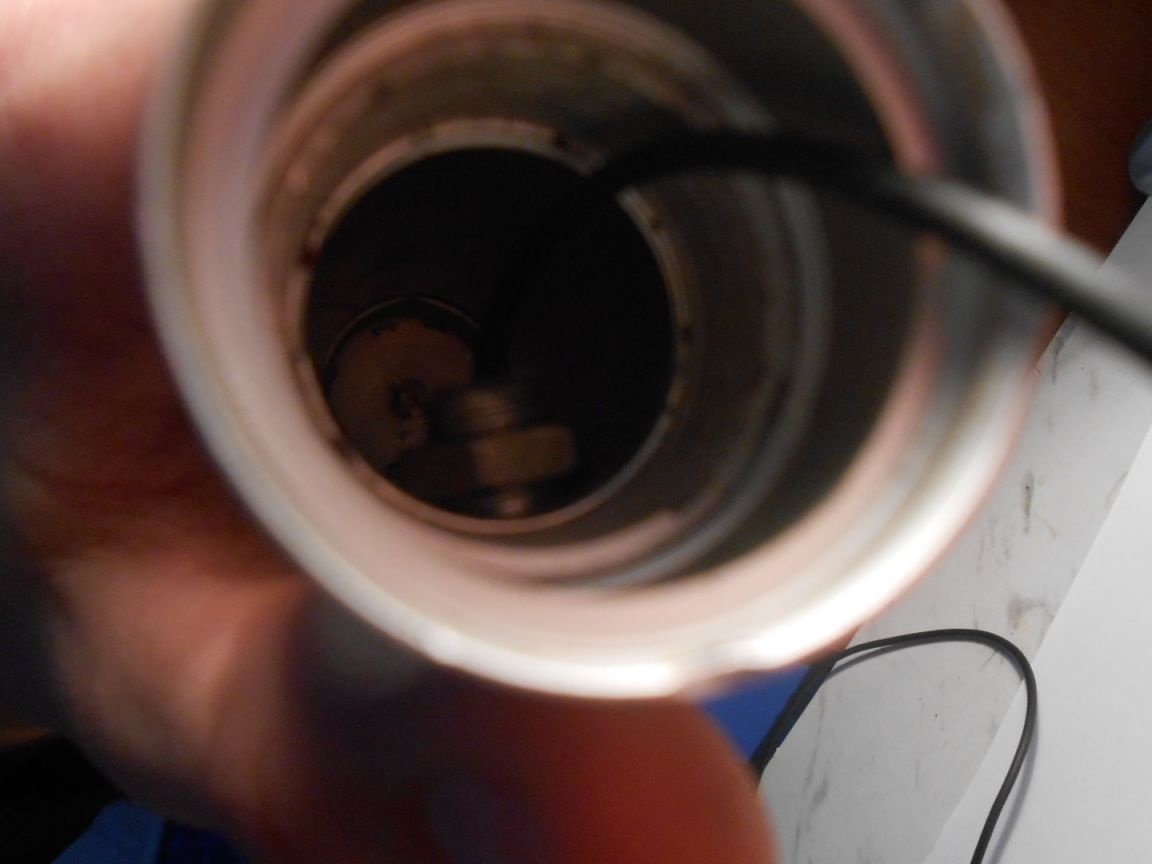
We drink microphones from the circuit boards. These microphones can be found in any radio equipment, or landline phones. On these microphones it is not indicated where plus and where is minus. The minus on this microphone is the contact from which there are three small tracks - this is MINUS, and the contact without tracks is PLUS.
We solder the blue wires to any plus on the microphone, green also one plus pin, and orange will be the common contact that we solder to the two minus contacts, as shown in the photo. Avoid K / Z, otherwise you will have a siphon microphone or DO NOT WORK at all.
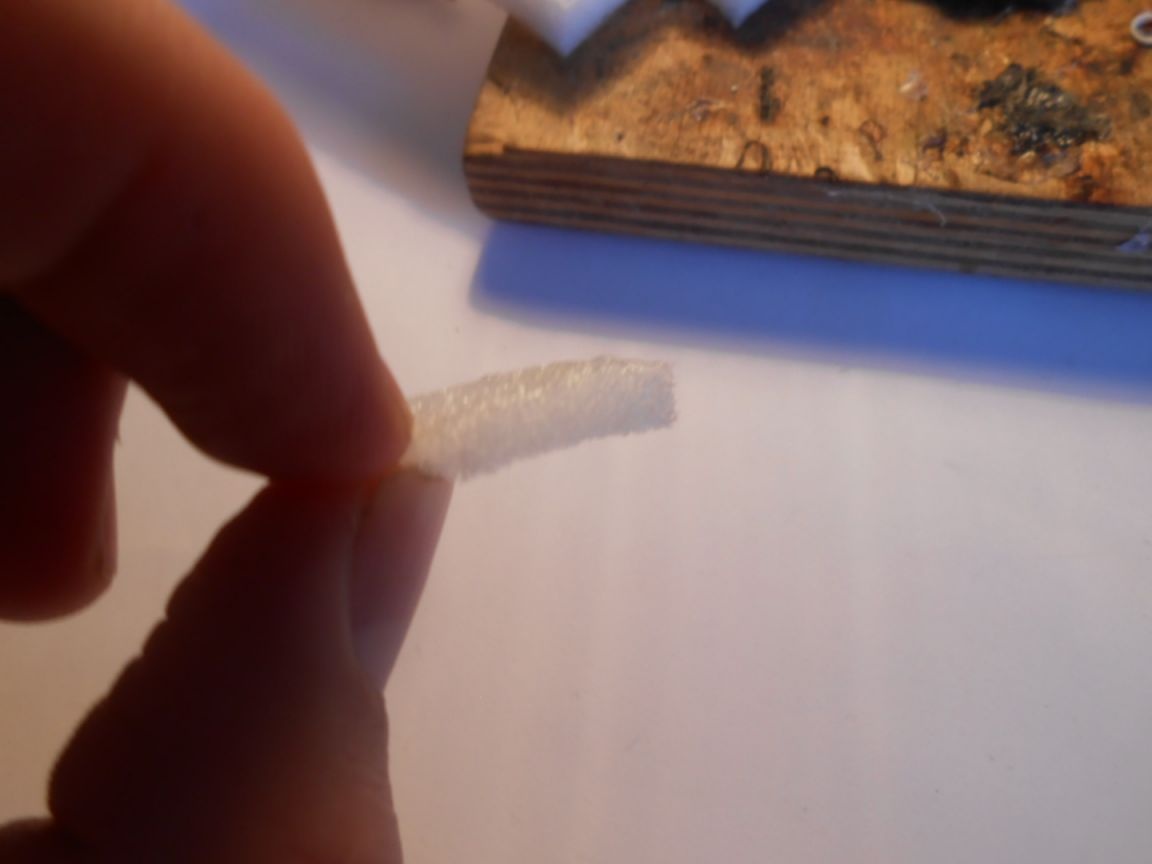
From the polystyrene foam, I cut a small segment on which the microphones will hold.
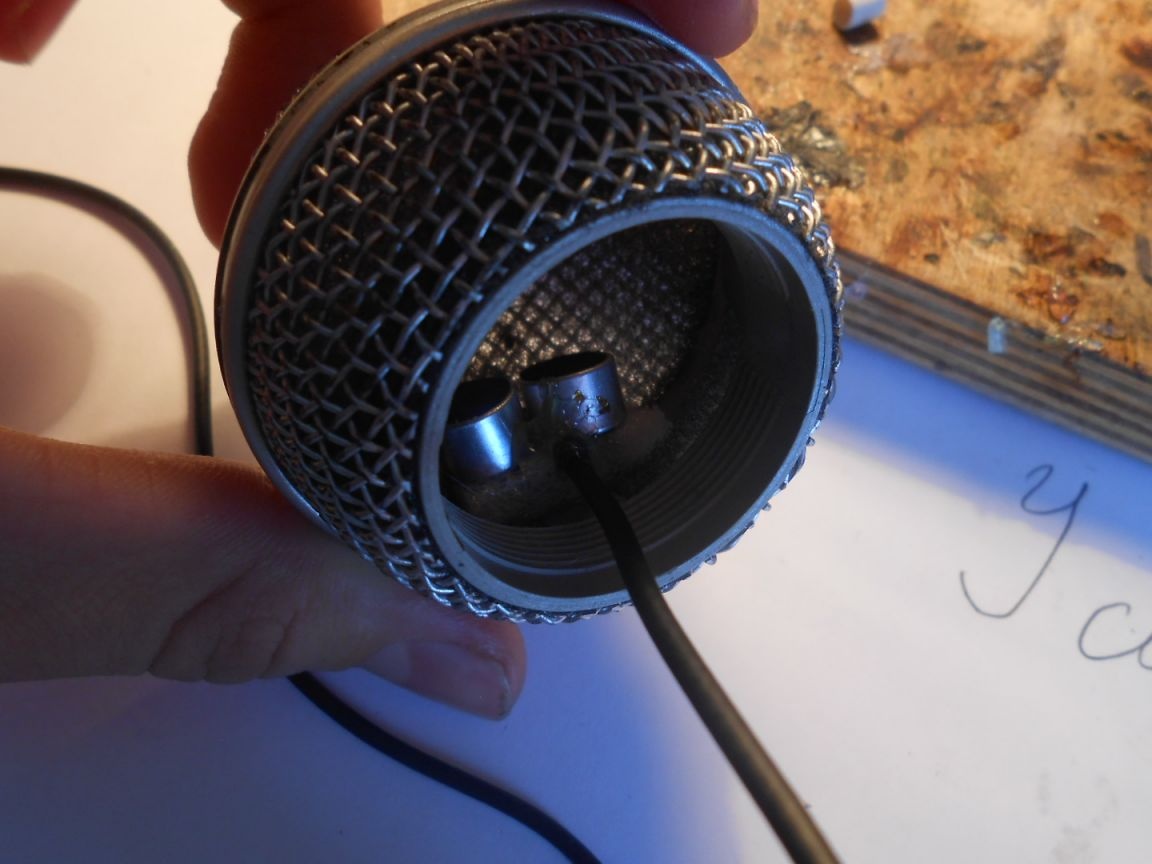
We glue the microphones to the foam.

And we glue this segment with microphones into the inside of the windshield, as shown in the photo.
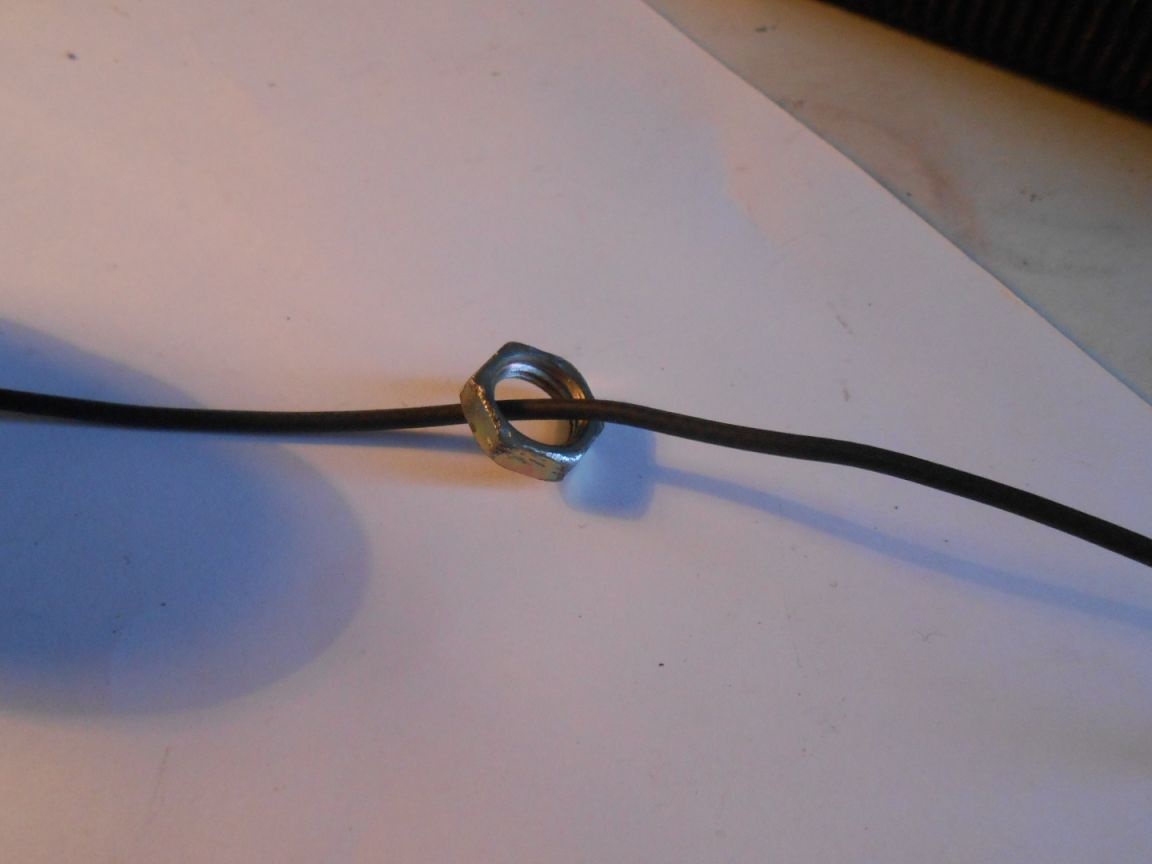
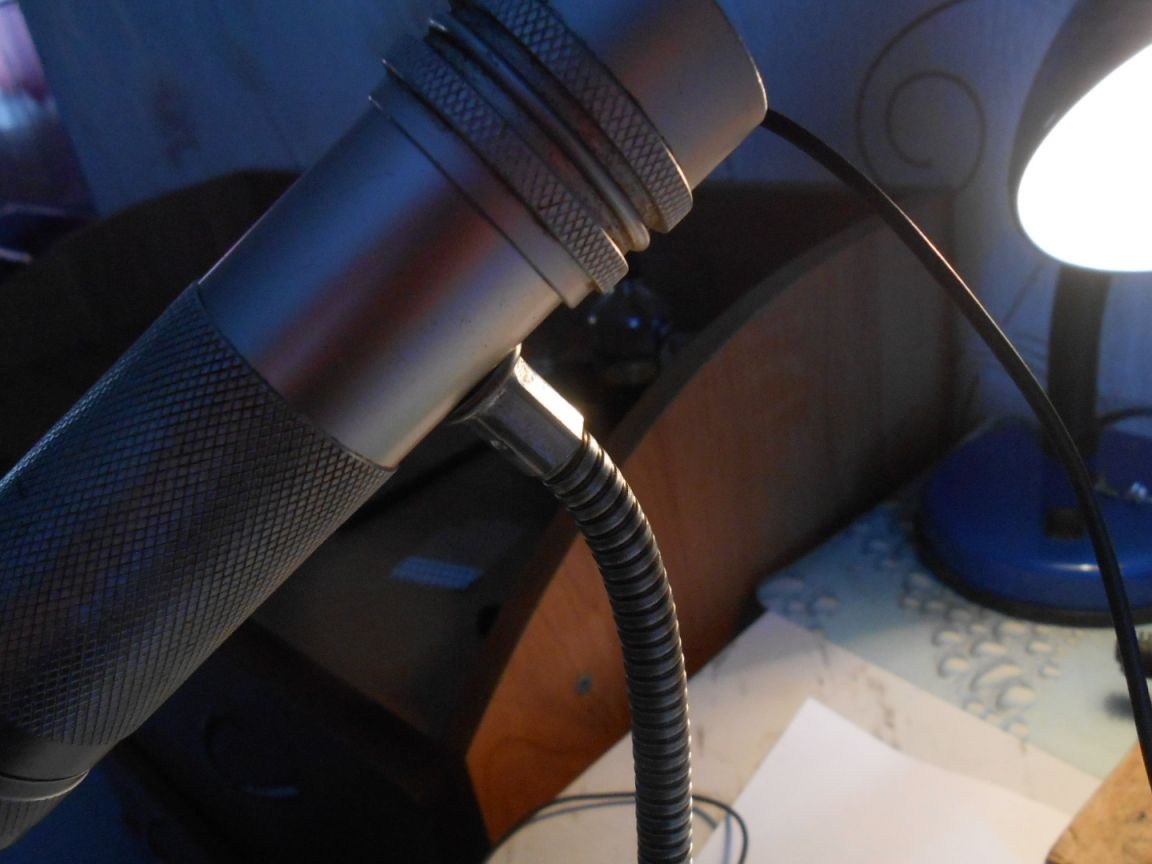
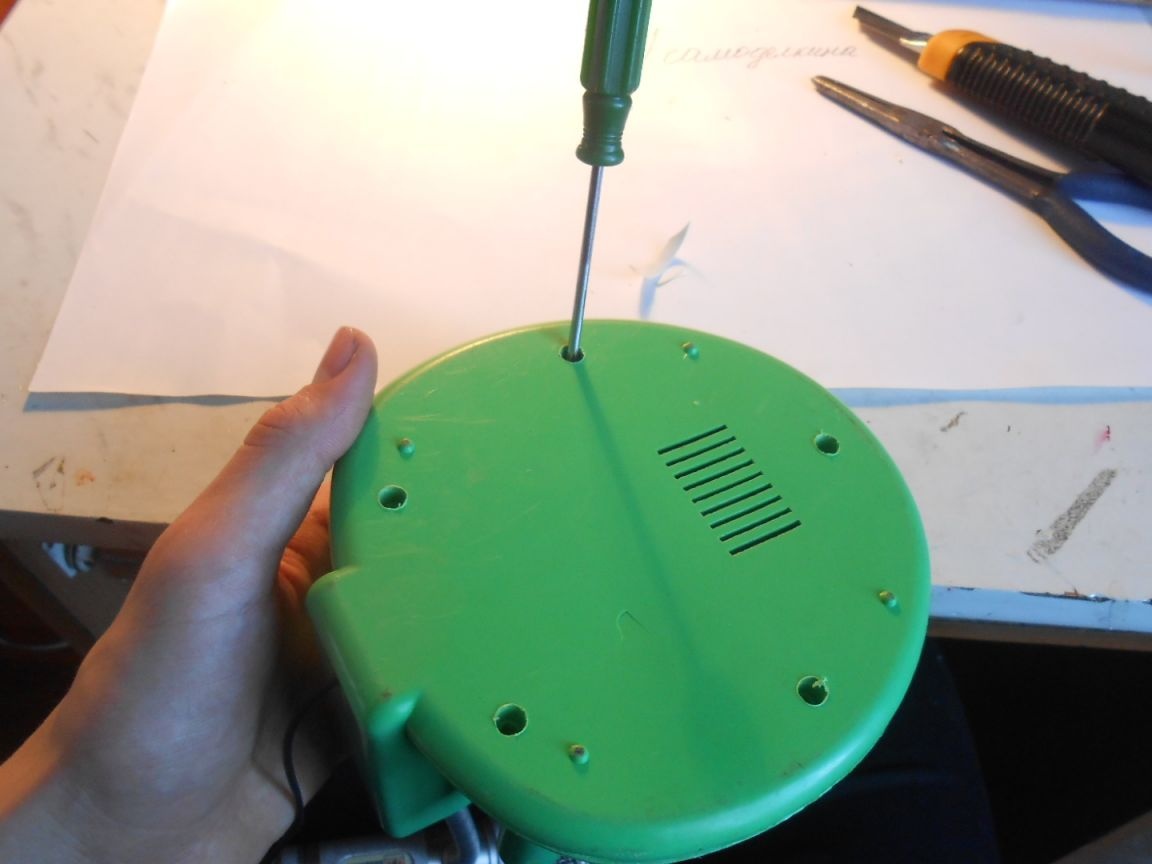
The remaining end of the cable is passed through the locknut, which previously fixed the holder for the bulb.
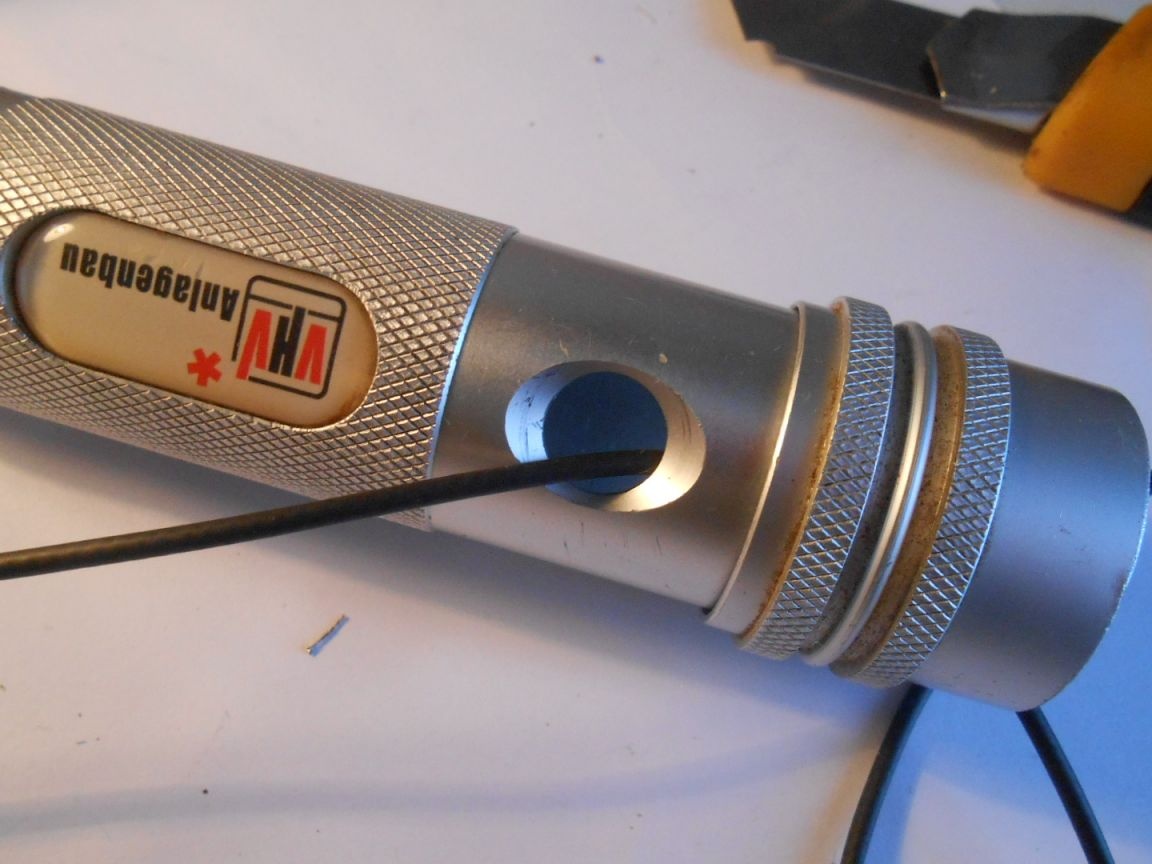
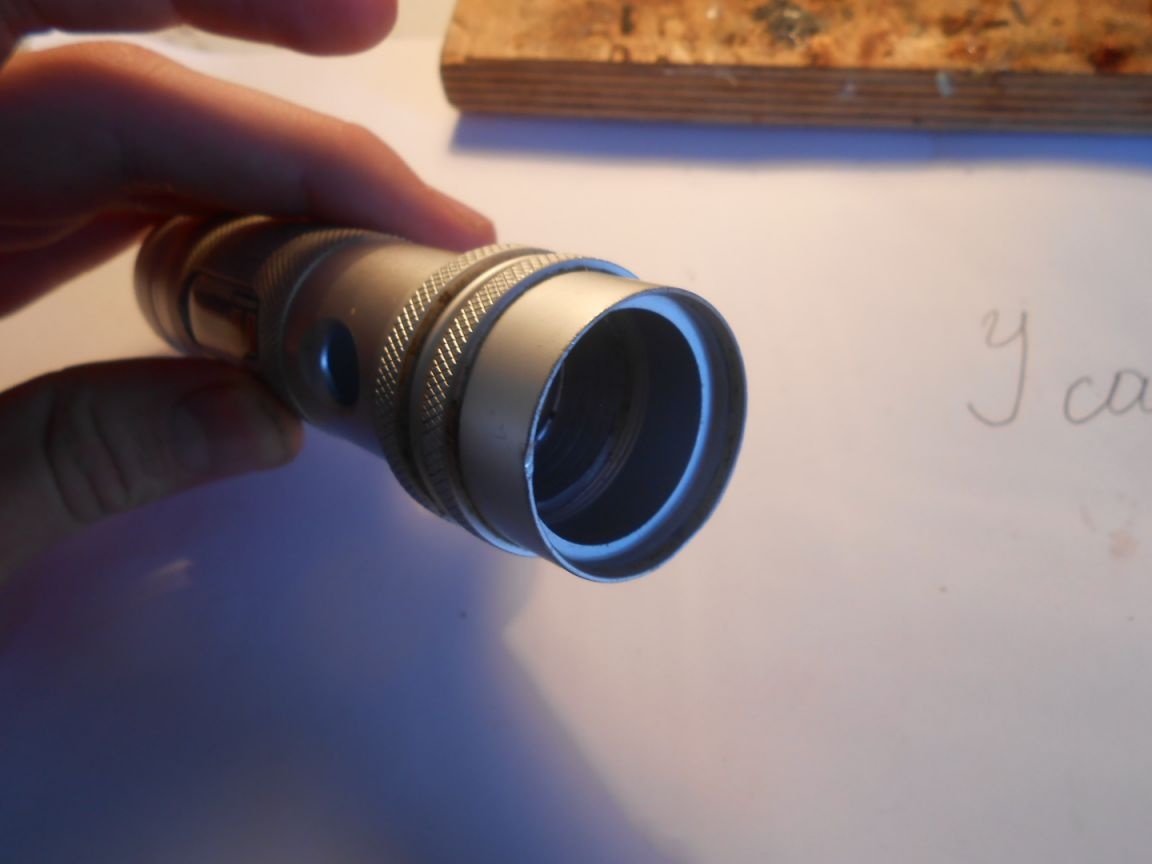
Next, thread the cable through the hole in the flashlight. First we remove the front part from the flashlight along with the cover and matrix of LEDs. The hole I had was ready, from the switch.
We also thread the cable through a flexible tube.
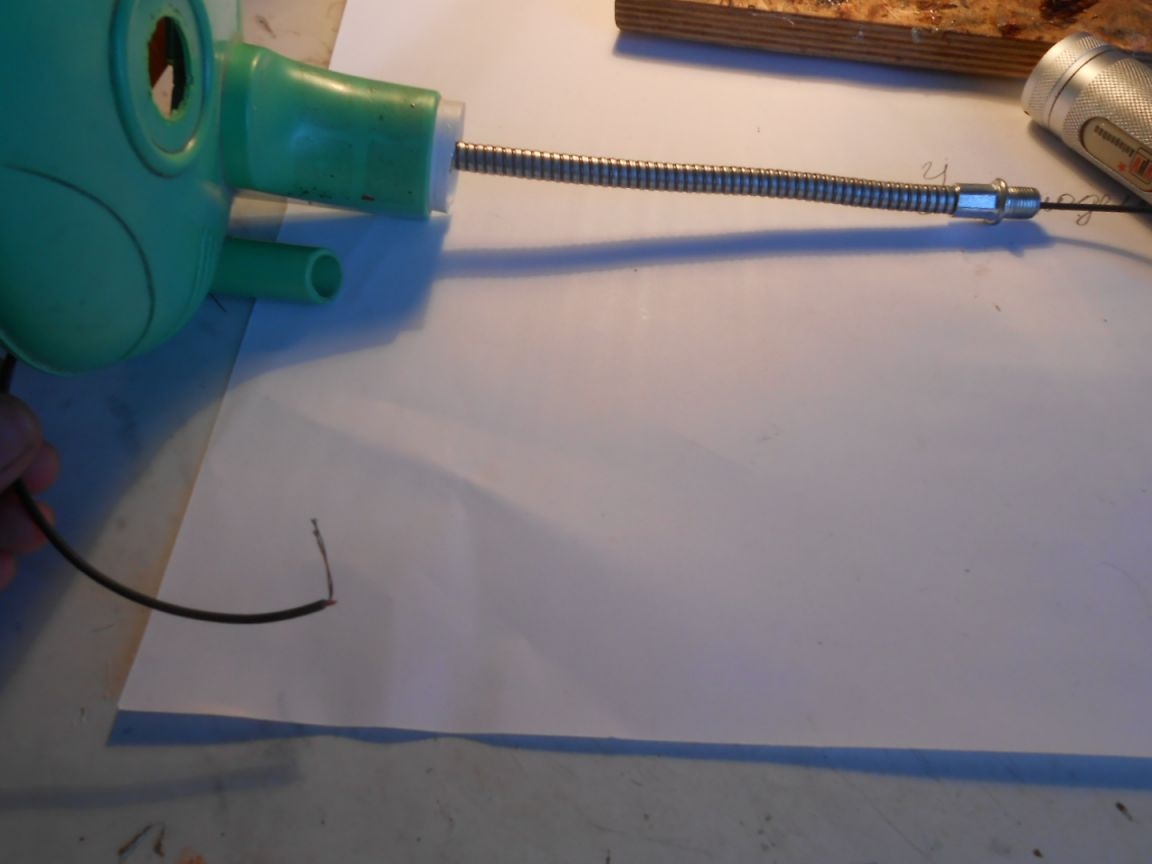
We fix the flashlight housing on the flexible tube with a lock nut.
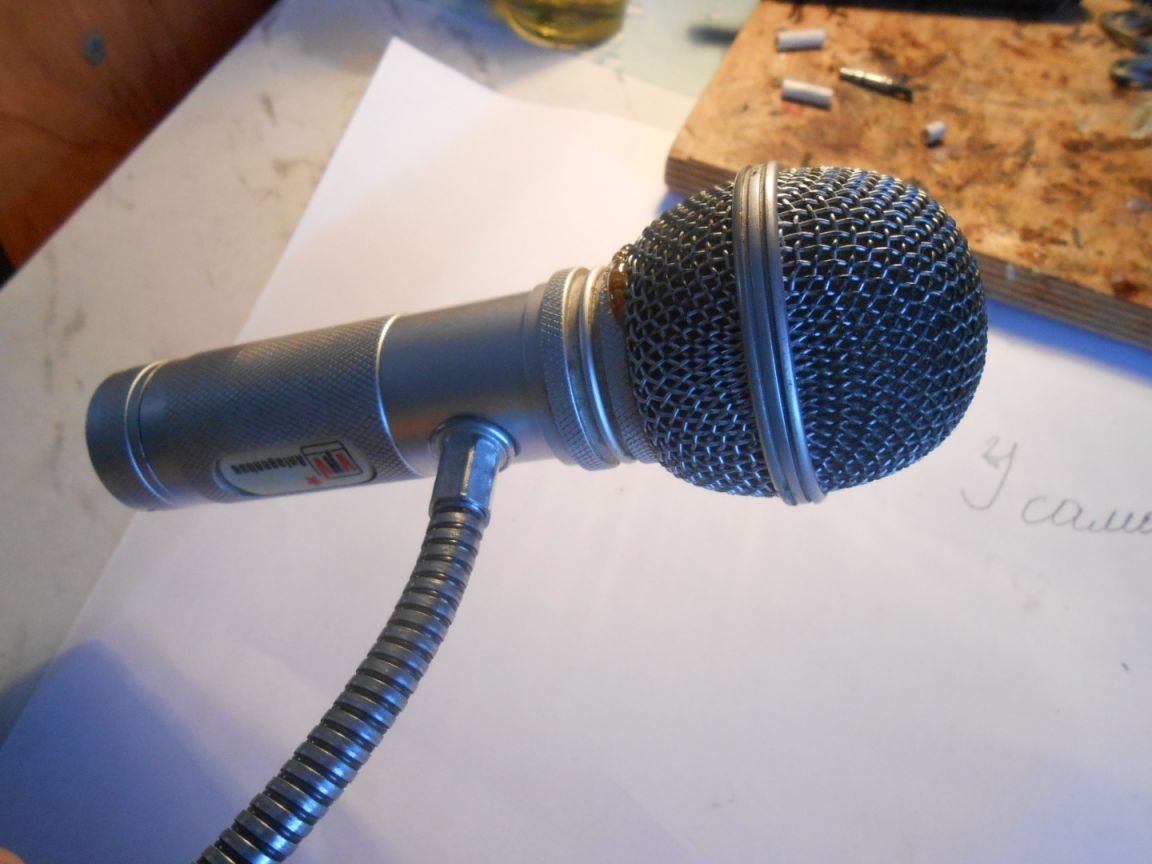
Here is what should happen.
Using glue, we glue wind protection with microphones to the flashlight. It looks just perfect.
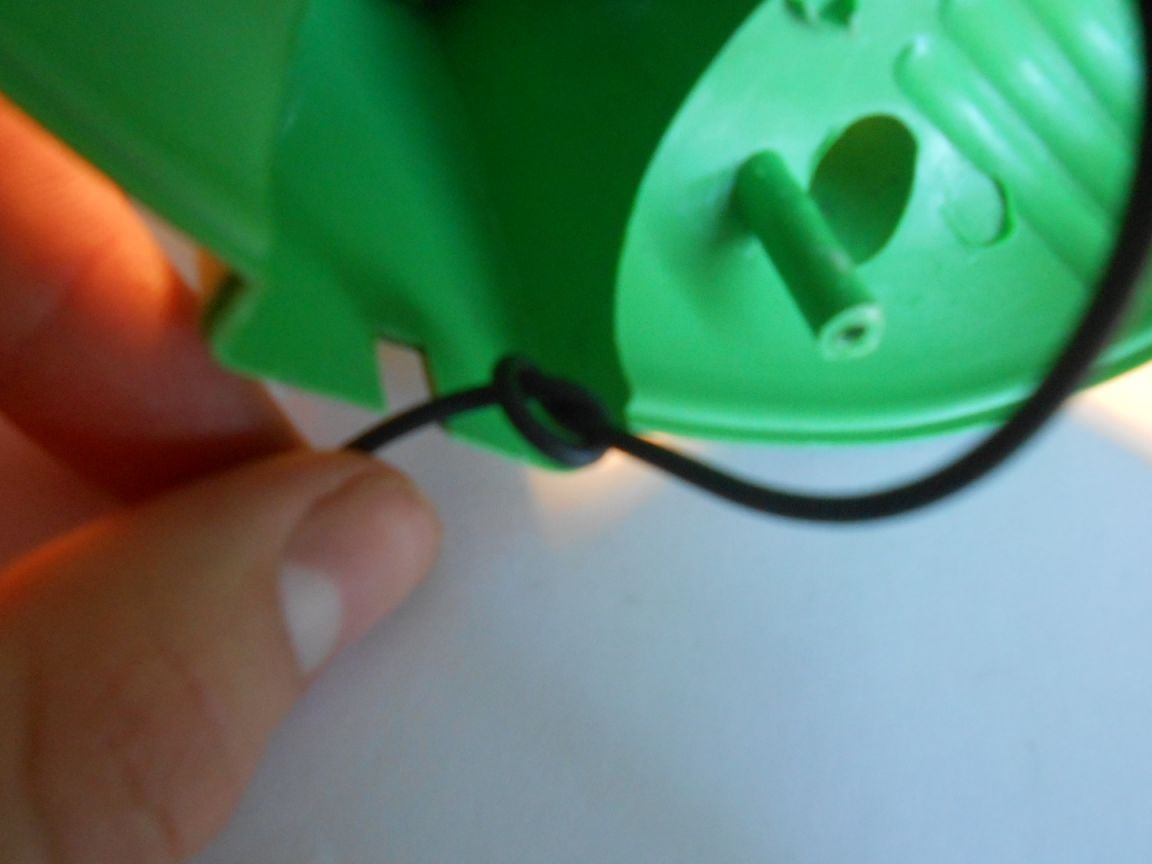
We make a knot. so as not to tear out the cable.
And twist the back panel.
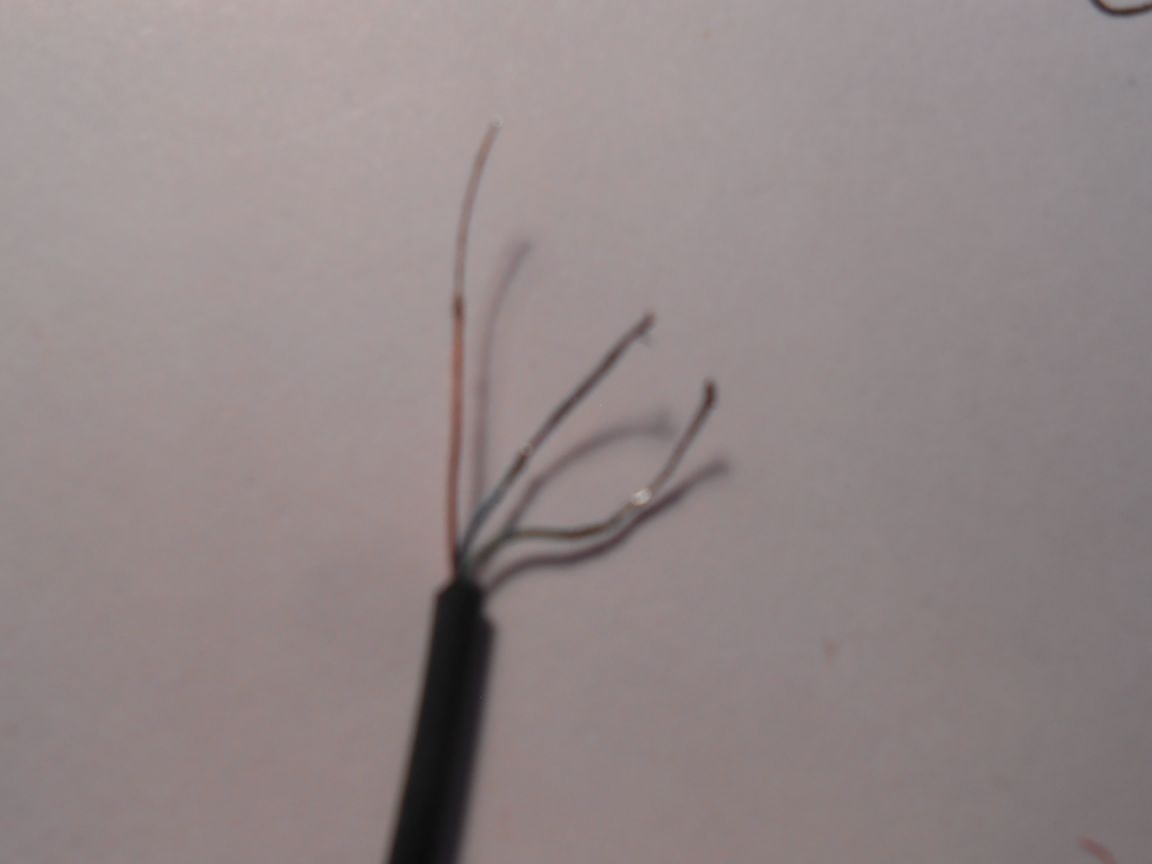
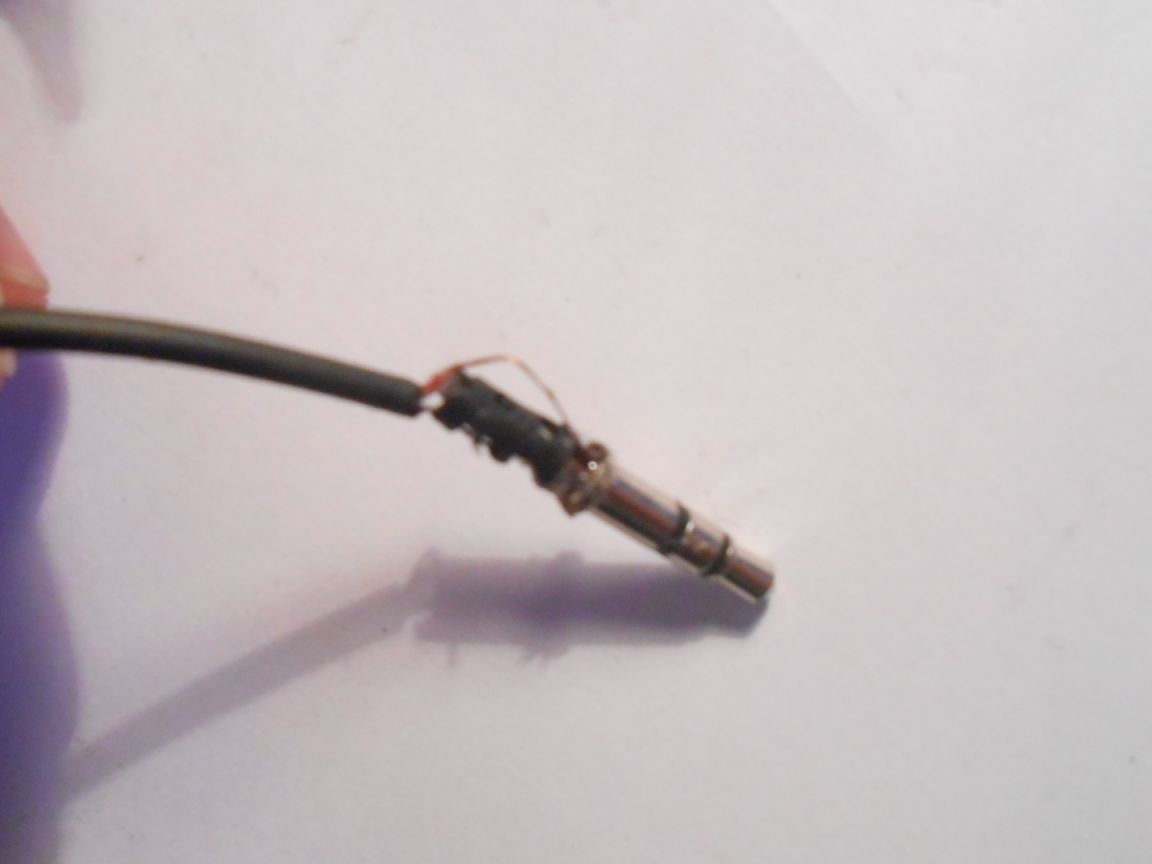
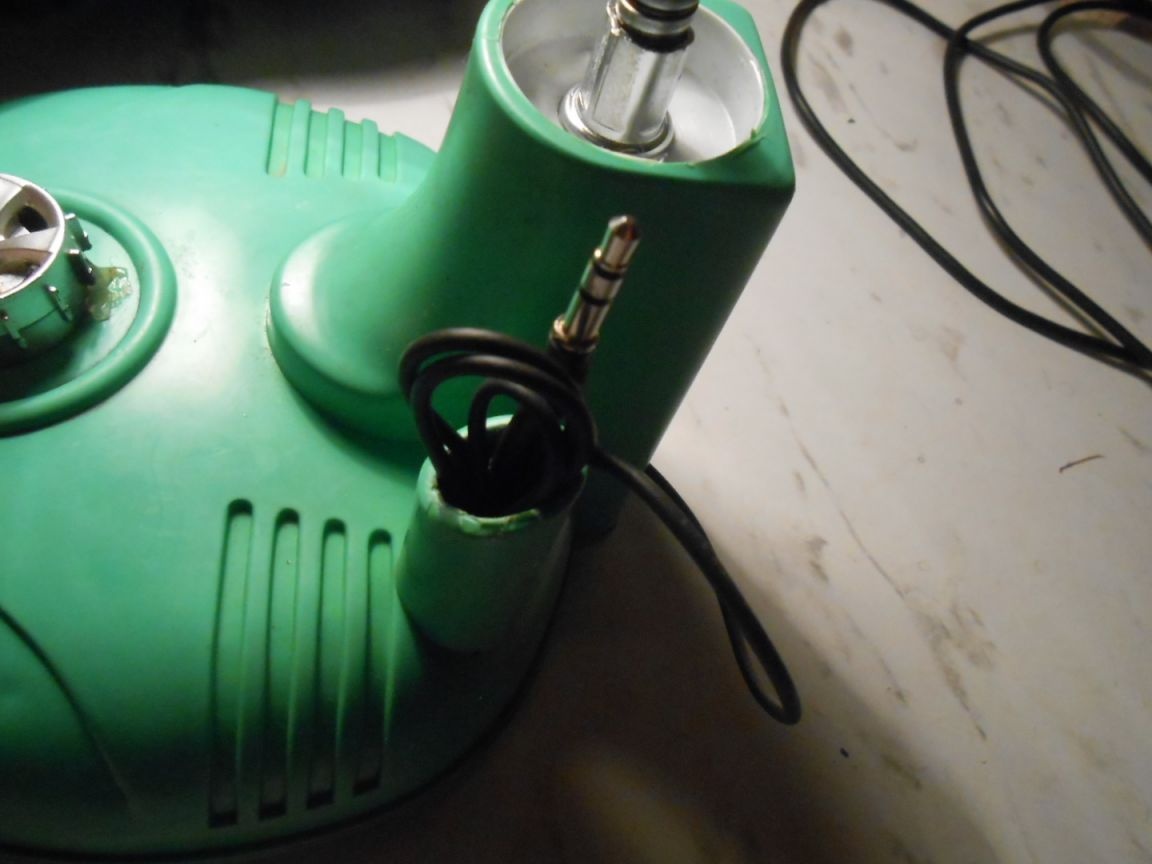
At the second end of the cable, we leave the same three wiring, and trick.
Solder all three wires to the mini-jack. Solder orange to general contact, blue to any remaining, green too.
We isolate with hot glue, and we strengthen the mini-jack with the same.
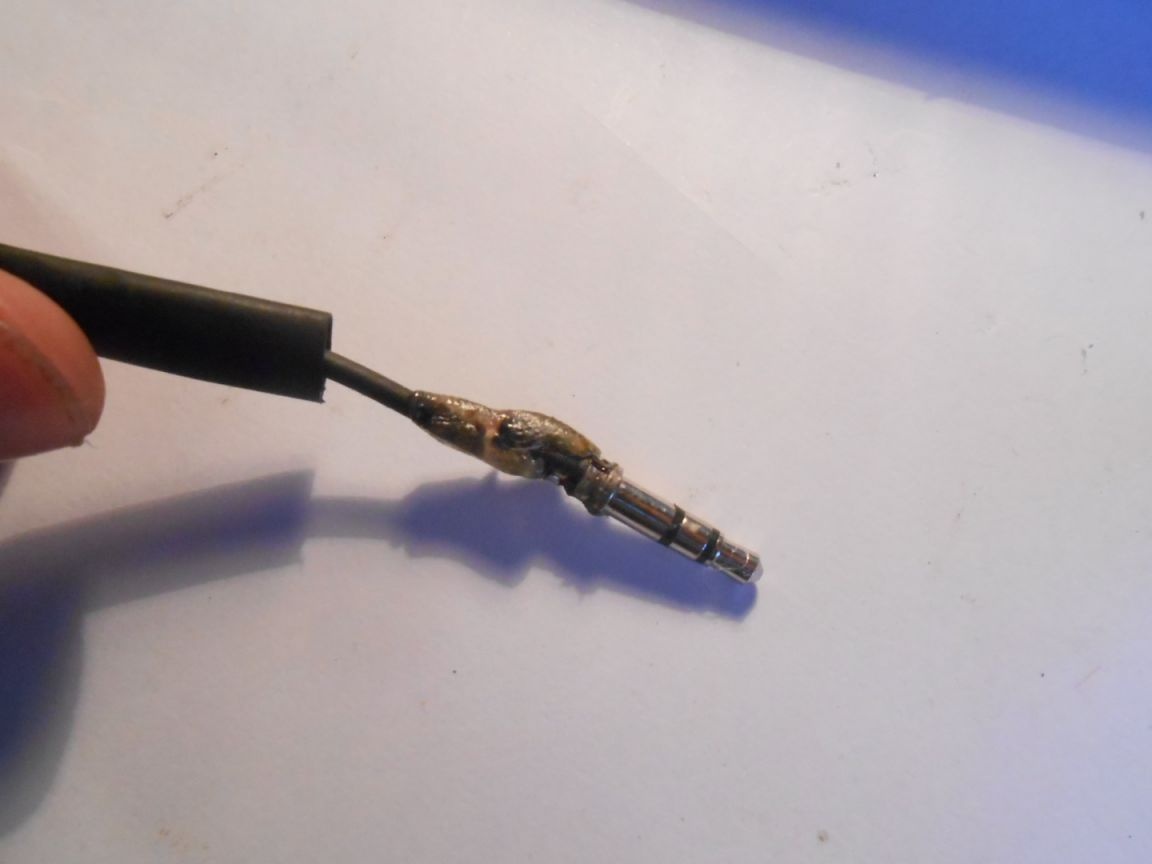
And sit on top of a small piece of heat shrink tube. The result is a good and durable mini-jack.

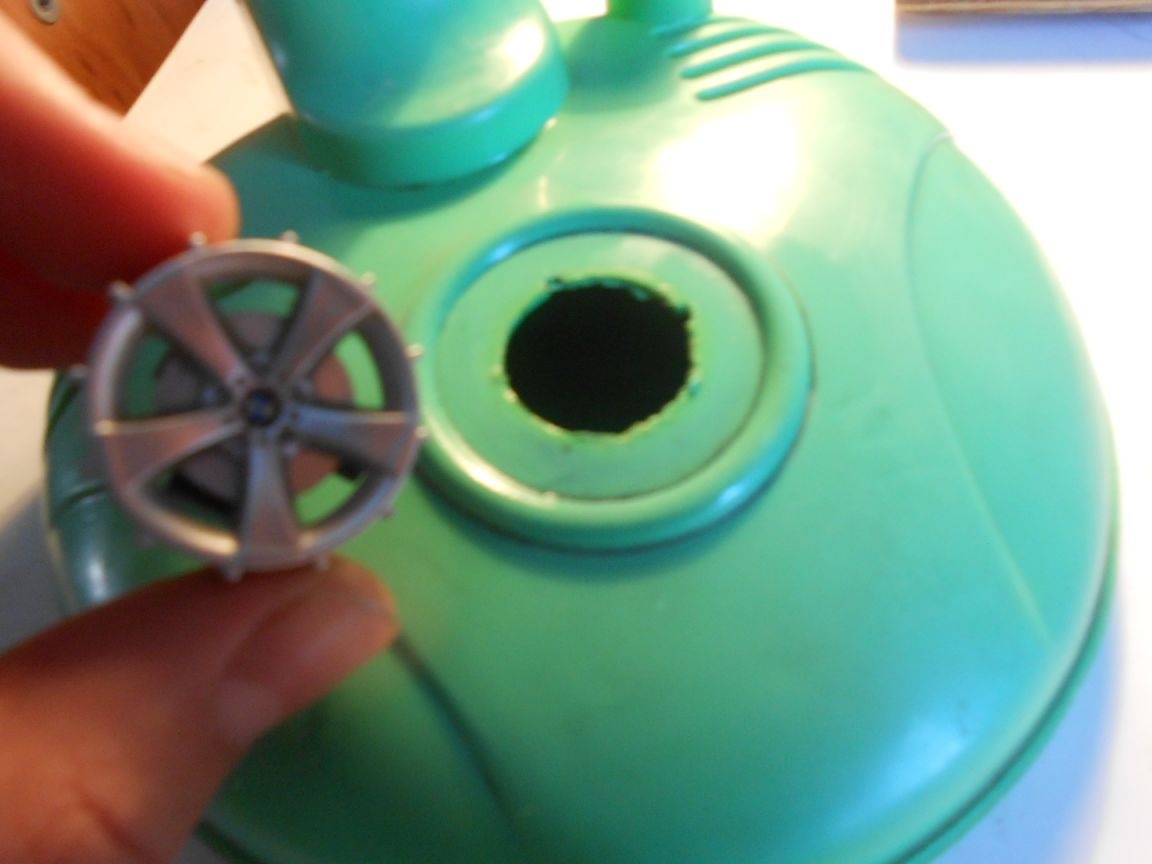
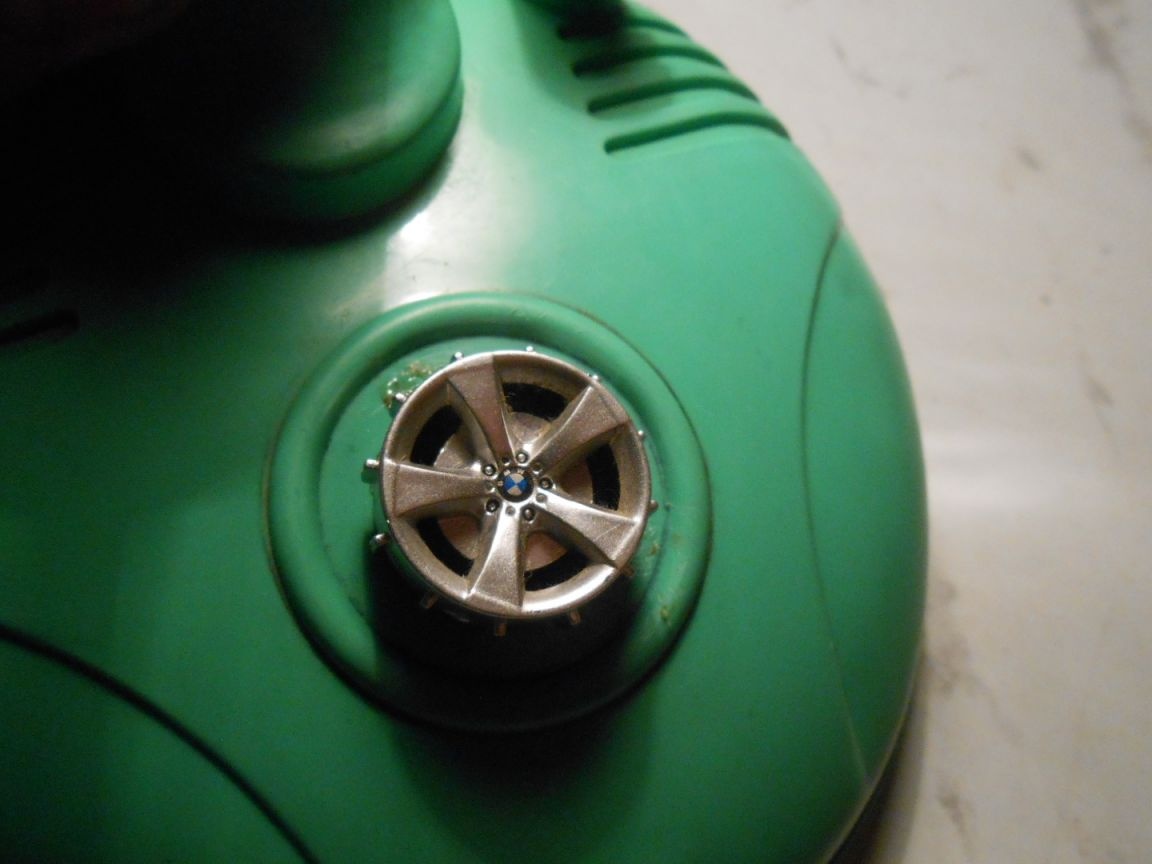
There was such an ugly hole on the body of the lamp that I plugged in with a wheel from a toy car. It looks simply AMAZING in appearance.
Our ready-made desktop microphone already has a stand for the handle, where we will put the cable. This is not a big bonus.
We connect to the computer, into the red connector on the back of your system unit, and test.
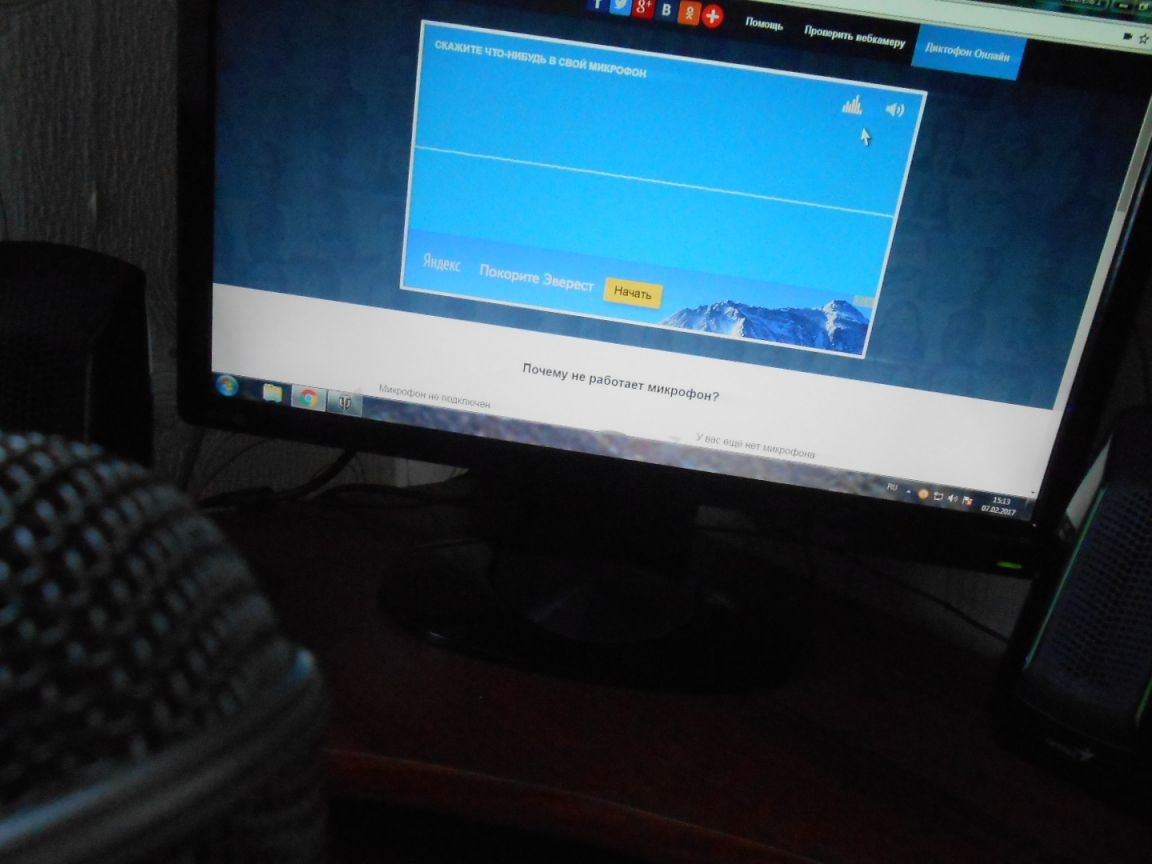
You can test the microphone, which I did. The quality in my opinion is excellent, and the microphone looks like "FIRM". It is very convenient to play games and chat via skype.
