
With the word "birch" the first thing that comes to mind of a modern person is birch sap. But birch has long been appreciated, in addition to juice and wood, as a "supplier" of birch bark (birch bark). They wrote on birch bark, made baskets, tar, etc. from it. Due to its good water-repellent properties and low thermal conductivity, it was made pens for knives. In this article, the author shows how to make a knife case from birch bark.
Tools and materials:
-Birch;
-Knife;
-Marker;
-Glue;
-Press;
-Rule;
Burn-out or drill;
-Varnish;
-Sandpaper;
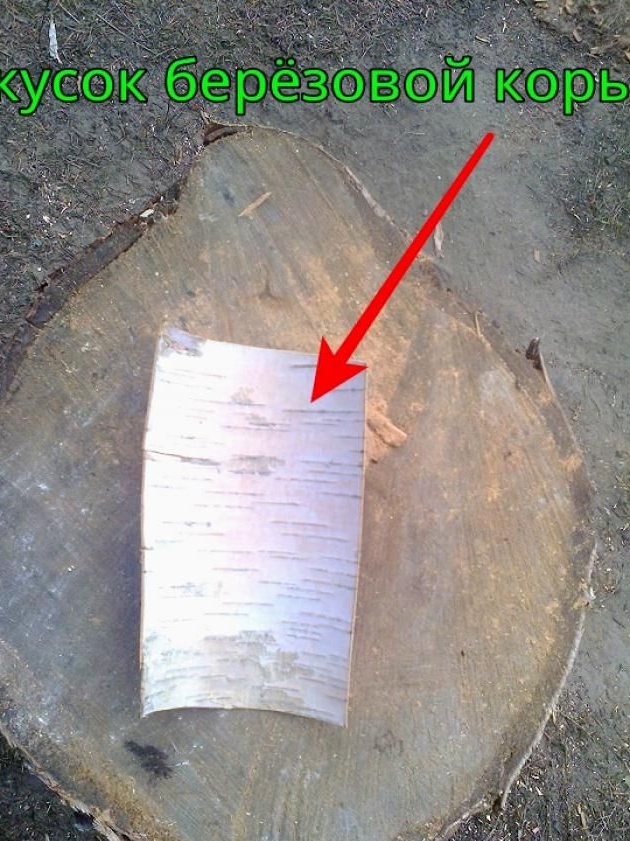
Step One: Harvesting Birch Bark
First you need to find a smooth, without knots and flaws (cracks, spots, lichens), birch. At the bottom of the tree makes an incision and removes the right amount of birch bark. If its thickness is more than 1.5-2 mm, then you can remove the layer. According to the author, due to the presence of tar in the bark, the bark does not dry out completely and remains flexible, and also retains water-repellent properties. Tar protects birch bark from decay.
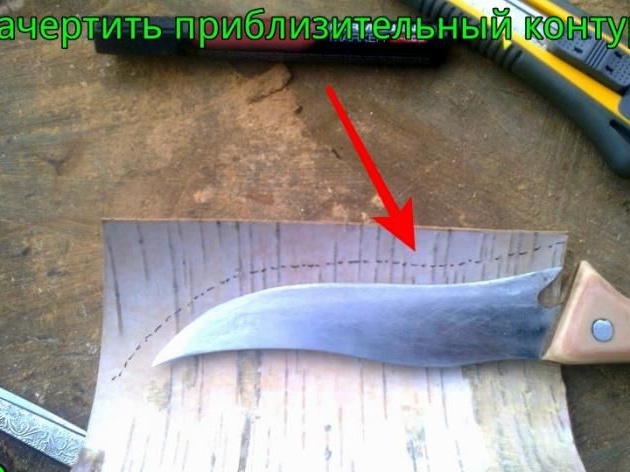
Step Two: Making the Case
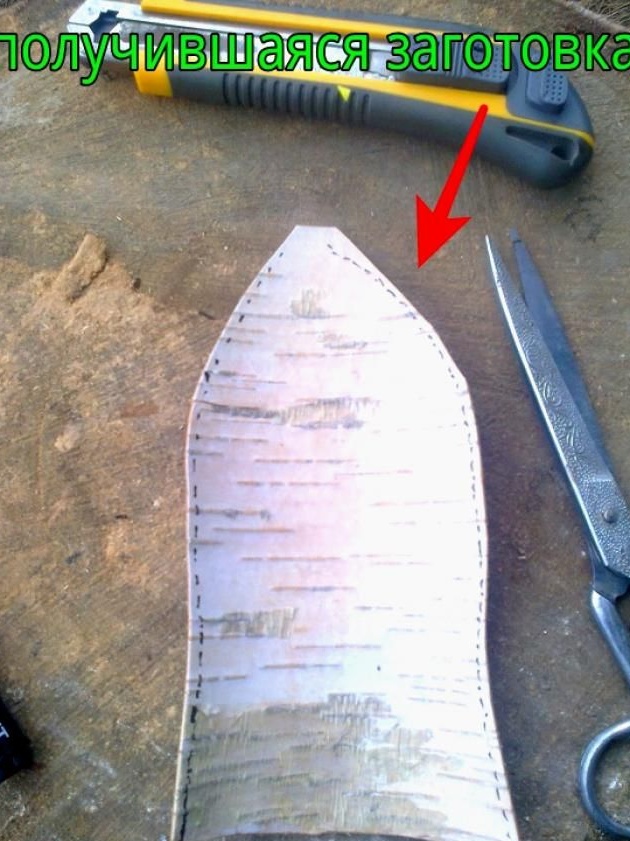
Next, the author applies the knife to the birch bark and outlines it with a margin of 1 cm. The knife must be placed with the sharp part to the edge. Performs the same operation on the other side of the workpiece. If the knife will hang on the waist belt, you must still leave a strip under the mount.
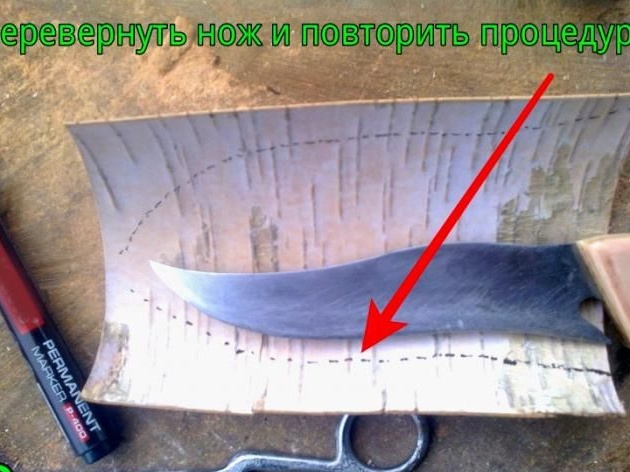
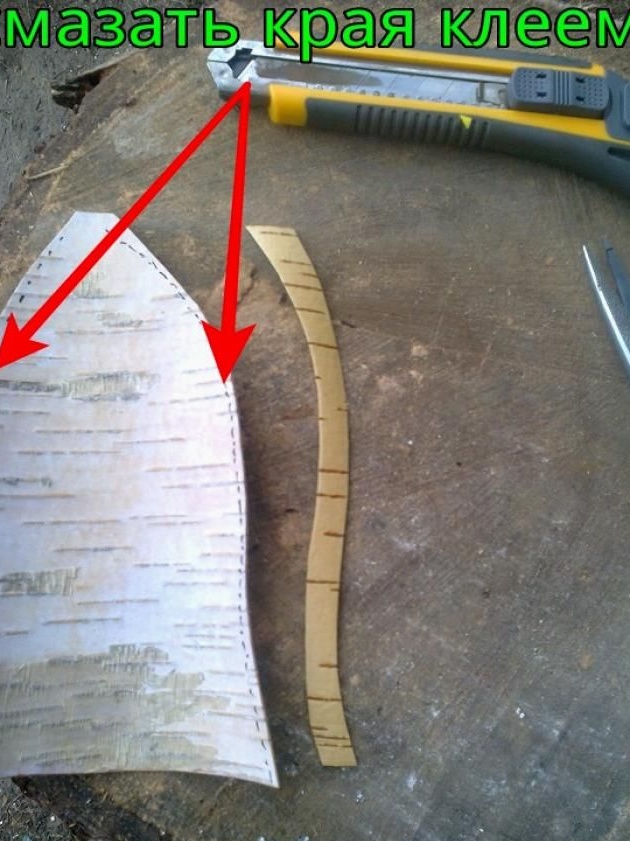
Cuts the birch bark along the contour. From the rest, cut a strip 1 cm wide.
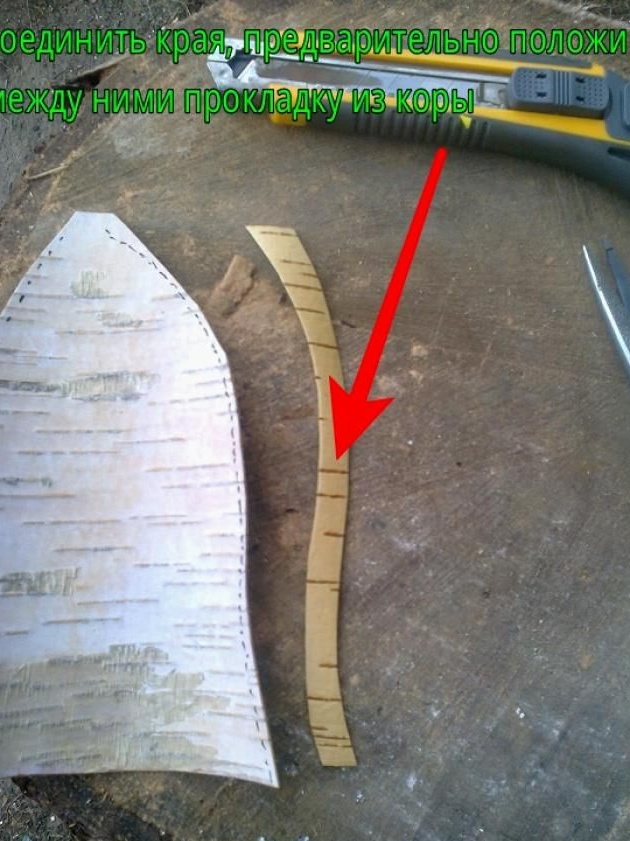
Next, the author bends the workpiece, inserts a cut strip between the edges. If everything converges approximately, it applies glue to the edges and strip and puts it under the press.
Step Three: Lacing
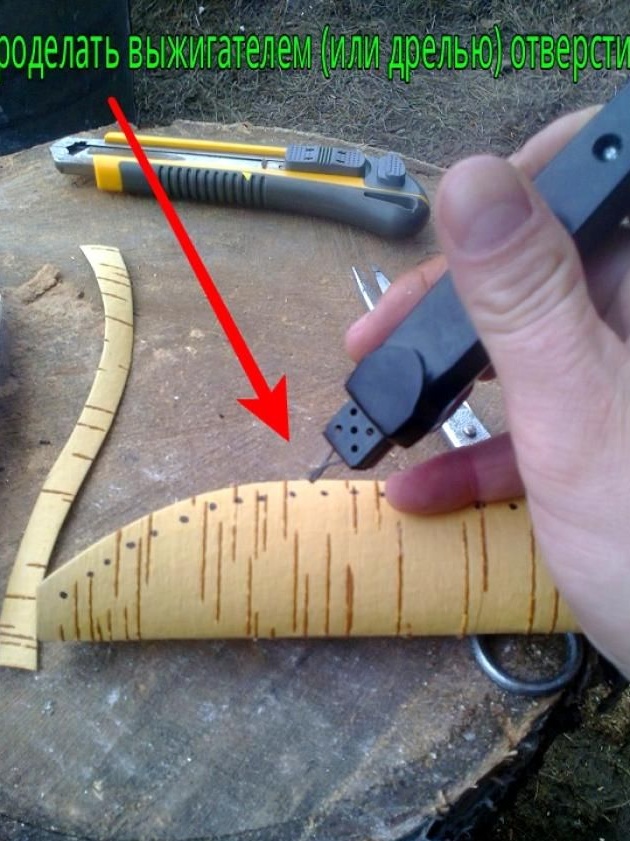
After the glue has hardened with sandpaper, it evens the edges. From birch bark cuts a strip with sides 1.5 to 1.5 mm. Further, with a burner or drill with a sharpened tube, it makes holes at a distance of 5 mm from the glued edge and in 1 cm increments. The diameter of the holes is 3 mm.
Sharpens the edges of the strip. Starts lacing. Threads one end into the outer hole and extends it to half. Laces cross to cross. If the lace is not enough, then it is necessary to glue its edges inside the cover, cut a new strip and lace up.
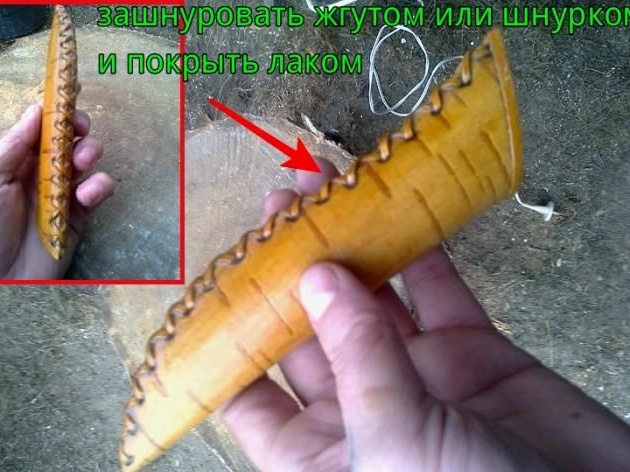
Step Four: Varnishing
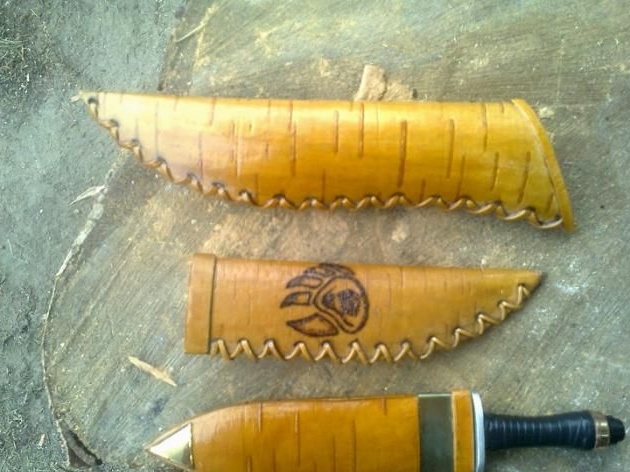
Burns out a drawing on a cover and covers it with varnish.
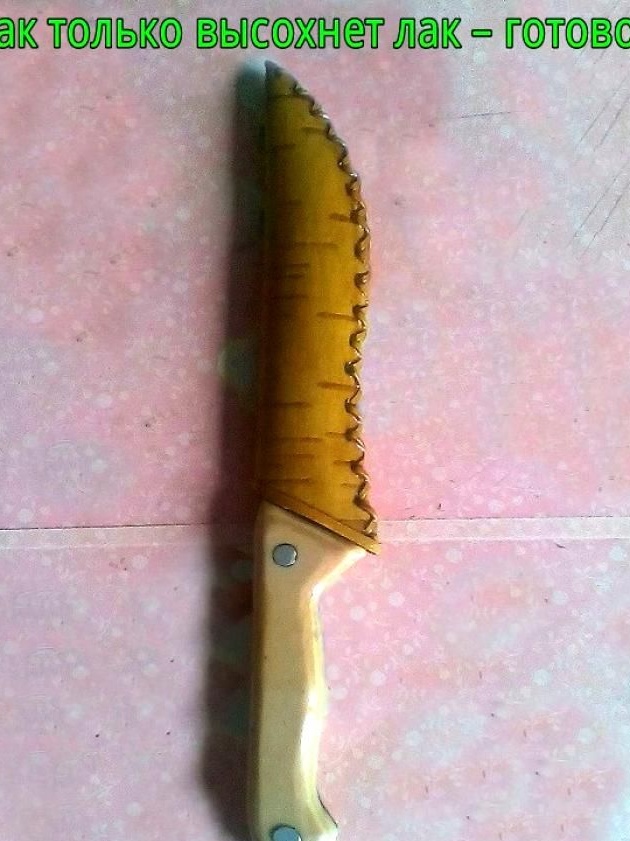
The cover is ready. You can also add metal elements.