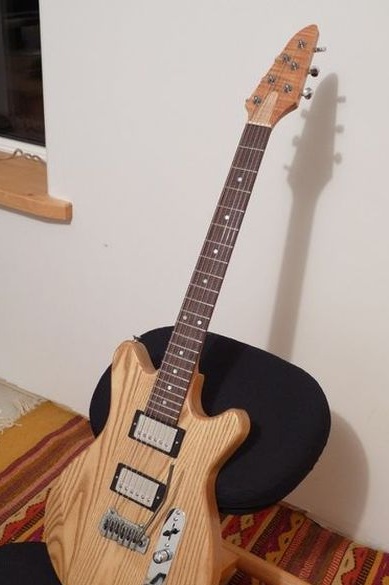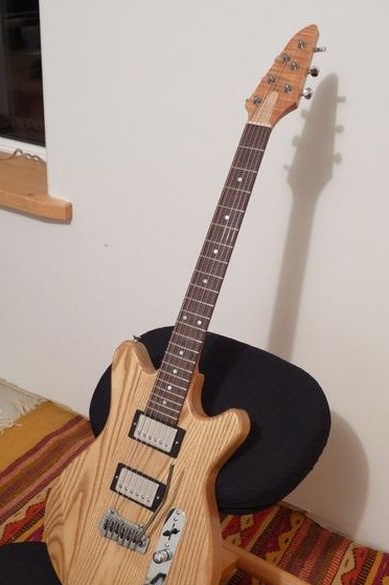
The first electric guitars for the mass consumer were released back in 1934. Since then, the electric guitar surely occupies its rather big niche in the world of musical instruments. In this article, we will consider how to make an electric guitar at the lowest cost.
Tools and materials:
- Rosewood;
-Red tree;
-Ash;
-Plywood;
- Electric jigsaw;
Milling cutter;
-Rule;
-Pencil;
-Woodworking machinery;
- Clamps;
-Drill;
-Sandpaper;
-Rasp;
-Glue;
-Oil;
Lemon oil;
-Polyurethane varnish;
- Danish oil;
-Wax;
-Capacitors;
-Resistors;
-Connector;
- Pickups;
-Anchor bolt;
-Potentiometers;
-Pens;
-Strings;
-Lada;
-Switches;
-Kolki;
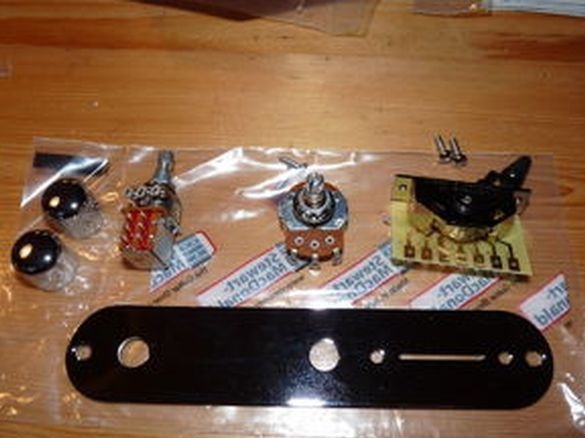
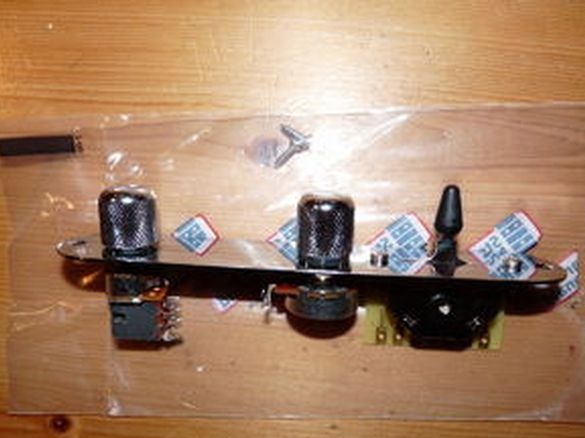
Step One: Prepare
The author began to do electric guitar using the instructions in the book by Martin Koch
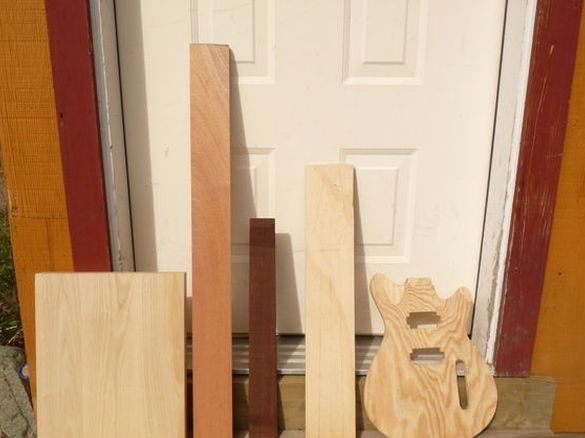
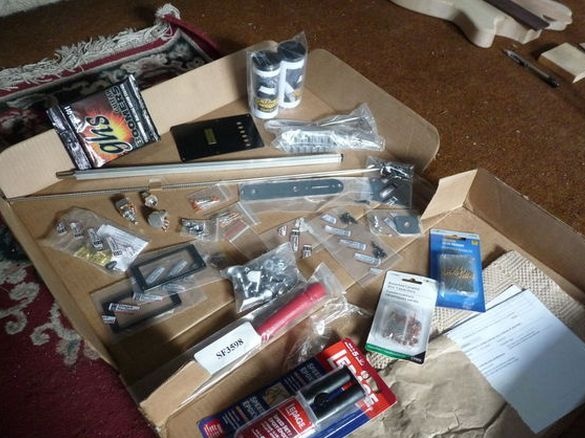
First, the author acquired everything necessary for the manufacture of an electric guitar. Wood, electrical components, strings, etc. Next, I proceeded to manufacture.
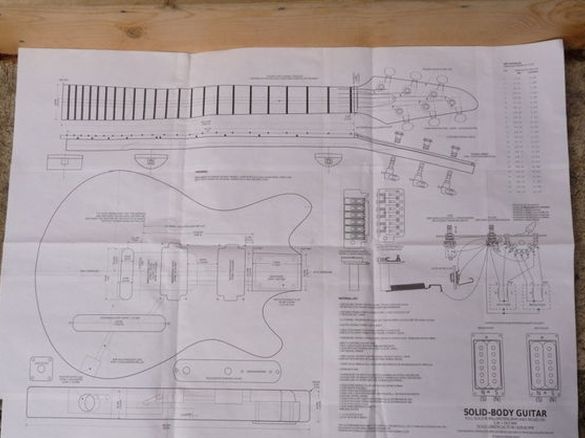
Step Two: Template
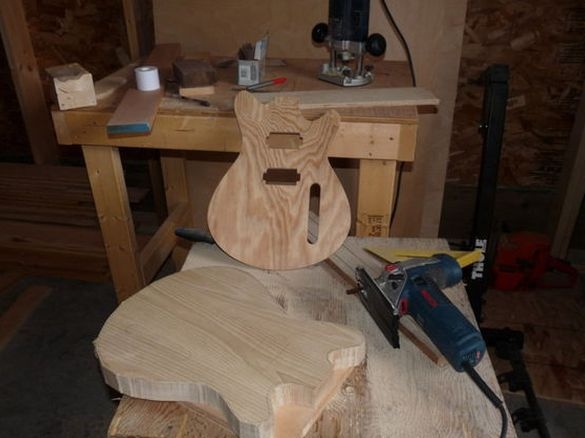
In order not to spoil the tree, the author cuts a pattern from plywood.
Step Three: Case
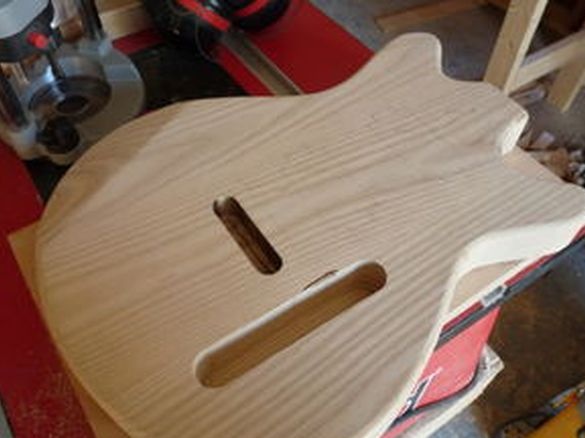
The author made the body of the guitar from ash. I cut the case according to the plywood template. Marked for grooves.
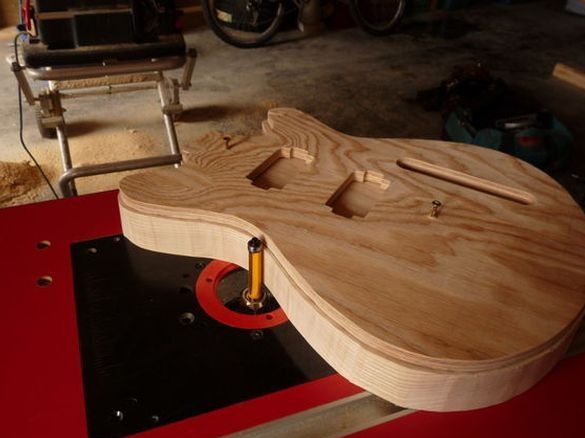
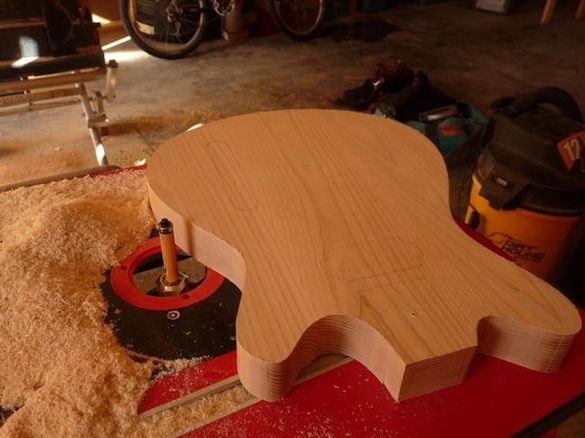
With the help of a rasp and sandpaper rounded sharp edges. Made a bevel on the back of the case.
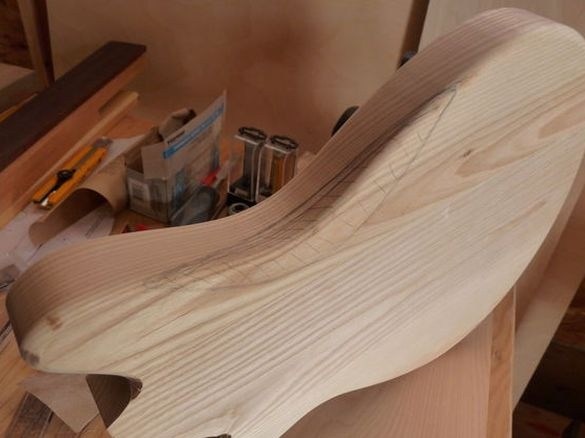
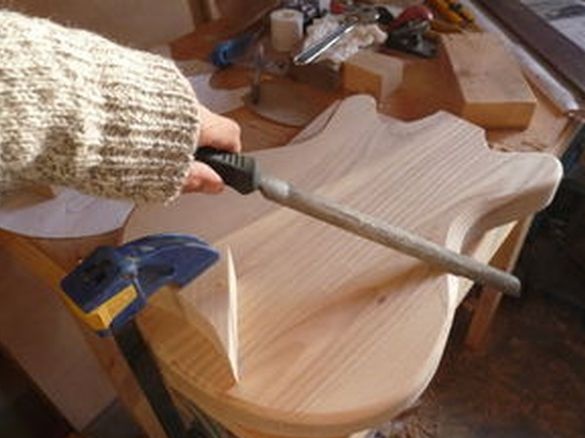
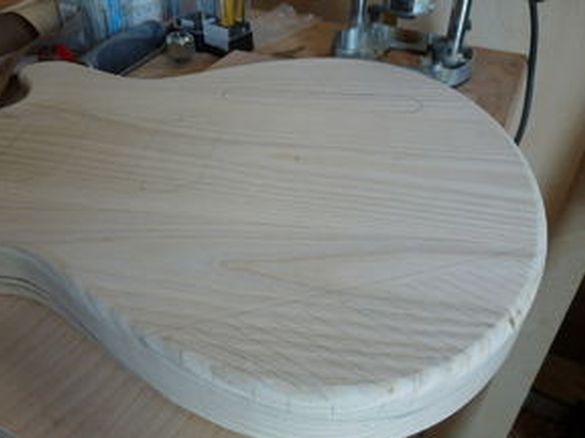
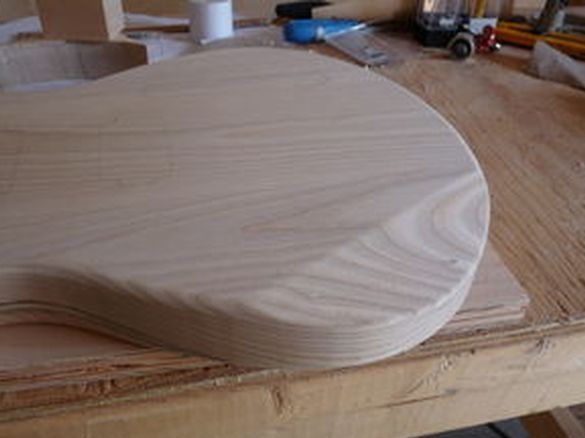
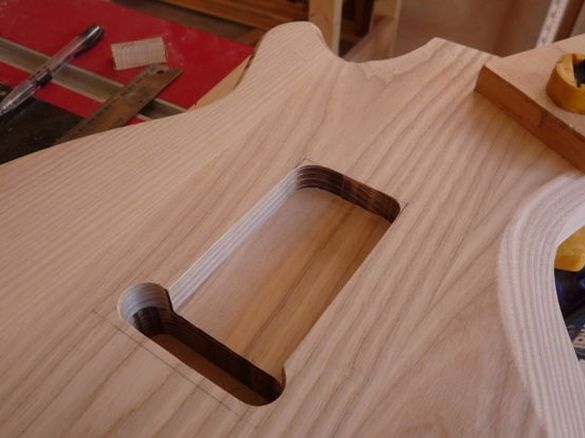
Cut grooves under the electric components of the guitar.
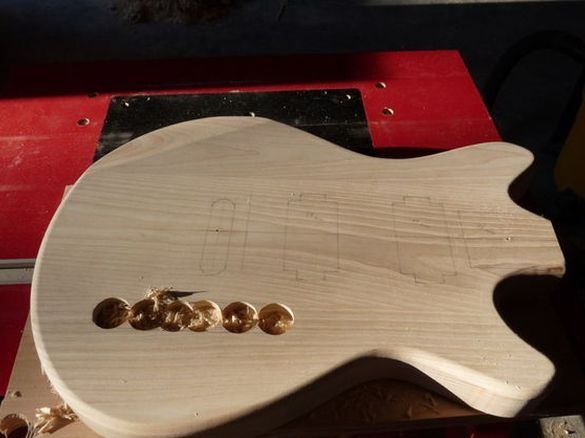
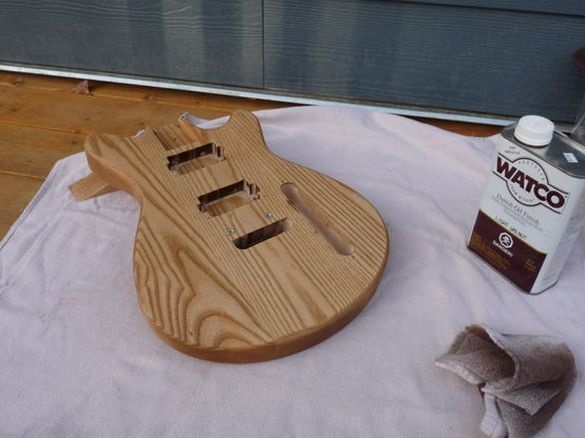
Processed the body with Danish oil, then coated with wax.
Step Four: Vulture
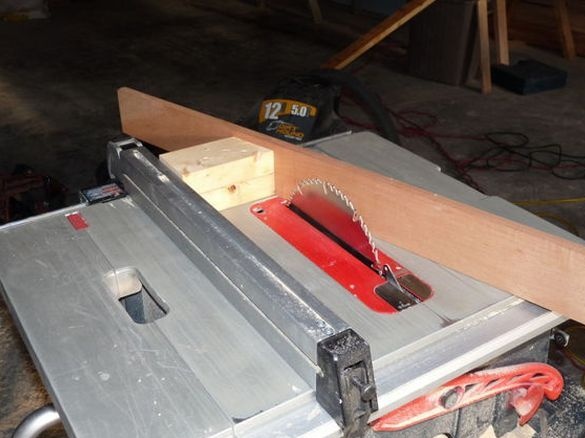
The neck and neck of the neck are made by the author from rosewood. I cut the board at an angle and then glued it on the other side.
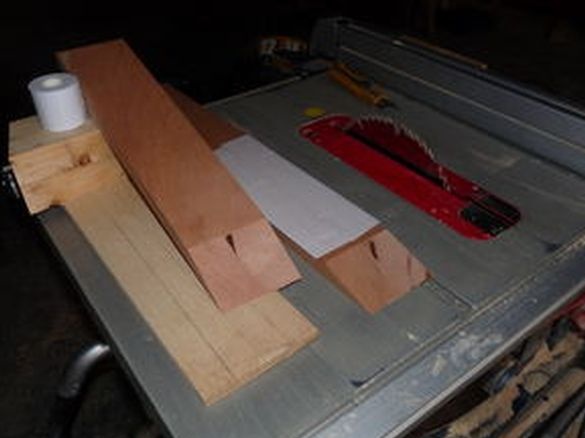
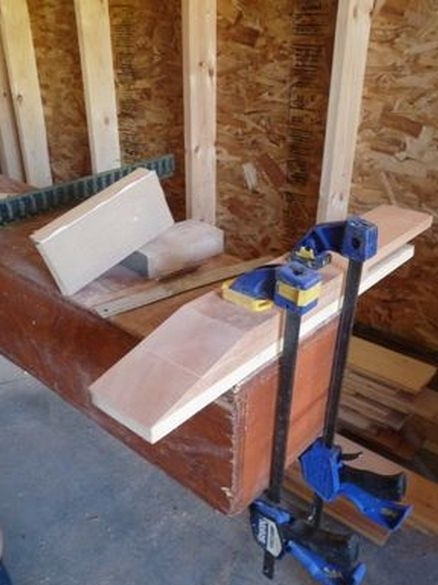
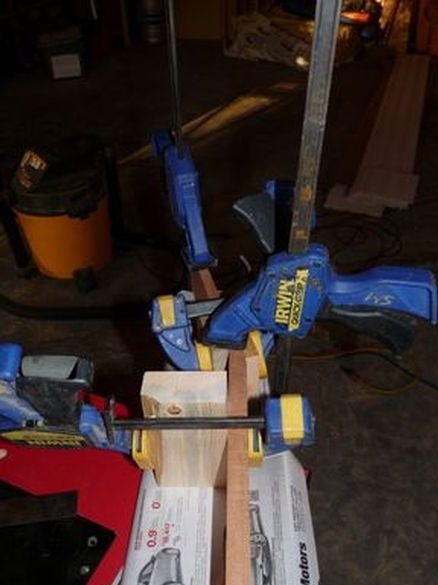
Step Five: Anchor Bolt
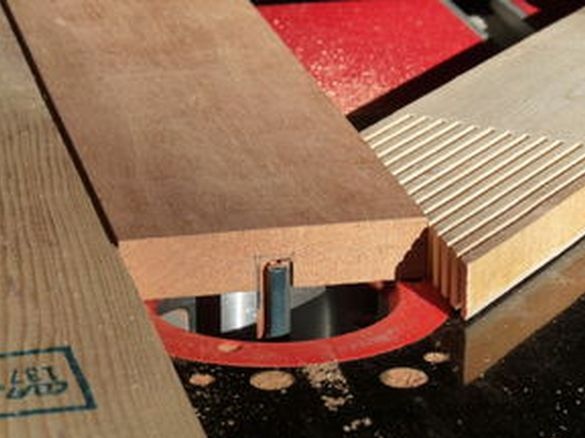
An anchor bolt prevents the neck from bending when tensioning the strings. Measures the length of the bolt and makes, in front of the neck, a groove under it.
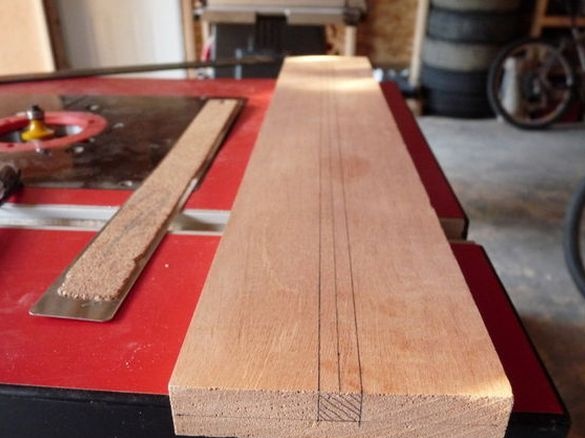
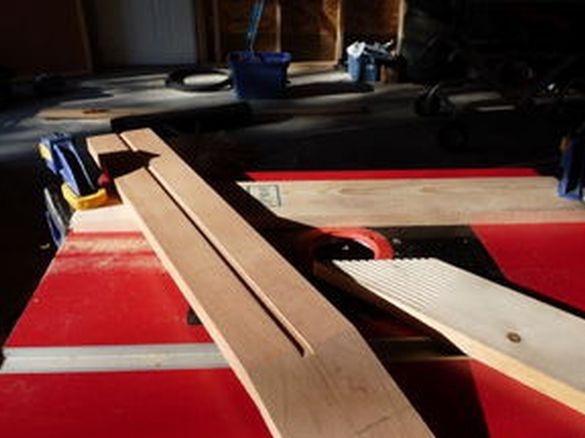
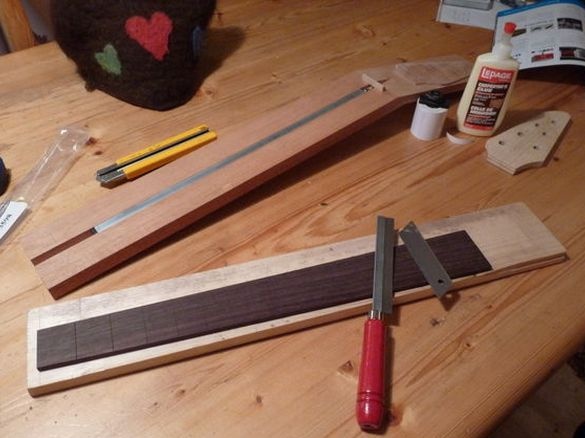
Glues the anchor bolt, inside the groove, with epoxy.
Step Six: Pad
The fingerboard is made of mahogany. Cut off a piece of the desired length. I cut the grooves under the frets. The distance between frets must be done strictly according to the instructions. Next, glue the pad to the bar.
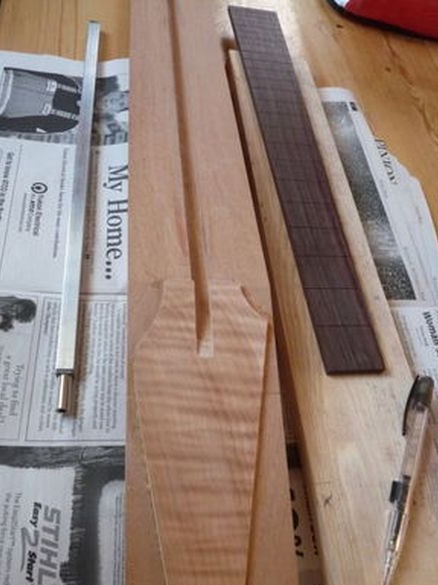
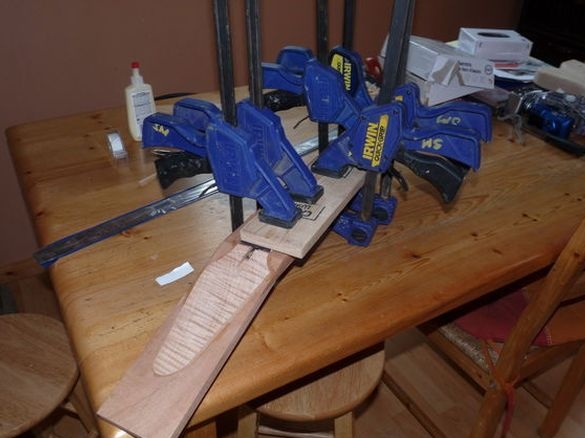
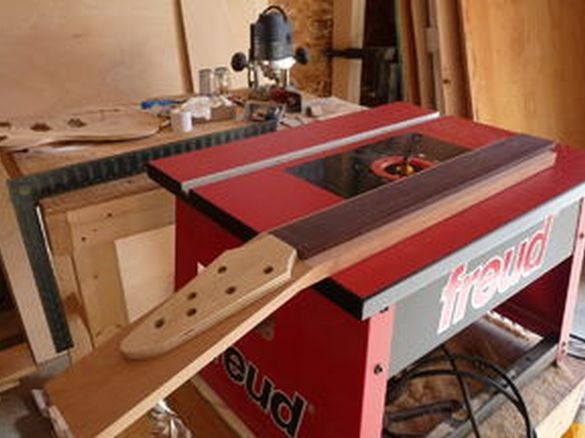
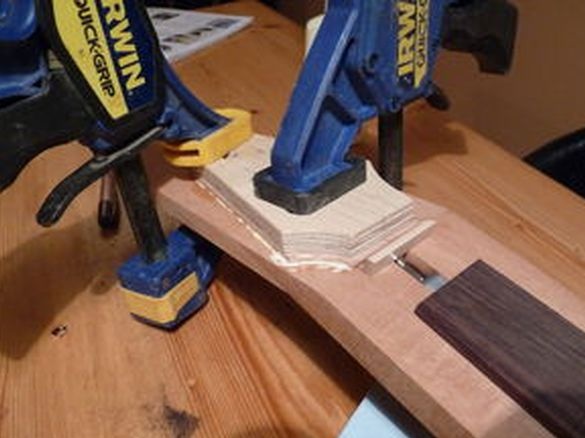
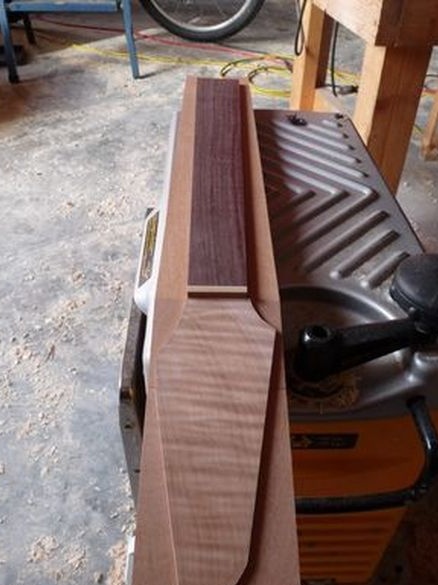
Trims the neck to the width of the lining. Treats the edge of the neck with sandpaper.
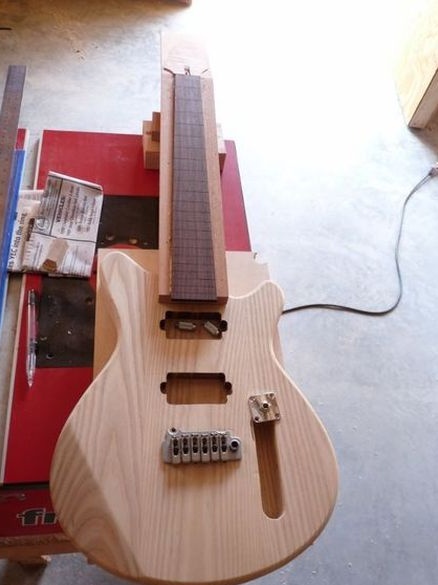
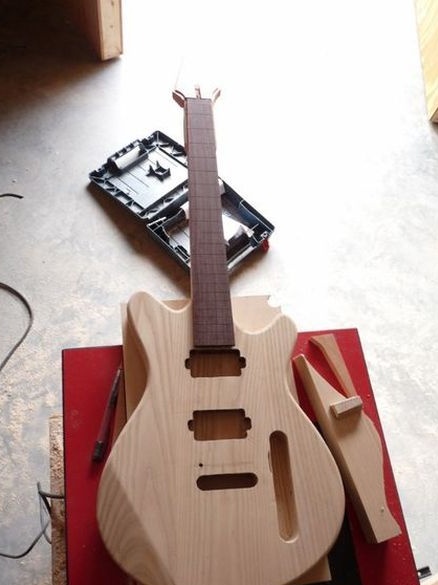
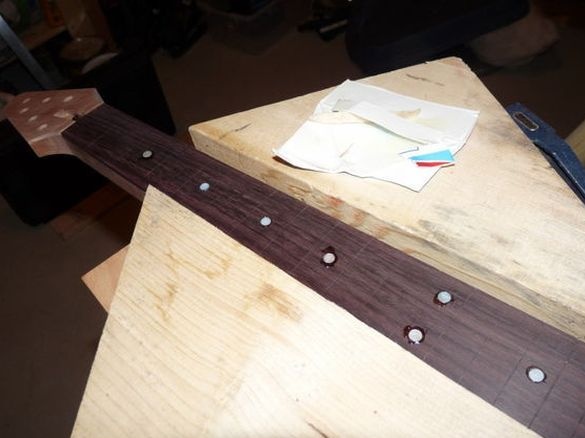
Then it processes the file with a file and sandpaper, gives it a rounded shape.Instructs with pearl marks.
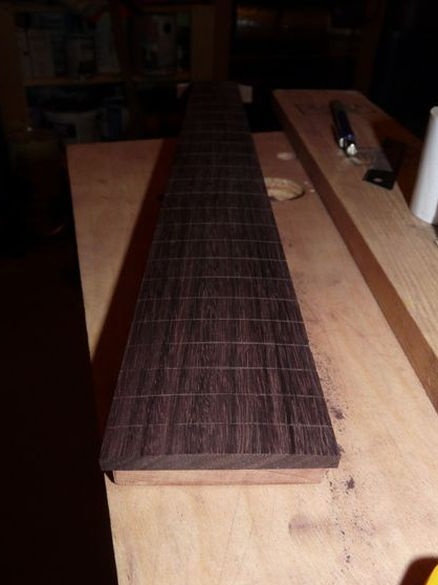
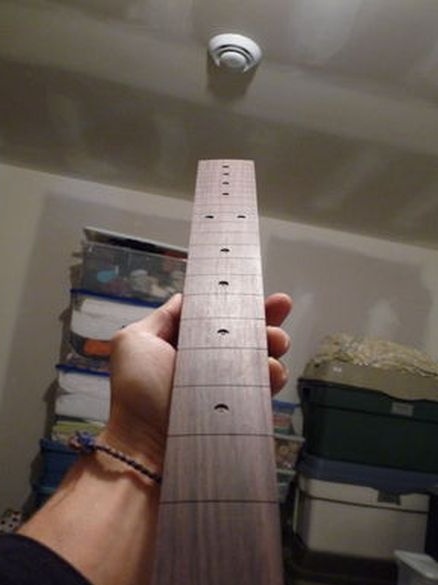
Seventh step: split
Installs splitting.
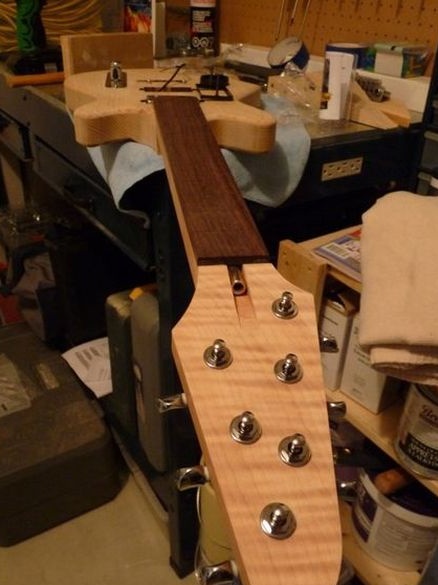
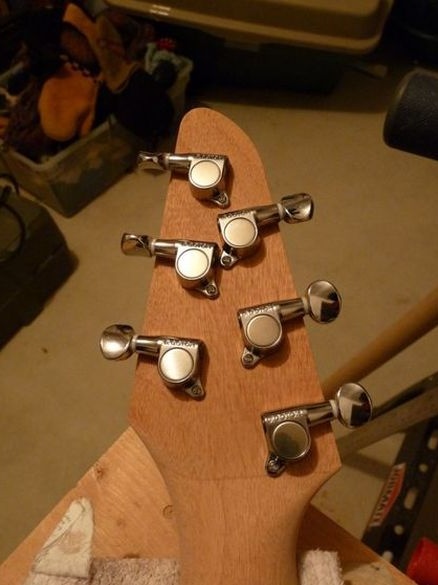
Step Eight: The Back
Processes, according to the template, the back of the neck.
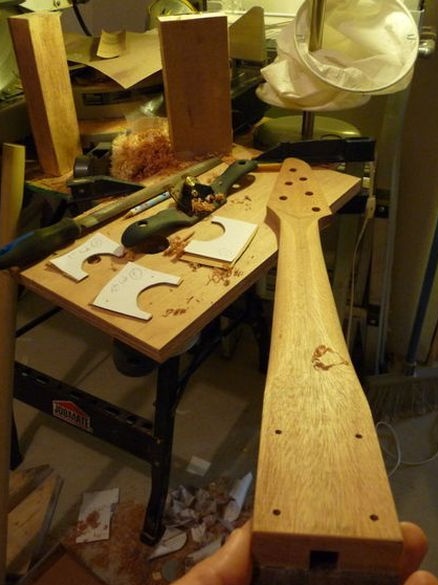
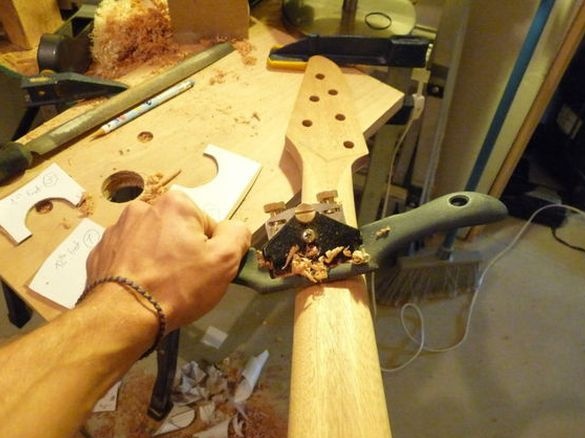
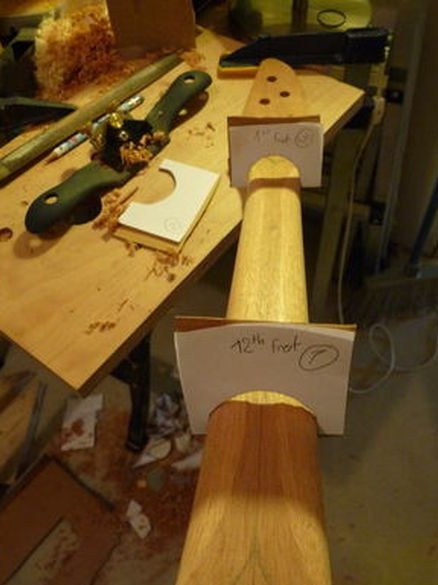
The head and back of the neck are covered with polyurethane varnish.
Step Nine: Frets
The author makes frets from special rods. Made a device to withstand a certain radius.
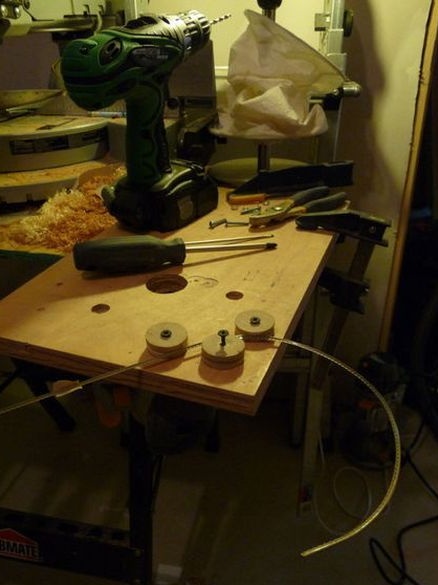
Passing the rod through devicecuts frets a little longer than the grooves. Then glues the frets into the grooves, cuts them.
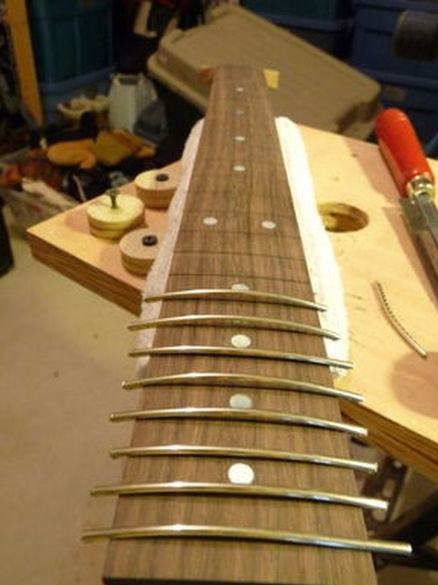
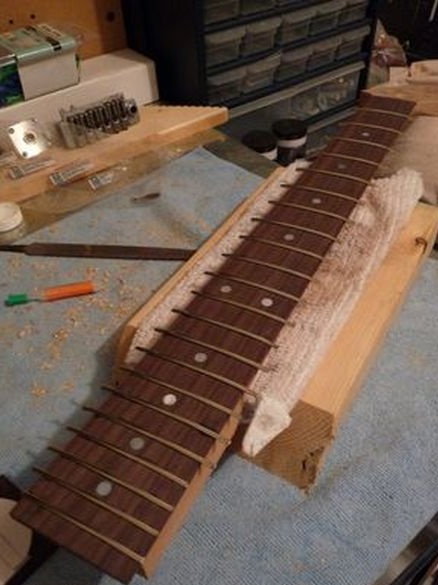
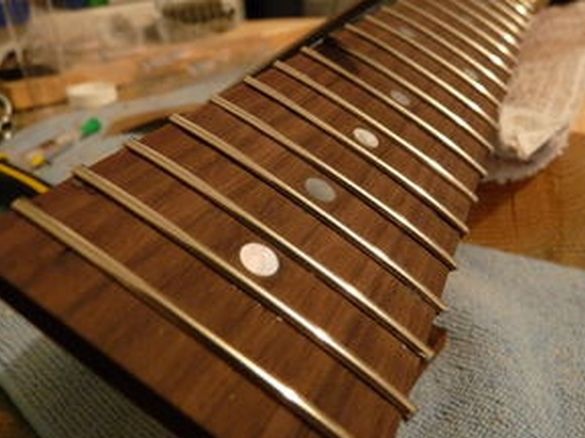
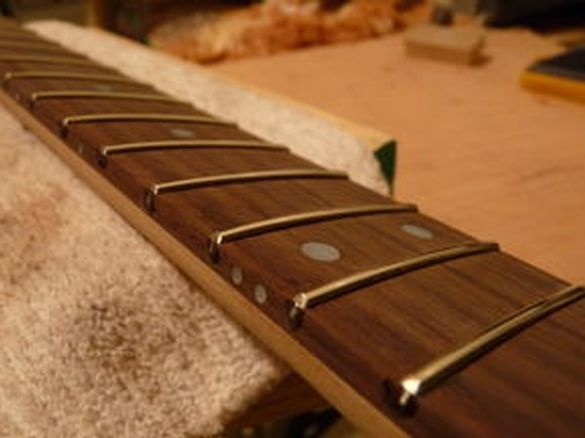
Aligns frets in height. To do this, closing the neck from damage, applies a rail to frets. Focusing on the plane, reiki aligns with sandpaper frets.
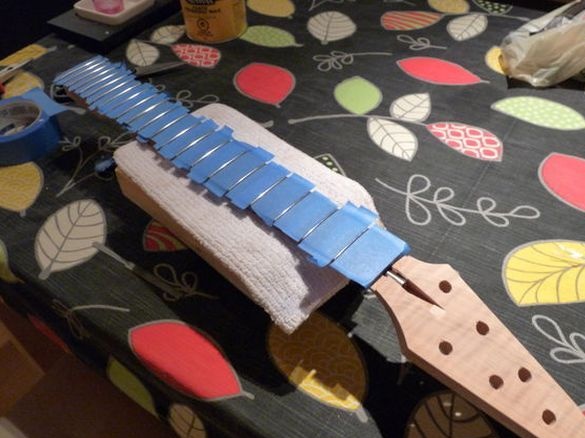
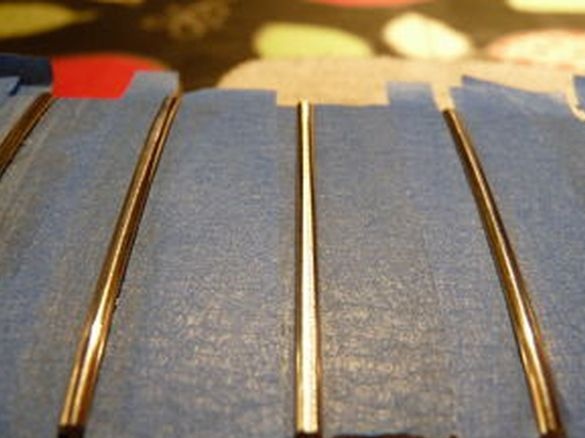
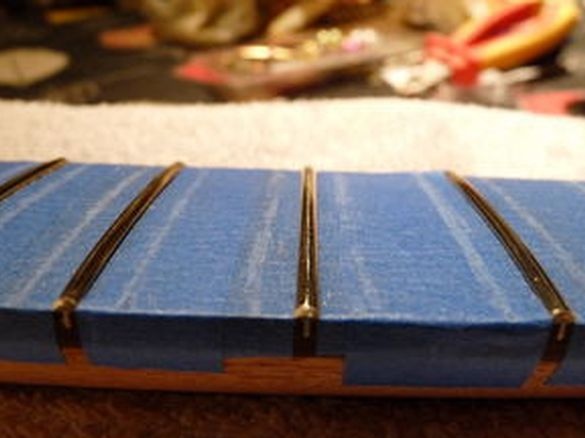
To prevent finger dirt from remaining on the frets, treats them with lemon oil.
Step Ten: The Nut
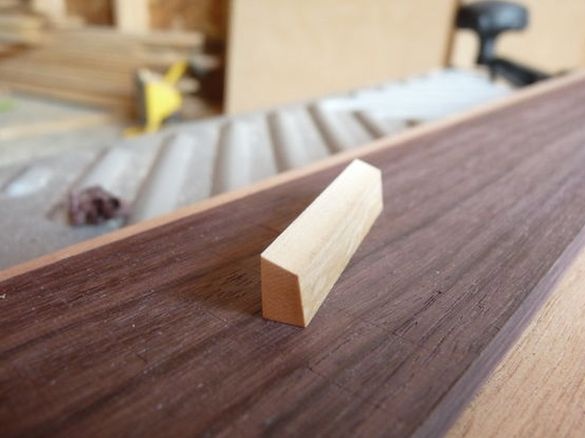
The author made a plank from a mammoth tusk.
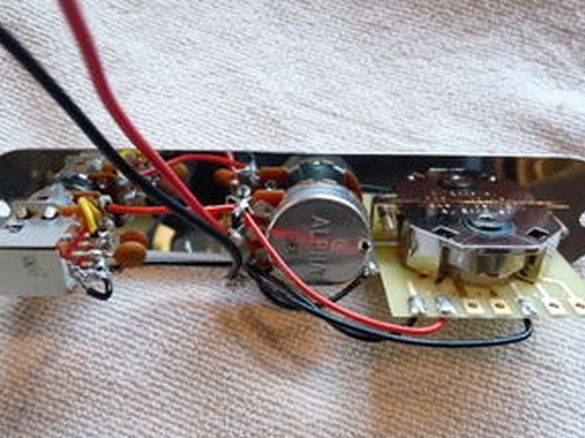
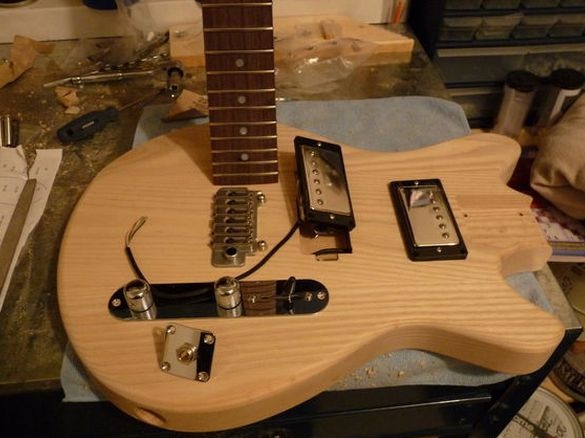
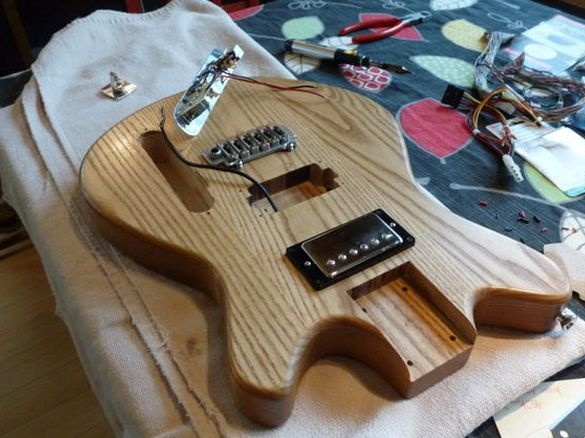
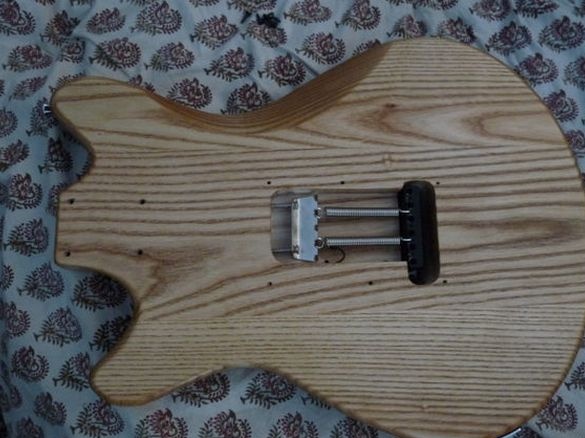
Step Eleven: Installing Electrical Components
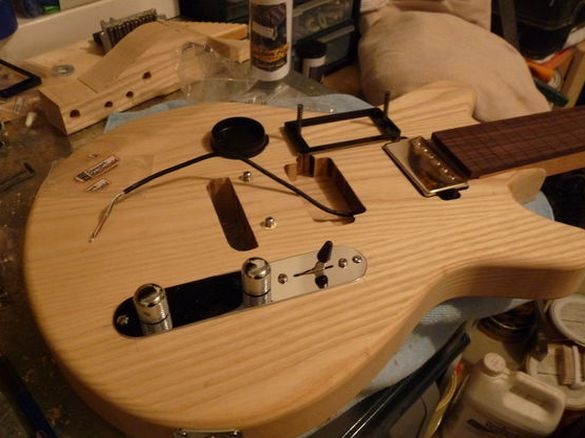
Assembles the electric part of the guitar.
Step Twelve: Strings
Sets the strings.
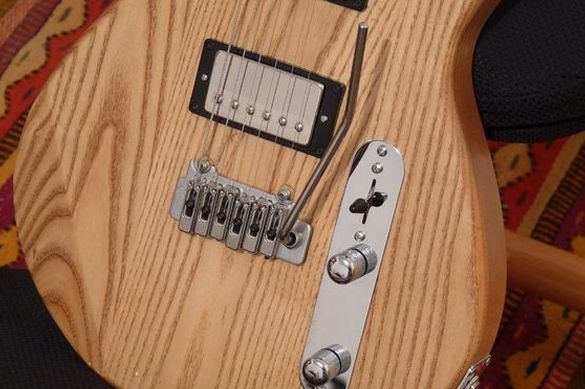
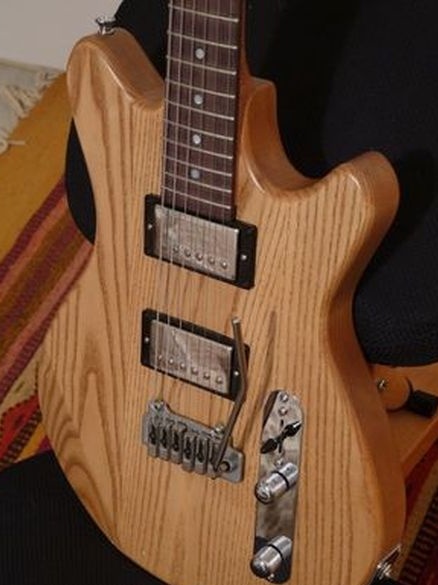
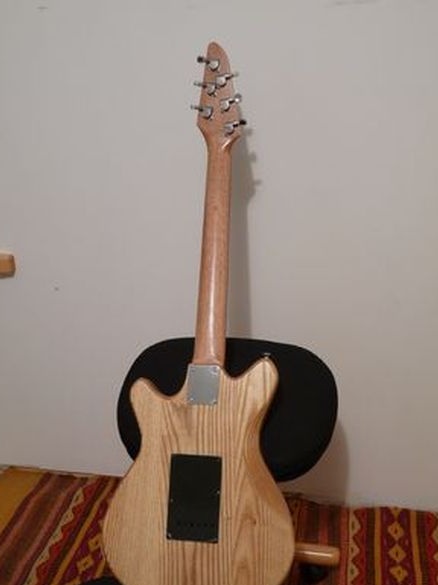
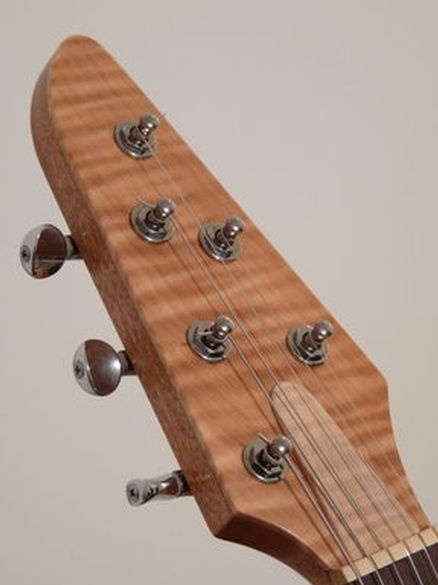
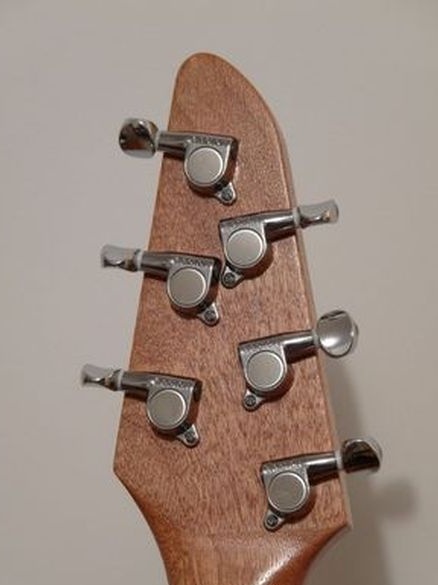
Now you just have to tune your guitar and you can start playing.
