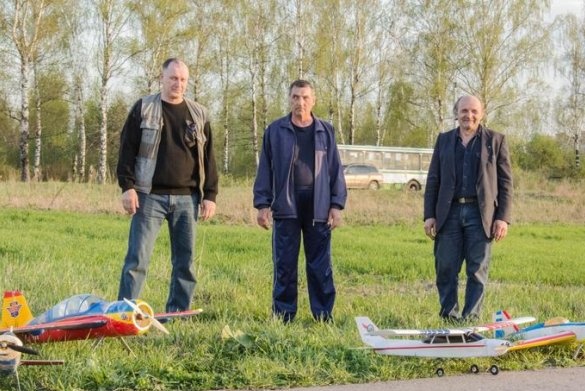
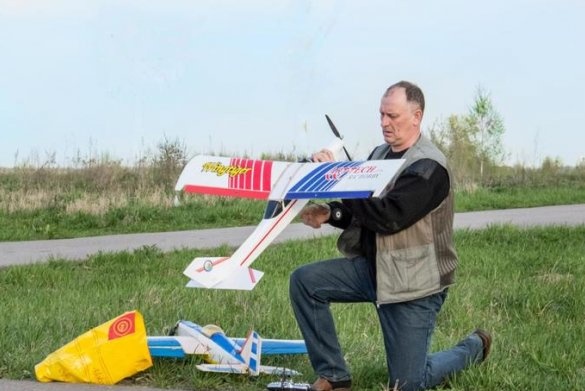
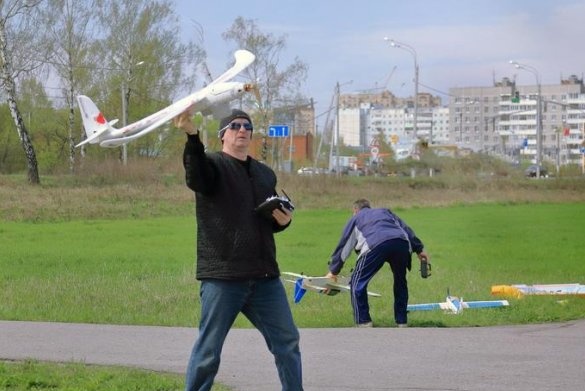
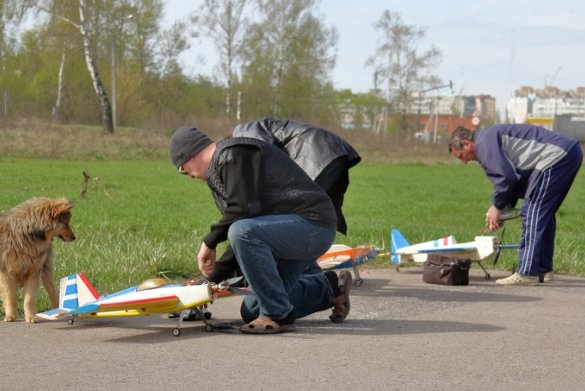
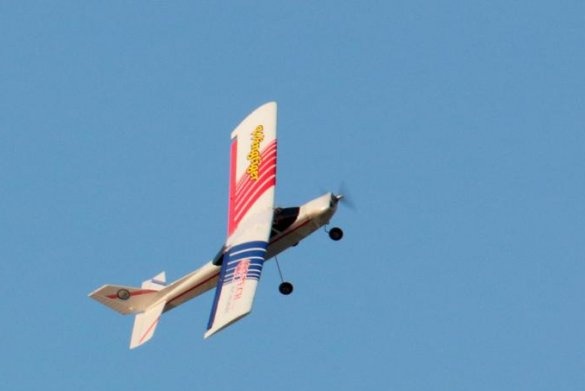
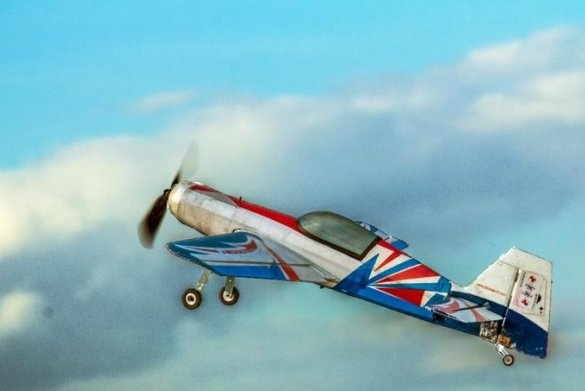
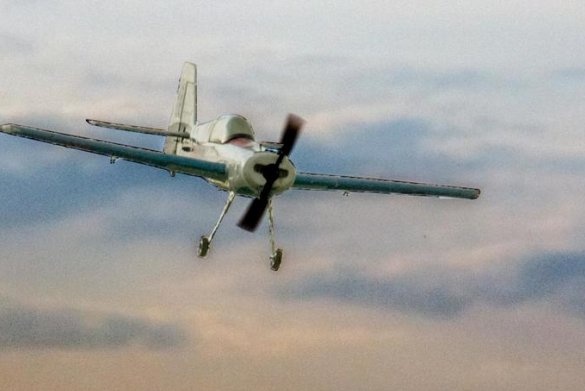
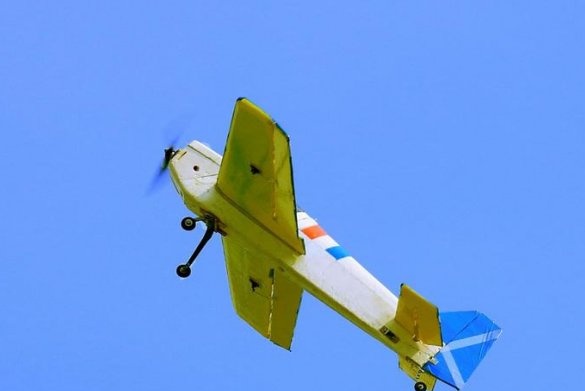
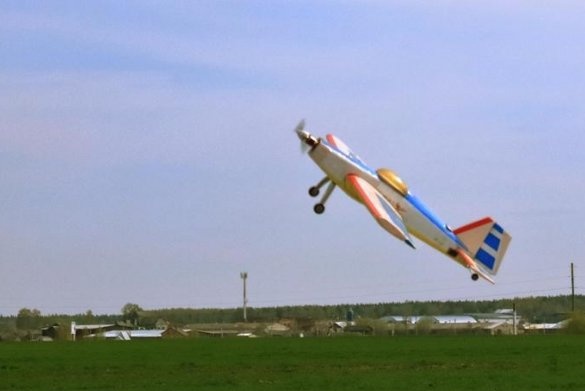
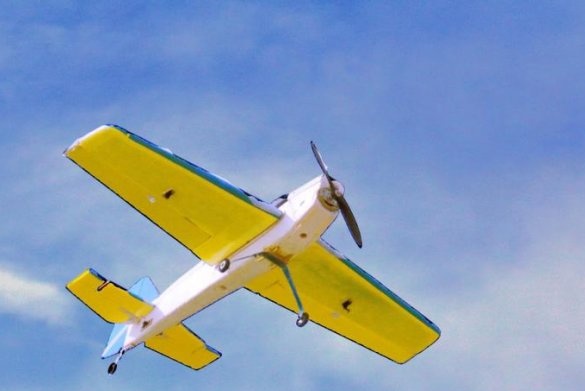
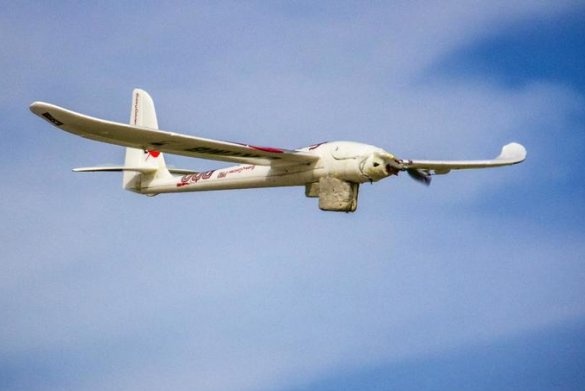
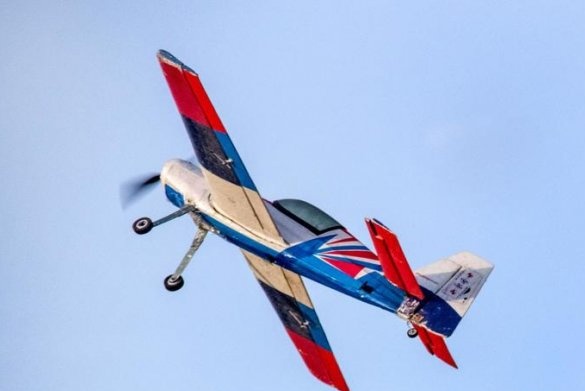
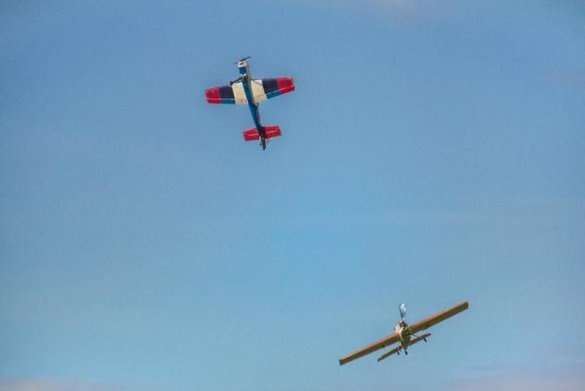
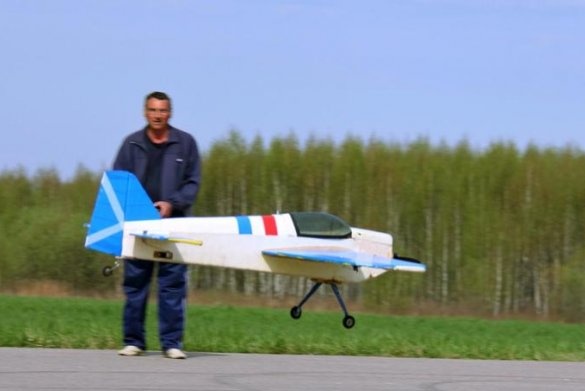
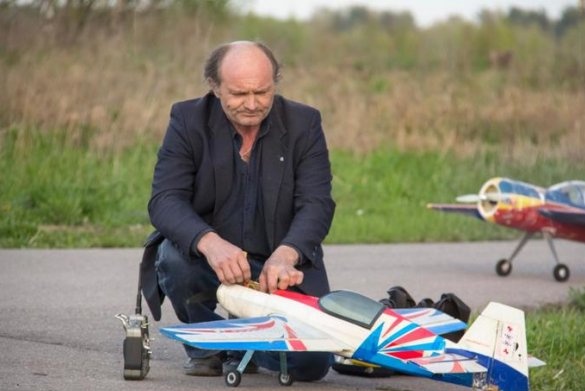
I talk a lot about my aircraft models and about models of other modellers. This time I decided to talk about my friends and comrades from Yegoryevsk.
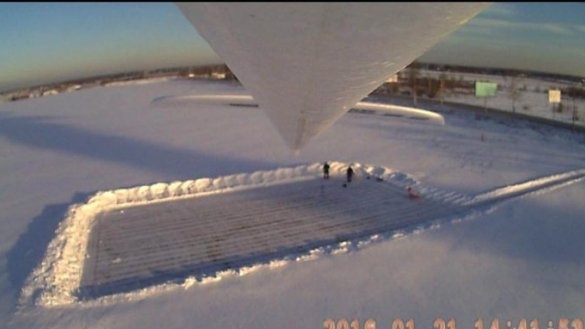
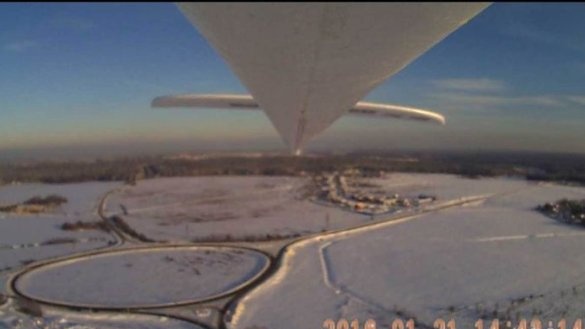
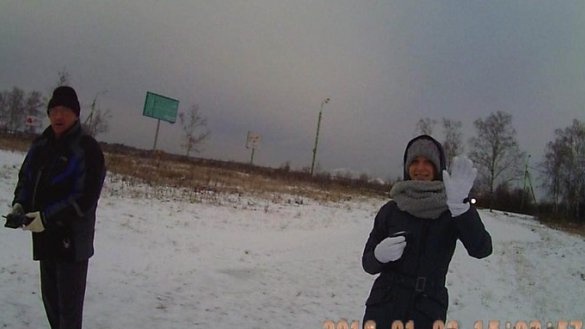
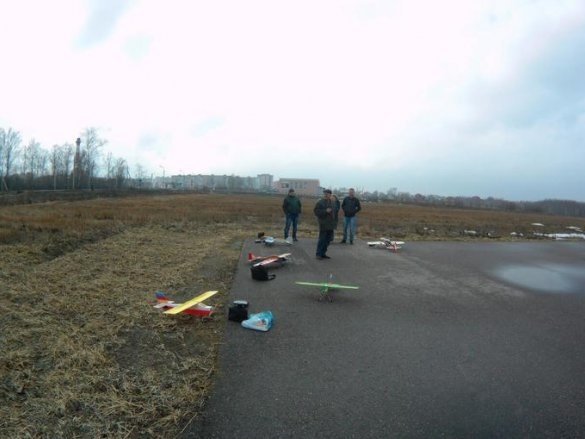
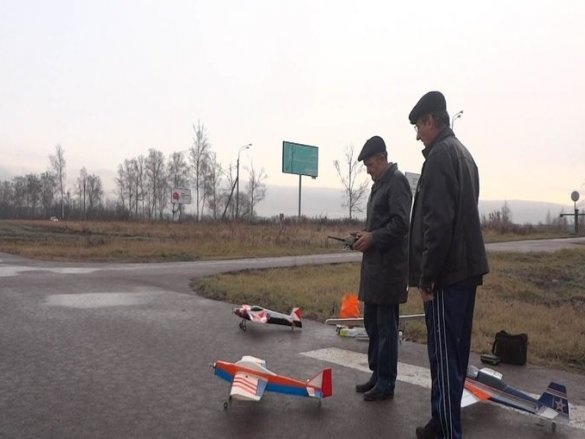
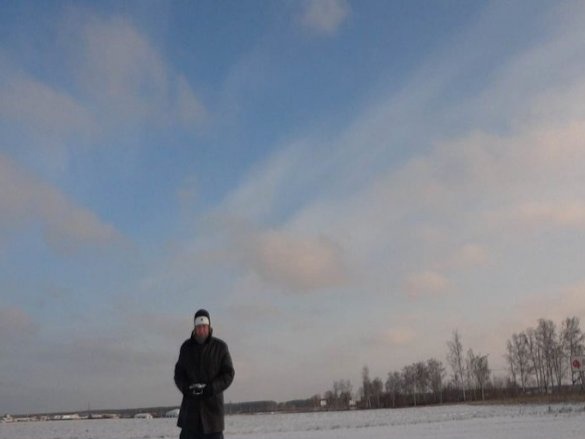
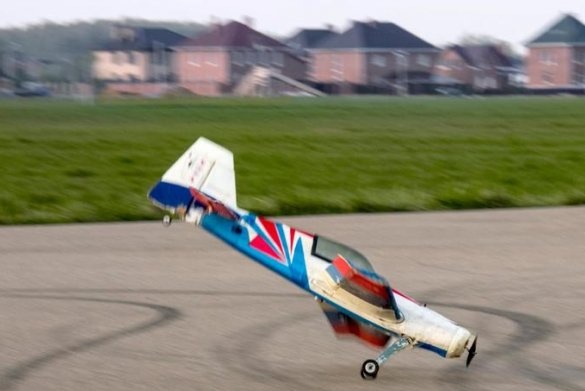
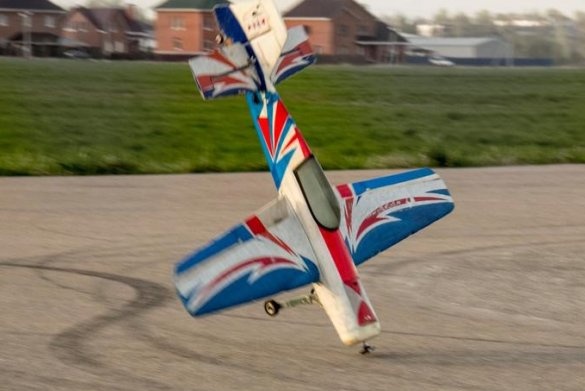
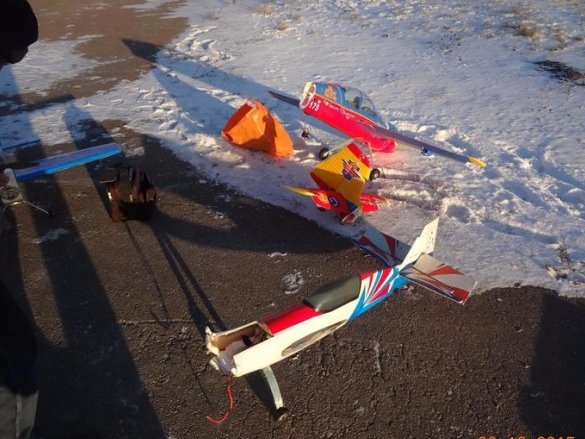
We often meet on “flying flights” using a city helipad instead of GDP. We try to fly at any time of the year, in any weather and at any time of the day. True, in real night flights, I have not yet participated. I don’t like to fly in winter, but my friend loves to fly on a frosty winter day, and even introduces his daughter to flying.
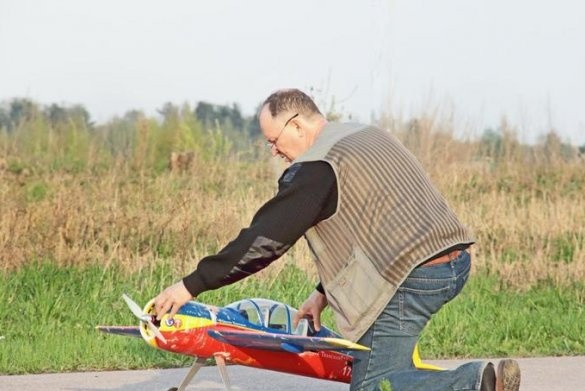
All friends have different models of airplanes, there are broken ones - broken, mending - pinned, patched-patched. There are new ones sparkling in flight with bright colors. We fly not only on purchased models, ourselves are building, experience, so that we live a full-fledged aircraft model life.
These photos were taken in the spring, on the eve of the holiday of May 9 - Victory Day.
Flights do not always end with successful landings. There are also cases from which no one is safe.
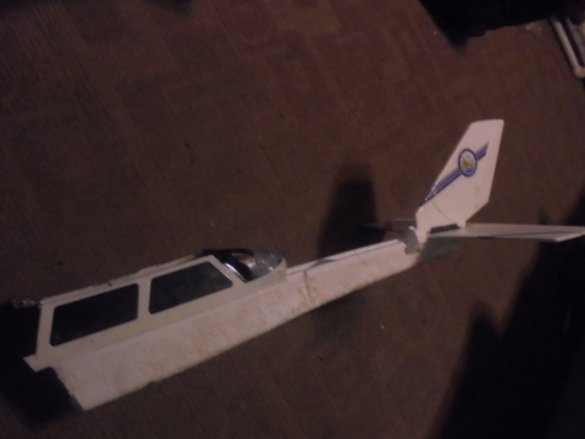
So he brought me, somehow my friend Alex modelor rather, what is left of it. After a joyless meeting with Mother Earth, Alex took off the whole model electronics and brought me this!
There was an eternal question - to repair or not to repair, restore or throw away? Honestly, I burn such debris at the stake.
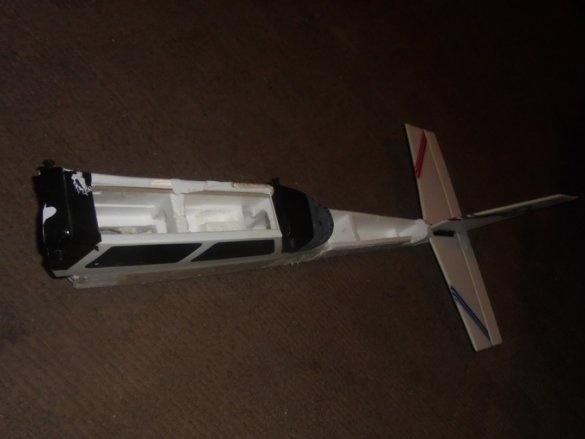
Having carefully examined the wreckage, I found that all the tail unit had survived, and even the thrusts remained in place. The huge crack in the fuselage at the very base of the keel did not bother me. A little good glue or epoxy, a little time to harden the glue and this part of the model will be workable.
When looking at the broken nose of the fuselage, I involuntarily wanted to ask: - "Who so mutilated you?"
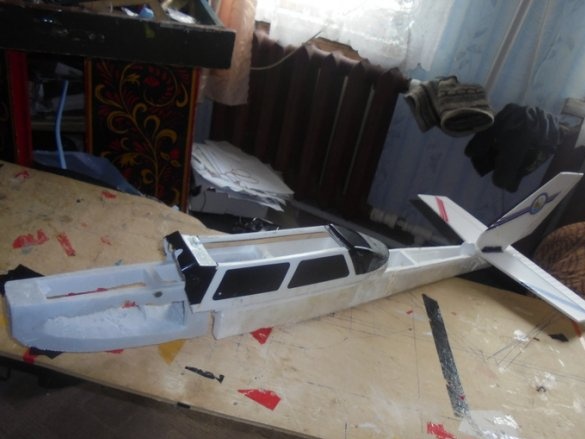
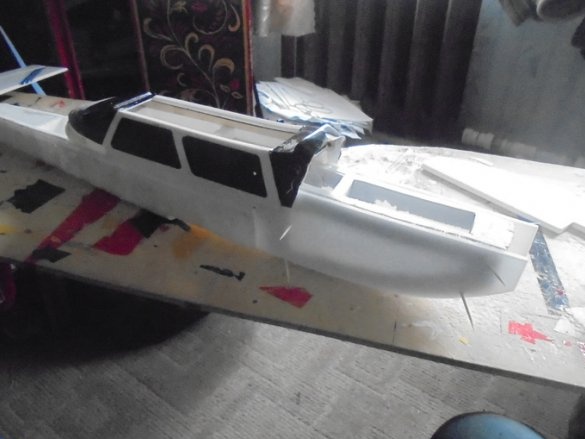
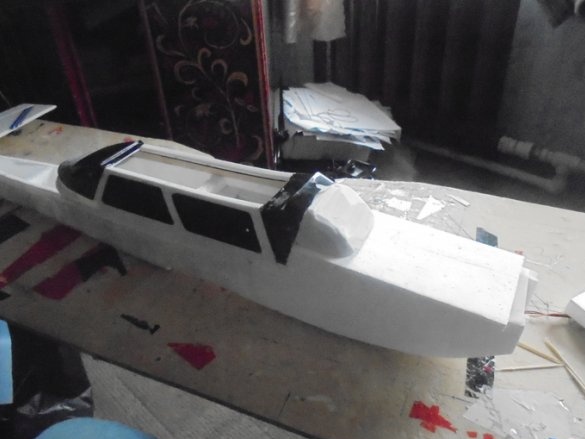
Yes, capital restoration work was required here. I set to work. At first, he molded reinforcement from improvised means and tried it on the cabin.
Everything seems to be normal.
I trimmed this armature with a ceiling and stuck it to the remains of a broken model.
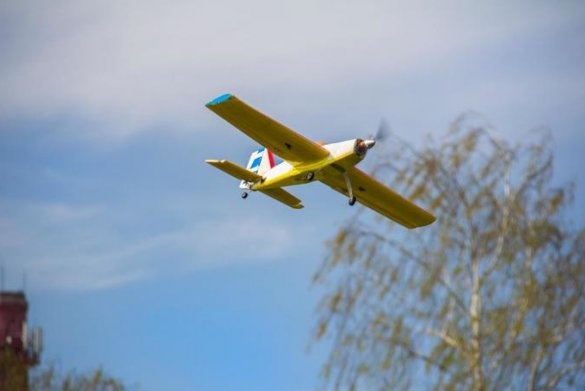
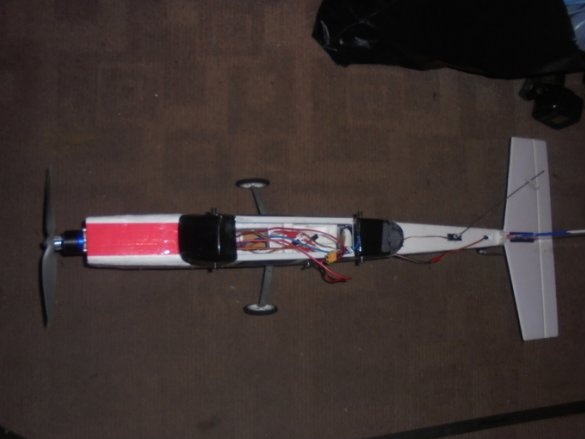
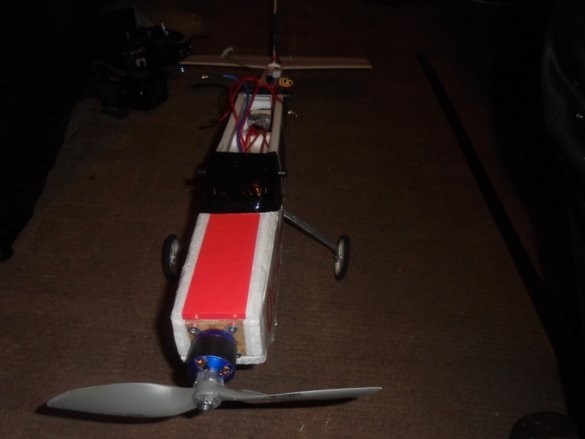
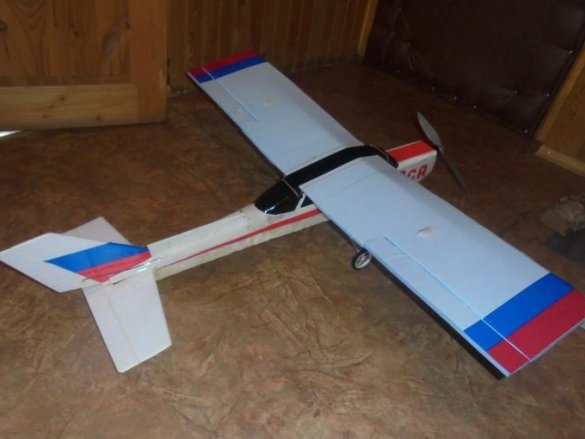
I really did not even know what model it was. Alexey told me that it was Cessna.Strengthened the glued part of the fuselage, pasted the engine mount.
With the motor, I decided to wait for a while and switched to making wings.
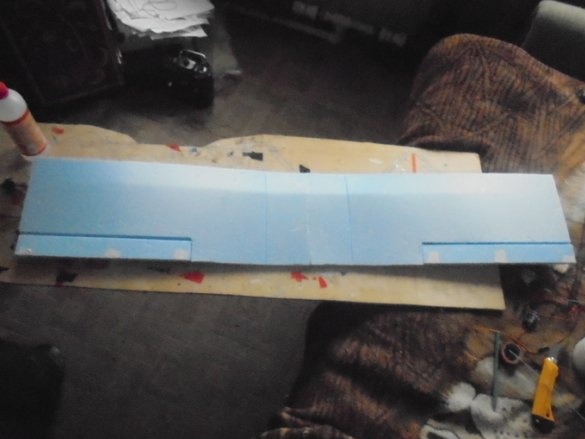
The technique for manufacturing the wing for Cessna was already well established and it did not take much time before the wing was ready.
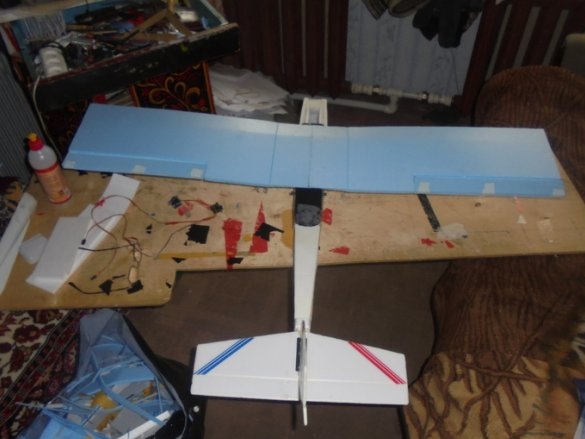
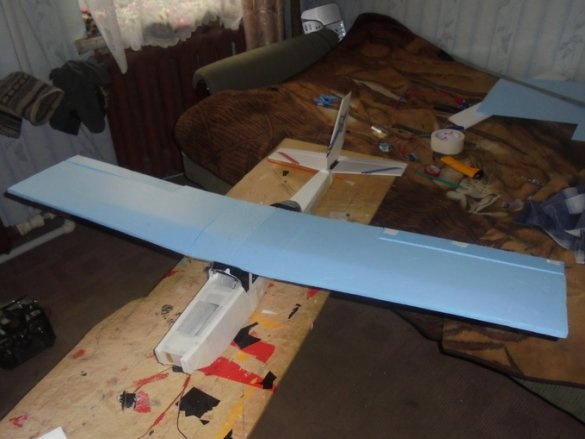
I tried on the wing on the fuselage, fortunately, the pins for the rubber mounts of the wing were all intact. They had to be strengthened a little with wooden toothpicks. Having drilled holes in the pins, inserted pieces of toothpicks there and poured Titan glue.
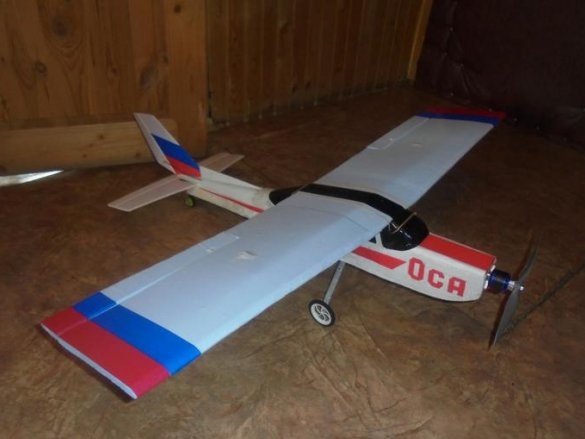
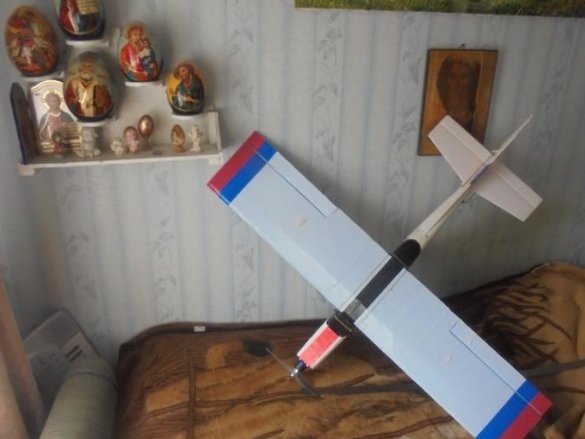
Restored glazing cockpit black tape. At the ends of the wings he made decorative strips of colored tape. I pasted the inscription on board the fuselage.
Now is the time to think about the chassis.
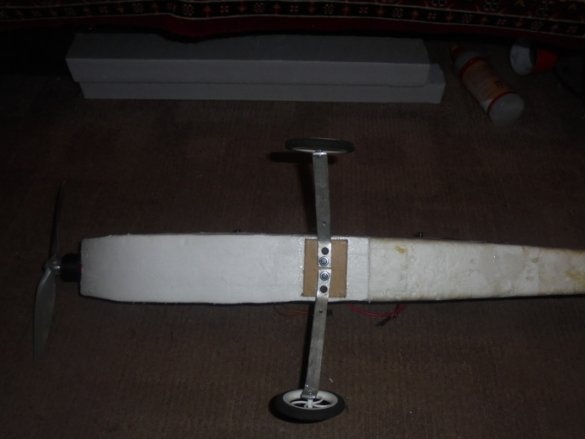
After rummaging around in the back streets of the workshop, I found ready-made chassis from some model and adjusted it to the fuselage by gluing a piece of hardboard (fiberboard) from below.
Under the tail, at the very end of the fuselage, attached a small wheel. Everything turned out fine.
For the first test flight, I decided to put the A2212 1400 Kv motor. with screw 8 X 6.
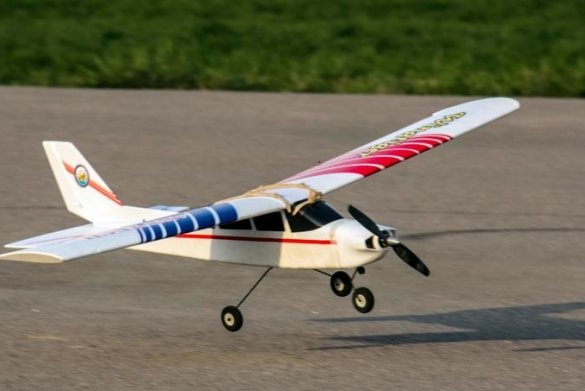
I gave the model a name - "Wasp."
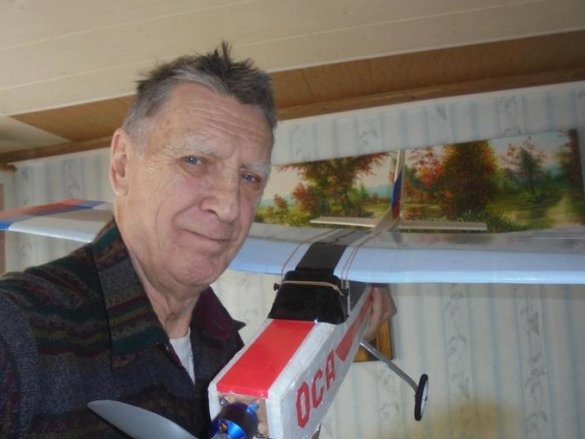
A photograph for memory, until they smashed.
The flight went fine. That, perhaps, is all that I wanted to tell you about today.
Here are some videos of our flights.
See you soon. Valerian master.

