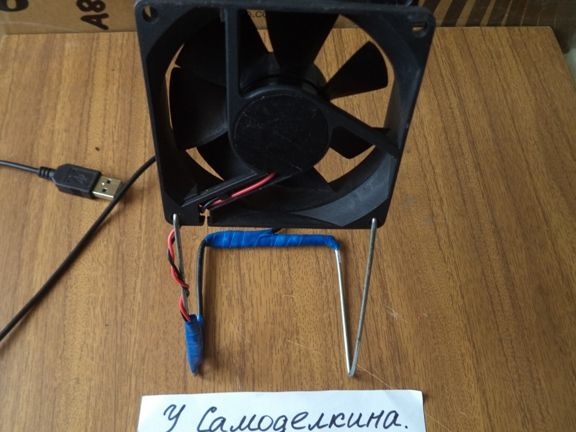
Hello, dear visitors of this site, friends and interested homemade. Although now it’s spring, not summer, it’s necessary to prepare well for it. This is what the proverb says: “Prepare a sled in the summer, and a cart in the winter.”
If you don’t have an air conditioner or even a domestic fan at home, and the summer heat does not allow you to live or sit at a computer, you can turn on your wit, imagination and use any materials at hand, while making a home-made fan according to your style, desire and desire. In this article I will tell you how to make a USB fan do it yourself from an ordinary old computer cooler and other improvised materials. In order to make a USB fan out of an ordinary cooler, it will take a little time, but still in an hour you can easily make such an appliance with your own hands.
To make a USB fan with an adjustable angle, I needed:
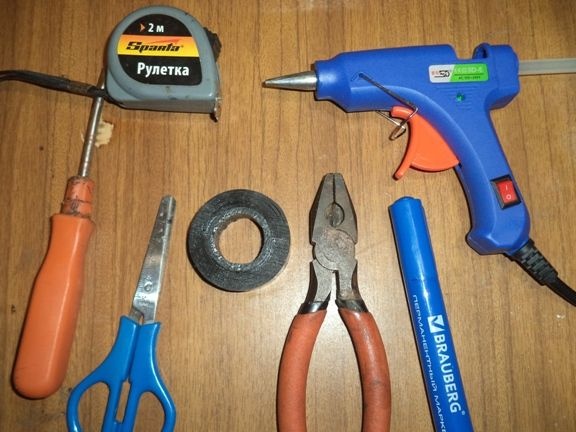
Instruments:
1) Pliers
2) Hot melt adhesive,
3) Thermo gun
4) electrical tape
5) scissors,
6) screwdriver,
7) Marker,
8) Roulette,
9) Clerical knife.
Materials:
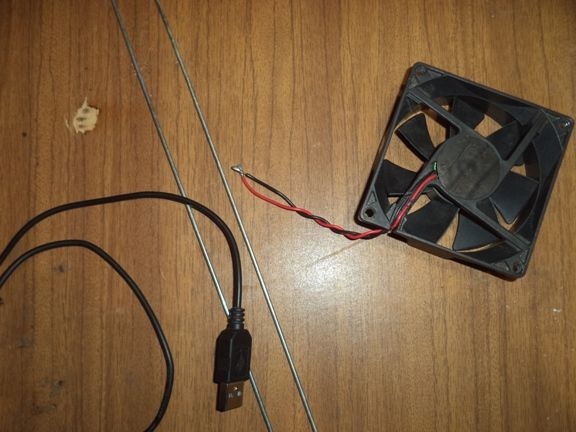
1) Two bicycle spokes from the wheels,
2) Old computer cooler,
3) USB cable.
First of all, we begin to make racks for our fan.
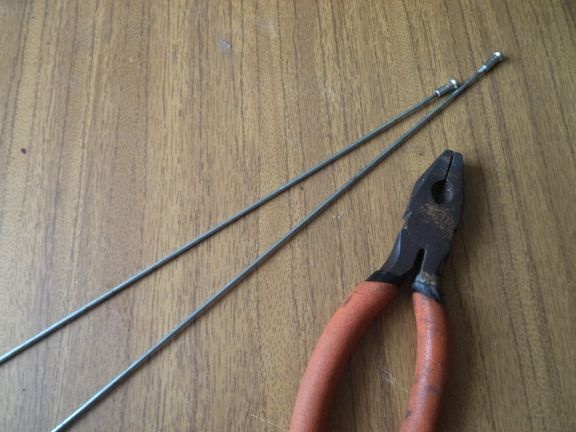
To do this, mark the dimensions for bends on paper.

According to the drawing, mark the marks with a marker on a bicycle spoke. We break off the excess part with pliers.
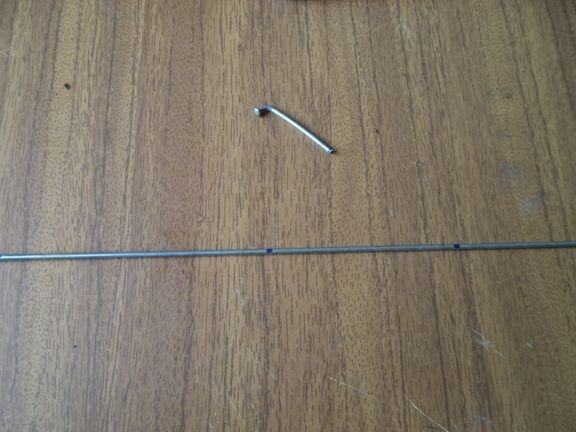
With pliers we begin to unbend the spoke from the bicycle. We make phased photos.
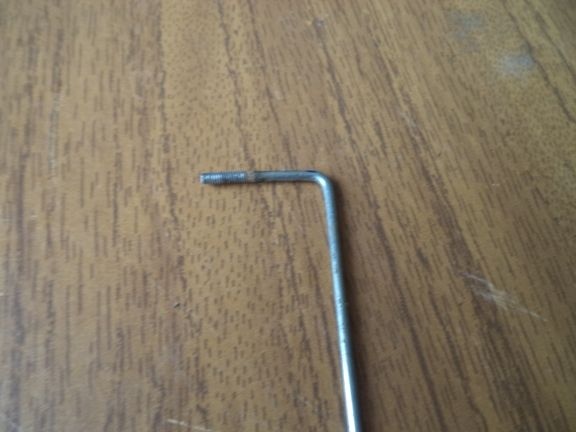
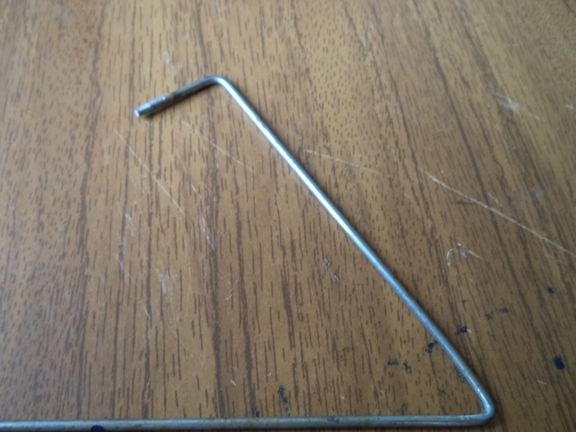
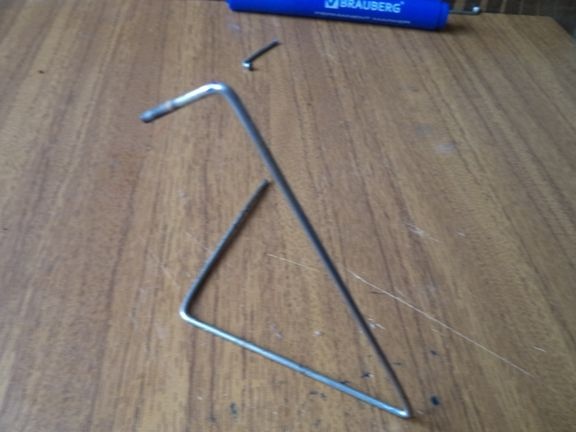
We take the second spoke and bend it in the same way as the first.
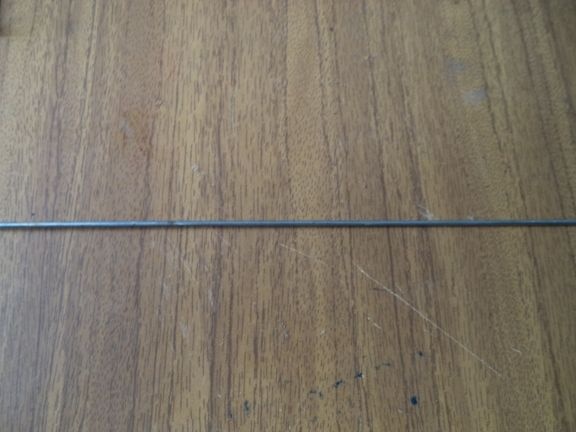
There should be two such details.
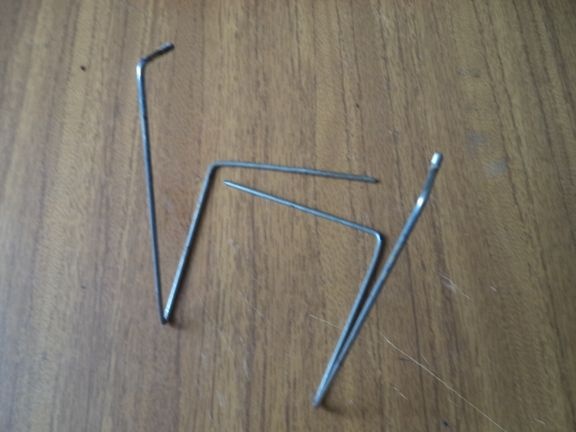
Now we need to glue them to each other with a glue gun.
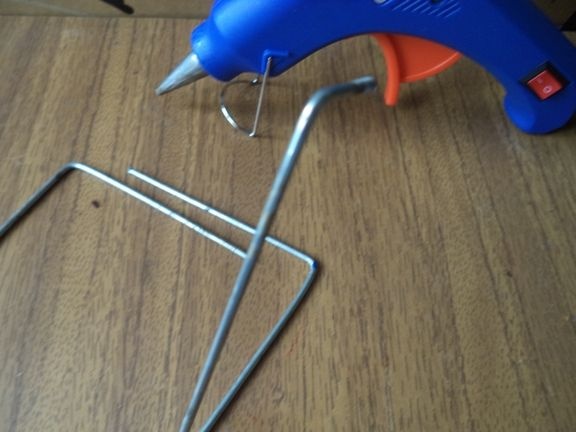
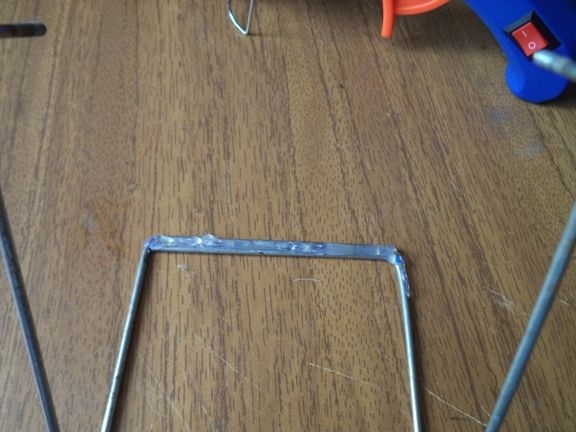
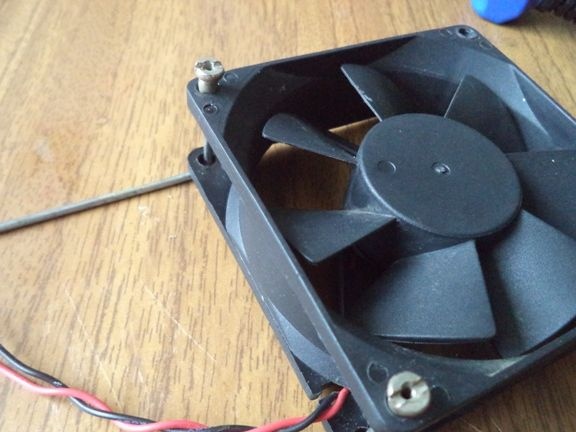
We attach the resulting rack to a computer cooler. To do this, you need the cogs of the spokes themselves.
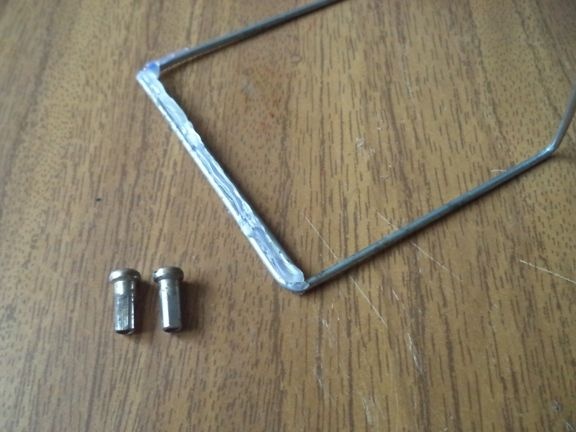
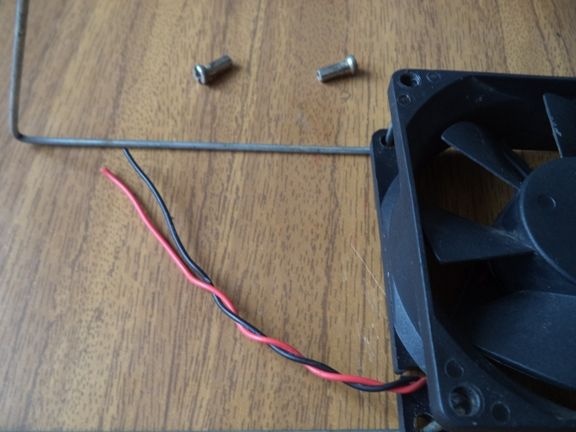
We twist them with a screwdriver.
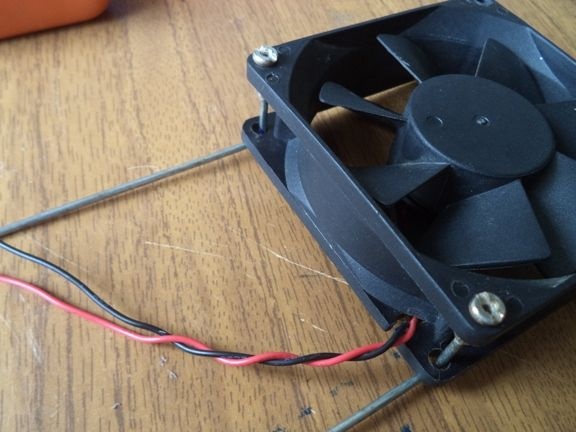
The fan will be connected via USB to the computer. This makes it possible to dispense with the use of a fan without third-party power sources. To do this, take a USB cable and clean the wires of both the cooler and the cable.
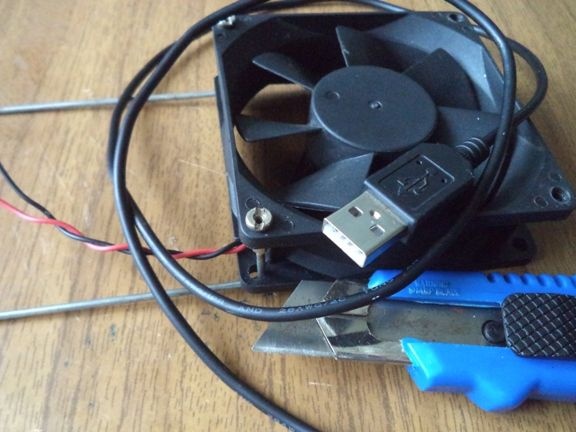
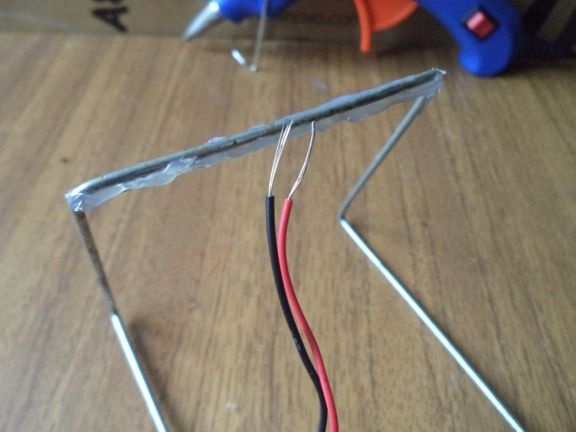
For a USB cable, we need only the red and black wires.And cut off the green and white, we will not need them.
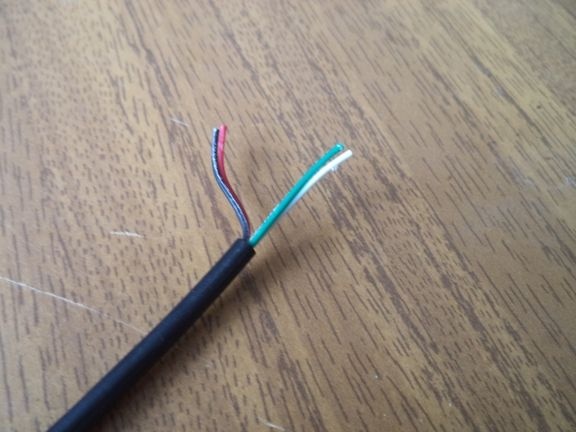
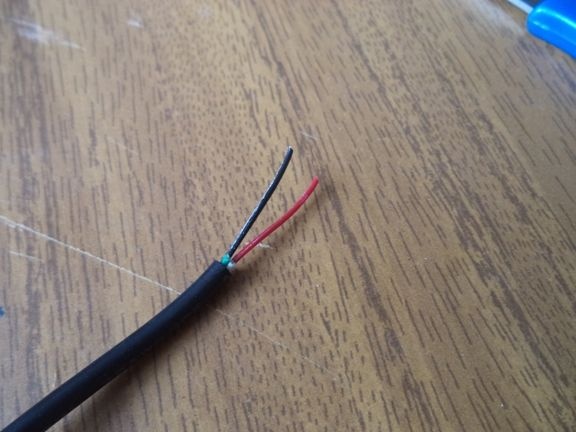
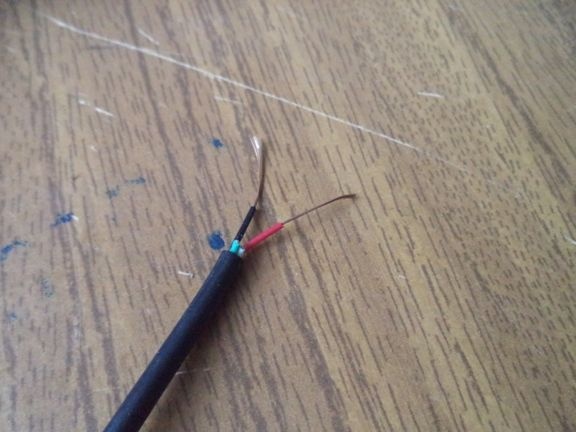
We connect the wires in pairs to each other, simply twisting them together.
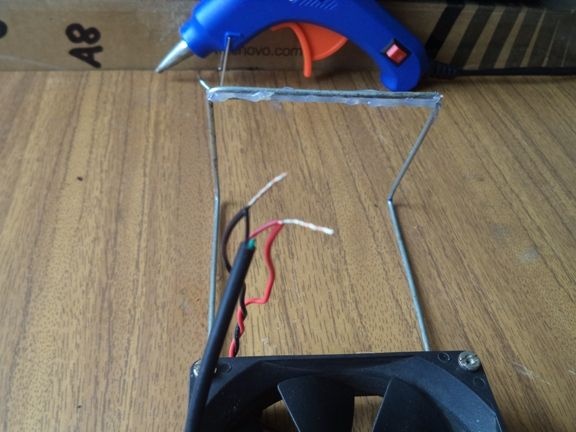
We begin to isolate these wires with an insulating tape.
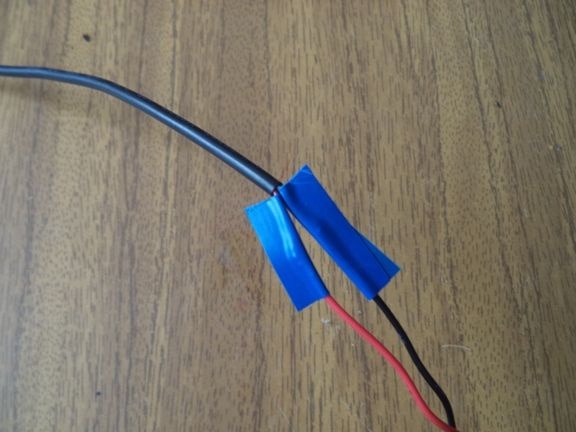
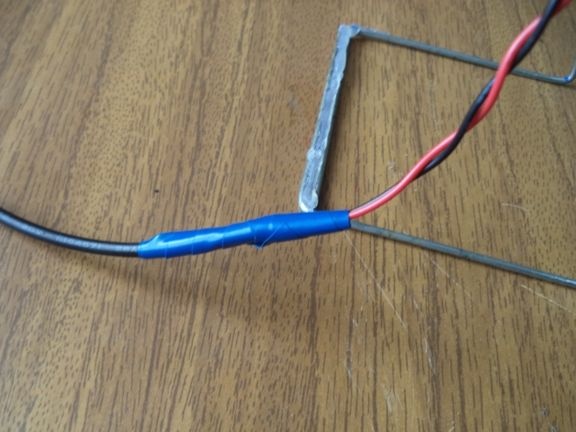
So that the wire does not hang out and does not interfere, we twist it around the rack and fix it with electrical tape.
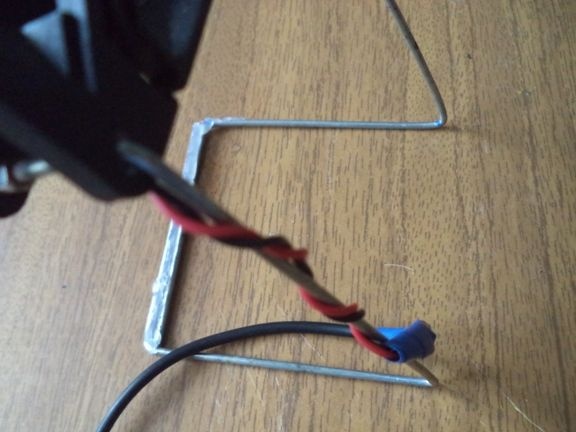
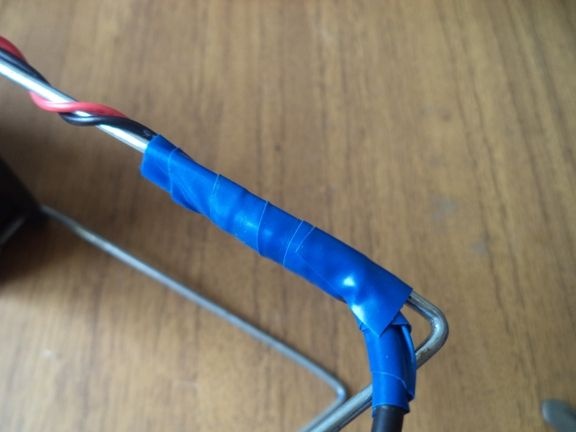
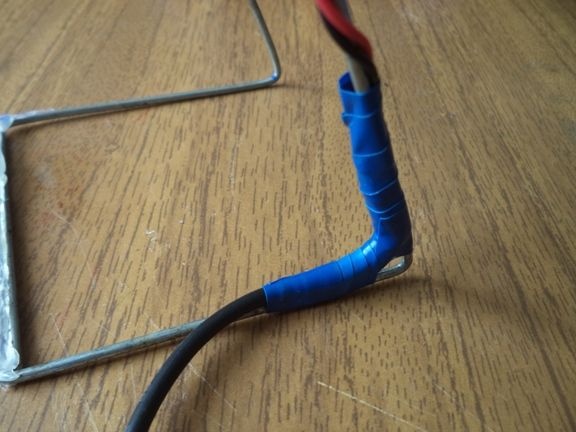
Glued with a glue gun rack places can also be wrapped with insulating tape, so that they hold tight. also wrap the wire.
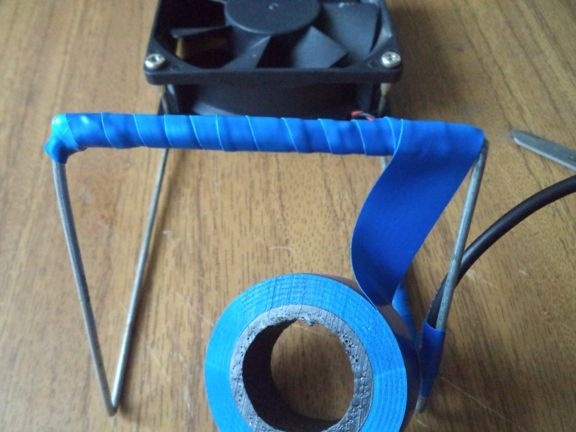
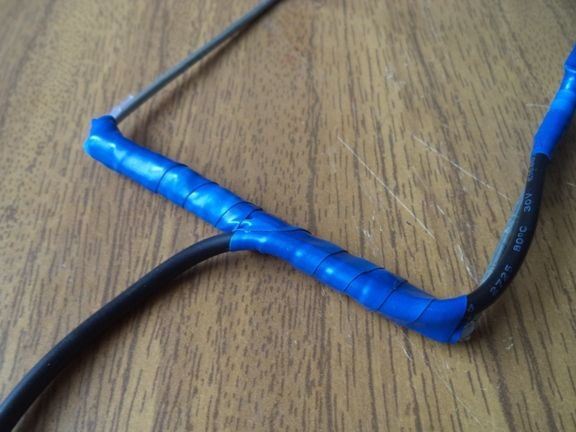
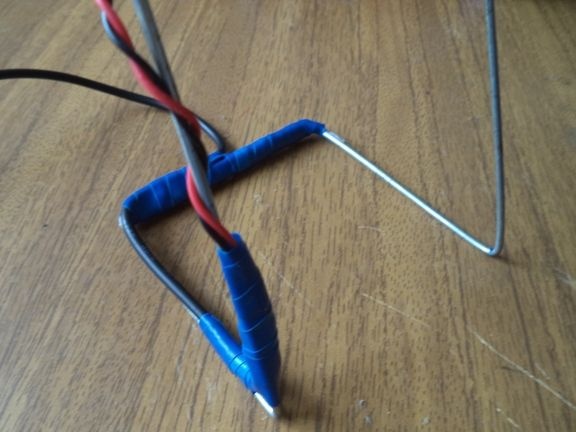
That's all, our homemade product is ready.
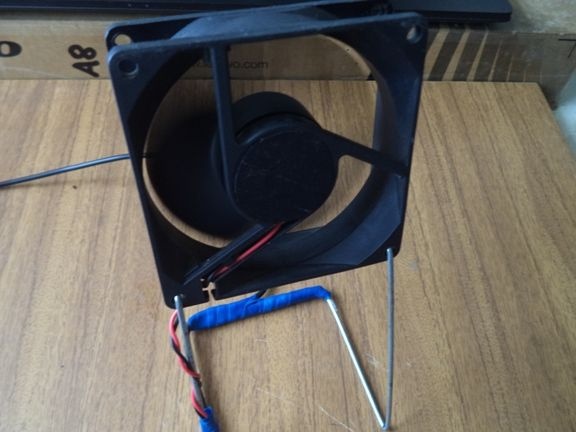
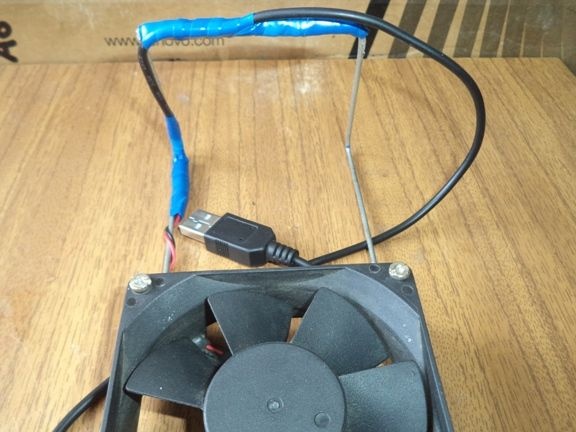
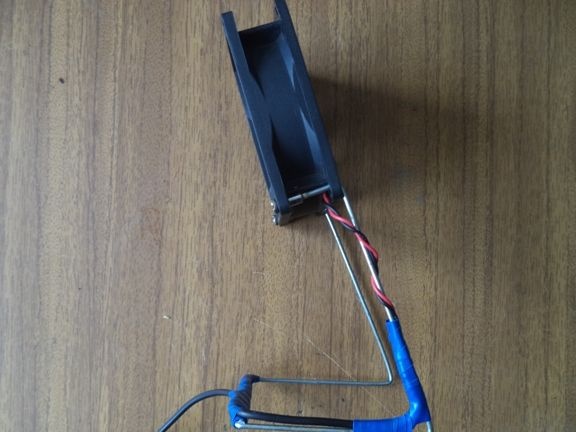
So, you managed to make sure that making a simple fan with your own hands is simple and affordable even for a person who is far from technical creativity. Such simple solutions can help out in a situation where you need to provide coolness in the room in calm weather, and the usual fan either broke down, or it simply is not in the house. In these cases, simple wit and imagination come to the rescue. And that's it for me !!!
Thank you all for your attention! Good luck and bye!

