
Office boards come in many forms. Magnetic marker, chalk, glass and even interactive. In this short article, we will look at how to make a whiteboard.
Tools and materials:
-Dvp;
-Paint;
Epoxy resin;
-Sandpaper;
- brush;
- Roller;
-Scotch;
-Tray;
-Gloves;
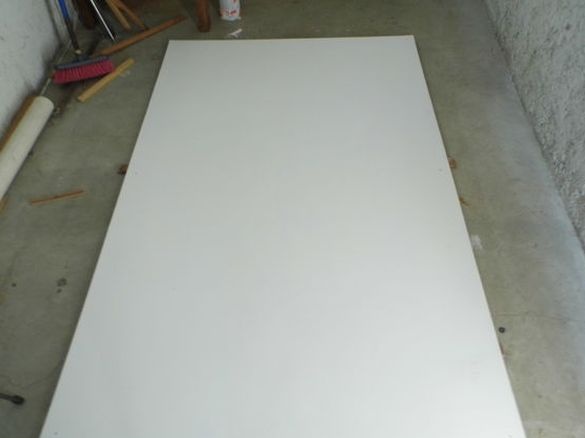
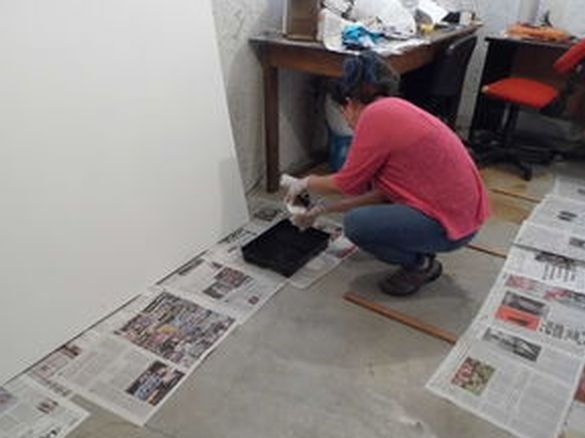
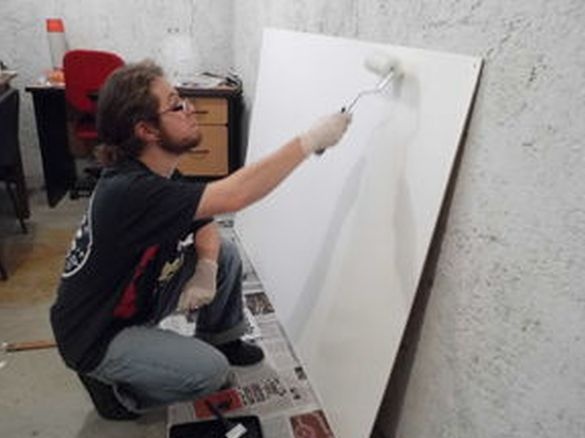
Step one: board preparation
First, the author prepares the surface of the board. Using sandpaper, he sanders a board. Removes dust from the surface. Apply white paint.
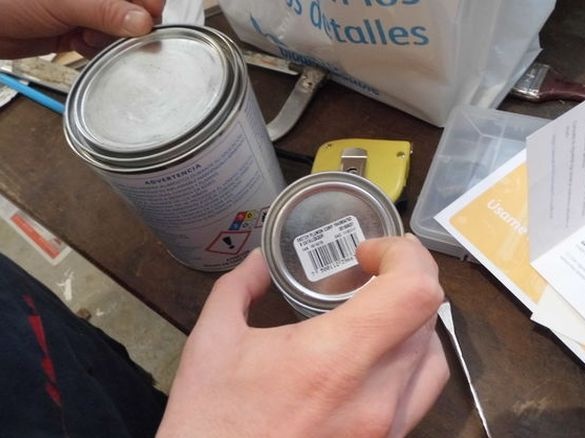
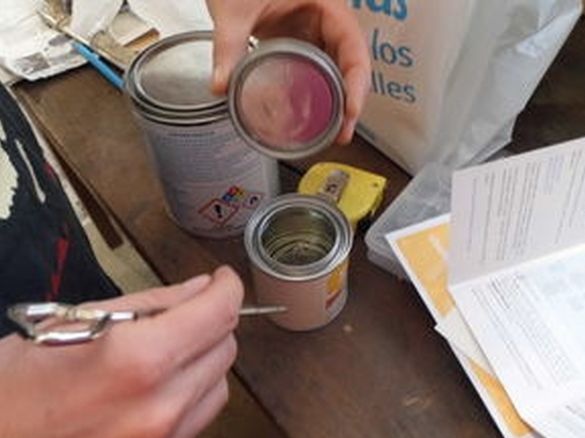
Step Two: Epoxy
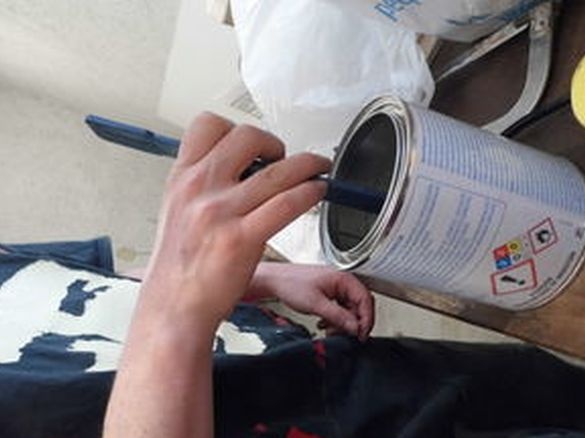
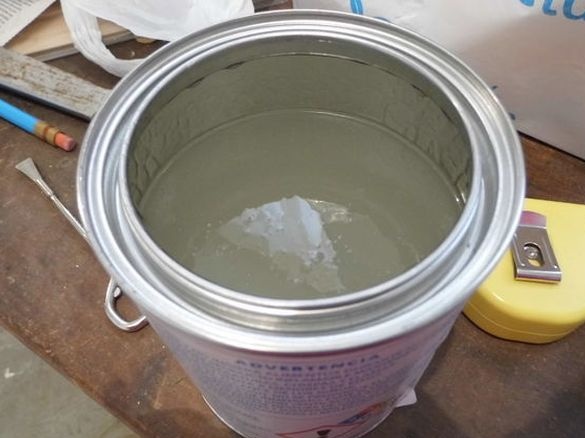
After drying, the paint proceeds to the next step. Mixes, according to the instructions, epoxy resin with hardener.
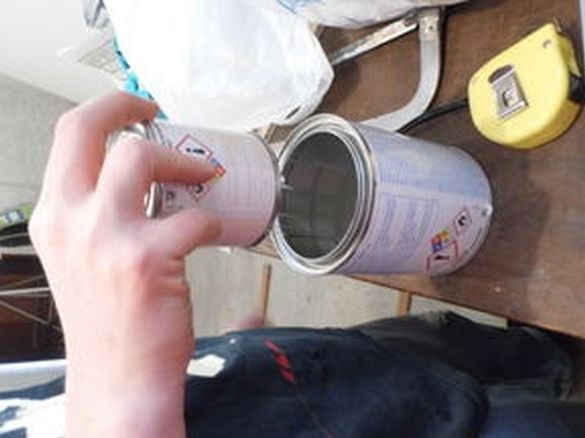
Step Three: Resin Coating
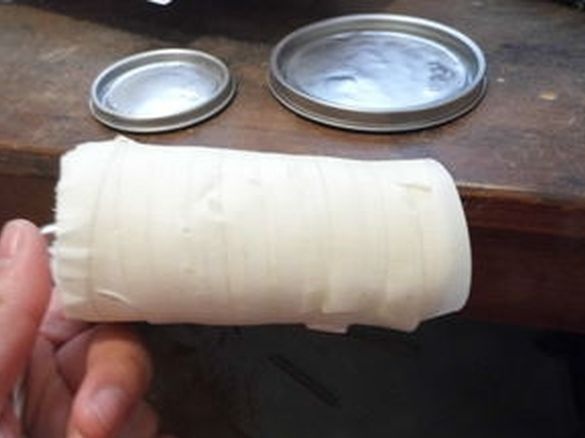
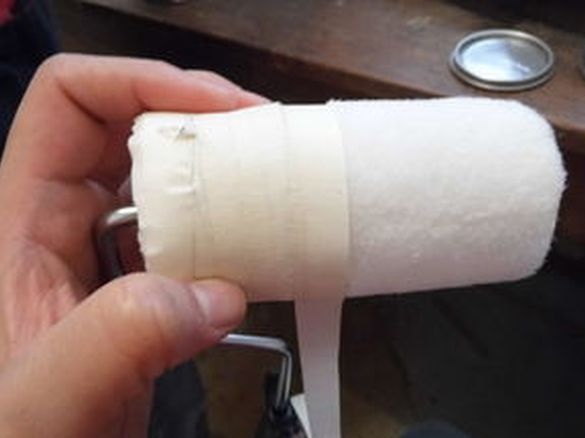
The author applies the resin using a roller. To remove dust and foreign particles from the roller, wrap the roller with tape and then remove it.
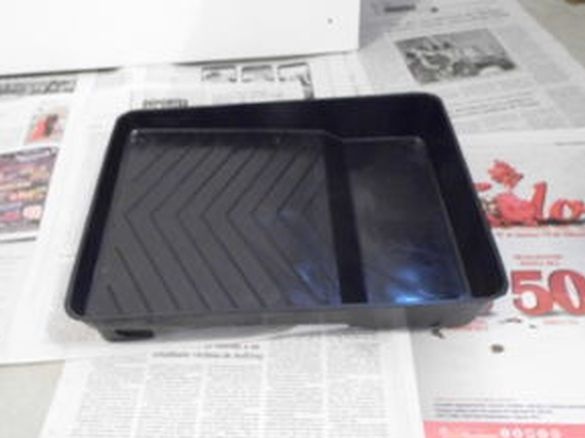
Pours resin into the tray.
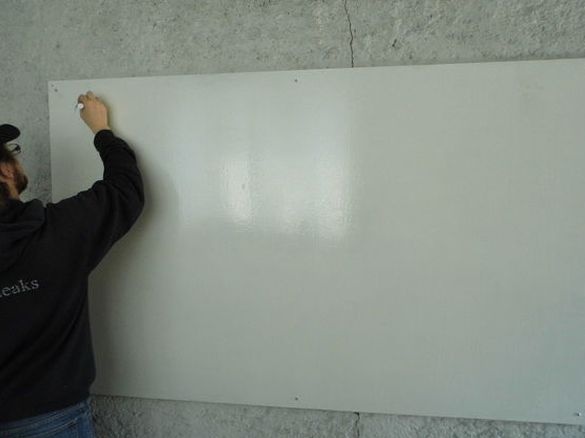
Applies to the board. At the corners, the resin is applied with a brush.
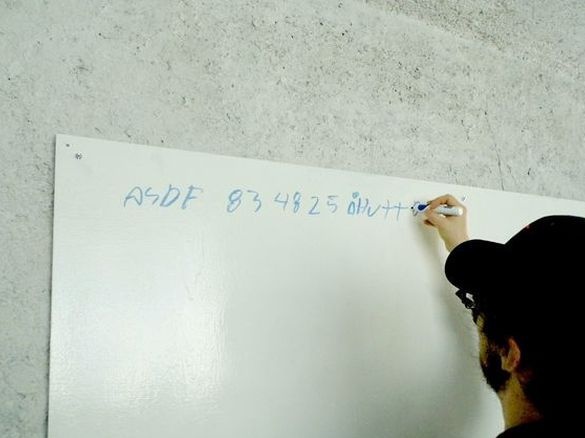
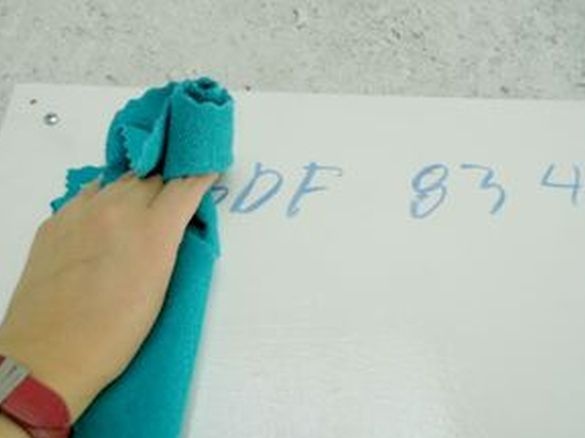
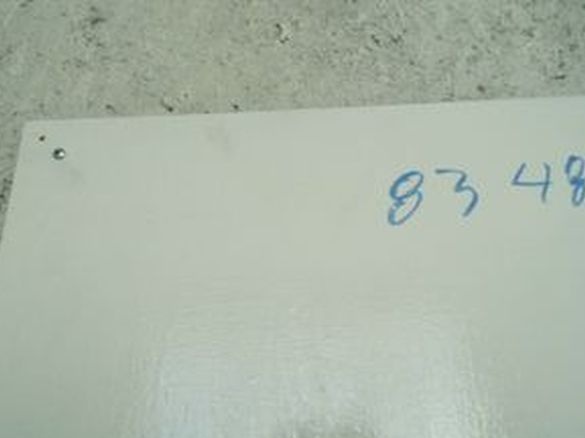
After hardening the resin, the author dried the board for a week, the board is ready.