
Hello to all lovers homemade. A man’s friend, as everyone knows this dog, has taken root so well that since ancient times, dogs have become house guards. So why not make them your cozy and warm place, thereby telling them thanks for all the efforts, because it is not an easy task to guard the house. In the manufacture of this homemade product, some hard-to-reach materials will not be used, which at times simplifies assembly. In this article I will tell you how the author made a home-made booth, which will be a warm place for your pet and four-legged guard.
To make a booth do it yourself, we will need:
* Plywood sheets
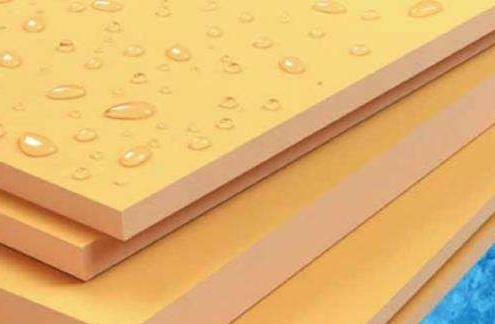
* Waterproof insulation for the winter season
* Wooden blocks
* A pair of loops
* A circular saw
* Screwdriver
* Wood screws
* Roofing material, roofing material, tile, etc.
* Lining, if necessary (optional)
That's all the materials that you will need when assembling a makeshift booth.
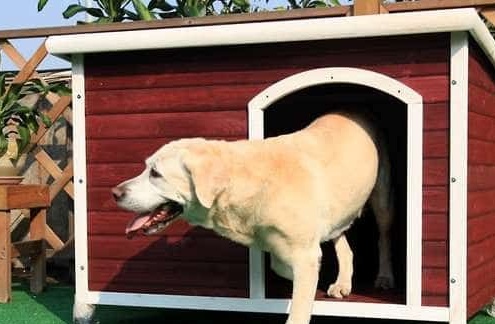
There are many ways to make booths on the Internet at the moment, but this one has a significant difference, it is warm walls due to the air space in the walls, and it also has a separation between the cold outside zone of the booth and the warm zone of the booth.
The advantage of this design is less heat loss to the environment, working on the principle of a double-glazed window. The dimensions of the booth can accommodate a 50cm dog at the withers, if your pet is bigger or smaller, adjust the sizes individually.
Step one.
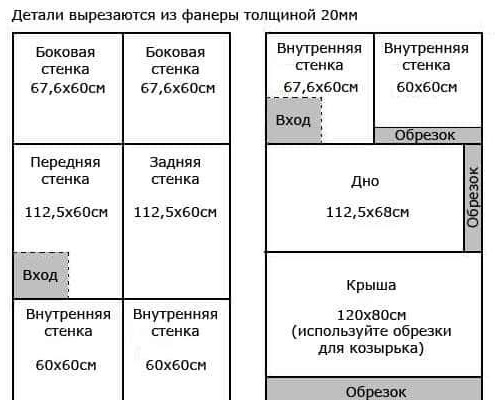
As in other home-made products, in the beginning you need to make a drawing, which will give a complete picture of further work.

The picture also shows the dimensions of future parts that need to be cut out of plywood, based on these data.
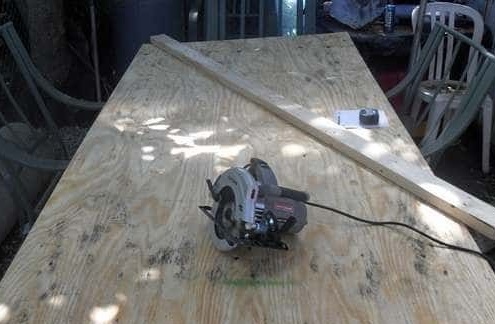
After the drawing is ready, you can begin to manufacture parts of the booth. Using a circular saw, we cut parts out of plywood. When working with circular tools, be careful and wear glasses and gloves.
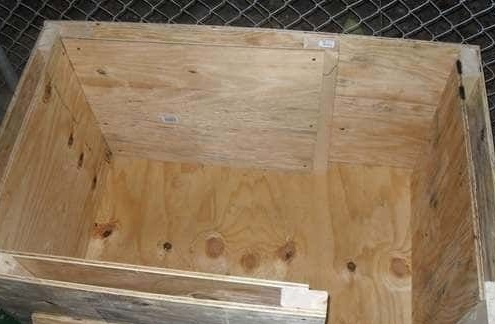
Step Two
Align the height of the booth with a circular bar. Using a screwdriver, fasten the bars to the plywood for self-tapping screws, and then fasten the parts together.
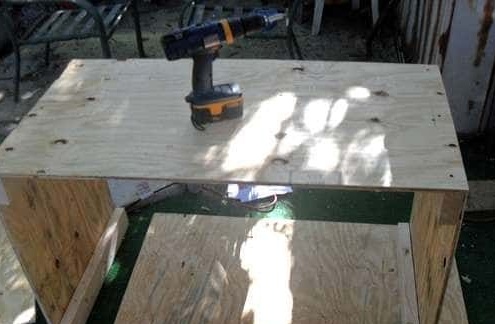
Gradually we collect the design similar to a square, leaving a place for the pet to enter. After that, we fasten the plywood onto the bars with screws, which will be internal, thereby creating air space in the walls. The process is not complicated, but requires accuracy and attention. The result should be something like this.
Step Three
Now you need to make a partition into the entrance of the warm part of the booth, which will be with a small step, as in the photo.
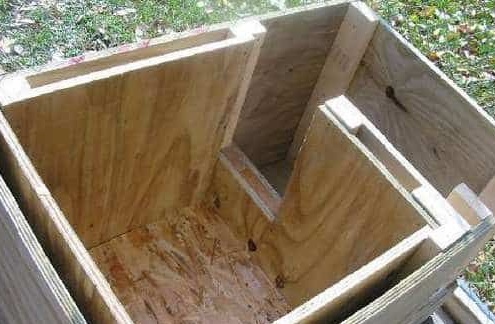
Also, in order to make our pet even warmer, we double and floor.
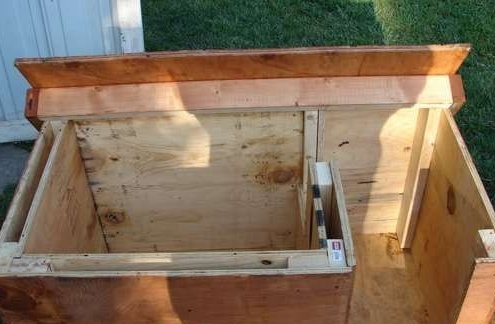
Step Four
Let's make a roof for the booth, which will also be a lid. Such an interesting decision was made not in vain, opening the lid can easily clean the space, which is also a big plus.
For fixing the covers, hinges are best suited, fasten them at the edges to the screws.


And it will open like that.
Another plus of the opening cover is that in the cold winter time you can fill the space between the walls with a heater, but not one that absorbs moisture, but vapor-proof, as other heaters can accumulate moisture, which will only worsen the situation.
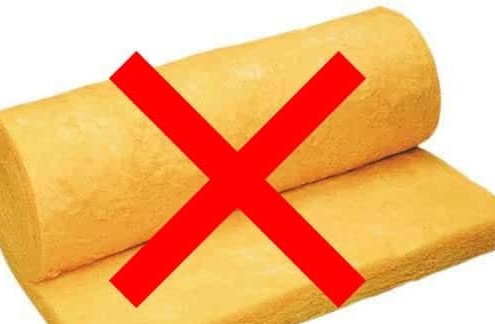
It is better to insulate with a heater everything that is possible, namely a cover and even a floor.
In the process of making the lid, make sure that the lid has an inclined profile, so that water flows down the back wall of the booth.

Step Five
It is clear that plywood on rainy days simply simply gets wet and quickly becomes worthless. This problem must be solved immediately by applying roofing material on the roof, if possible it can be roofing material, metal tile and the like.
Before installing the booth in place, do not forget to install it on bricks or build special legs, thereby slightly elevating the booth above the ground. This is done due to the fact that the earth can be wet and partially linger in plywood, which will also significantly reduce its service life, and a wet floor can negatively affect the thermal regime inside the booth.
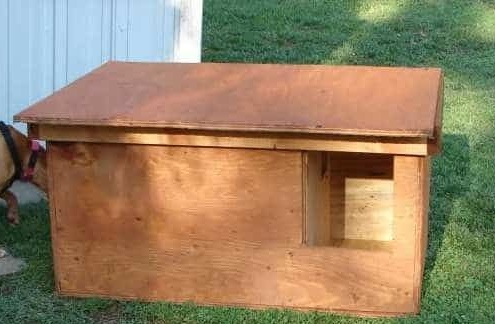
At this, the pet booth is ready. In order to give beauty to the booth, you can sheathe the walls with a lining, but this is for everyone’s taste.
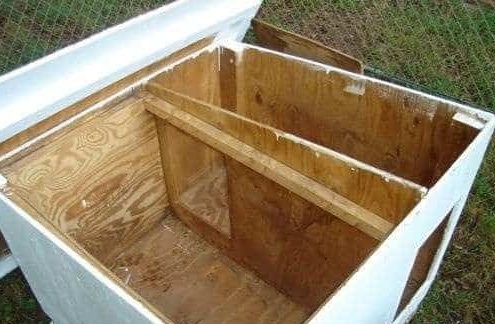
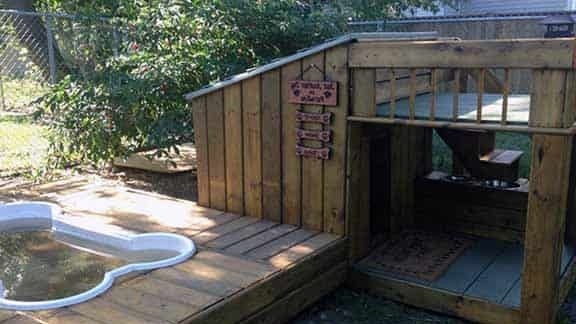
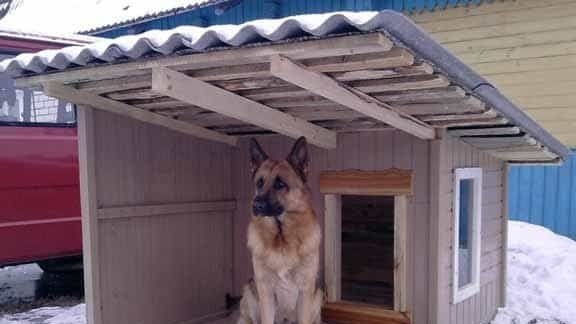
The following are examples of the manufacture of booths with a different view.

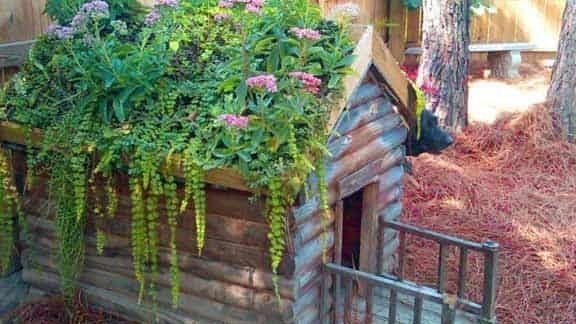
For lovers of hills.
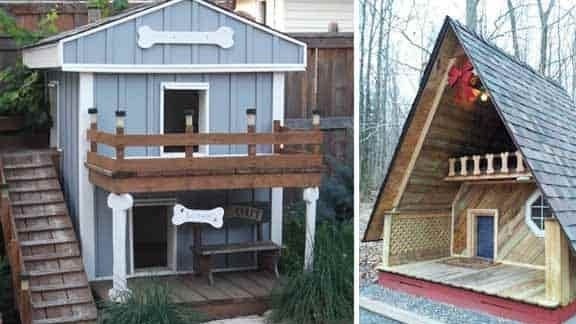
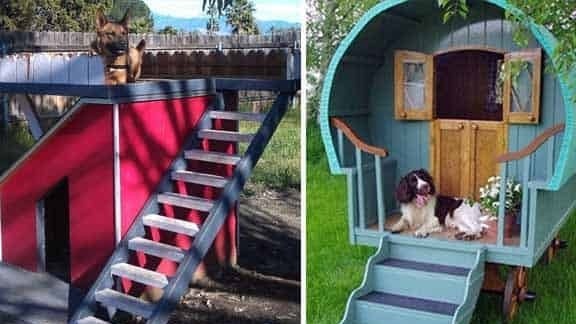
And other various examples in which your pet will feel like a master.
That's all for me, thank you all for your attention and good luck in new inventions, and do not forget about home pets.