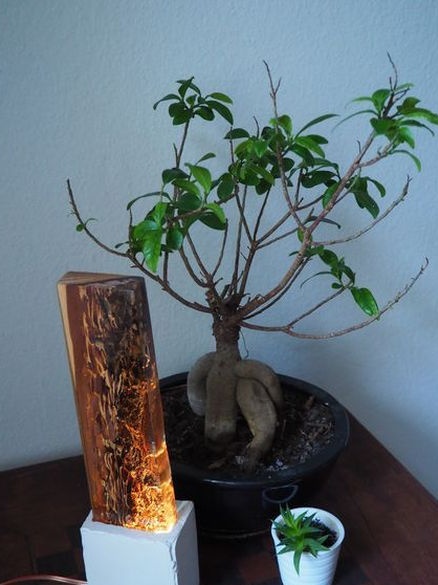
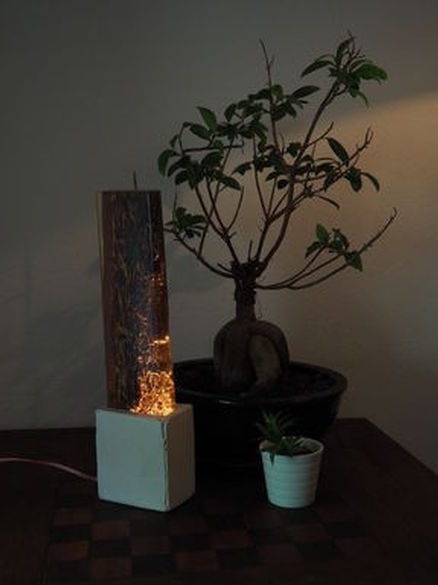
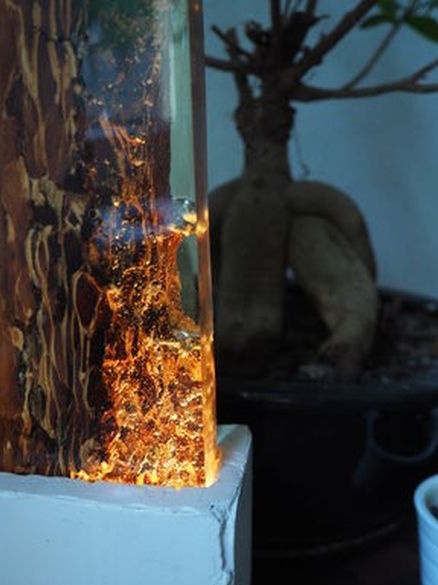
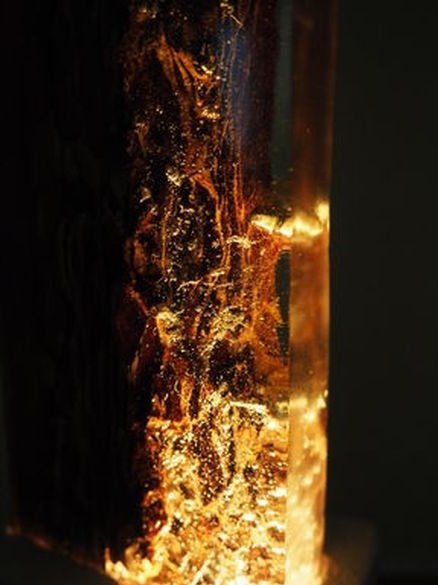
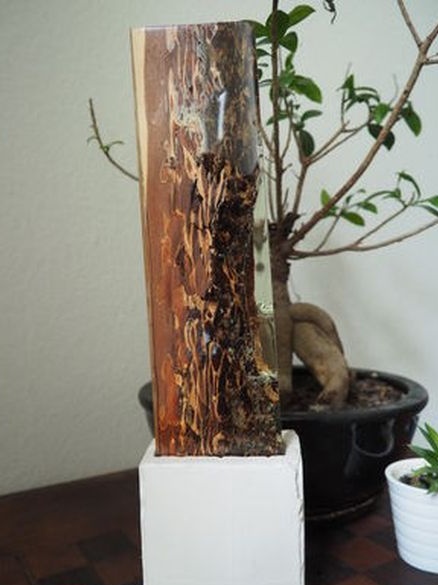
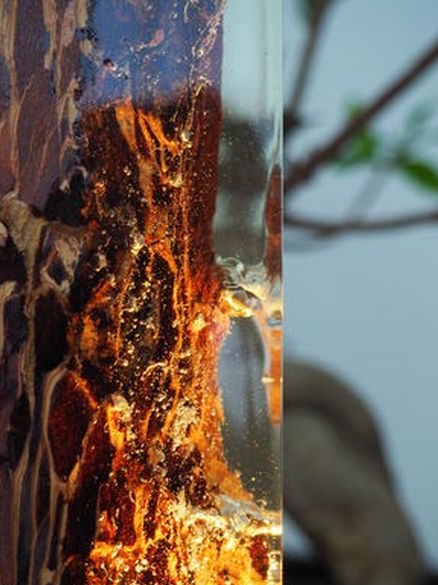
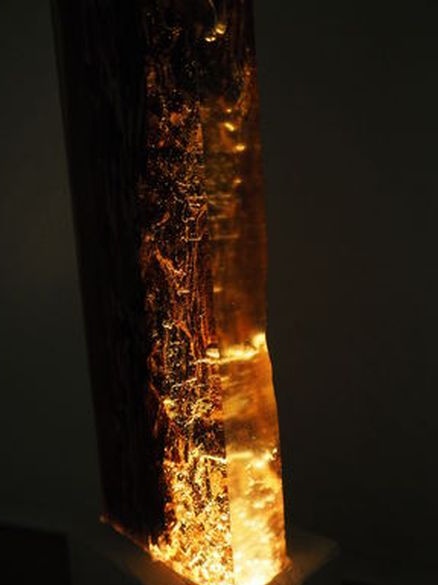
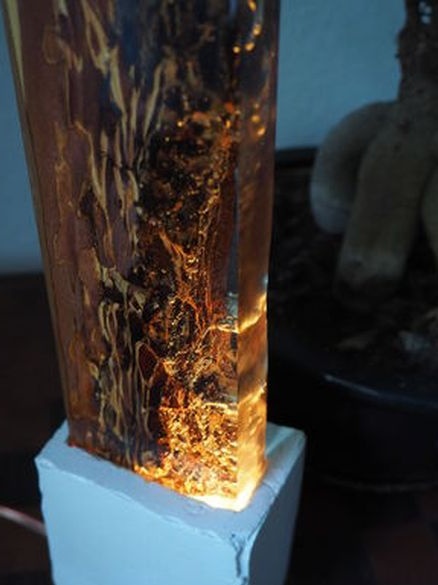
Why buy a lamp if you can make it yourself? Moreover, such a lamp can not be bought in any store. We will consider one of the options for self-manufacturing an exclusive lamp in this article. The lamp is a log, covered with epoxy resin and mounted on a plaster stand. So let's get started.
Tools and materials:
-Log;
Epoxy resin;
- chipboard;
-Light bulb;
-Cartridge;
-The wire;
-Connector;
-Glue;
-Sandpaper;
-Gypsum;
-Fasteners;
- Electric jigsaw;
-A screwdriver;
-Sander;
-Hair dryer;
- Thermogun;
-Screwdriver;
-Hammer;
-Putty knife;
-Knife;
-Rule;
-Pencil;
-Gloves;
-Respirator;
Step One: Mold Making
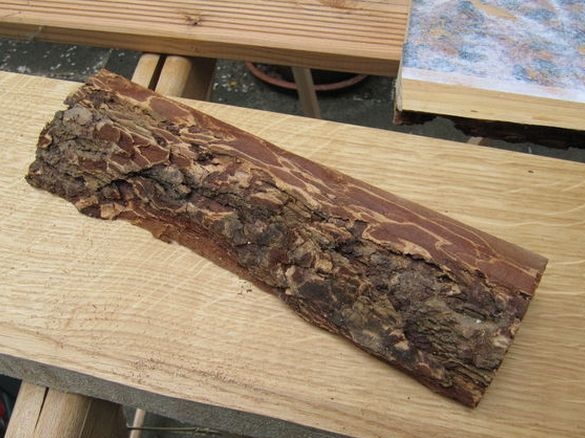
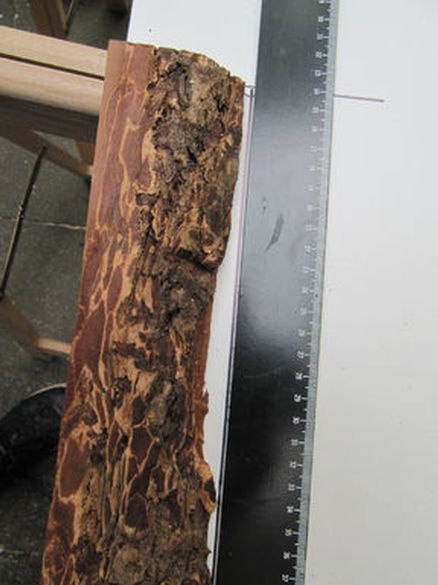
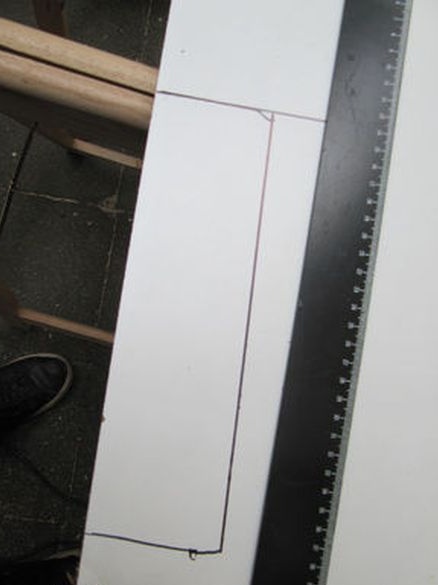
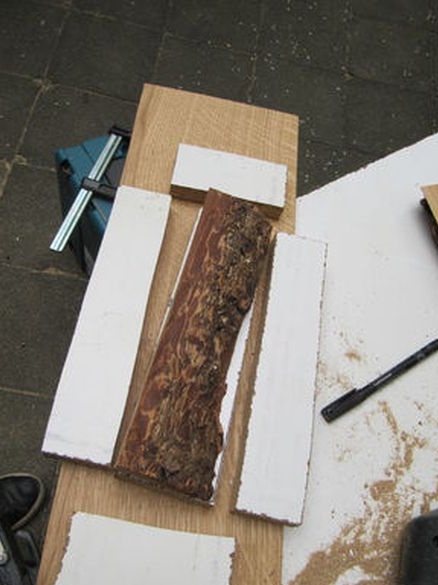
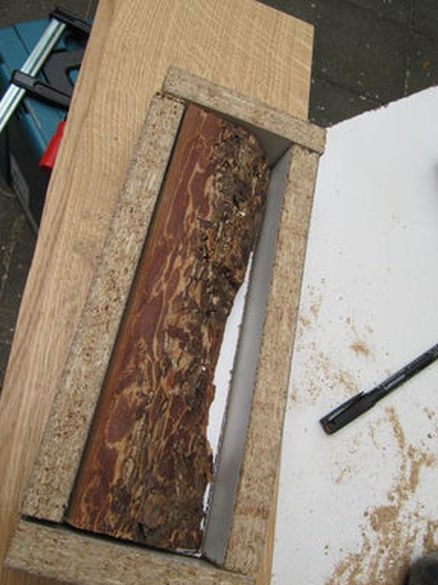
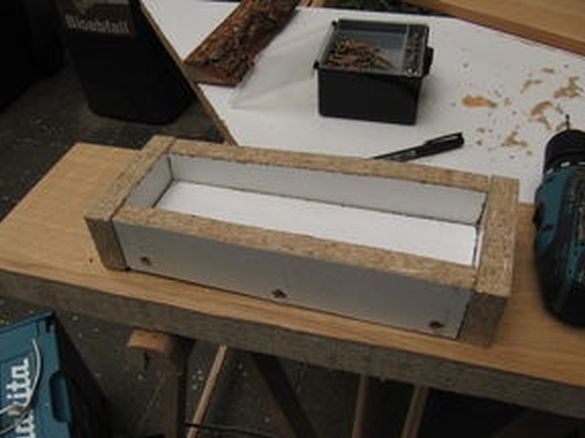
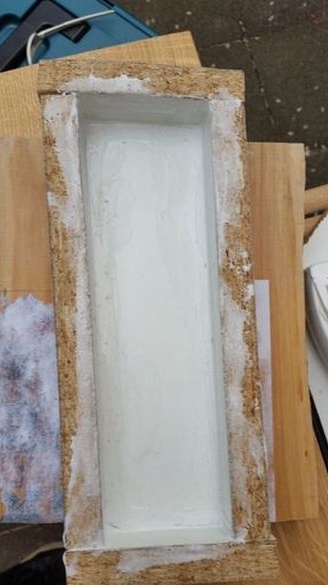
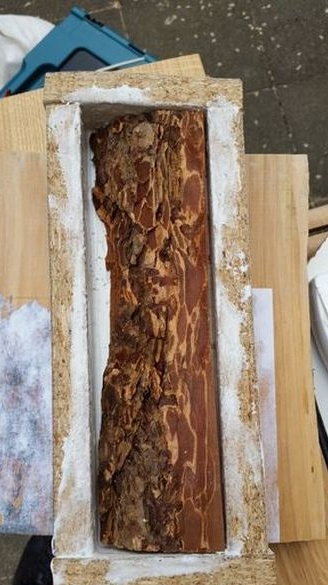
From chipboard, with a melamine coating, makes a mold for pouring. The size of the form should fit a log. The seams of the mold are sealed with glue.
Step Two: Fill
When working with epoxy resin, the author uses gloves and a respirator.
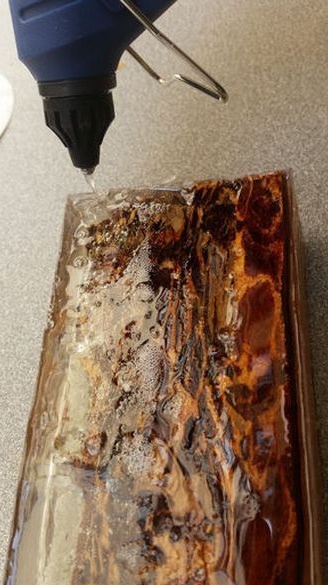
Mixes 100 ml of epoxy with 55 ml of hardener. Fills the mold with resin, having previously laid a log in it. Warming the surface with a hairdryer helps remove air bubbles from the resin. Leaves the flooded mold for 12 hours.
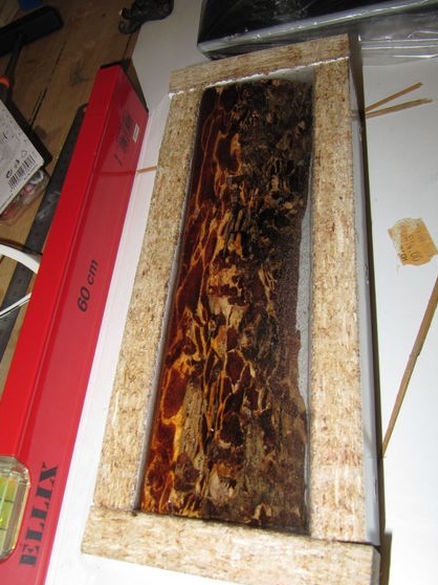
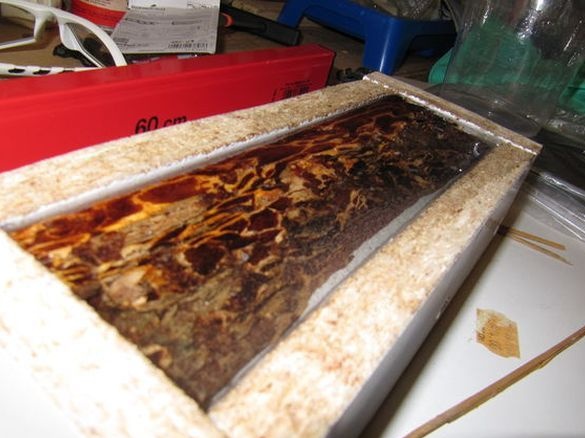
In detail, the whole process of filling, you can see the video.
Step Three: Retrieve the Part
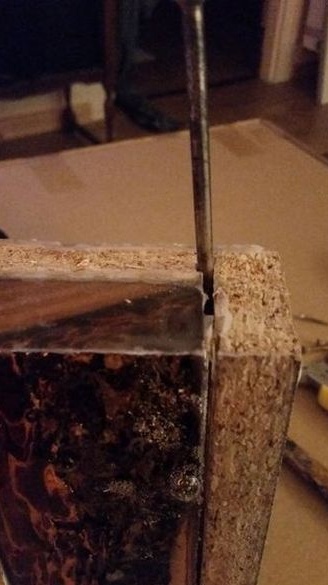
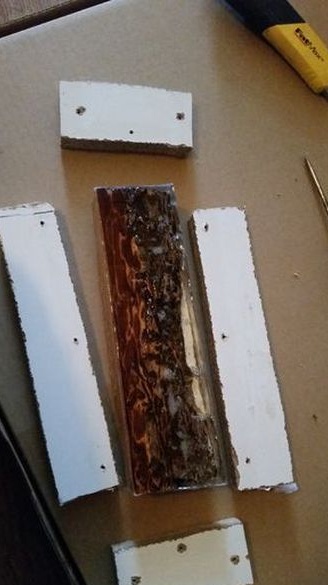
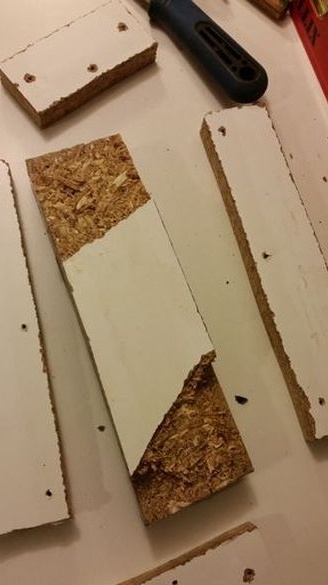
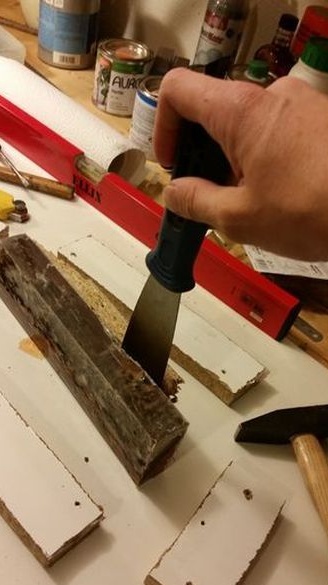
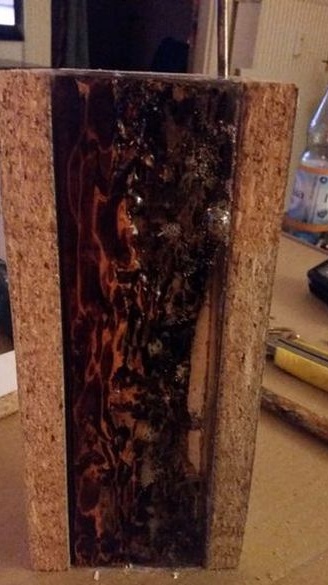
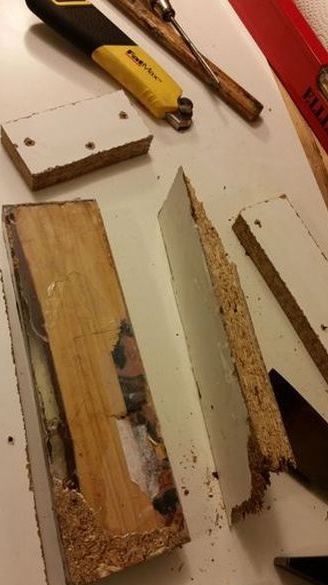
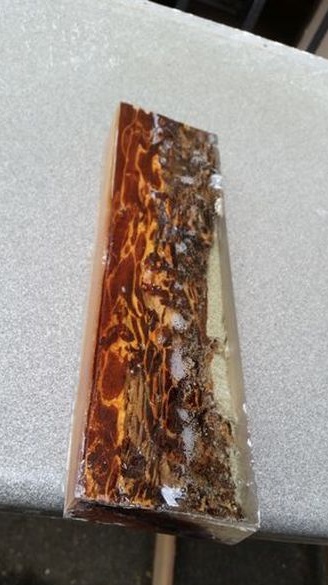
After the resin hardens, the part is removed from the mold. Uses a spatula and a screwdriver.
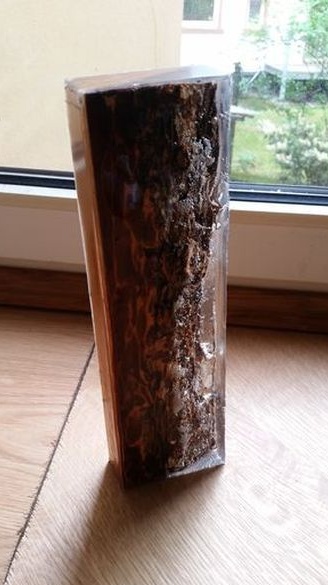
Step Four: Grinding and Polishing
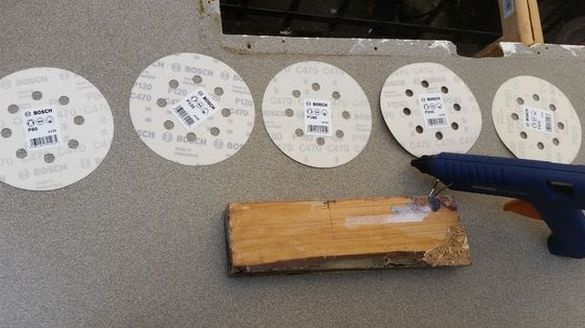
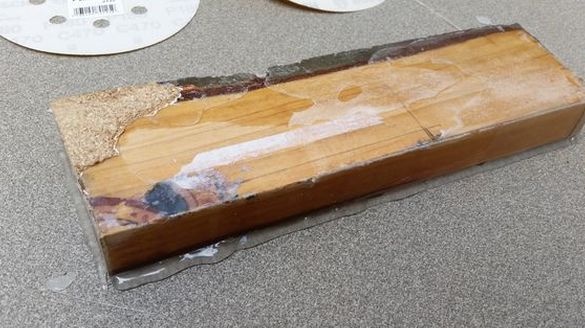
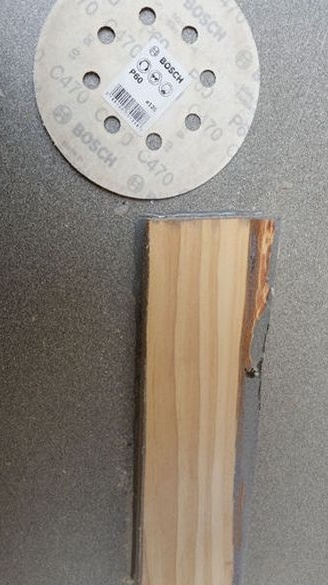
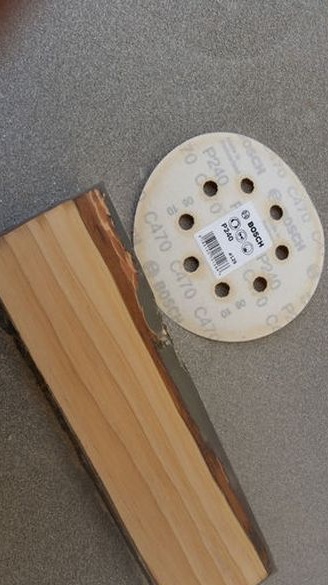
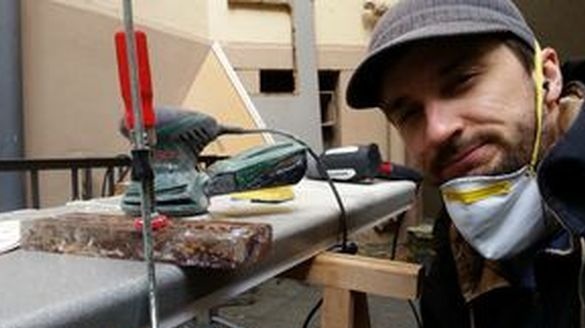
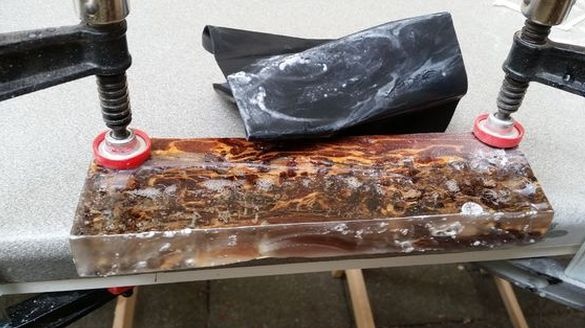
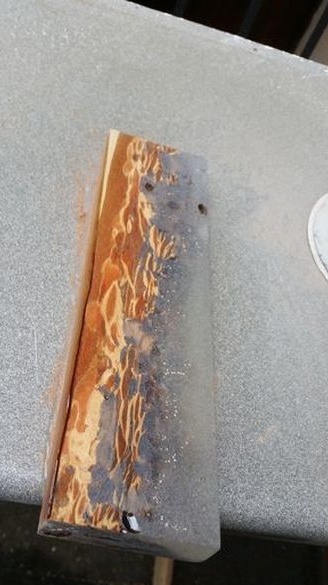
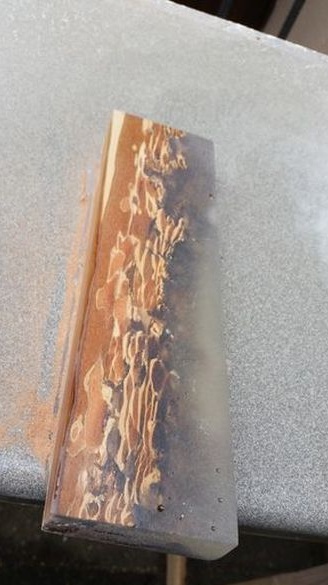
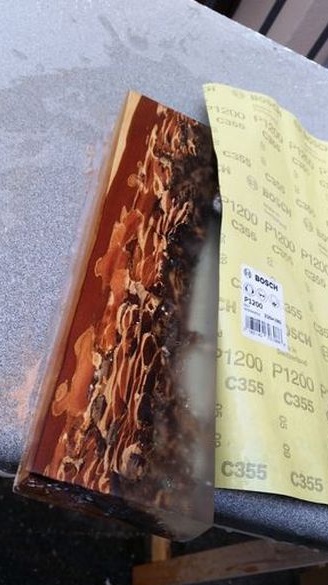
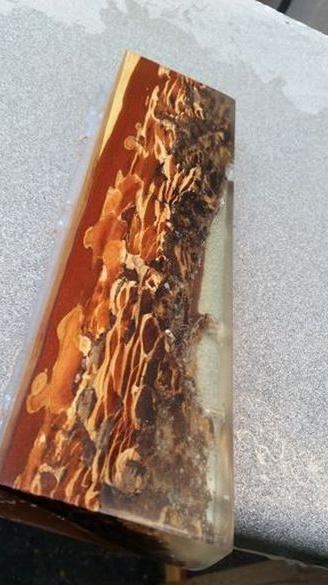
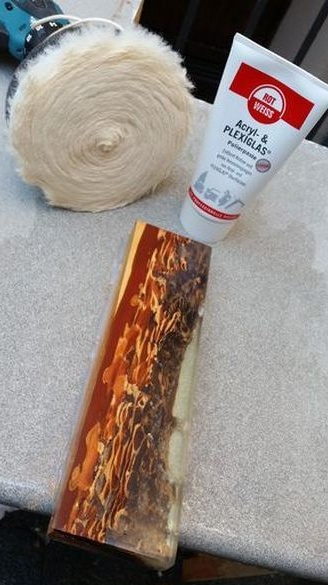
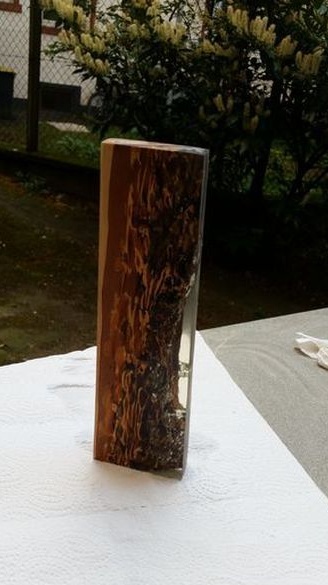
Further, the author proceeded to grinding and polishing the part. Secured the item with clamps to the table. For grinding, I used sandpaper with grain size from 60 to 320 dry and from 600 to 1200 with water.
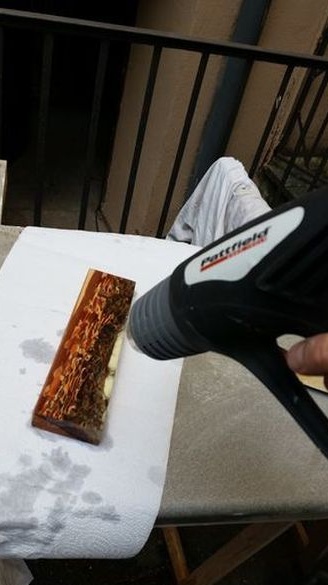
The author polished the part with a polishing disc using paste and water. After polishing, he dried the part with a hairdryer.
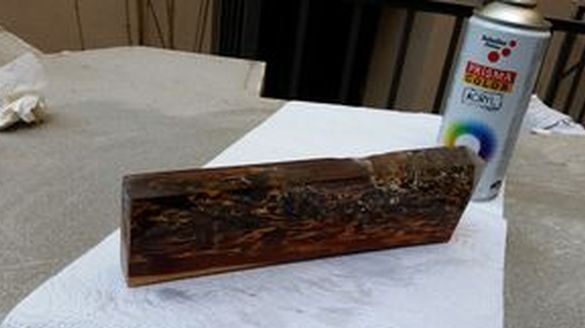
Step Five: Making the Prop
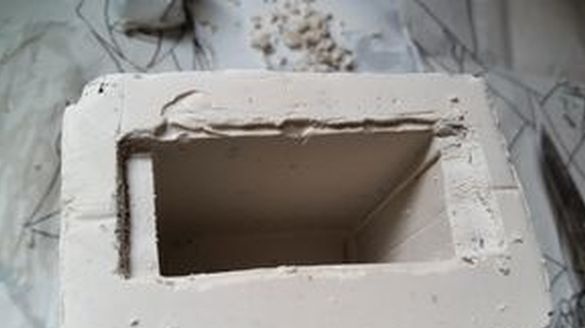
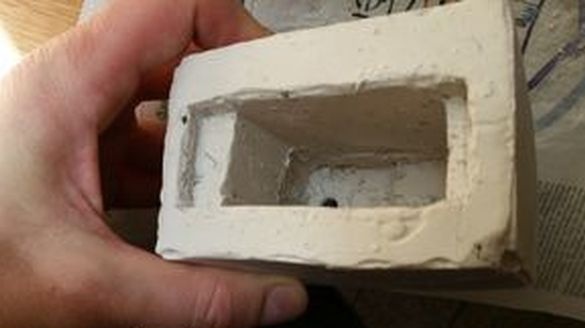
The author made the mold for pouring the support from a box out of juice. Inside the box, on the bottom, I glued the liner.
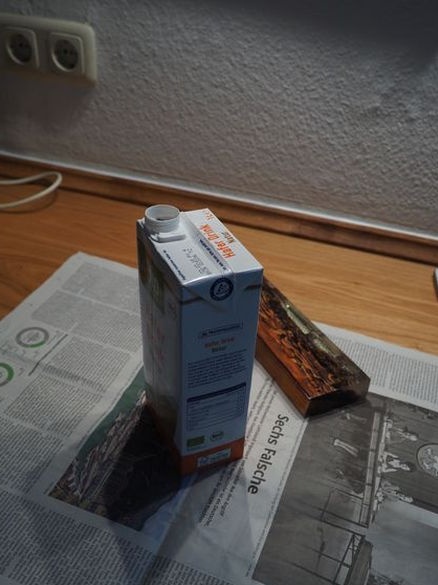
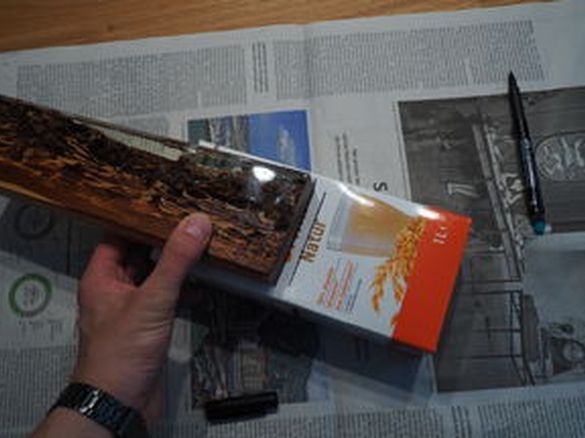
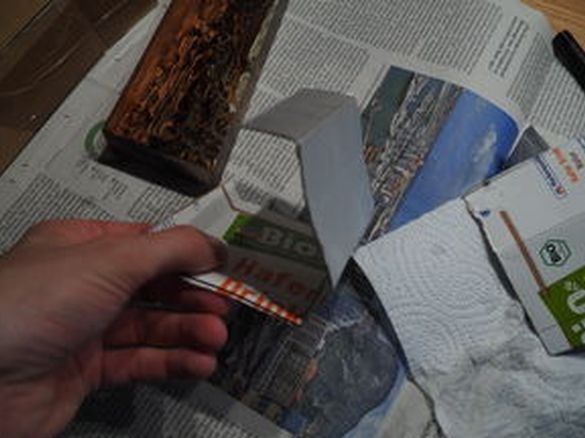
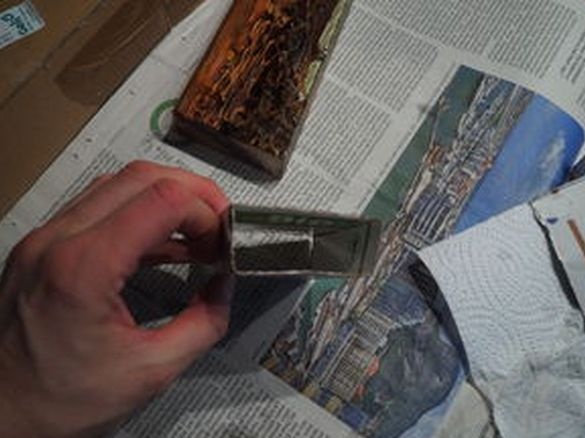
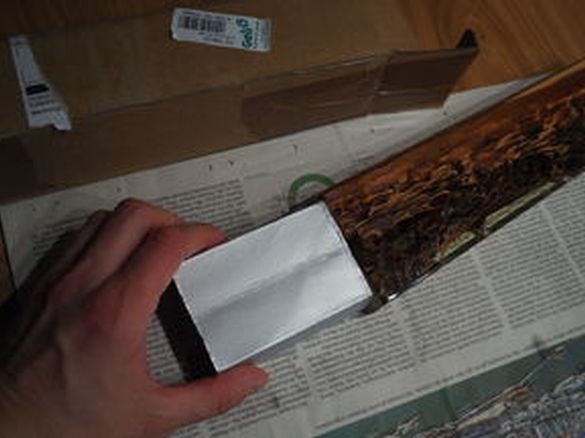
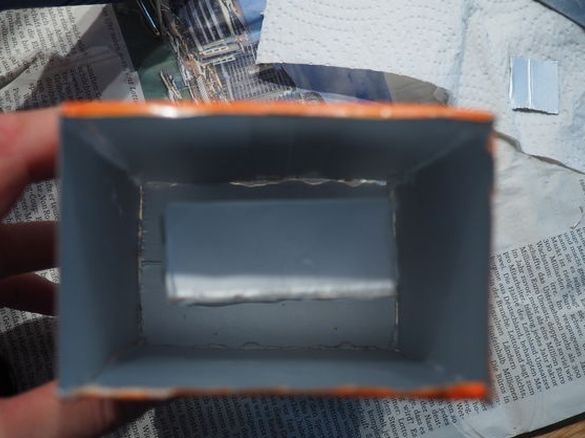
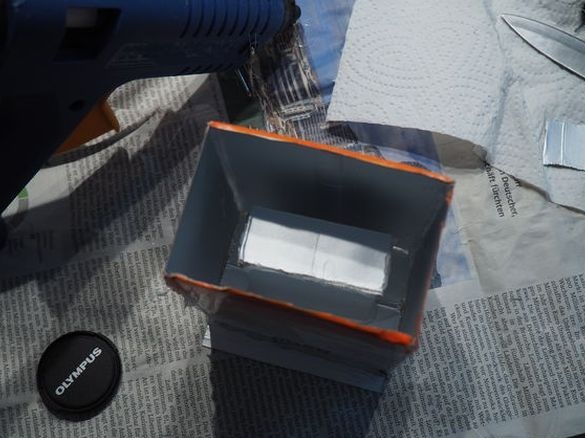
I mixed 2 parts of gypsum with 1 part of water. Filled the mold with plaster. Left her for 20 hours.
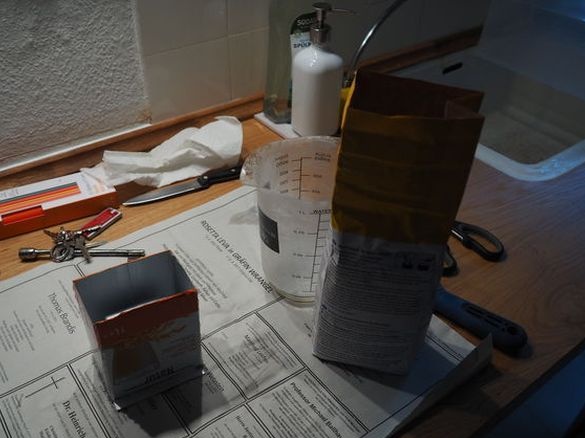
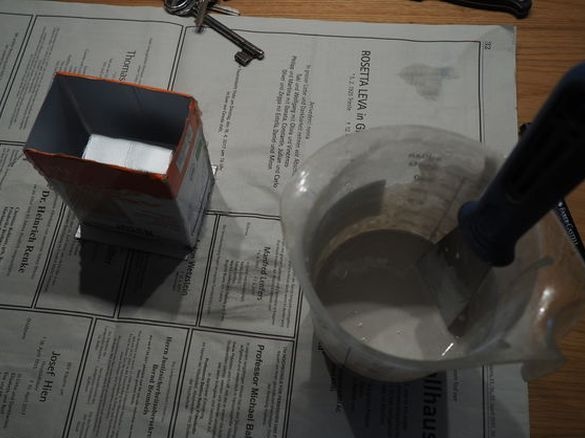
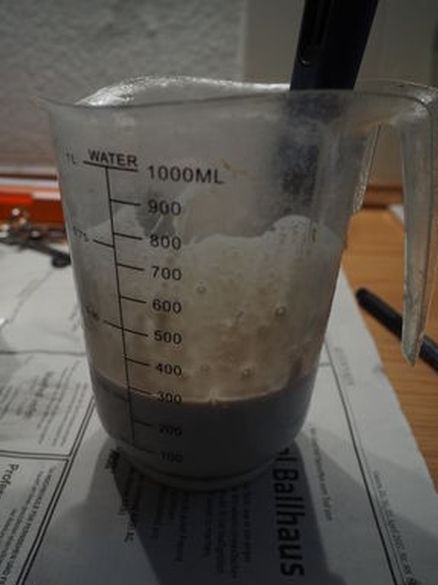
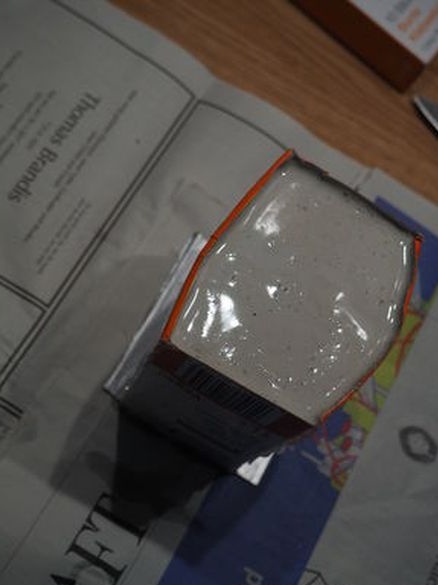
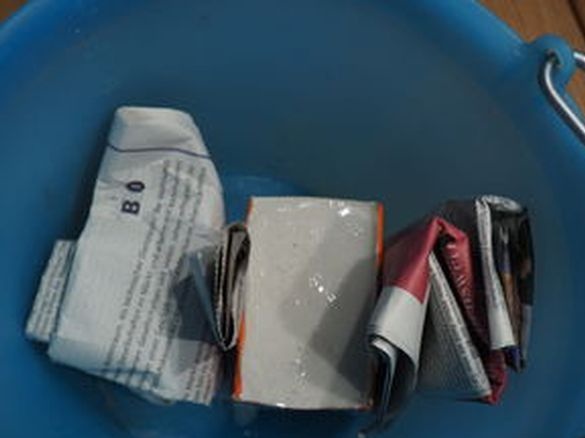
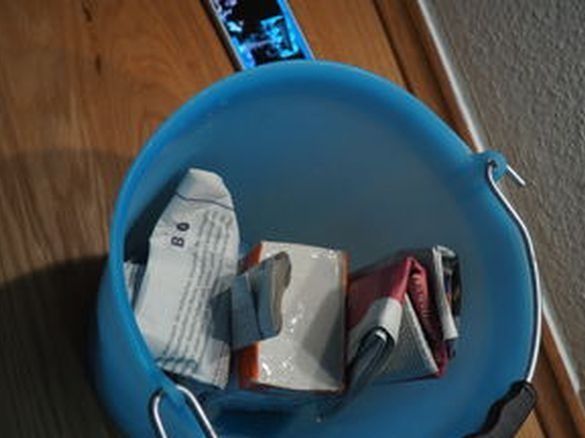
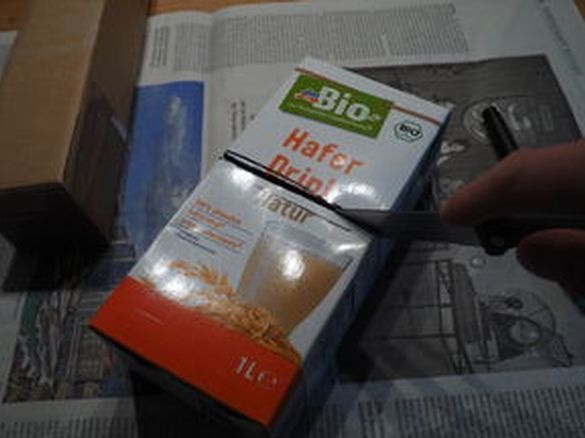
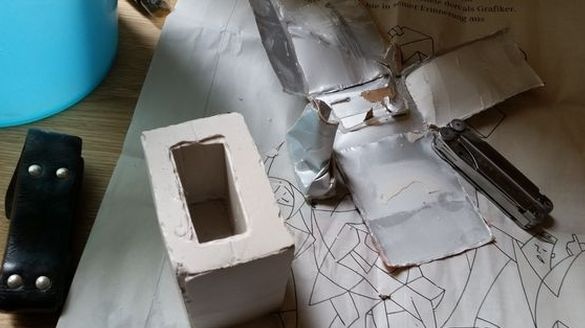
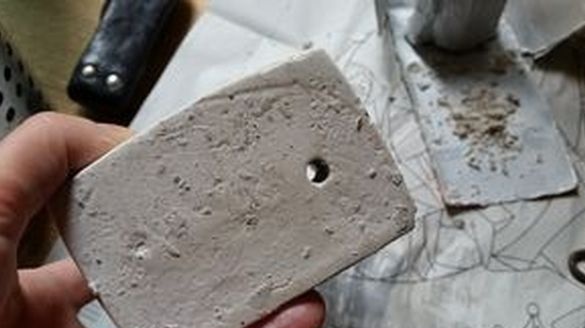
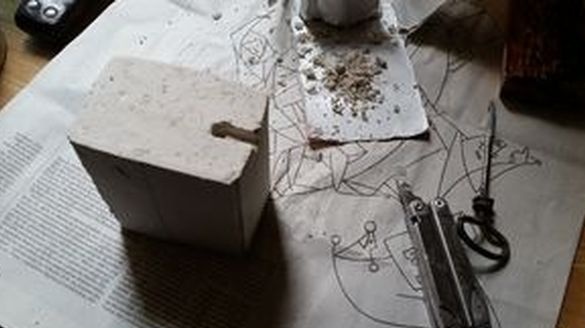
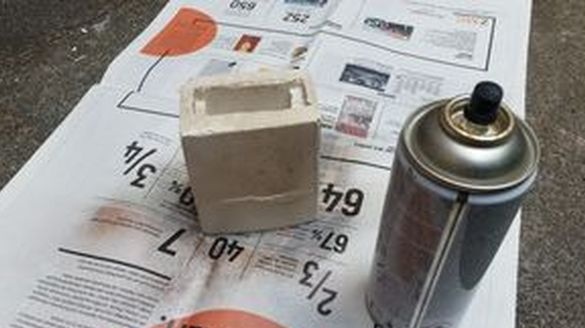
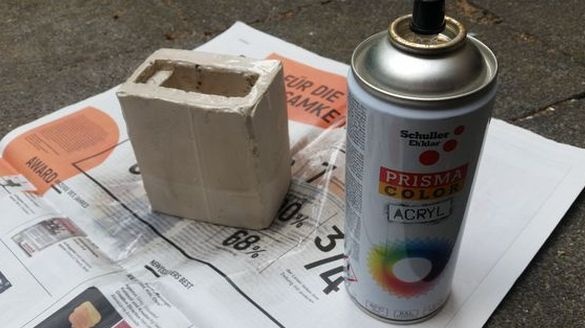
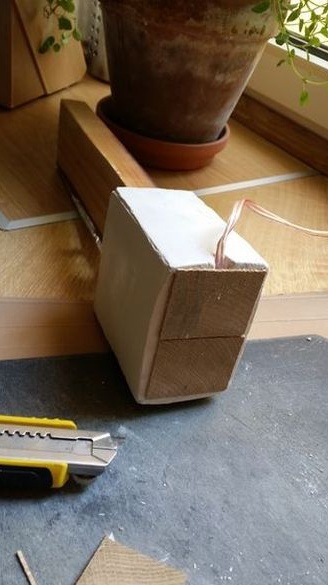
After the gypsum hardened, cut the box, removed the liner from the inside. At the bottom of the support, I drilled a hole for the cable. Coated the base with paint.
Step Six: Electrical
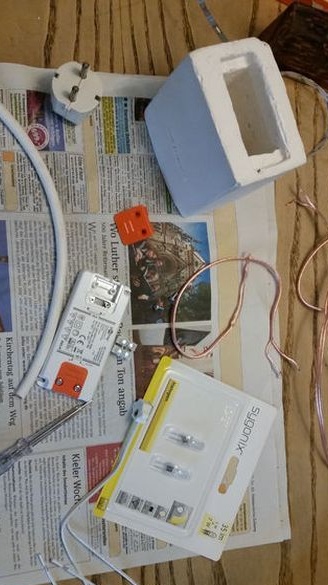
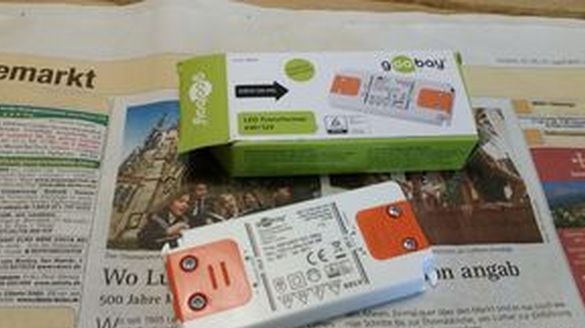
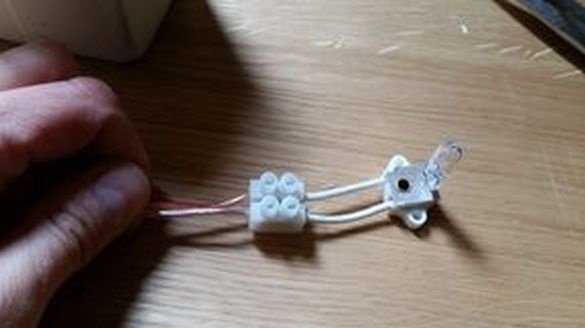
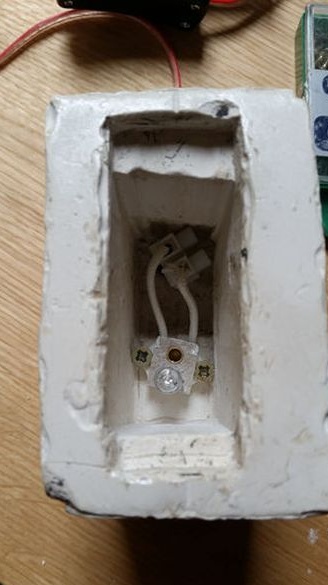
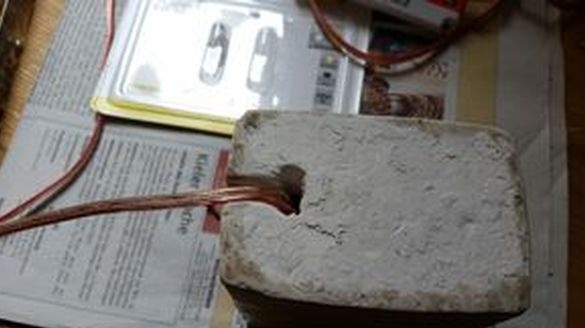
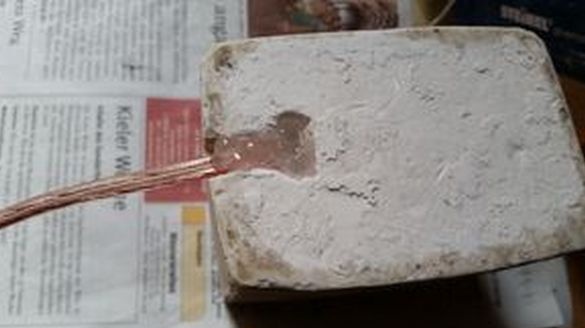
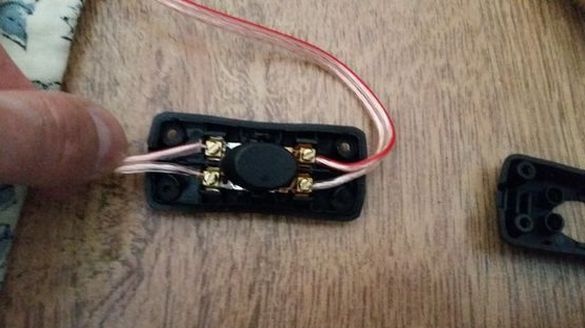
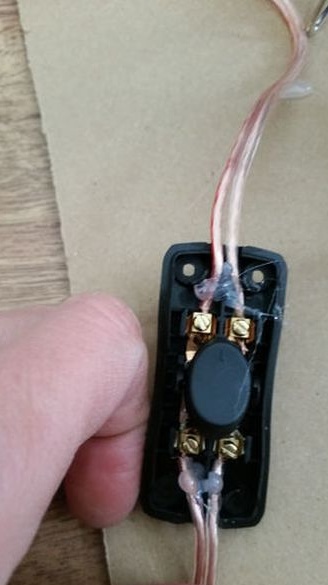
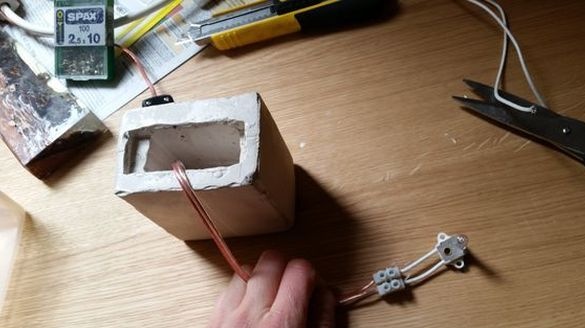
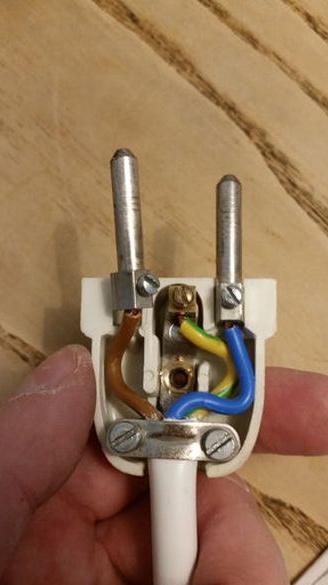
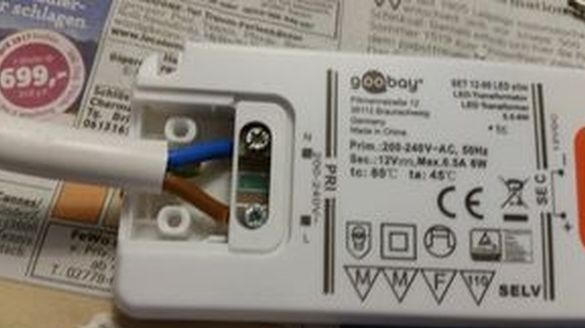
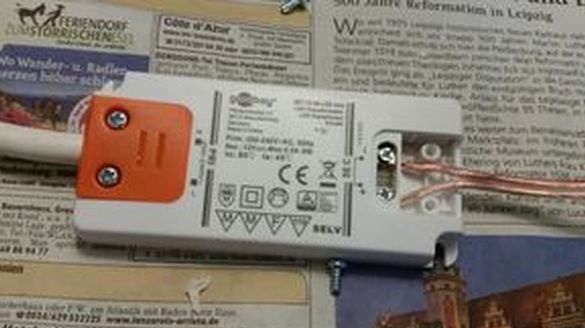
Collects the electrical part of the lamp. Installs, in the cavity in the stand, a cartridge with a 12 volt light bulb. The wire leads into the hole and fixes with hot glue. Installs a transformer, switch, and plug.
Felt is glued to the bottom of the stand.
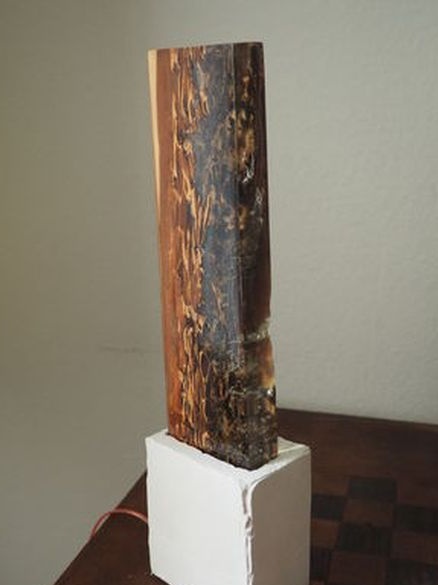
The lamp is ready.
Now it remains to thank the author and you can proceed with the manufacture of your lamp.
