

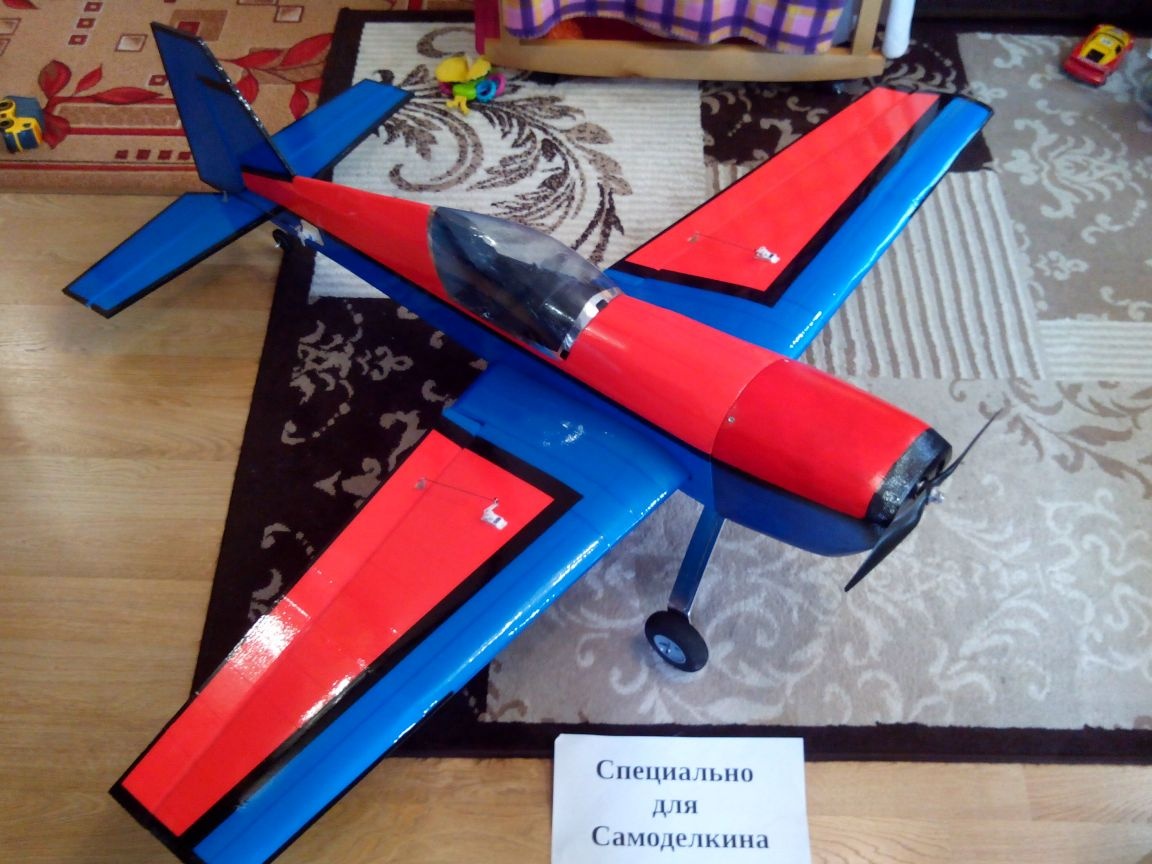
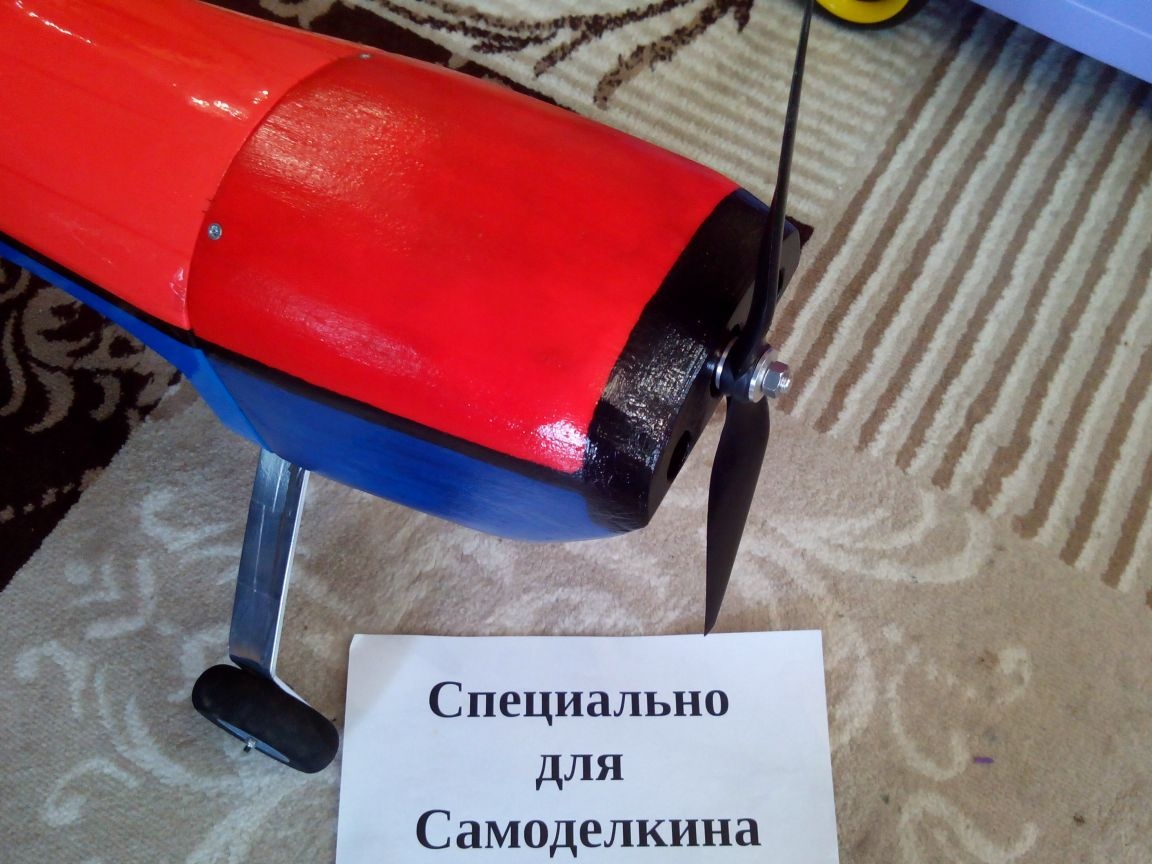
This article describes in detail the manufacturing process of the Extra 300S large aerobatic model from ceiling tiles and apron.
Materials:
- ceiling tile
- substrate under the laminate (depron)
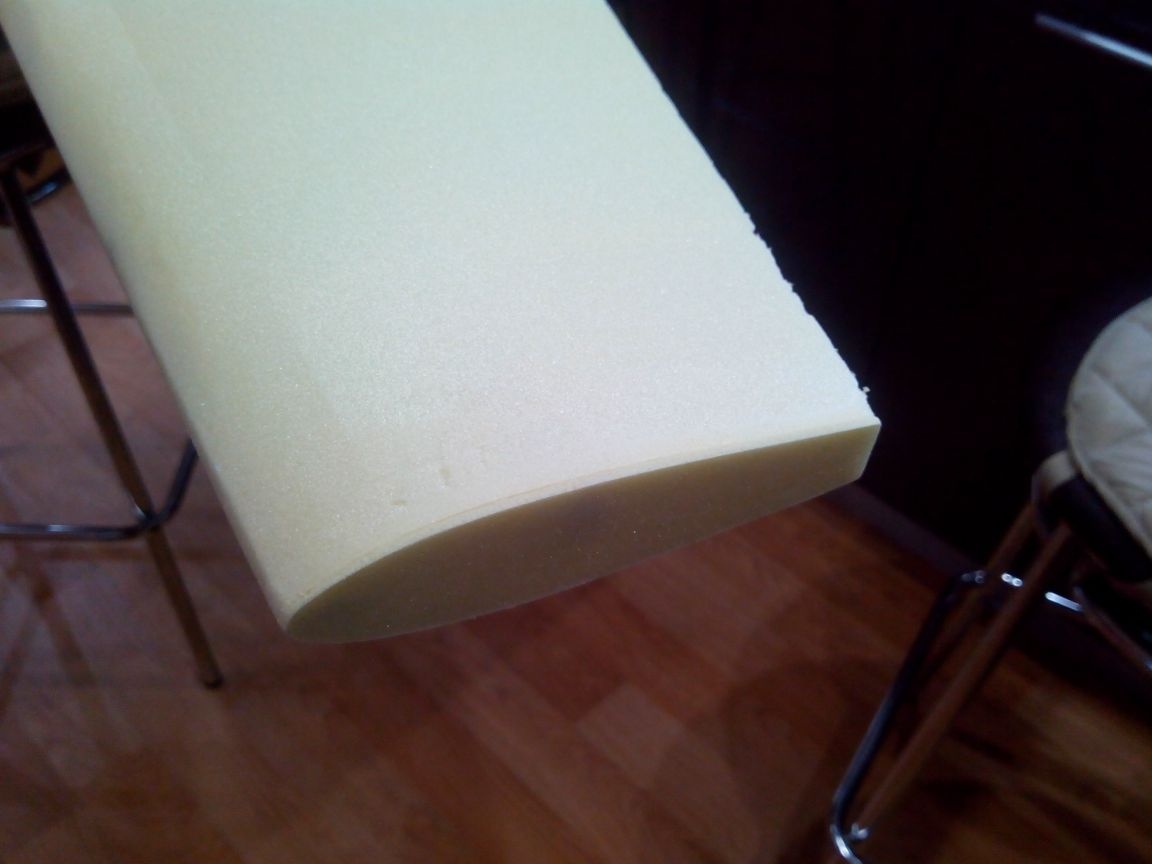
- foam
- plywood
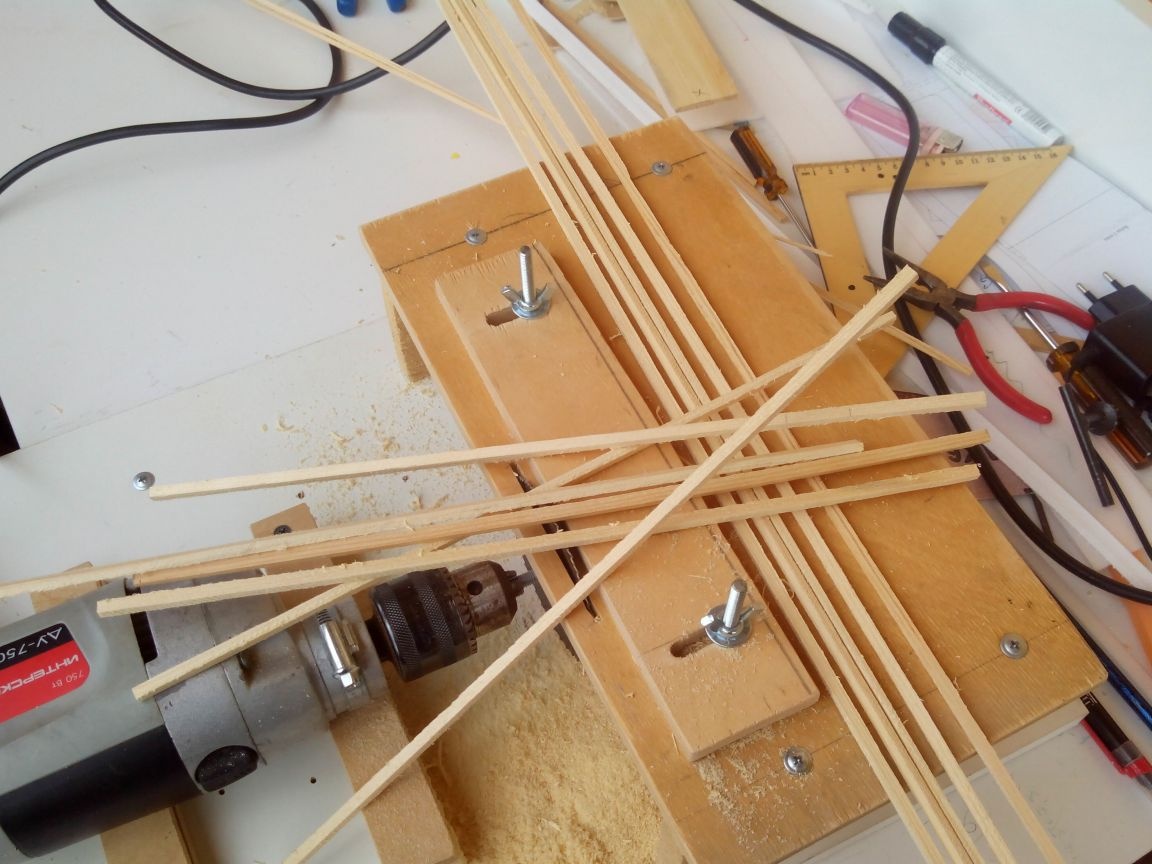
- pine slats
- bamboo skewers
- adhesive tape
- threads
- plastic bottles
- plastic cards
- steel wire
- duralumin strips
- acrylic paints
- acrylic lacquer
- bolts, nuts, screws
Glues:
- For ceiling tiles
- PVA
- Five-minute epoxy
- Glue stick
Instruments:
- Cutter
- scissors
- Marker, pencil
- Sandpaper
- stapler
- Jigsaw
- Screwdriver and drill
- Minicircular
- Grinder with grinding disc
- Hacksaw
- Gas-burner
- Dremel
- brushes
- Thermogun
Electronics (all links are working at the time of writing):
motor -
speed controller -
batteries -
servos -
propellers -
tie rods -
wild boars -
shaft adapter -
equipment -
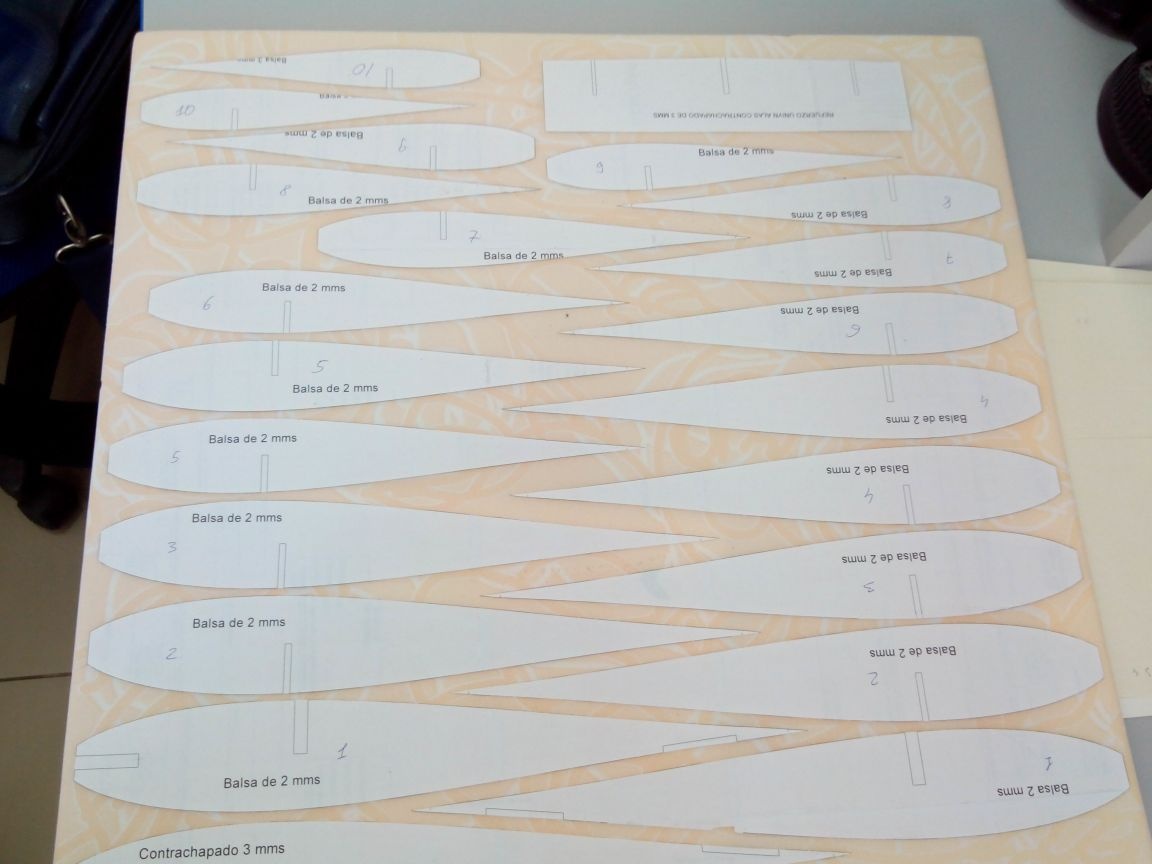
DRAWING
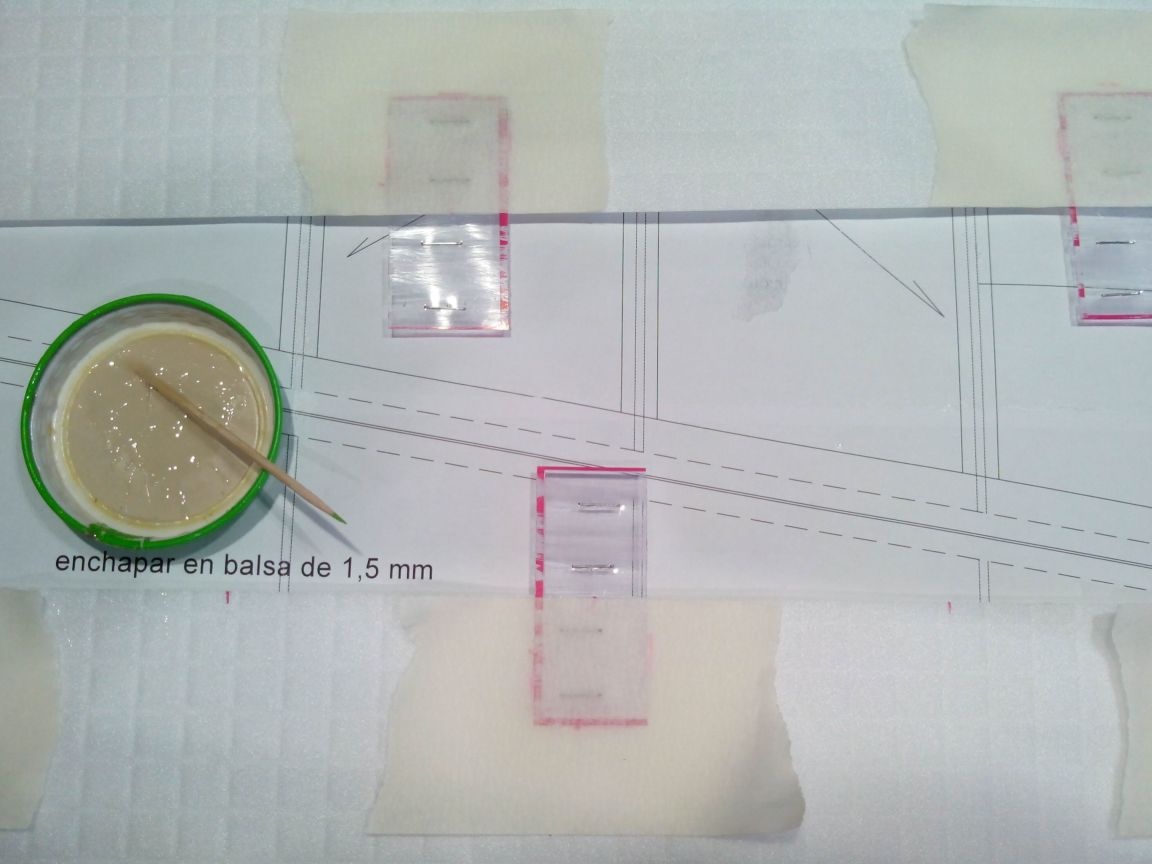
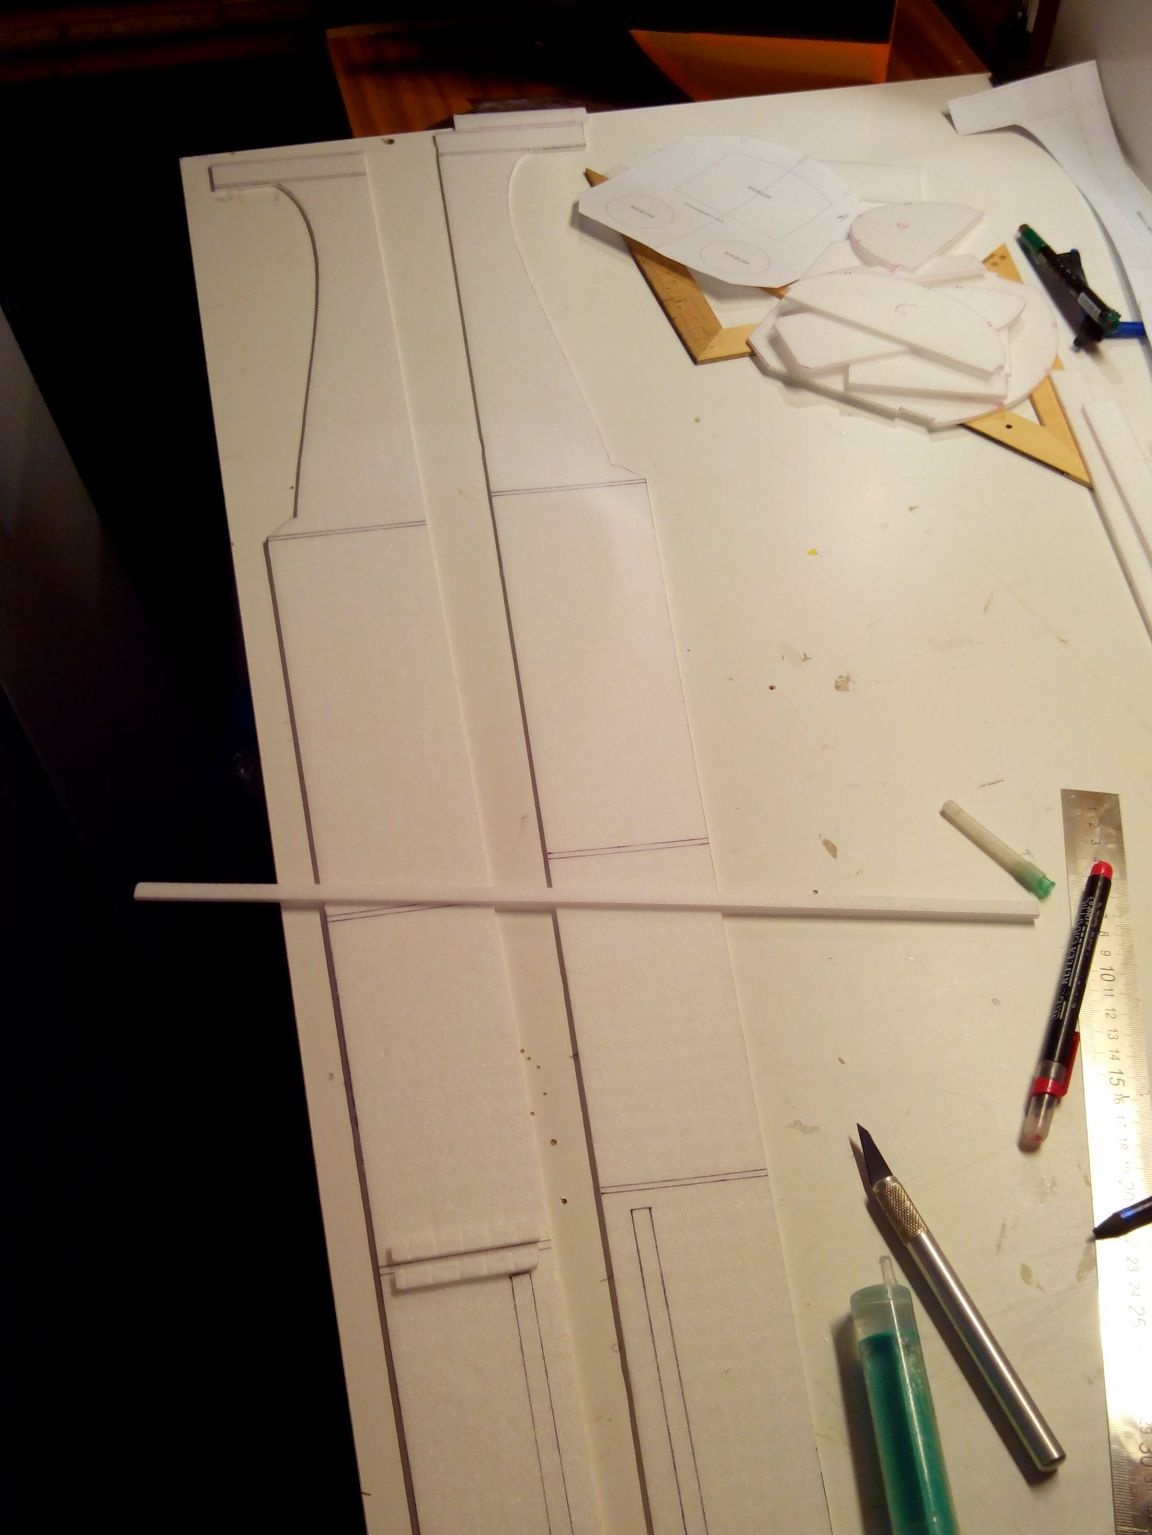
We print out the drawings as usual and glue them with paper glue.
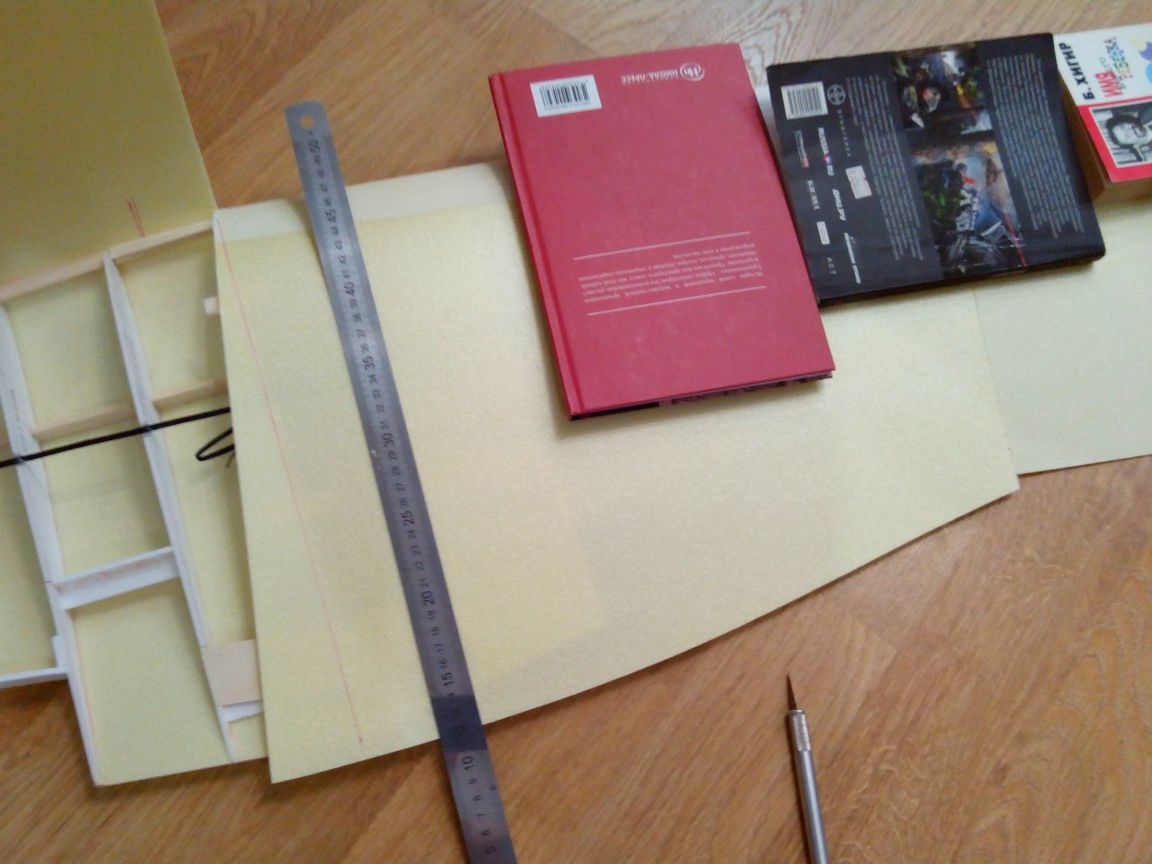
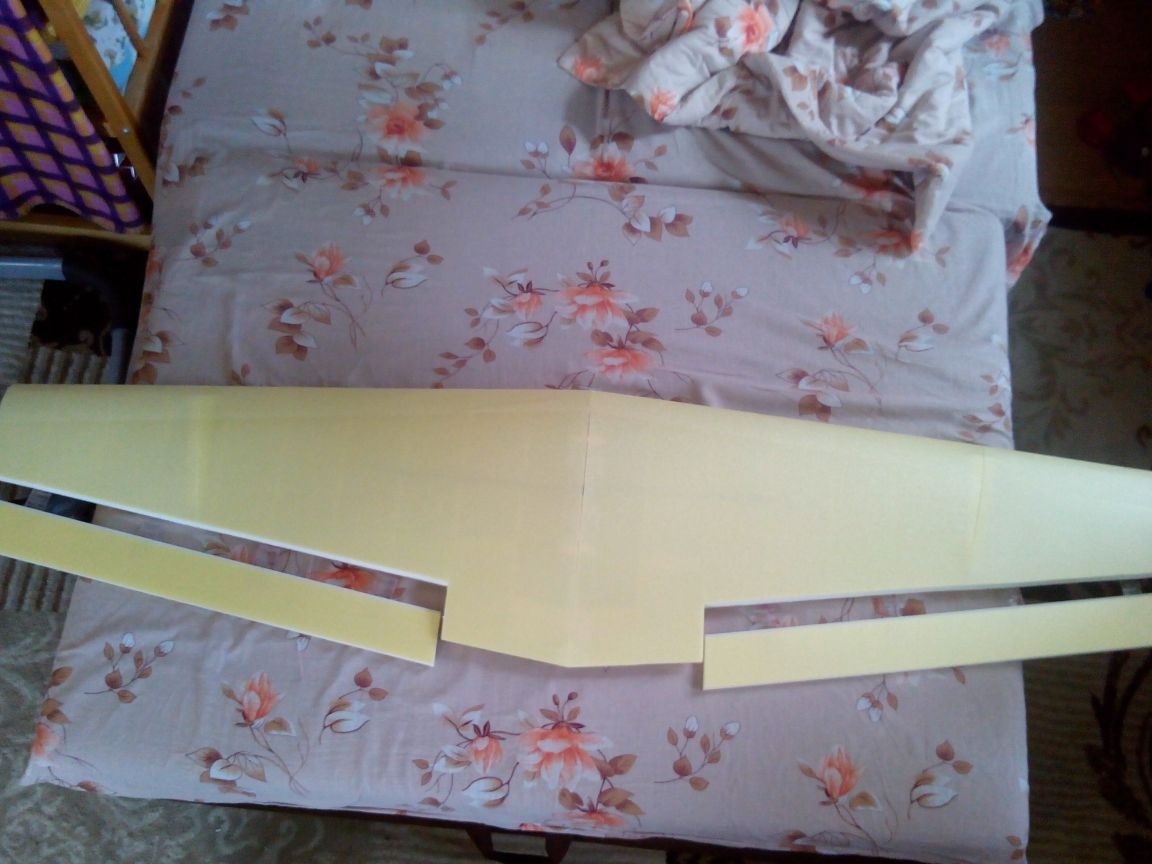
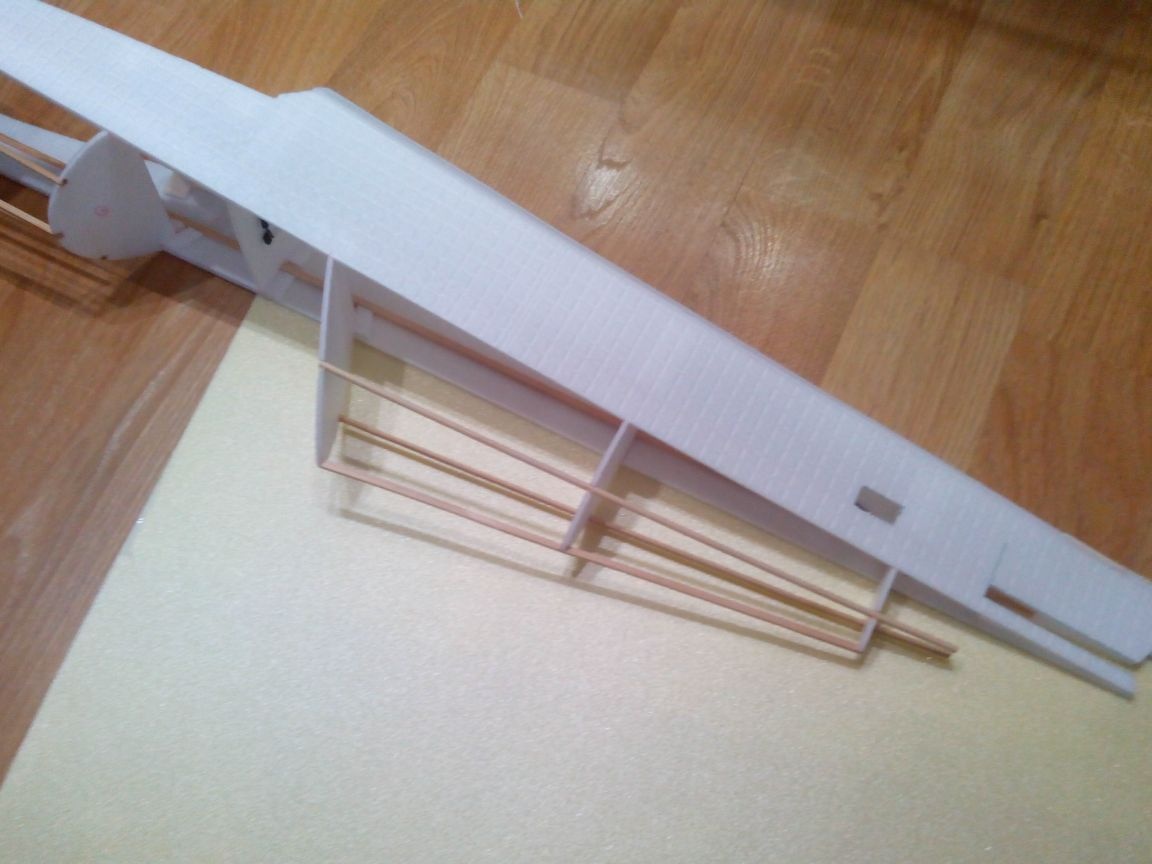
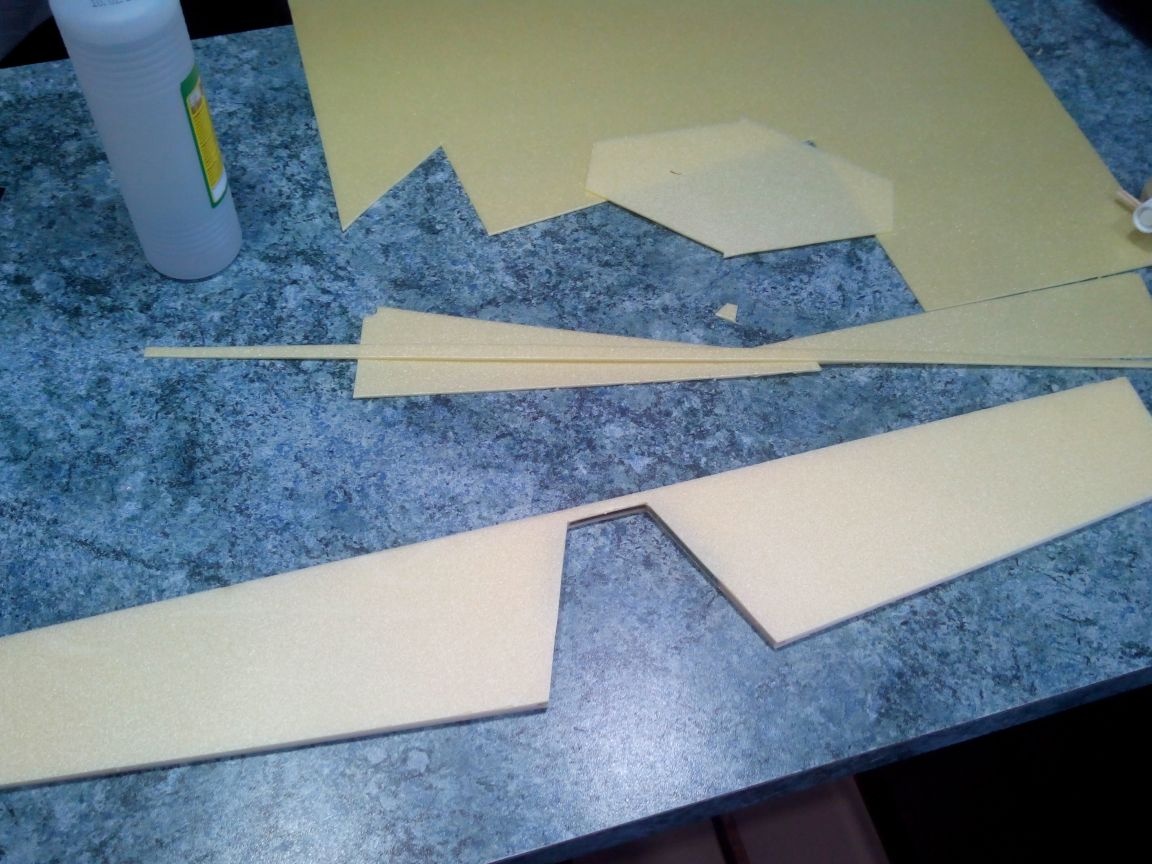
Step 1. Making a wing
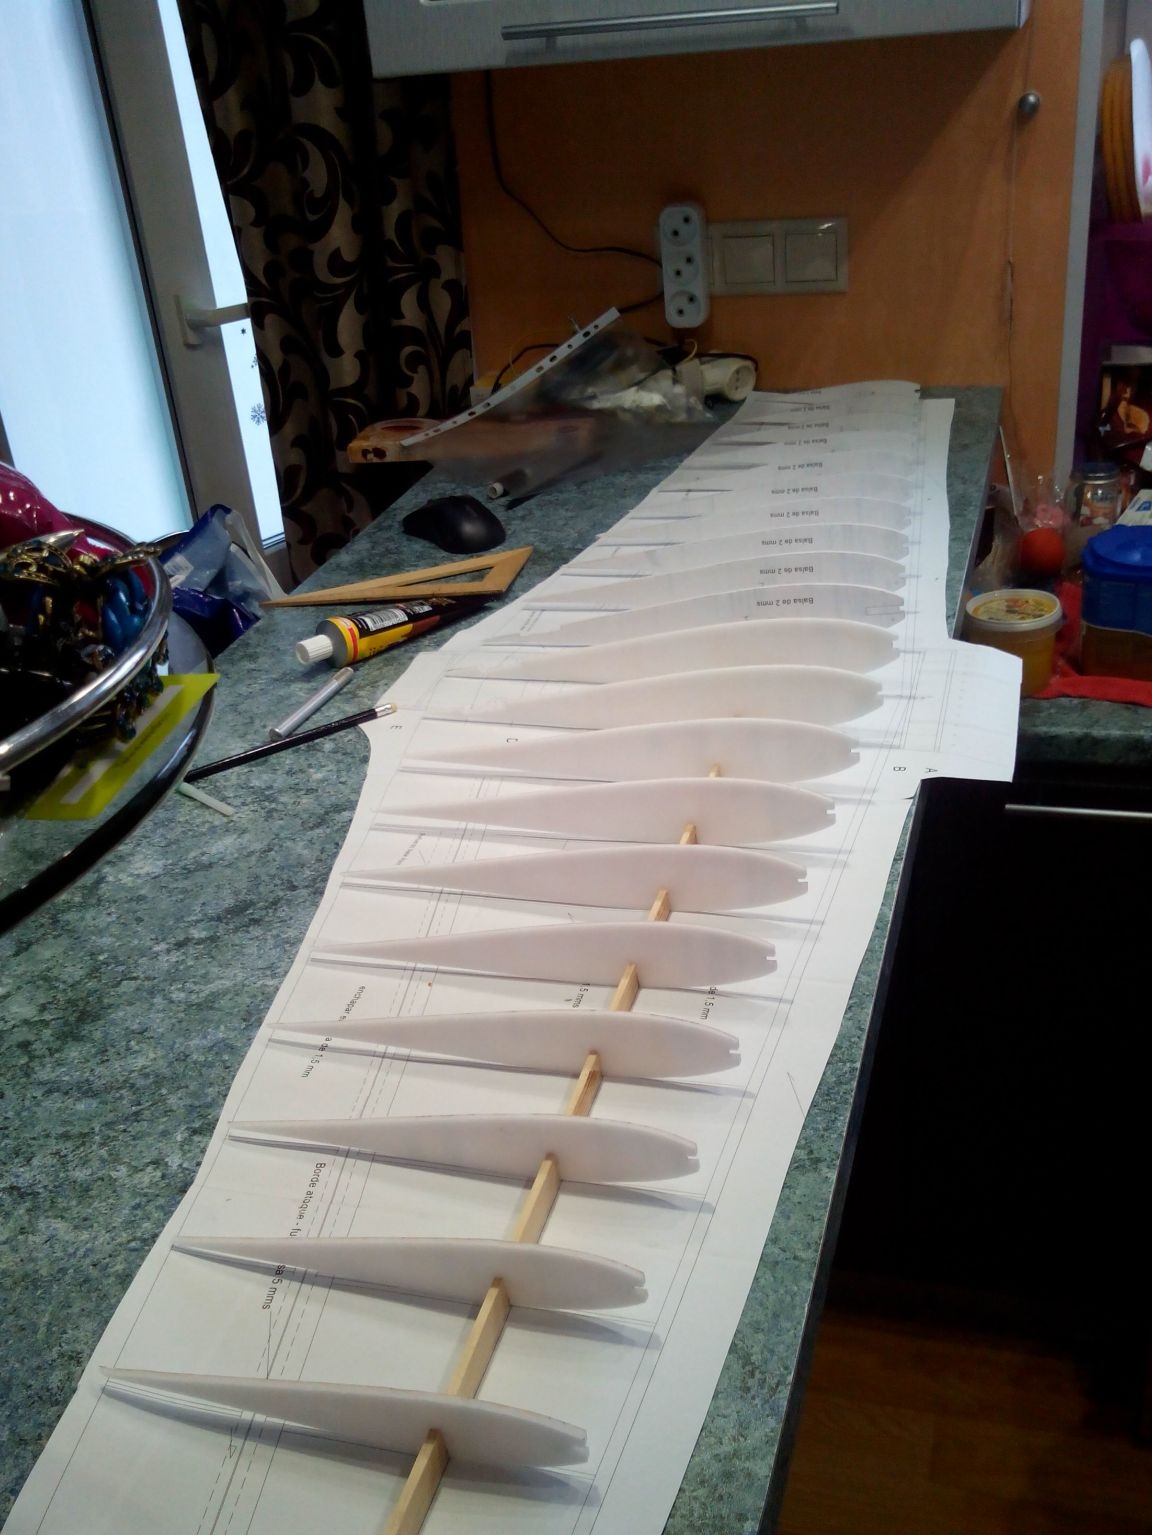
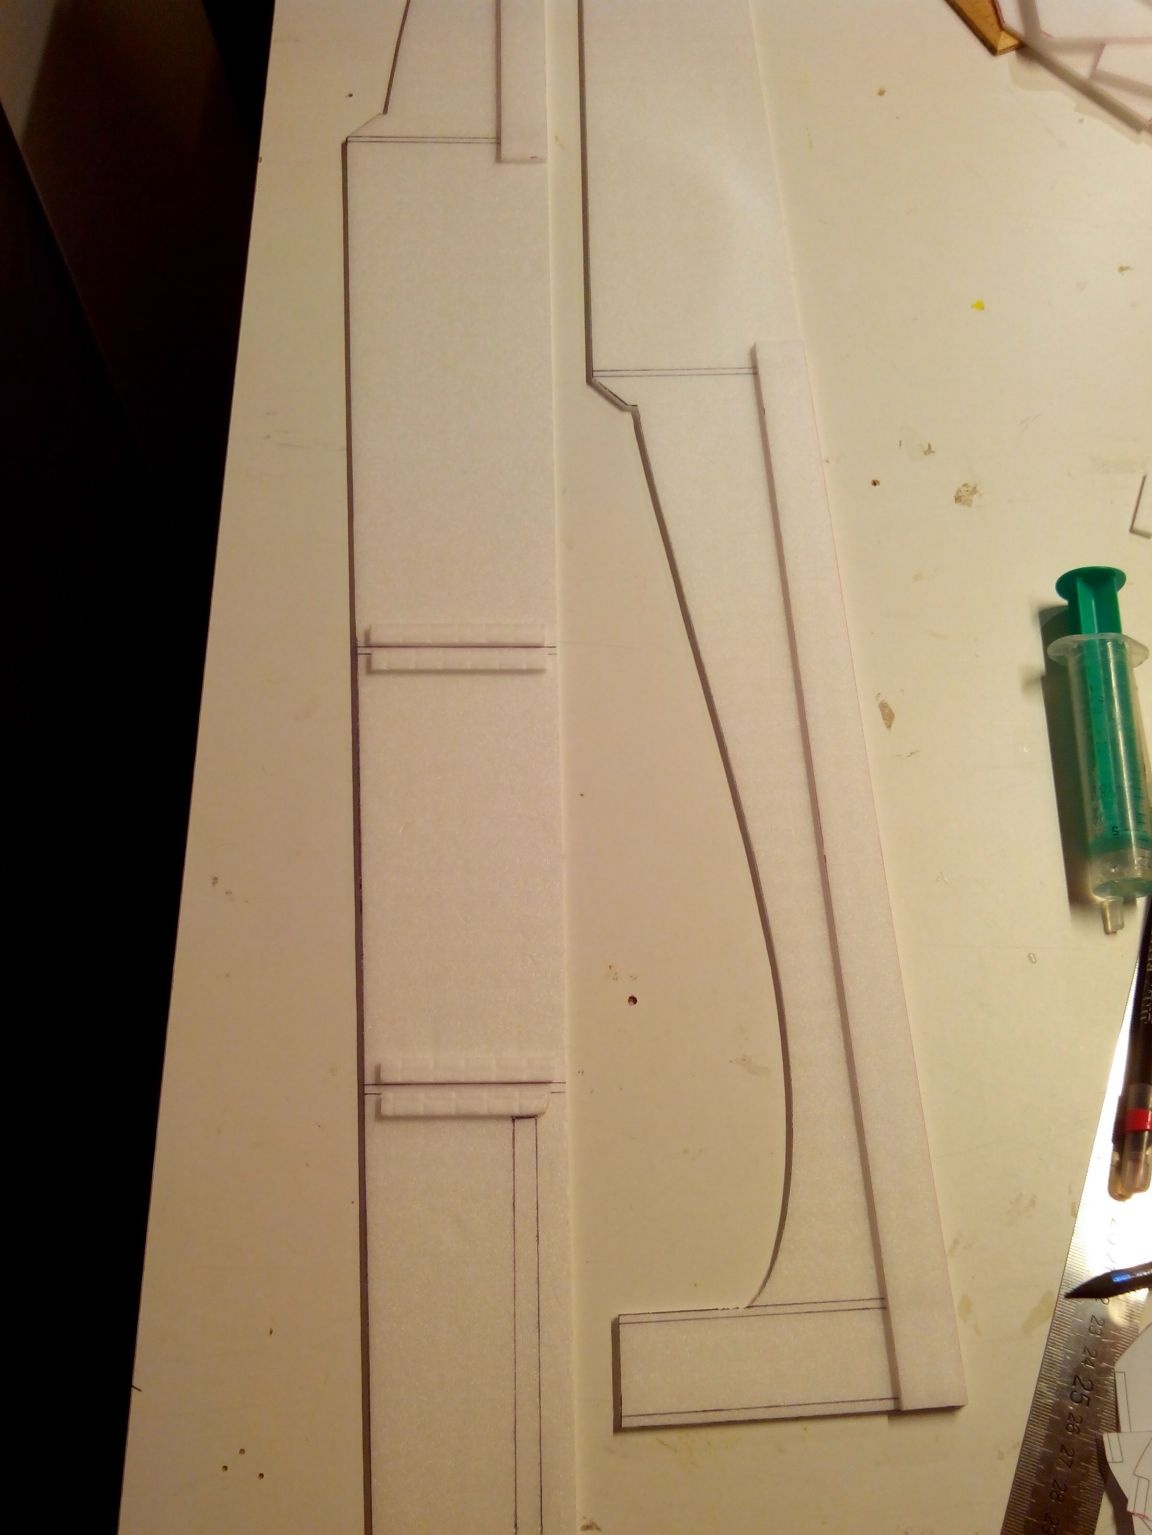
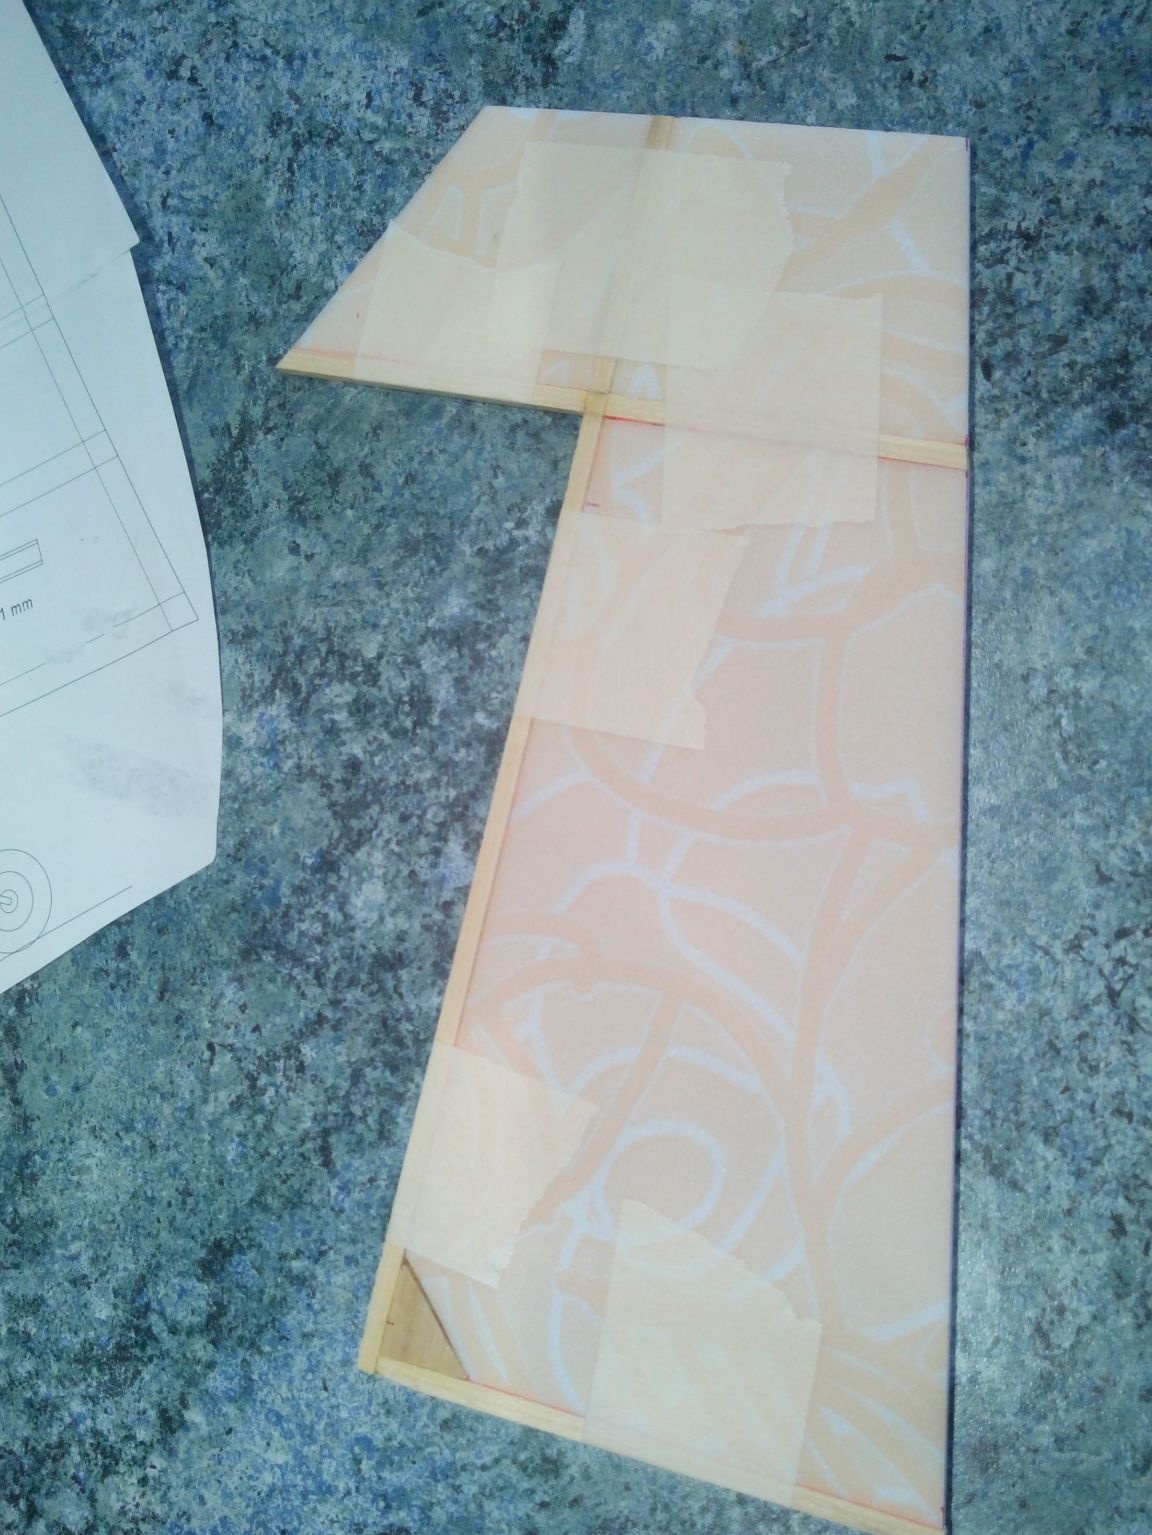
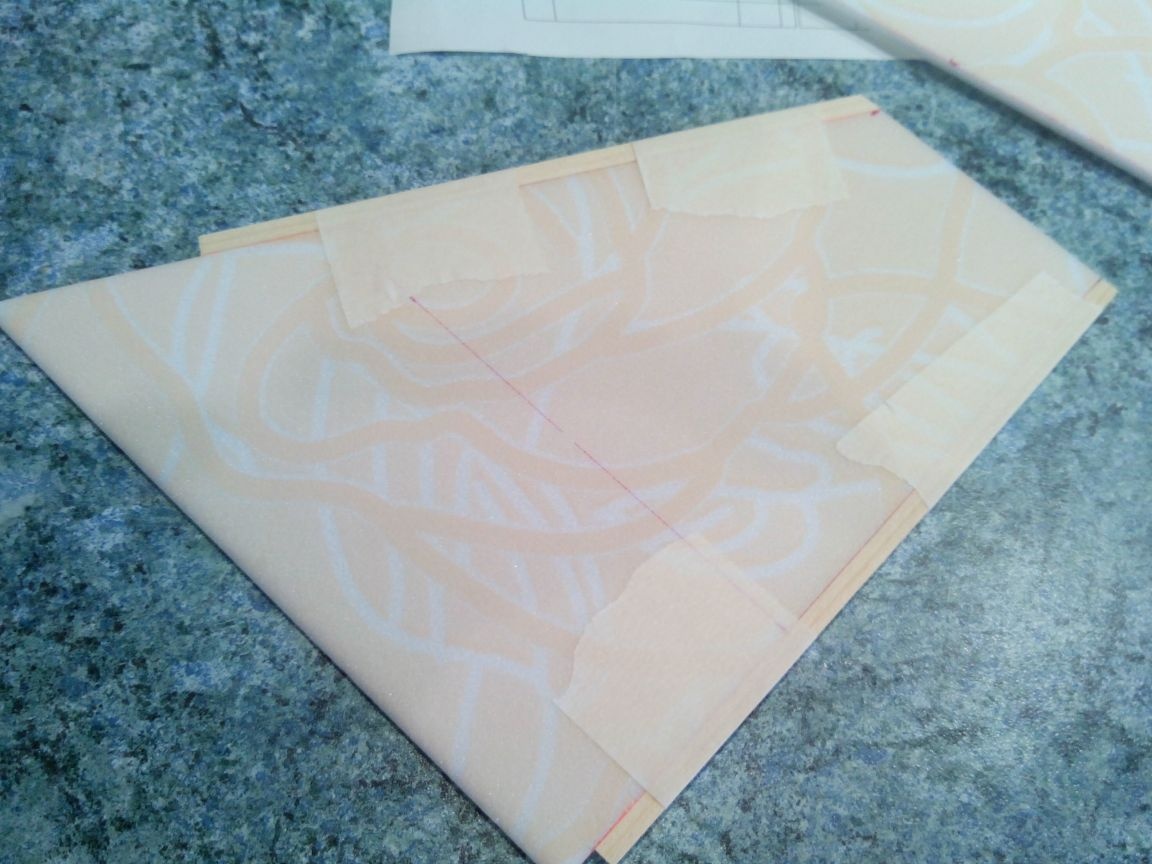
We cut out rib patterns, paste ceilings on a sheet and cut them out.
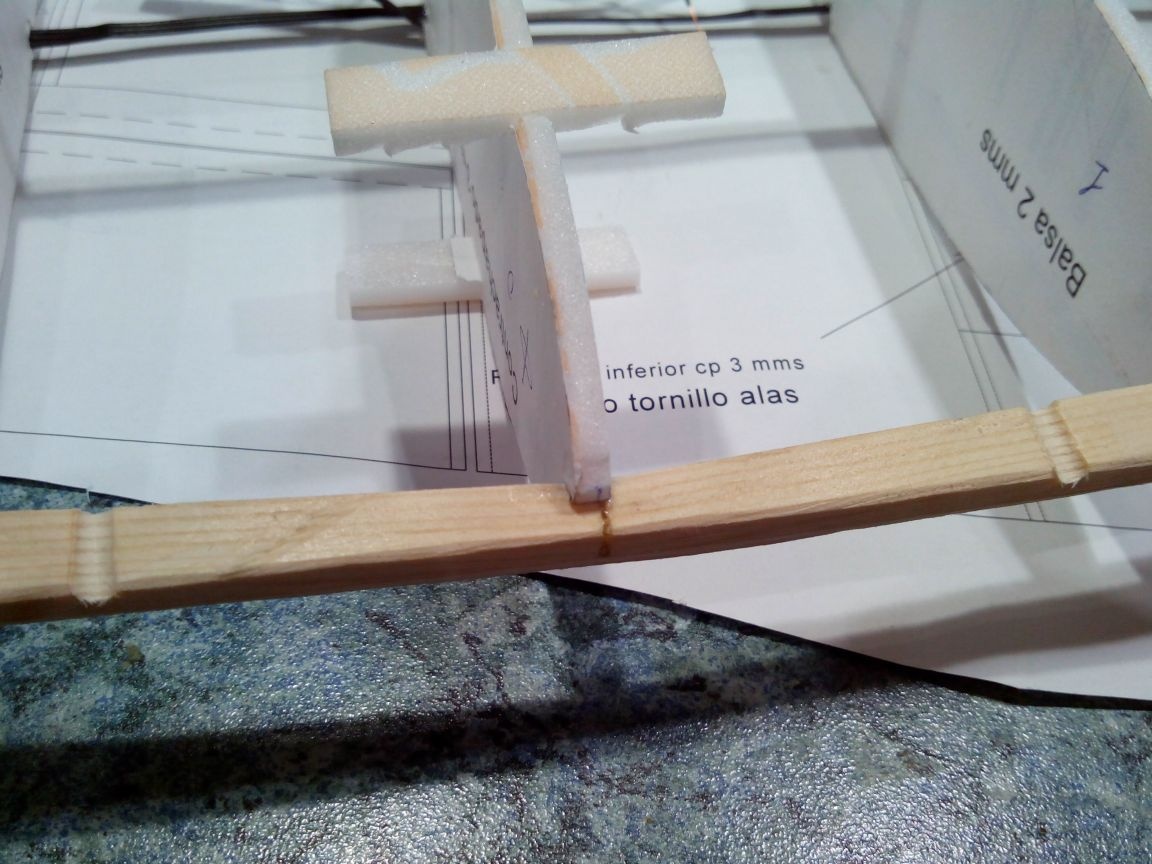
A spar from a pine lath with a section of 4x15 mm, in ribs we make a cut of the same size.
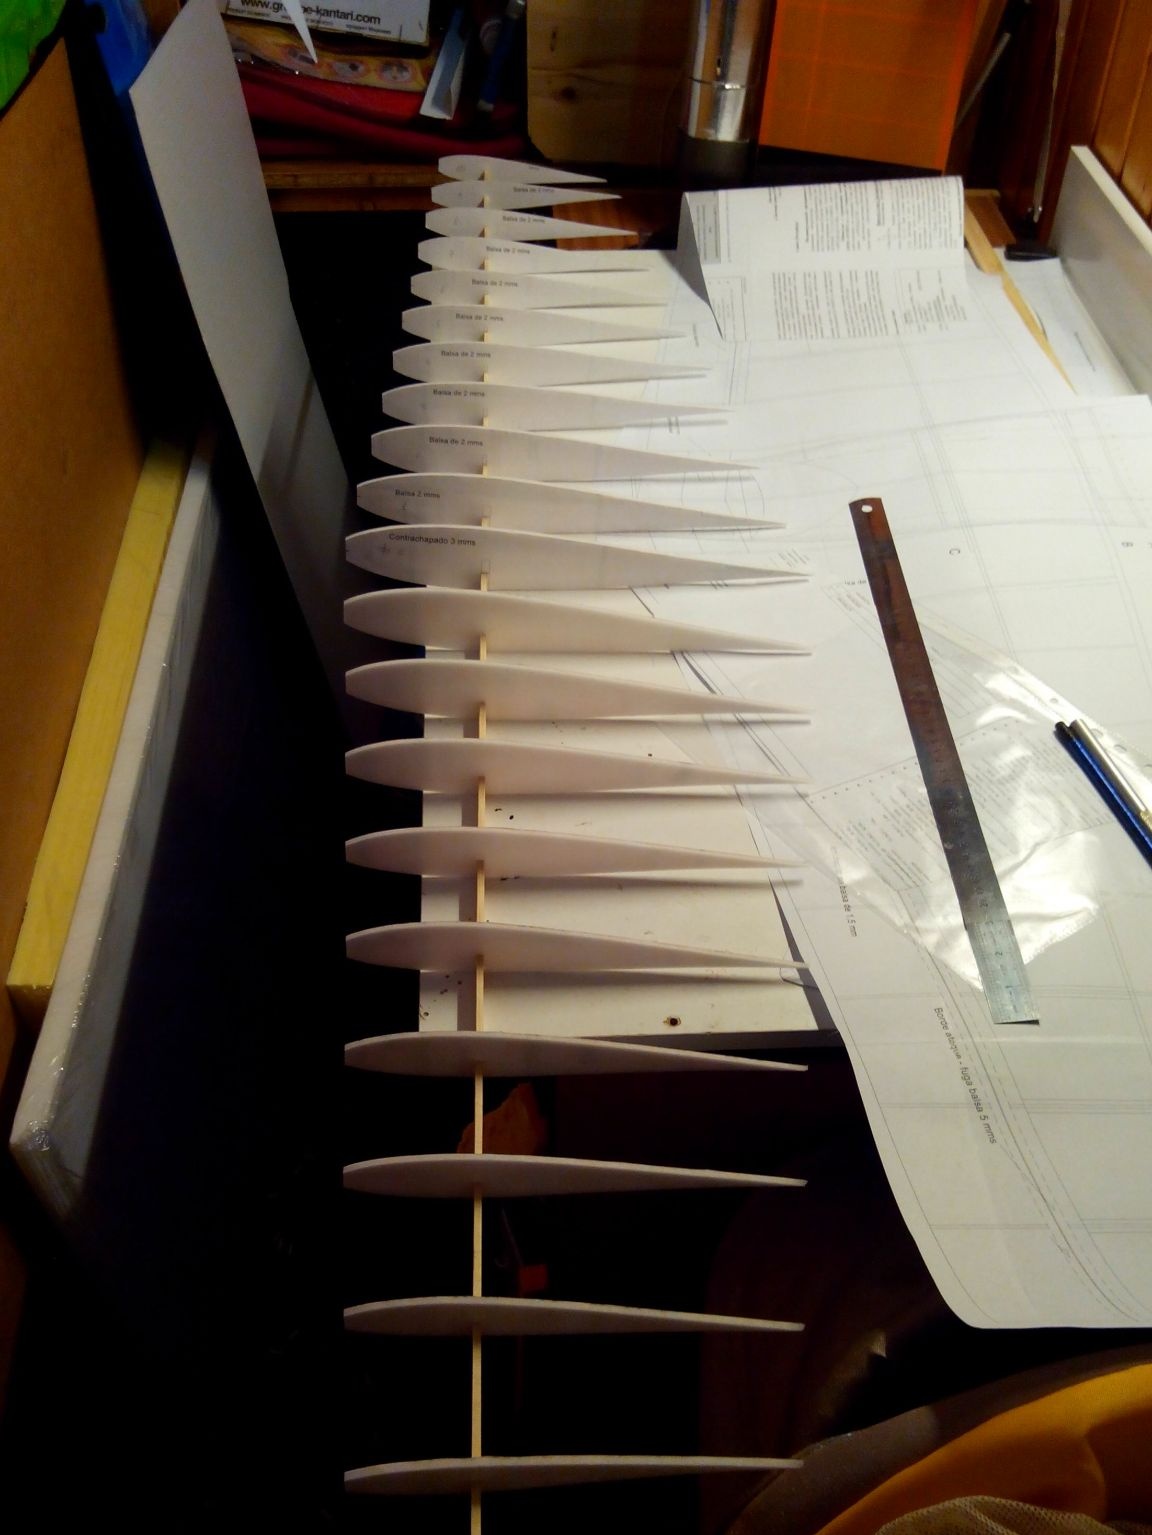
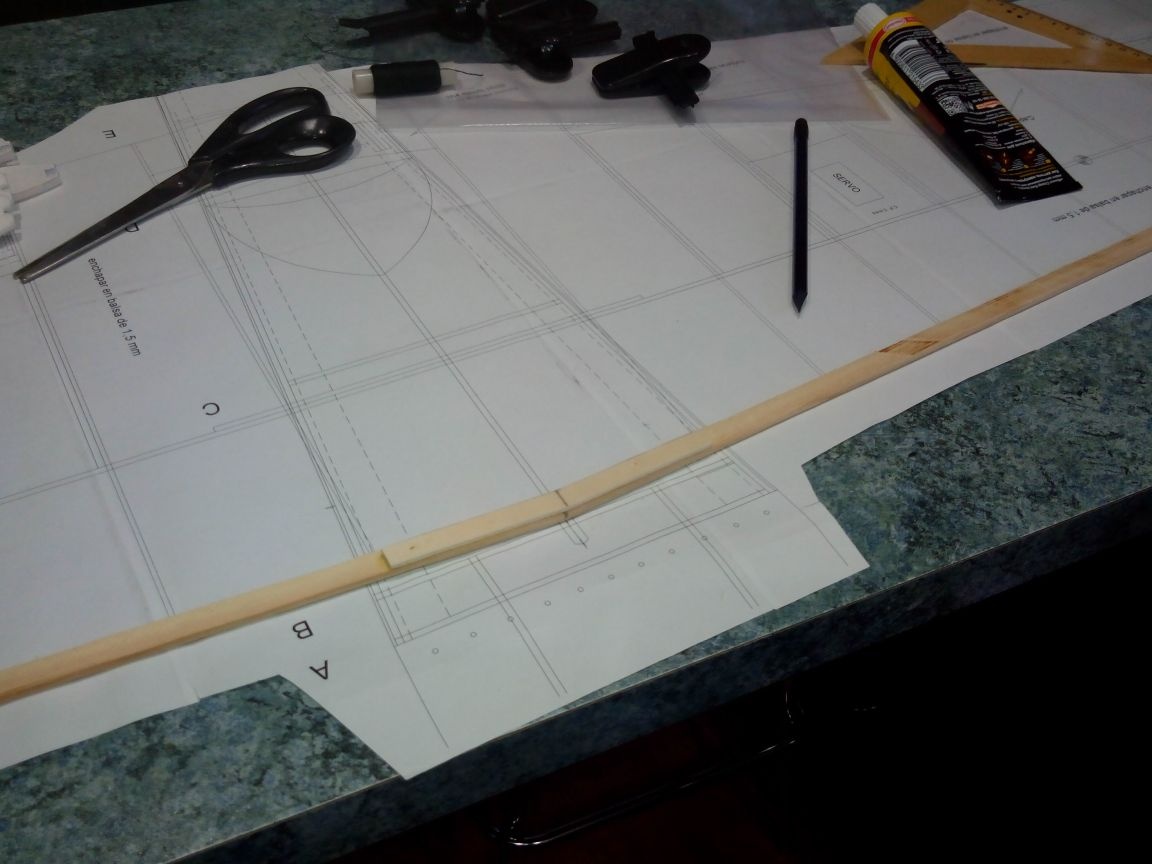
The leading edge is 2 slats with a section of 4x10 mm, which are connected by a plywood corner.
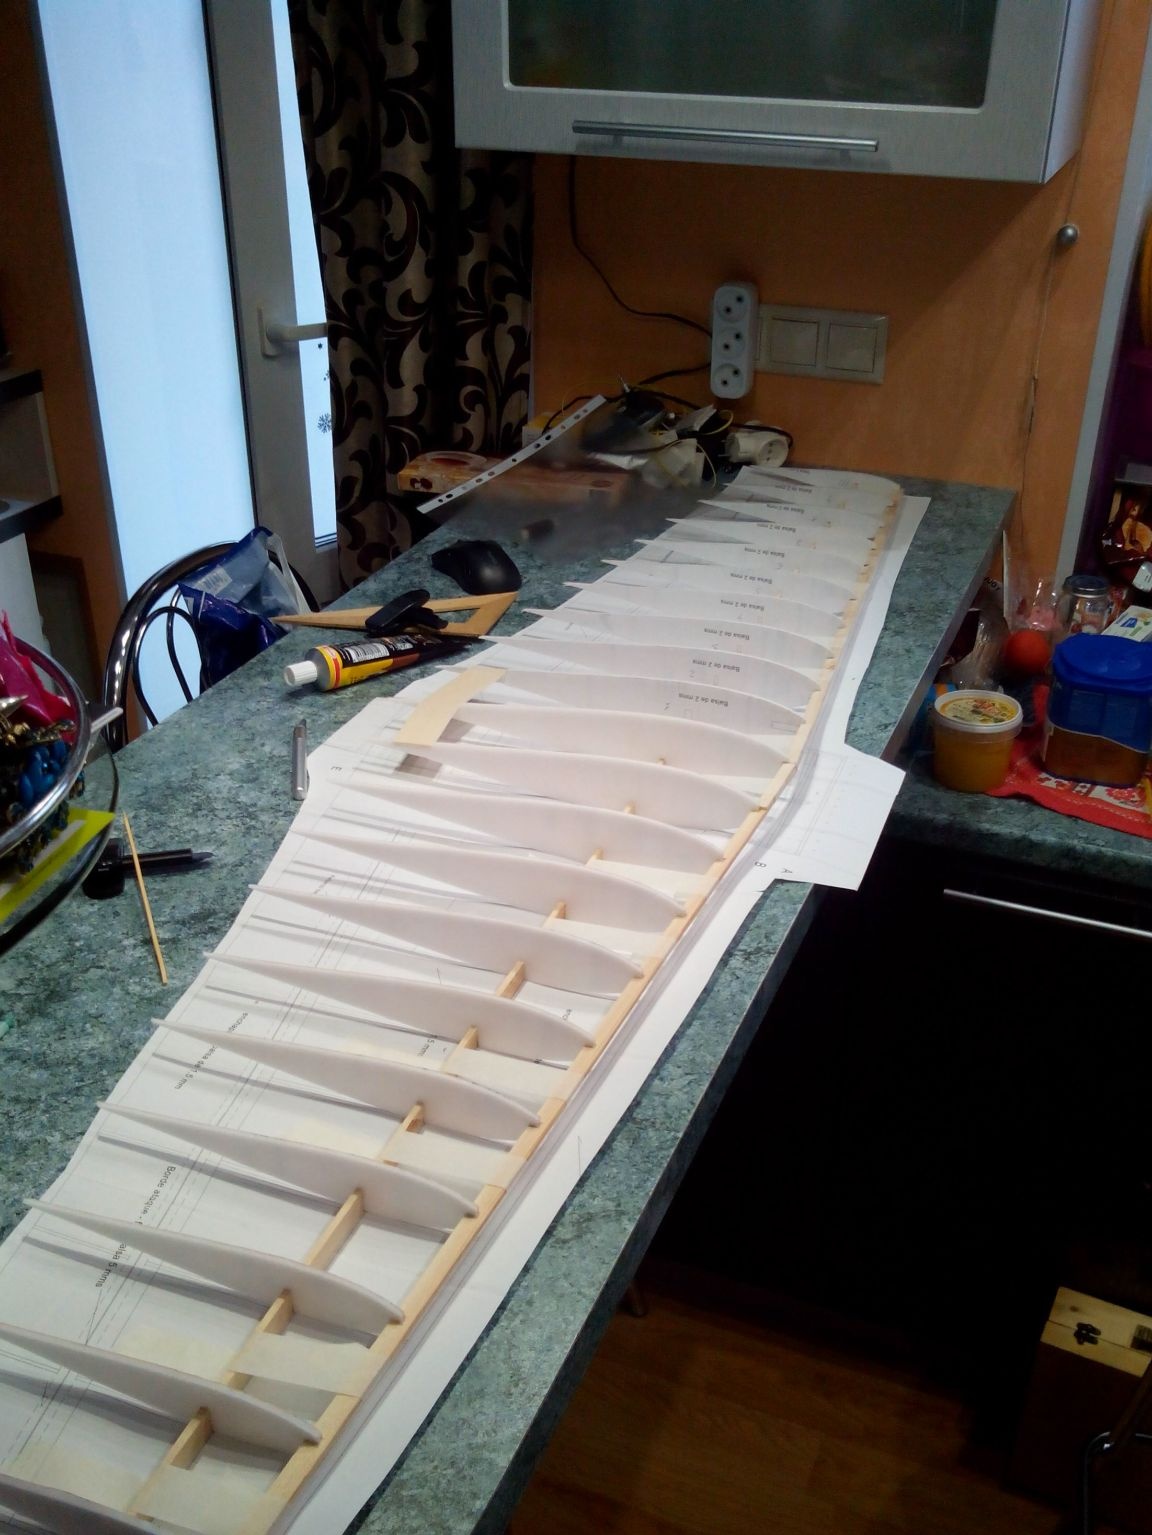
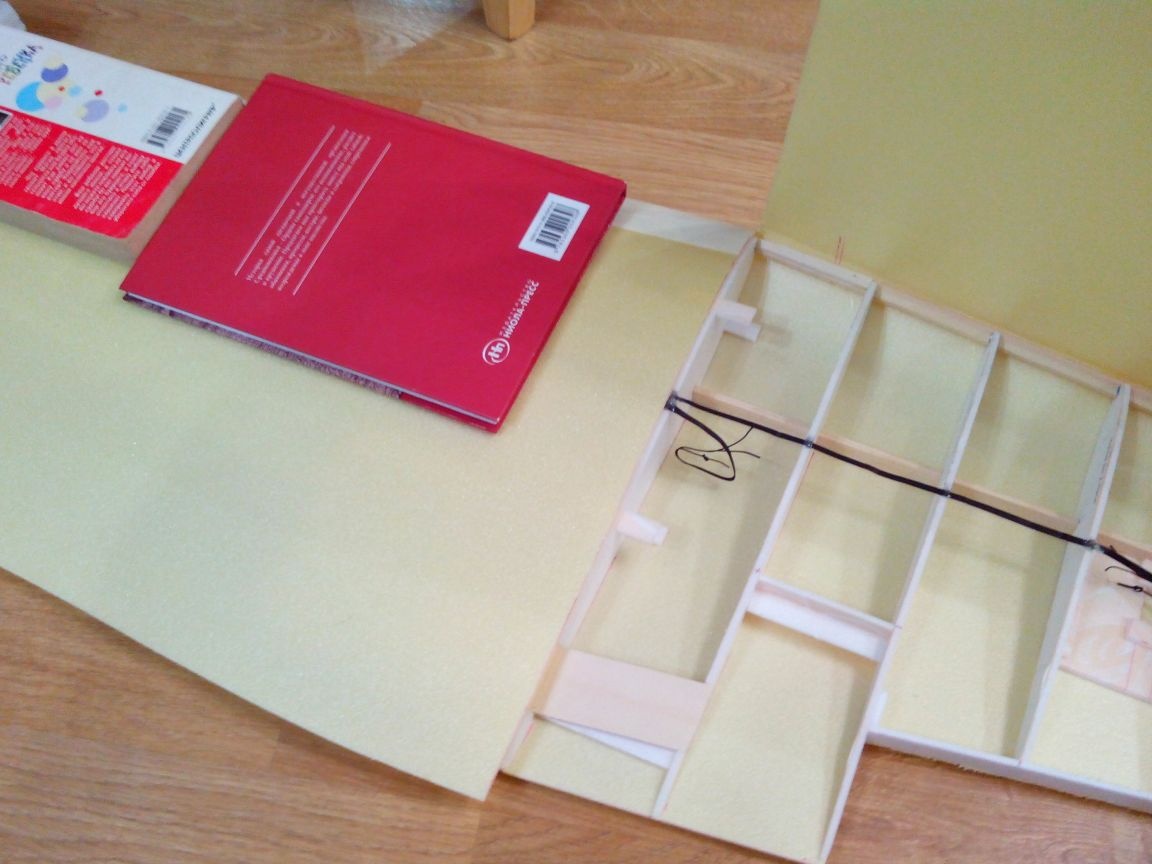
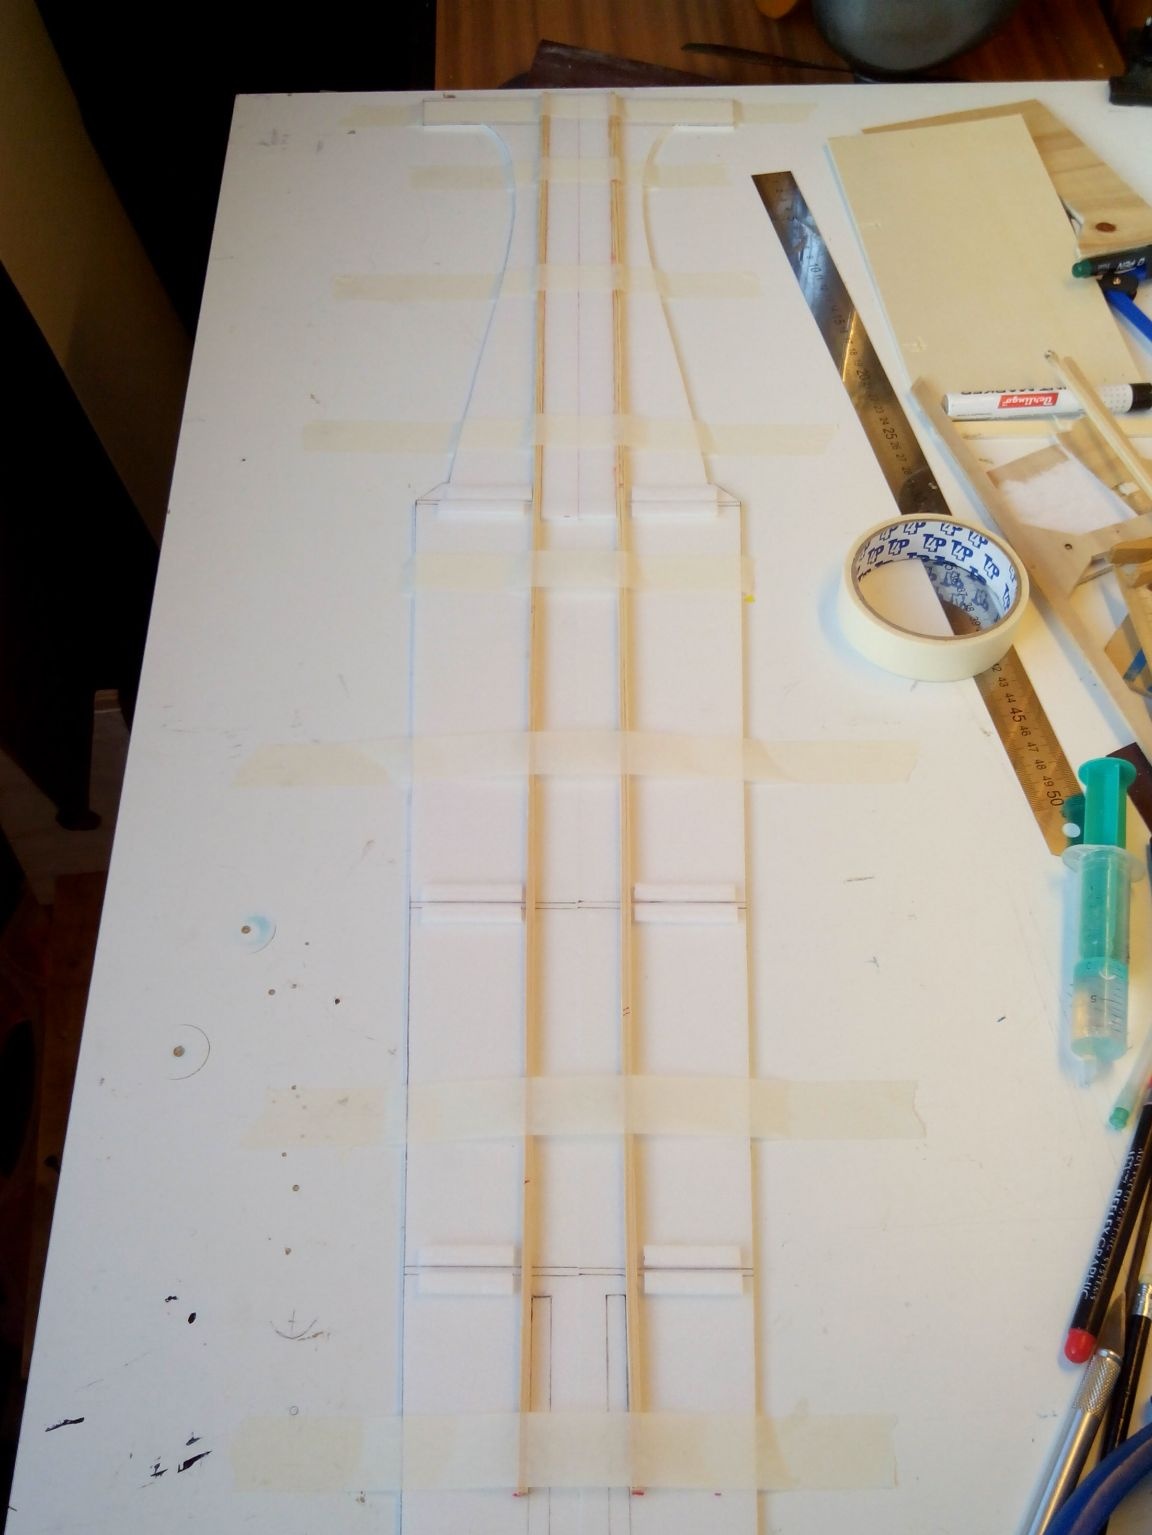
Glue the ribs to the spar.

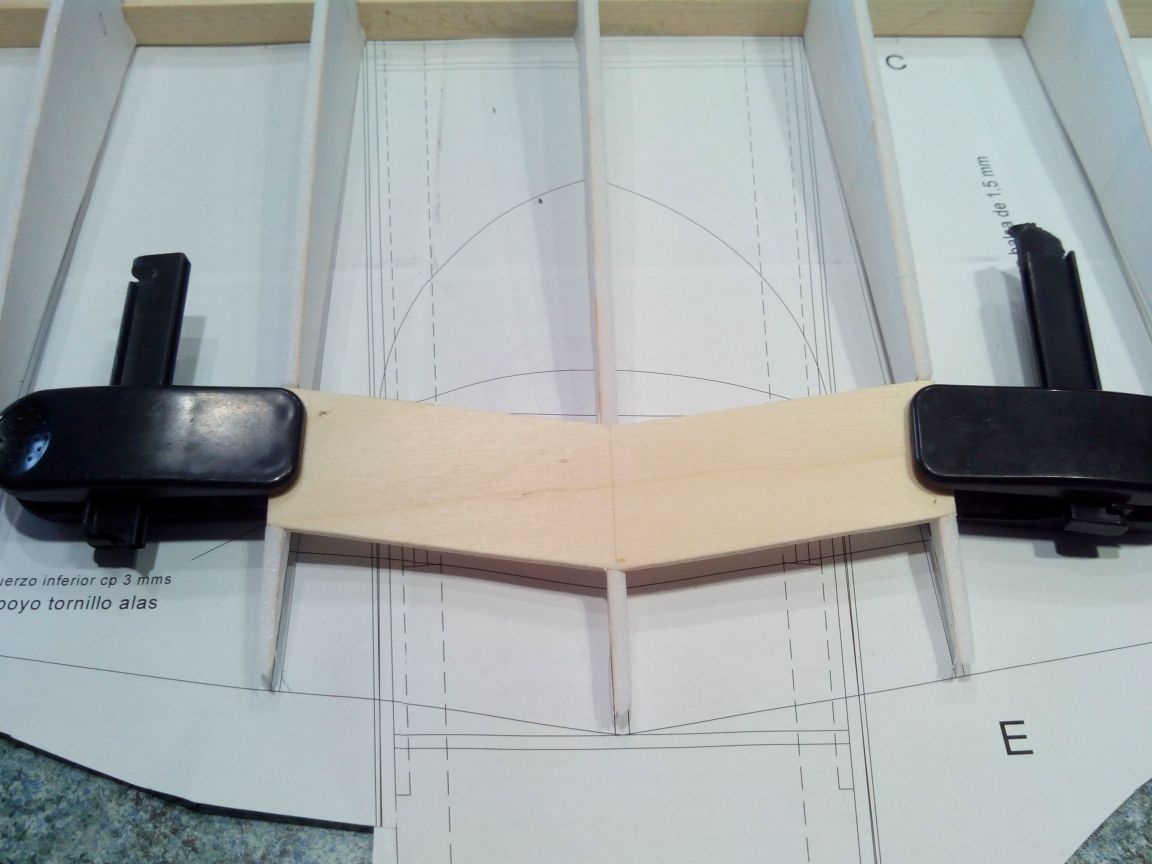
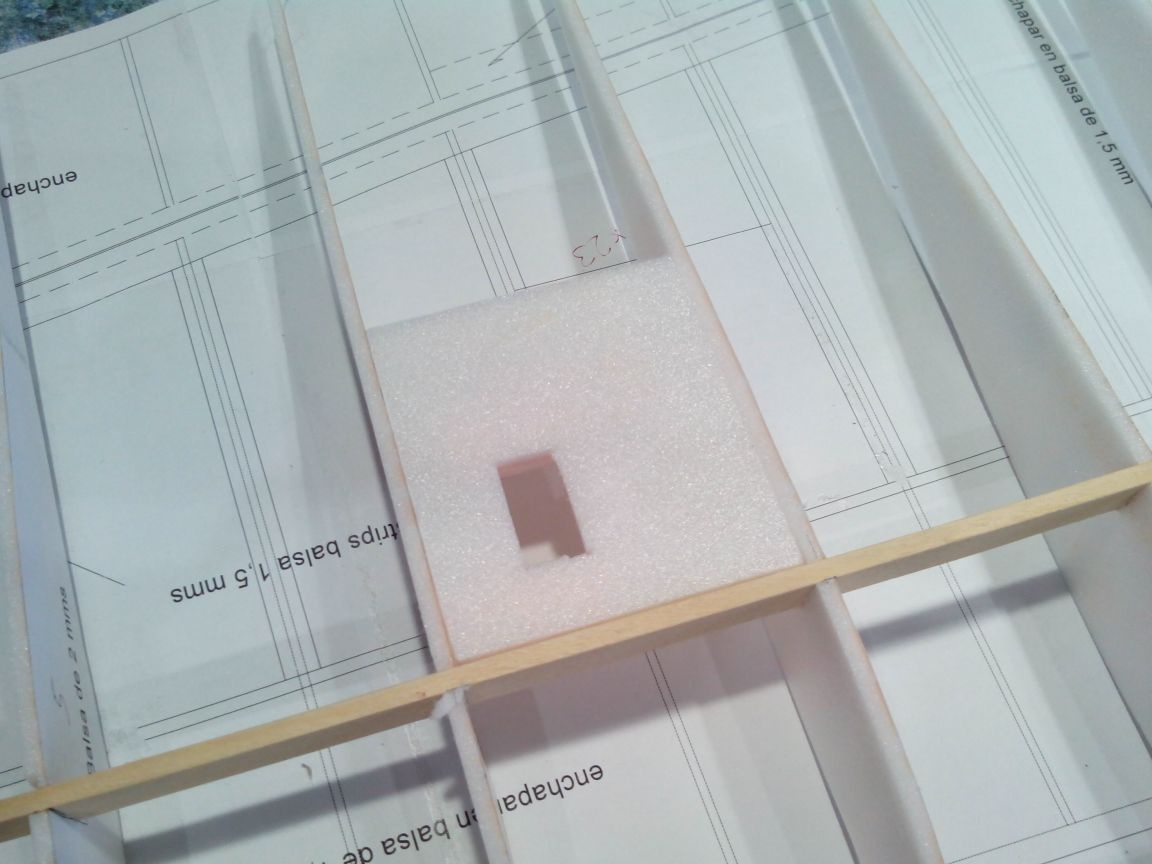
We cut out the plywood pad for the wing mounting screws and glue it.
Glue the front edge.
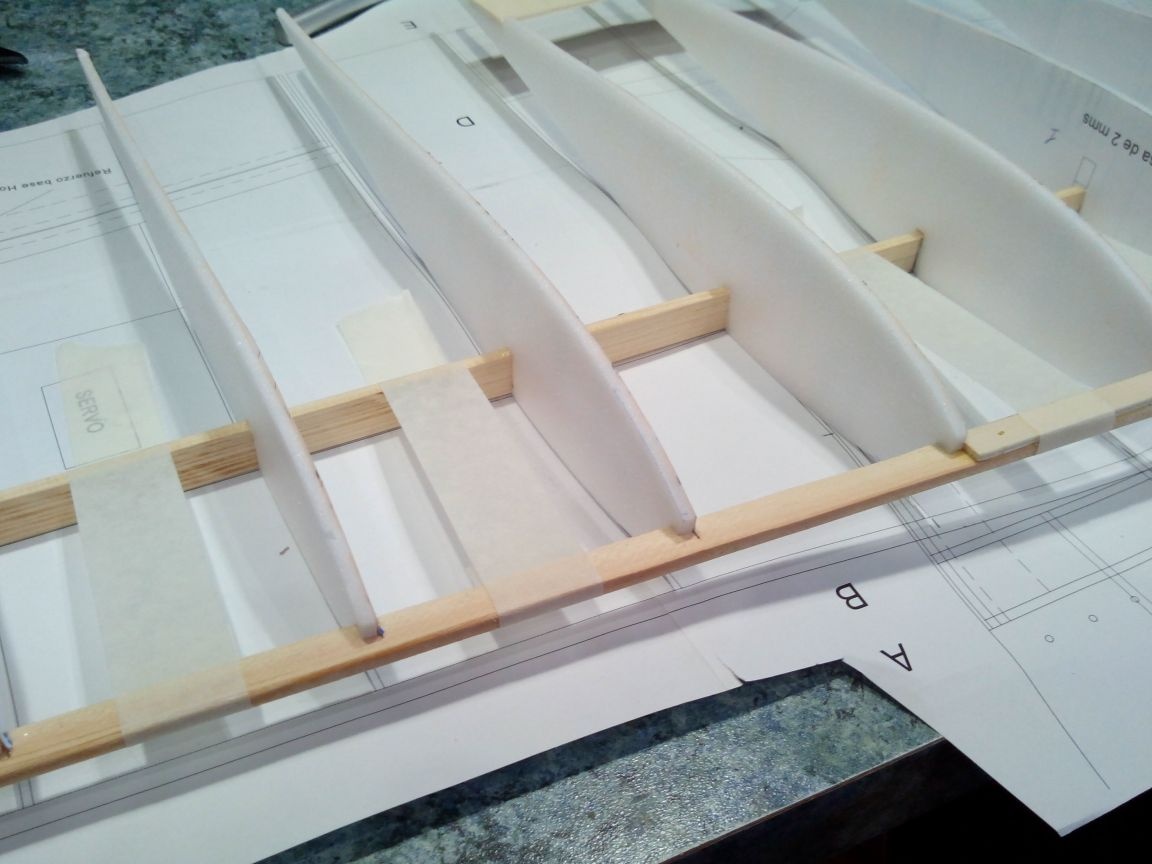
From pieces of ceiling tiles we cut out seats for aileron servos. Can be strengthened with stripes of ceilings or foam.
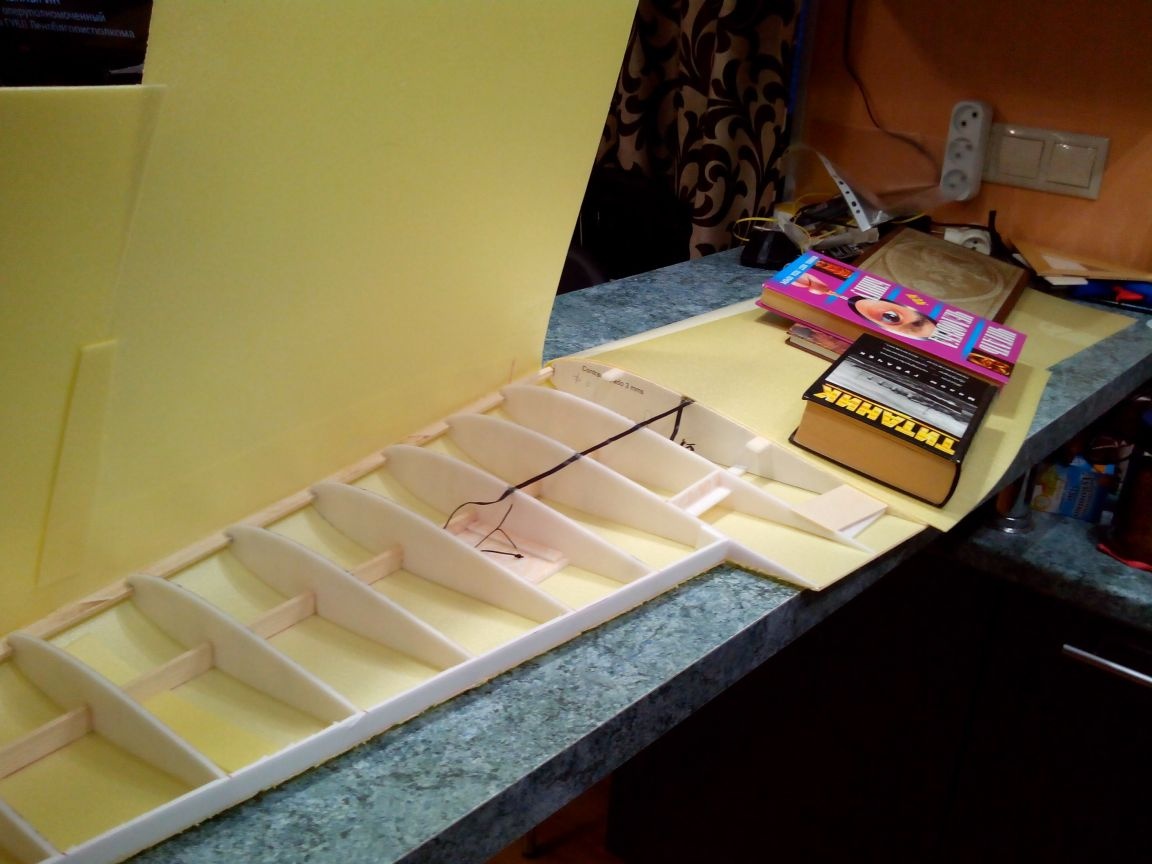
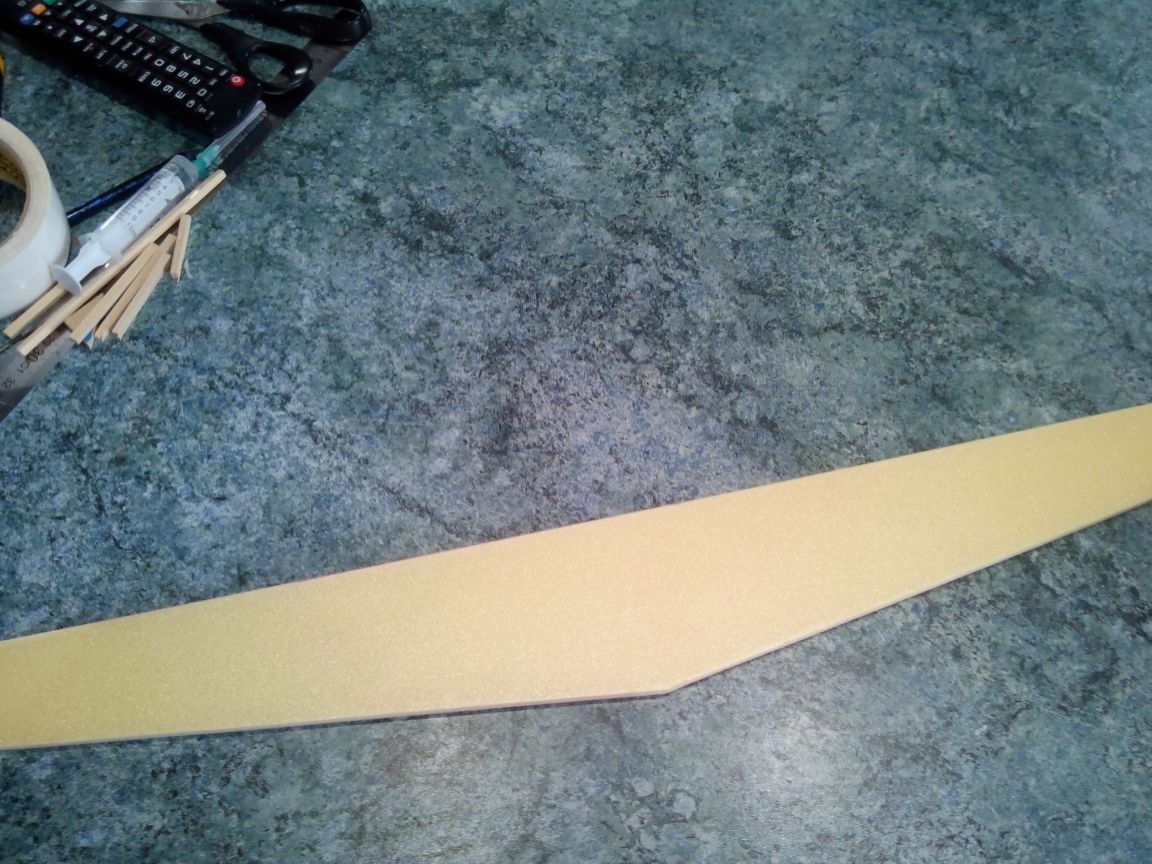
We trim the ends of the ribs by estimating the thickness of the trailing edge from the depron, and glue this edge to the ribs.
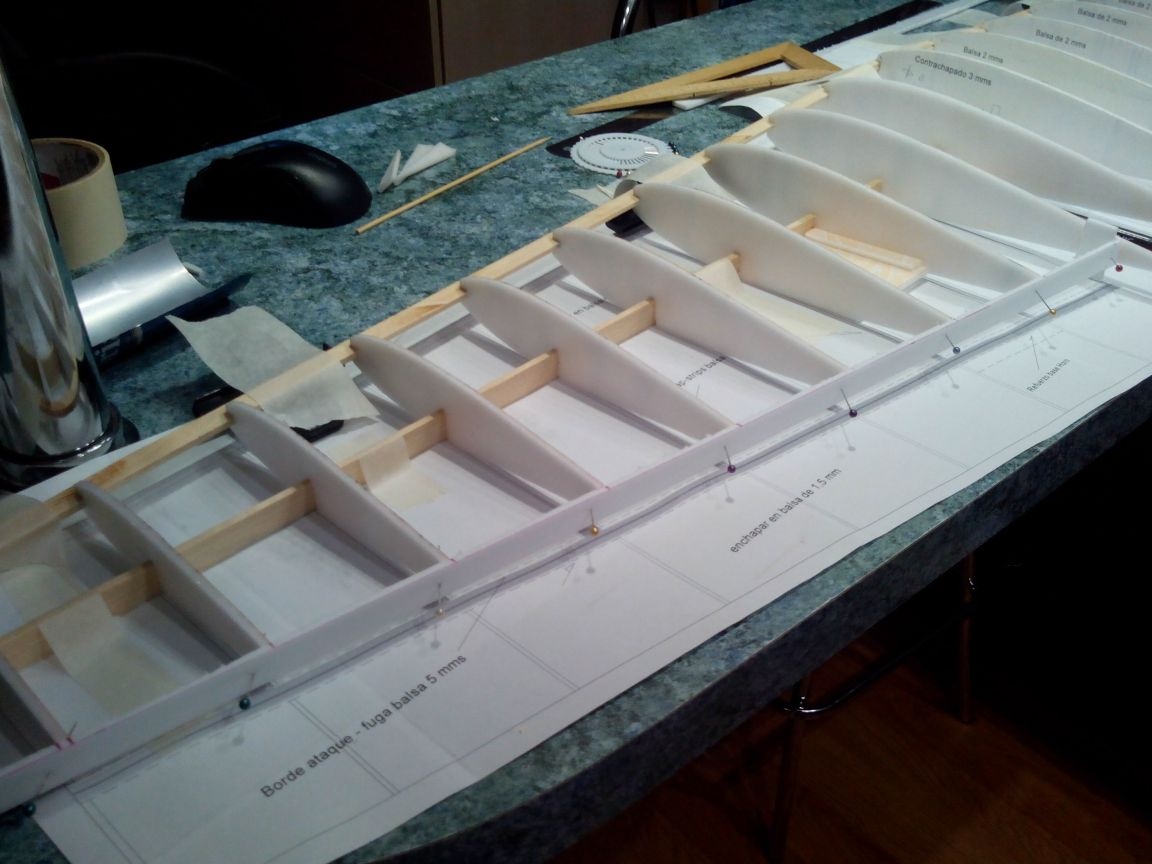
We connect the central ribs to each other with pieces of the ceiling.

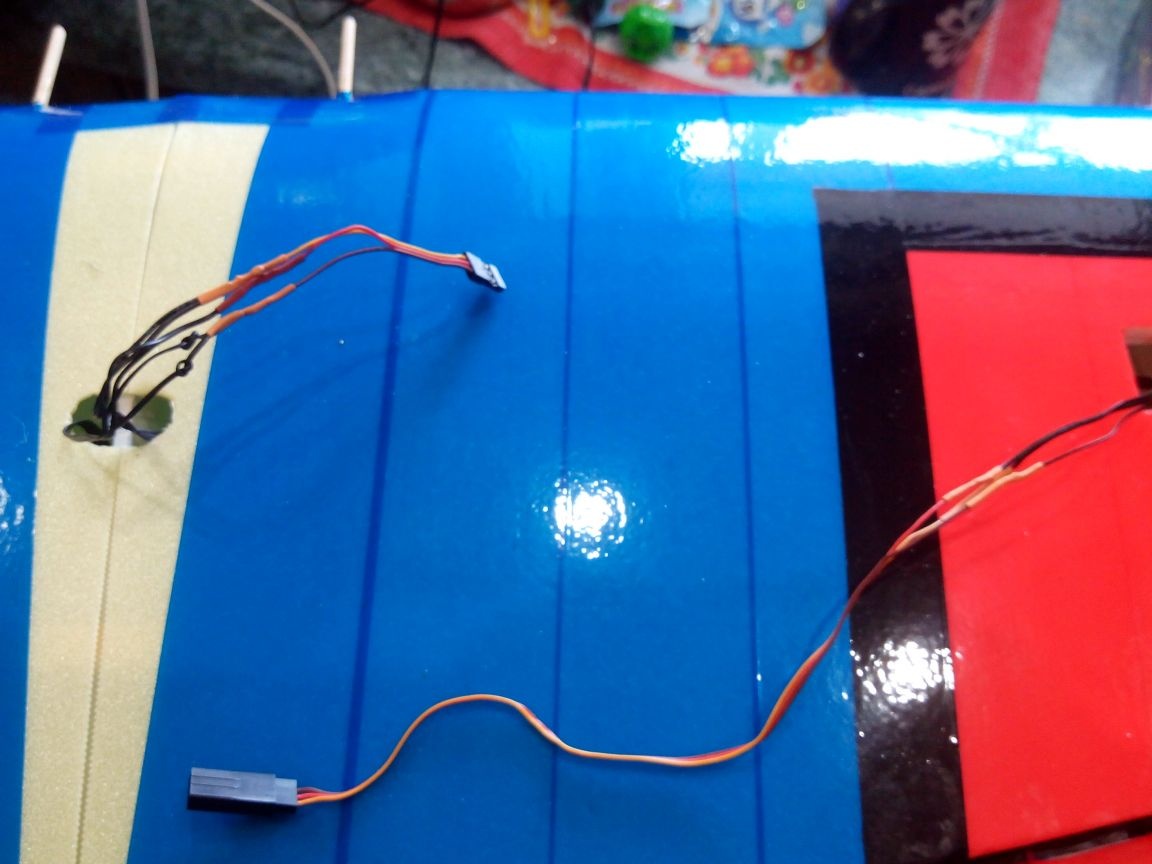
Wires for servos - three cores of a loop from a floppy drive. The connectors at this stage would only interfere, so without them for now.
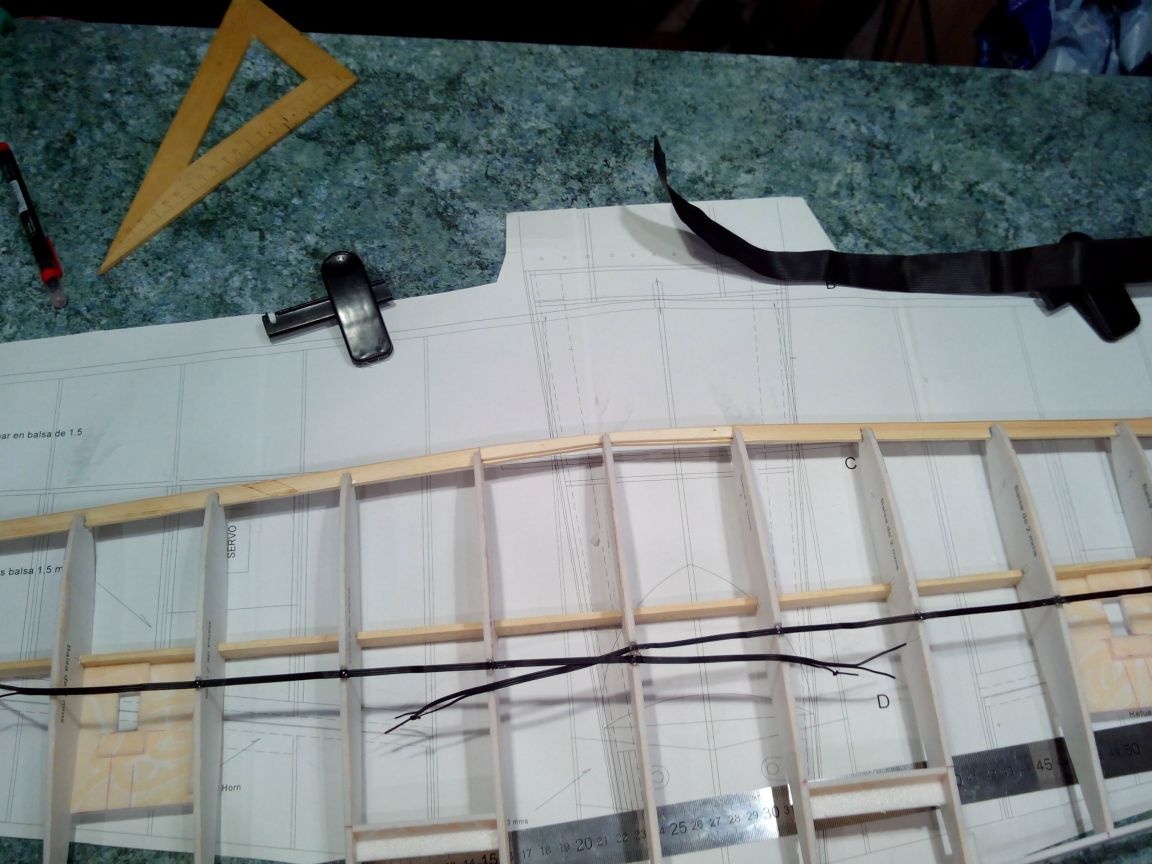
At the leading edge, we make semicircular recesses for the wing mounting pins.
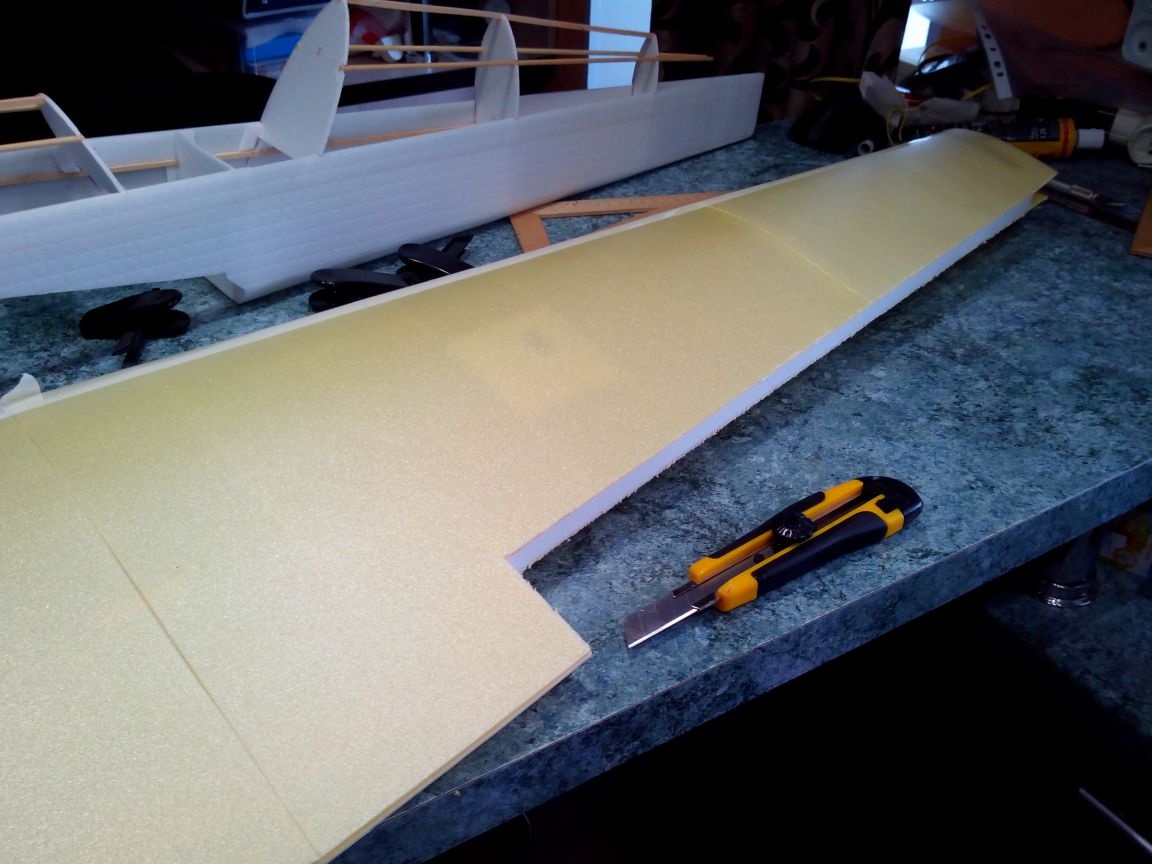
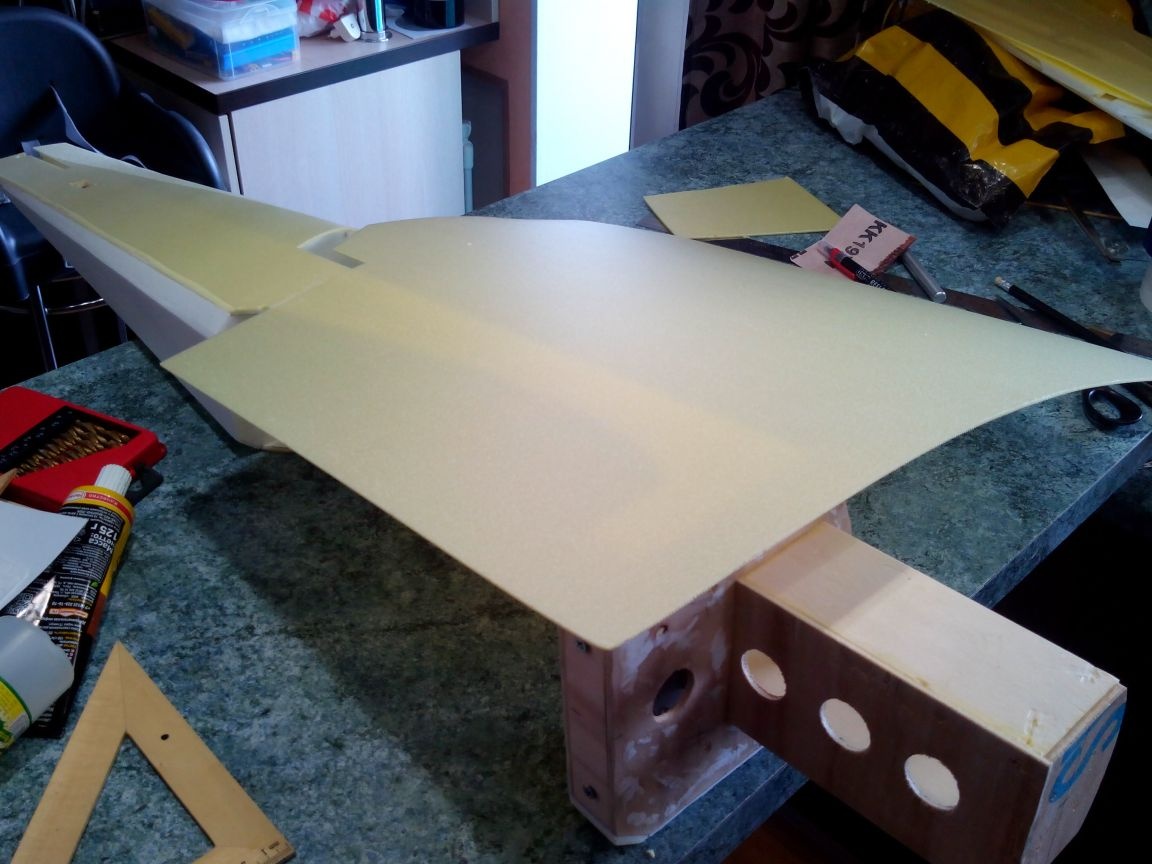
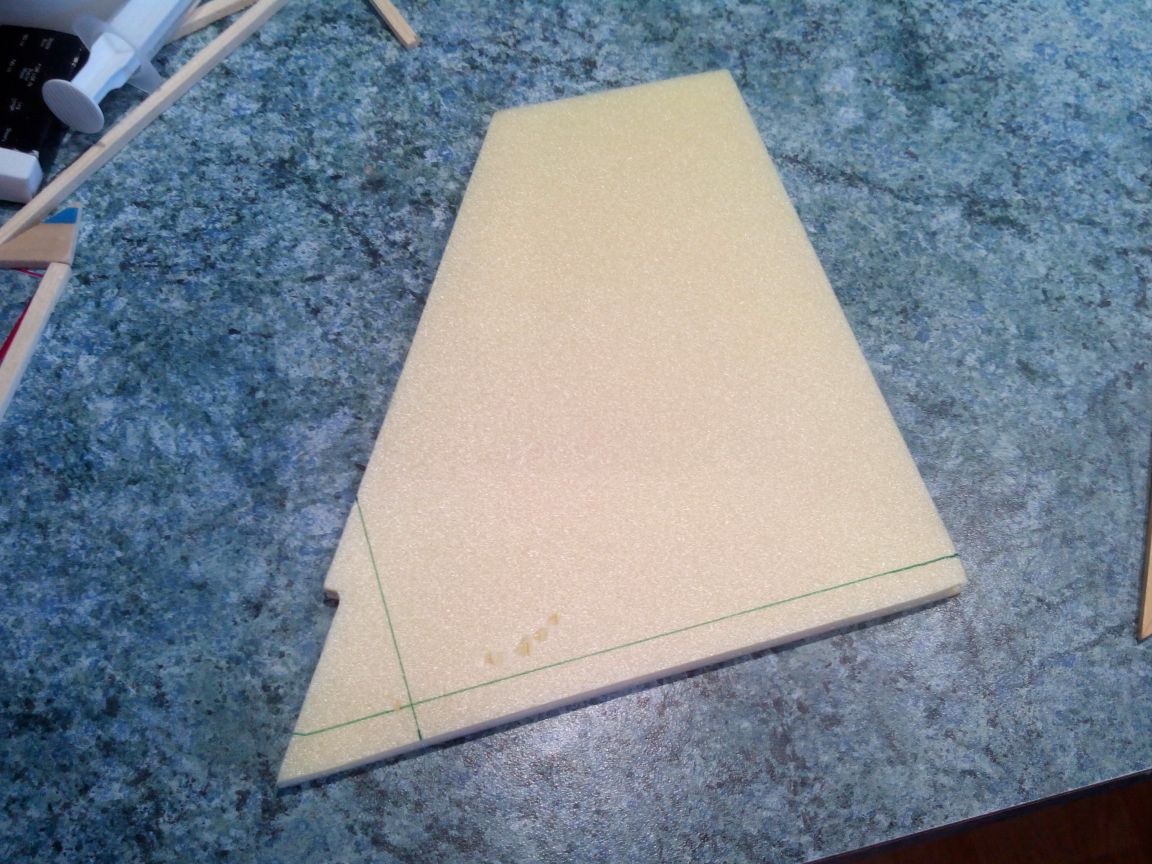
You can go to the wing skin depron.
We lay the sheets of depron on the floor and glue the spar.
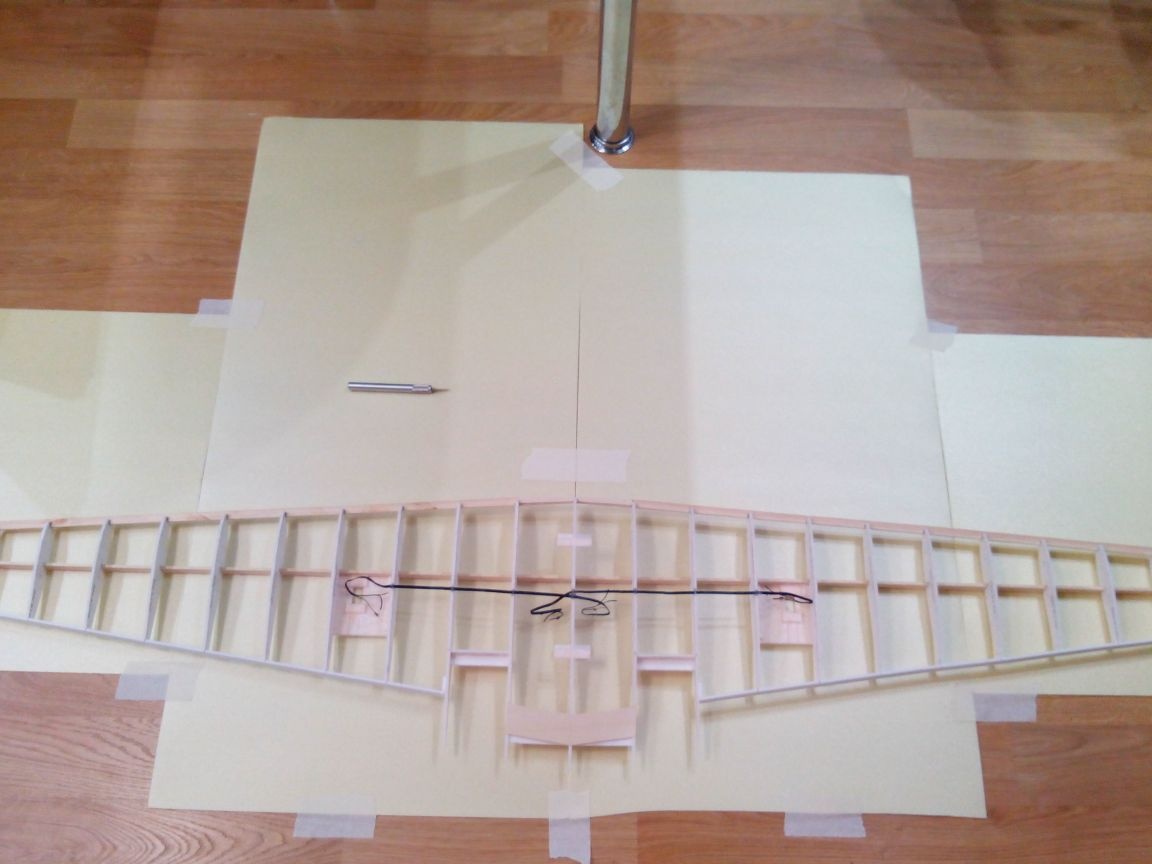
The joints are reinforced with strips of depron.

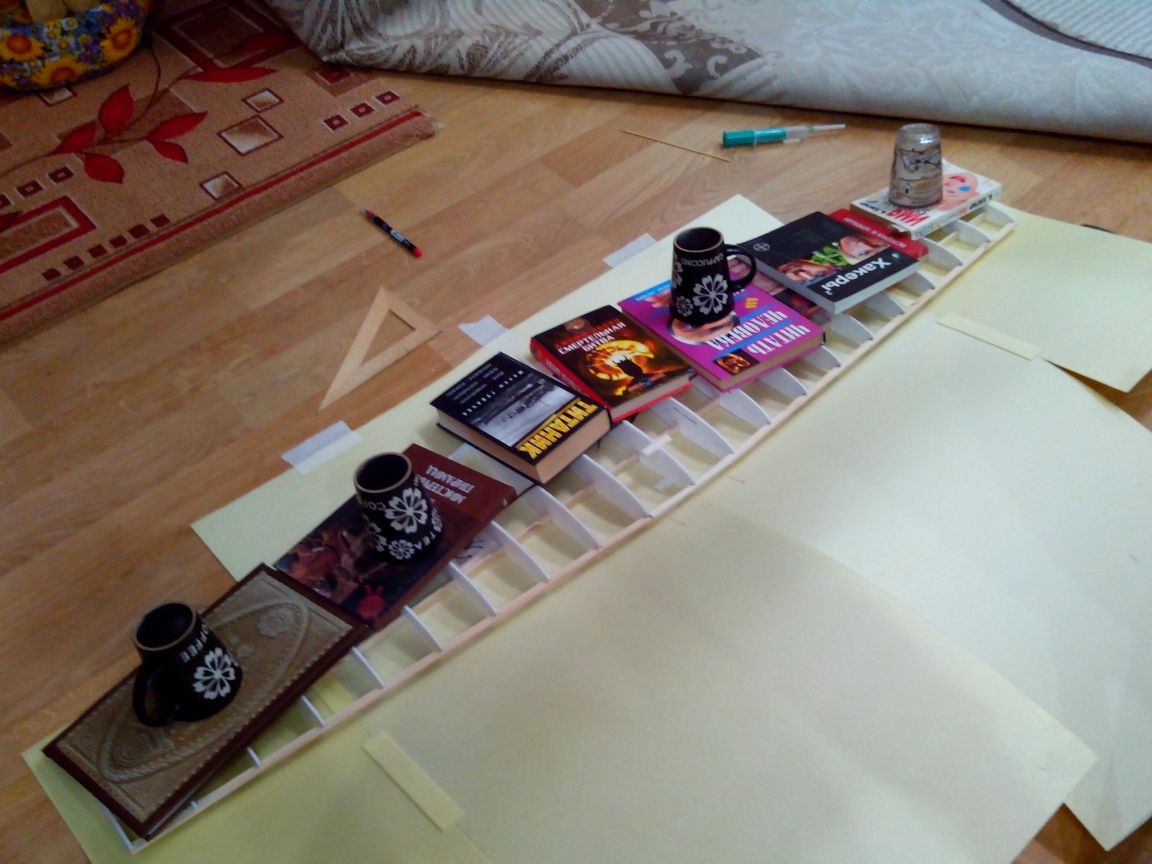
Glue the trailing edge and press with the weight.
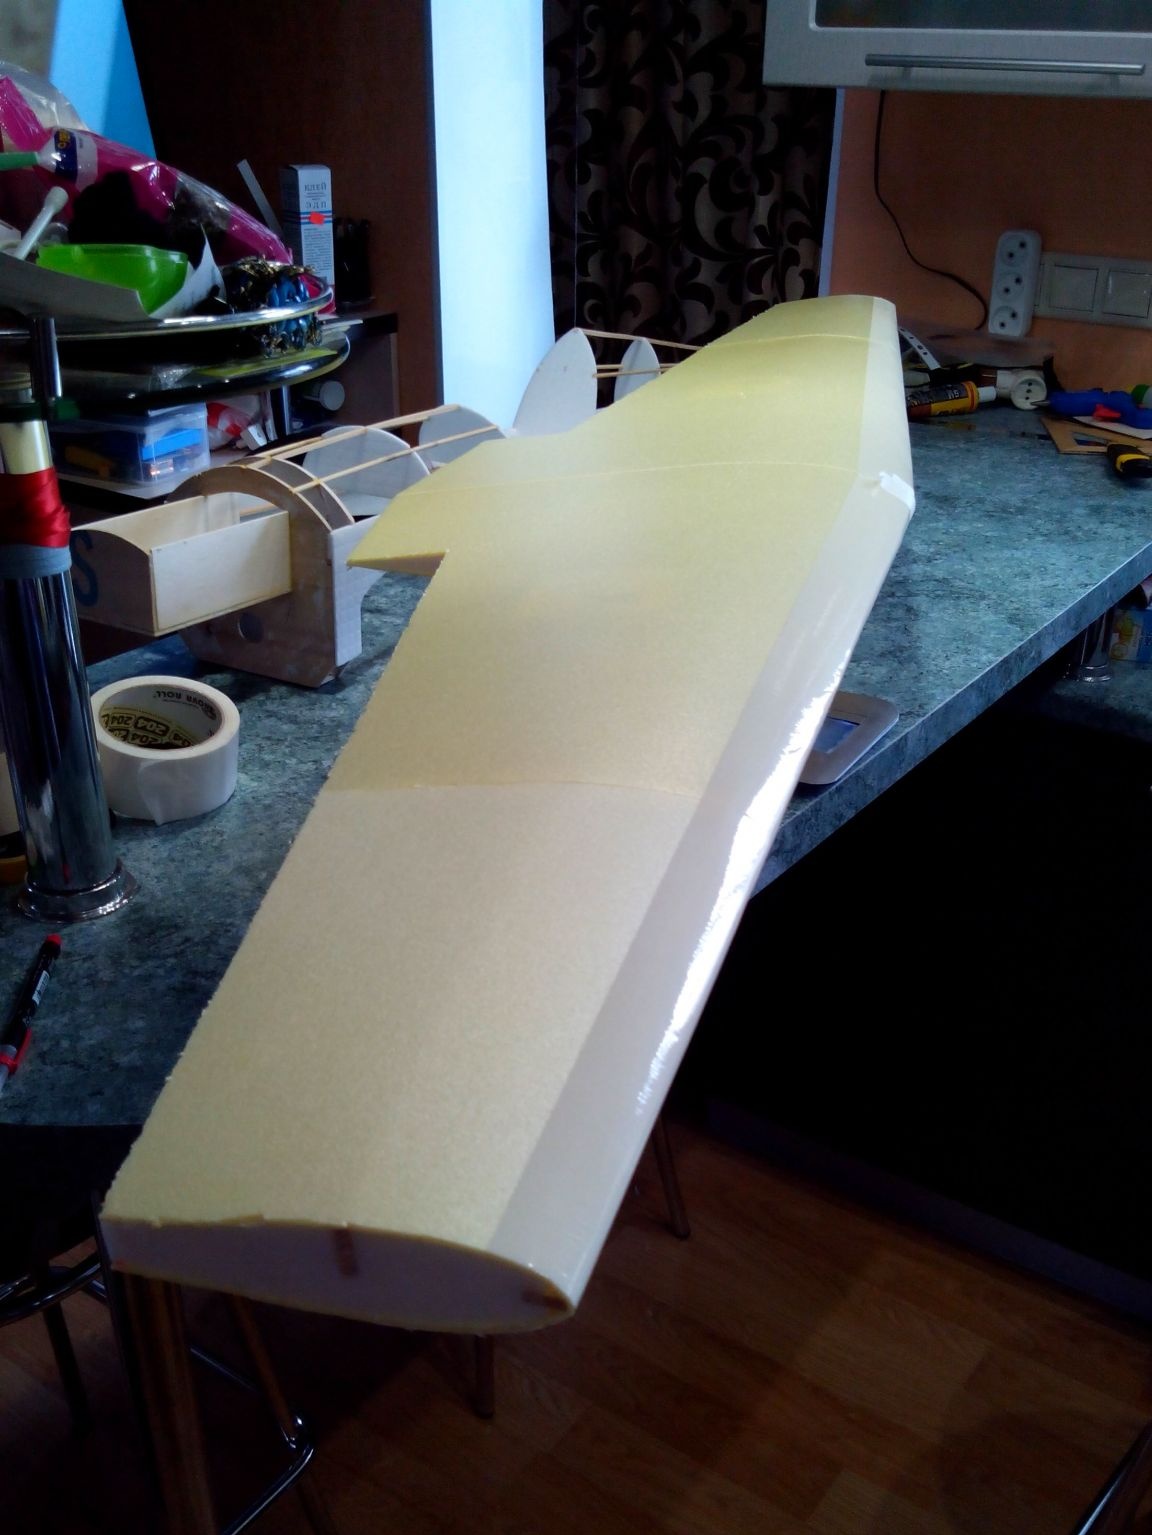
Then glue the depron to the leading edge, bending it a little.
Next, we paste the adhesive tape outside the depron in the area of the forehead.
We bend the depron, press it with the weight and cut off along the central rib.
We also cut the depron on the second half of the wing.
Glue the casing to the ribs and edges and under the press.
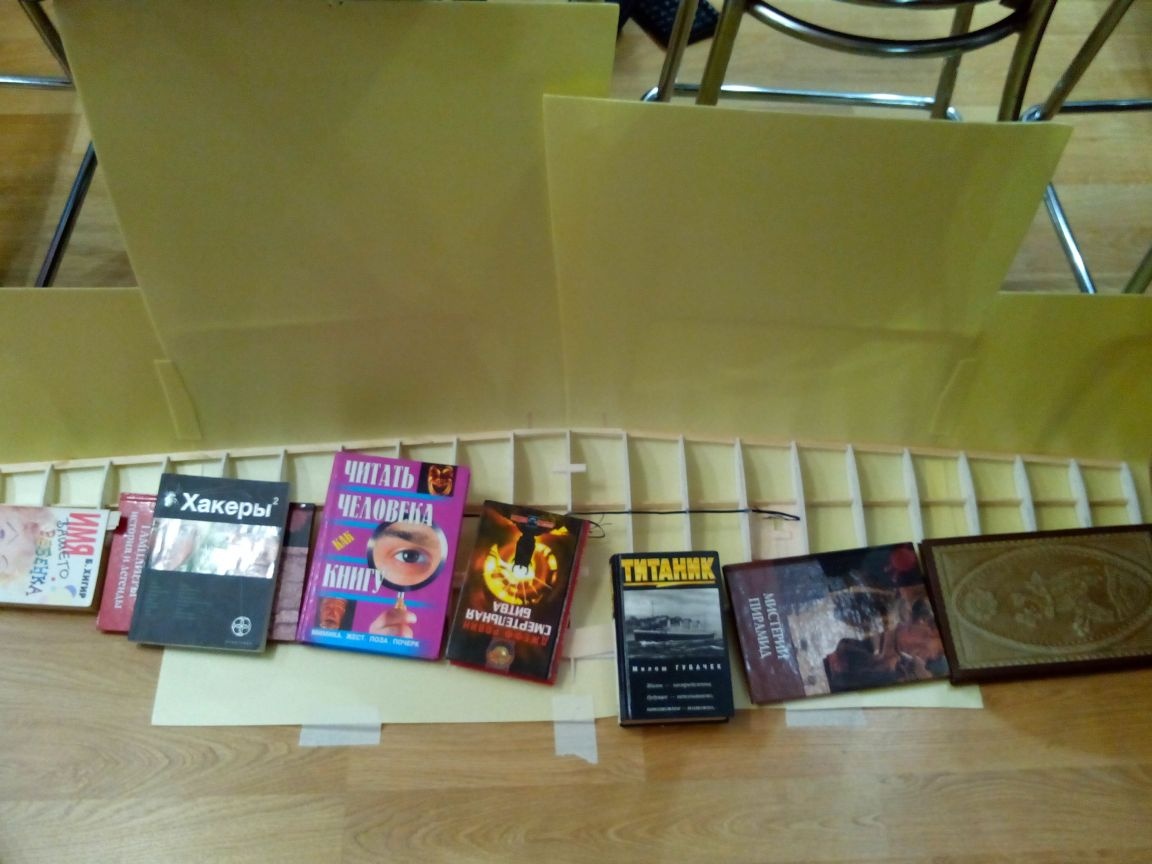
After the glue dries, we cut off the unnecessary and skins.
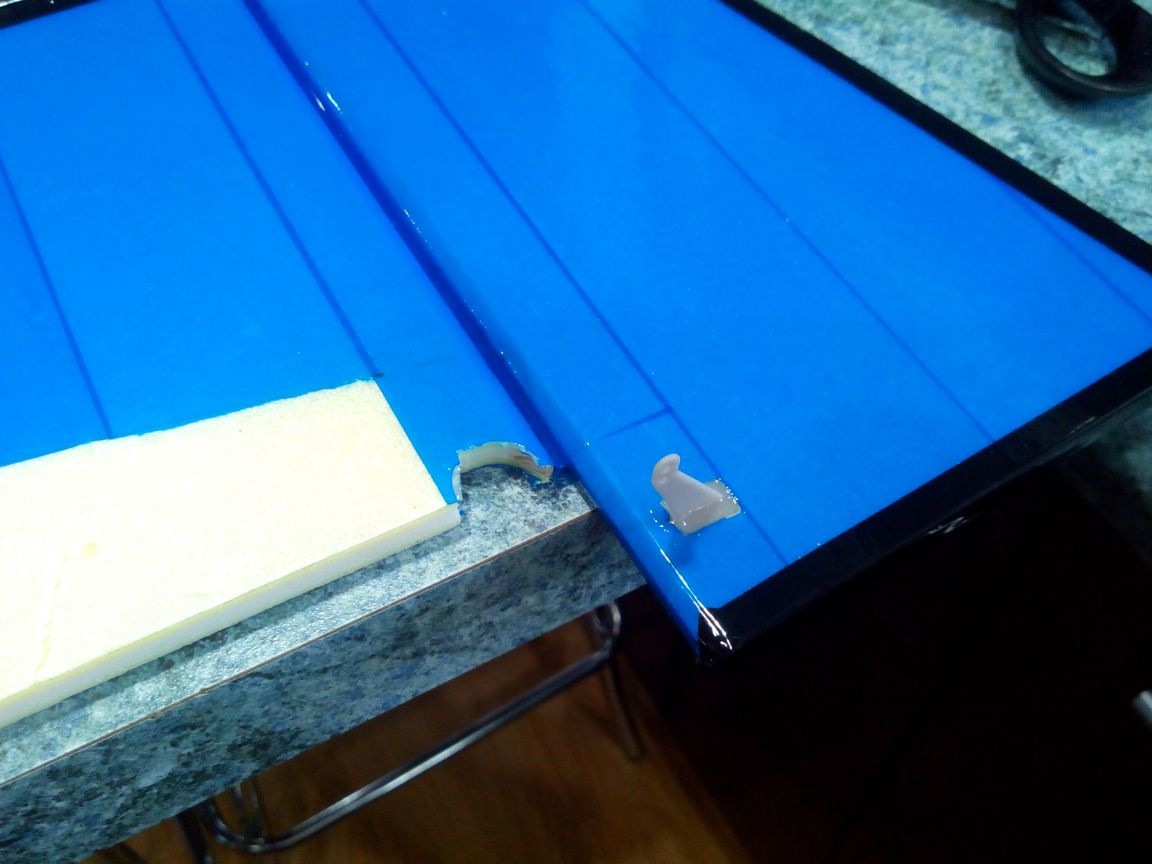
Getting to the manufacture of ailerons. Cut strips from the depron and sand the edges at an angle. Then we make loops of thin plastic and staples from the stapler.
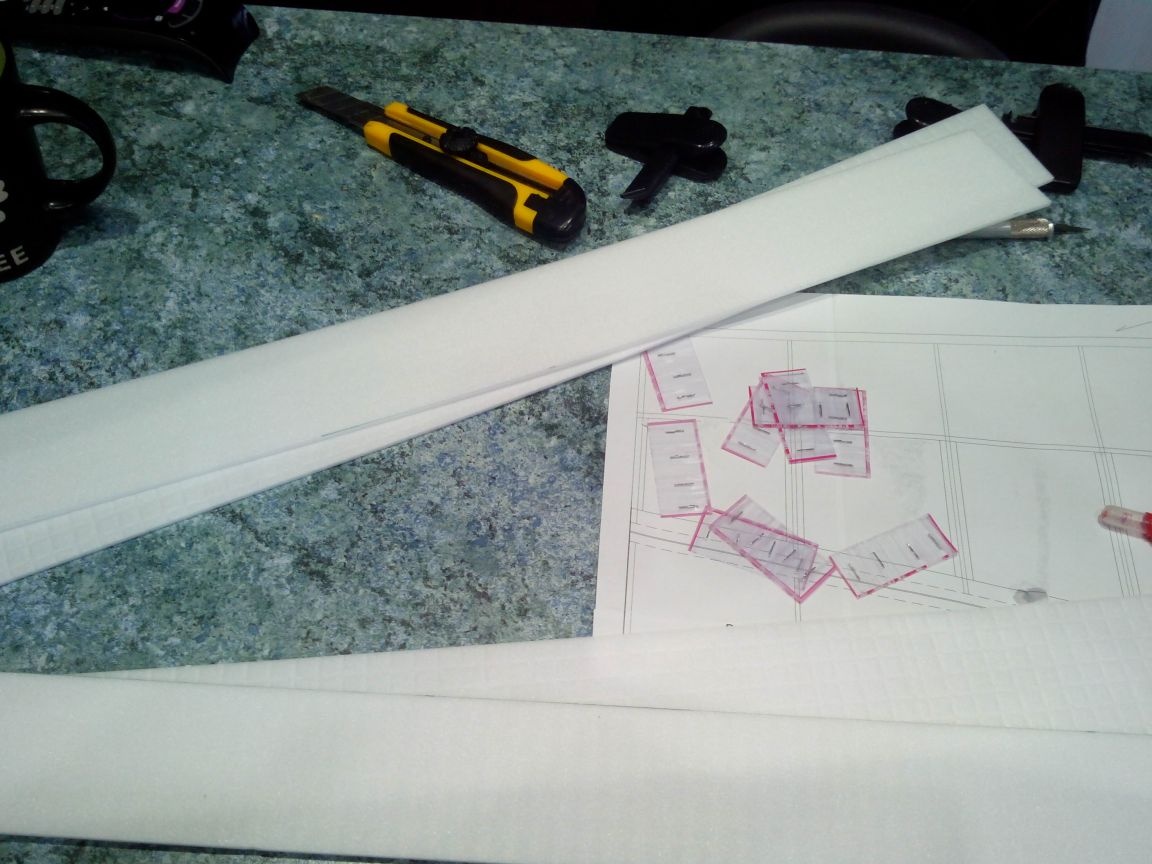
According to the drawing, we mark the places for the loops, in the area of the ribs.
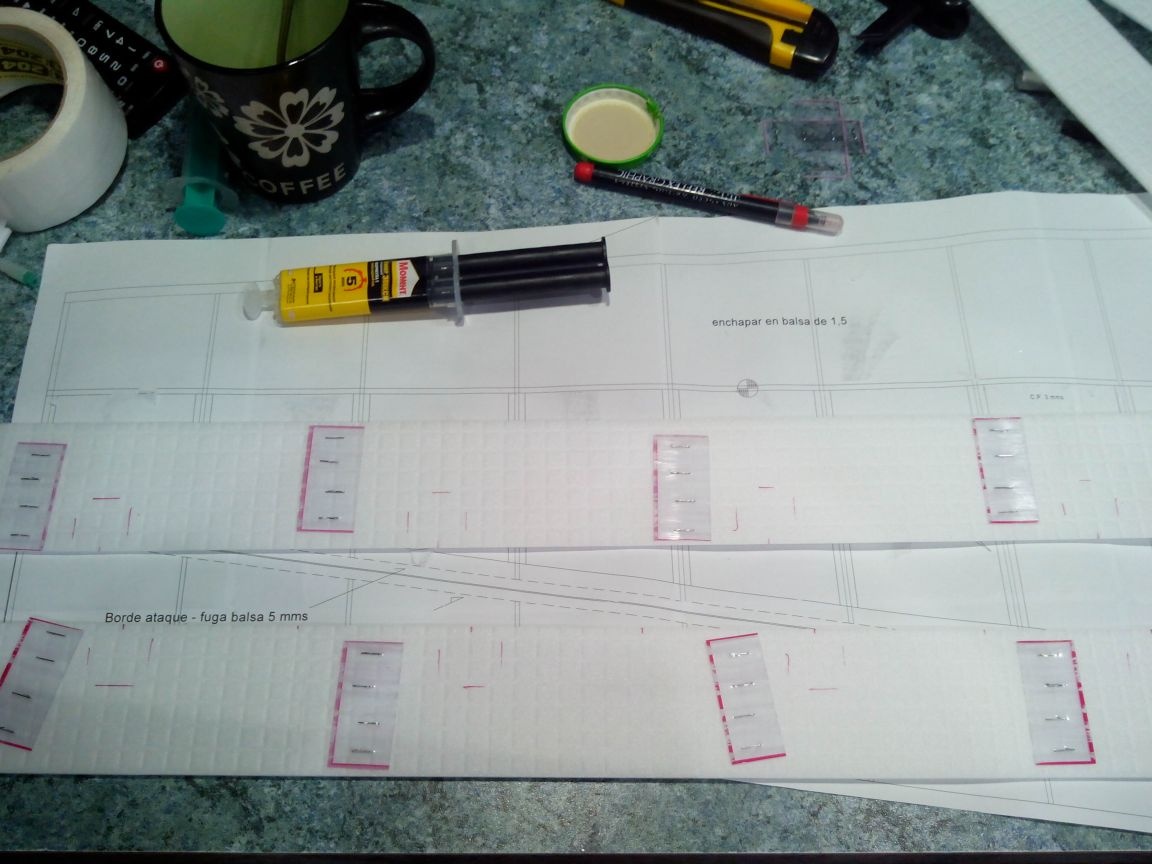
Glue the hinges with epoxy glue to the half of the aileron and fix it with tape.
We glue the second half of the aileron with glue for the ceiling.
On both sides of the ailerons glue the depron, which is sheathed wing.
Ready ailerons can be set aside until the wing is pasted with tape.
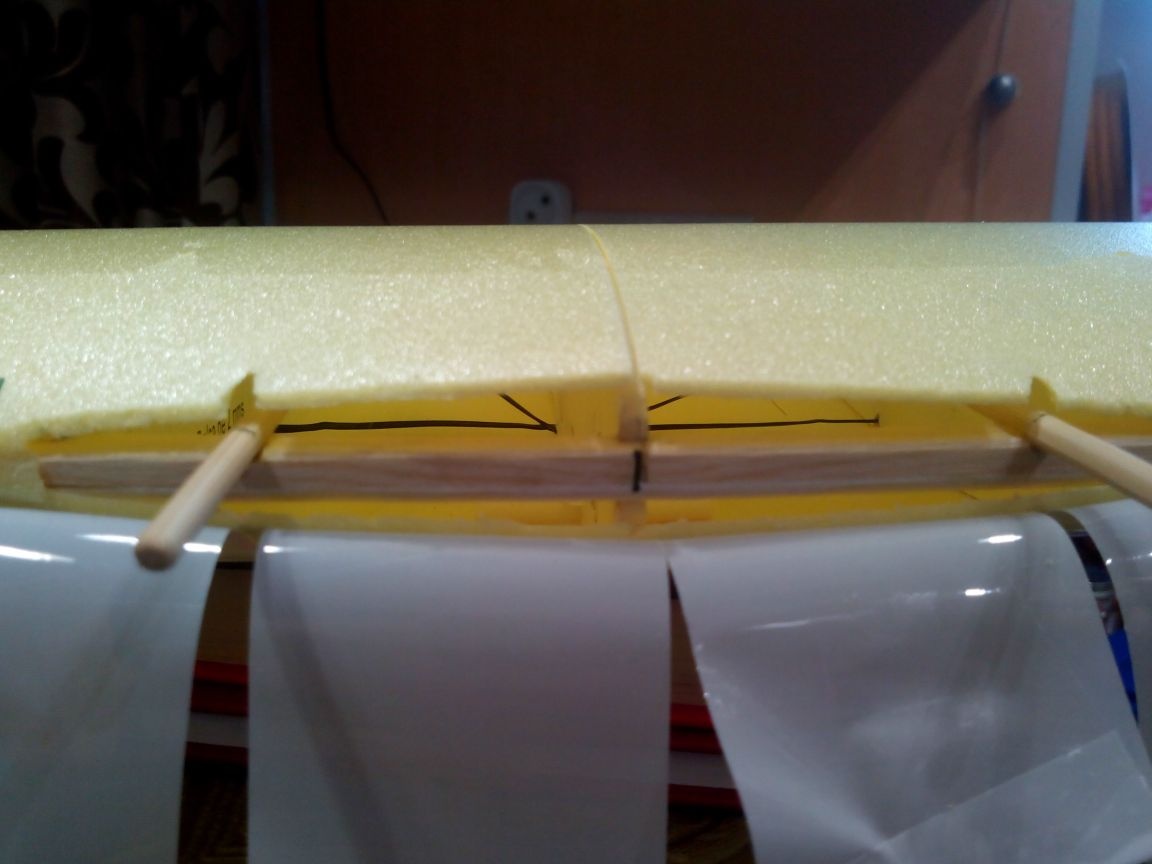
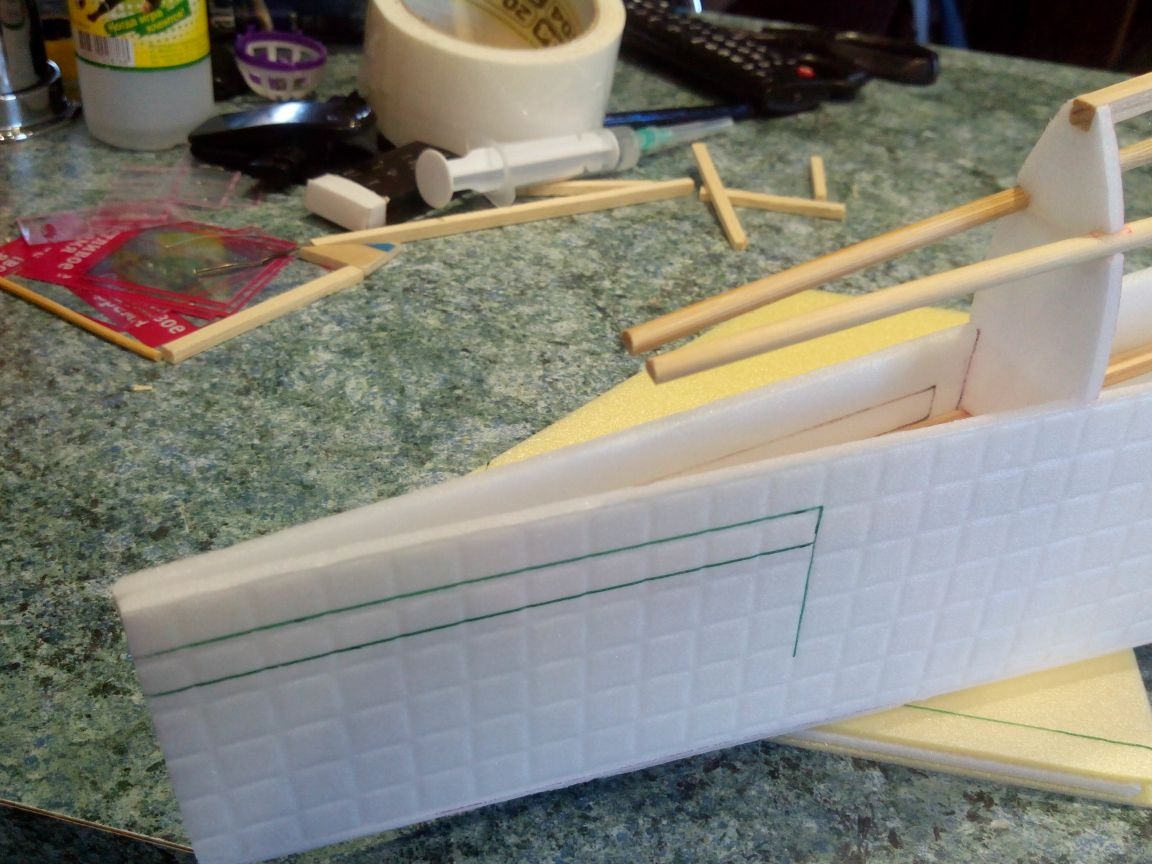
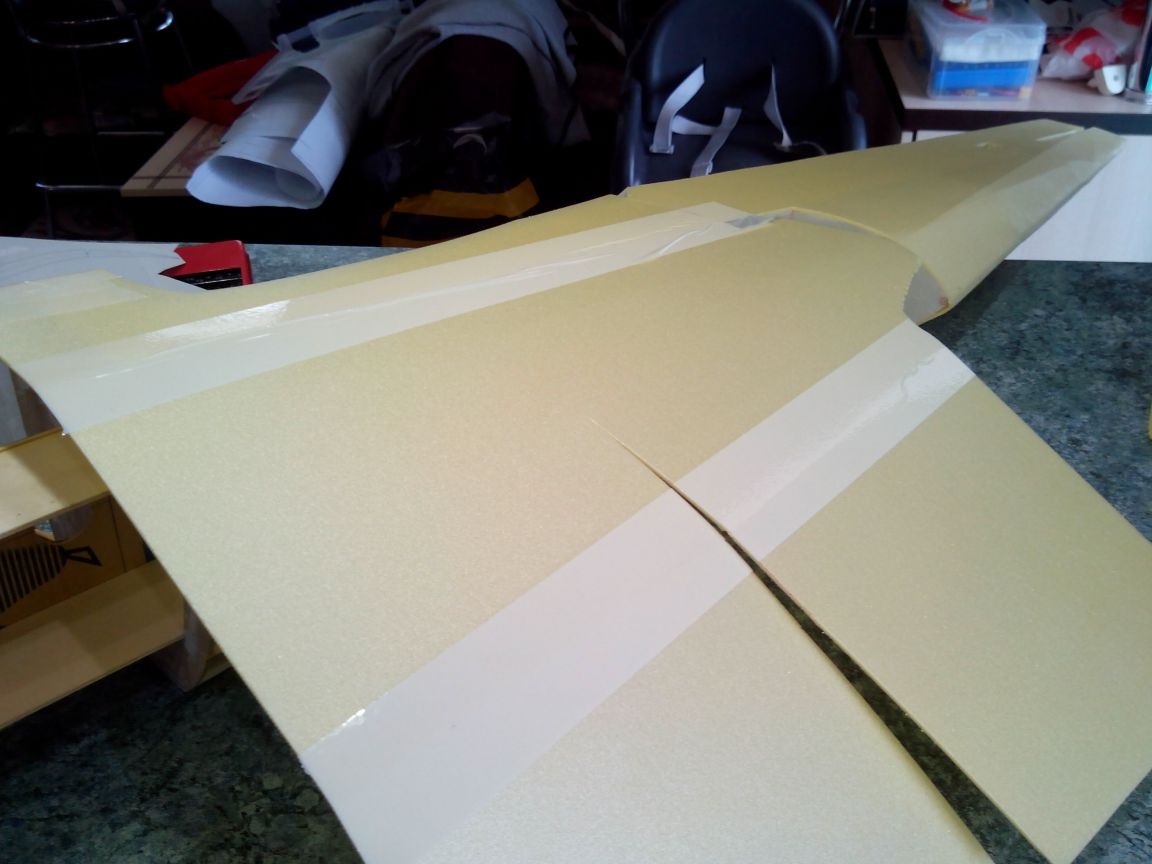
The wing trim is slightly incised in the central part, we paste the pins from bamboo skewers. They should protrude 4 cm and reach the spar.
Then we glue the skin with epoxy and make a cutout in the back so that the wing fits into the fuselage. At the same time, you can make holes for servos and wires in the center.
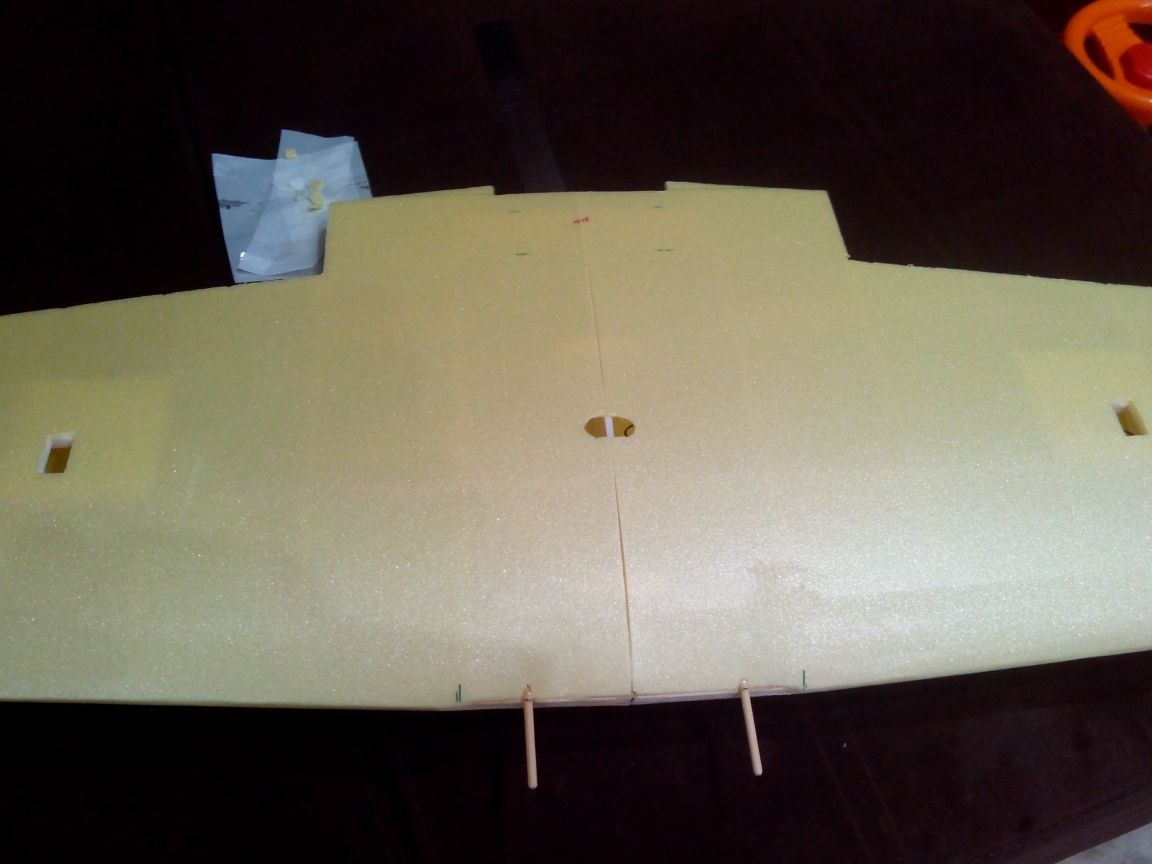
Endings from Depron.
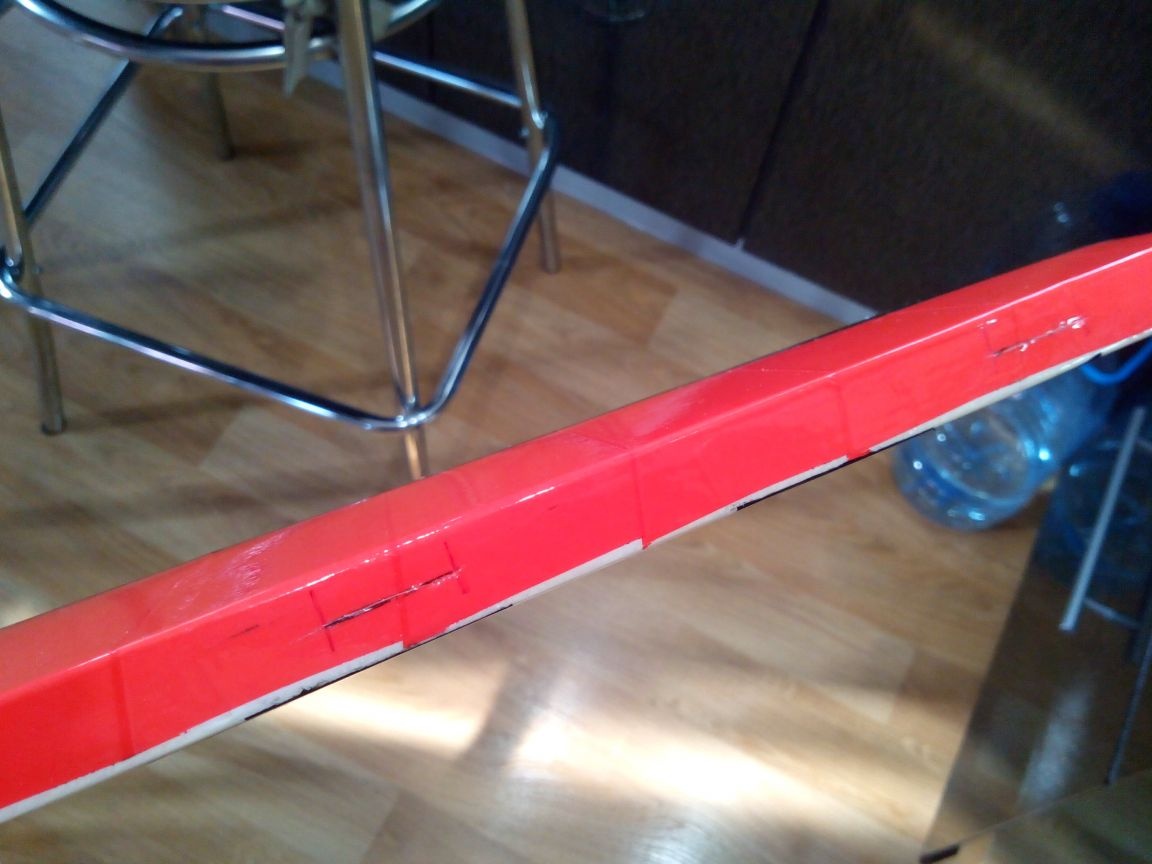
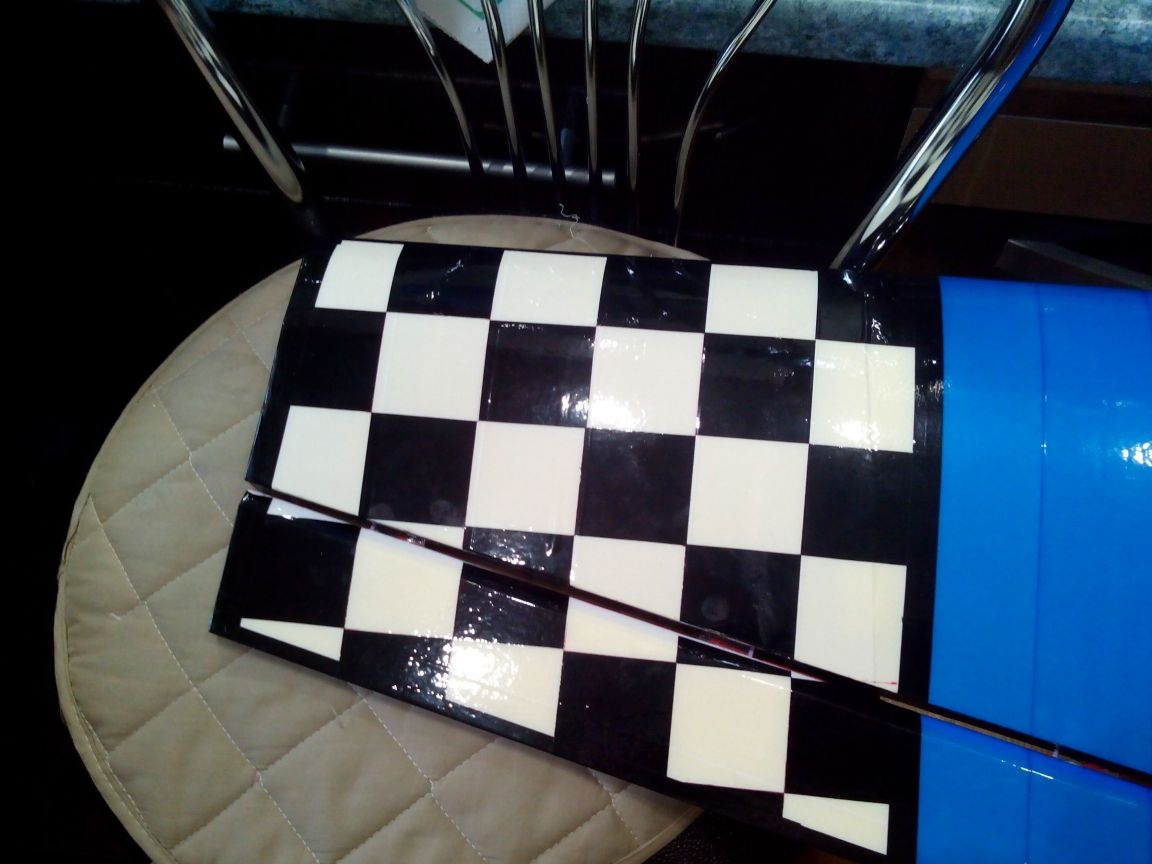
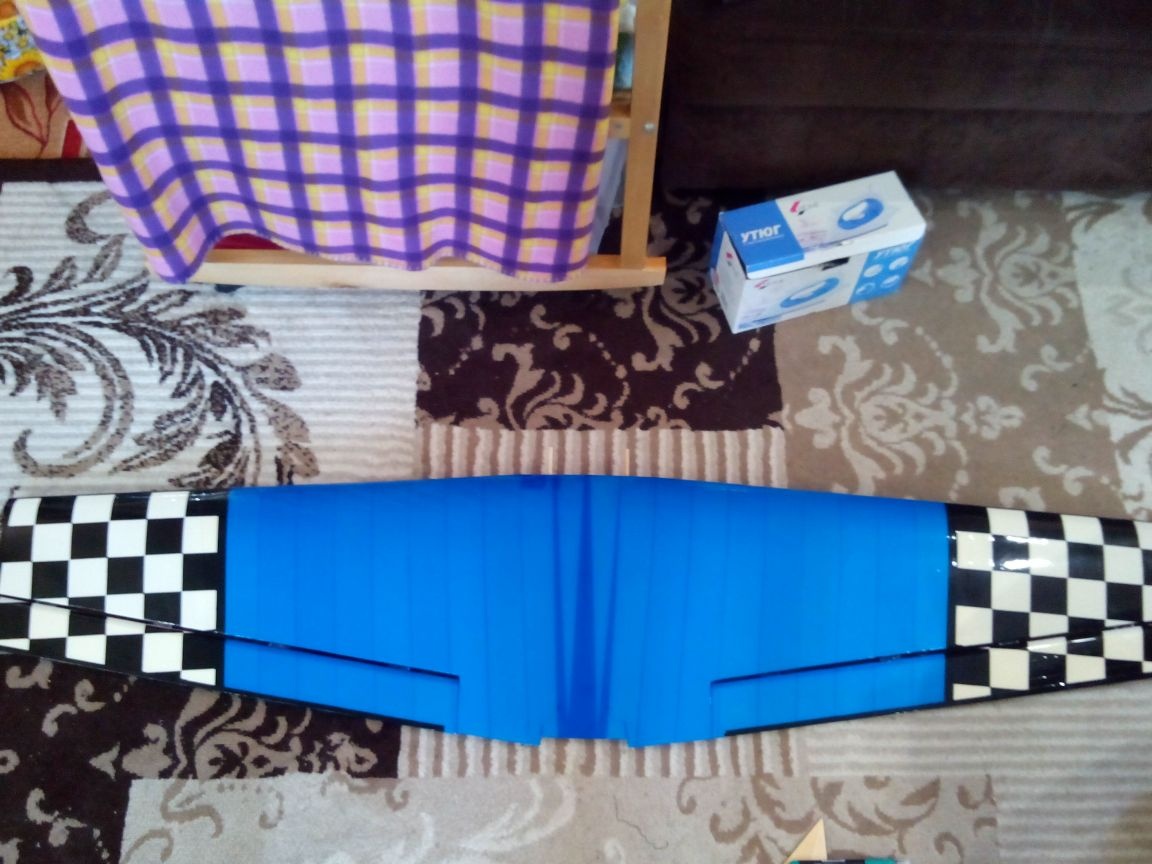
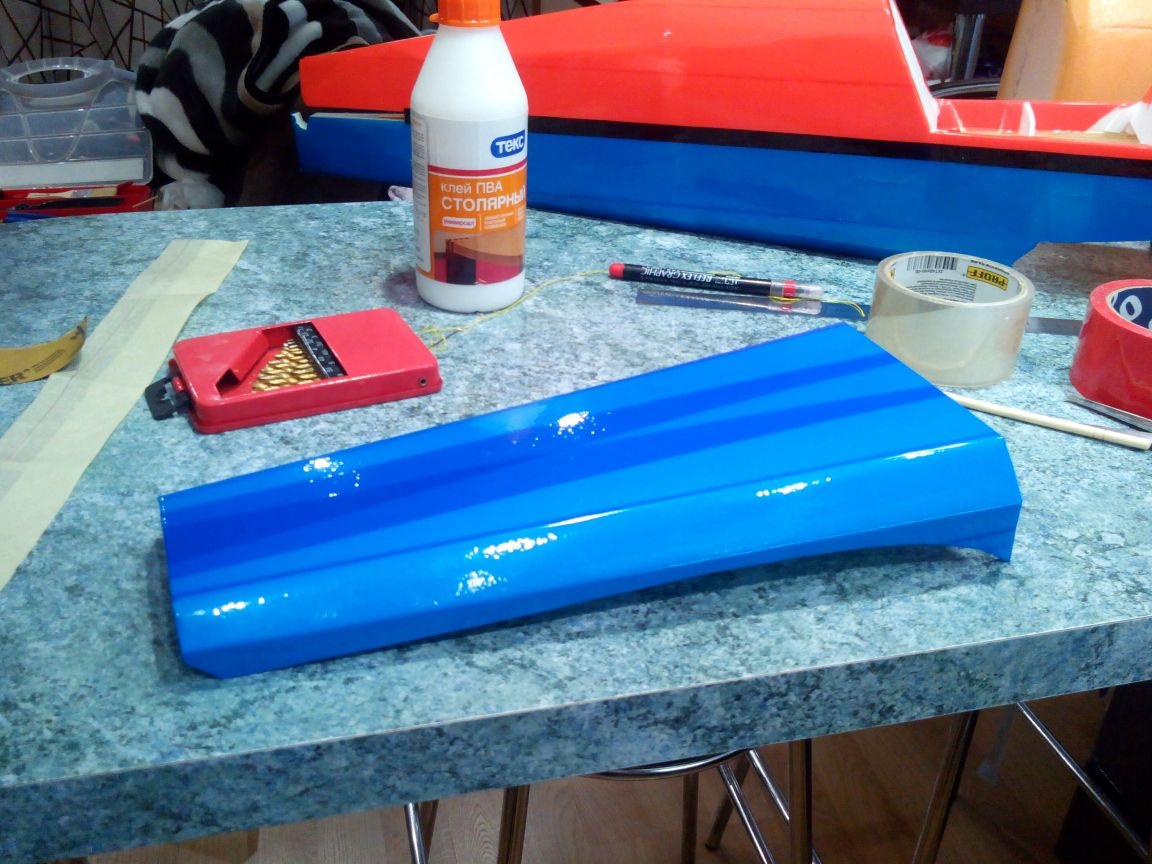
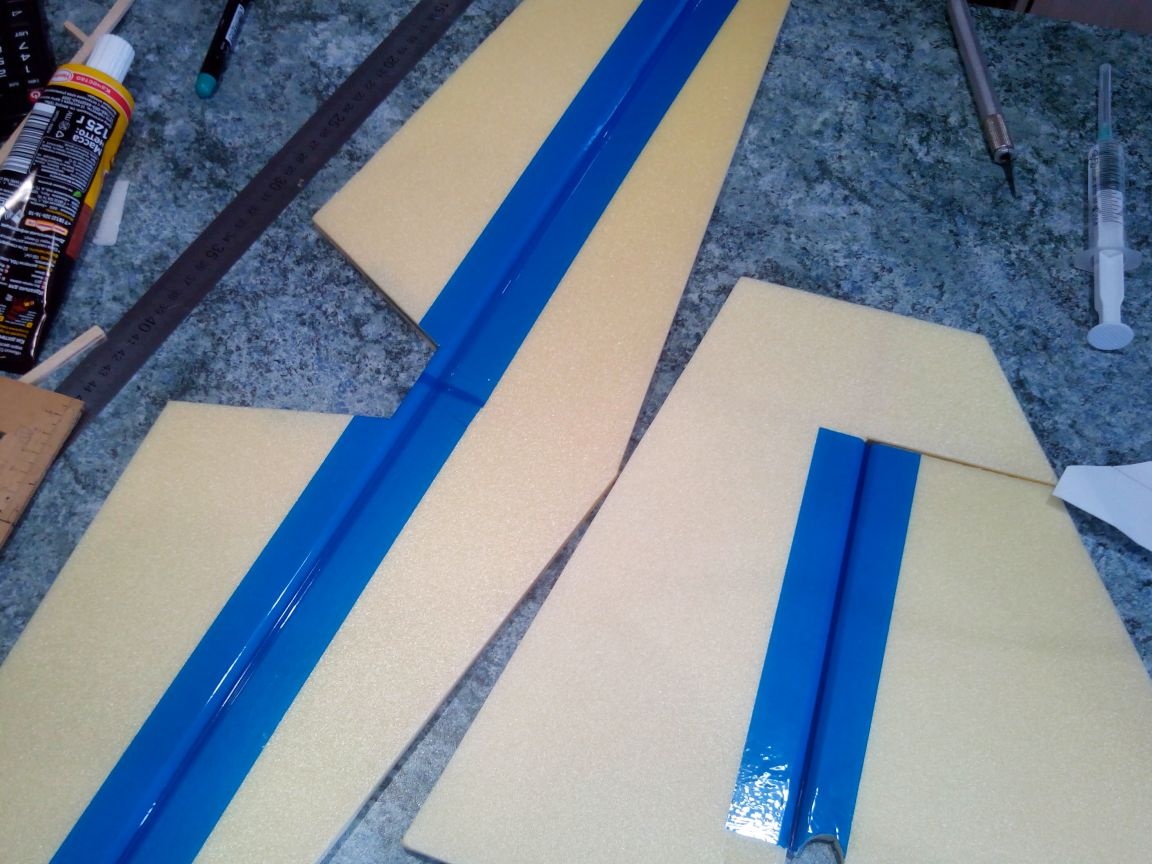
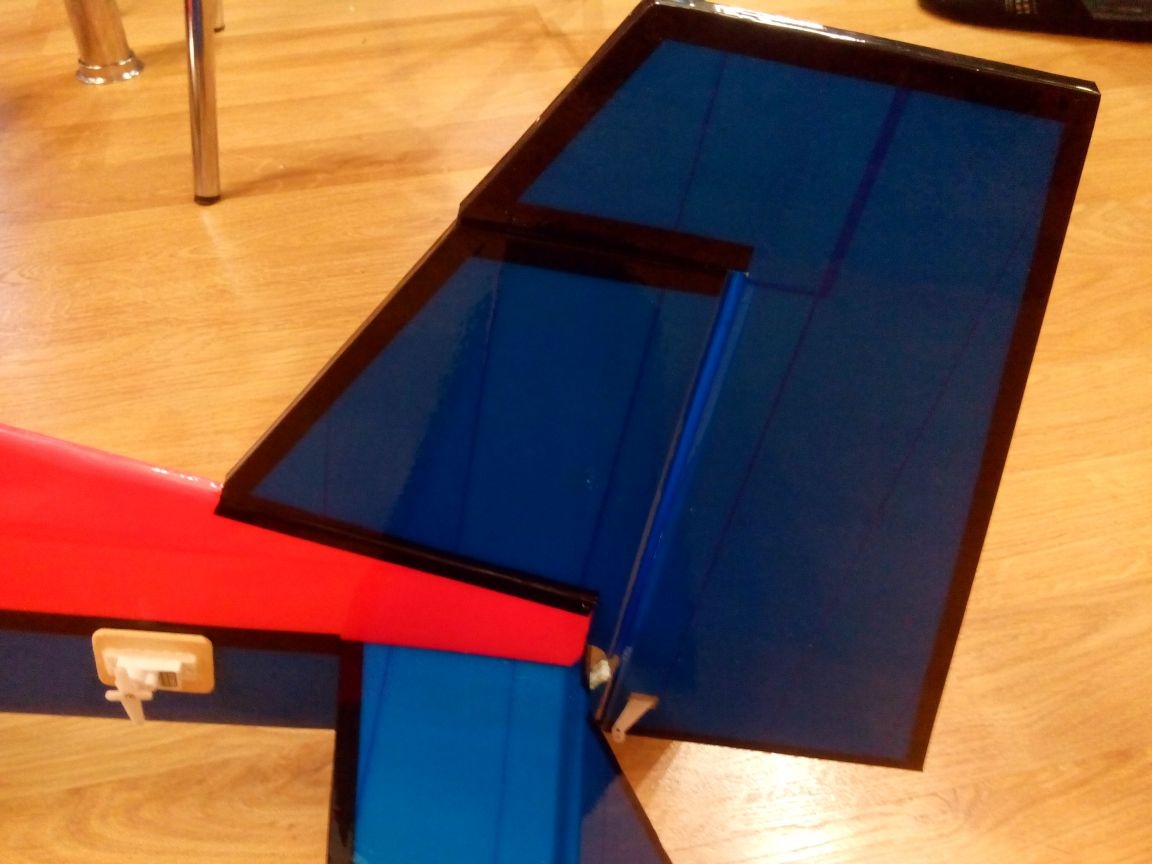
You can proceed to pasting with tape.
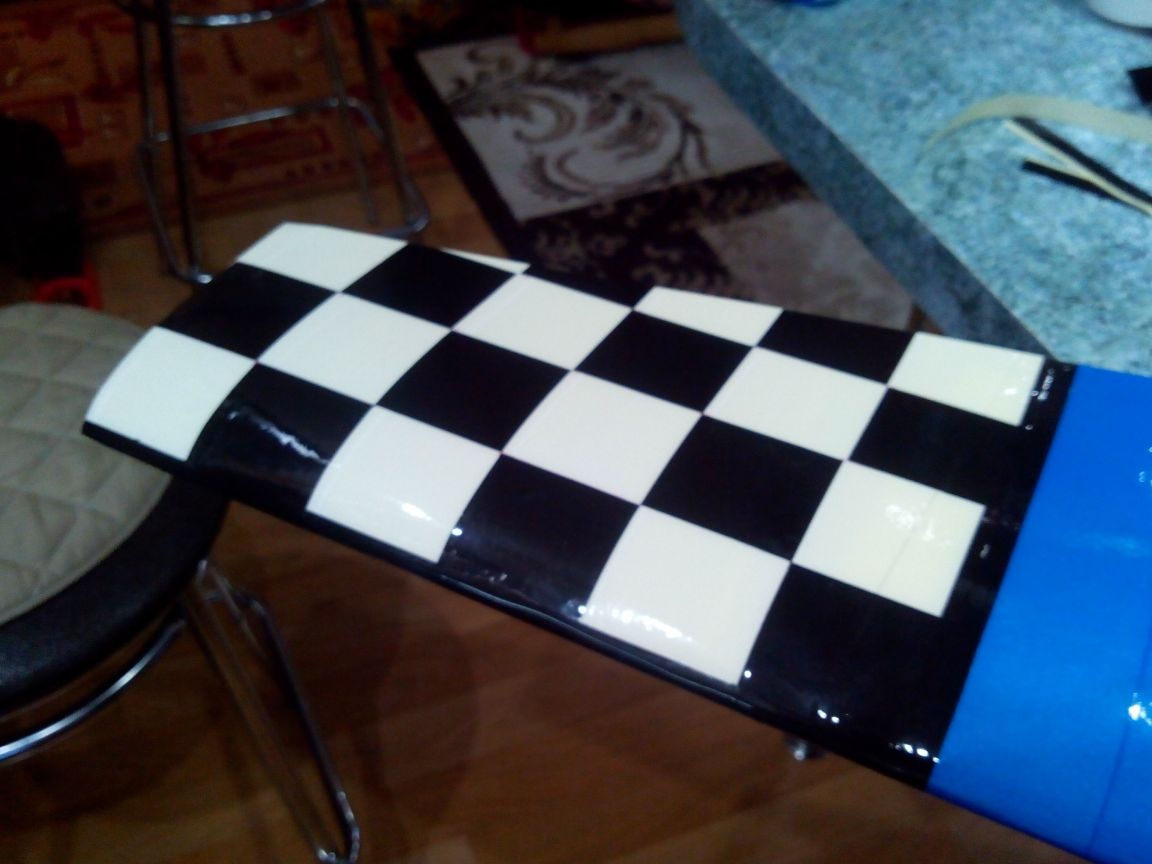
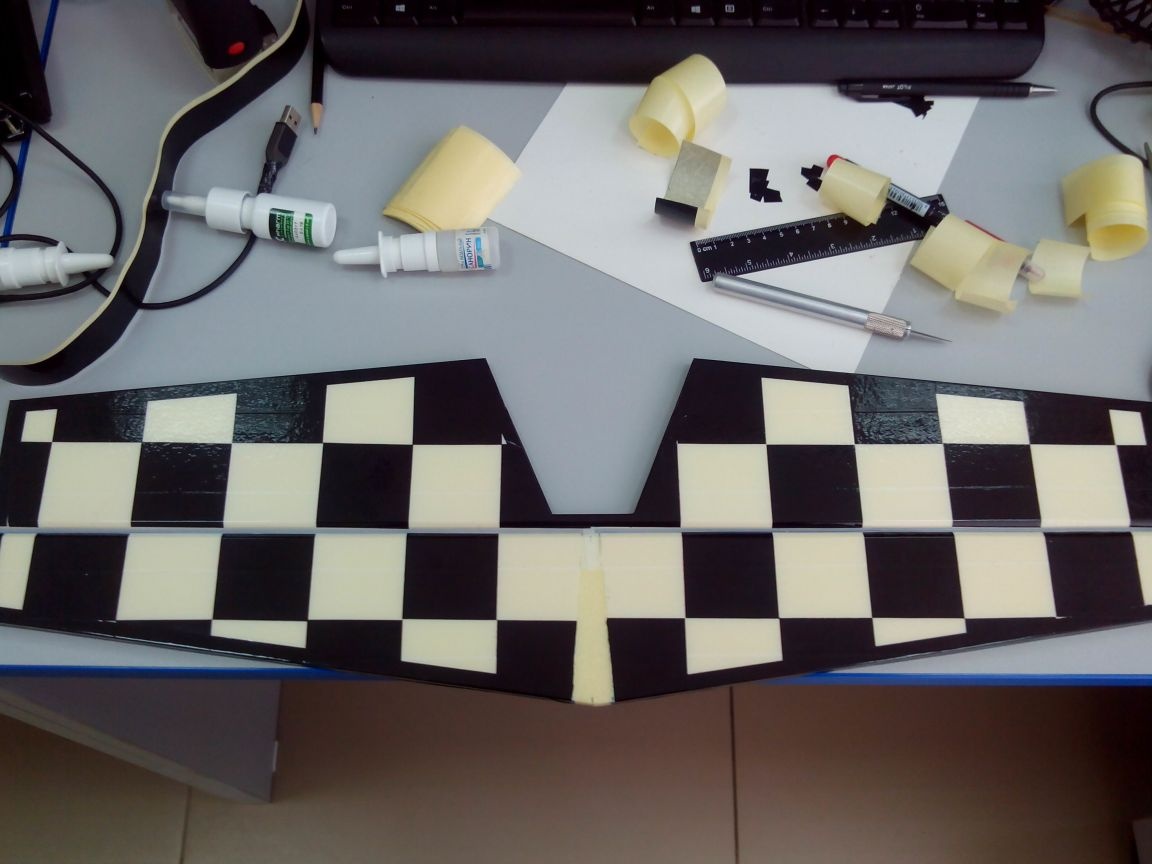
The bottom of the wing at the ends is made into a cage.

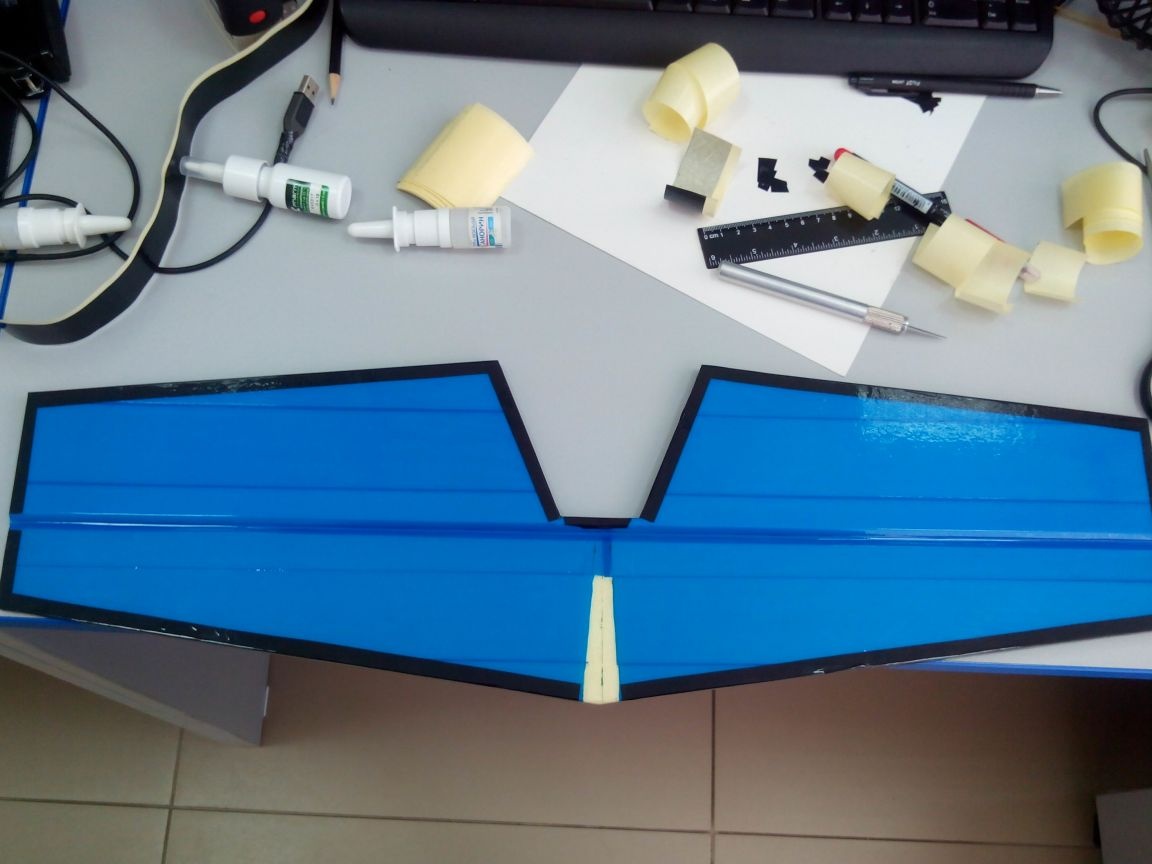
The rest is blue.
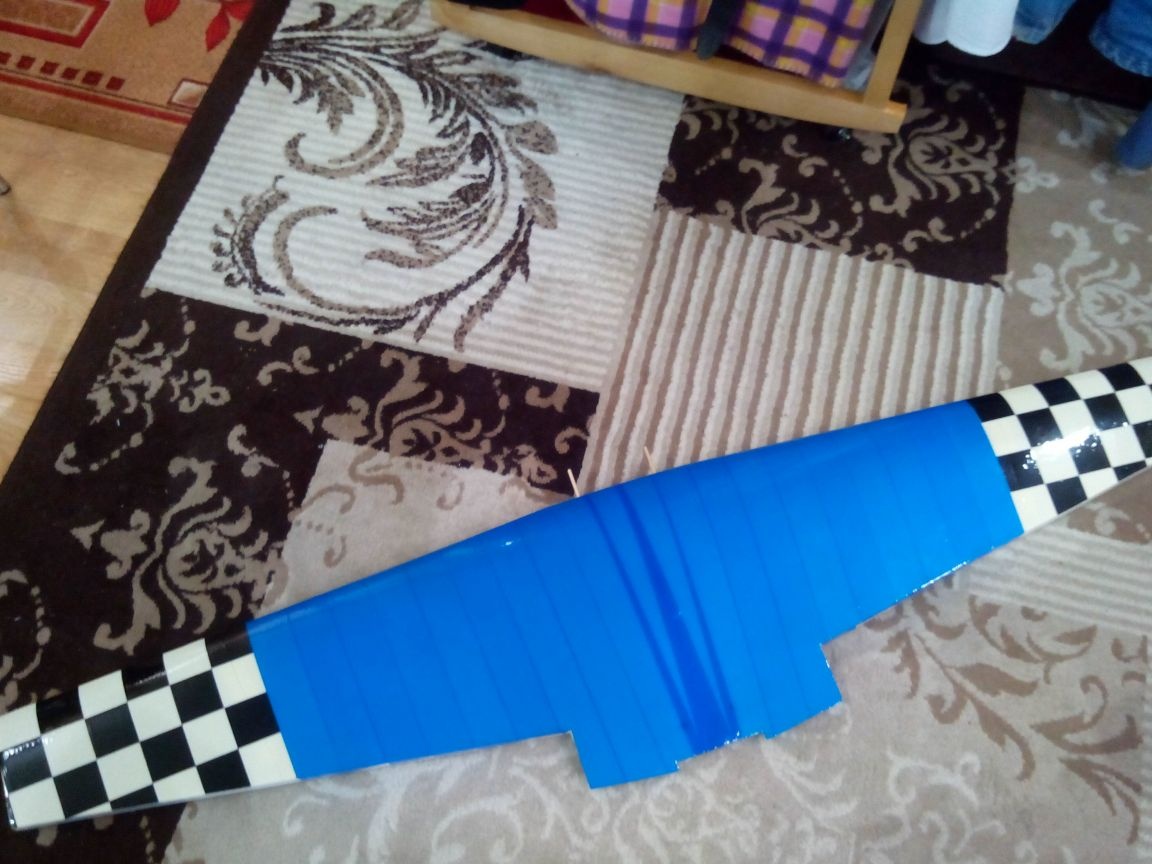
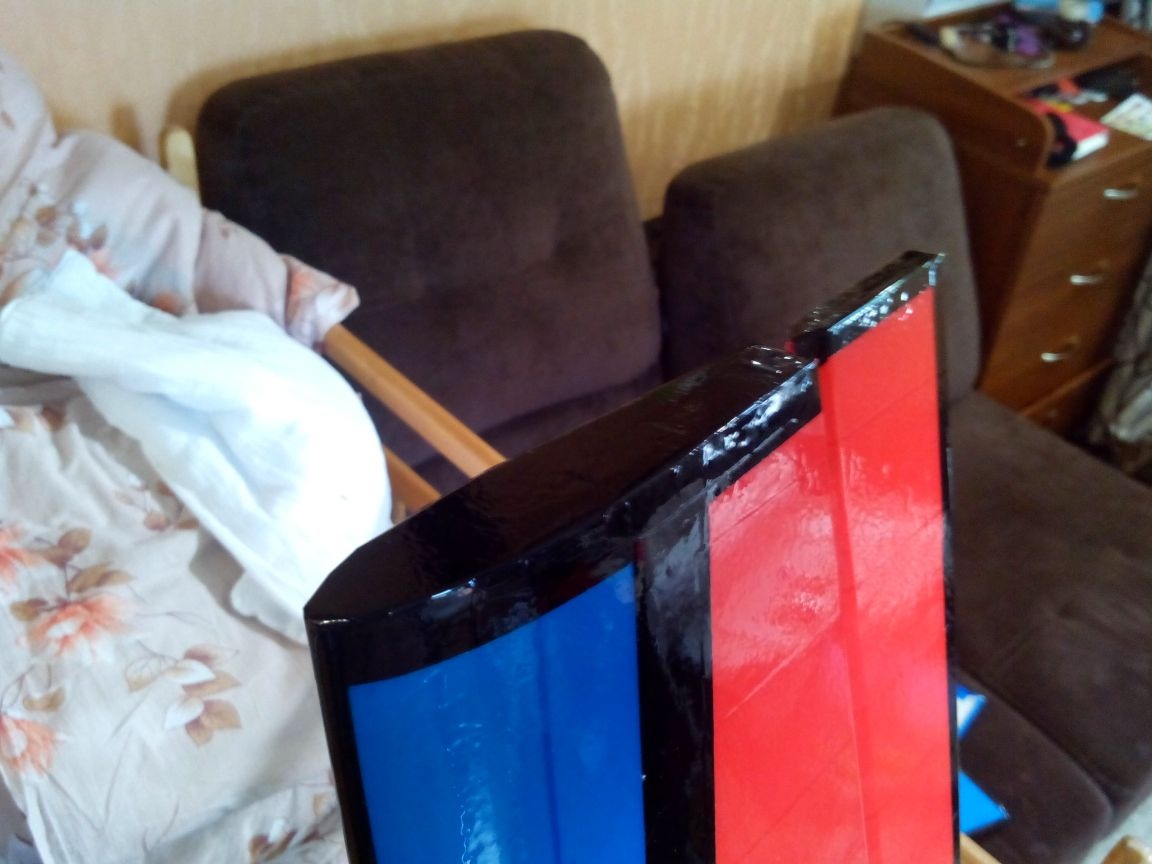
Above - blue and red.
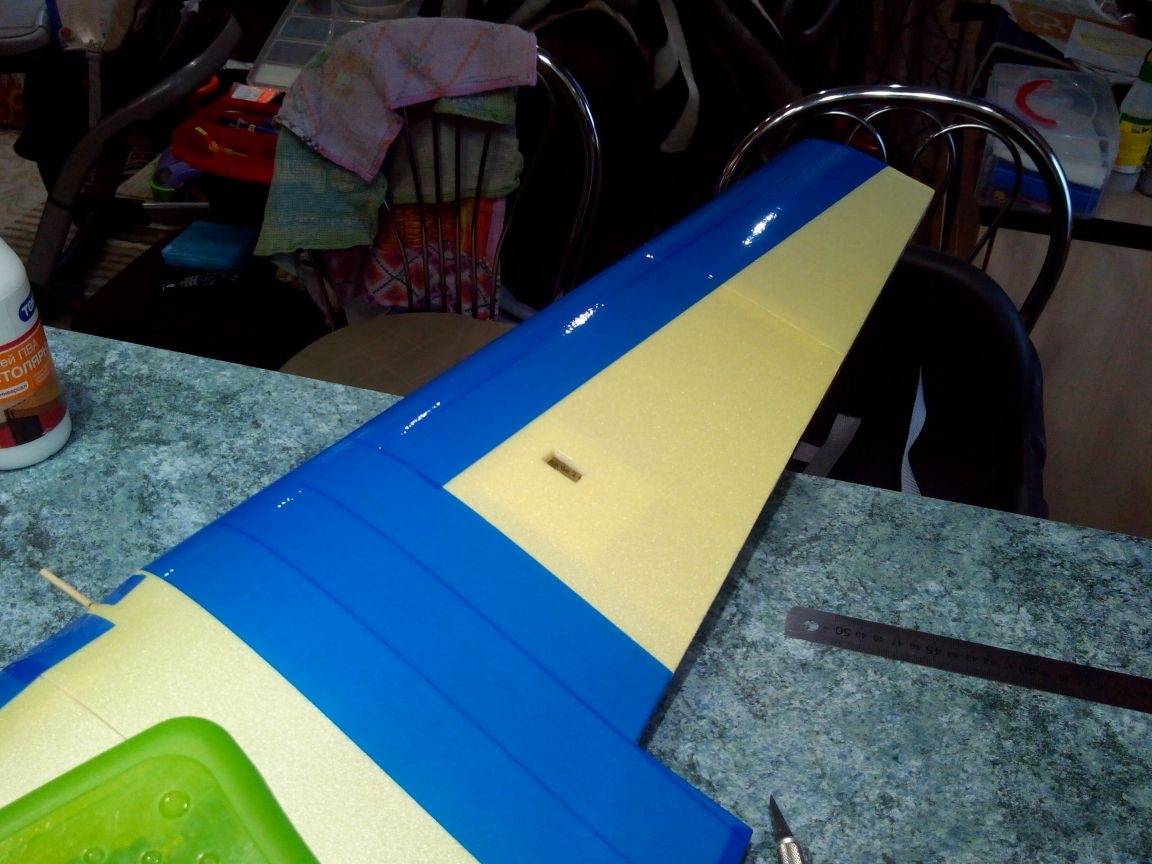

The color joints are covered with black tape.
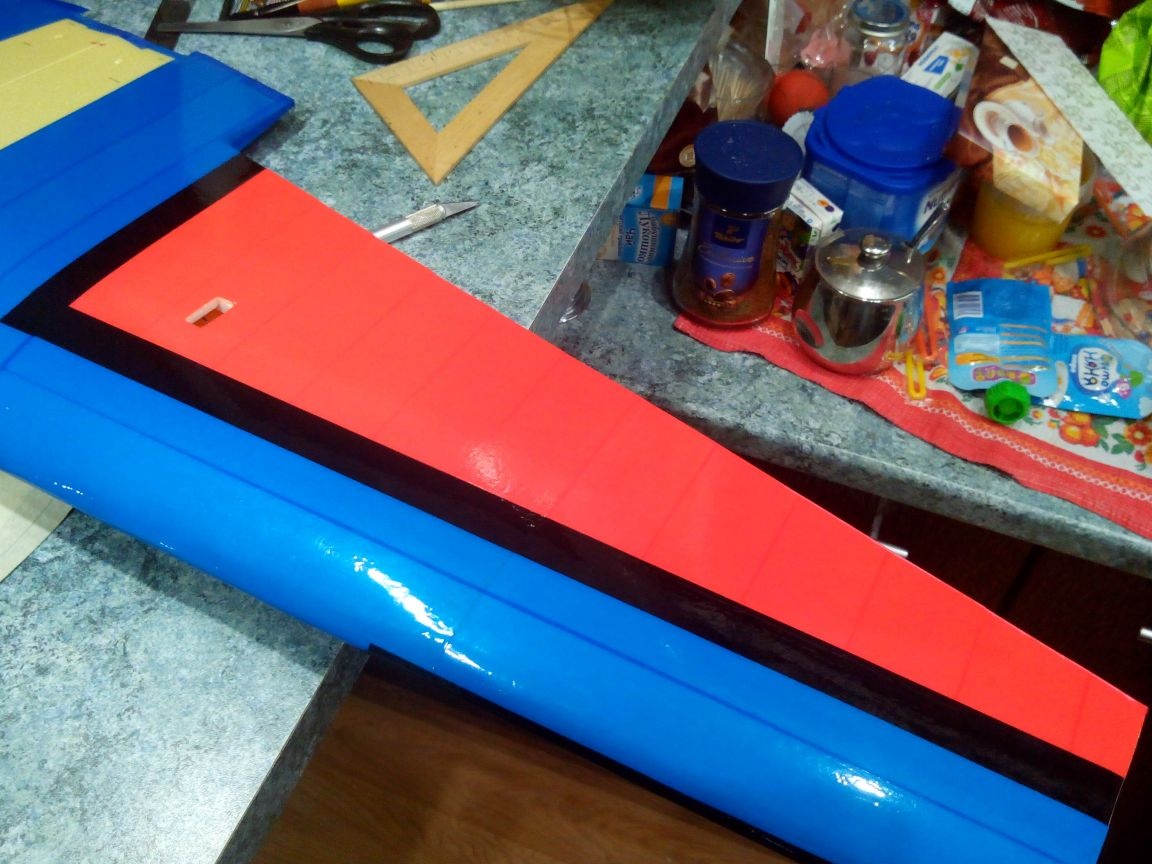
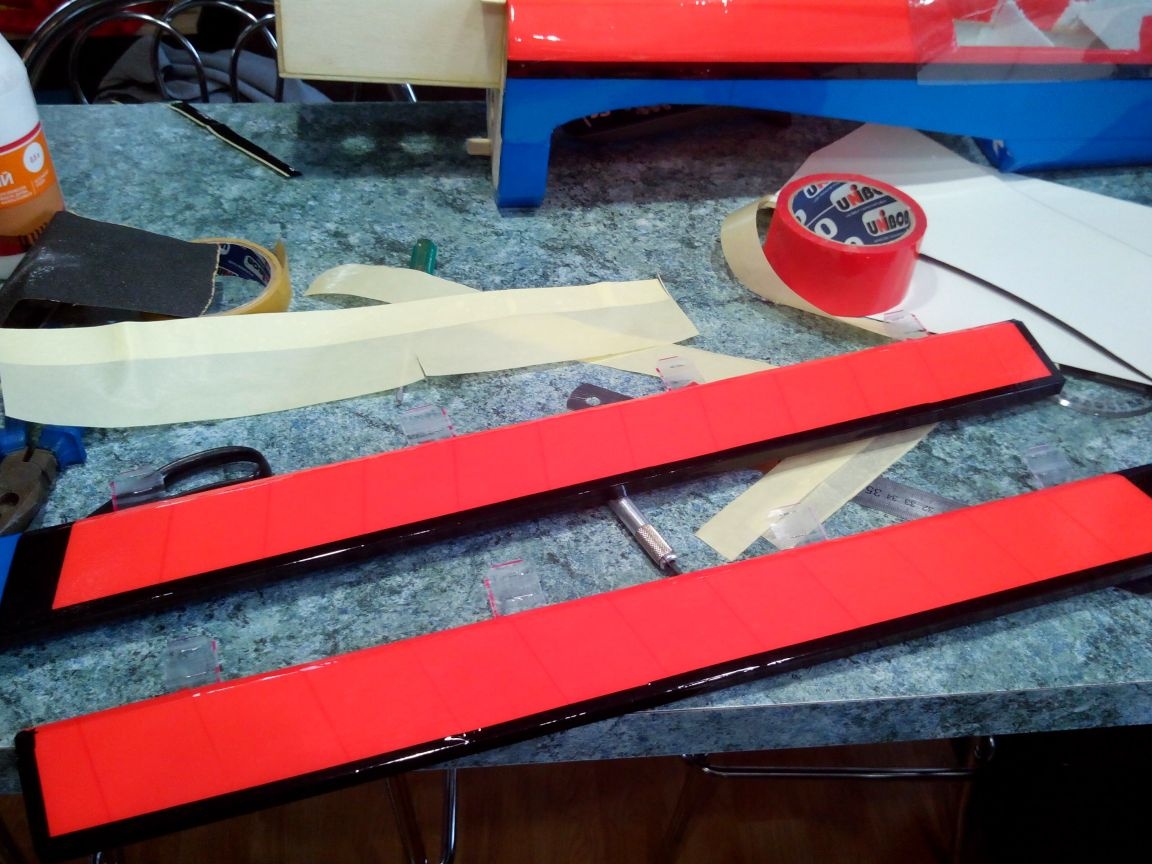
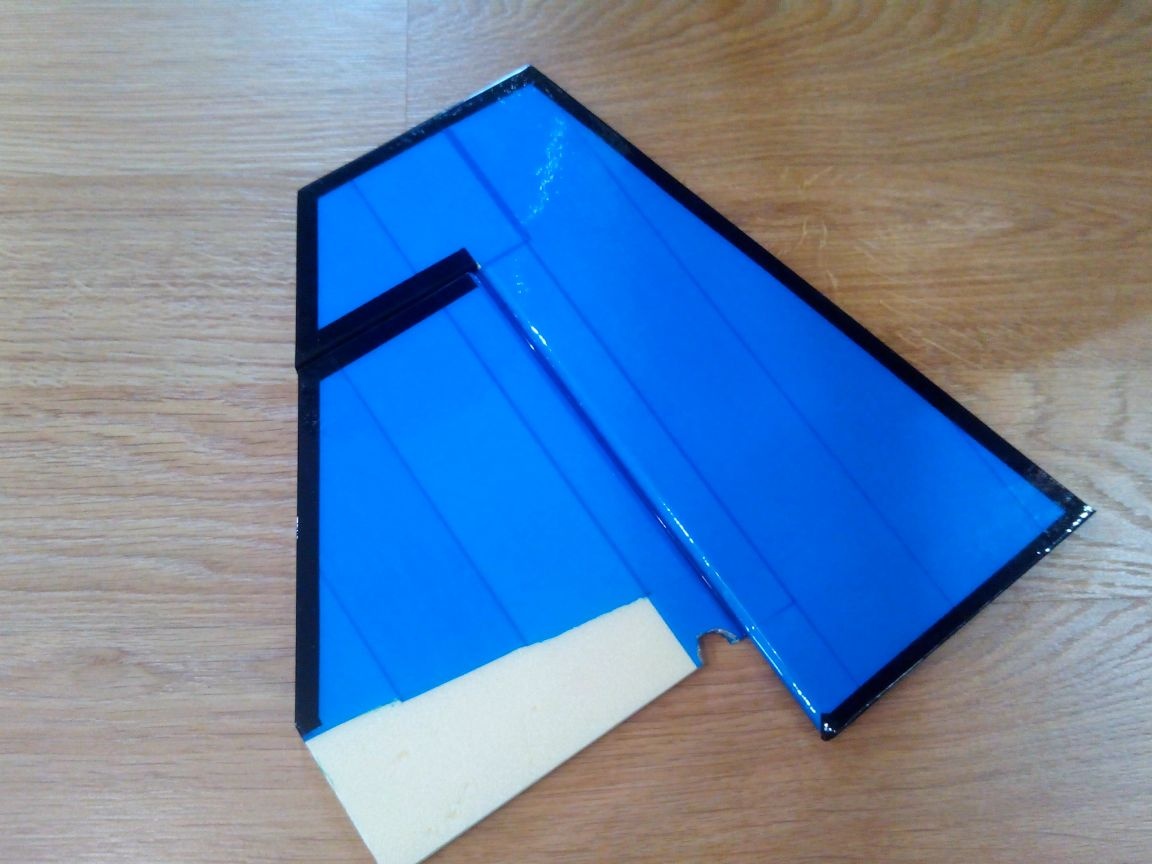
Ailerons are glued, continuing the wing colors on them.

The edges of the ailerons are black.
At the trailing edge, we make slots for loops with a knife.
We seal the trailing edge with black tape and make cuts in it along the slots for the ailerons loops.
Glue the ailerons with epoxy glue.
At the end, add the black cells and glue the black ends with black tape.
Everything, the wing is ready.
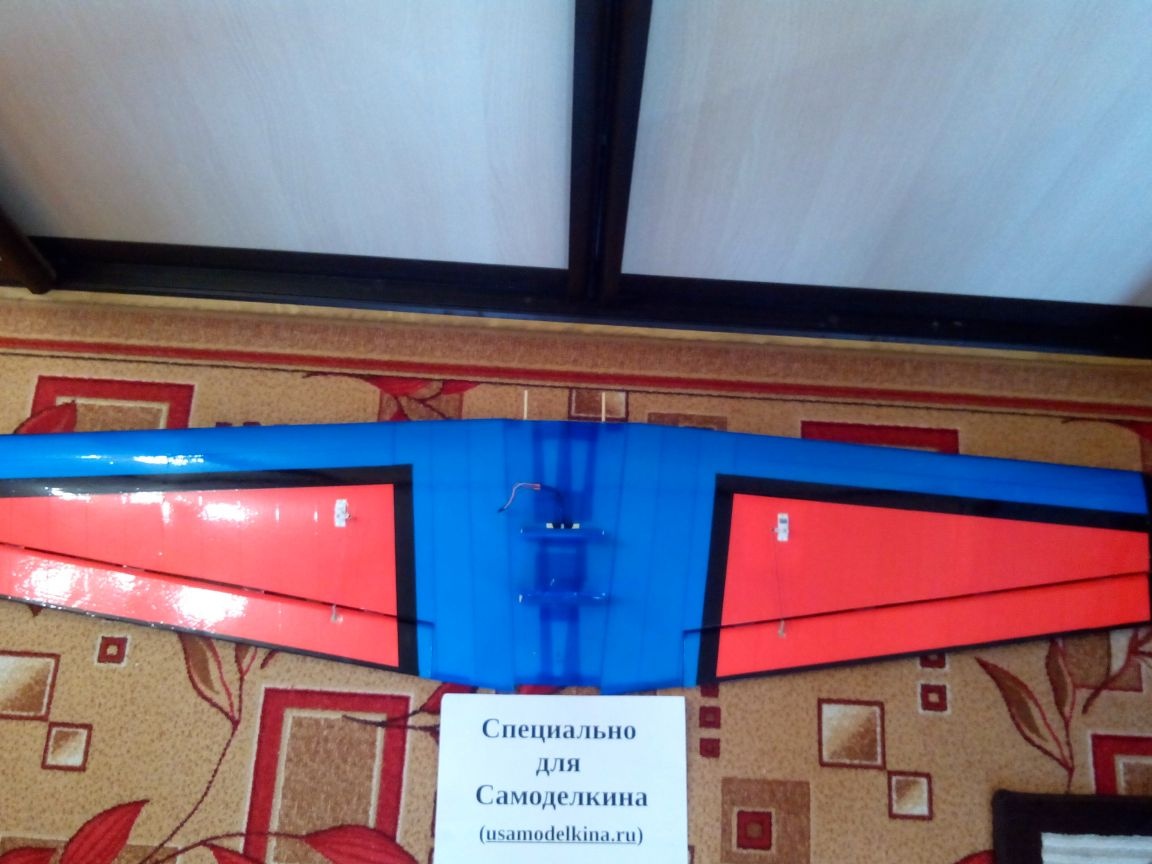
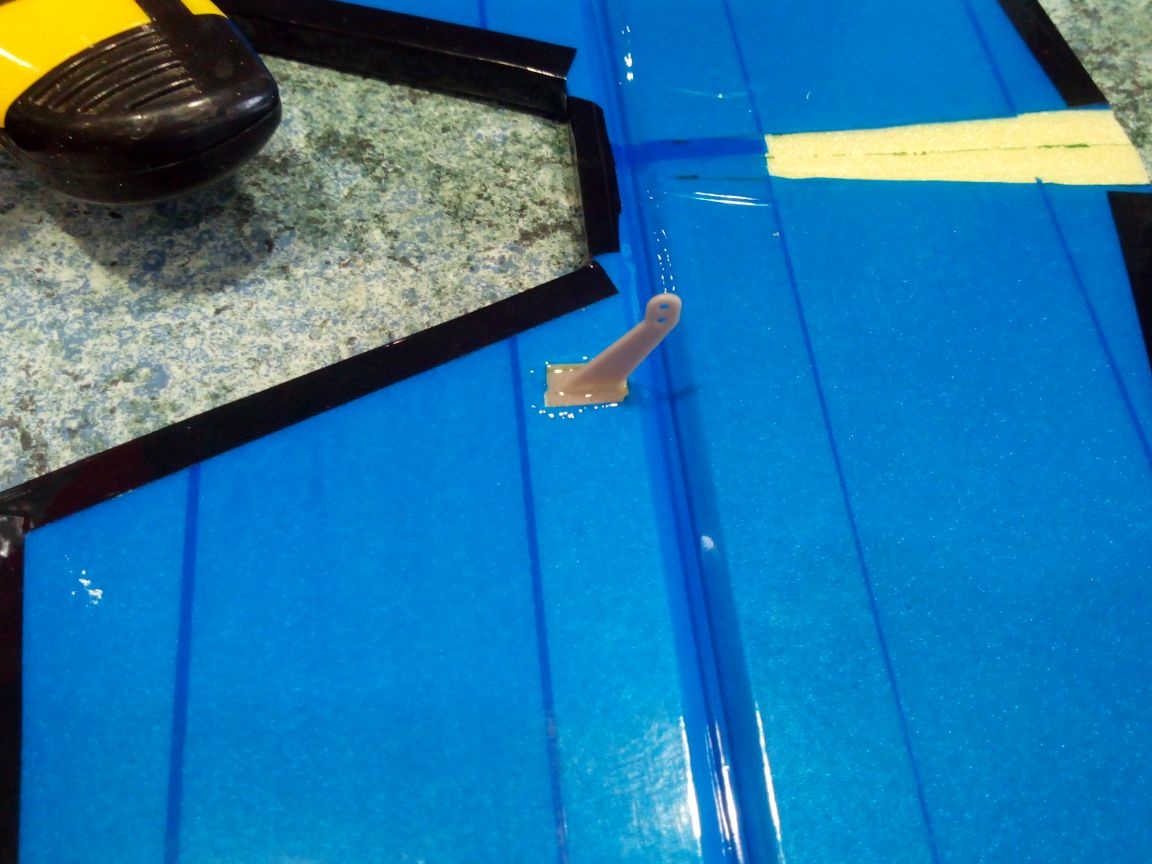
To the wires that are inside the wing, glue the connectors.
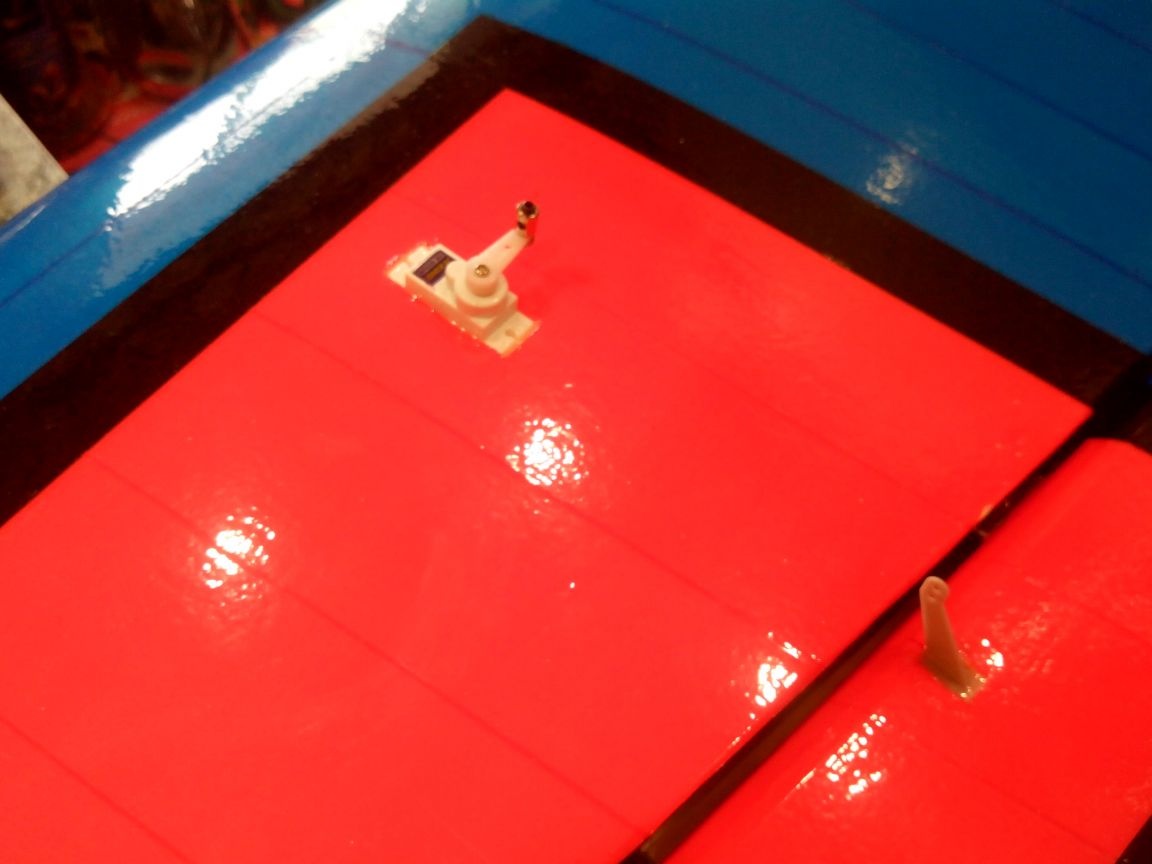
Servos and boars are glued with epoxy glue.
Steel wire rods.
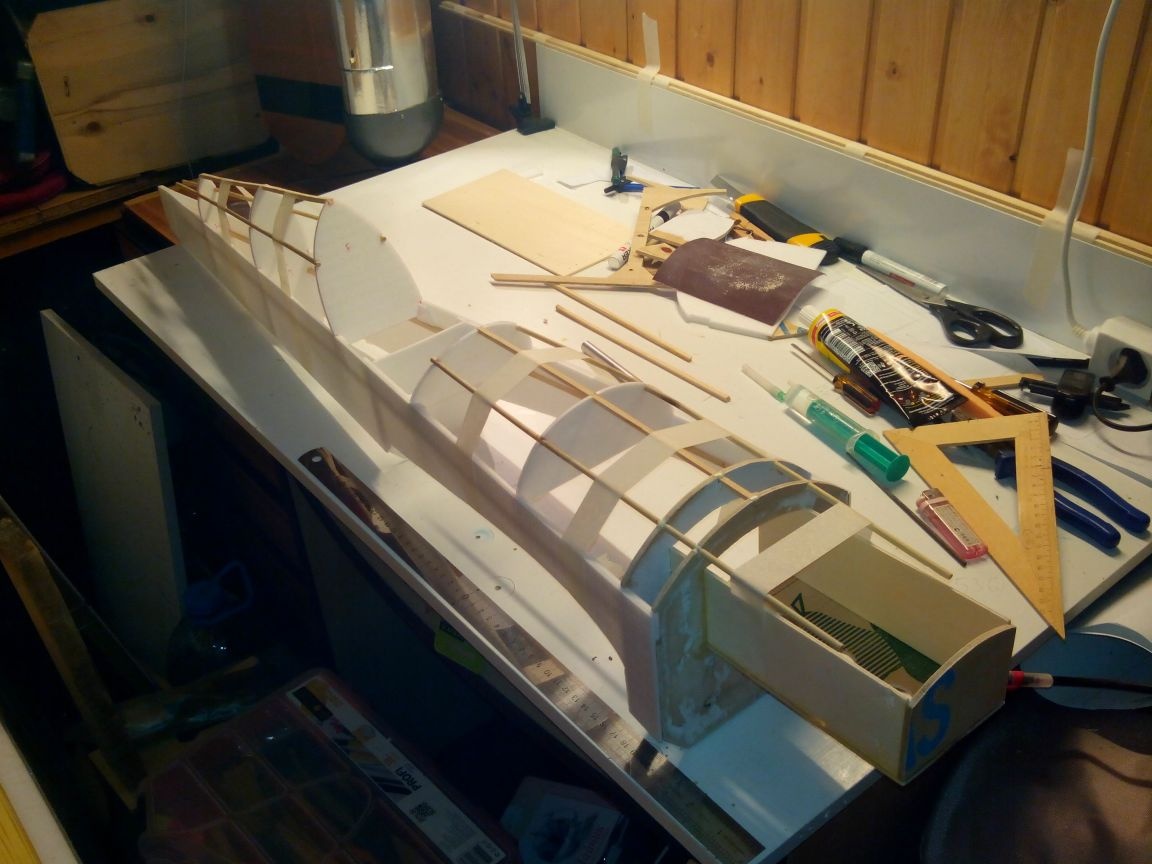
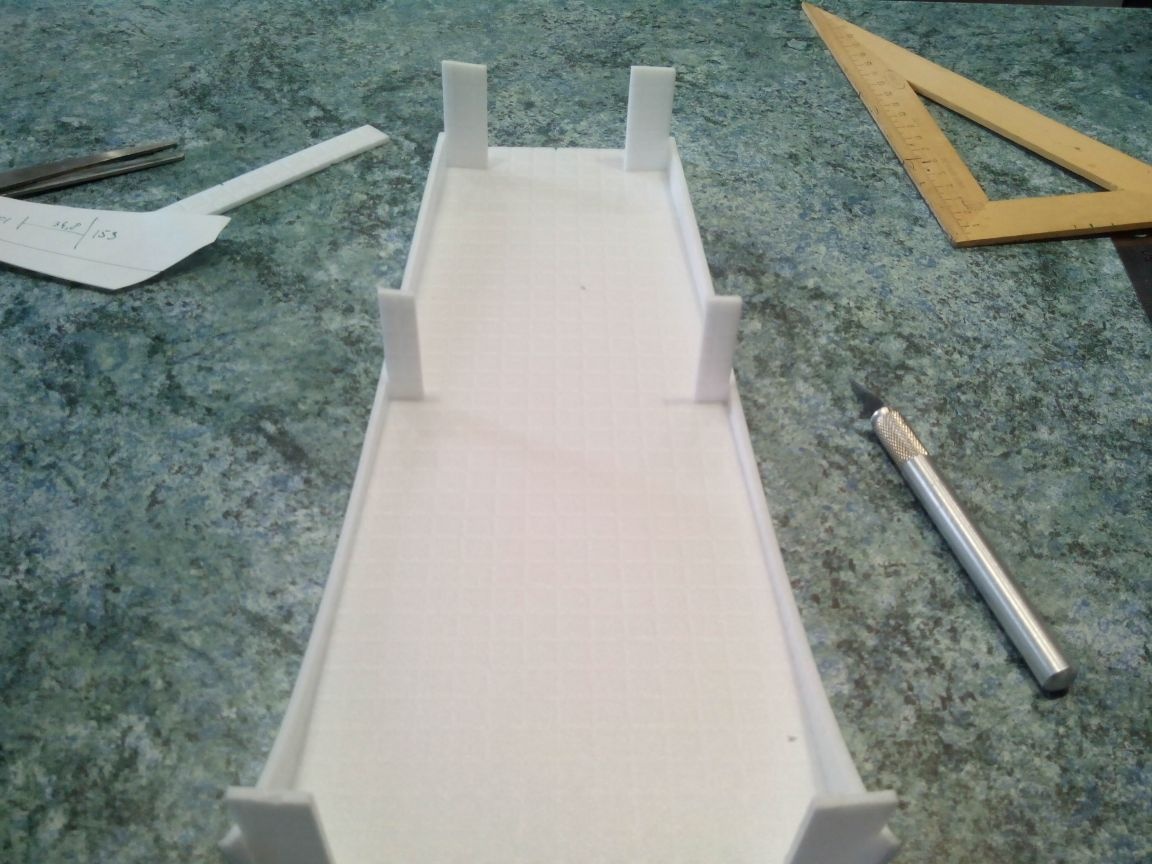
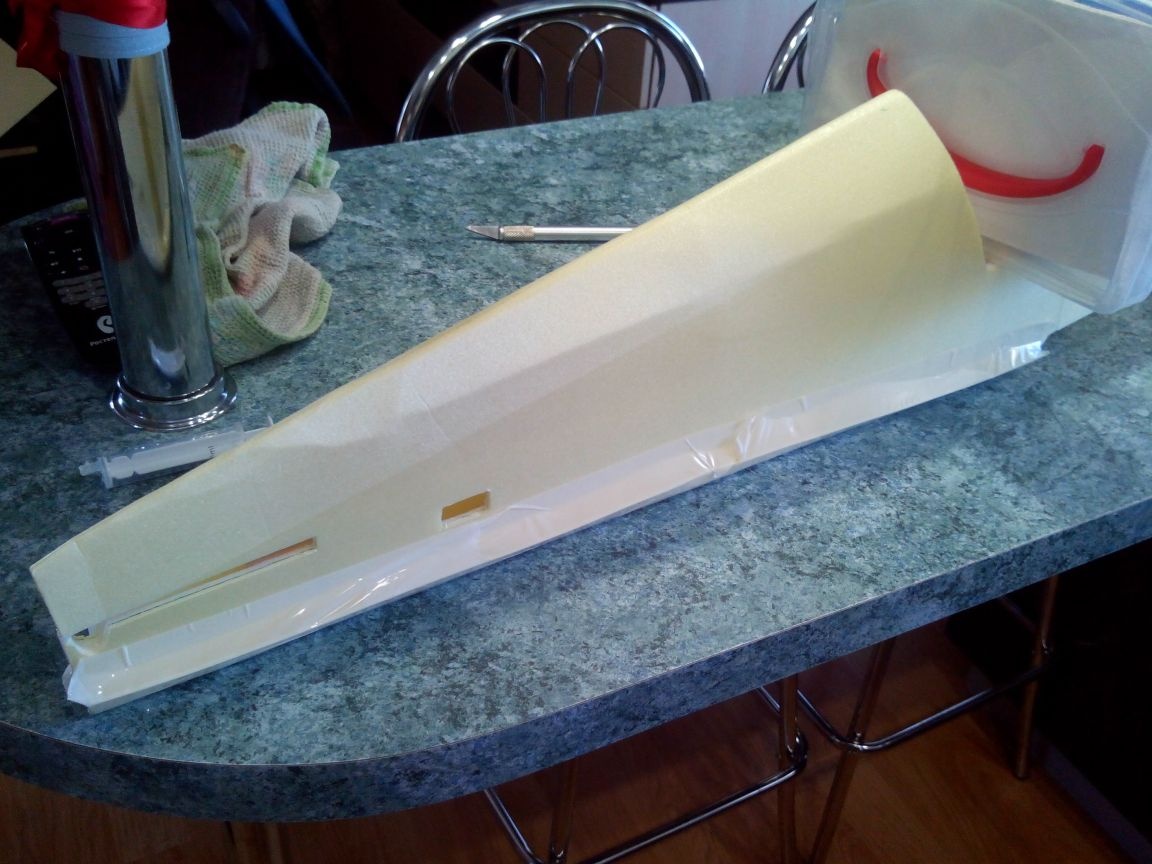
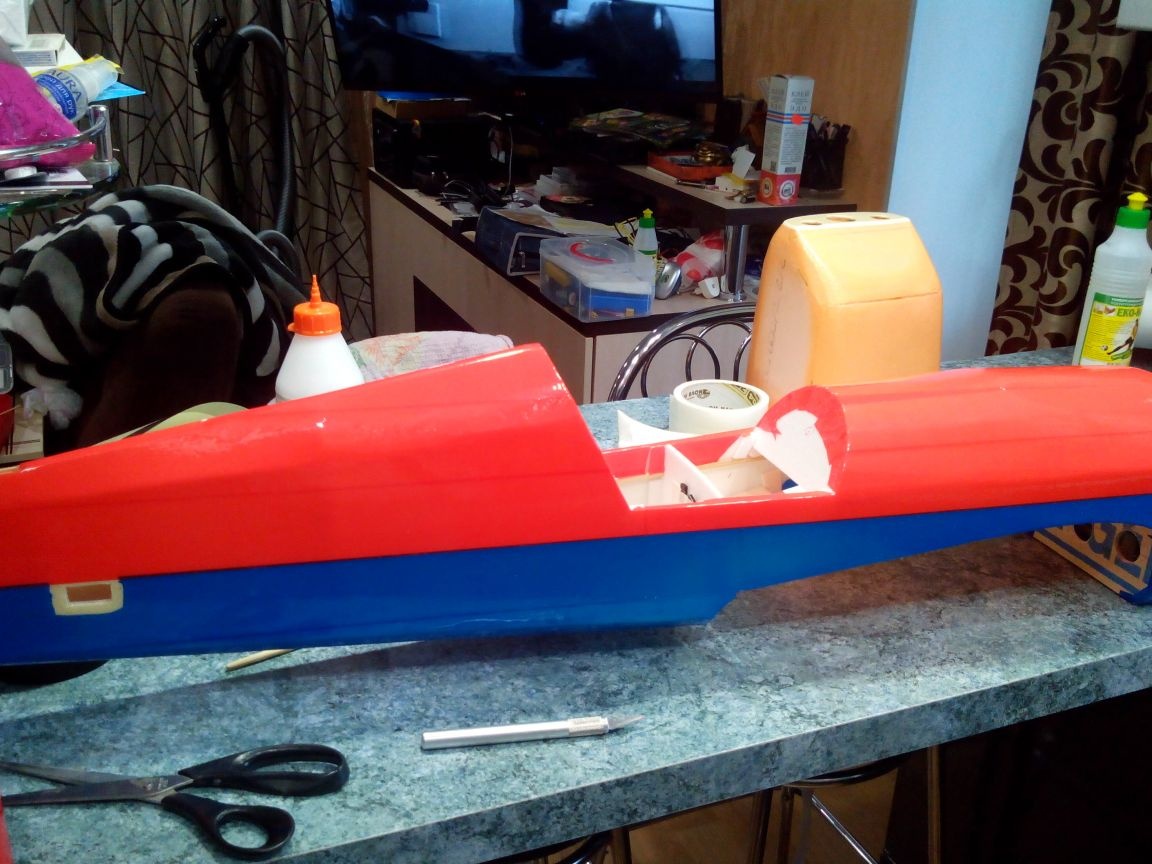
Step 2. Making the fuselage
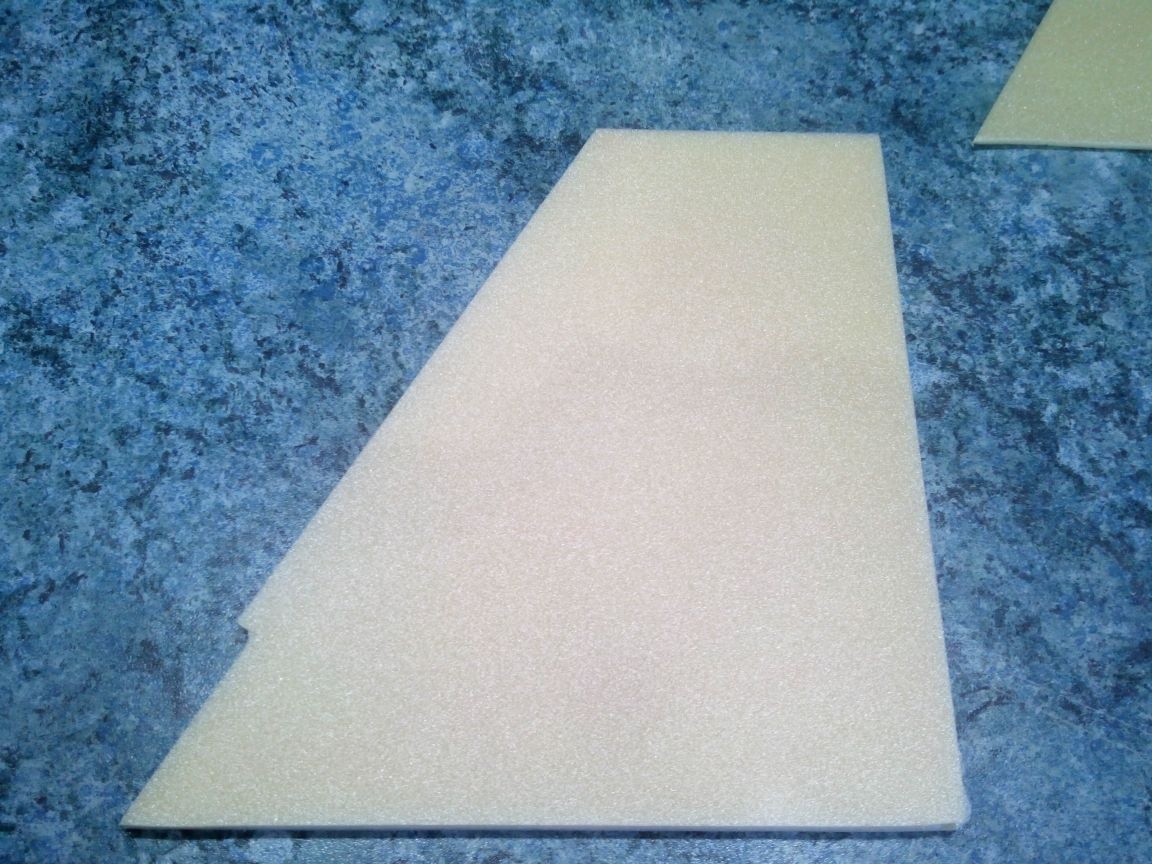
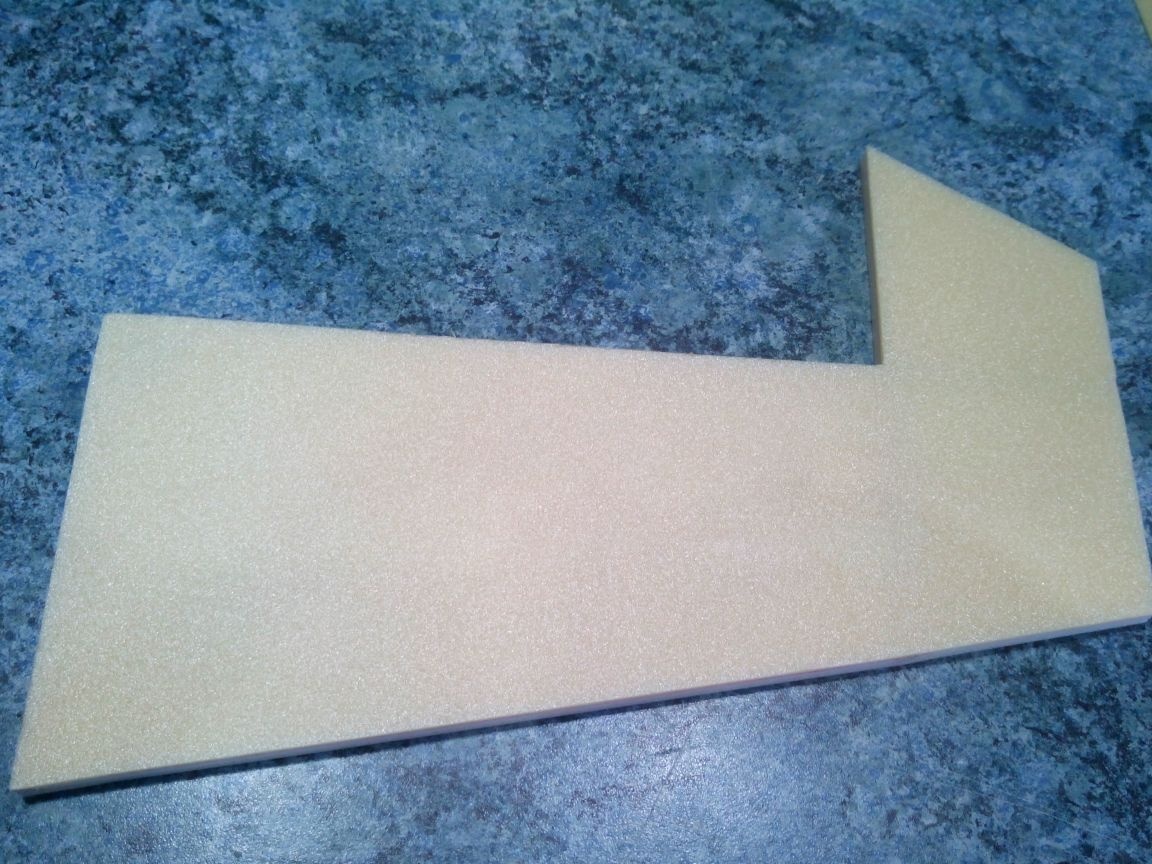
The lateral parts are cut from the depron according to the patterns.
Add reinforcement strips for frames from strips.
We glue along the sides of the rail with a section of 4x4 mm.
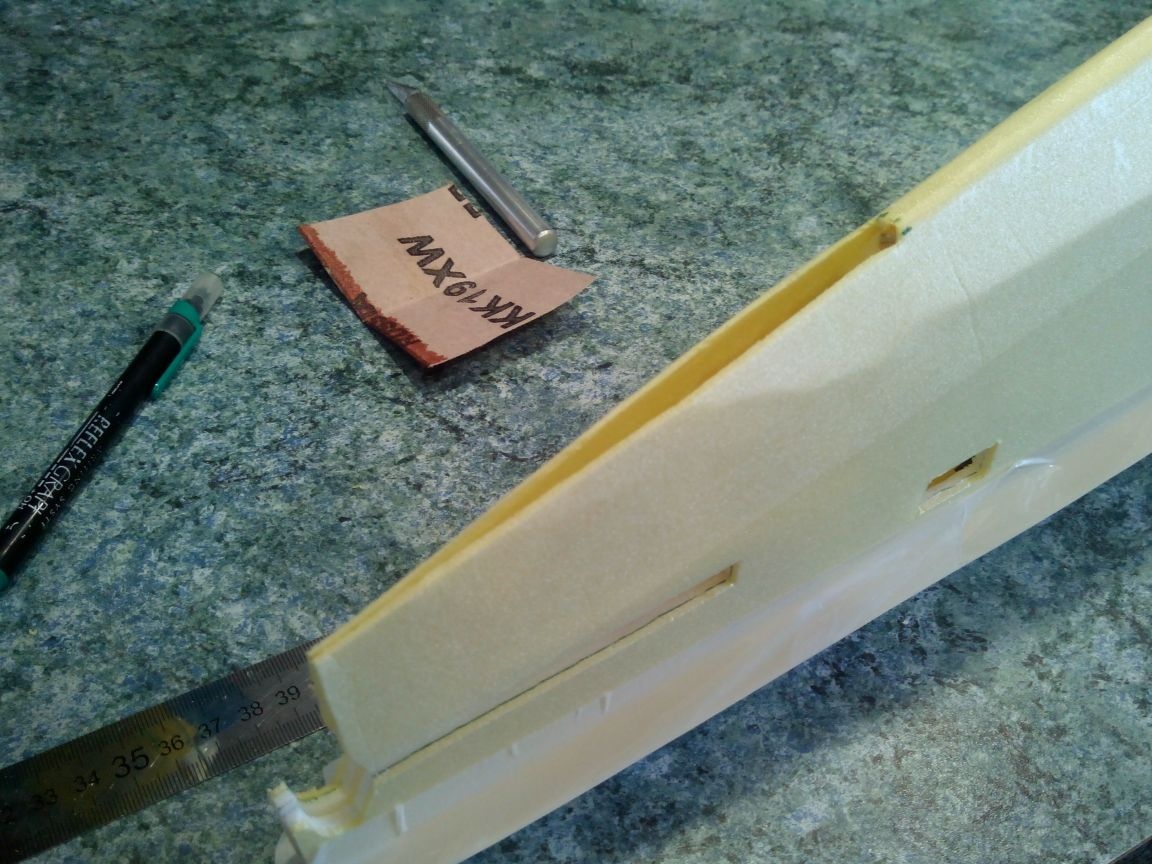
From thin plywood, we cut the frames A and B and the details of the engine mount.
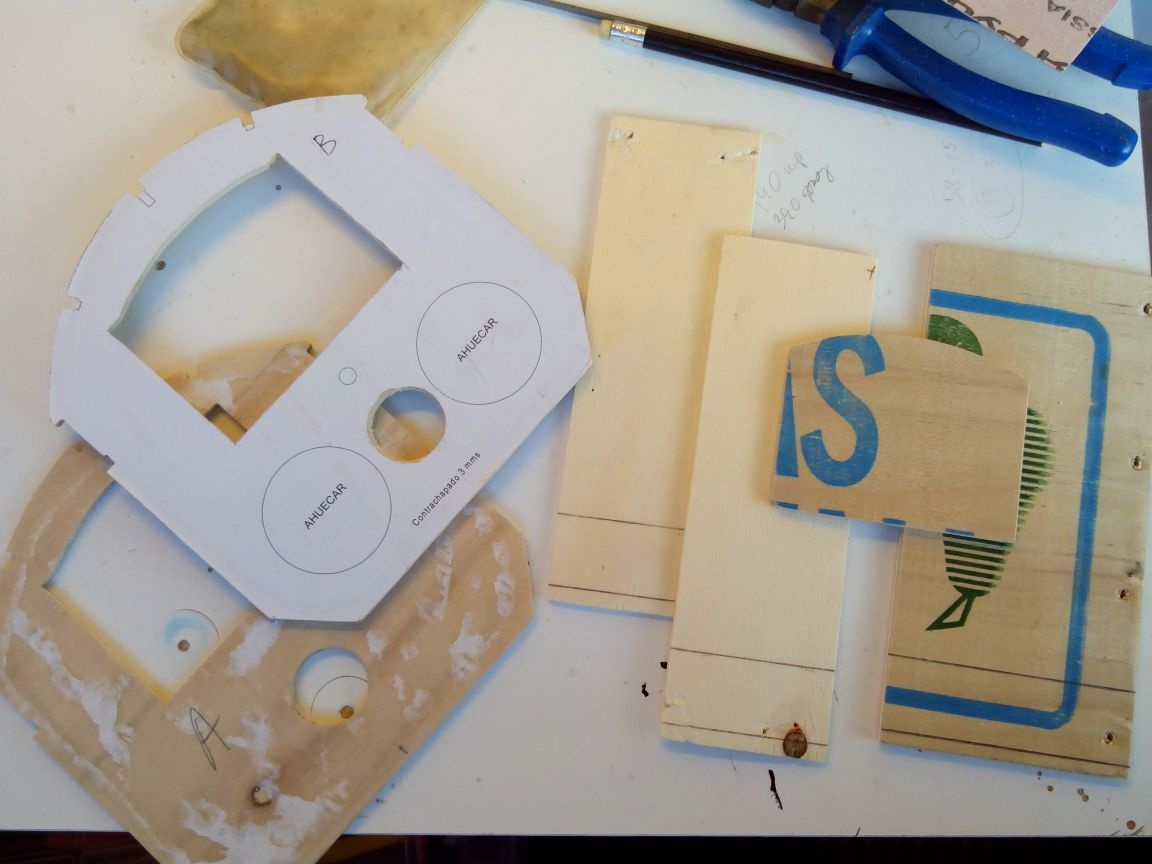
We glue motor mount.

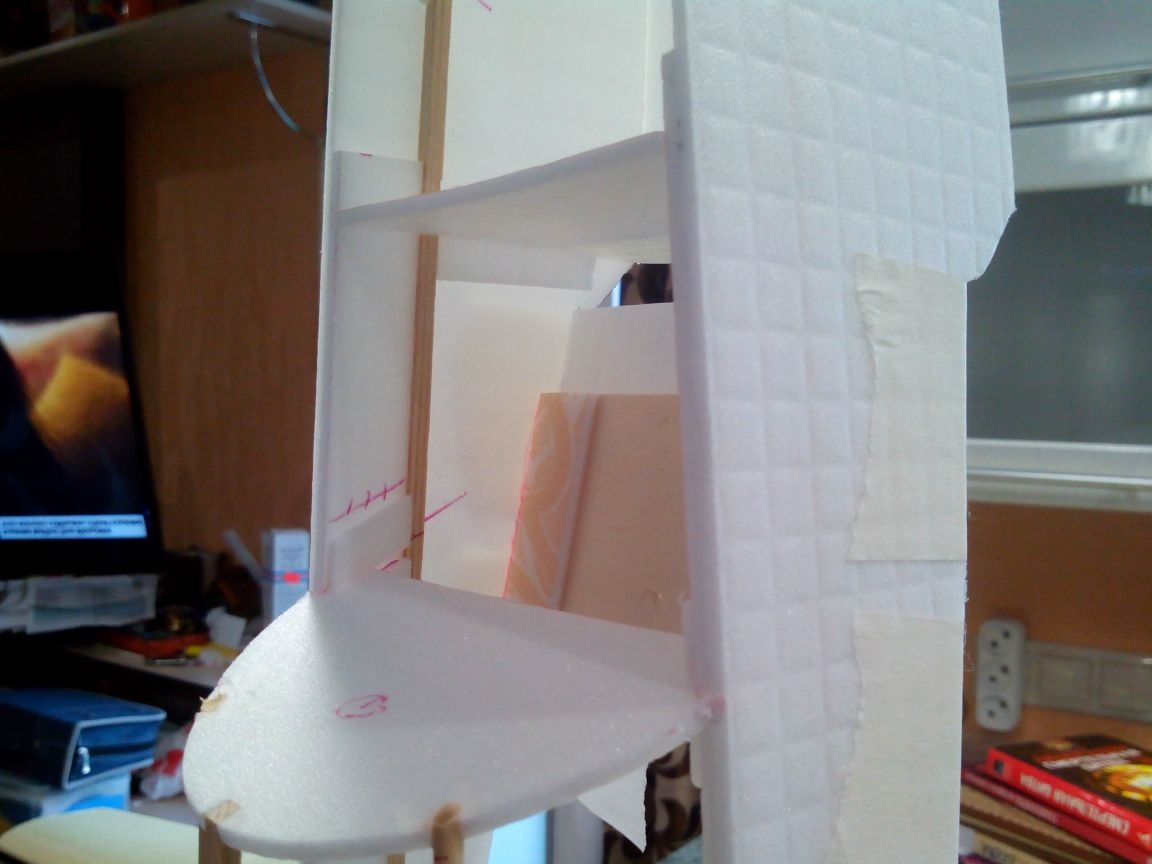
We paste the engine mount into the plywood frames.
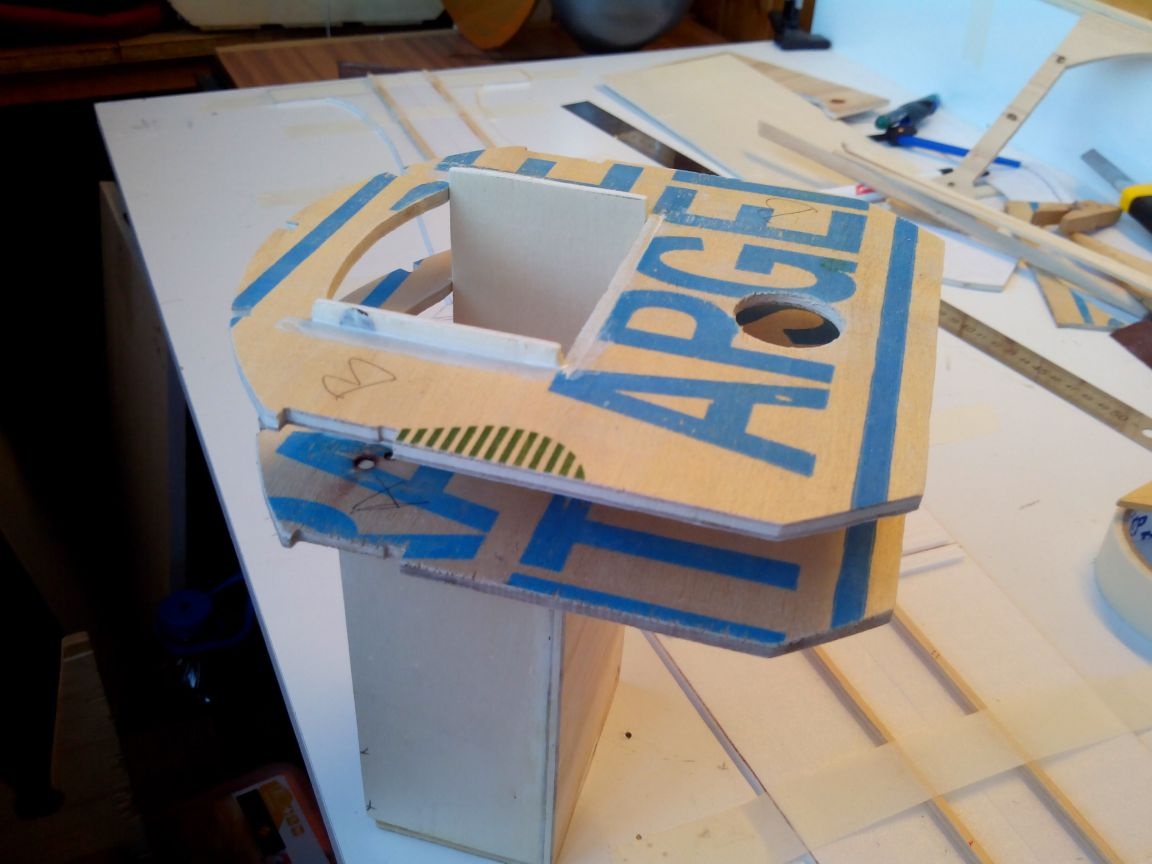
We make several holes for ventilation, and from the bottom we glue the plywood platform - this will be the base of the front chassis.

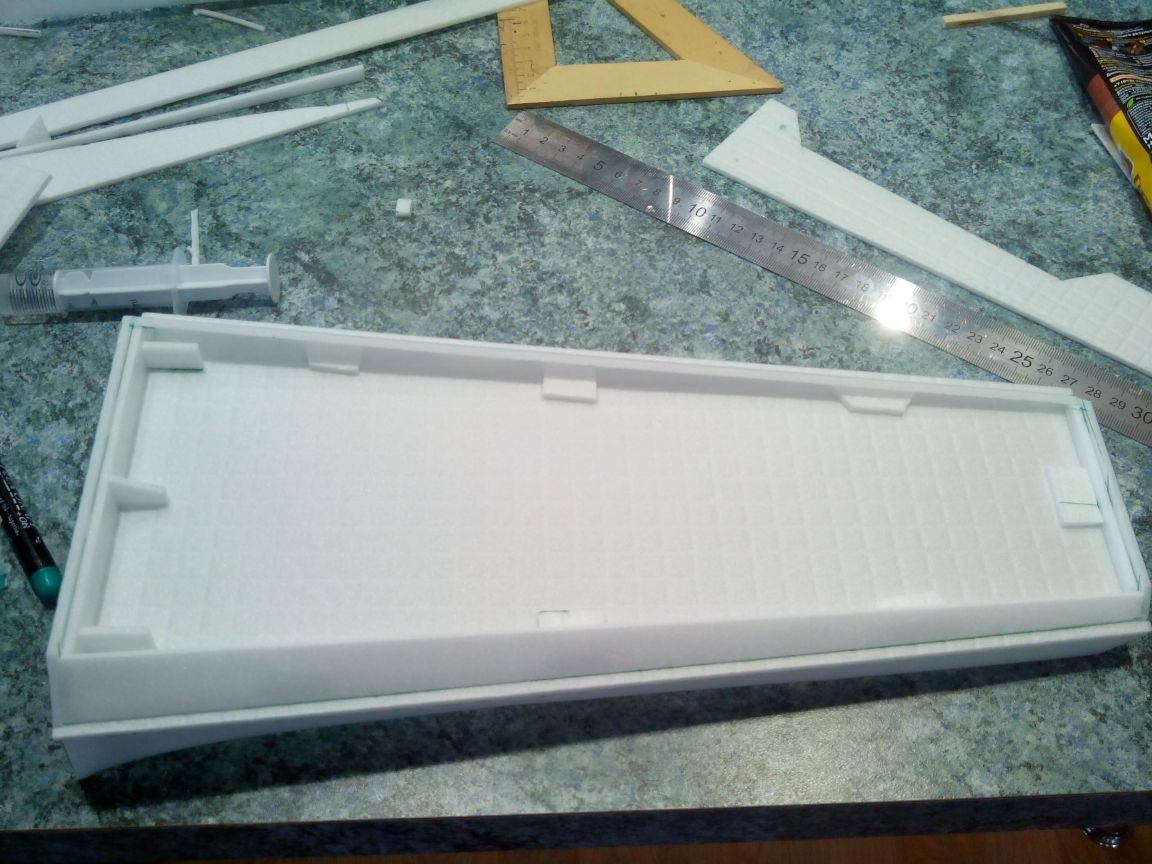
Glue to the resulting sidewall construction.
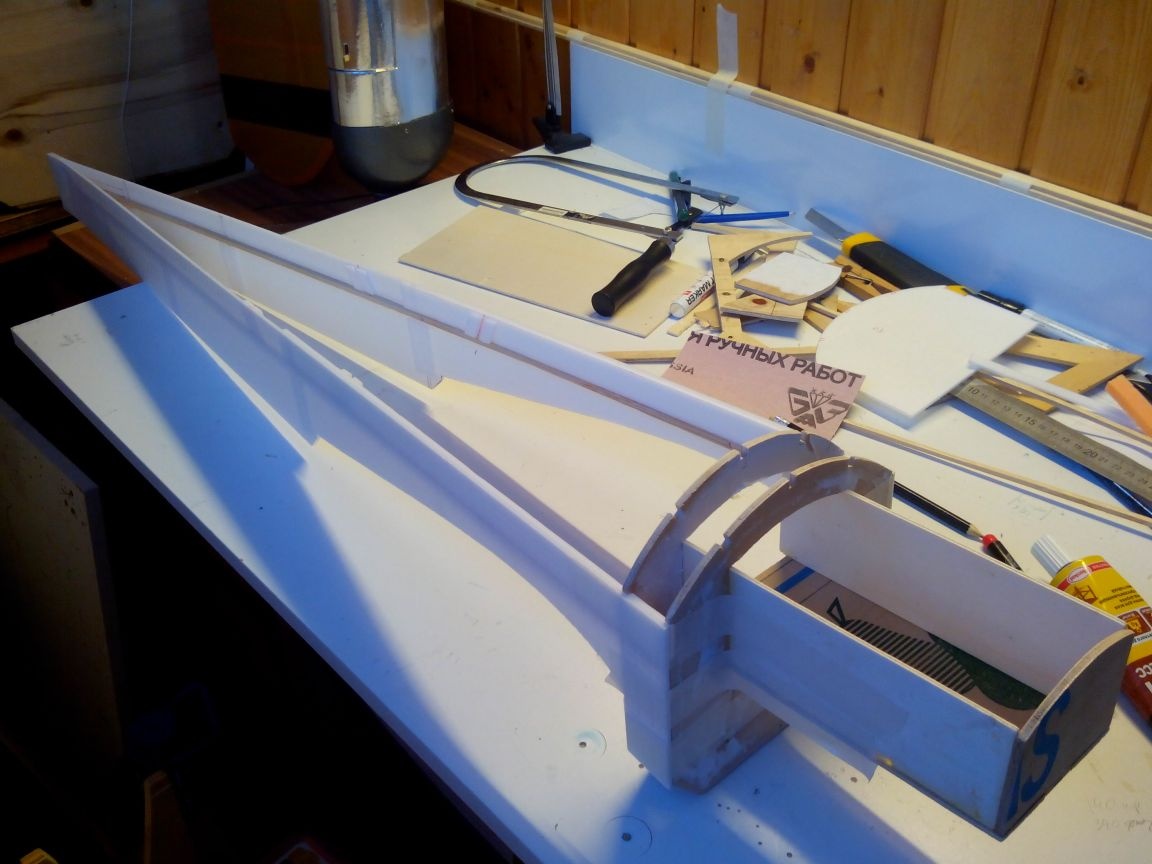
We glue the frames and stringers from the rails.

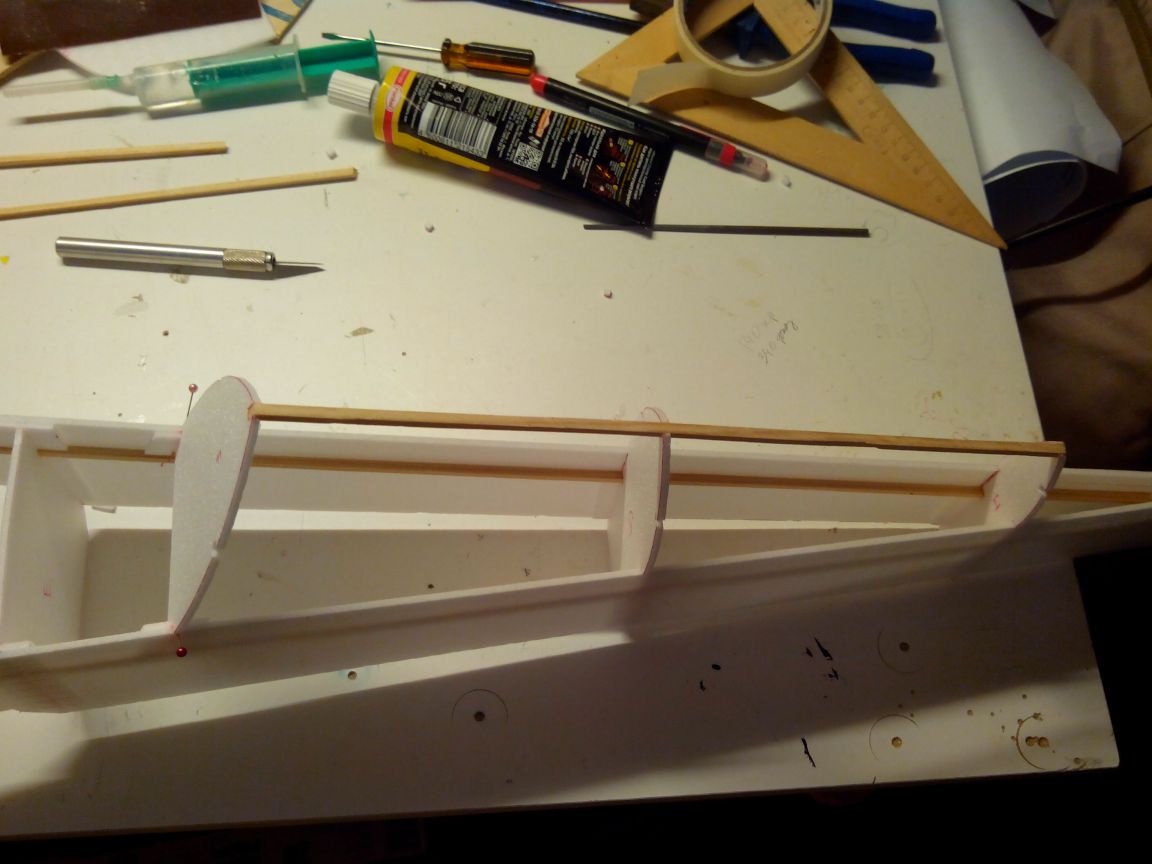
The remaining stringers are made of babmuk skewers.
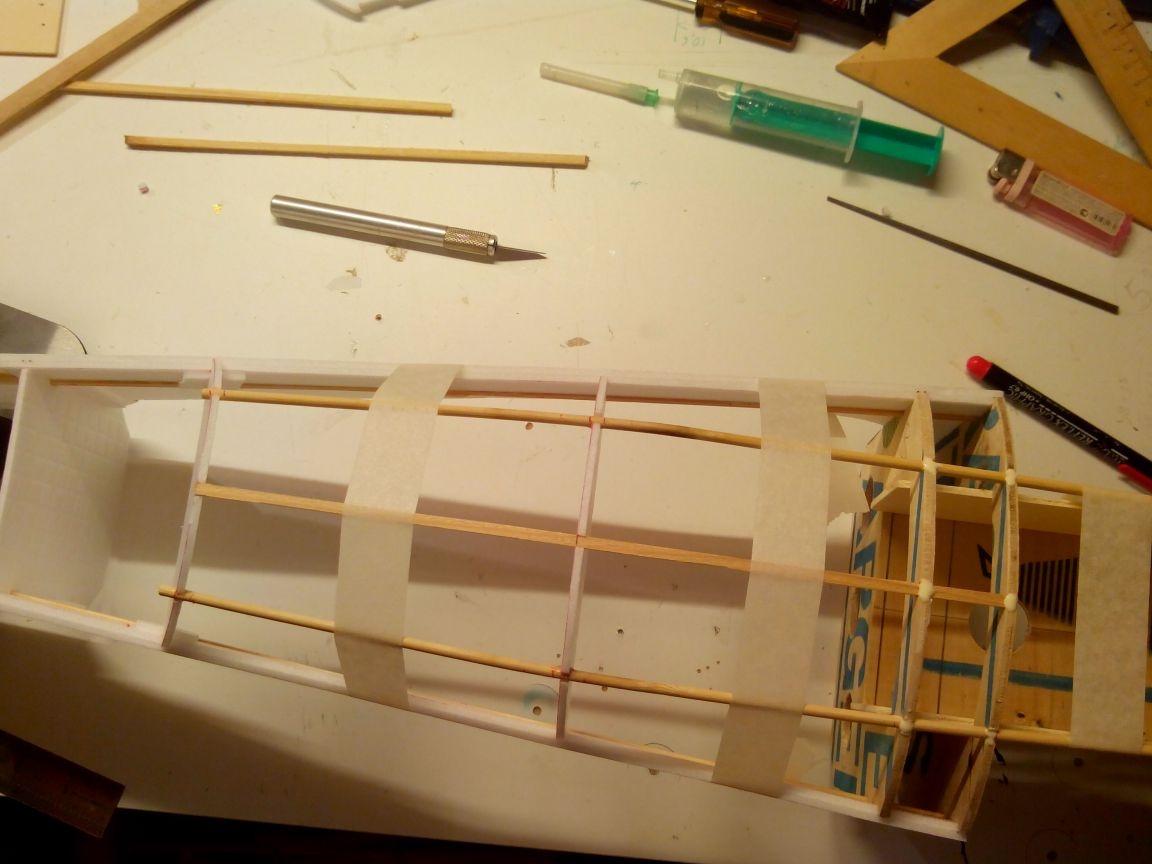
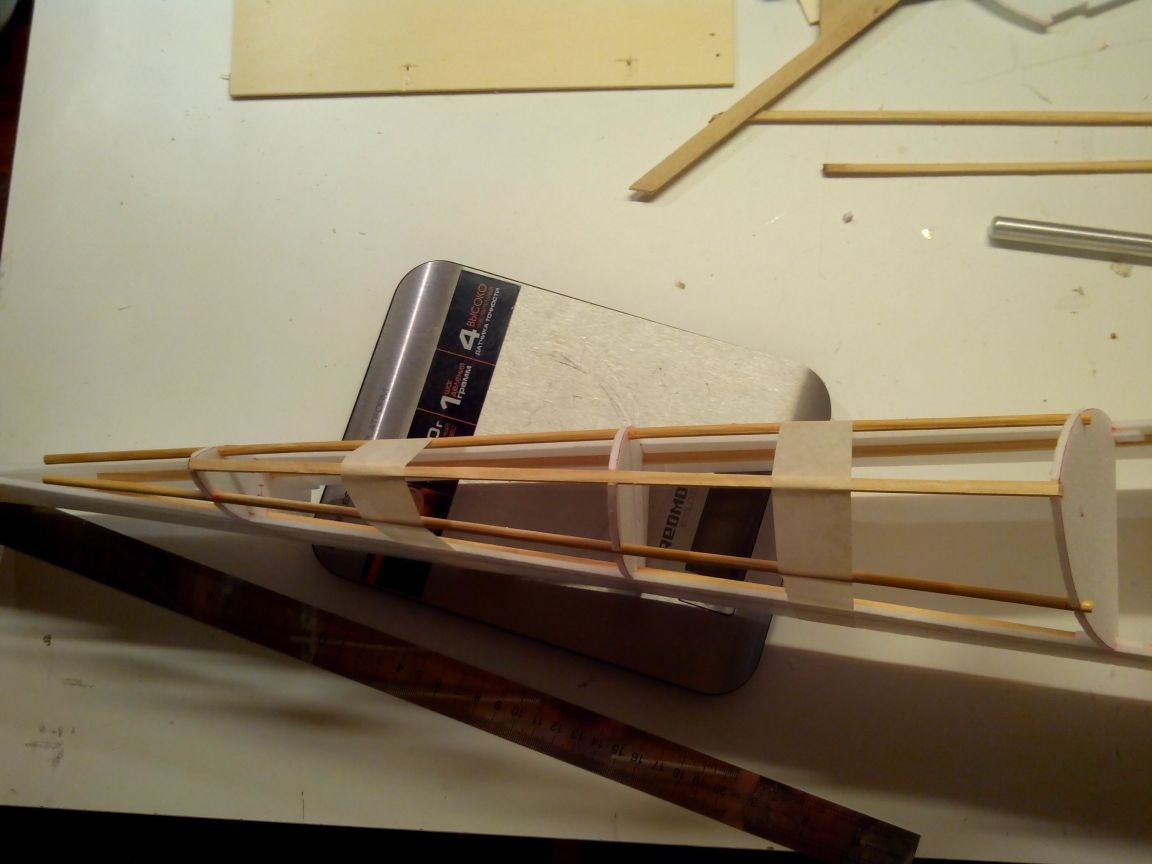
We fix everything with tape or electrical tape.
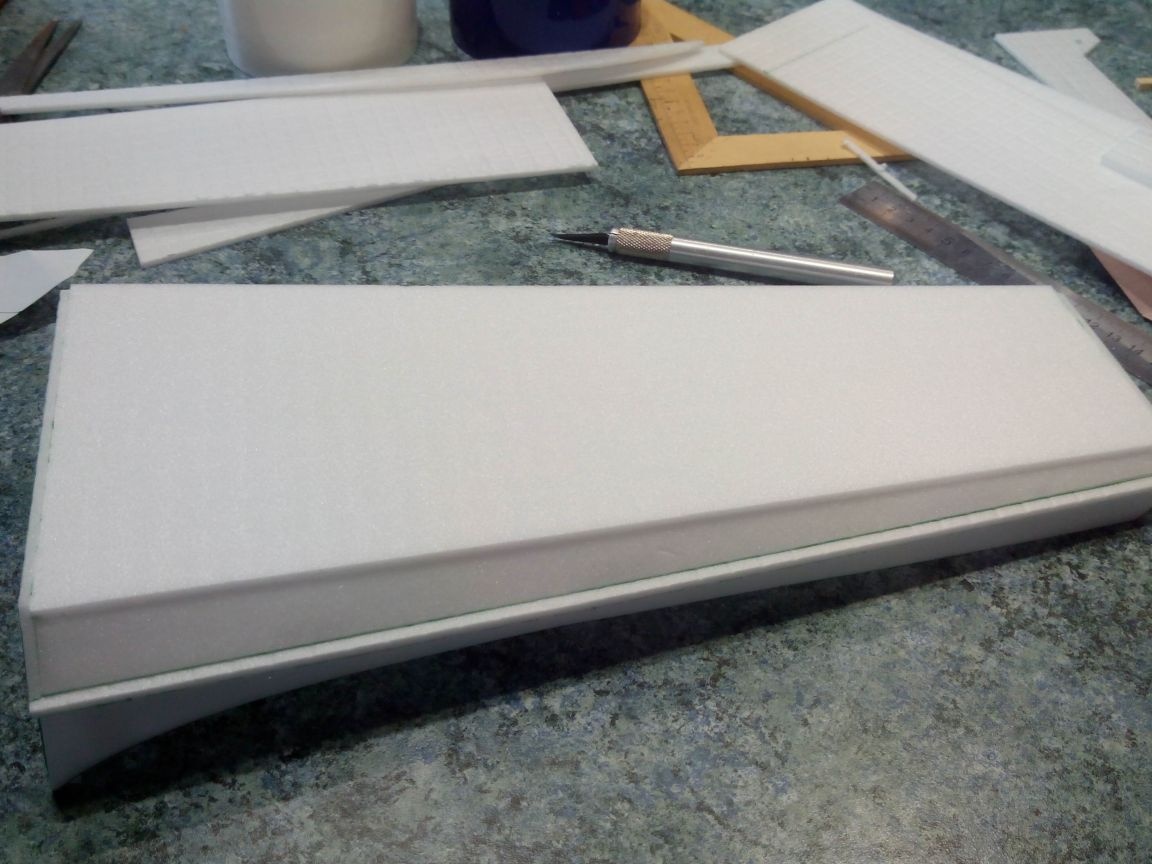
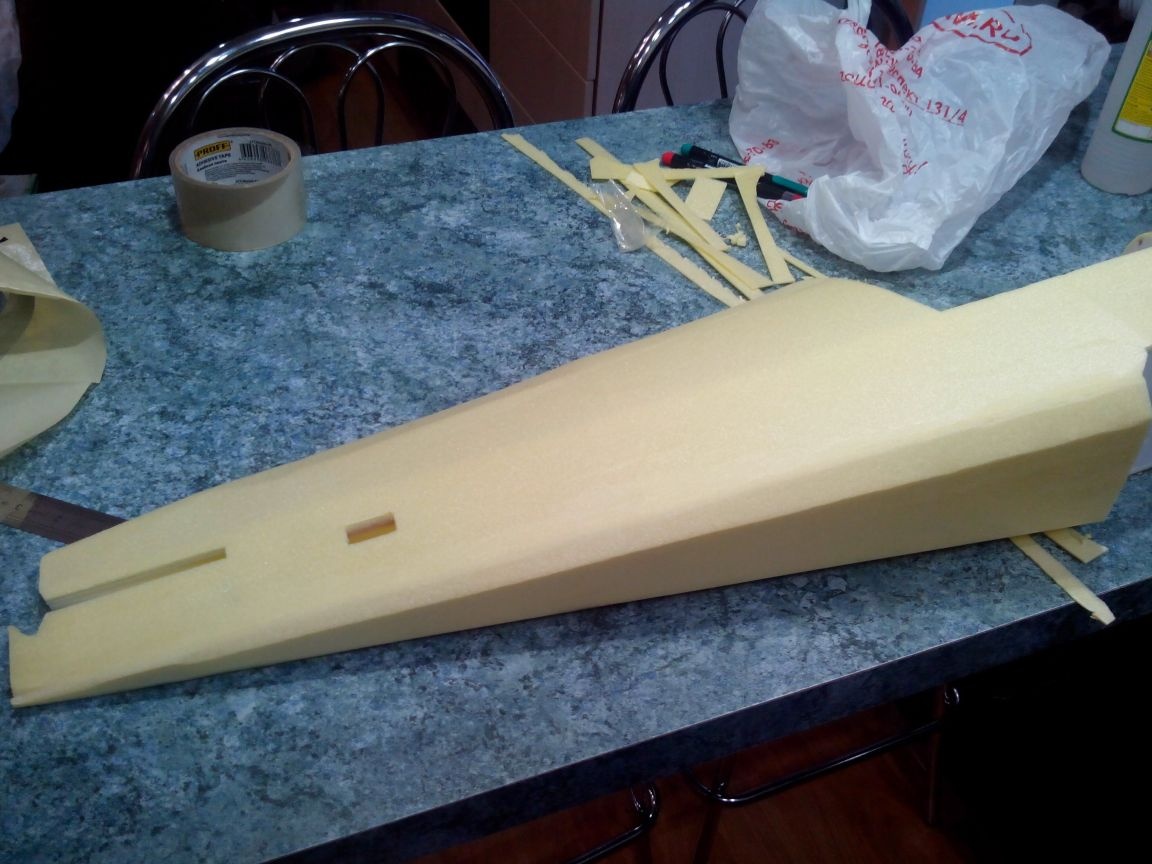
From the bottom we seal the tail part with a ceiling. First, narrow stripes at an angle.
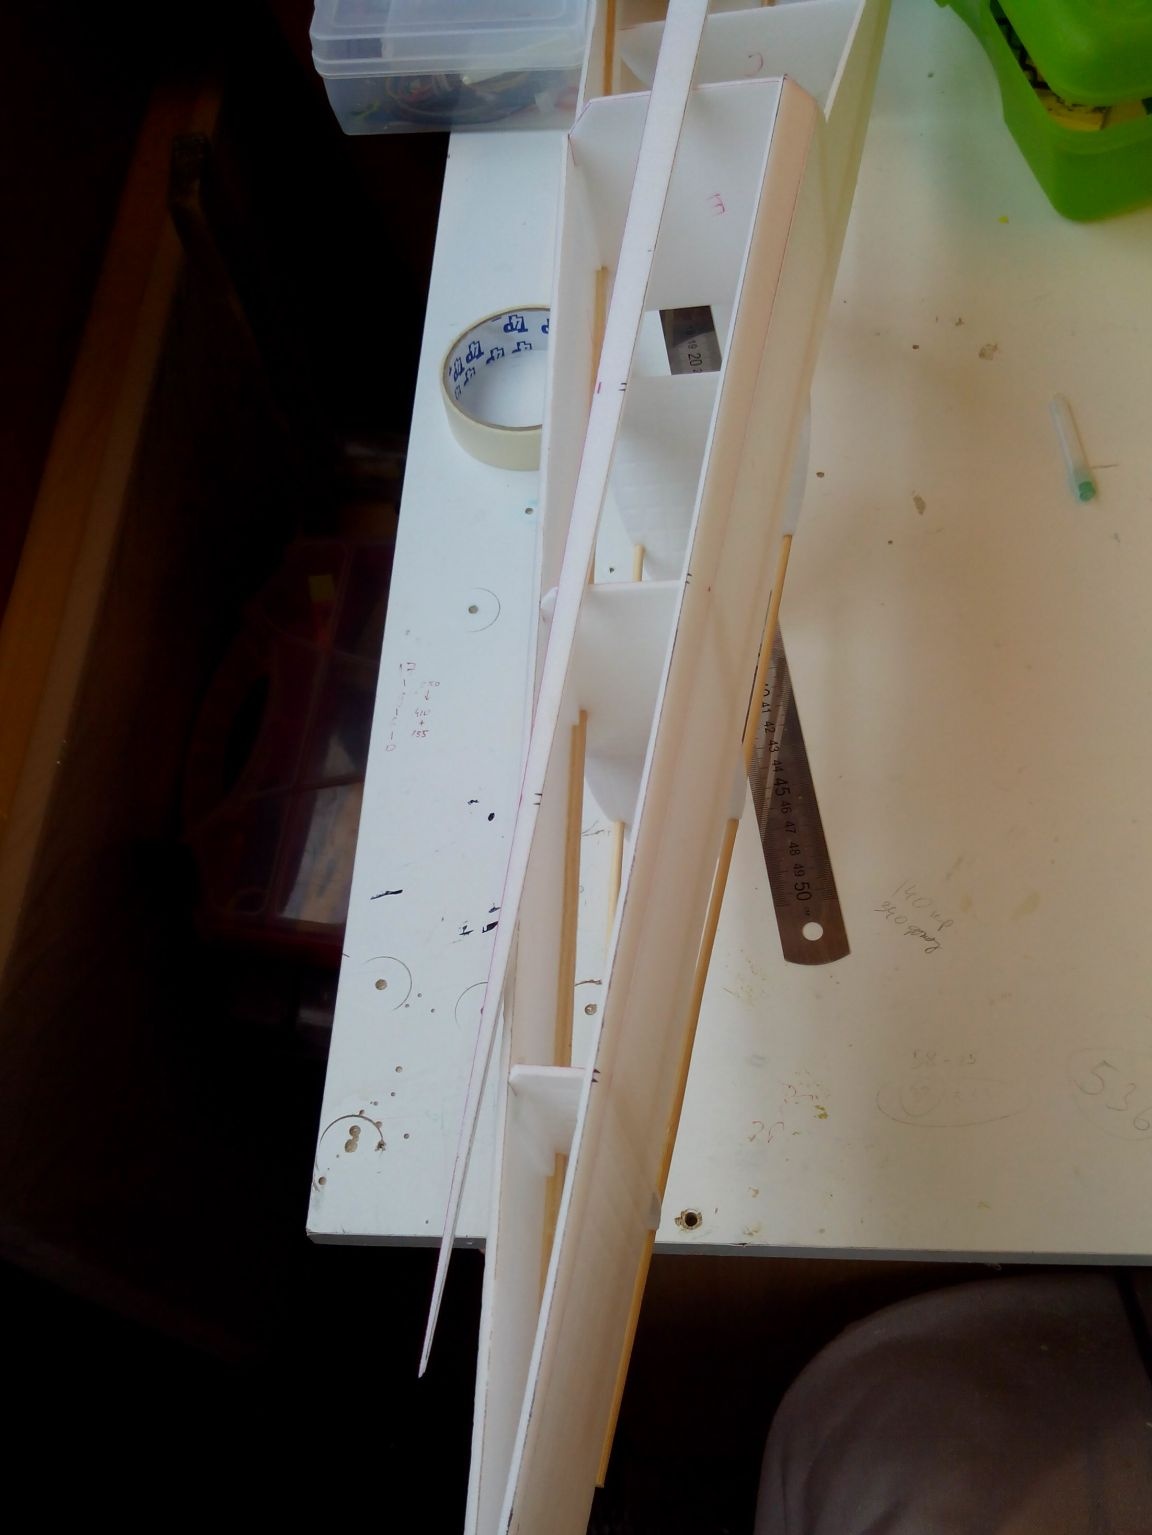
Then, having skinned the excess, we glue the lower part. We fix it with tape.
Skinning finally.
Cut out a place under the stabilizer.
We make holes for the tail servos under the rails on the sides of the fuselage, and the servos themselves are reinforced with frames made of thin plywood.

We lay extension wires right away, while the top has not yet been sealed.
At the base of the front chassis strut we make holes and glue nuts on the inside of the epoxy.
We seal these areas with a ceiling.
We drill holes for mounting the motor on the engine mount.
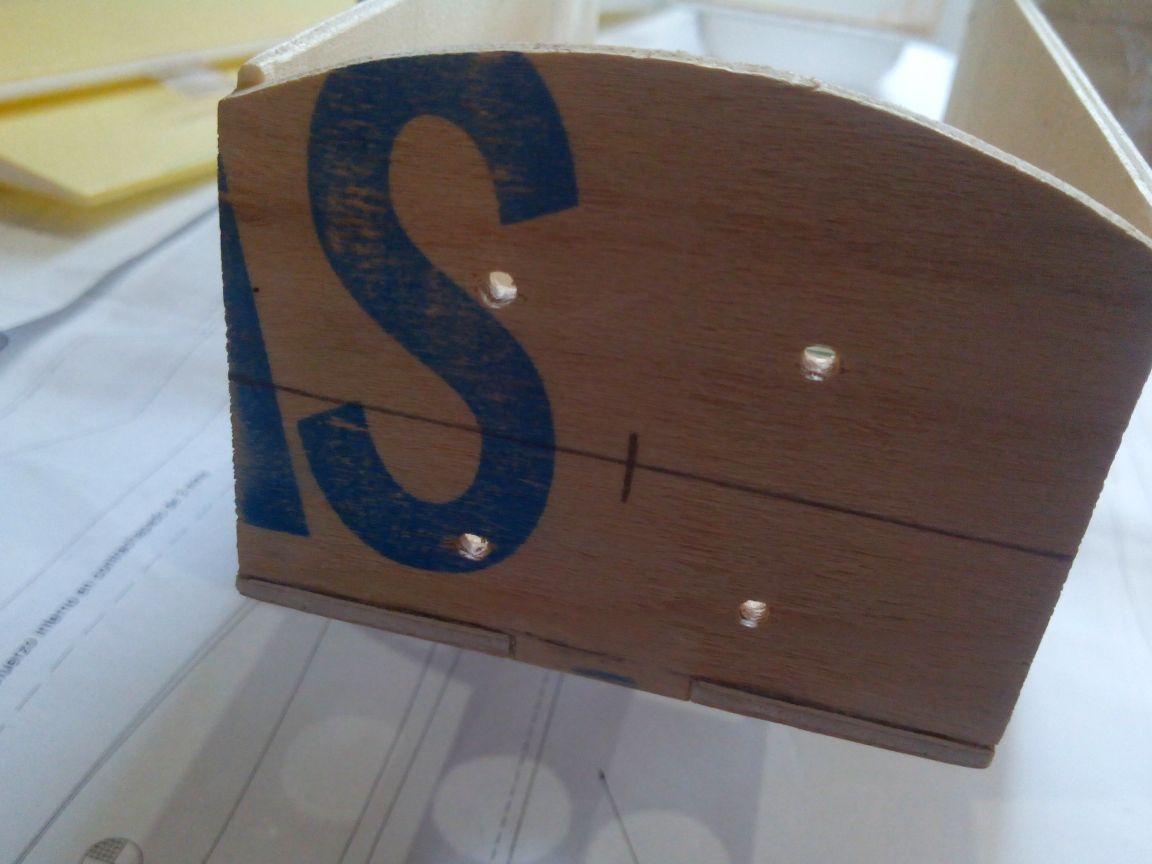
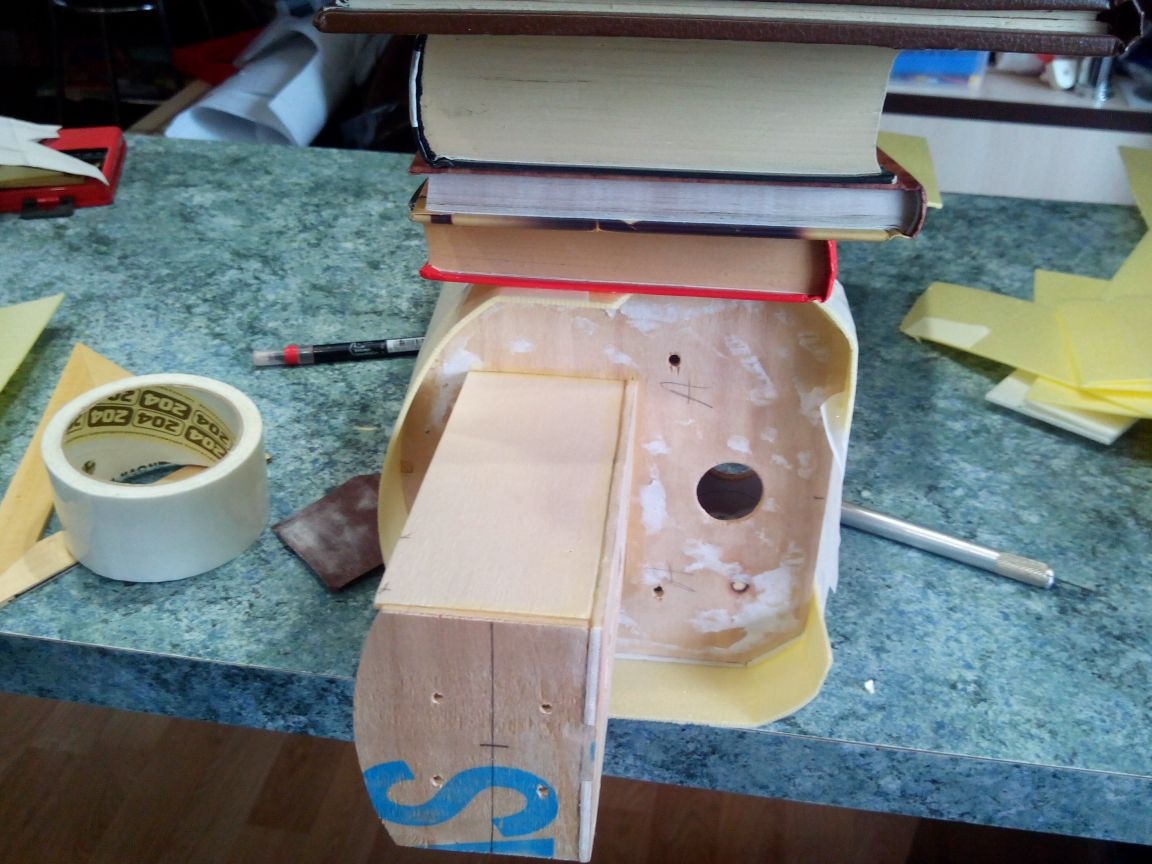
The base of the wing mount is glued from plywood and ceilings.
We glue this base into the fuselage.
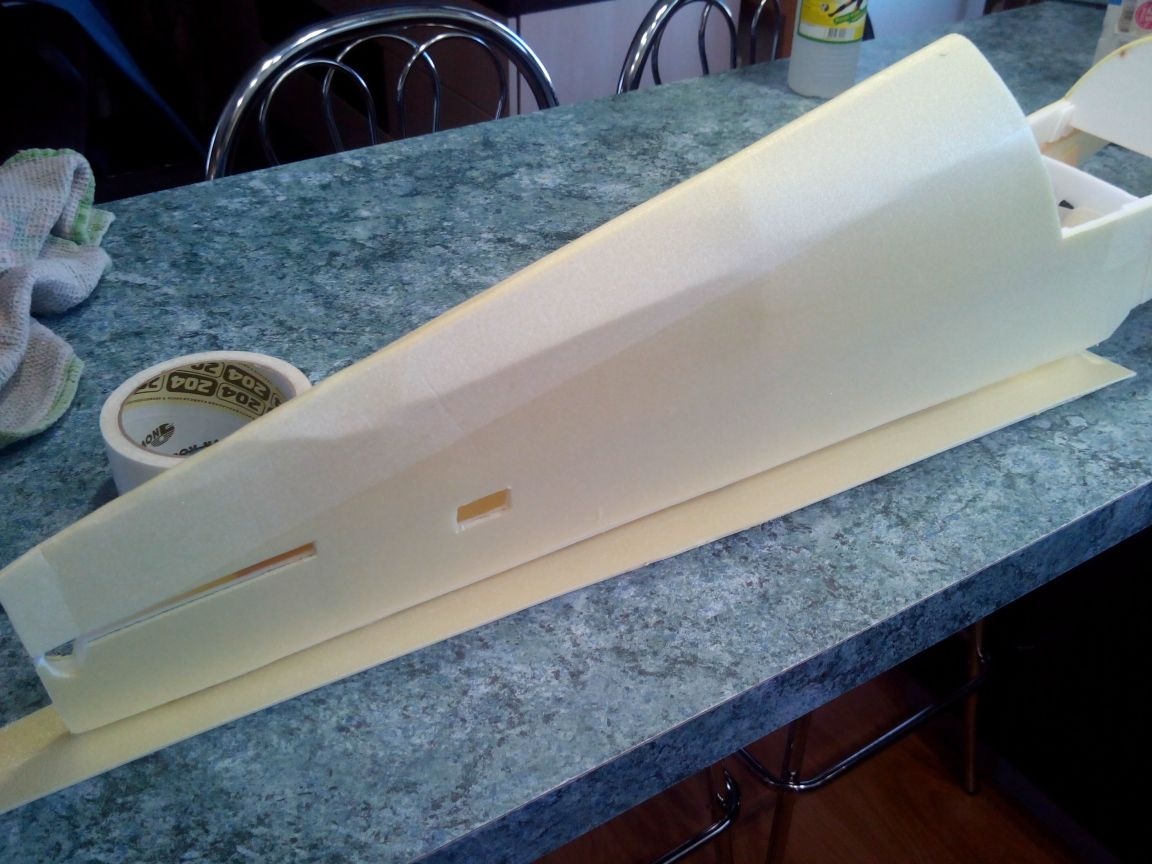
We make the cover under the wing from the ceiling, according to the patterns. And the cover itself is measured on the fuselage.
Glue the side parts to the cover.
Glue the end parts of the cover.

Then glue the strips on the sidewalls at an angle.
And glue the rest.
When the glue dries, sand the corners.
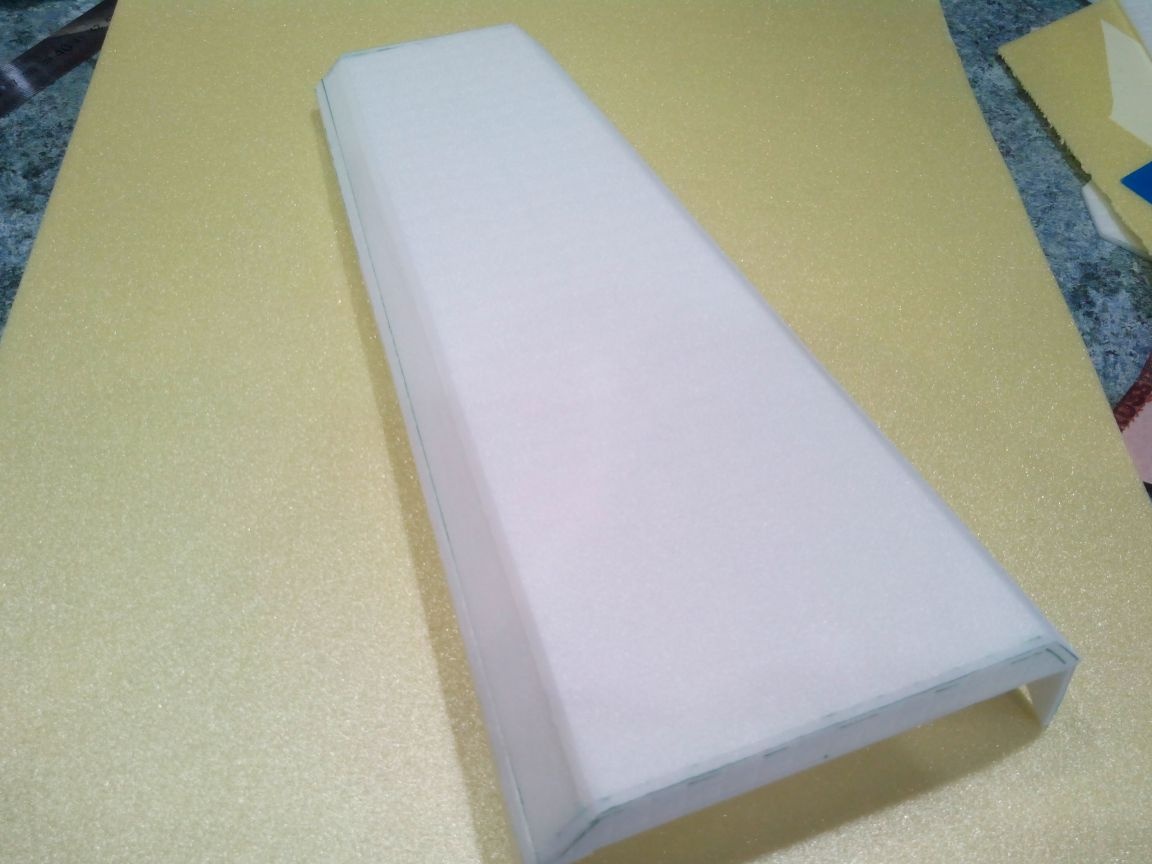
We cover the lid with depron.
And then we cut off the excess and skins.
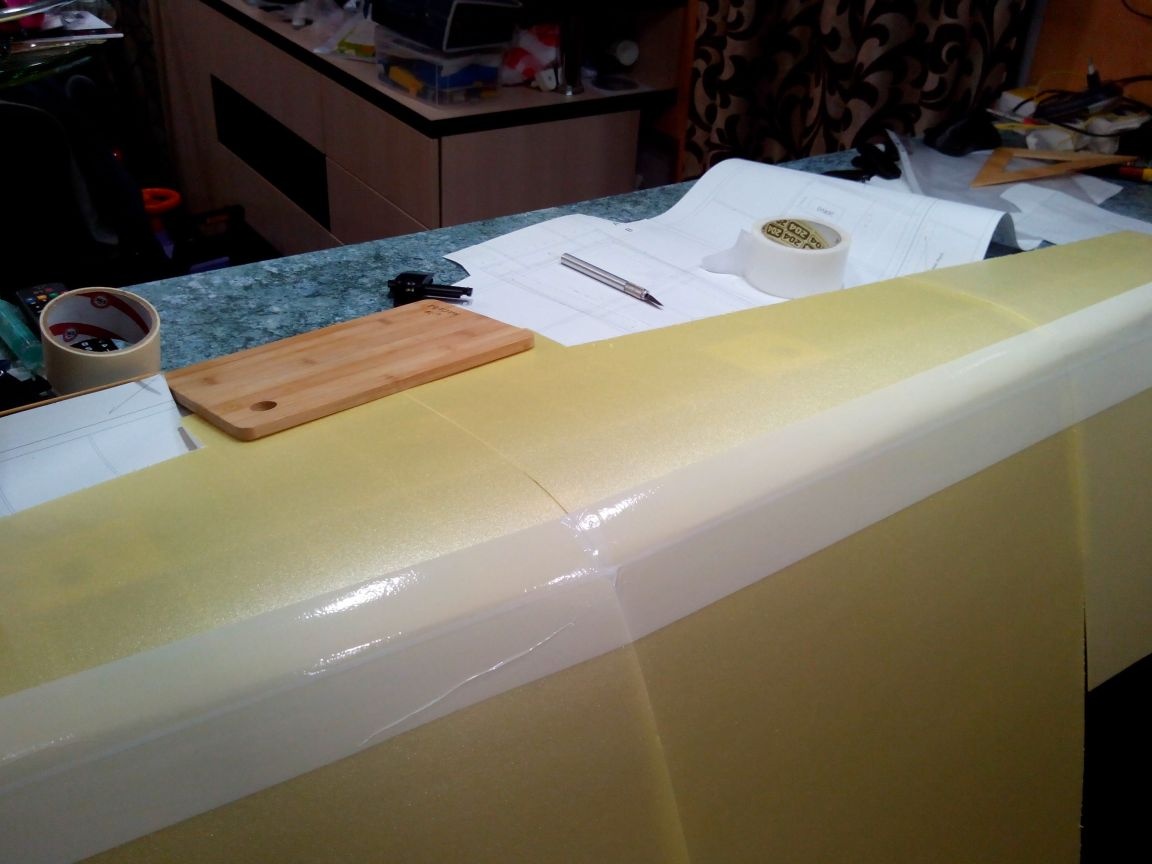
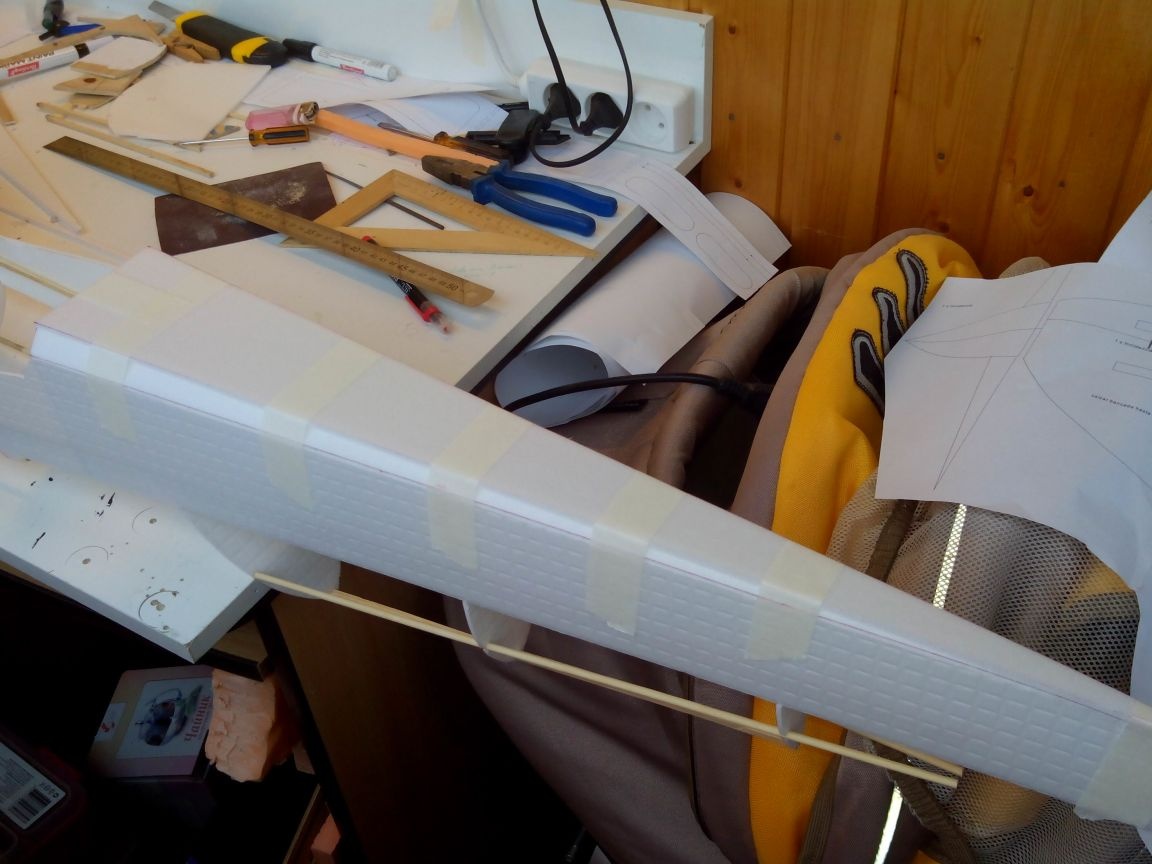
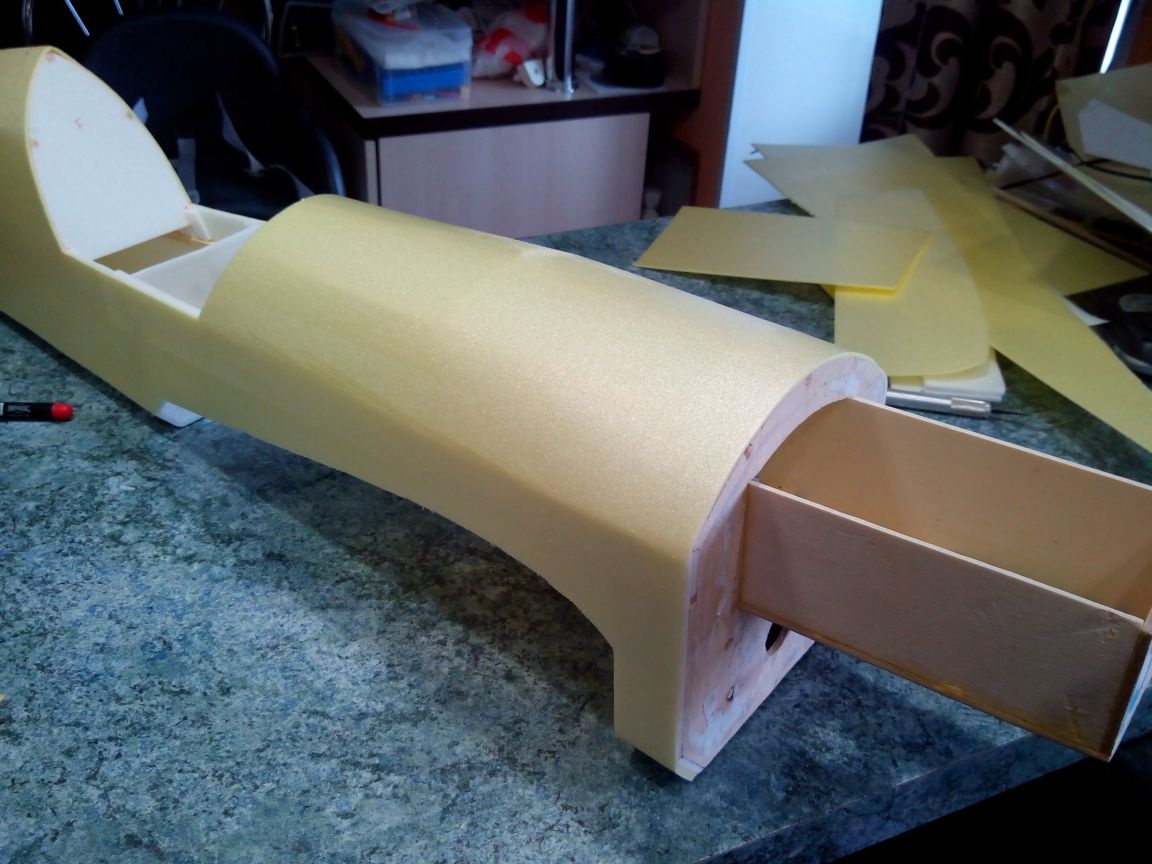
We begin to glue the fuselage with a thin apron, stick tape on the outside of the bends, otherwise the apron will burst.
Dry under load.
We cut the excess with a cutter and process all the edges with sandpaper.
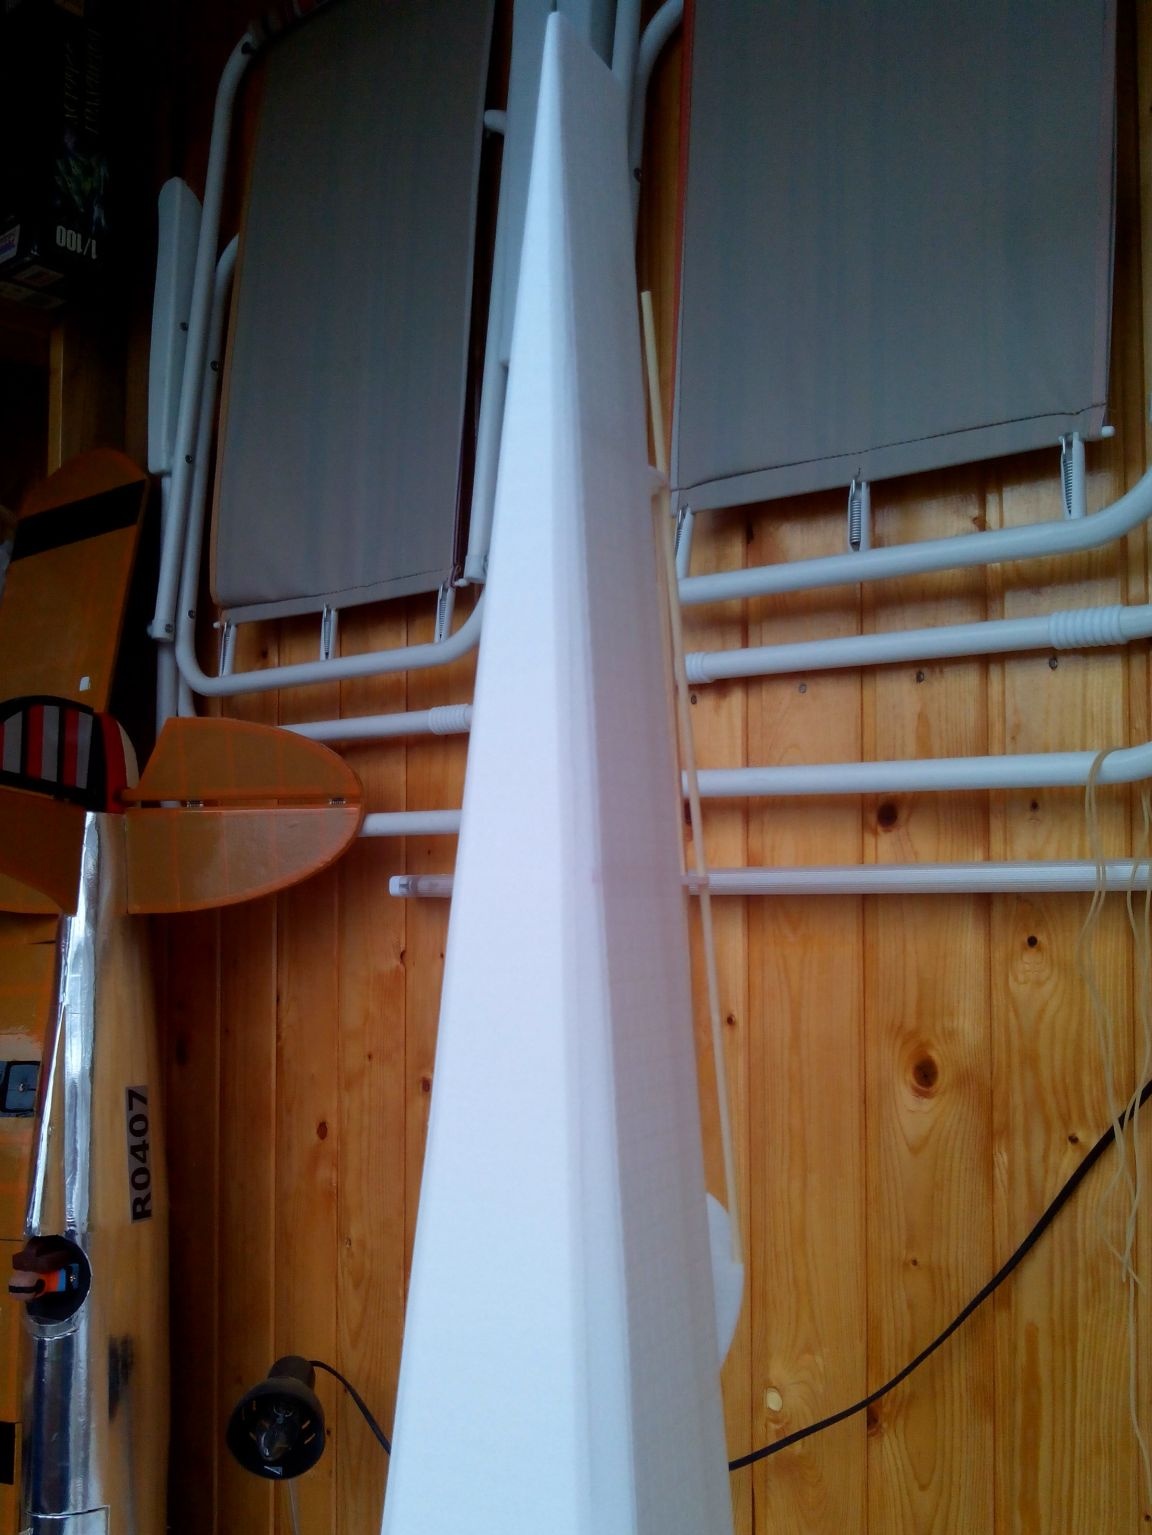
We glue the bottom of the tail with a single piece of depron, but first we glue a small plywood pad under the stabilizer for more rigid fixation of the rear landing gear.
We make a gap under the vertical tail.
Remove excess with a knife and sandpaper.
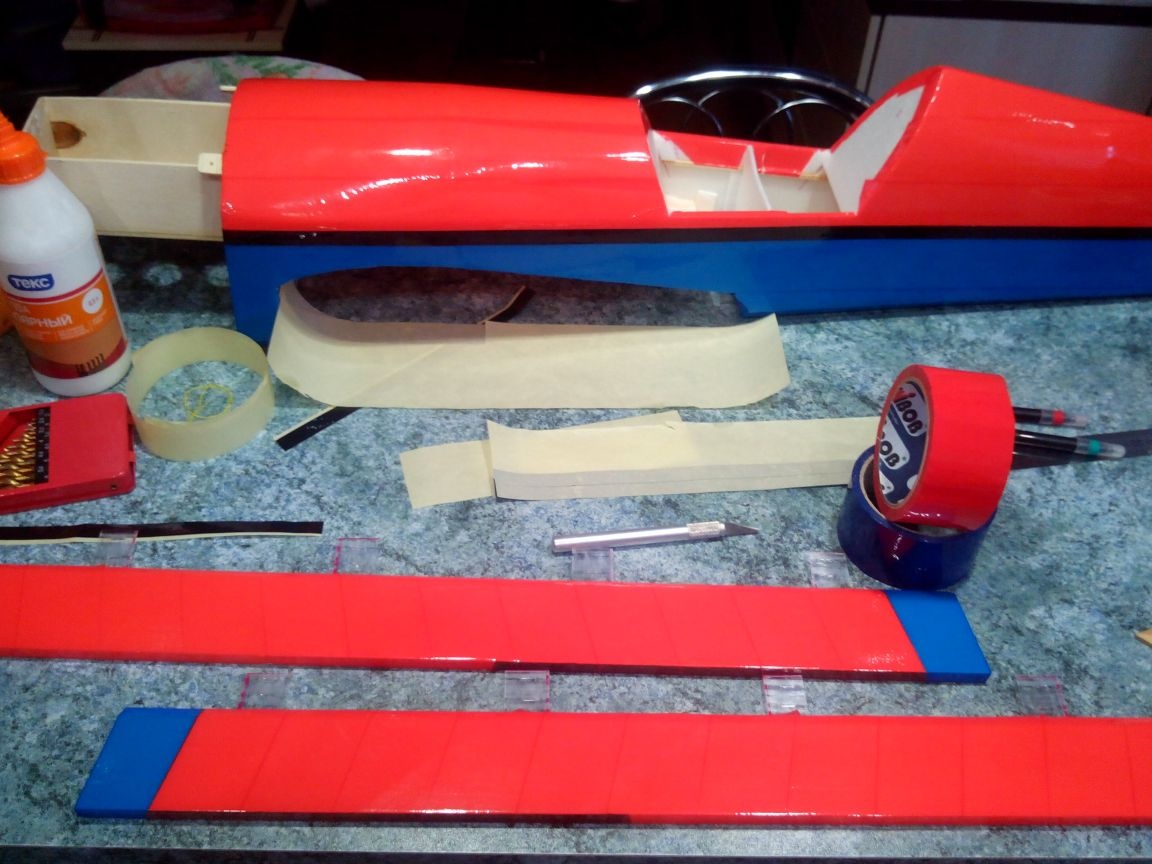
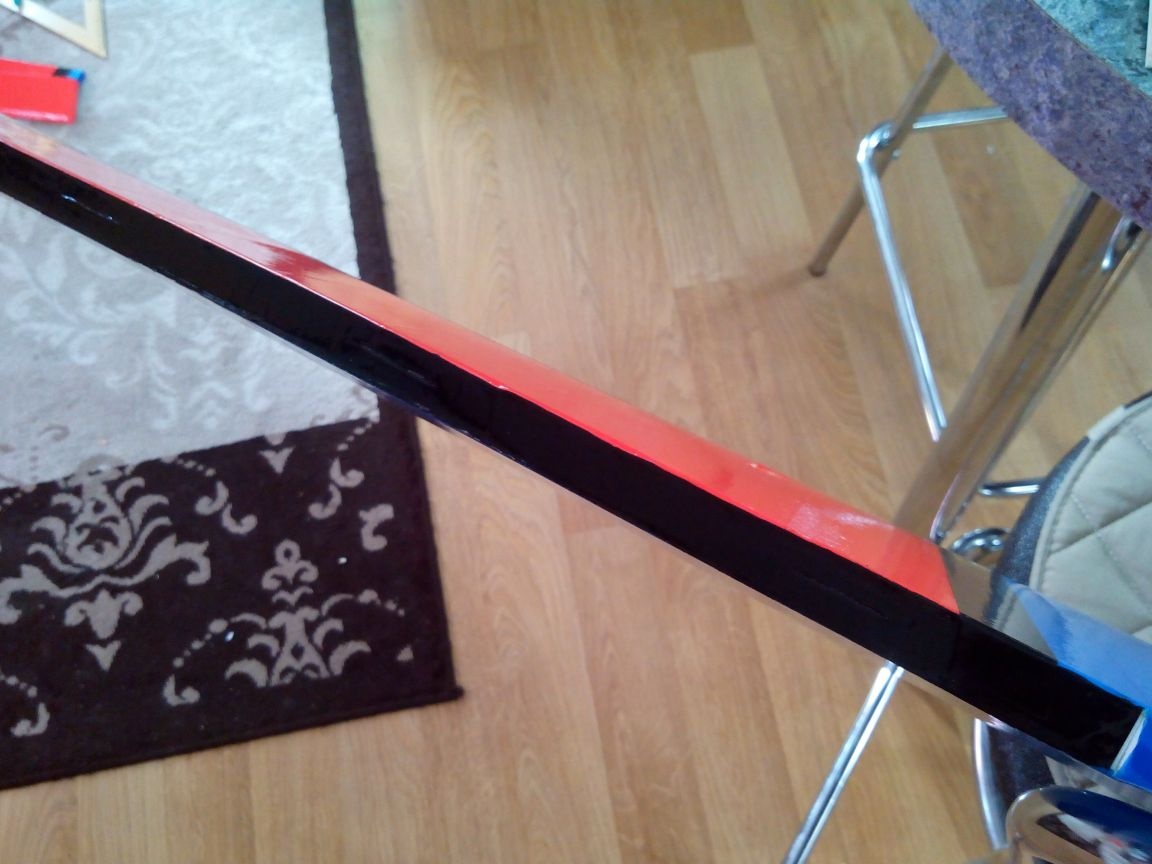
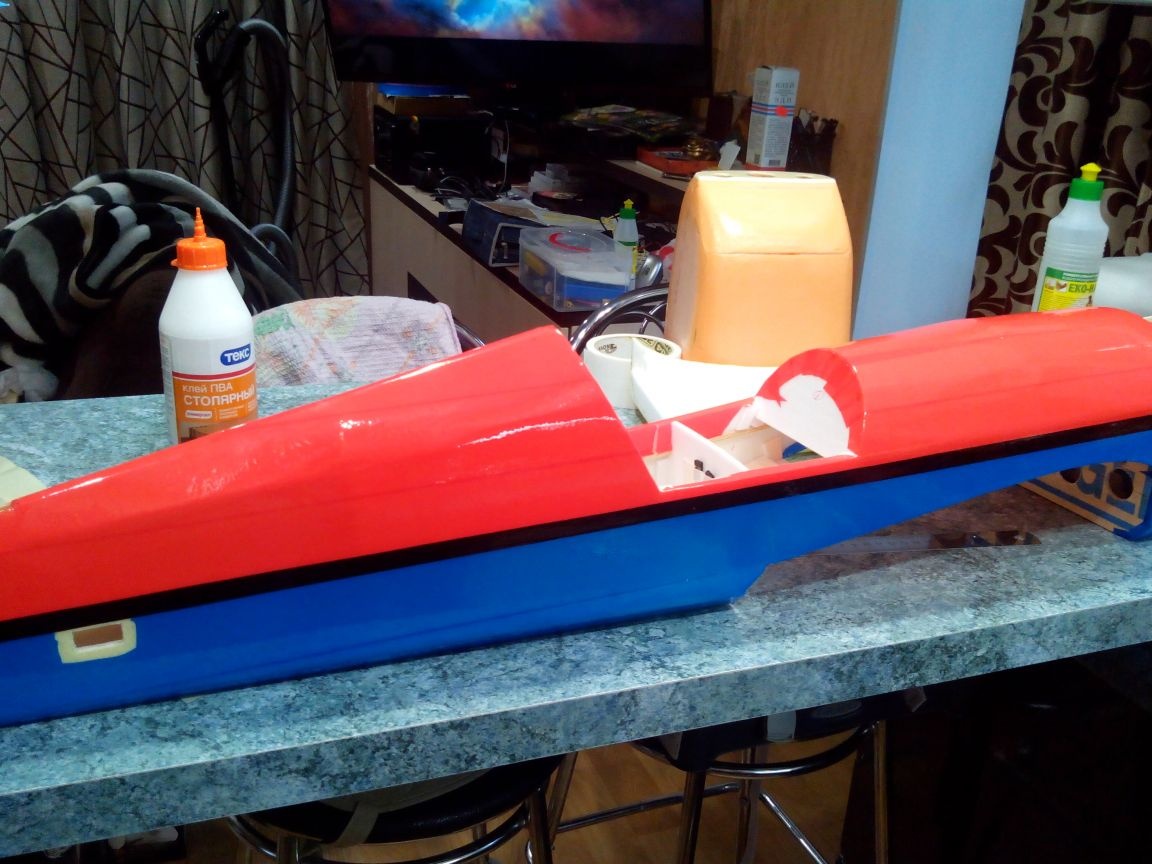
We glue the fuselage with adhesive tape to match the color of the wing.
The bottom is blue.
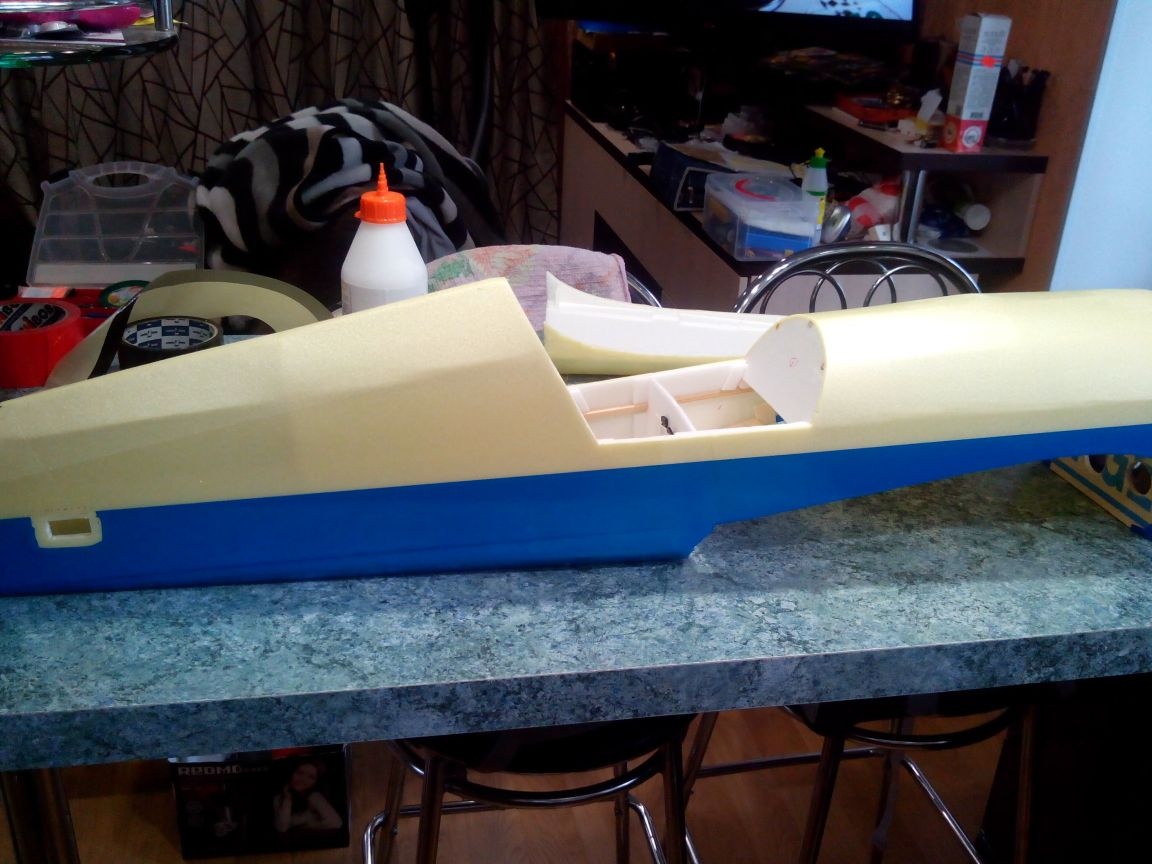
The top is red.
On board we glue a black strip at the junction of red and blue.
Glue the wing cover under blue.
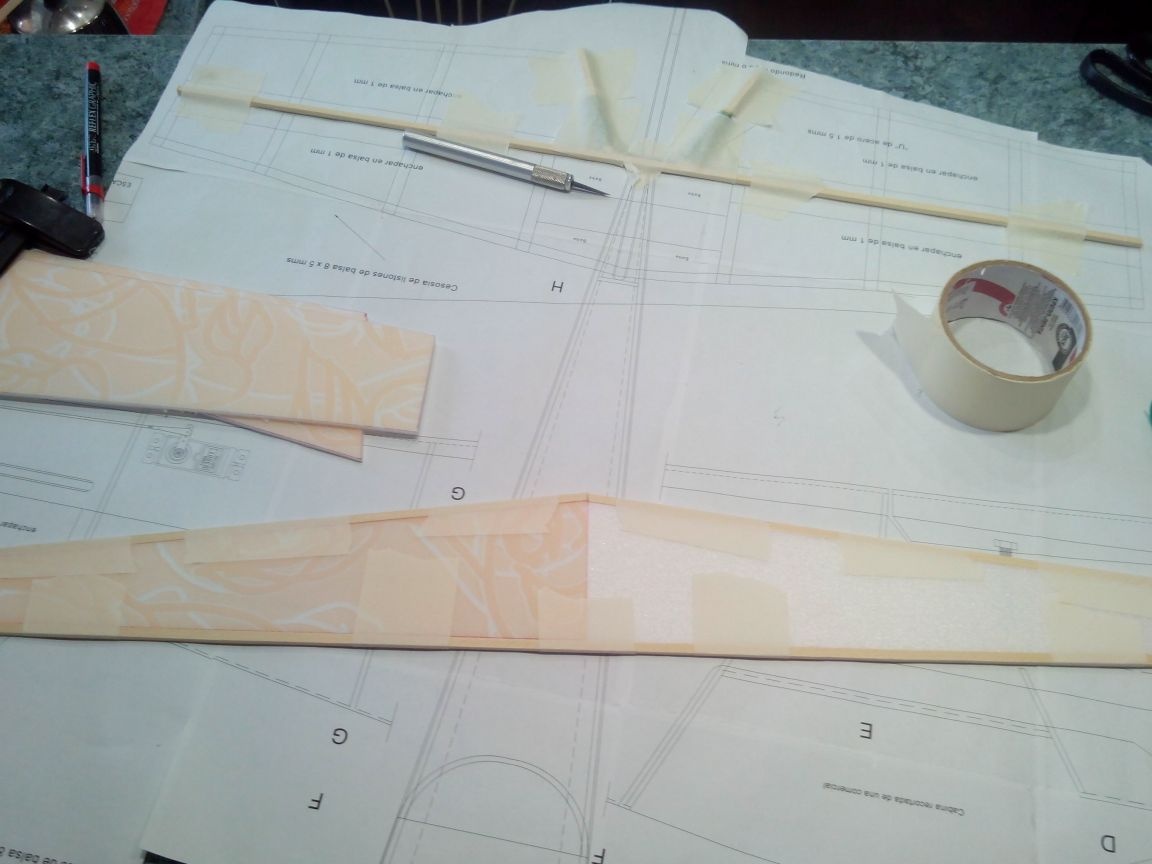
Step 3. Production of the tail
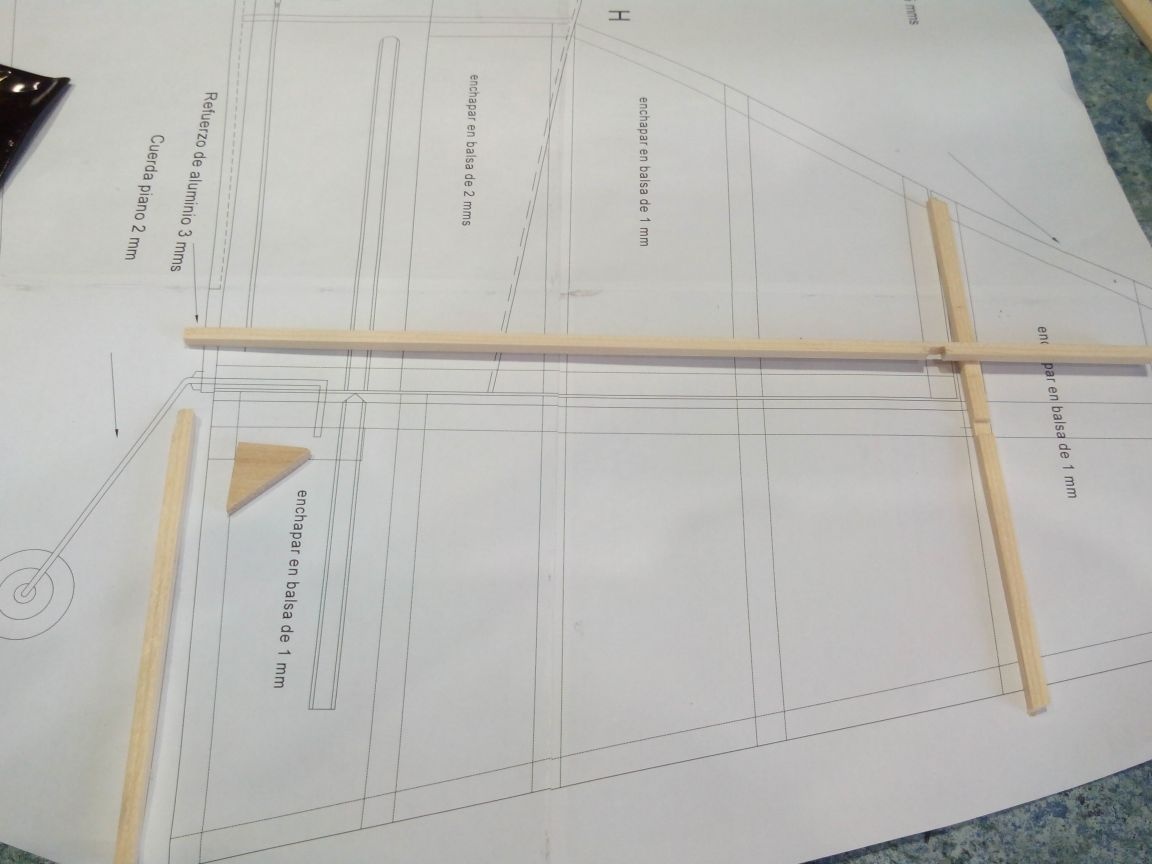
We file rails with a section of 4x5 mm.
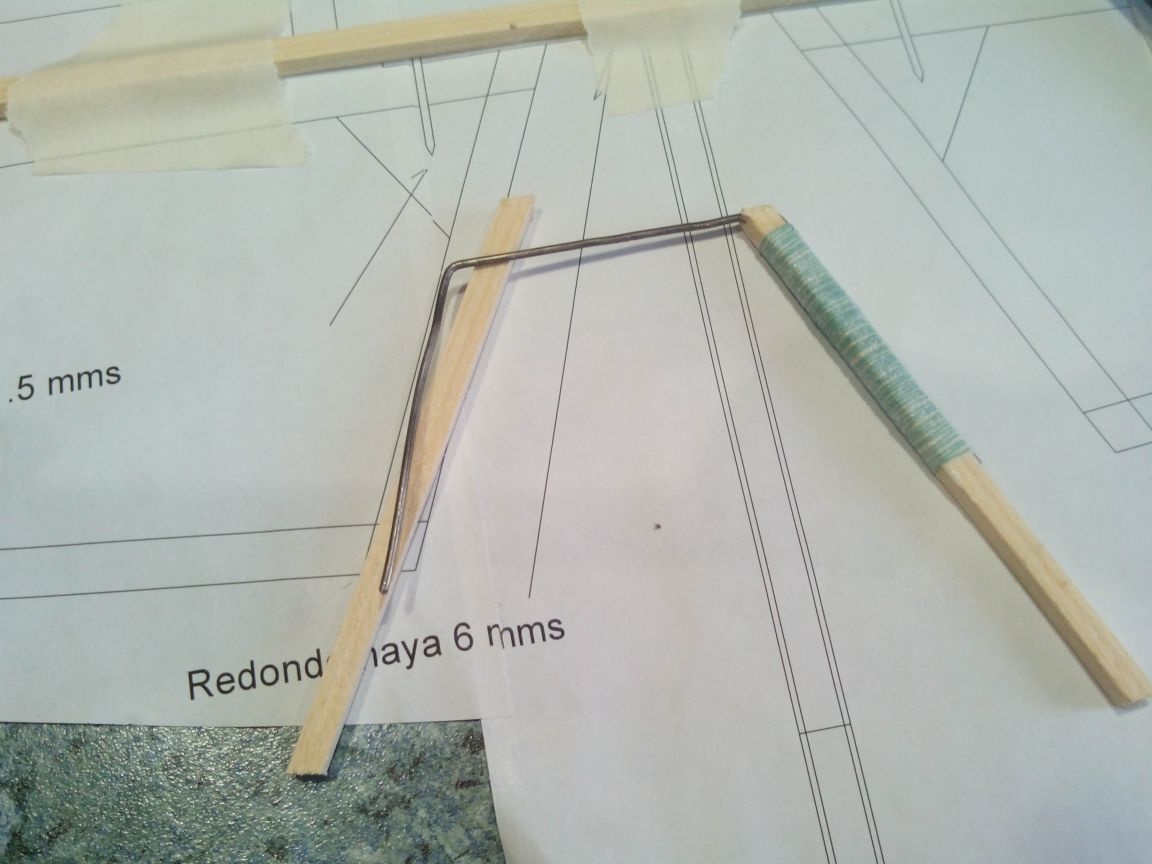
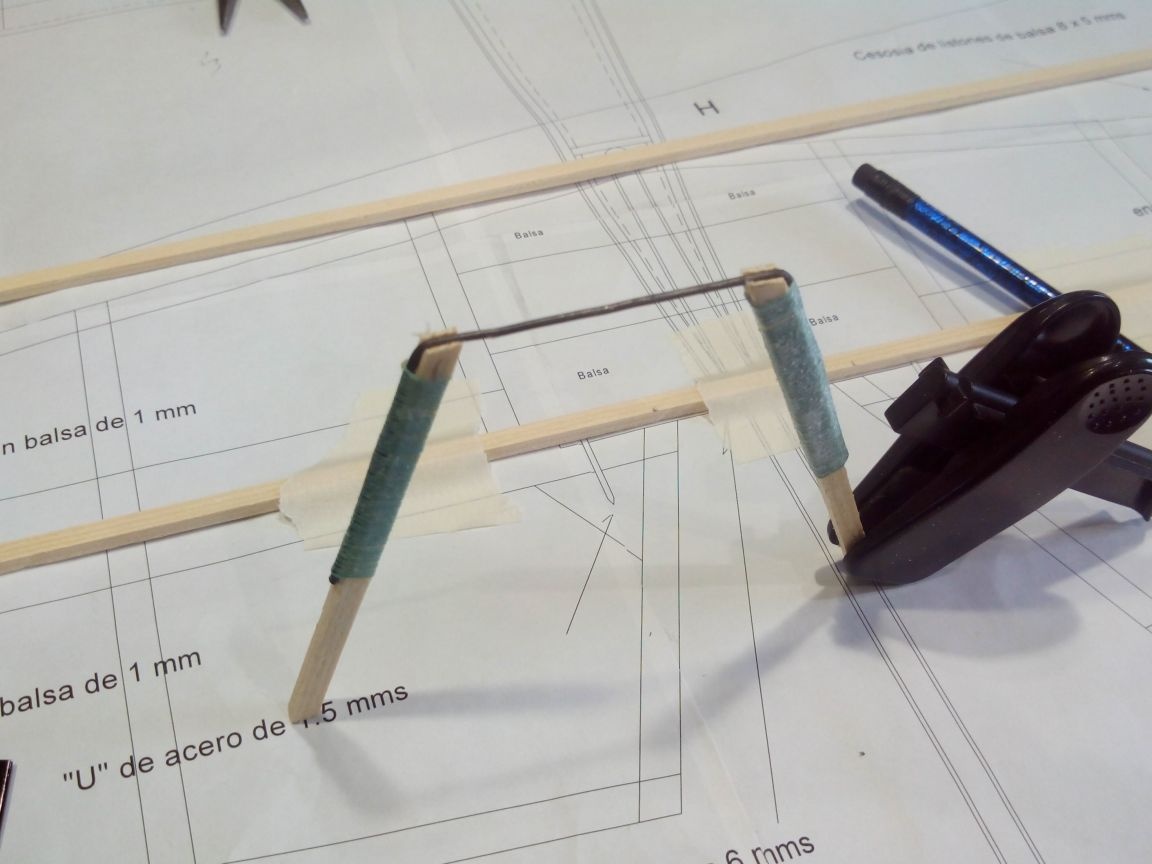
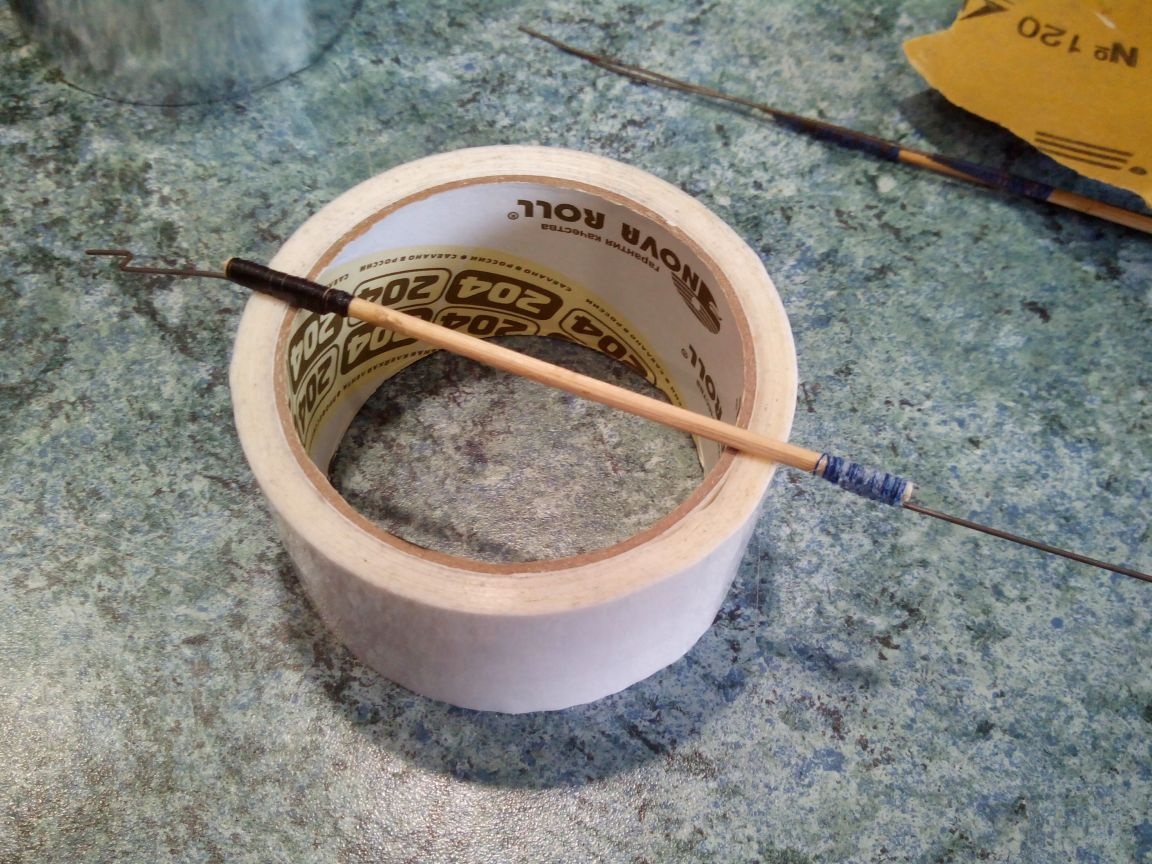
From steel wire and rods we make with the help of threads on glue we make a part whose name I have not found anywhere else - it is needed to connect the halves of the elevator.
From the ceiling we cut out the internal parts of the stabilizer.
We glue the edges of the rails and the part described above to them.
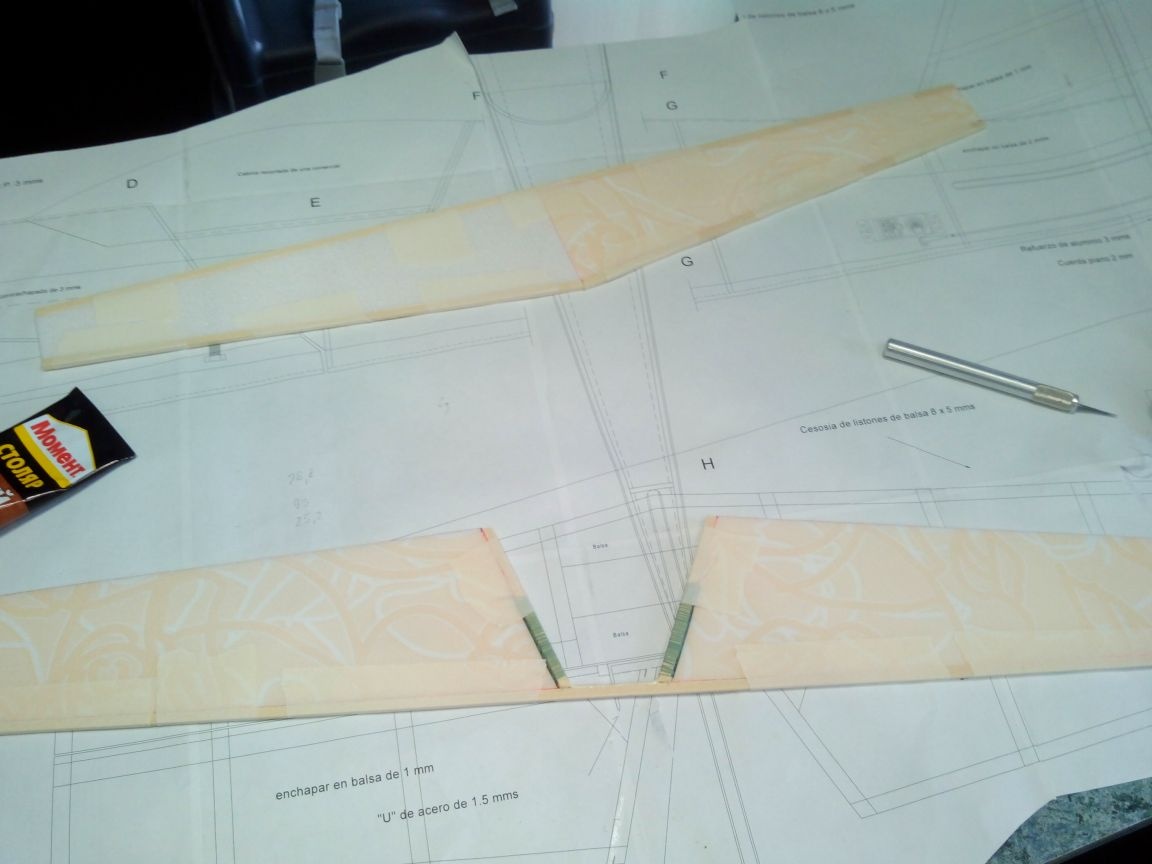
We assemble the rudder frame from slats and a piece of plywood.
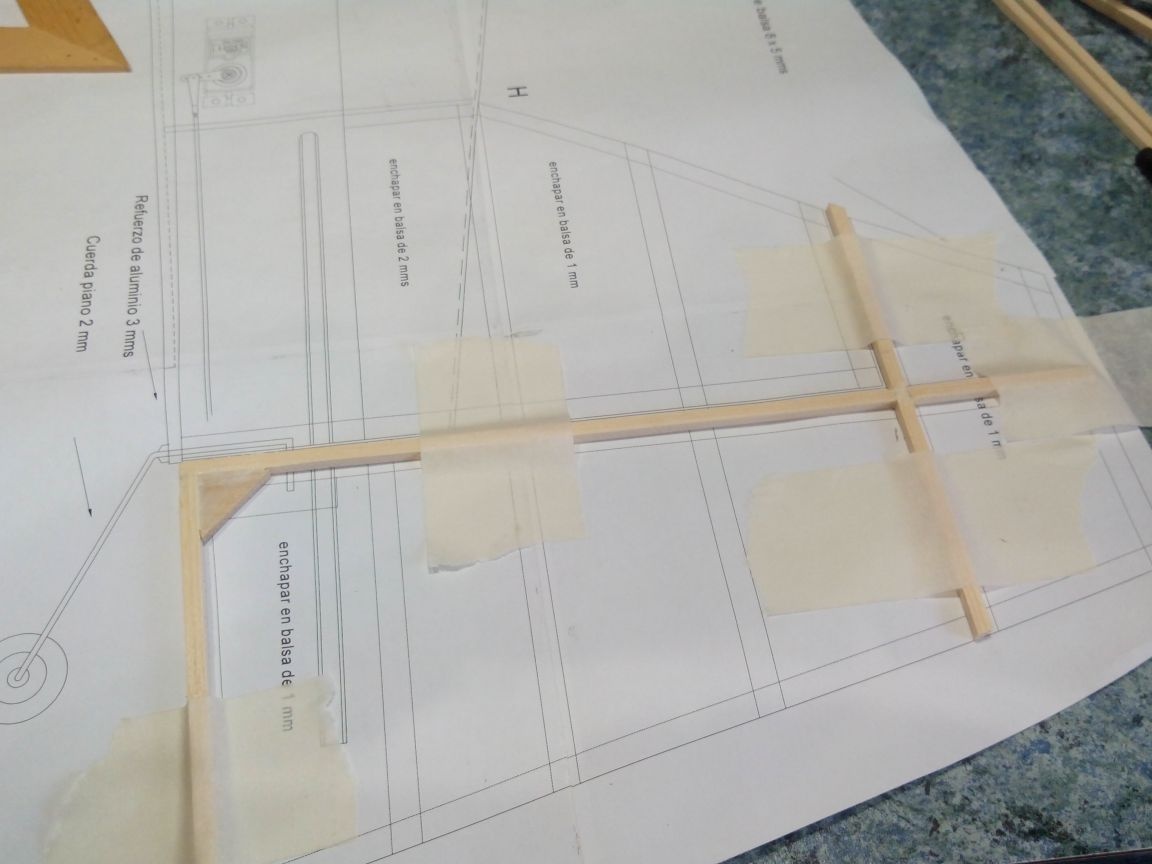
We glue the internal parts from the ceiling.
The keel is cut out of the ceiling tiles and also glue the slats.
Then we glue the resulting stabilizer and keel on both sides with a thin depron.
Cut off the excess from the keel so that it rests on the last frame and stabilizer.
Loops - from adhesive tape, matching the color of the model.
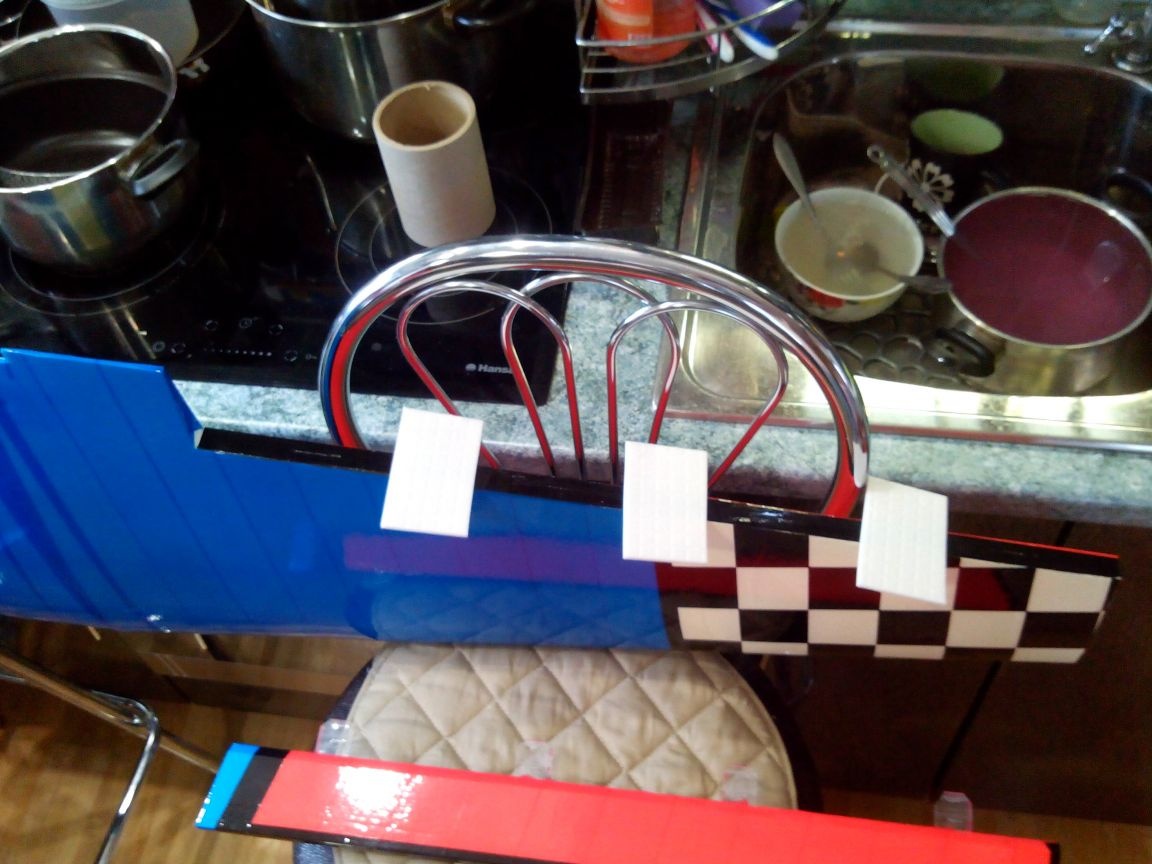
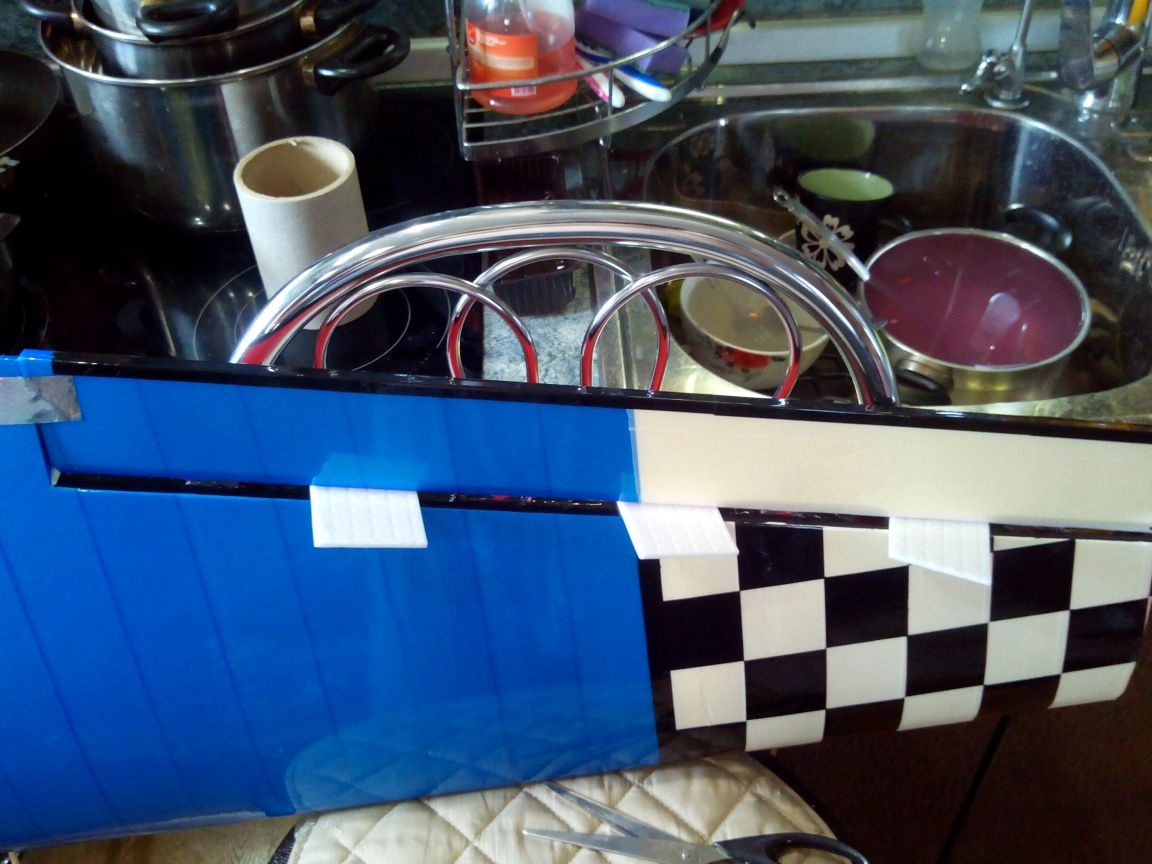
We glue the tail unit with blue tape, only the bottom of the stabilizer in the checker.
Edges - with black tape
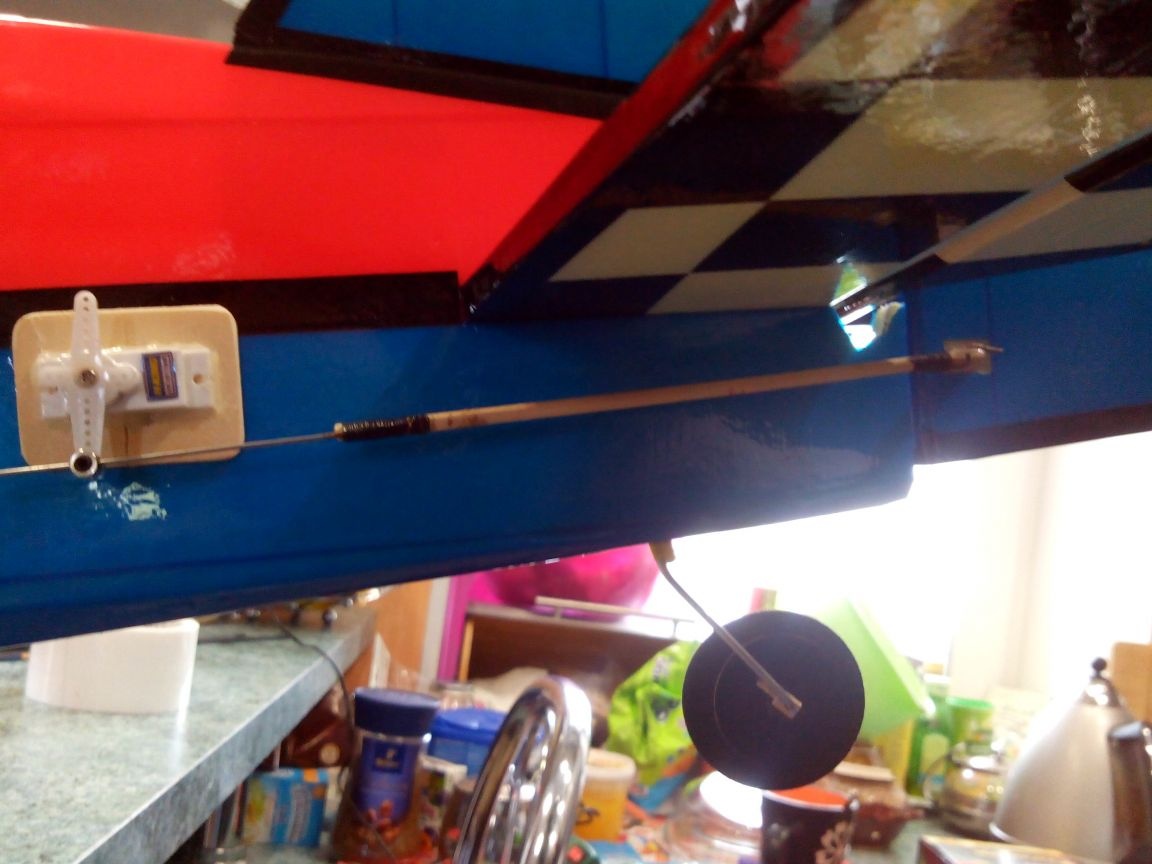
We glue the tail servos.
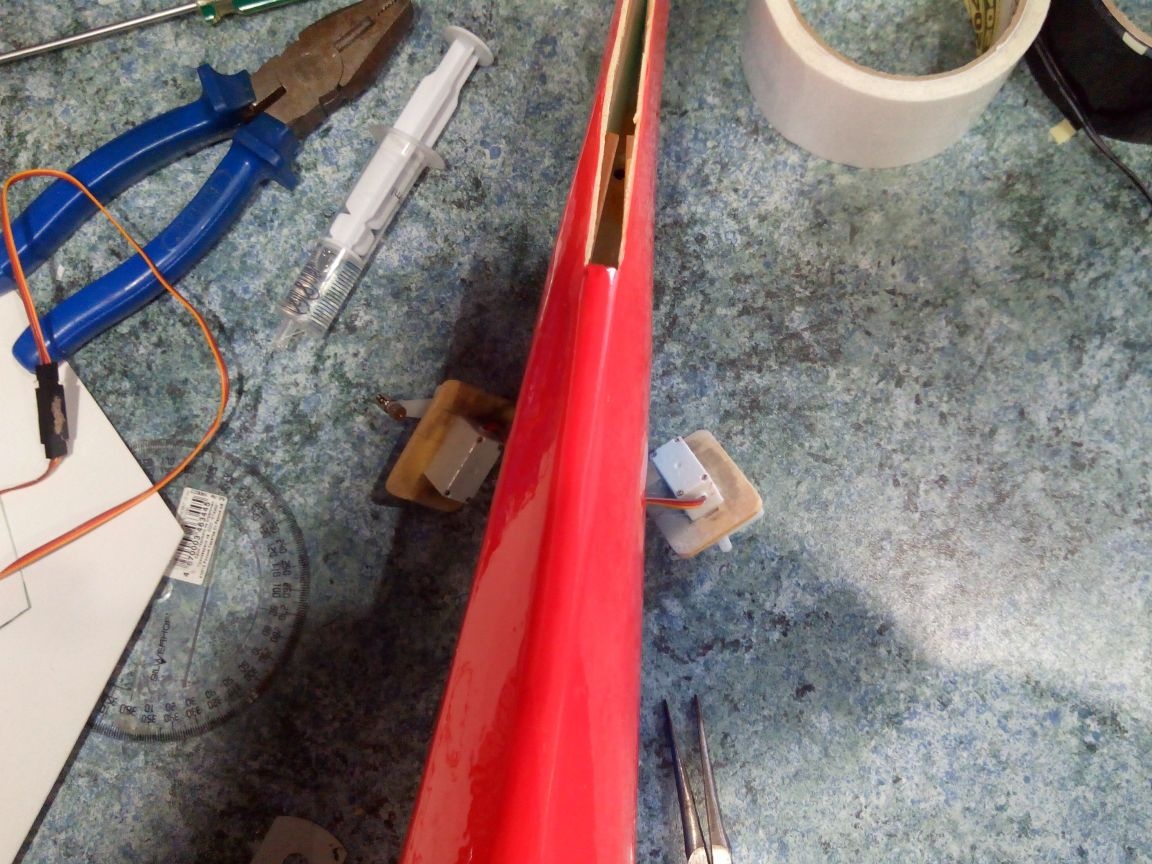

We paste boars on an epoxy.
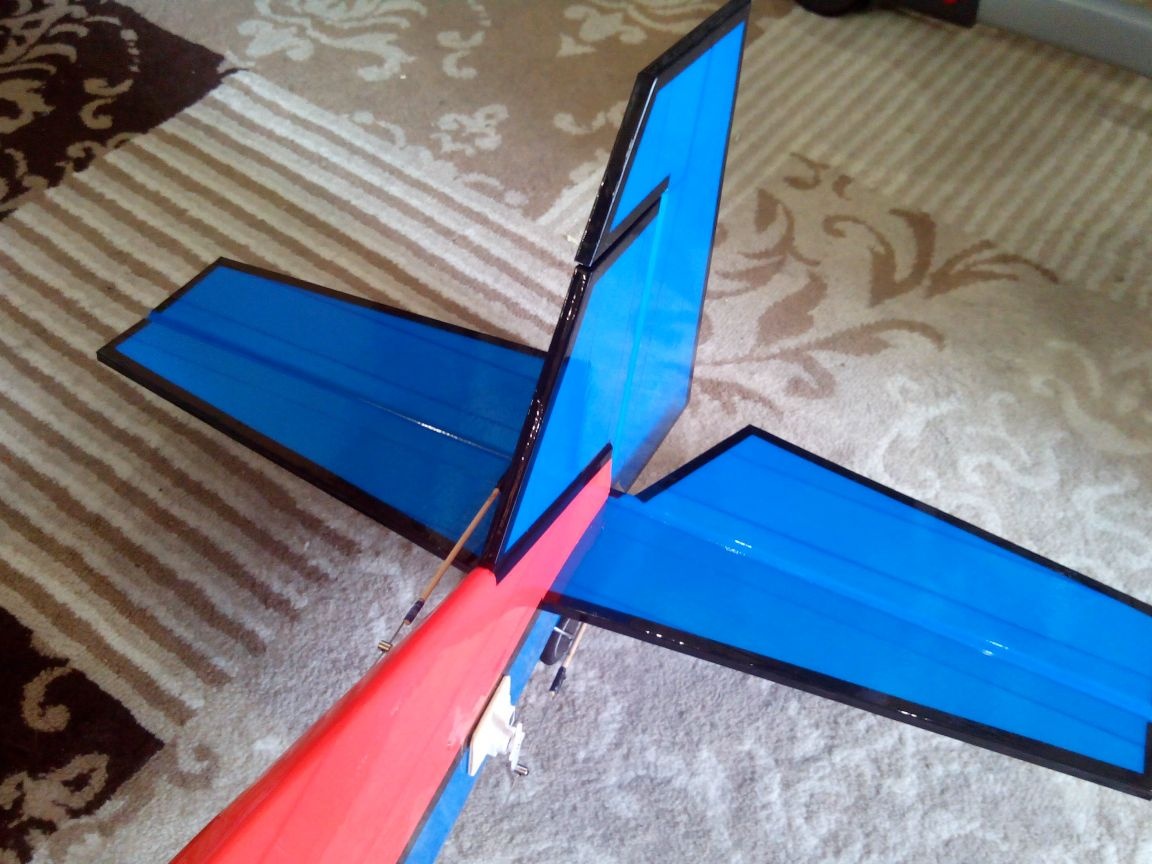
Now you can glue the stabilizer.
Then glue the keel.
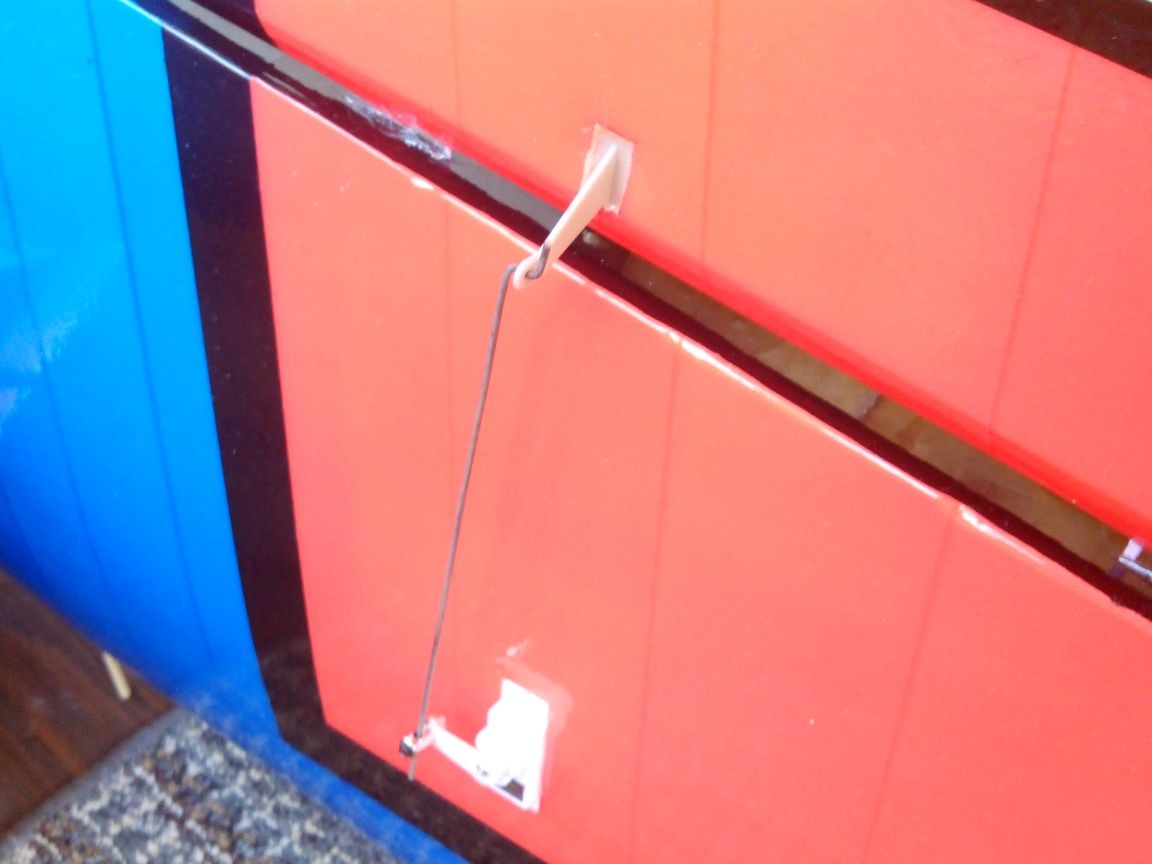
We make rods of bamboo skewers and wire.
We fix the rods with clamps.
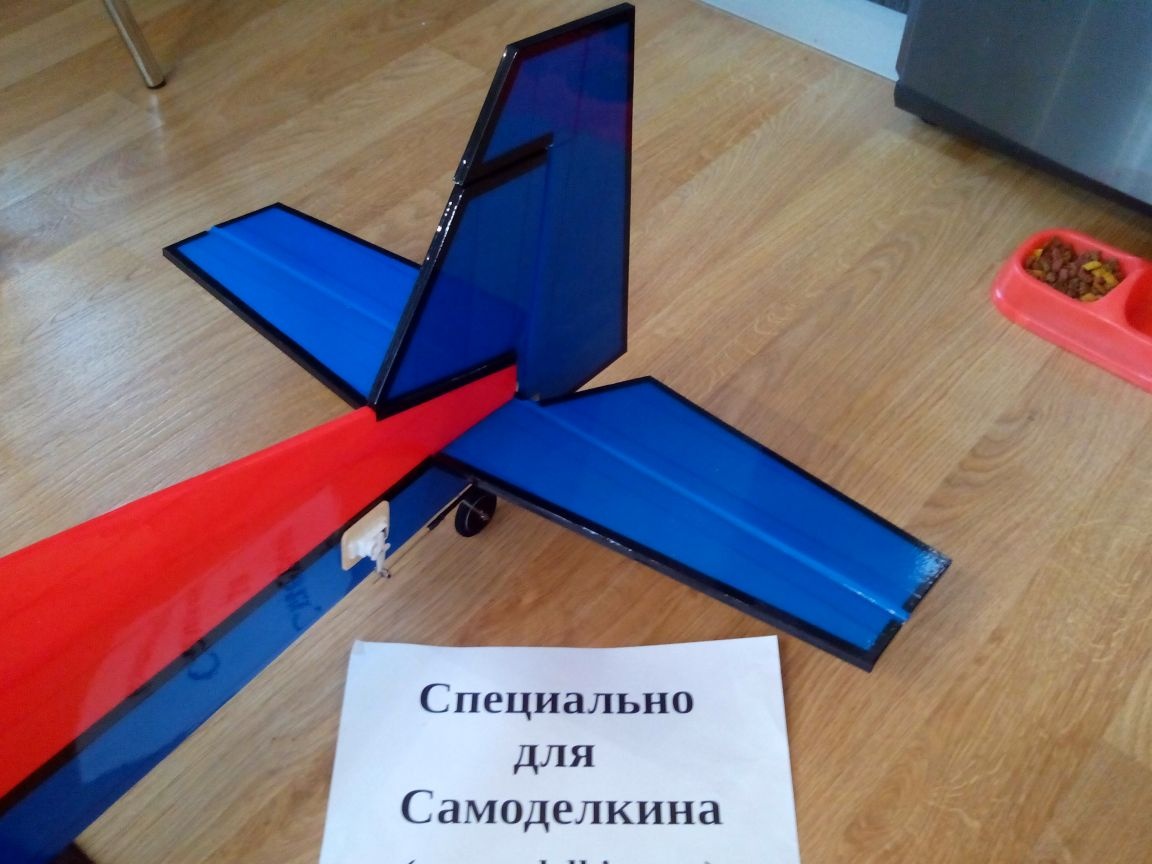
The tail is done.
The rods are painted black with a marker.
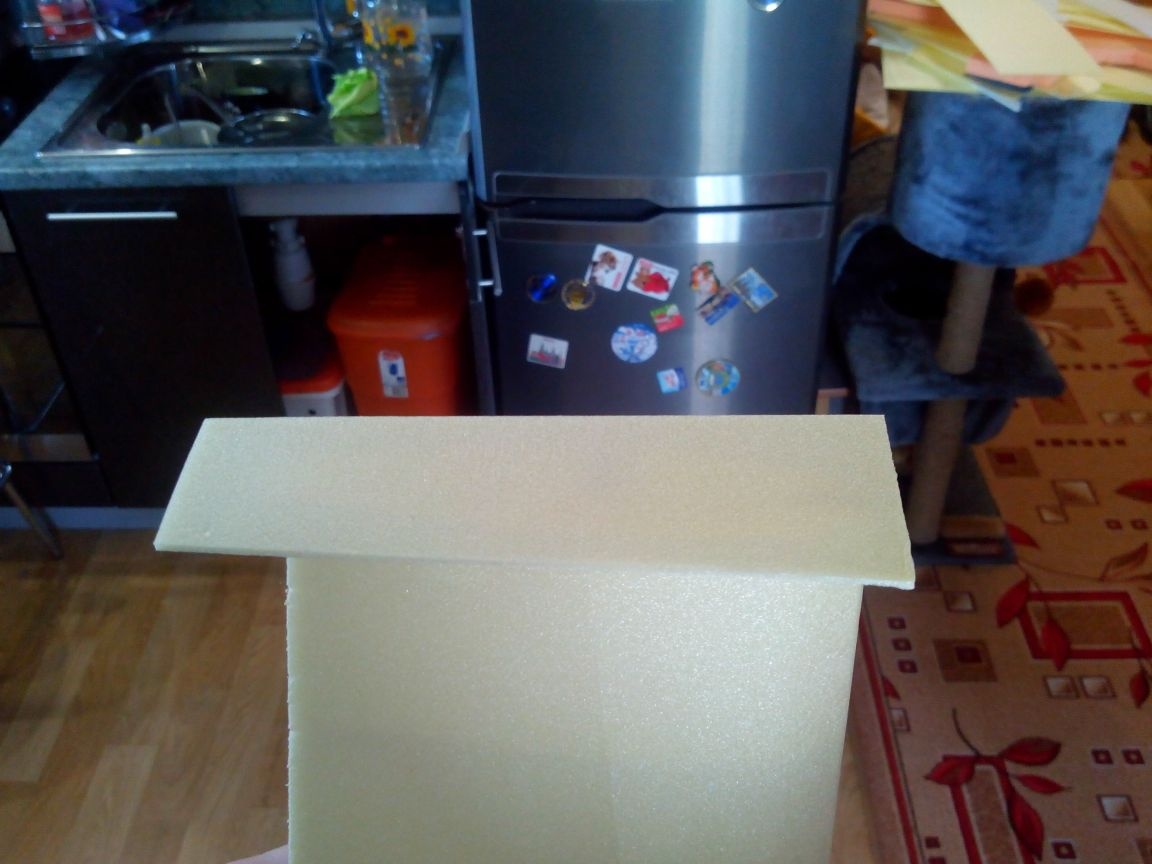
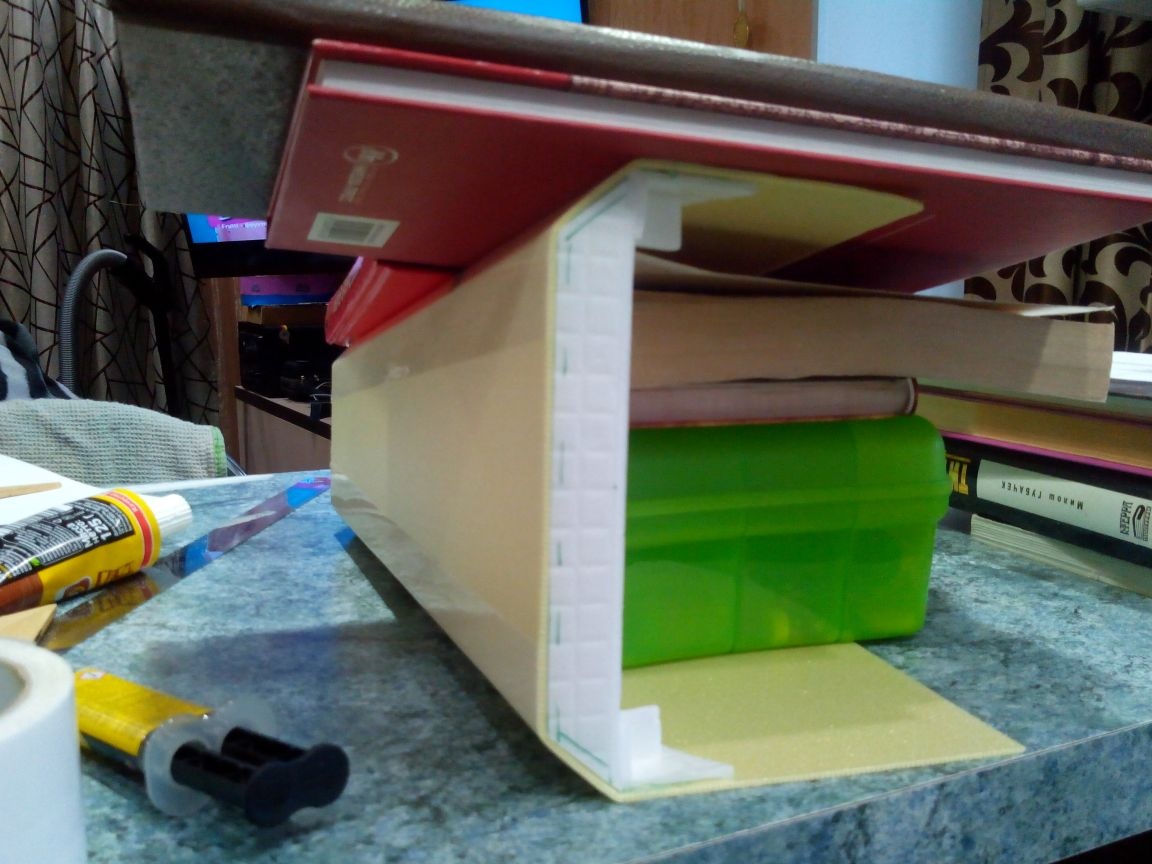
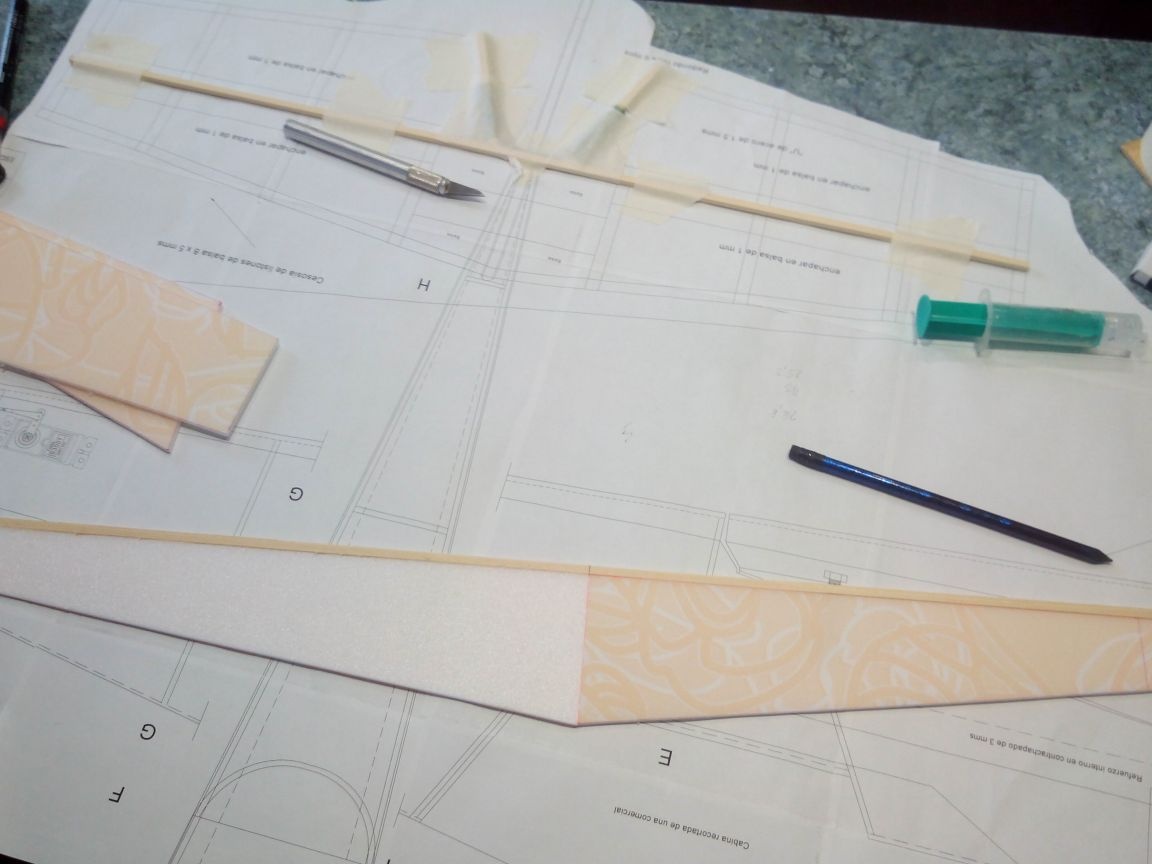
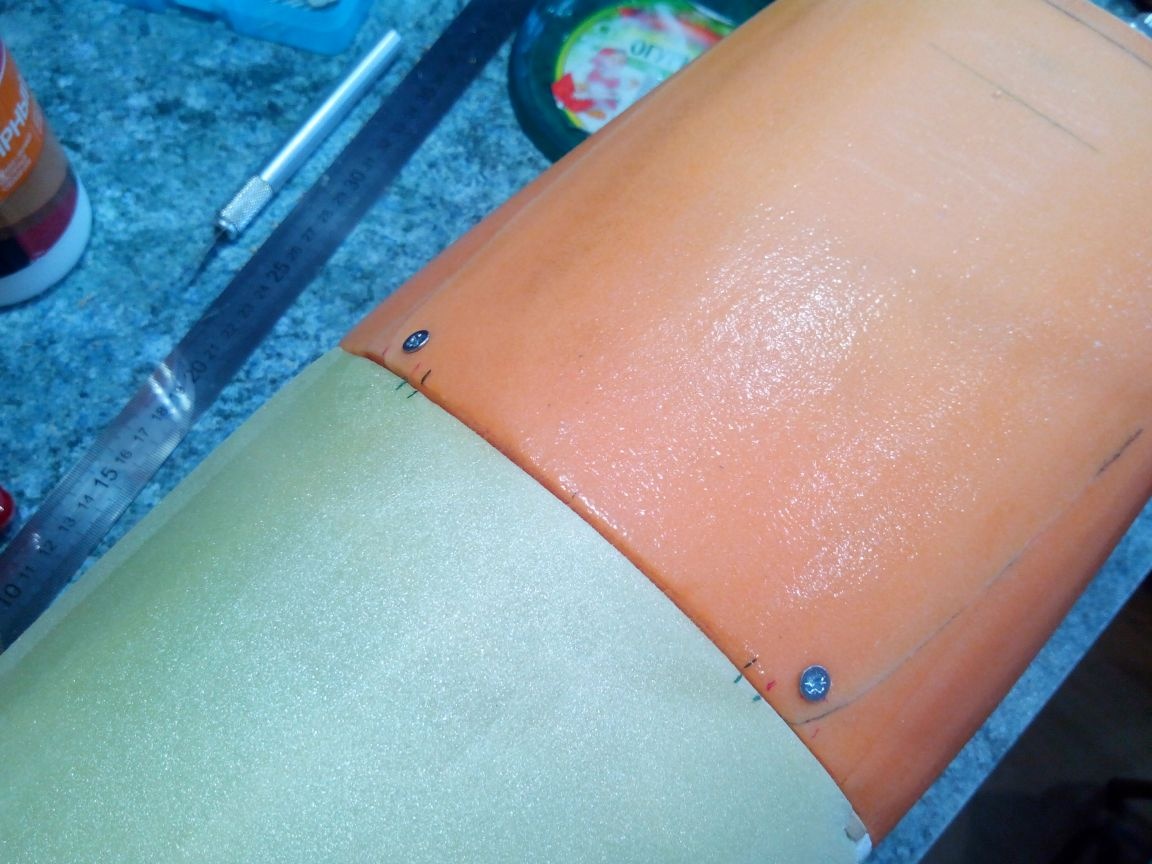
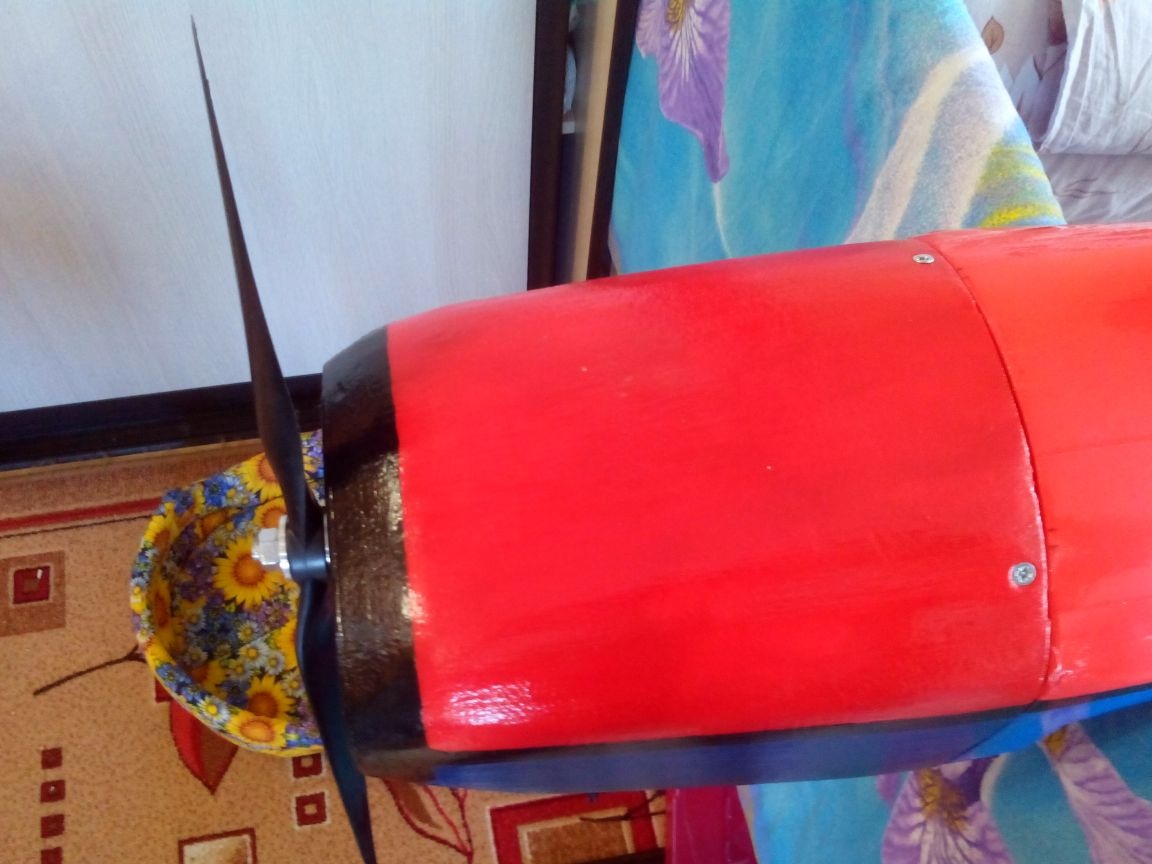
Step 4. Making the hood
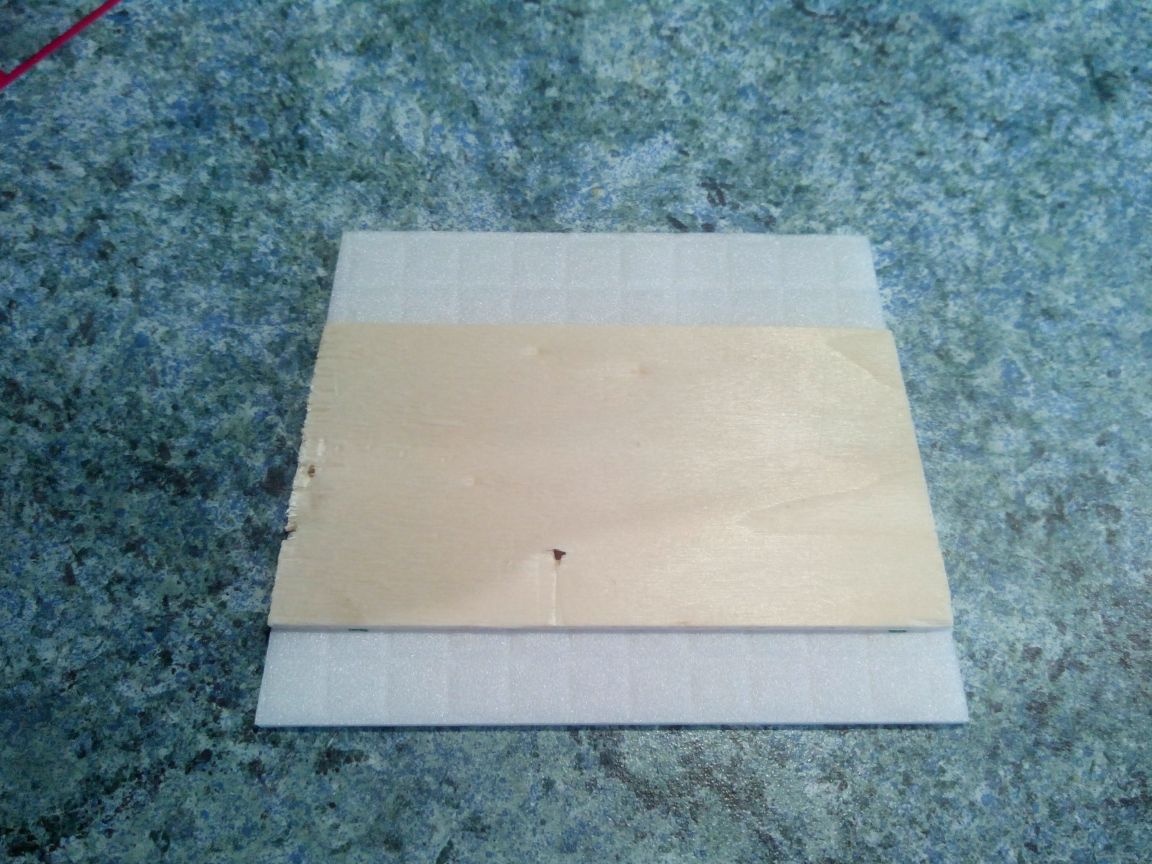
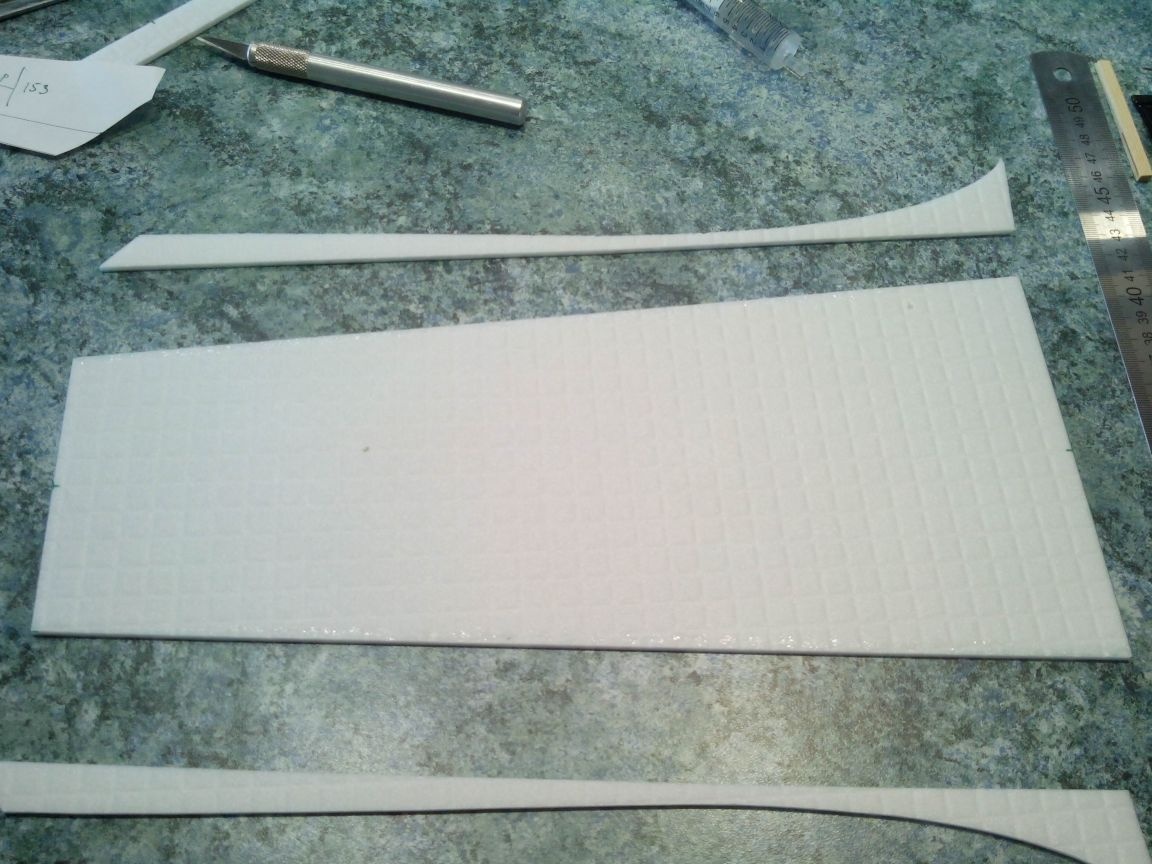
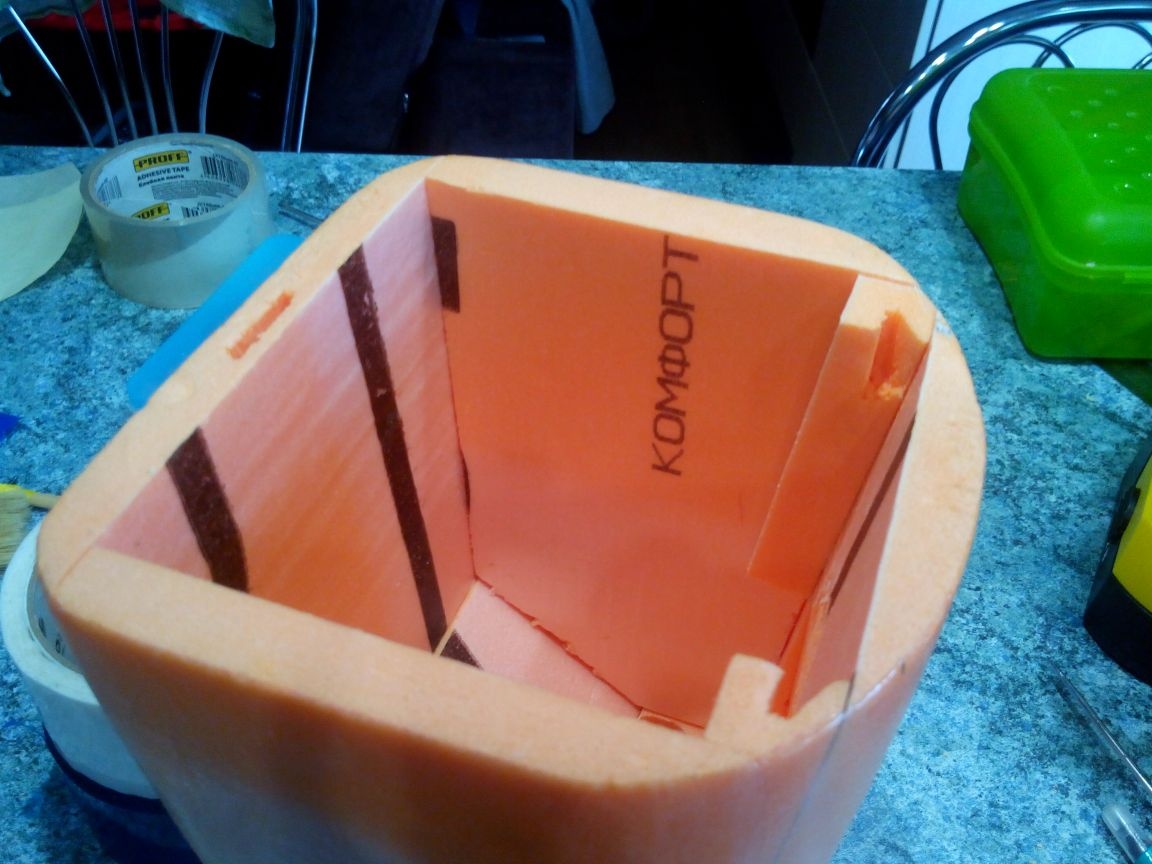
We cut out the nose of the hood from plywood and glue it to a piece of foam.
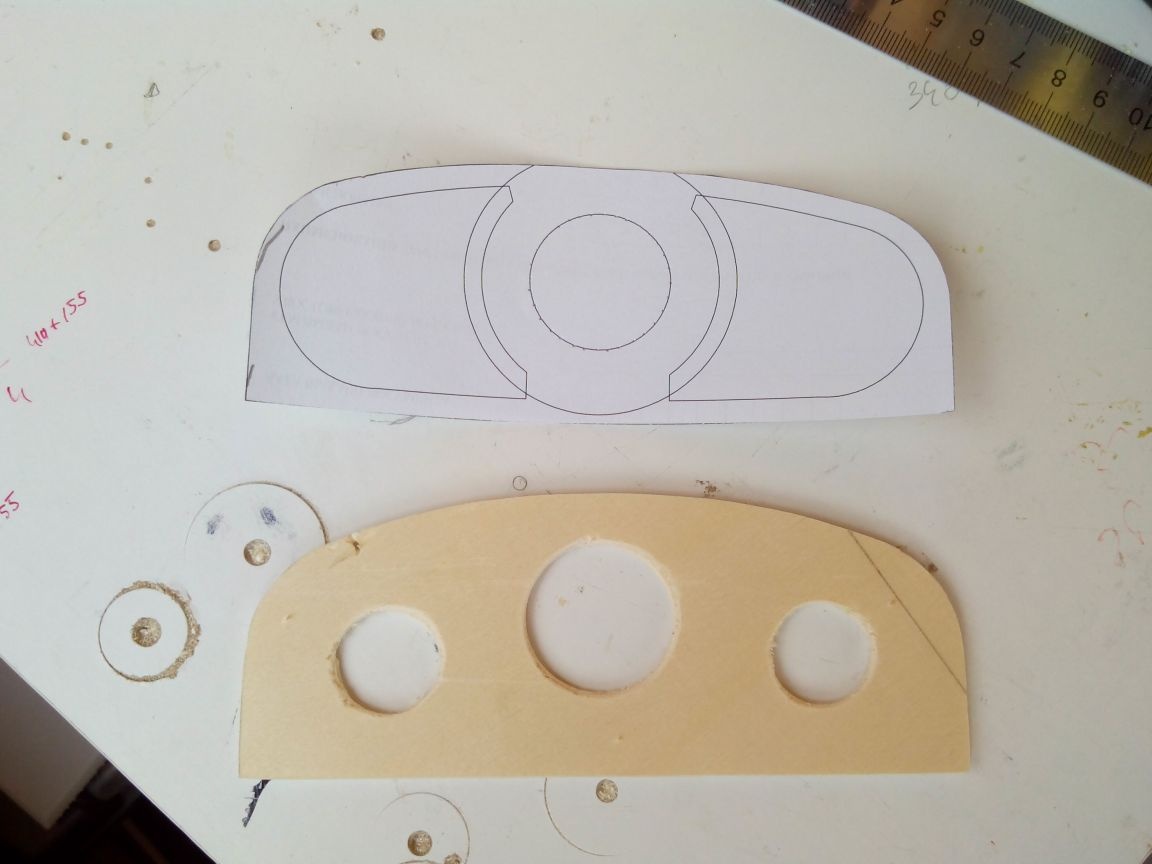
From the same penoplex we cut out the details according to the drawing.

We cut it at the right angle and glue the parts.
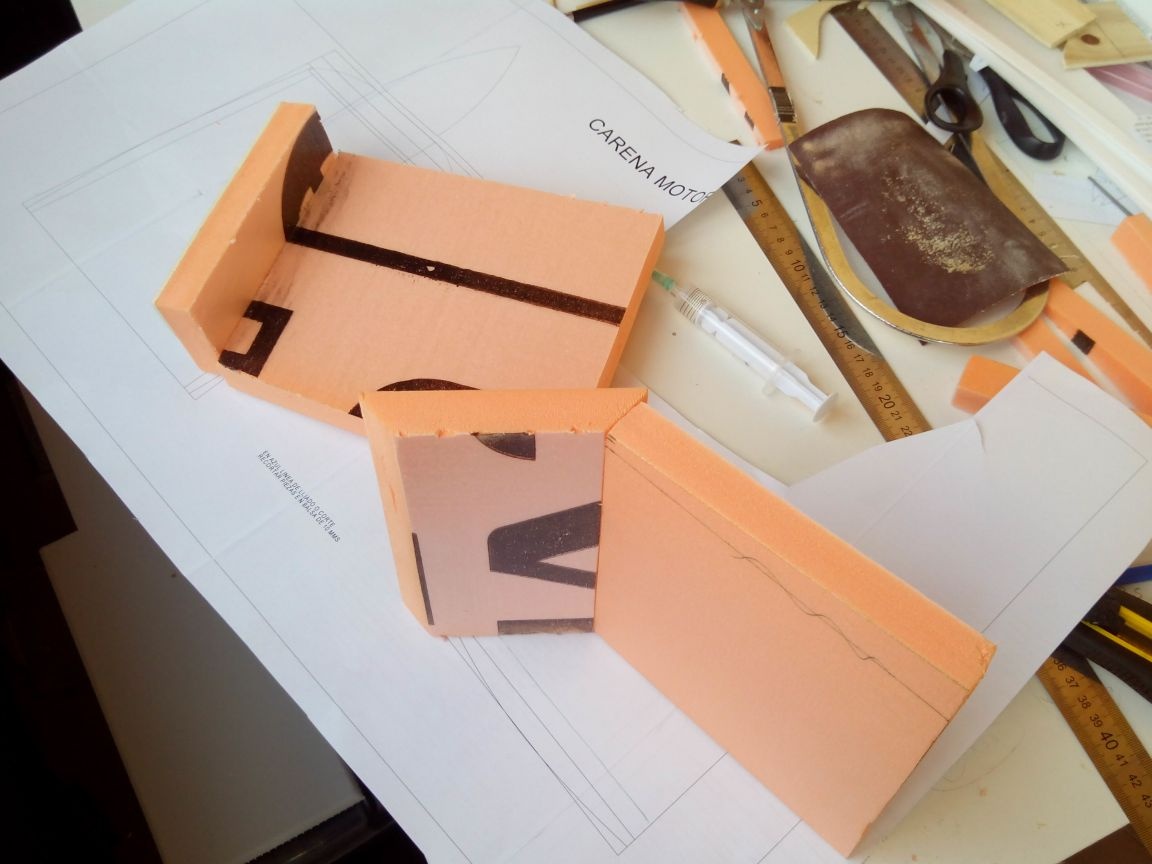
The sides are also made of foam.
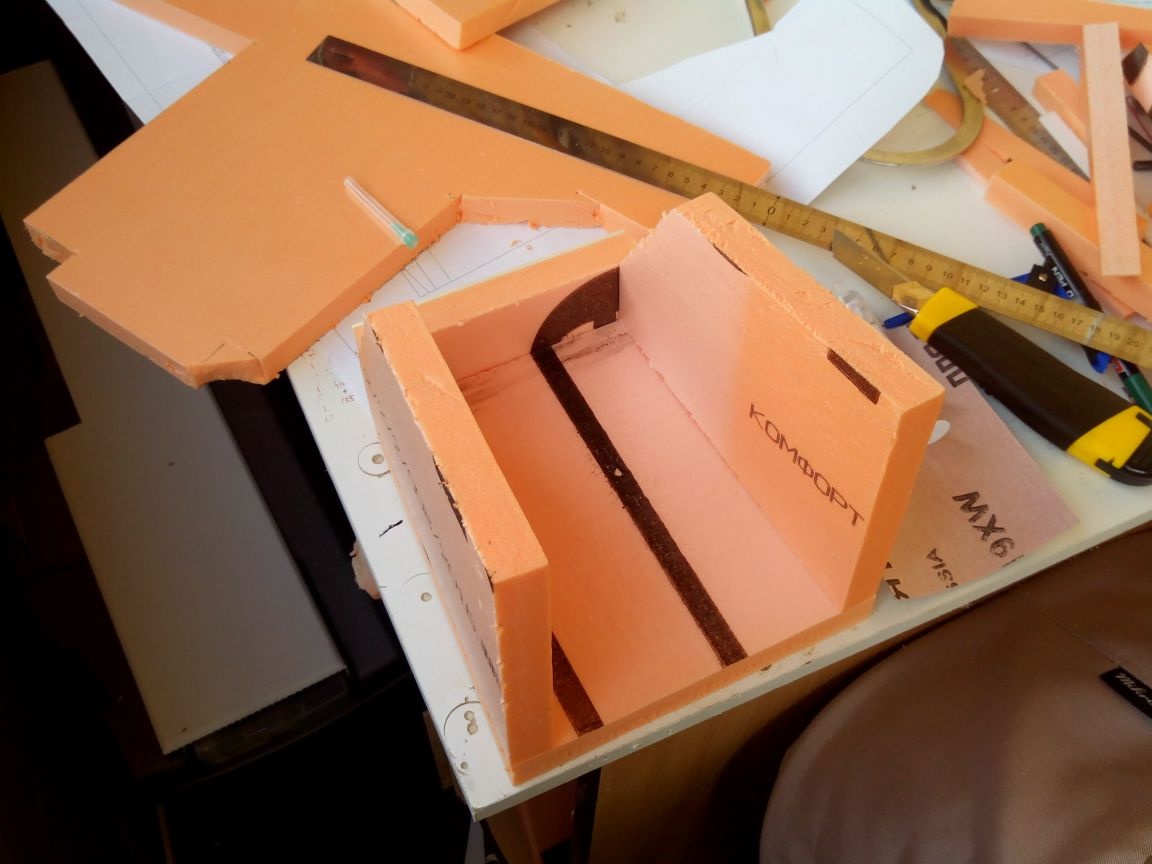
Glue all the details of the hood together and leave to dry.
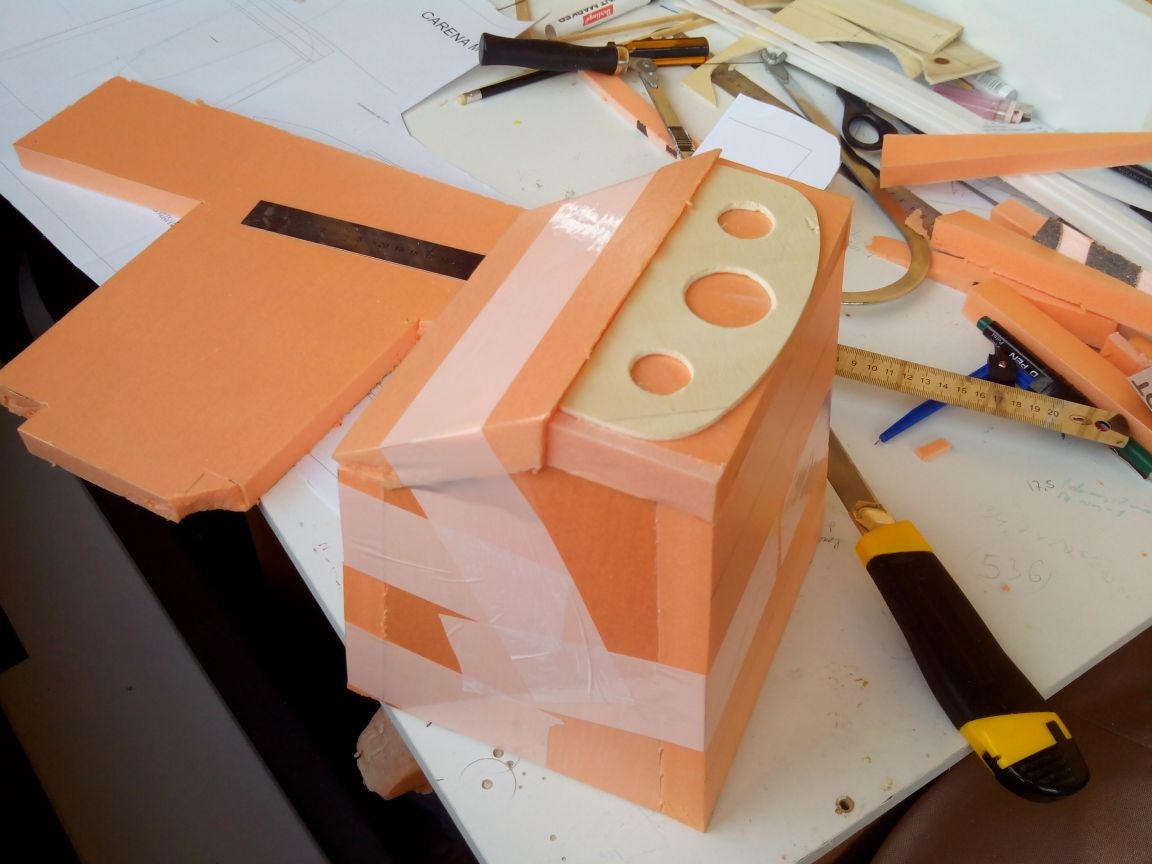
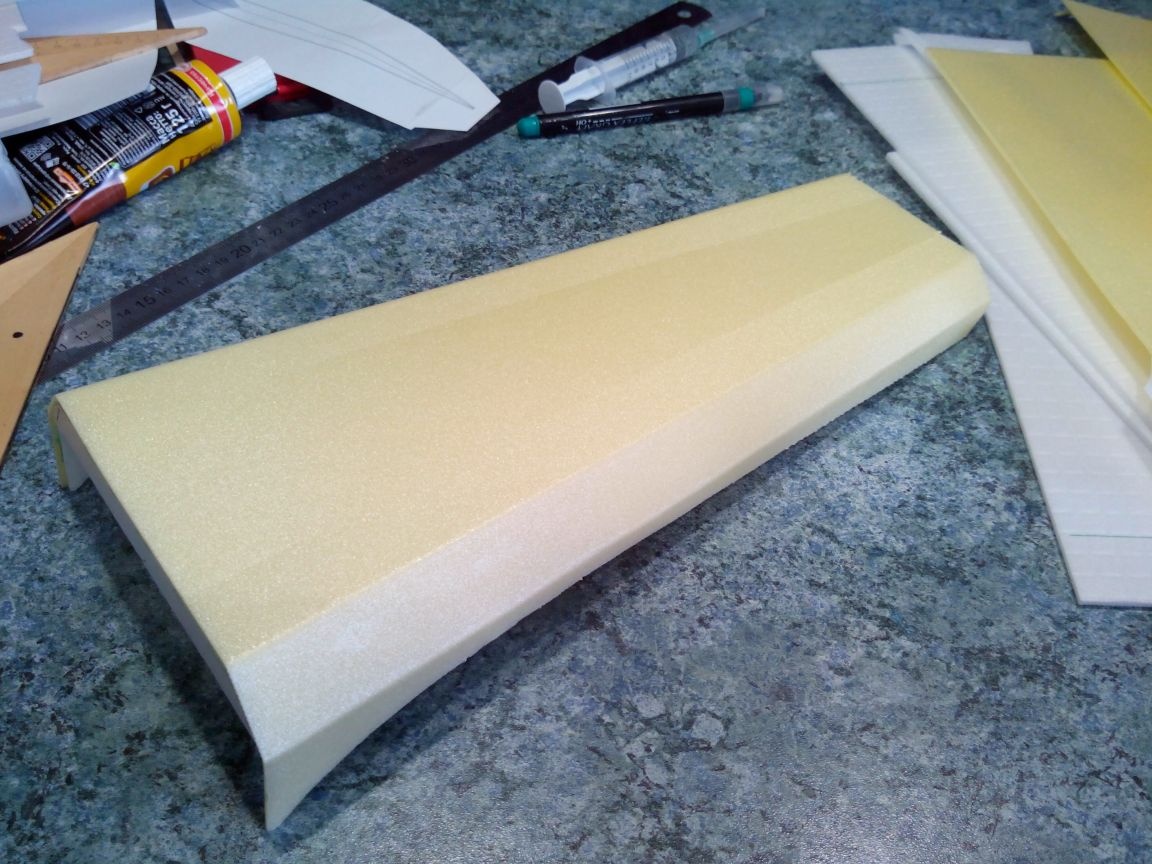
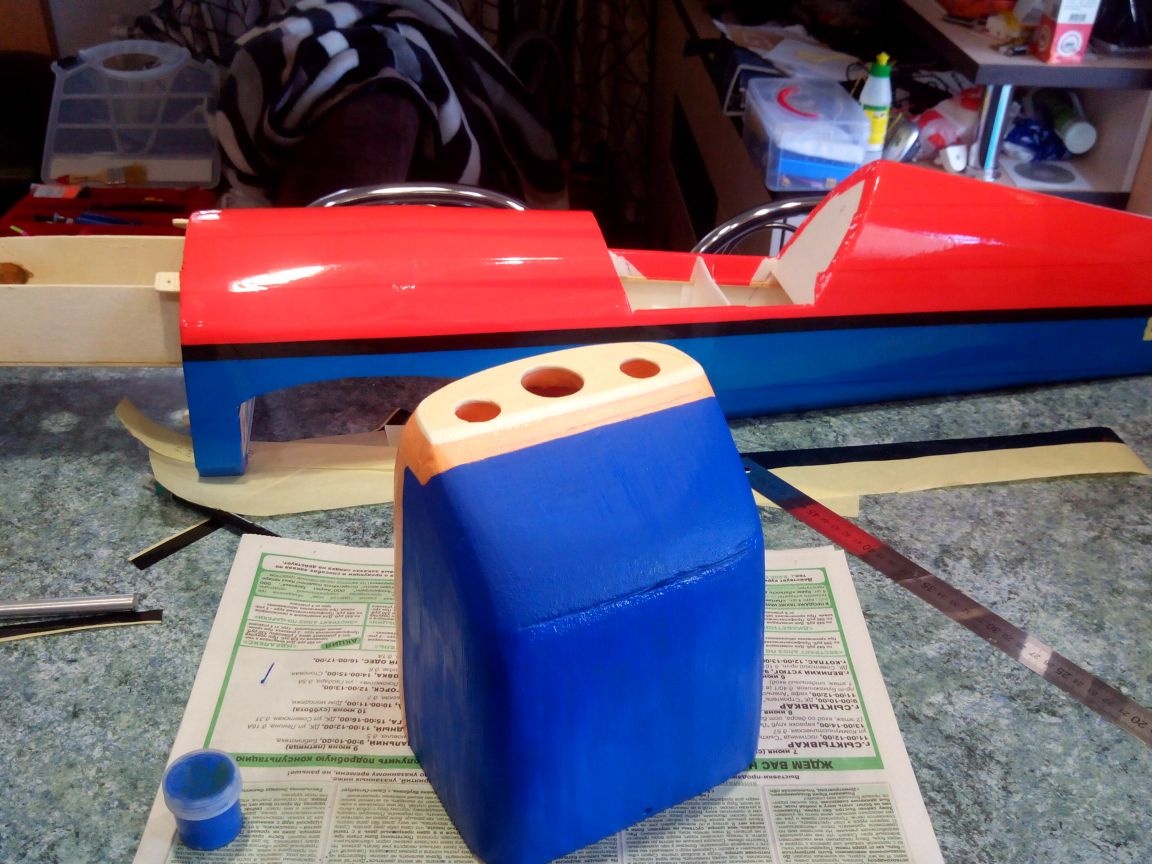
When the glue dries, we begin to cut the excess with a cutter and make holes on the plywood front.
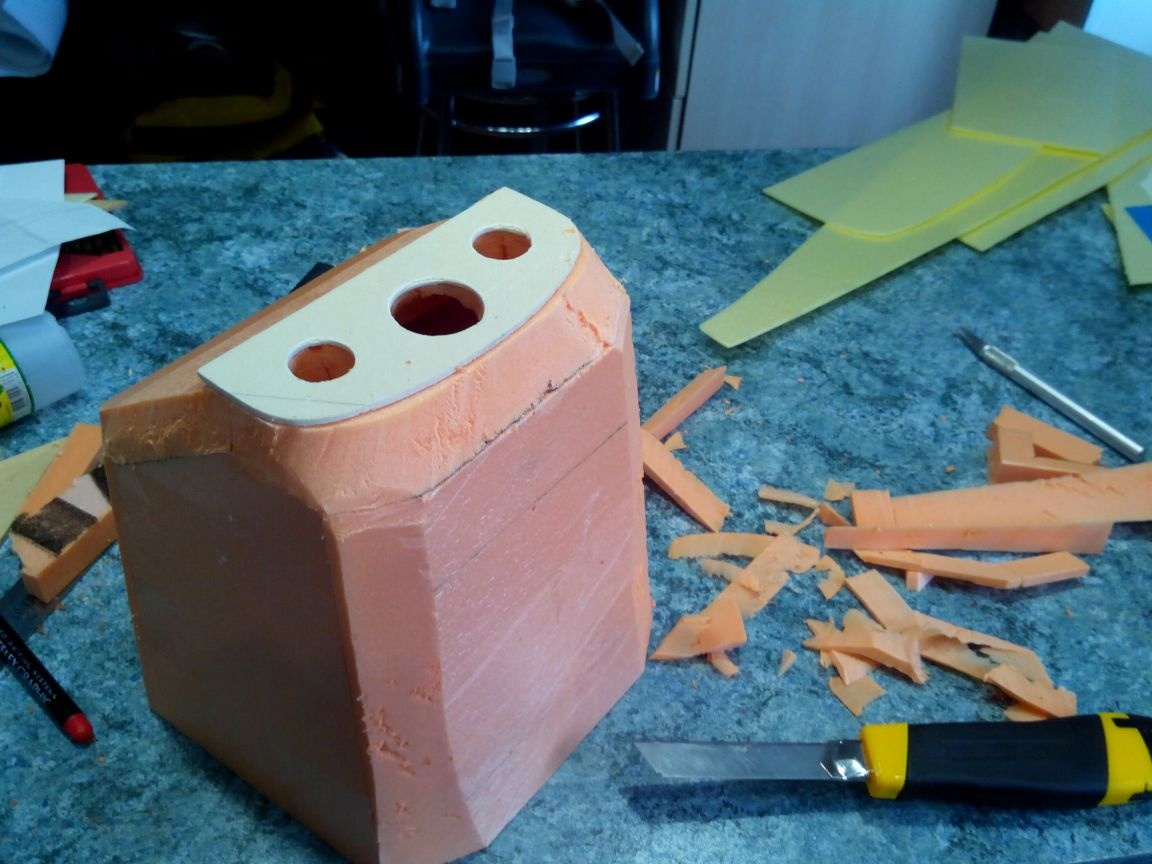
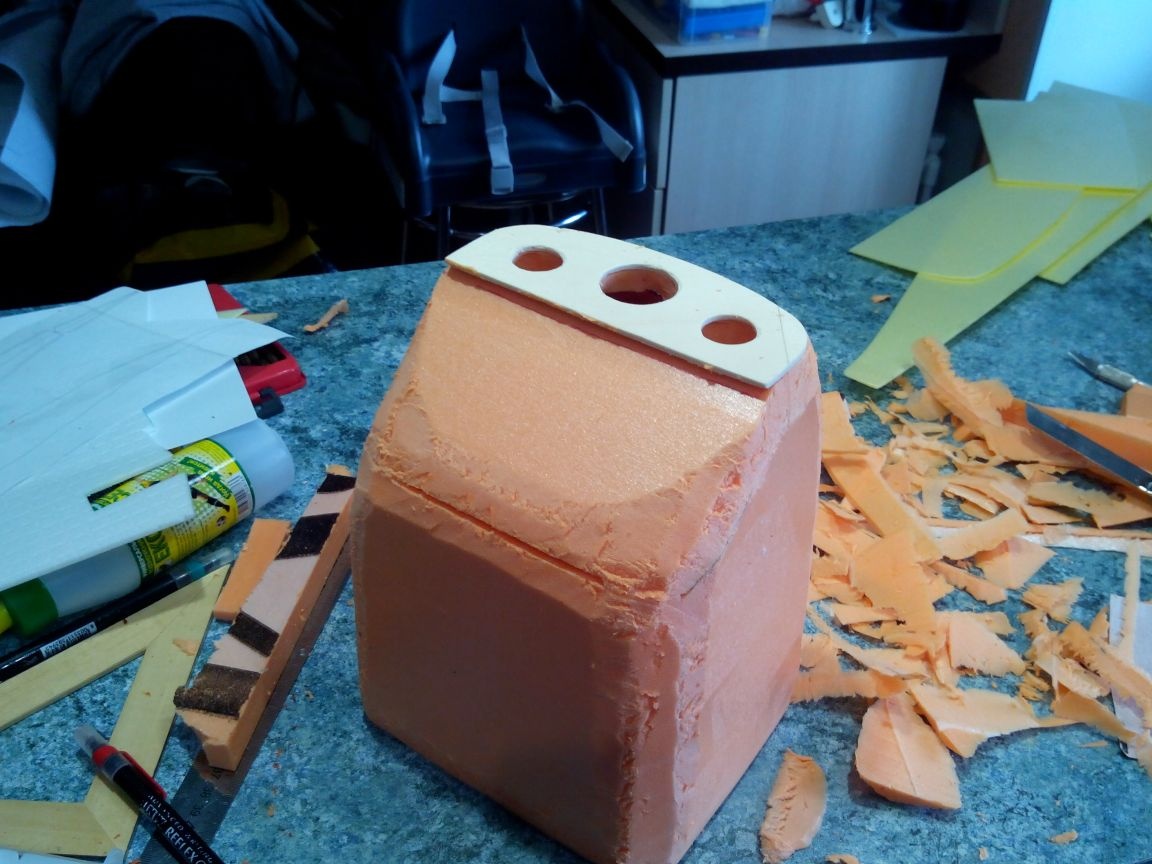
Finishing is best done on the grinding wheel, it’s faster, but you can also use sandpaper.
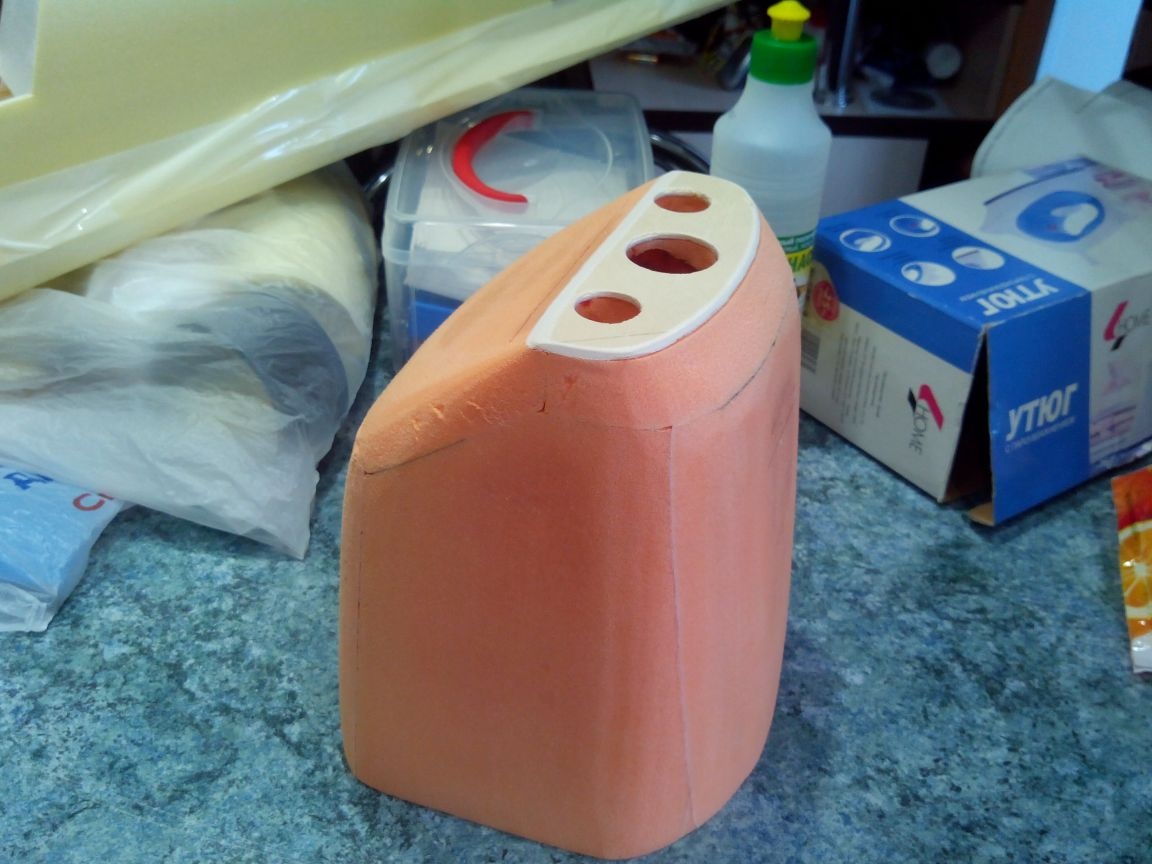
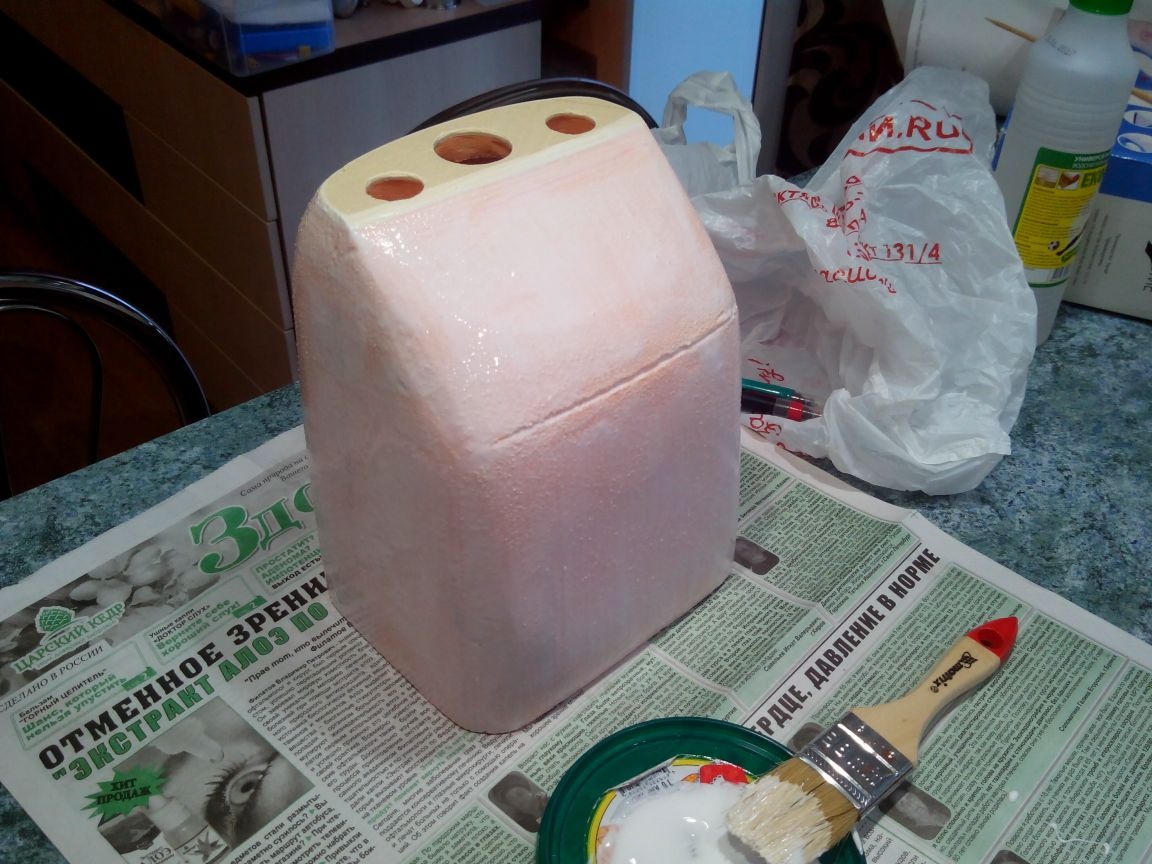
Penoplex itself is soft, and therefore primed with PVA glue in two layers.
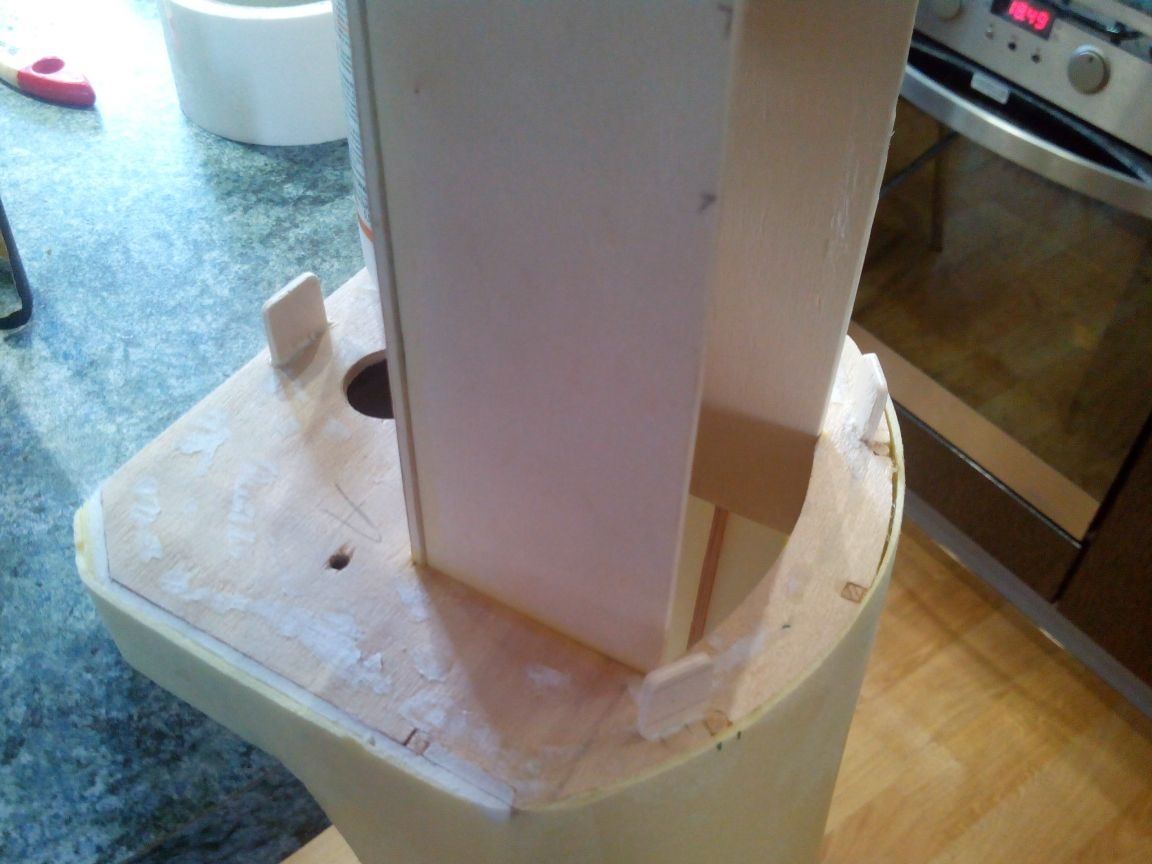
To fasten the hood to the fuselage, we cut such bosses out of plywood.
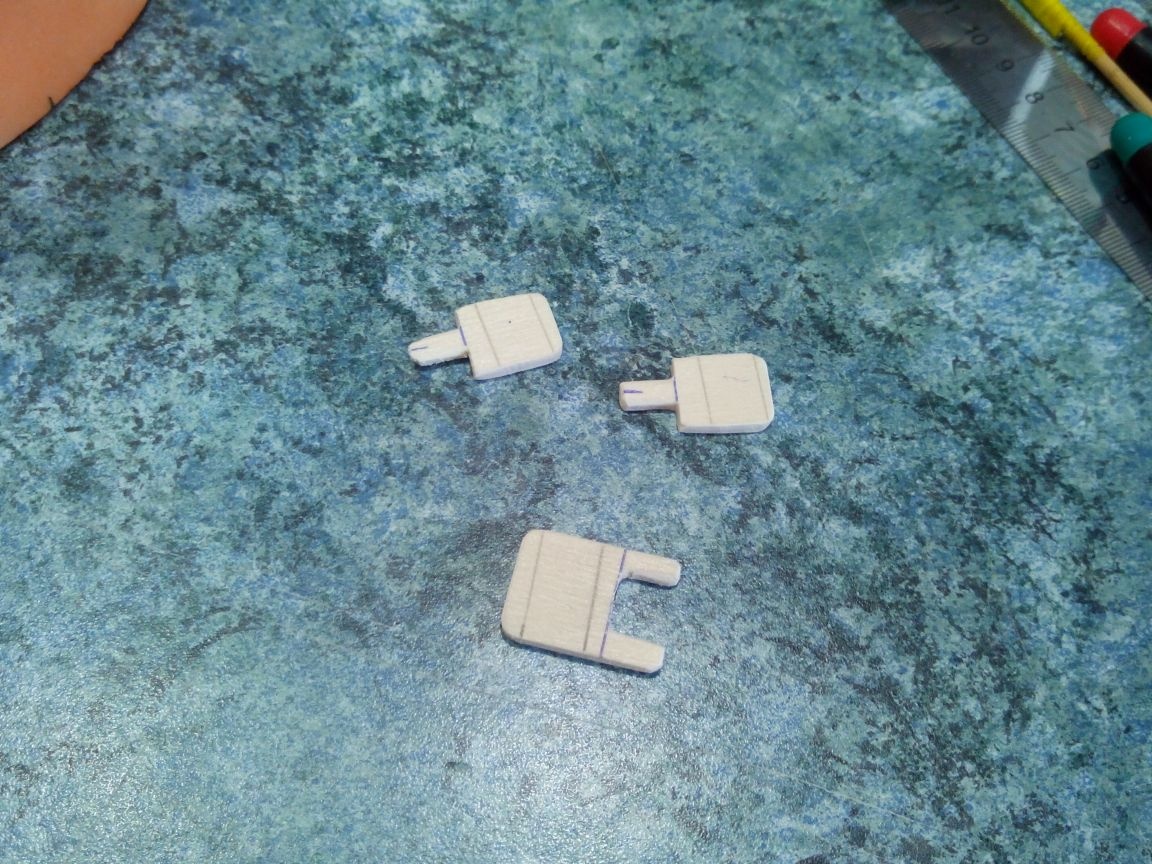
And glue them into the pre-made holes in the frame A.
We cut blind holes in the hood.
And we ground them with the same PVA glue, for greater strength.
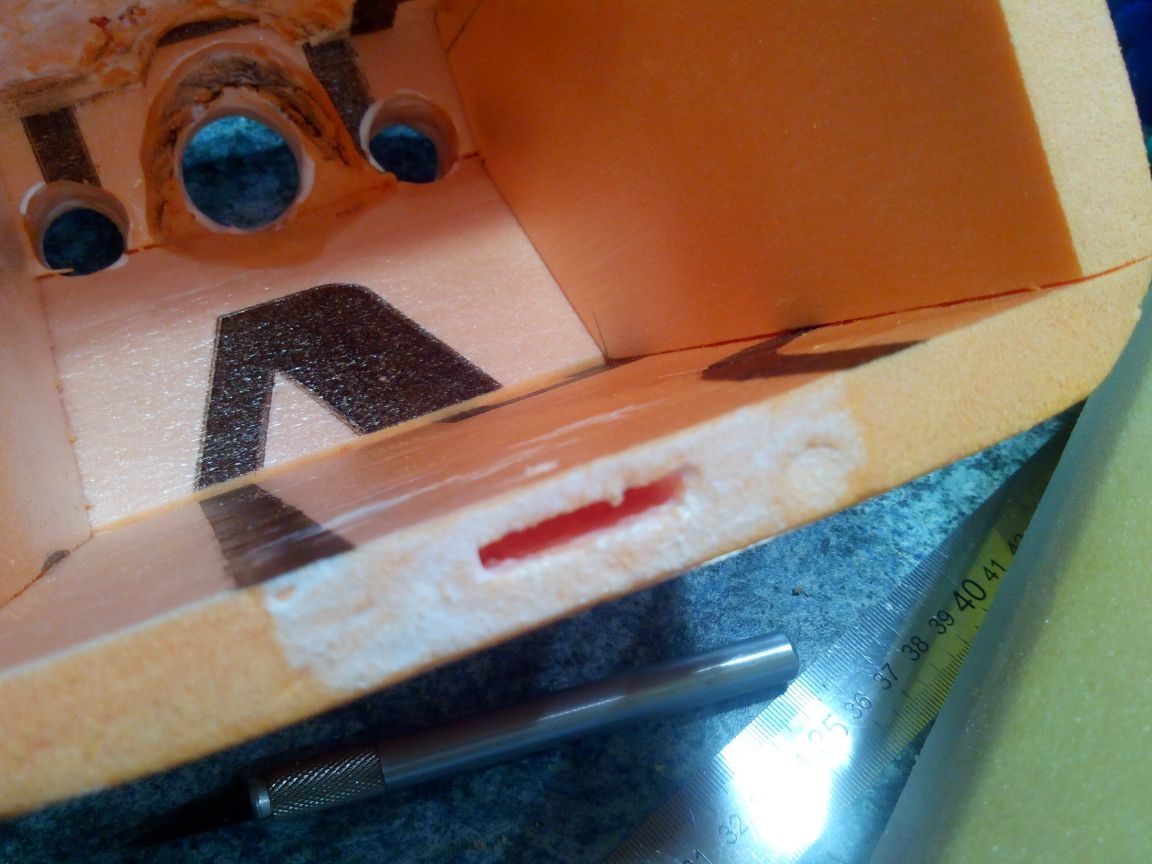
We drill holes in the bosses and the hood for small self-tapping screws and try on.
It is better to paint the hood with acrylics.
Blue below as a continuation of the fuselage.
Then red on top.
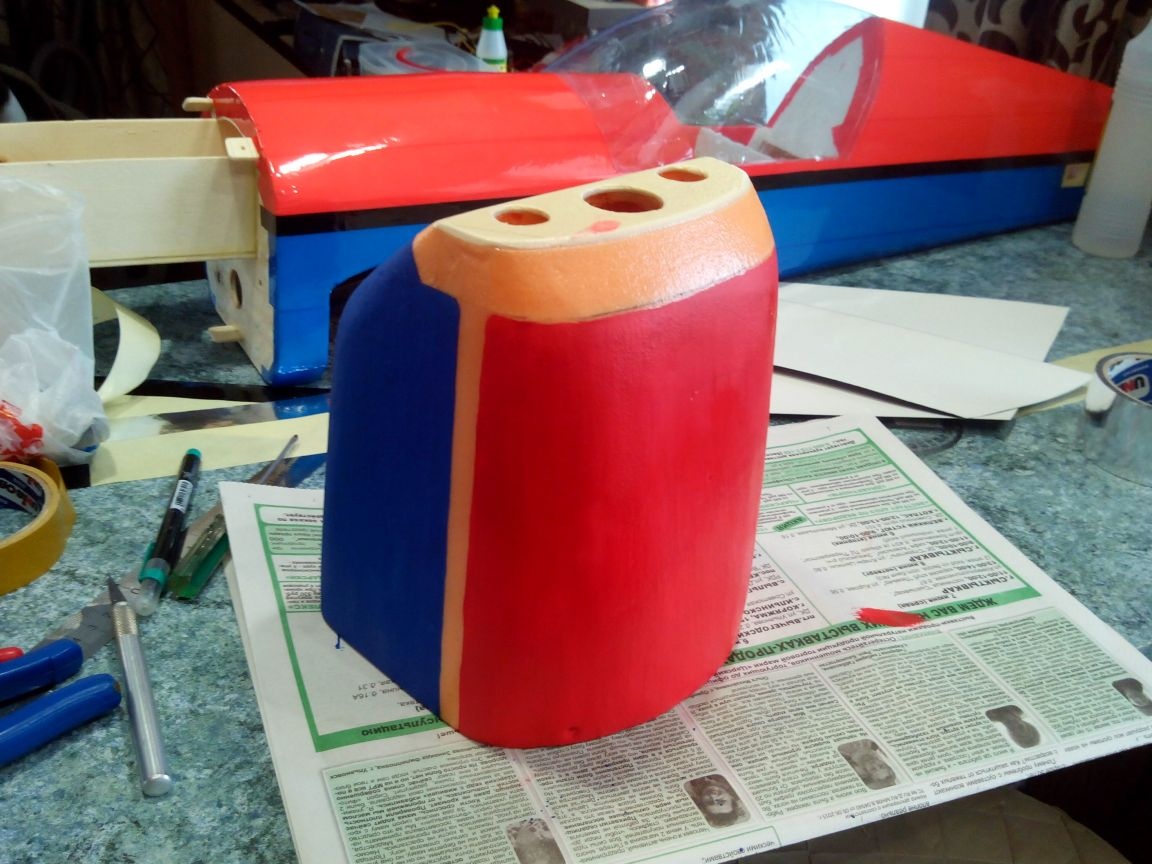
And finally - black, with the transition to the nose of the hood.
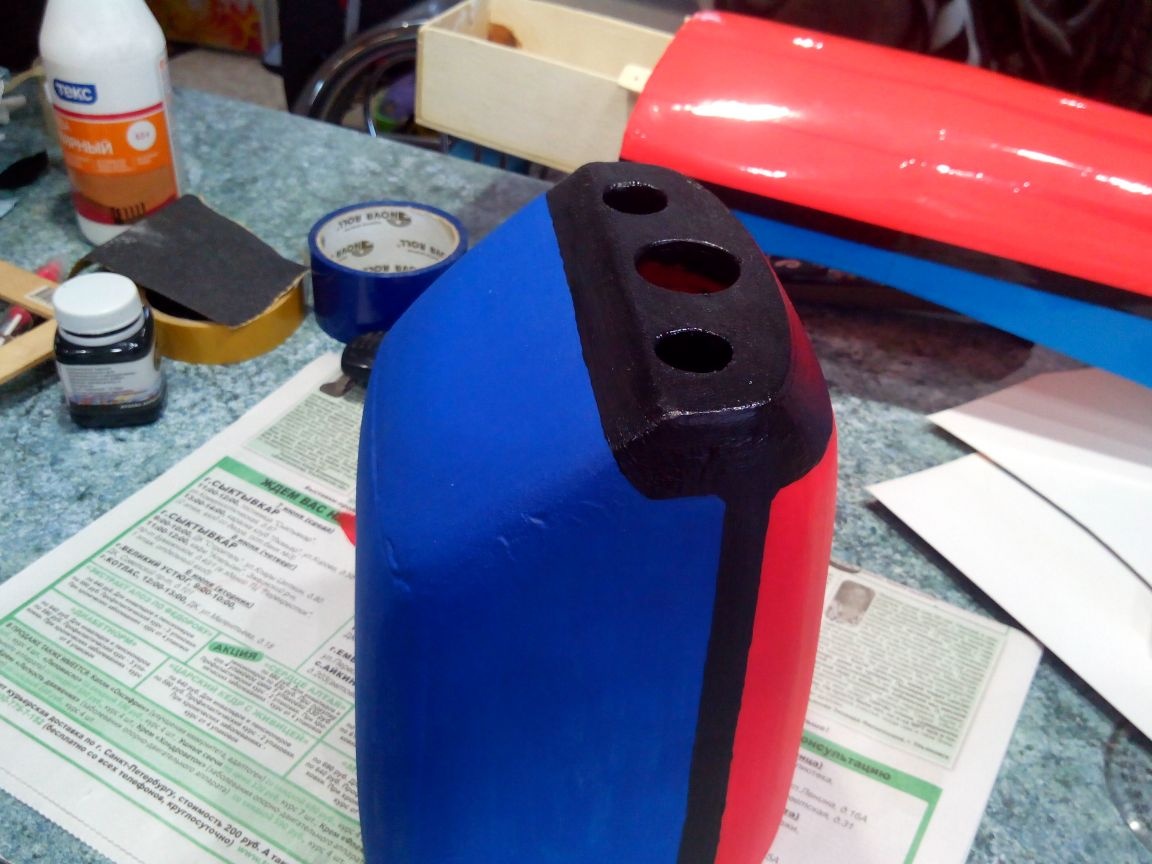
After the paint dries, cover the hood with acrylic varnish and try on.
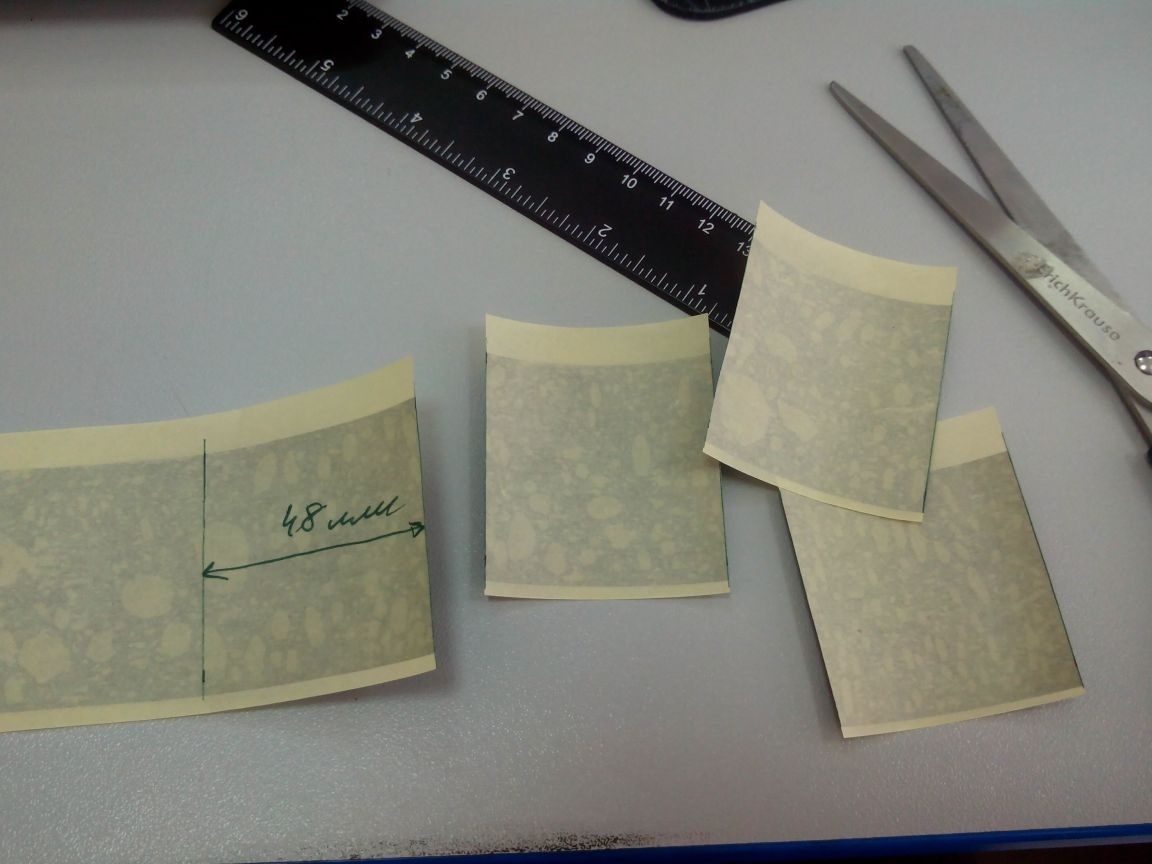
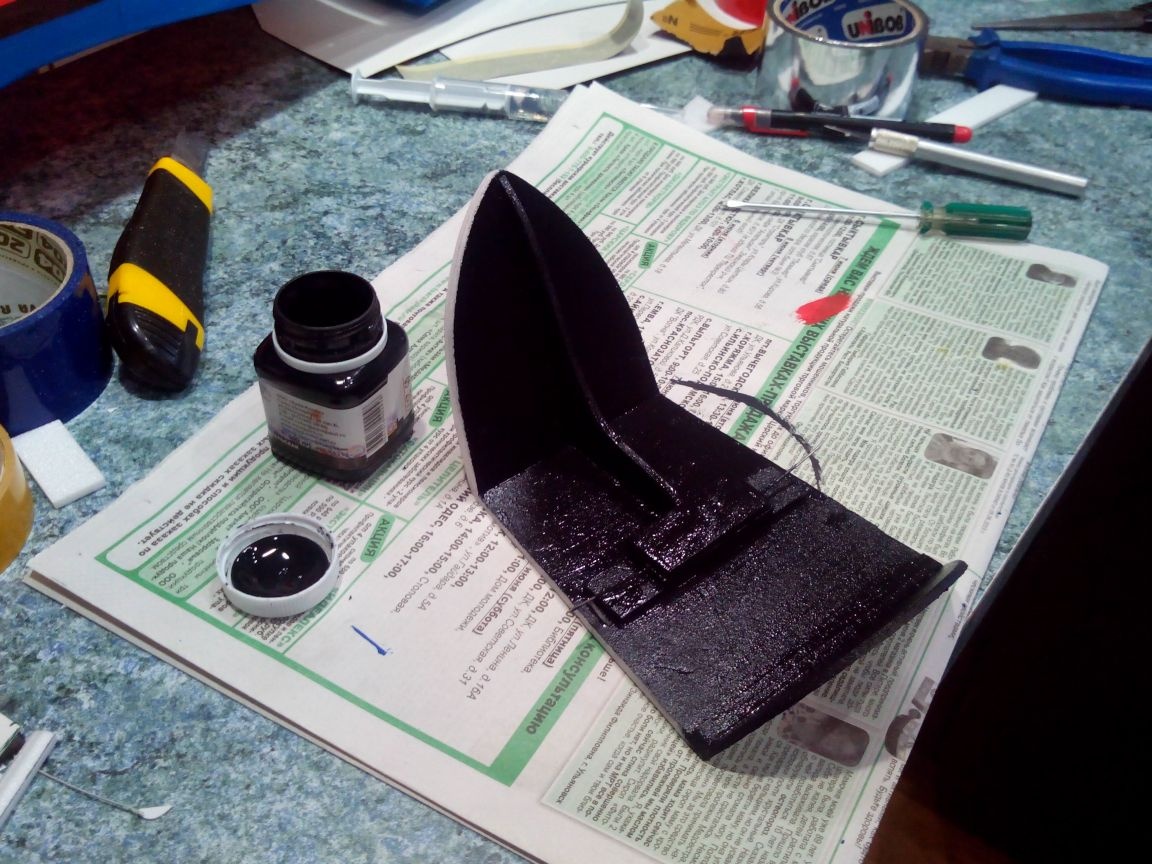
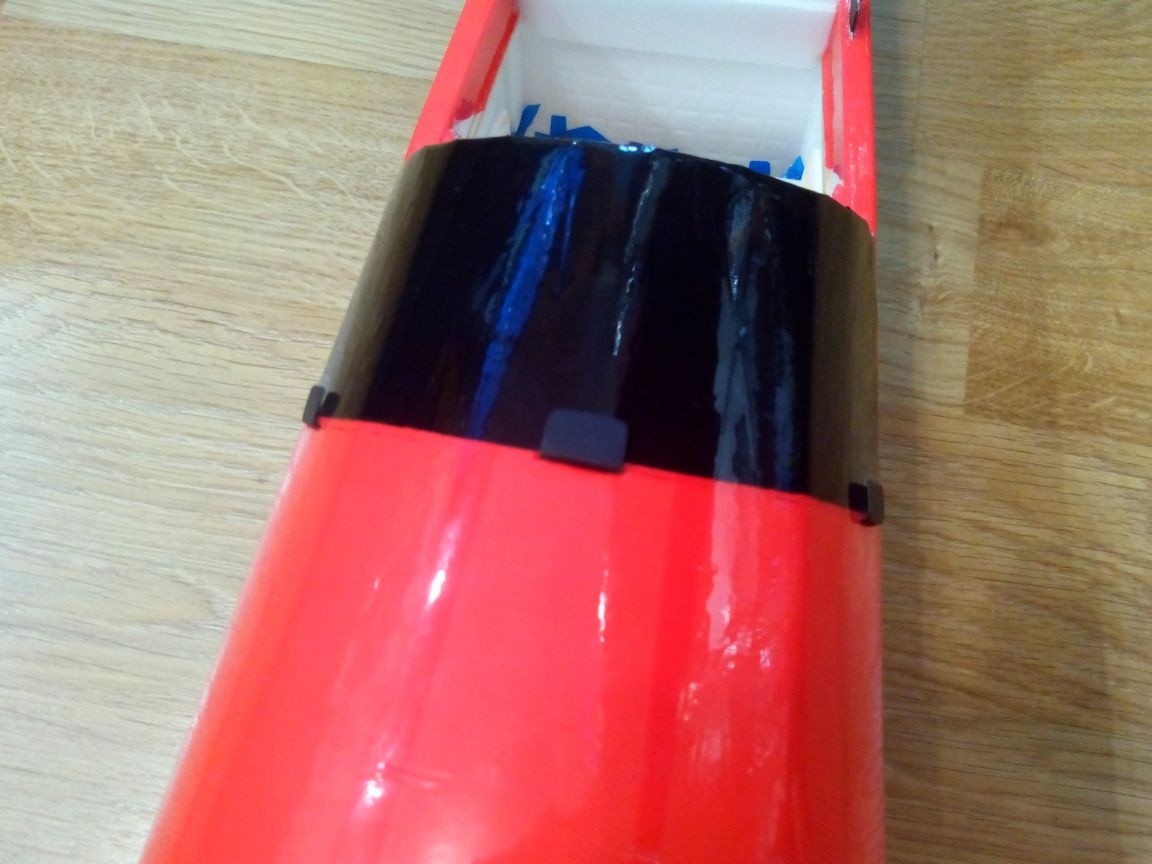
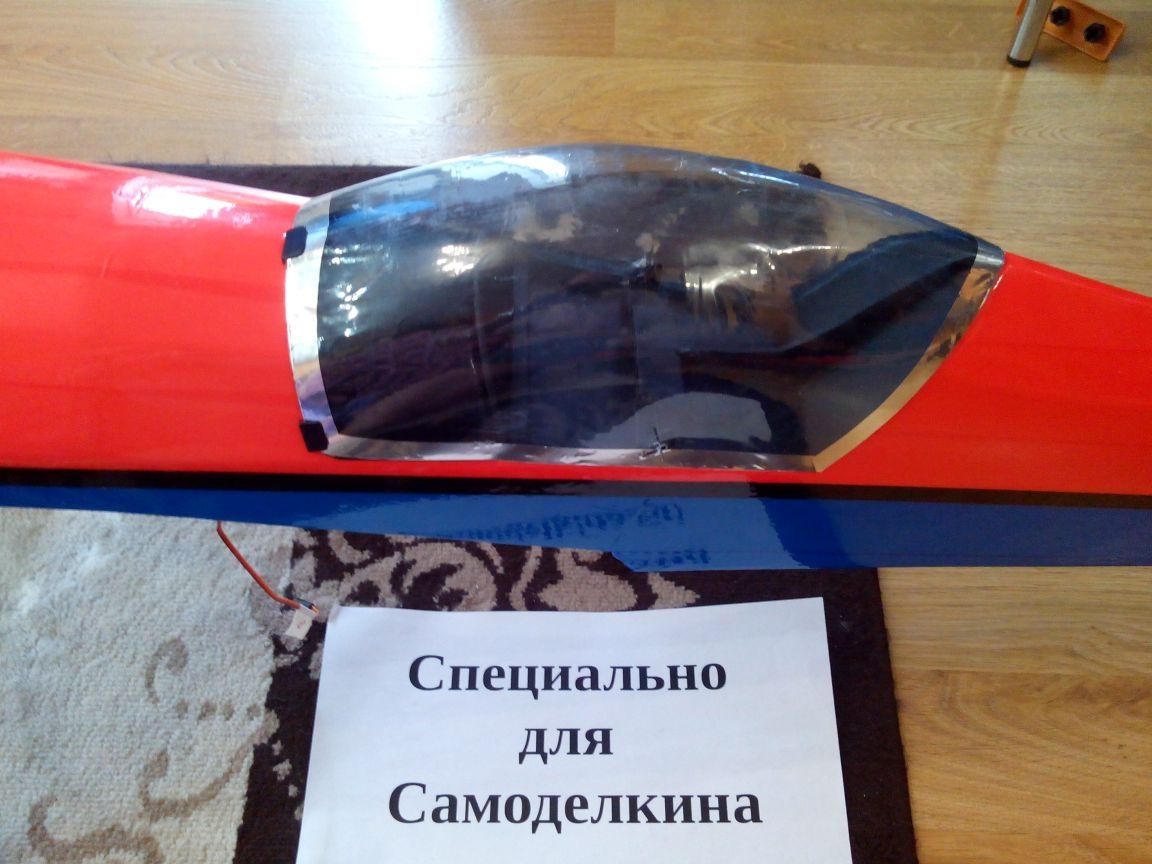
Step 5. Making a lantern (cab)
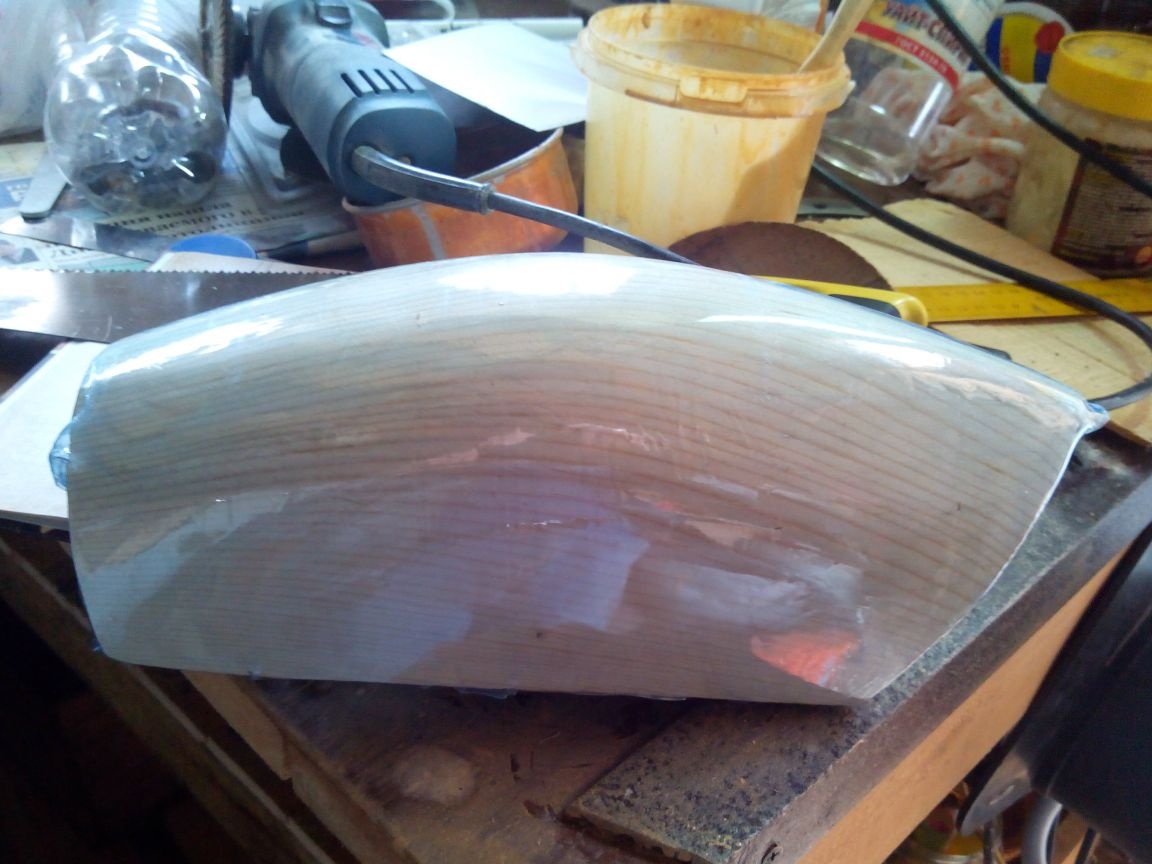
We make the lantern according to the already known “bottle” technology, that is, shrink the plastic bottle on a wooden block.
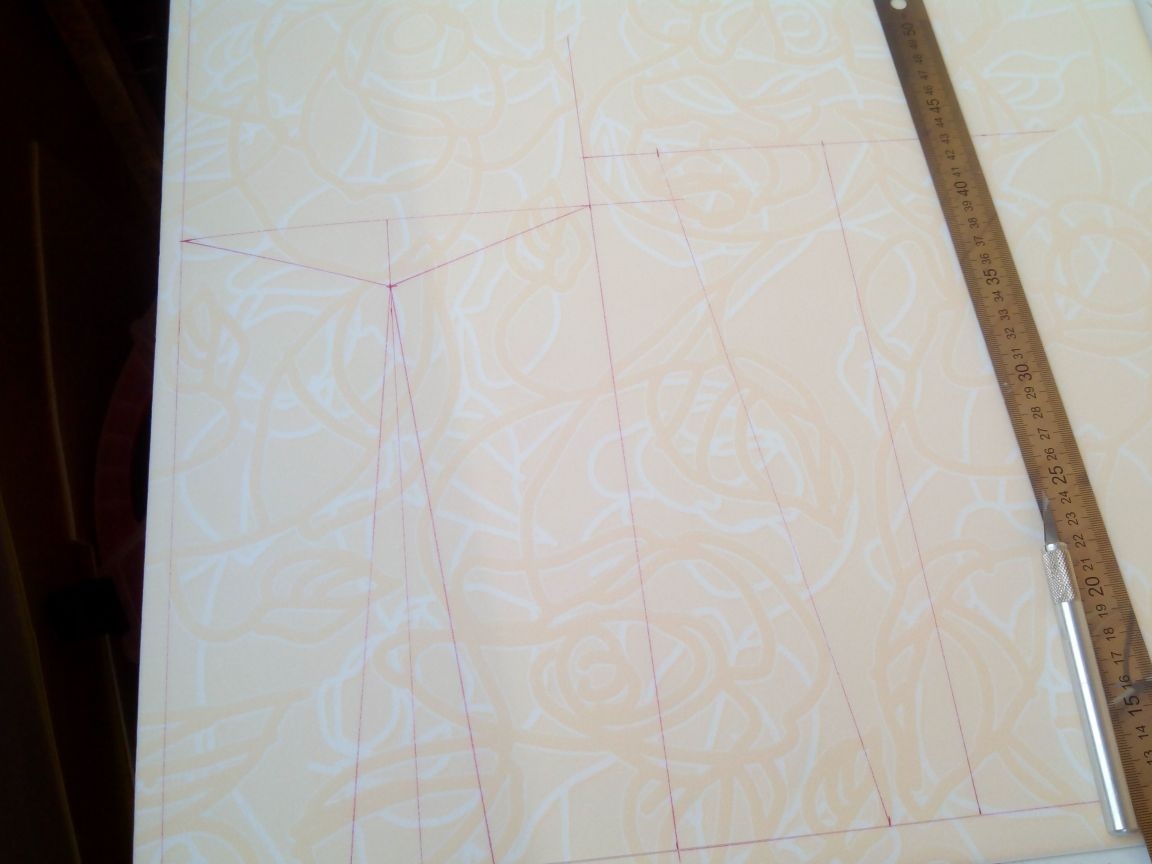
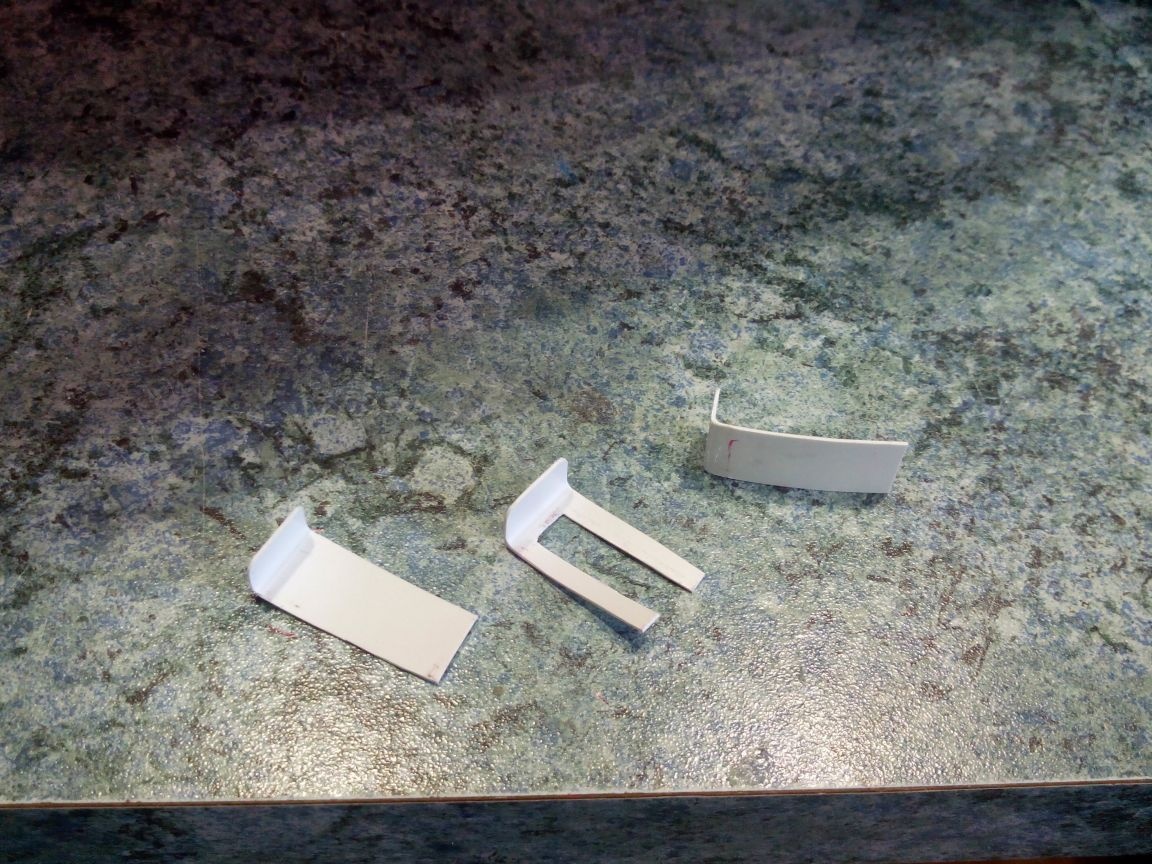
Making doodle patterns.
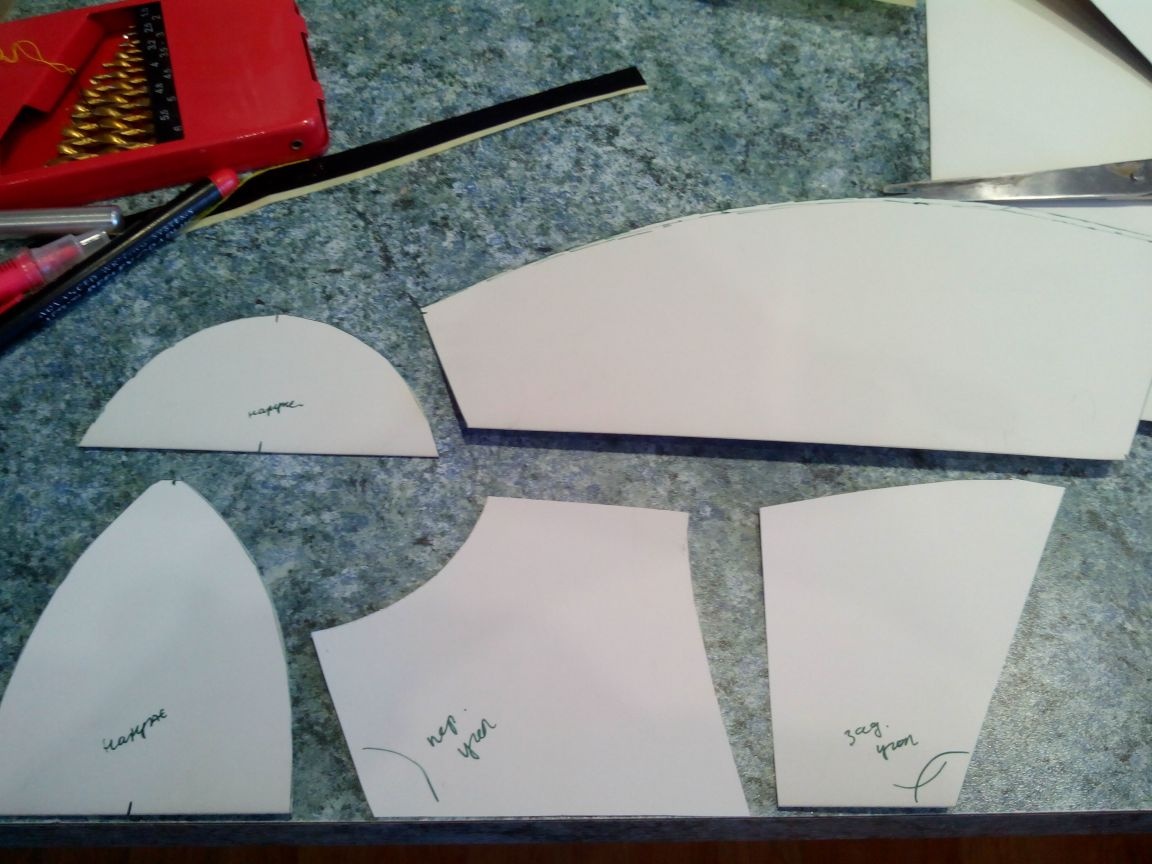
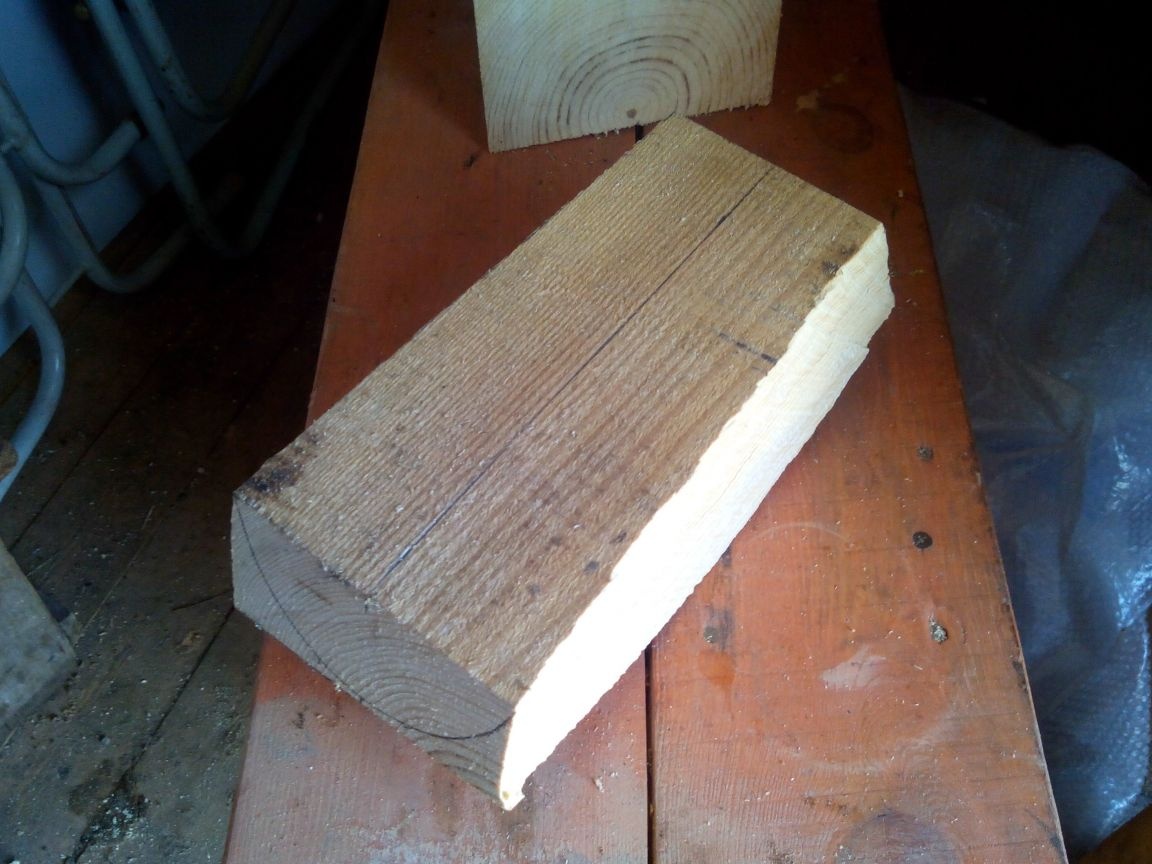
Transfer the side profile template to a wooden block and saw it with a hacksaw.
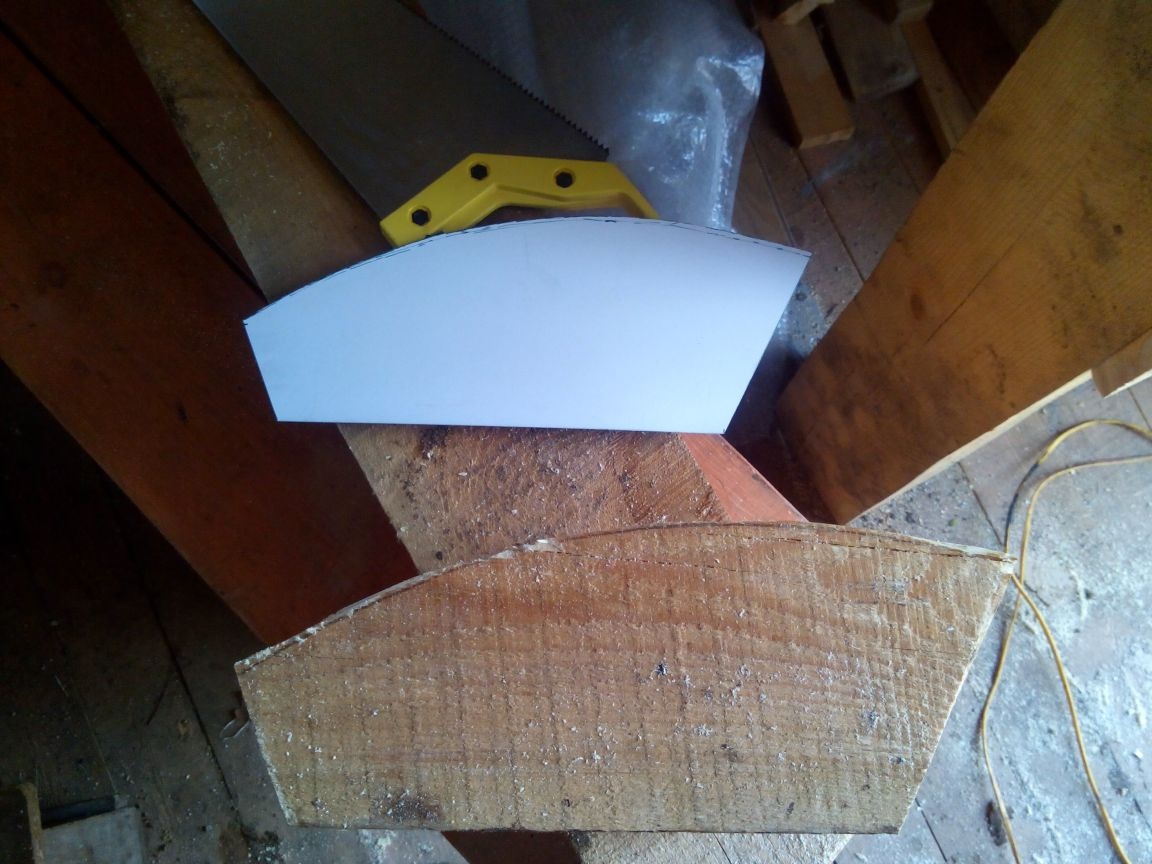
We draw the front and back parts according to the templates and saw off the excess.
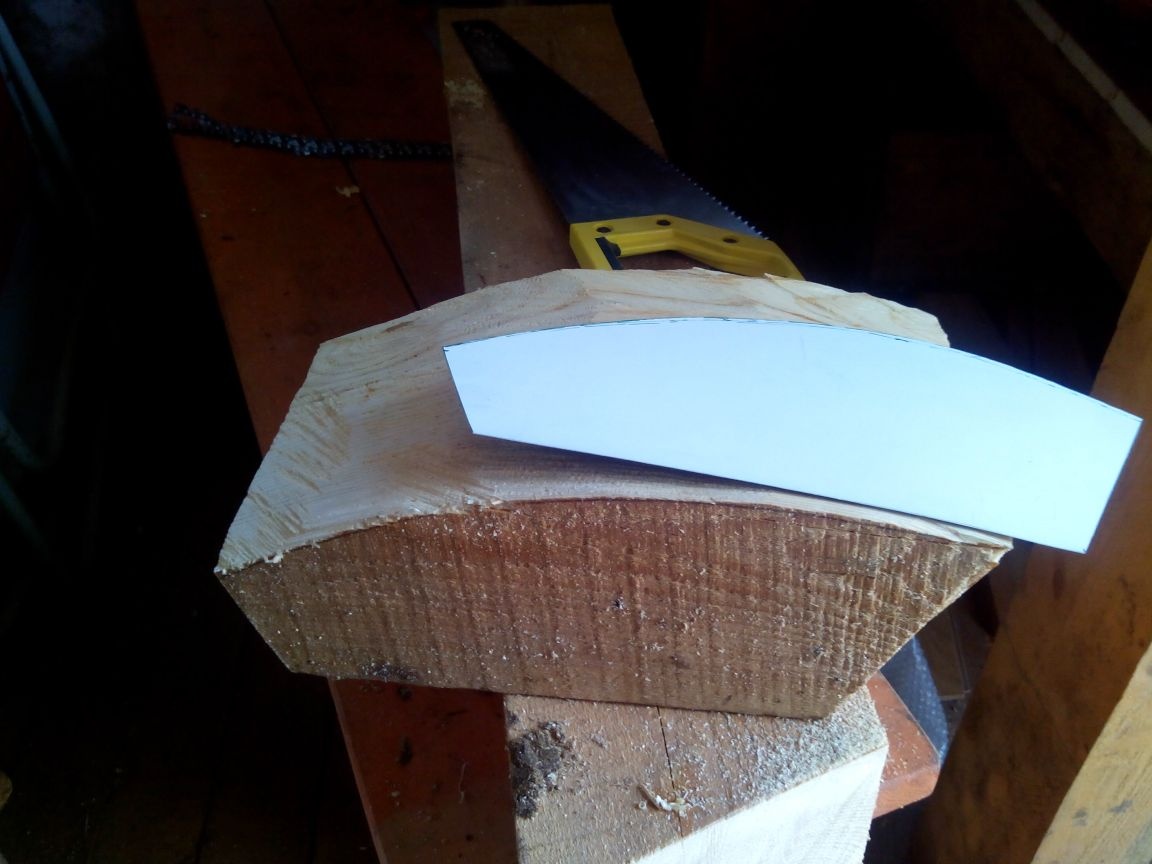
With a sharp knife we plan the workpiece to a more even shape.
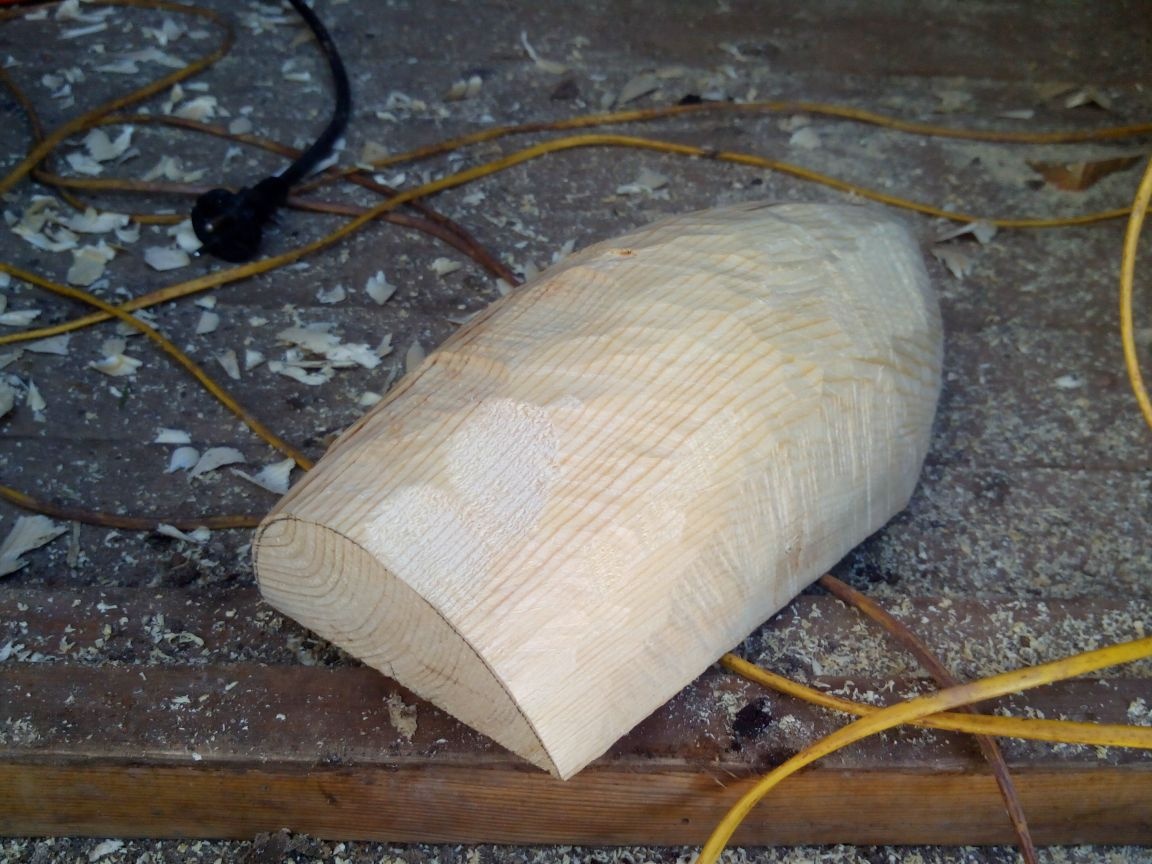
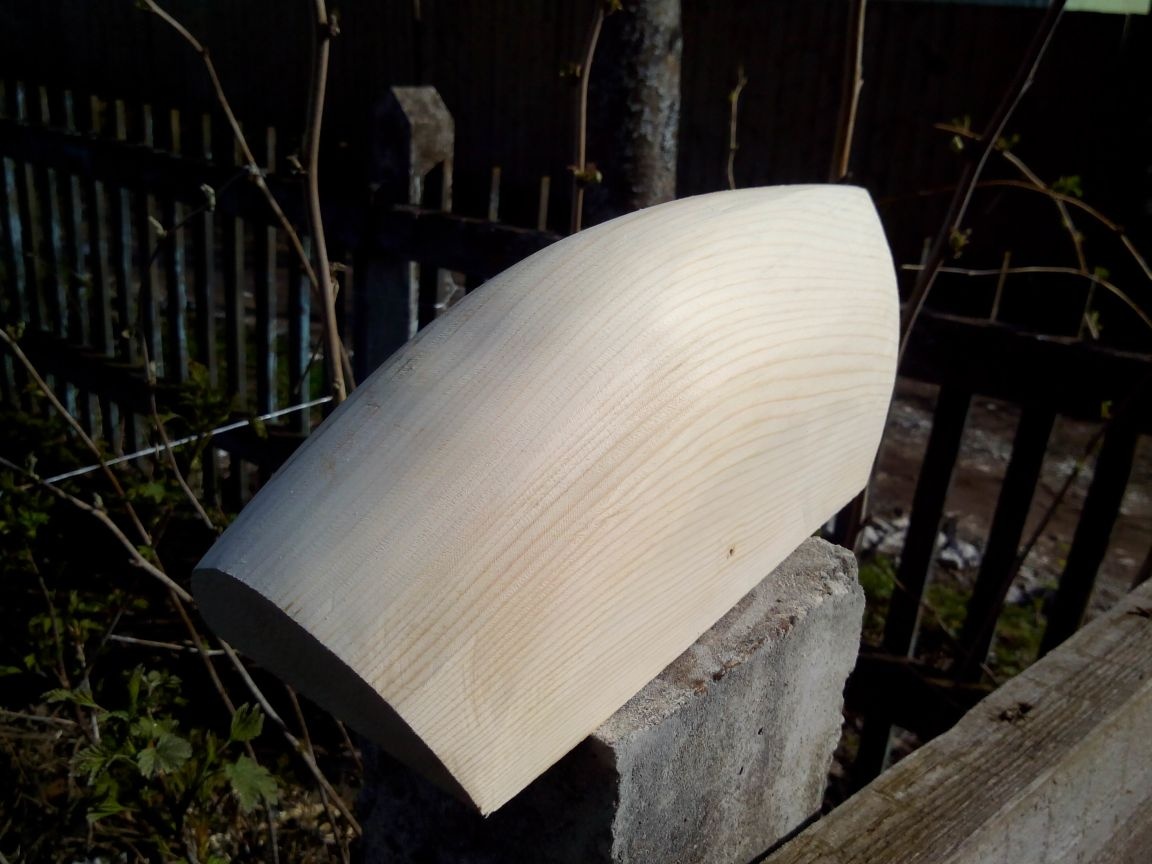
The final surface treatment is done with a grinding wheel.
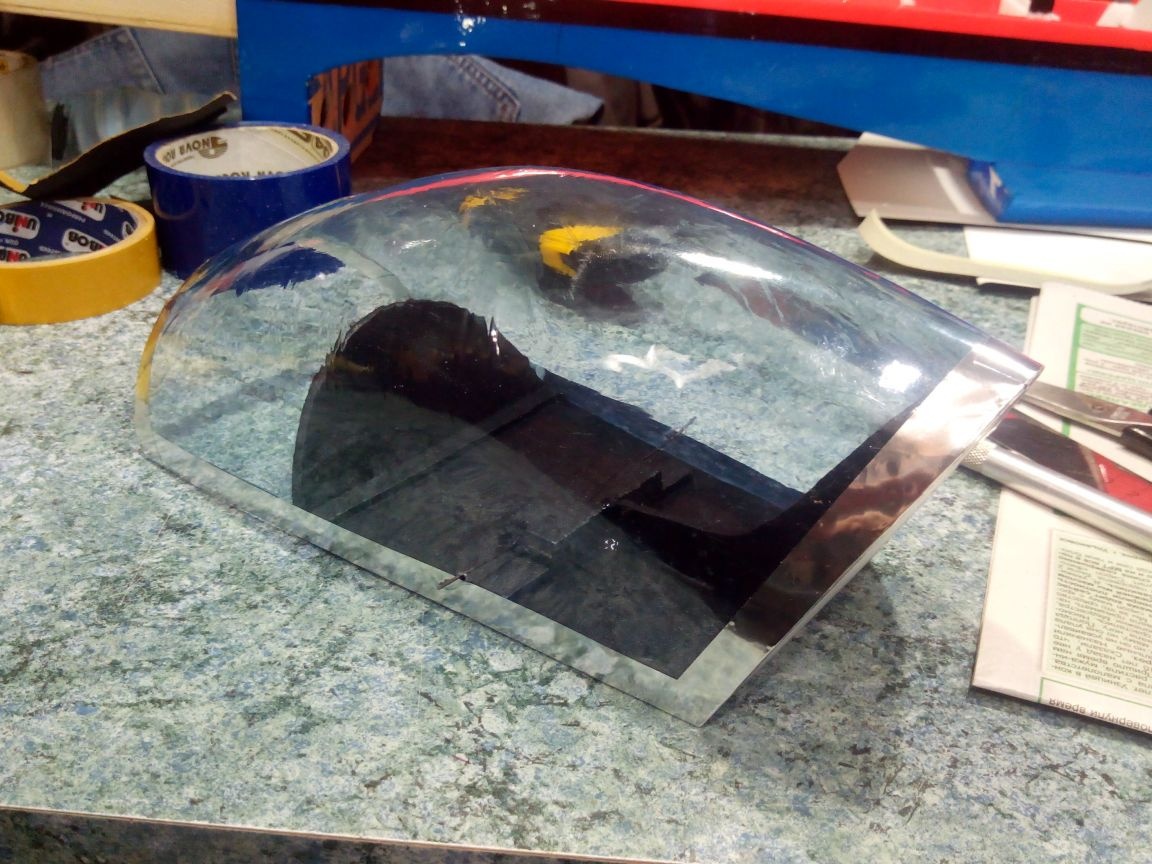
For shrinkage, we take a five-liter bottle, make an incision along it, cut the neck off and fasten it with screws to the blockhead.
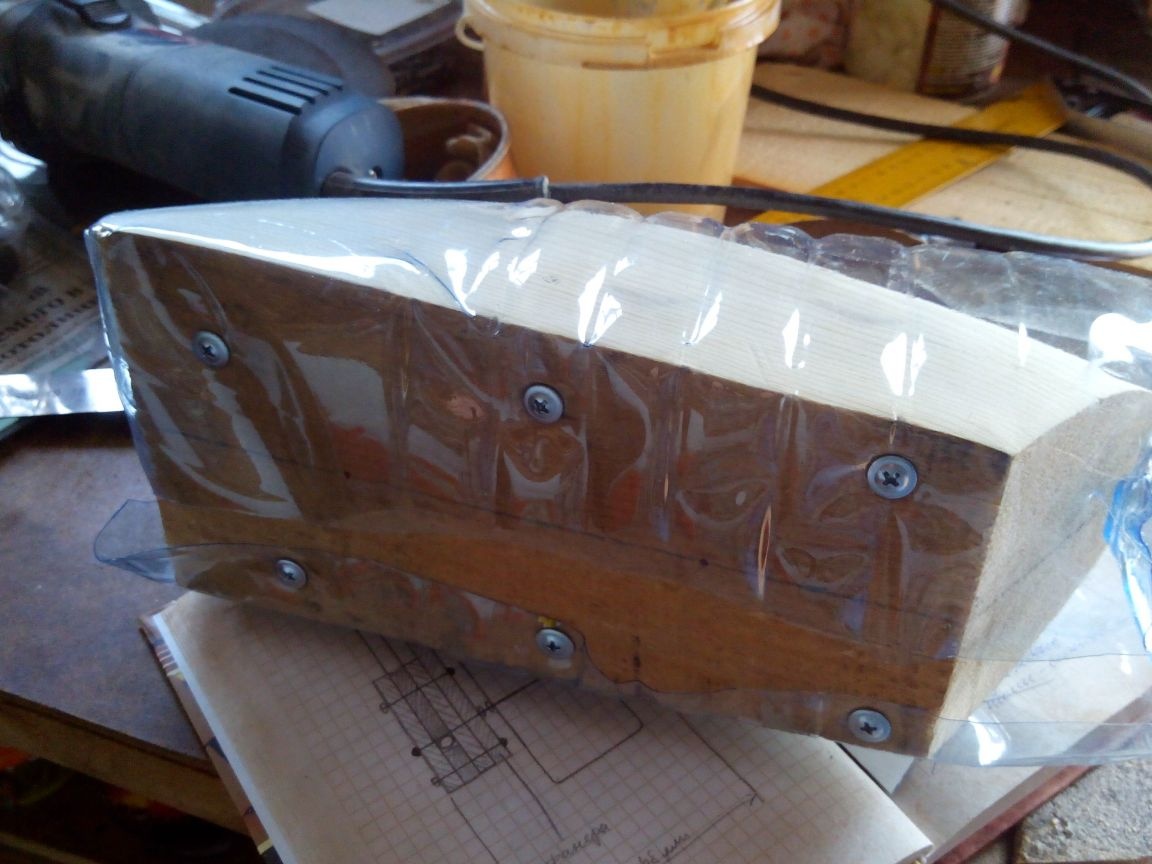
We heat the bottle with a burner or, if available, with a construction hairdryer. It may not work out the first time, but experience in this matter comes quickly. As a result, we get a block tightly fitted with a bottle.
We cut the excess with a knife and try on the fuselage.
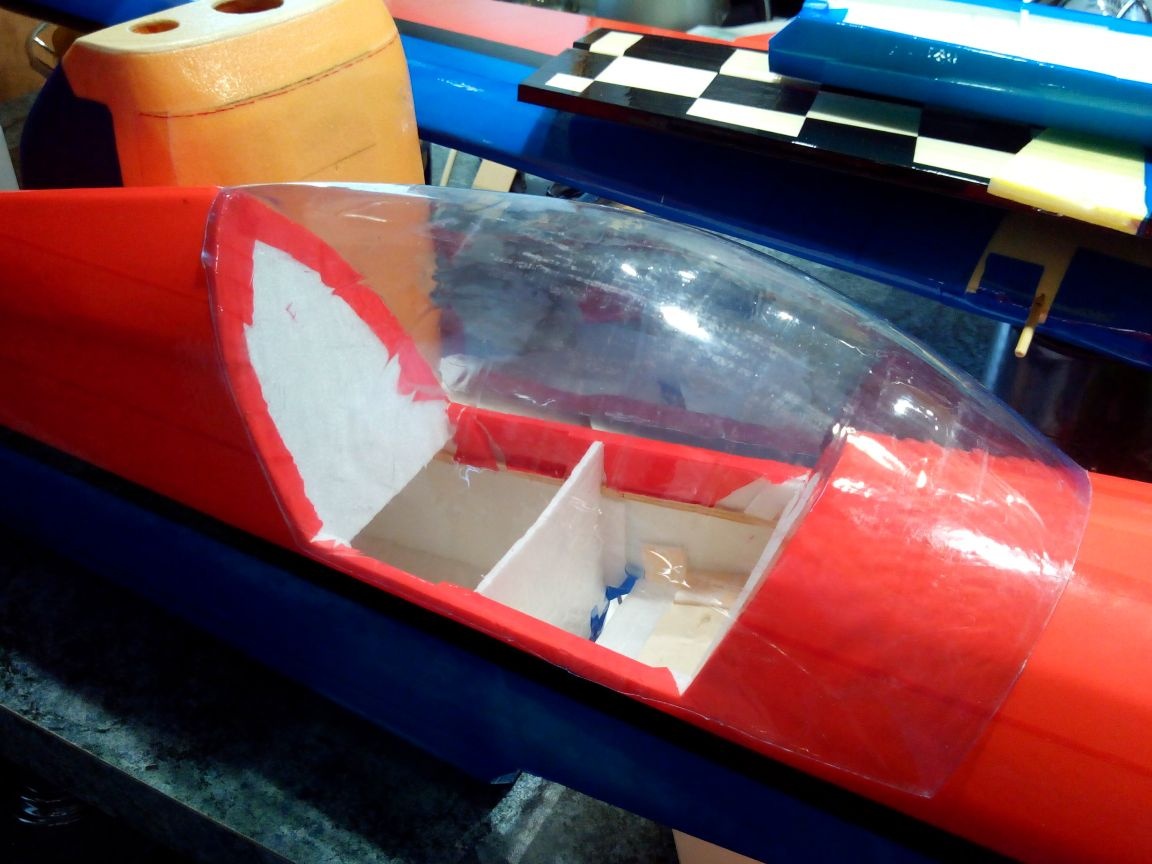
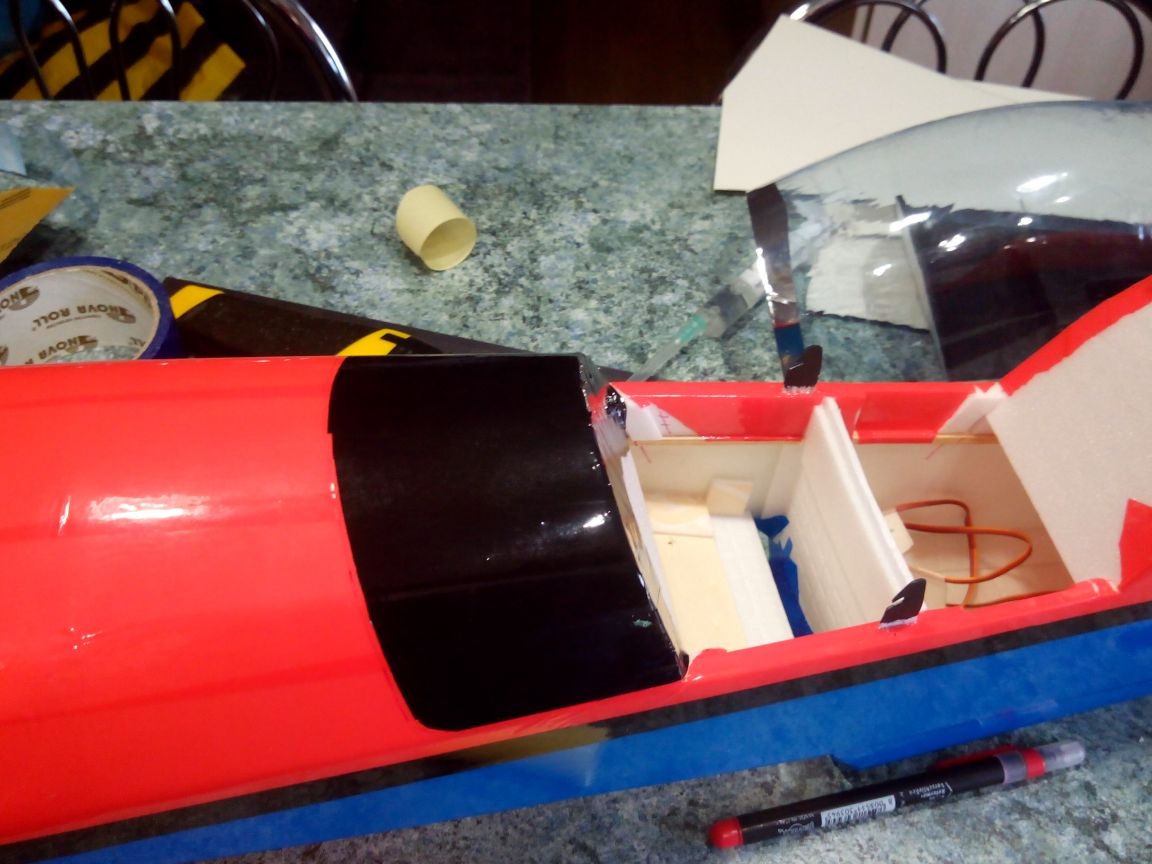
The lid of the compartment with the battery, it is the base for the flashlight, we make from the ceiling. You can use templates for doodle.
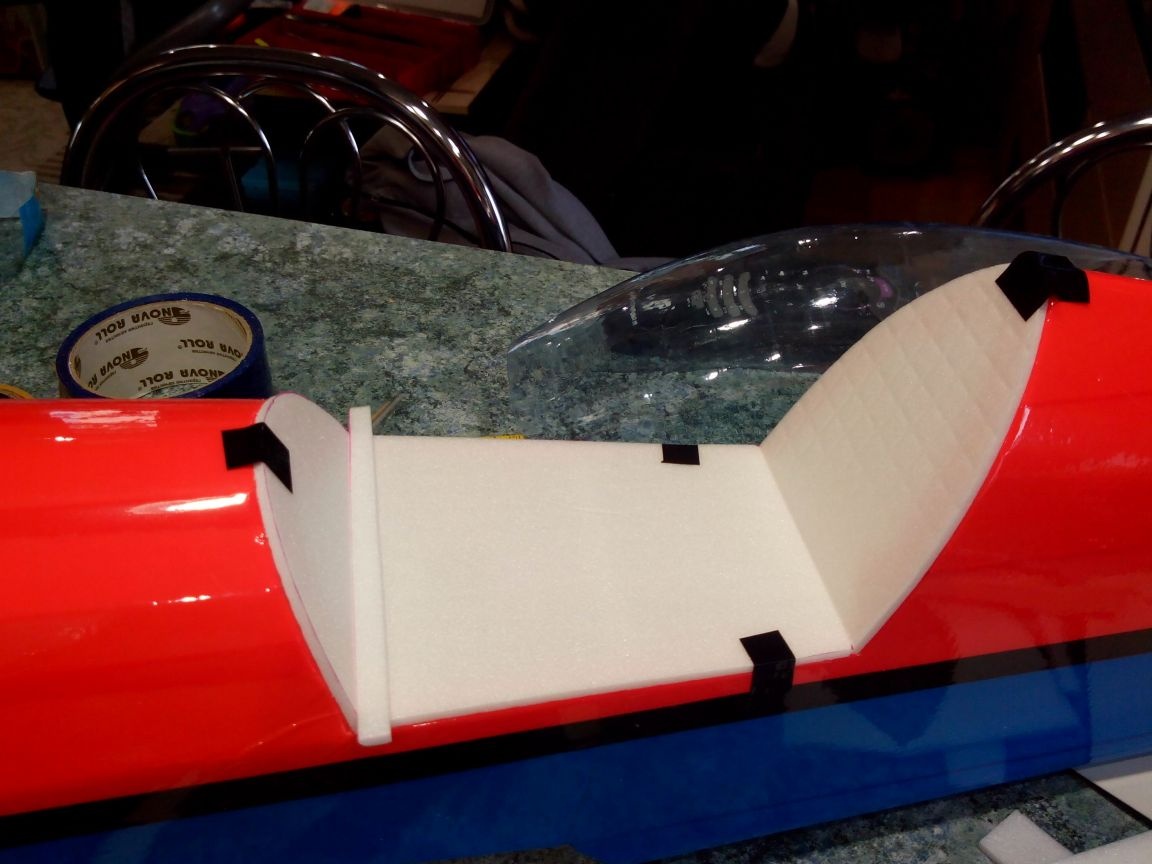
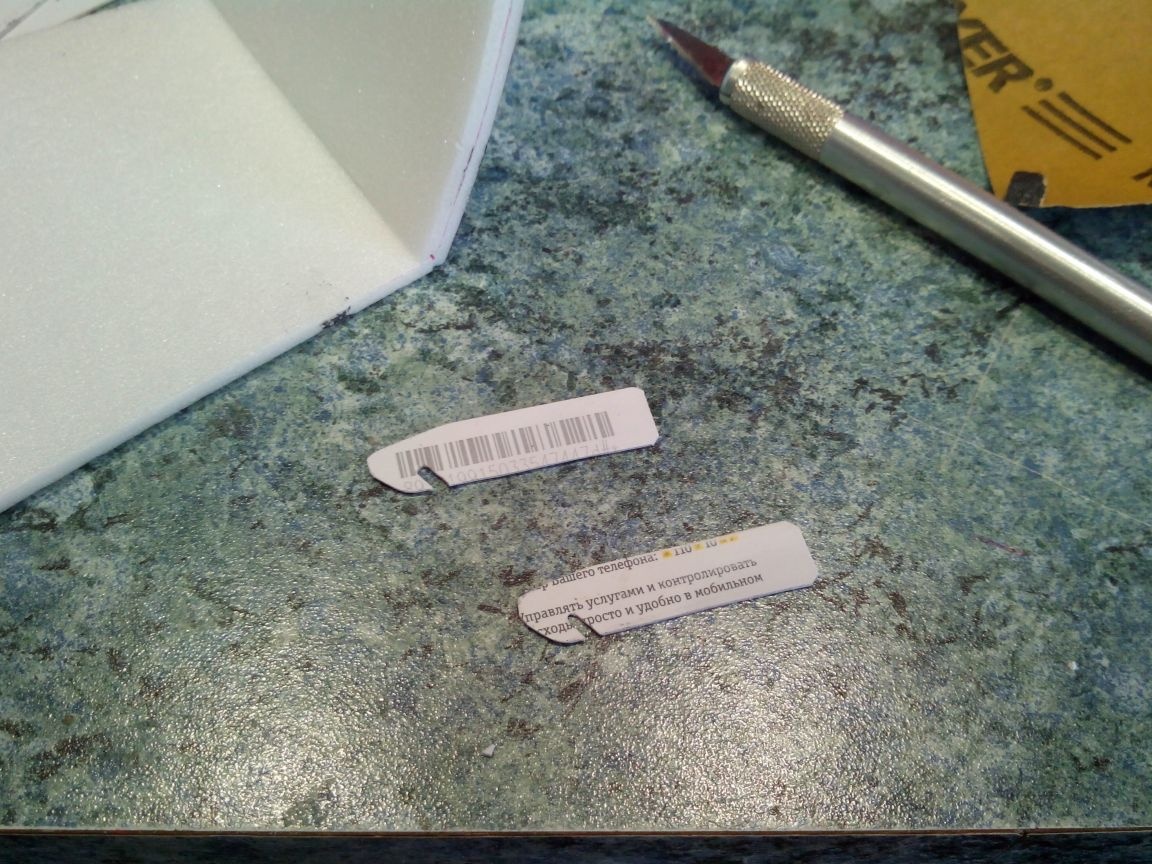
We cut out hooks from plastic.
We paste the hooks into the sides of the fuselage with epoxy glue.
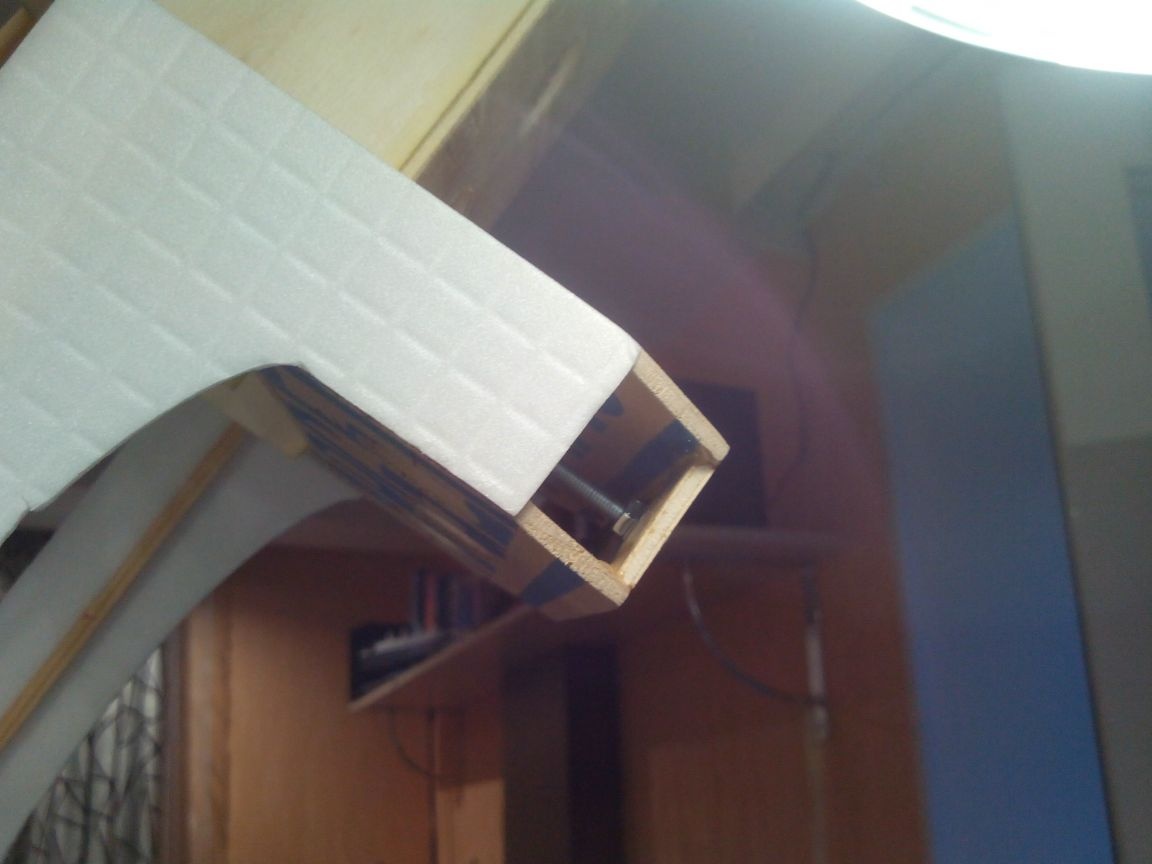
Glue pieces of the ceiling to the base-cover, and to them a piece of steel wire. The wire should protrude on two sides of the fuselage for a couple of centimeters.
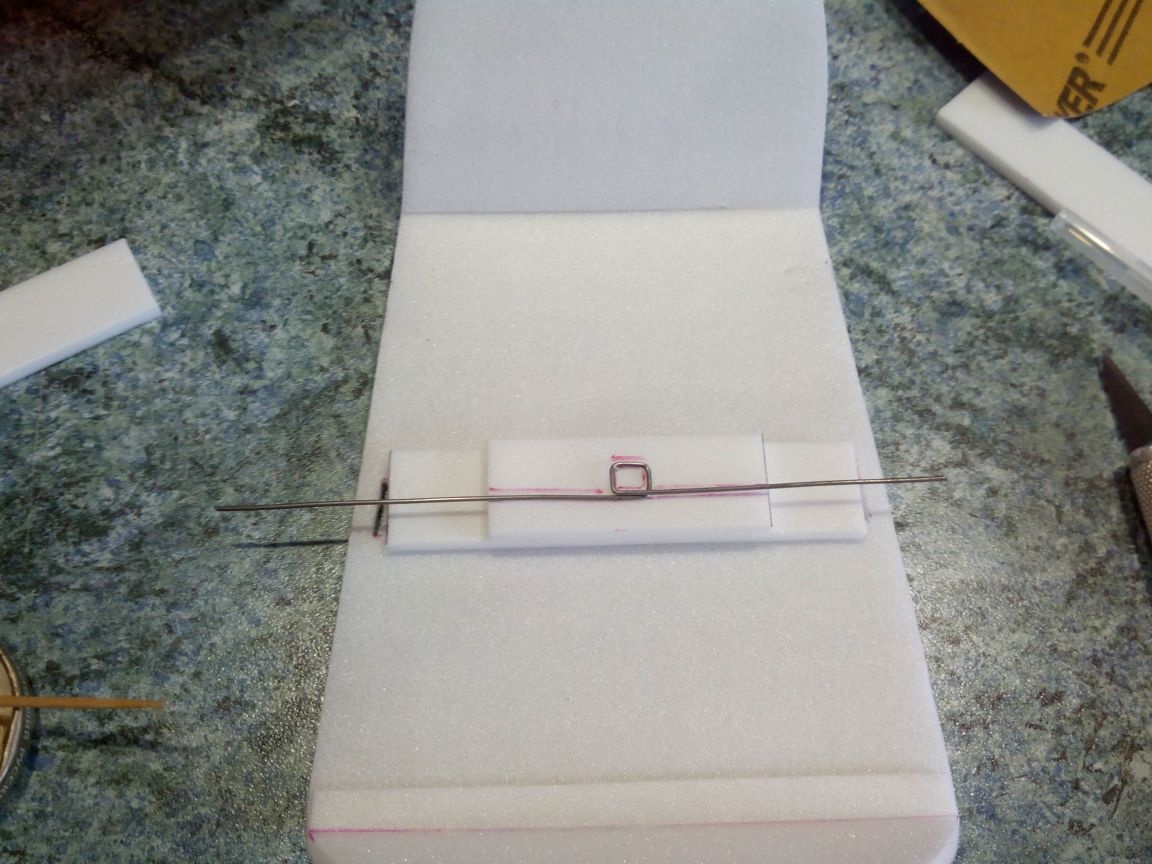
From above, we close the wire with a piece of the ceiling. How the lantern will be attached - in the photo.
We glue one more detail into the lid for rigidity.
We paint the inside of the “cabin” in black.
In the plastic lamp, we make slots for the wire, and in the same direction as the cutouts in the hooks. Then we skim the inside of the contour and glue epoxy to the lid.

We glue the edges of the lantern with silver tape.
We seal the place under the lamp with black tape.
From the building corner we cut out the stops for the lamp in the front.
We paint them black and glue them into the fuselage with epoxy.
The lantern, it’s the cabin, is ready!
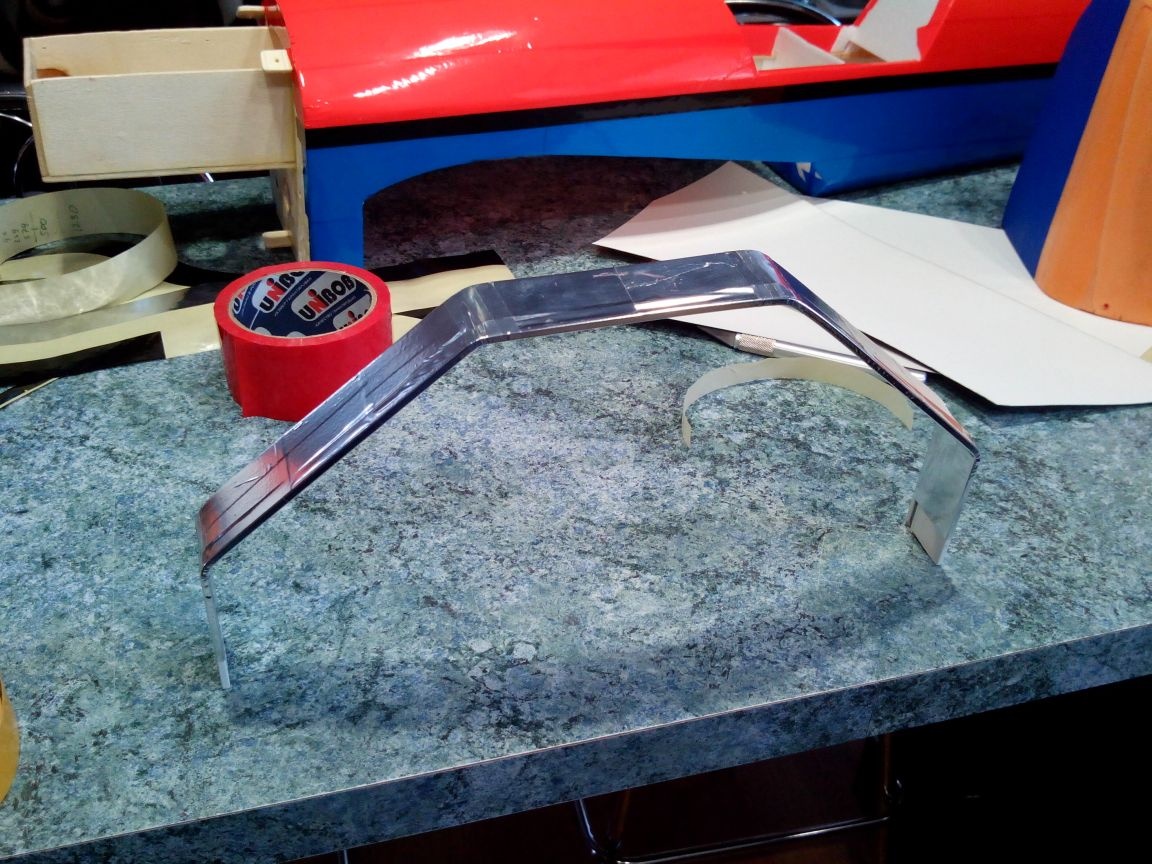
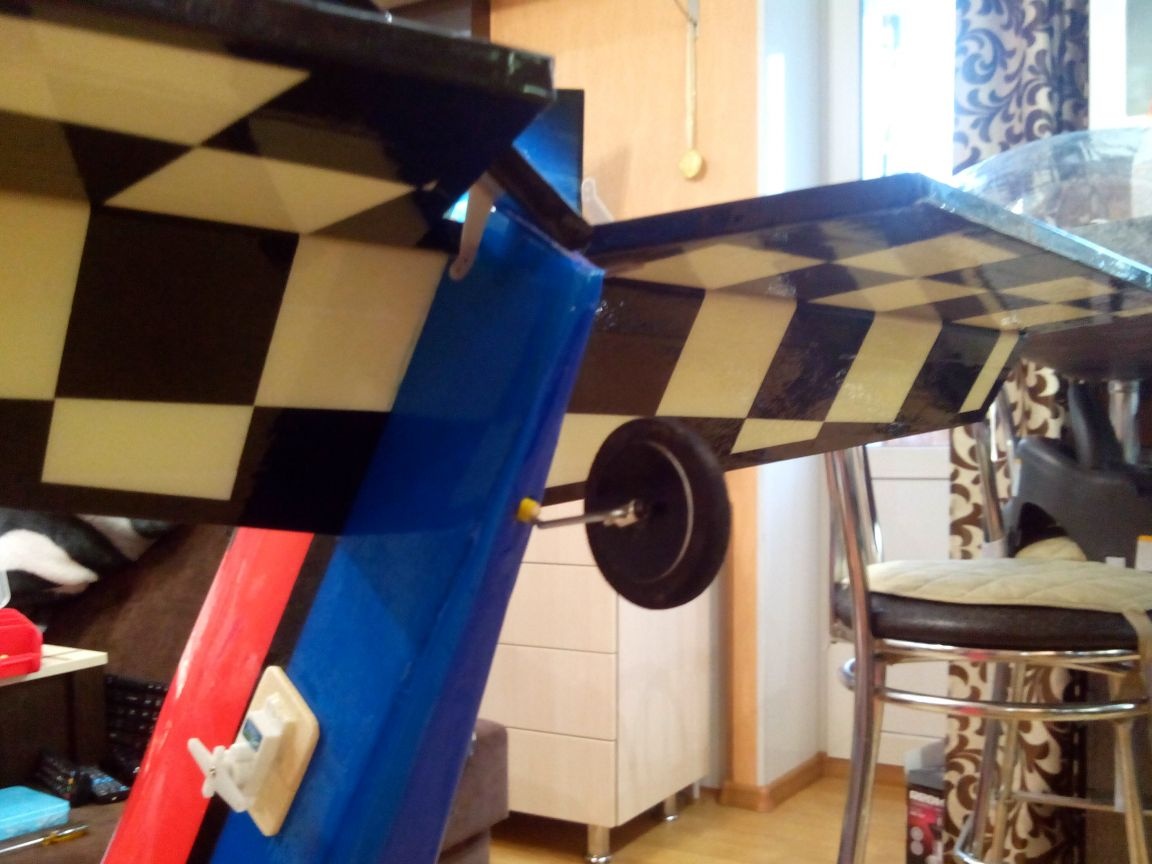
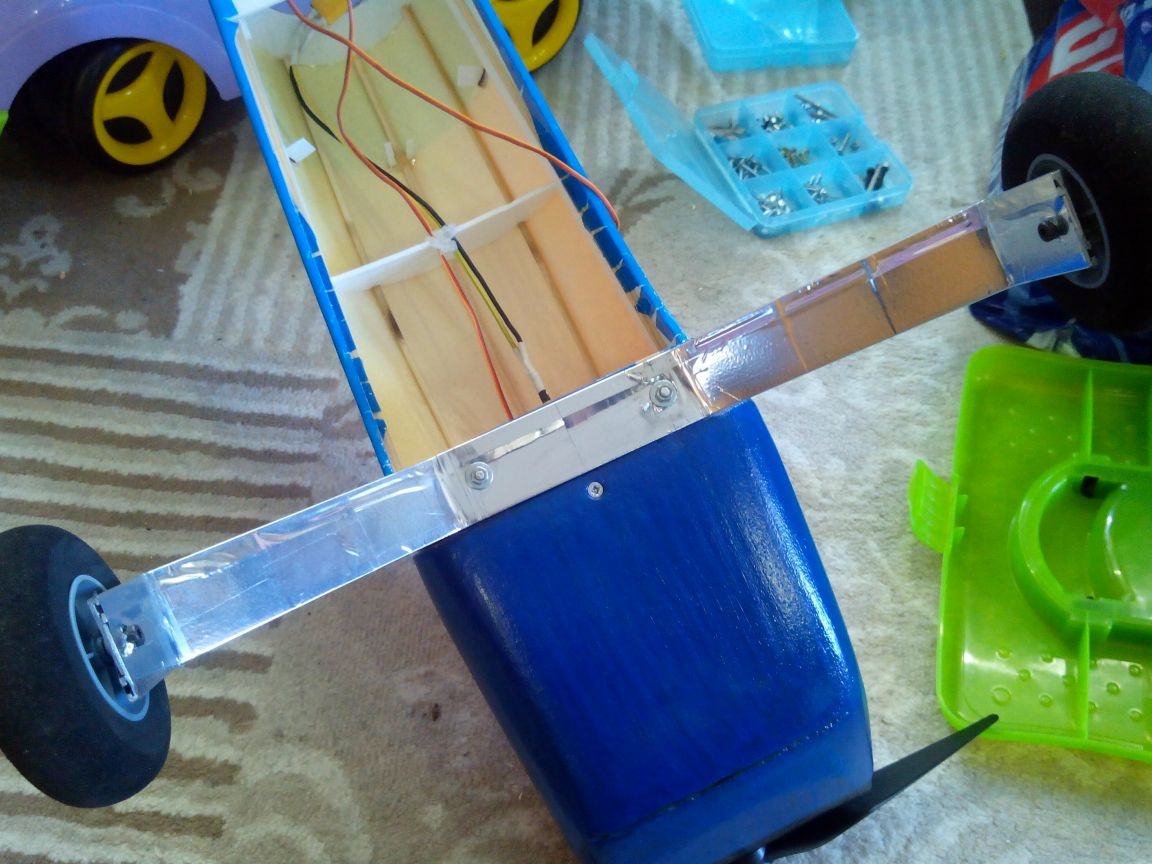
Step 6. Making the chassis
The dimensions of the front landing gear are shown in the photo.
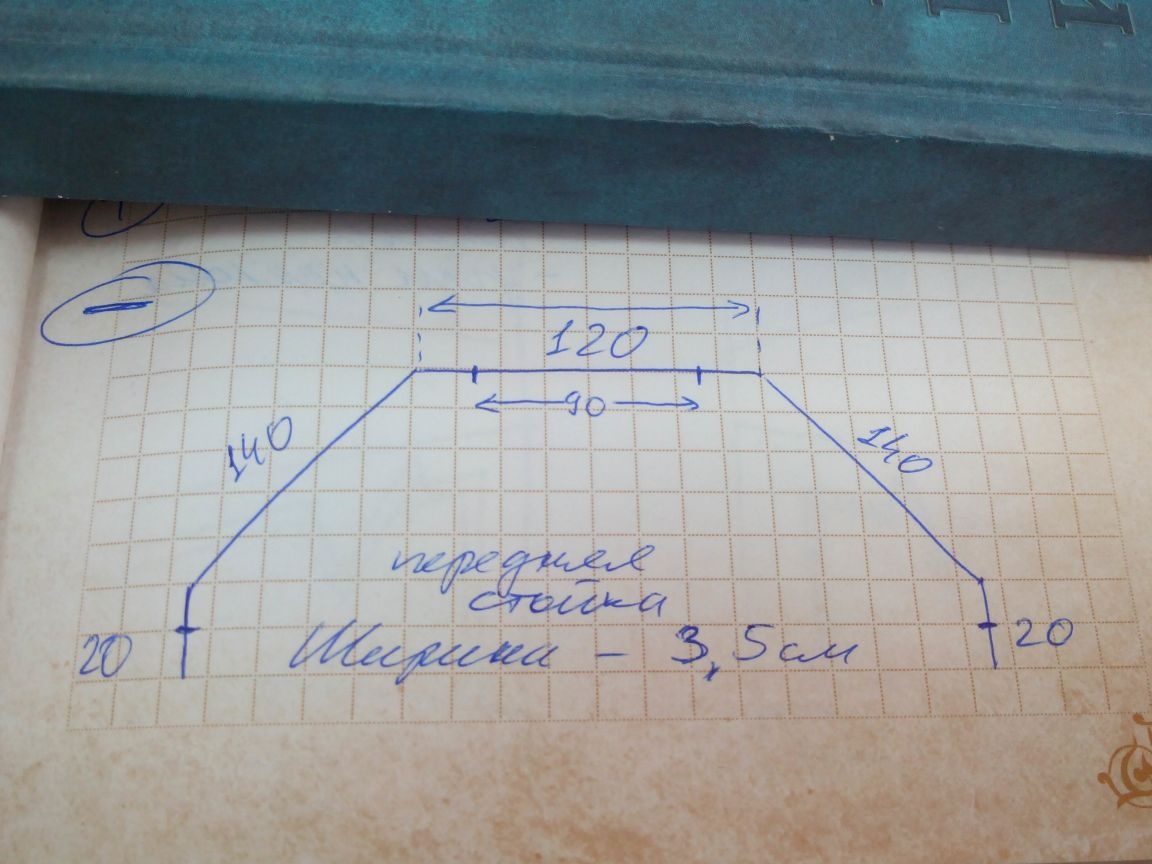
As a material for the front pillar we use a duralumin plate with a width of 35 mm and a thickness of 4 mm. Although the sizes and materials may be different.
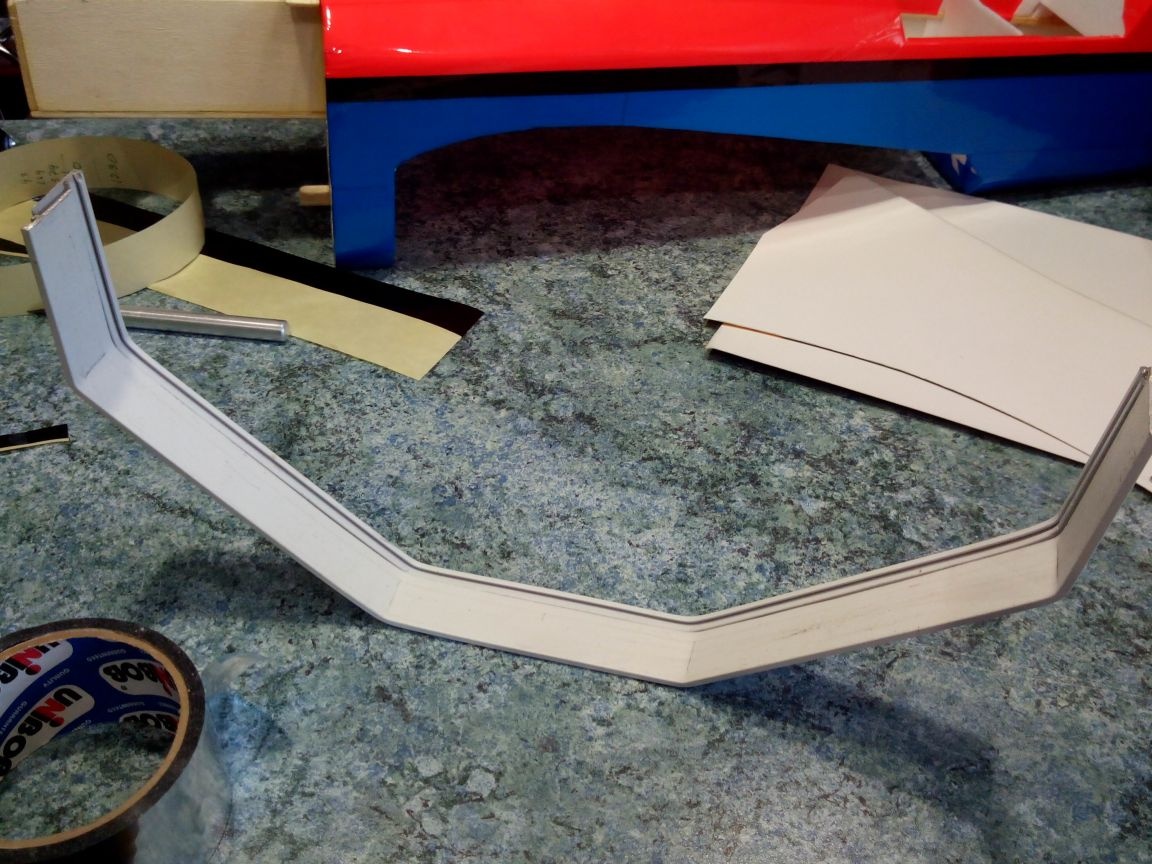
If necessary, the rack can be glued with silver tape.
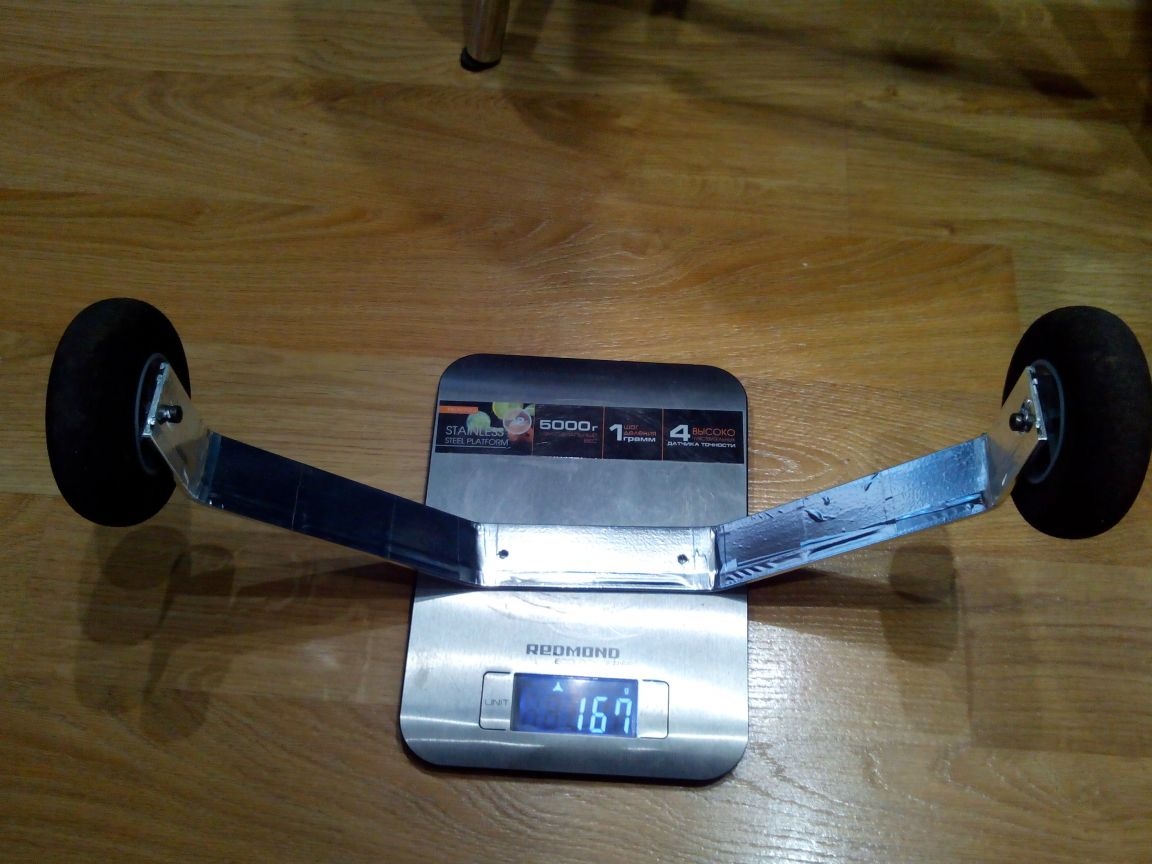
Wheels can be made independently of foam rubber or used purchased. They are bolted to the rack.
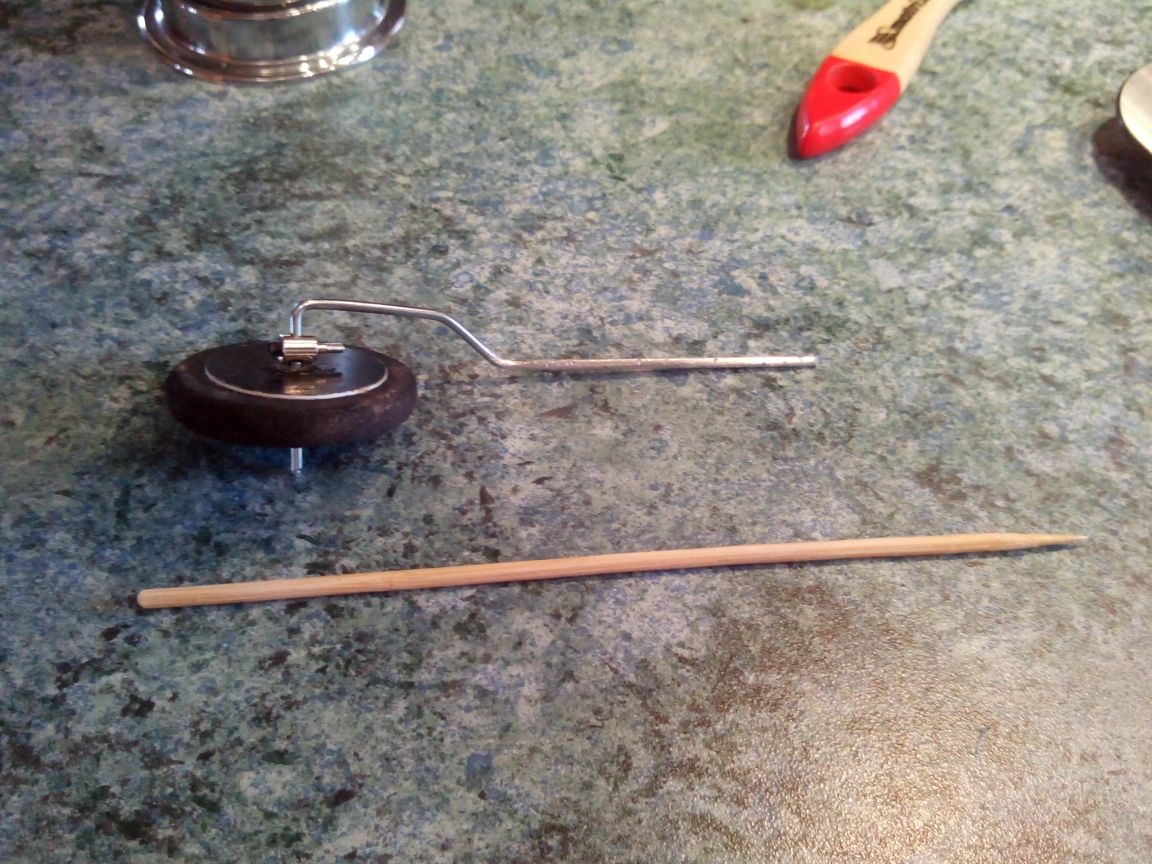
The tail chassis is made of knitting needles and bamboo skewers. Homemade wheel, shot from another model.
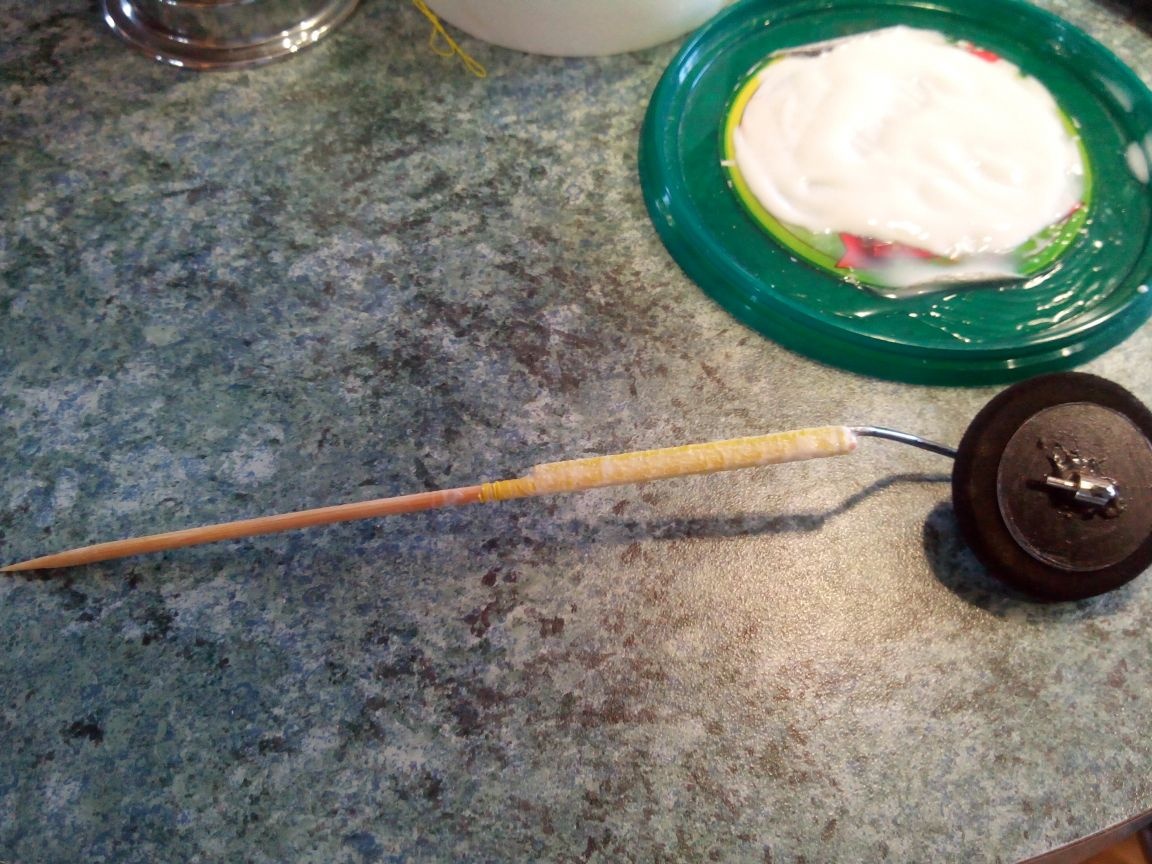
In the plywood platform, in the tail, we drill a hole, pierce the stabilizer and keel with an awl, as far as it gets, and glue the chassis on an epoxy.
Step 7. Build the model
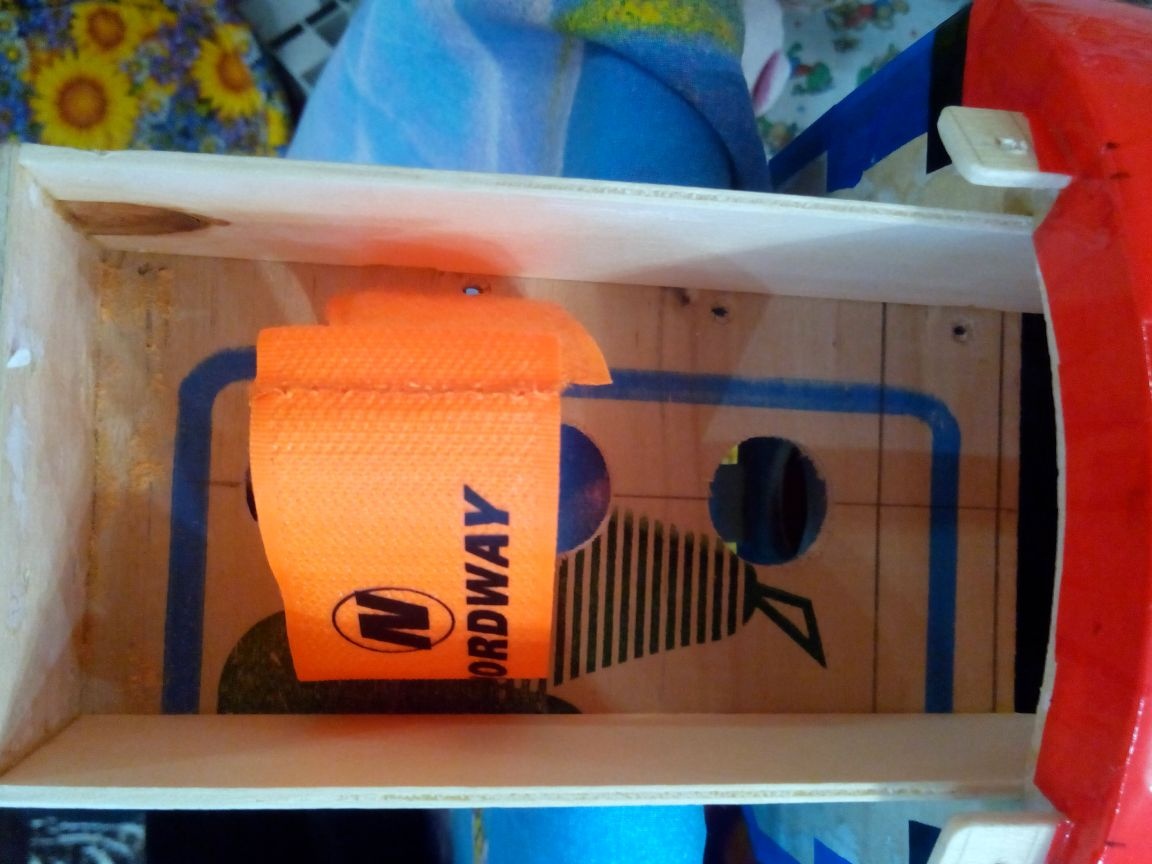
Glue Velcro inside the engine mount for attaching the regulator.
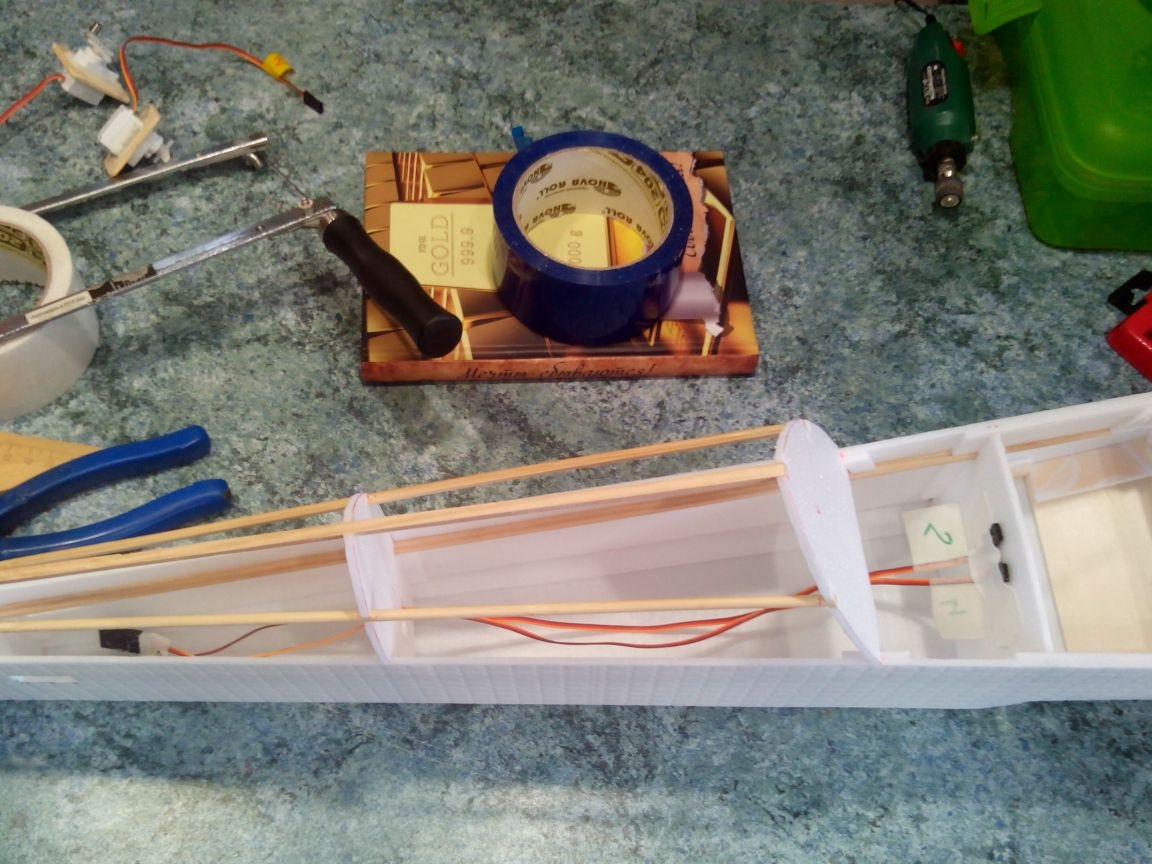
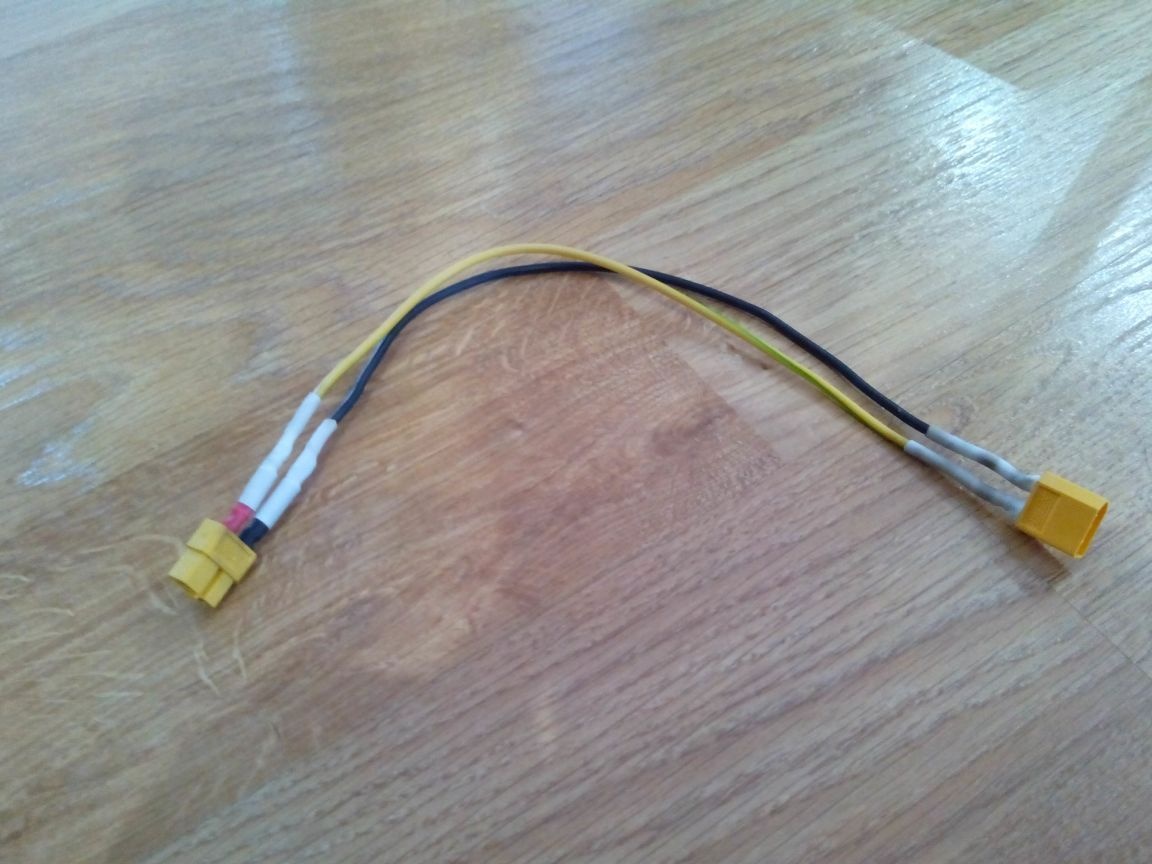
From thick wires we solder the extension cord for the battery, since it will be located in the "cab".
We bolt the motor to the engine mount, connect the controller connectors and fix it inside with Velcro.
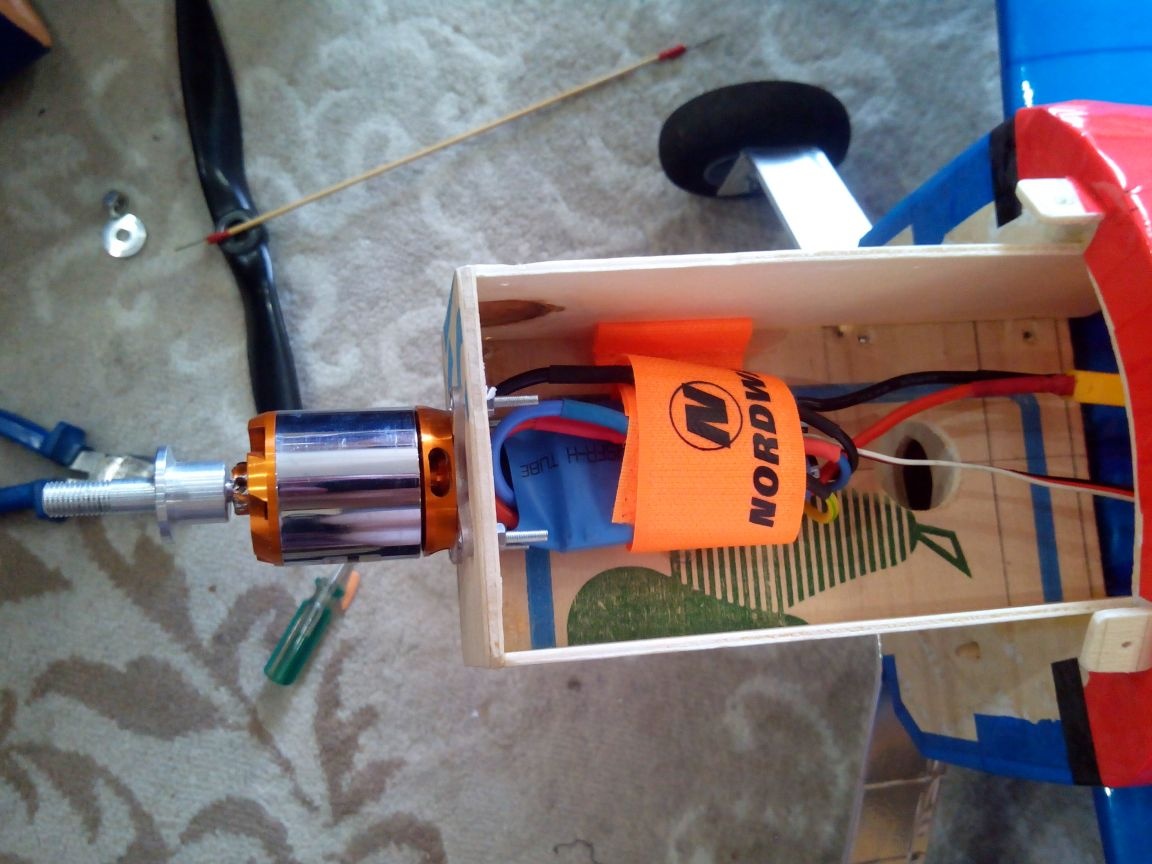
We stretch the wires from the regulator inside the fuselage and glue it to the frame with hot-melt adhesive.
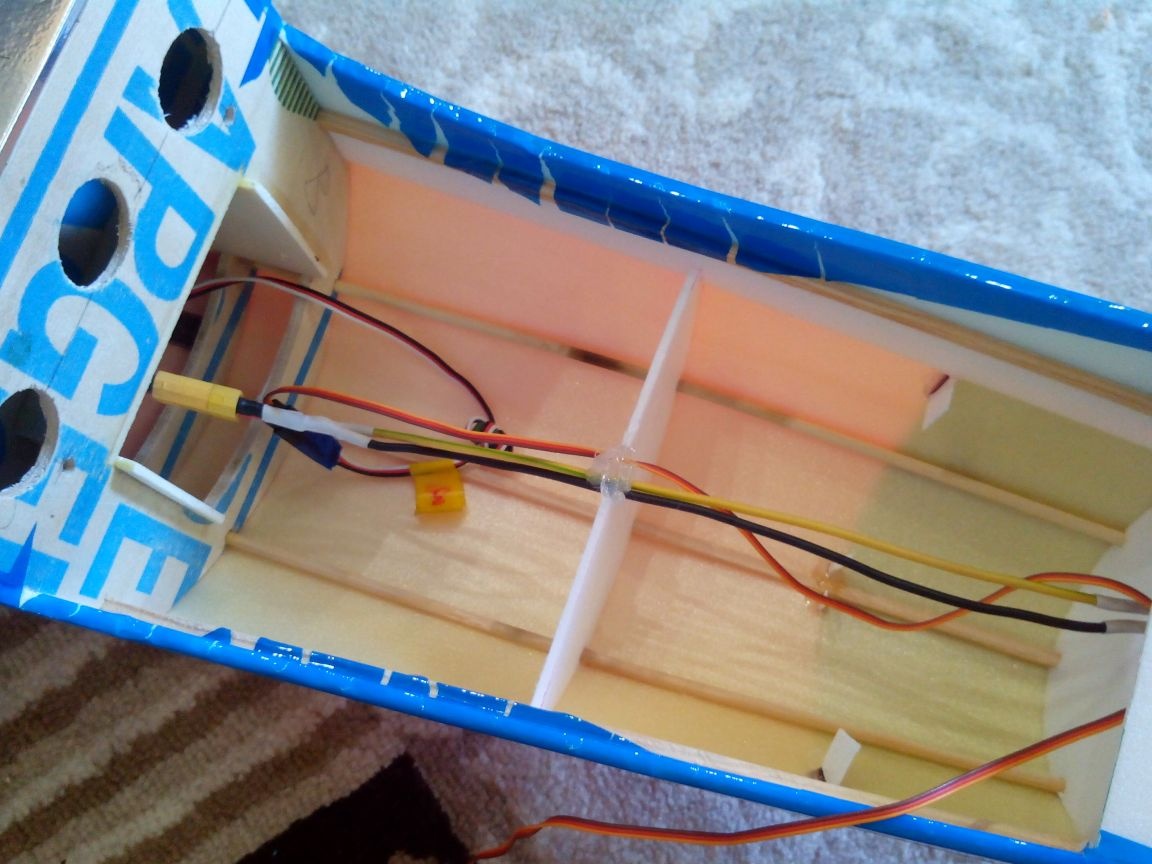
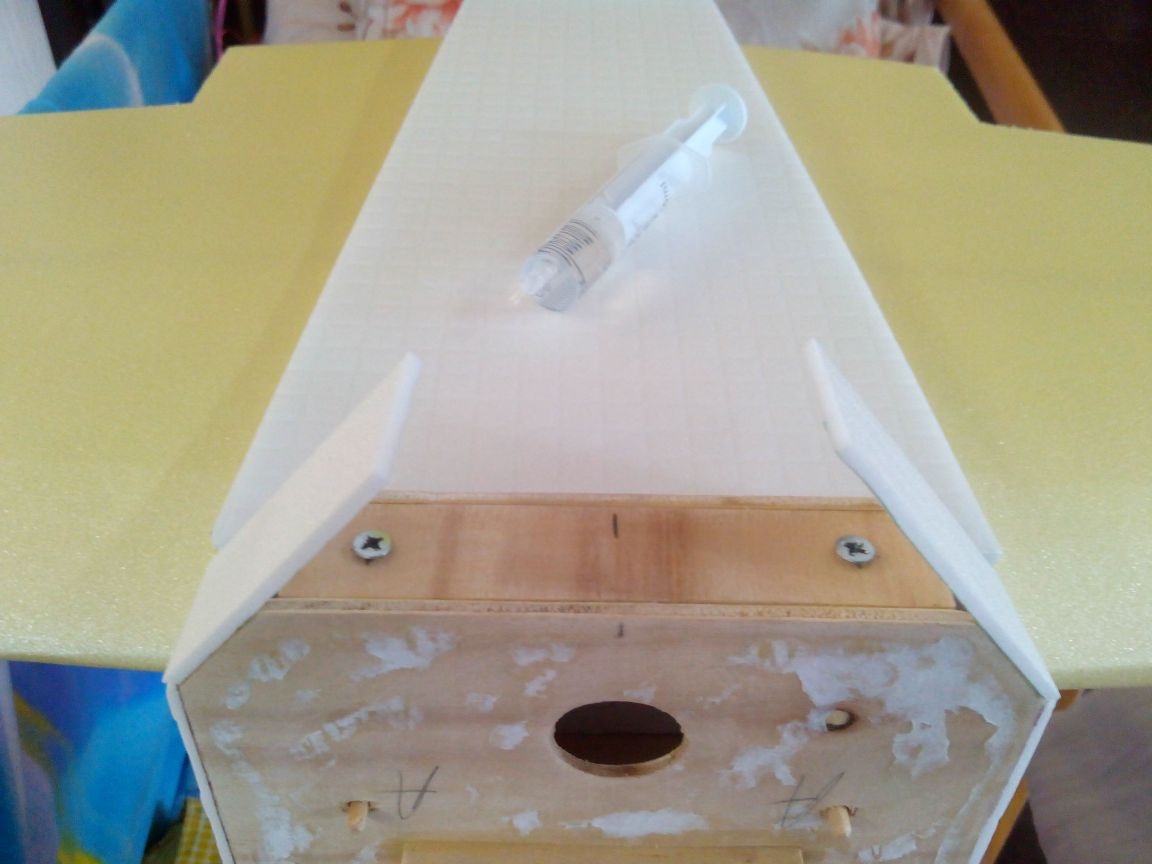
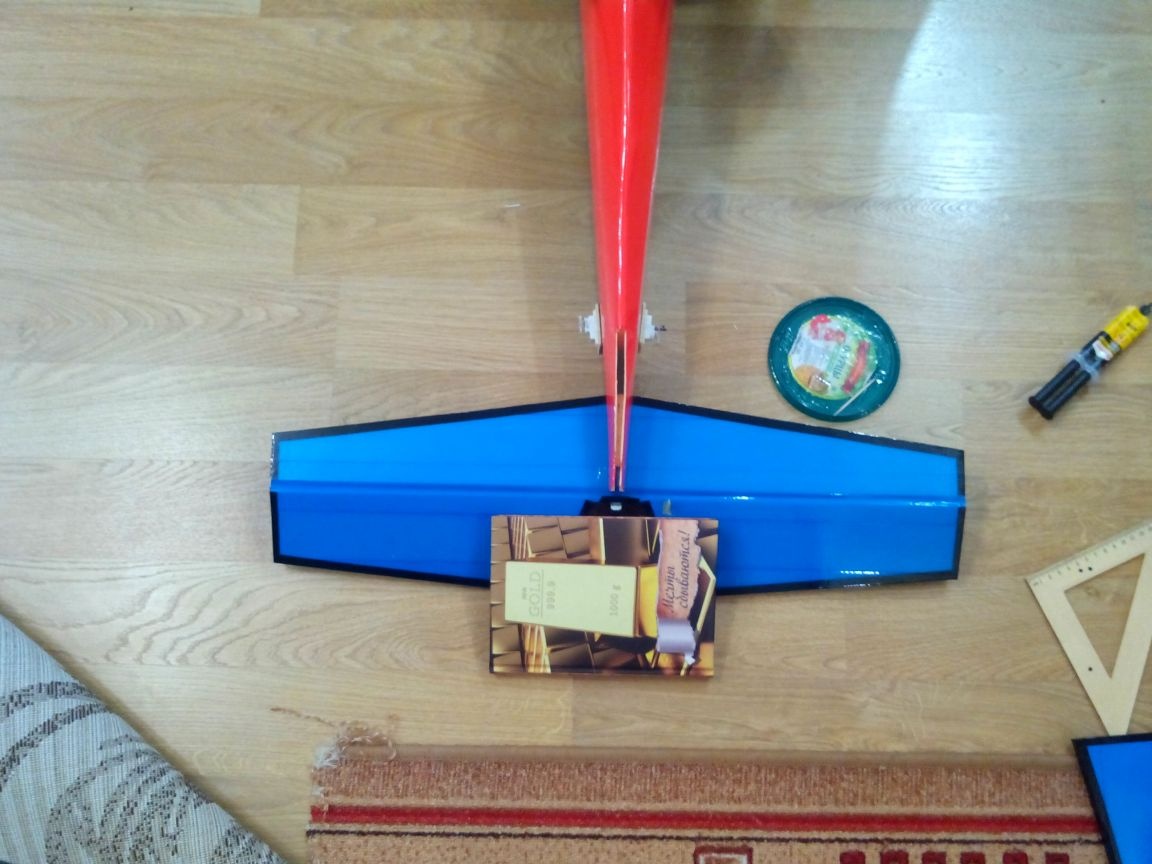
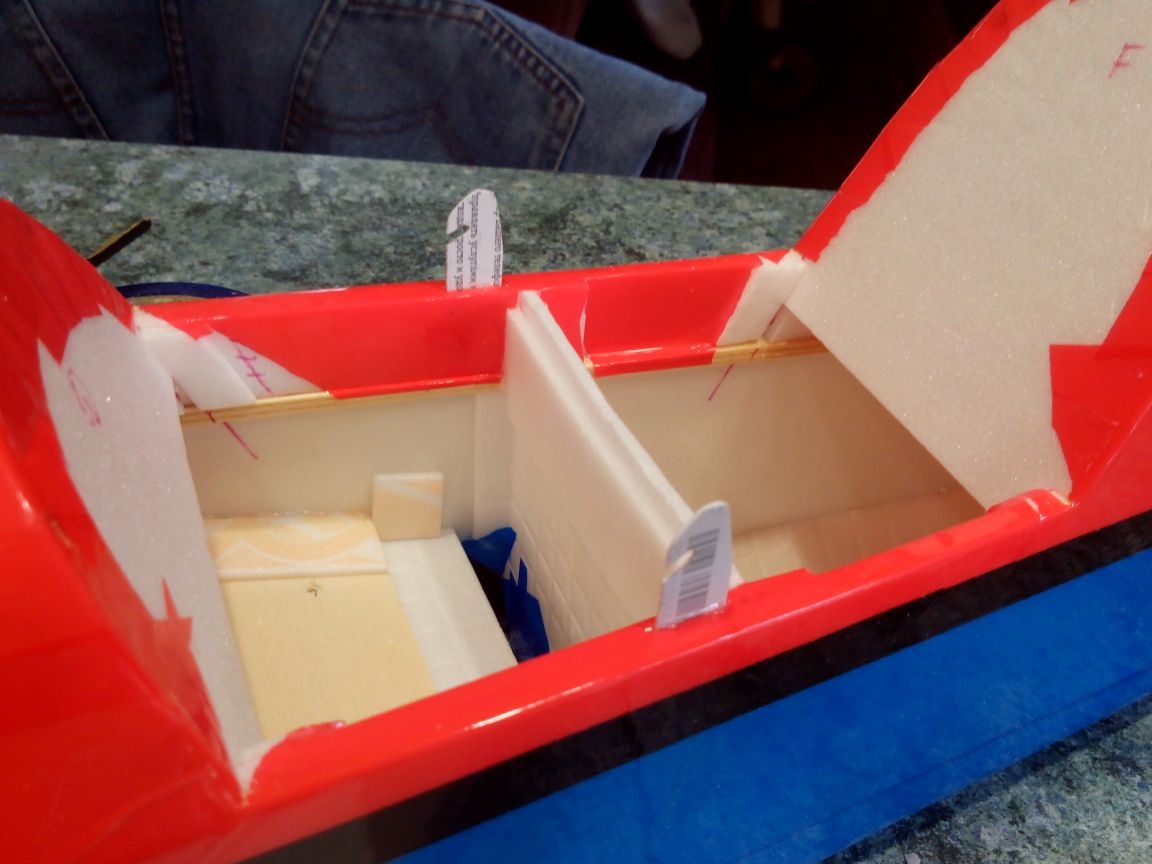
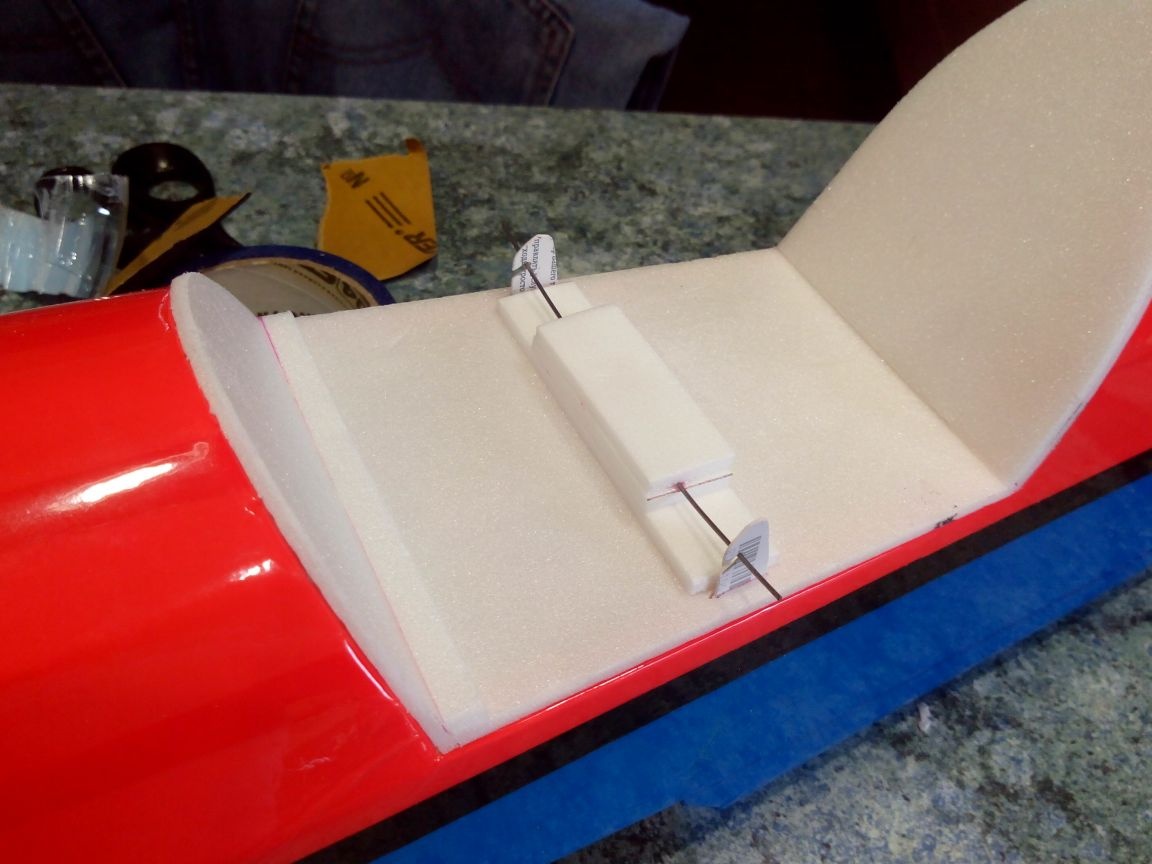
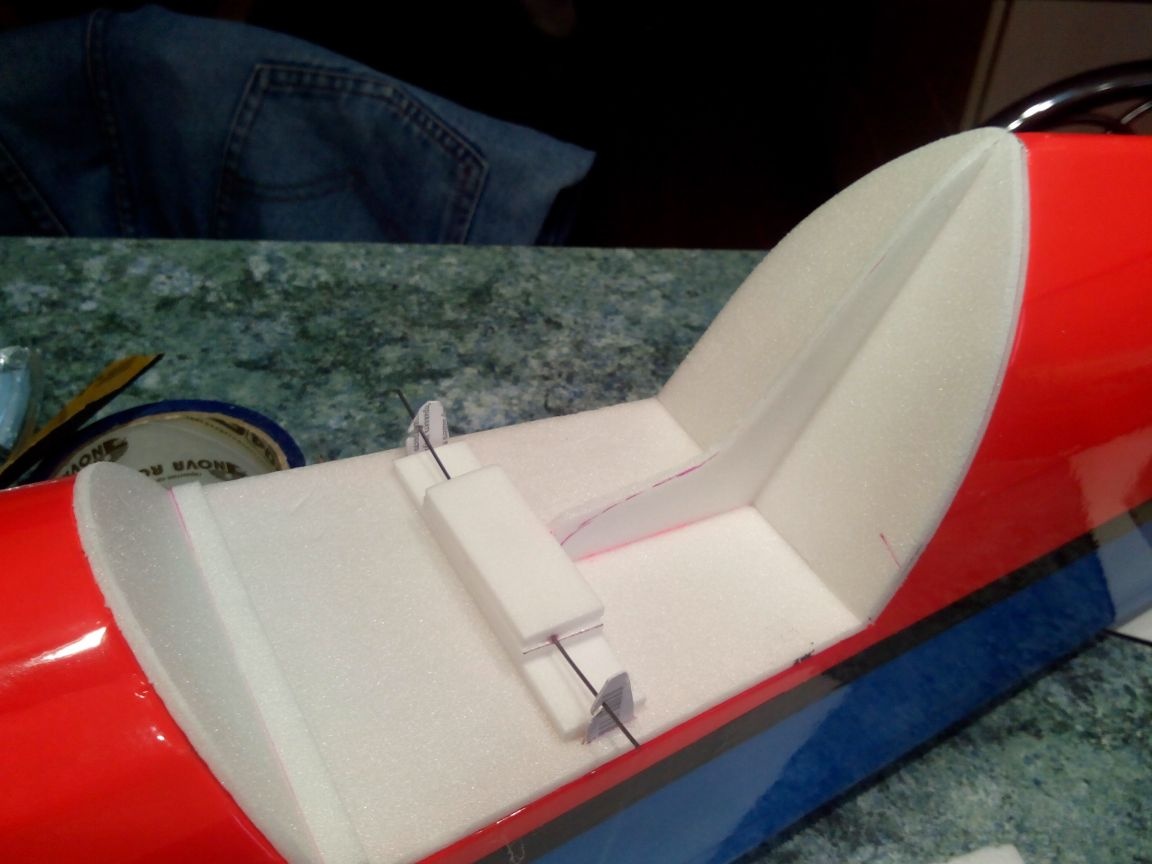
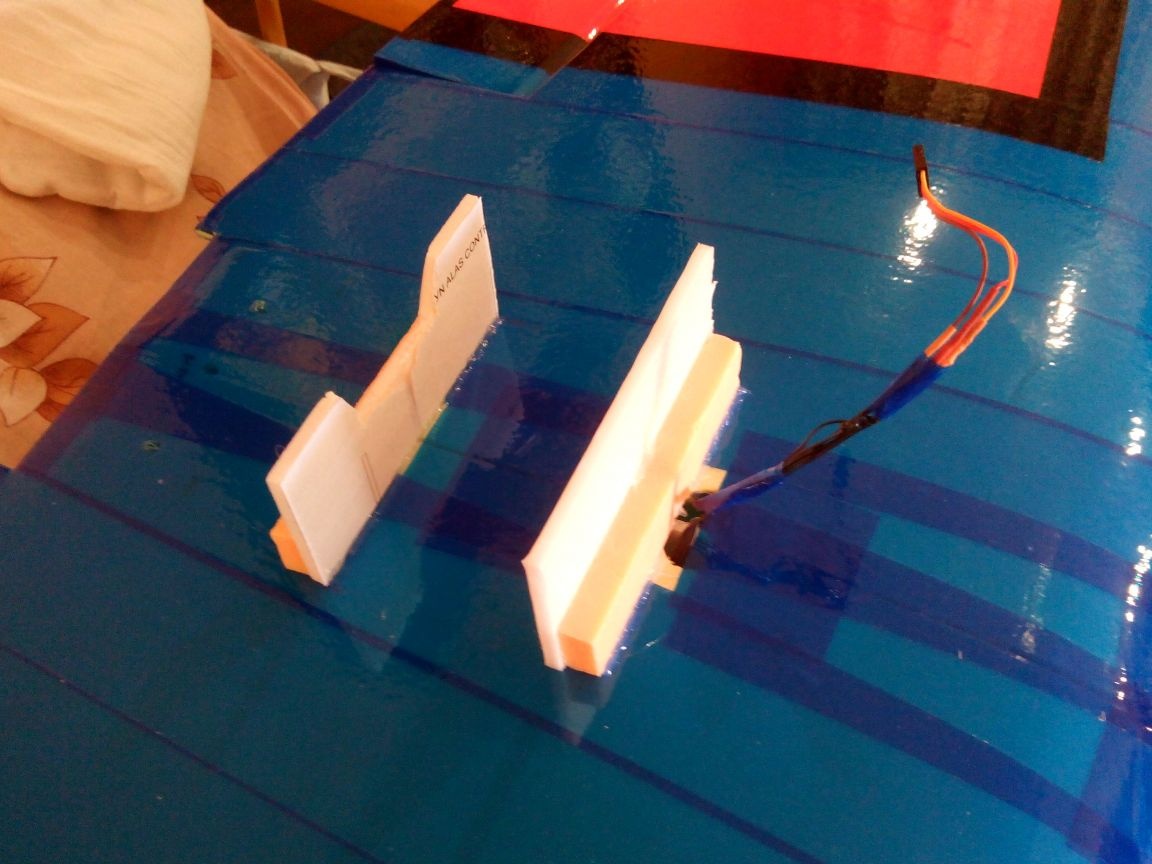
Glue two partitions to the wing from above so that the battery does not move in flight. We select this place when centering the entire model.
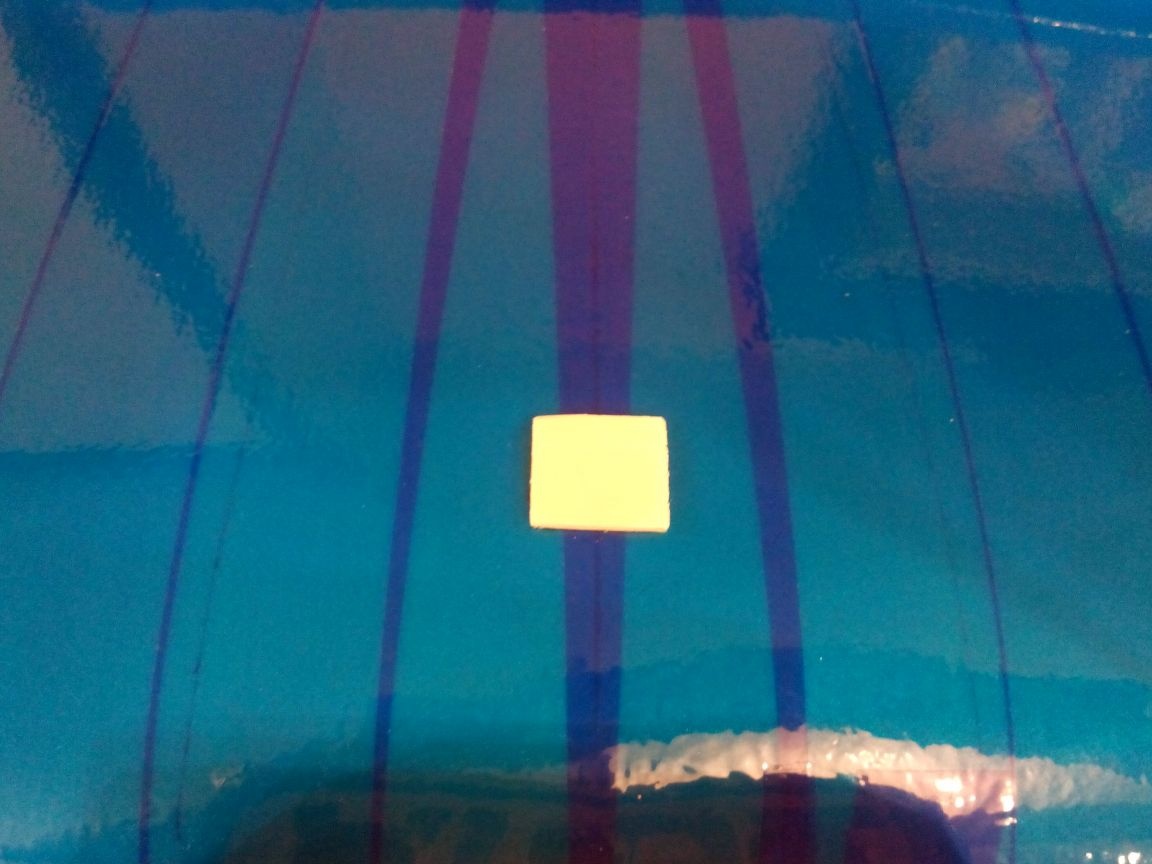
From the bottom to the wing we glue the plywood pad for the self-tapping screw, which will fix the cover under the wing.
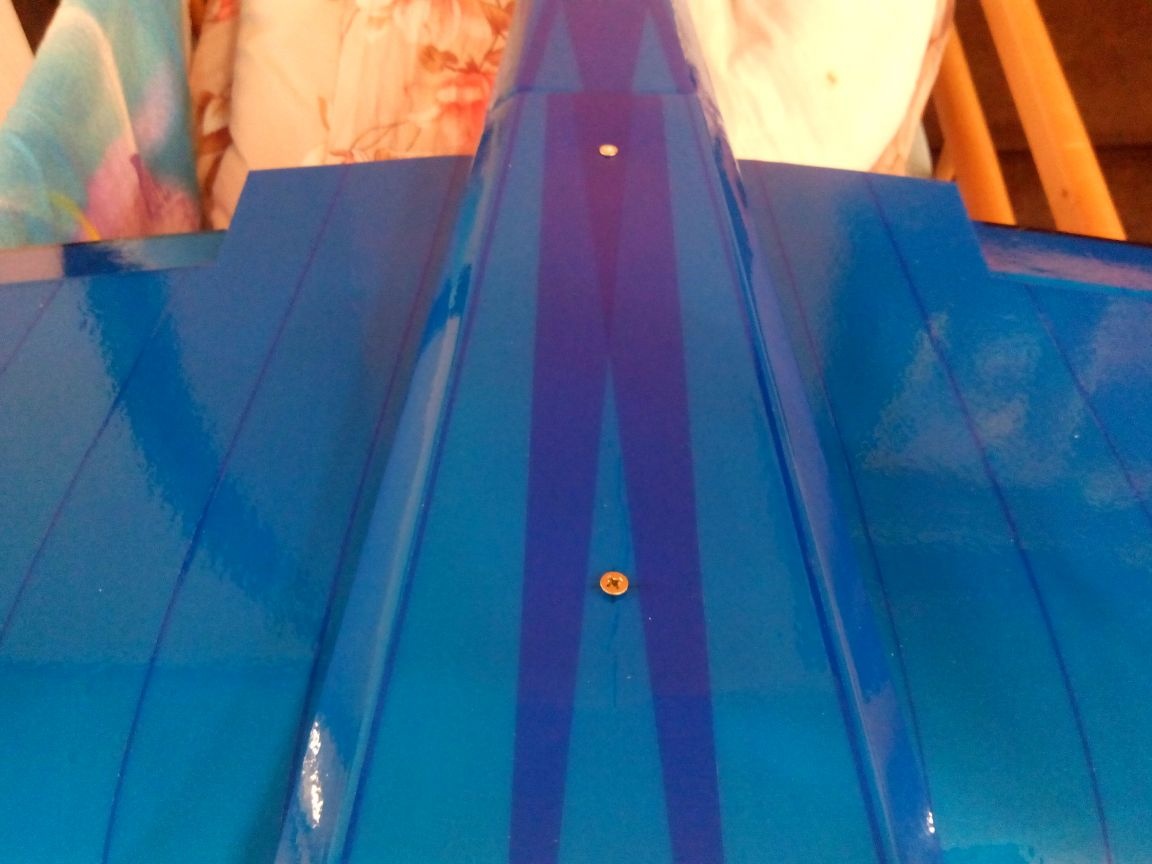
We insert the wing into the fuselage, fasten it with self-tapping screws, close the lid and fasten it with self-tapping screws - one into the platform, which is pictured above, and the second between the self-tapping screws that hold the wing.
We fasten the hood and screw.
We fasten the front landing gear rack.
Everything, the plane is ready for testing and flying.
Video of the first flights: