
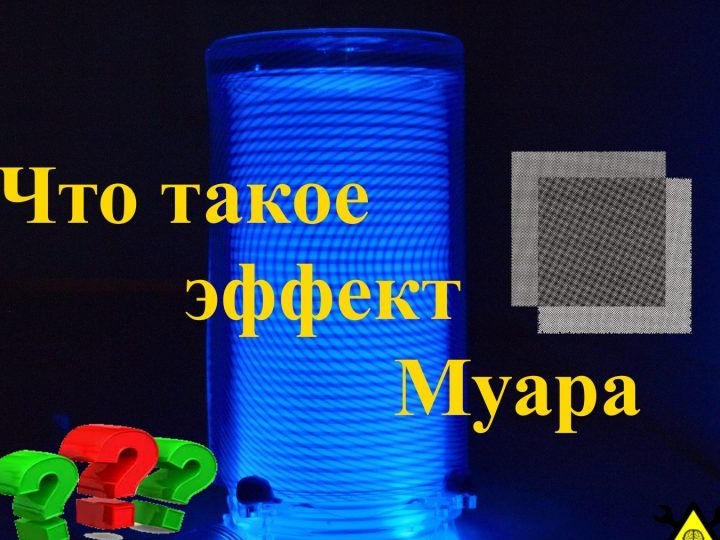
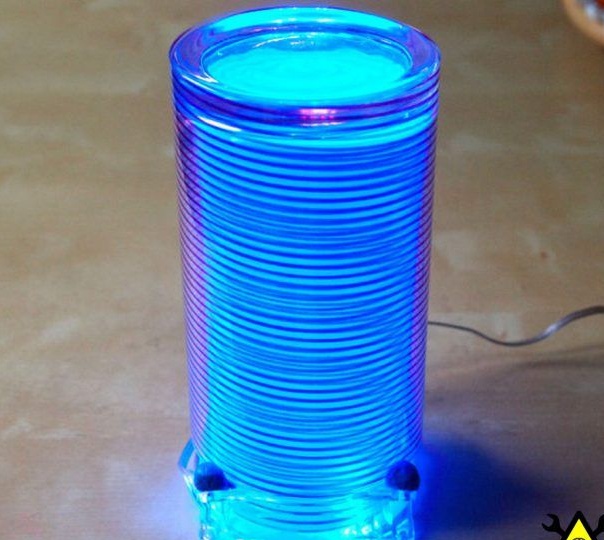
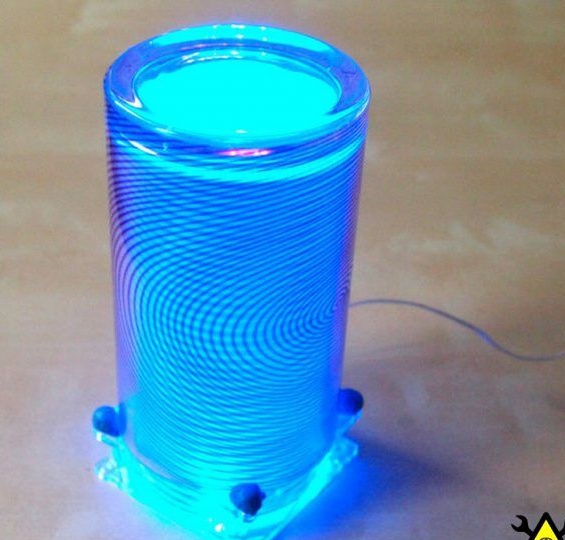

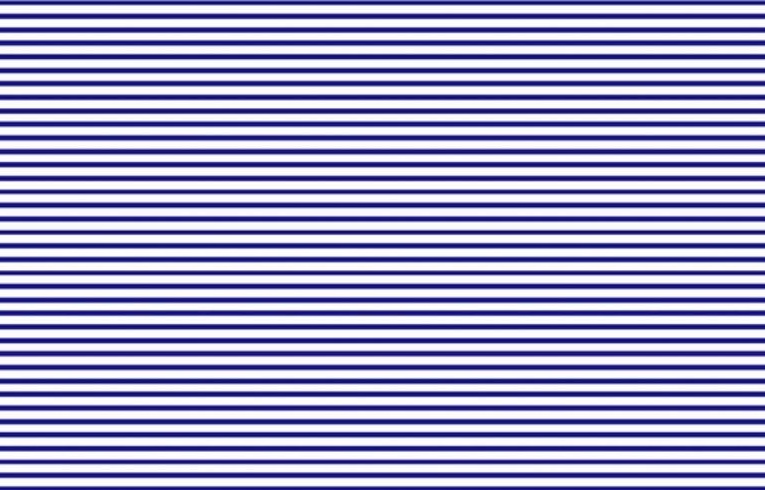
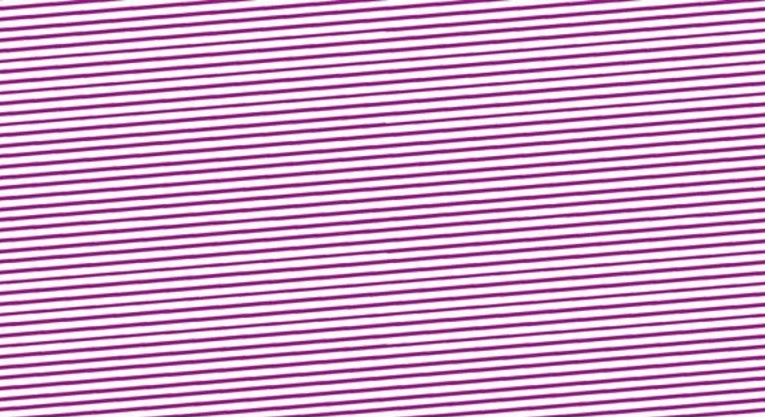
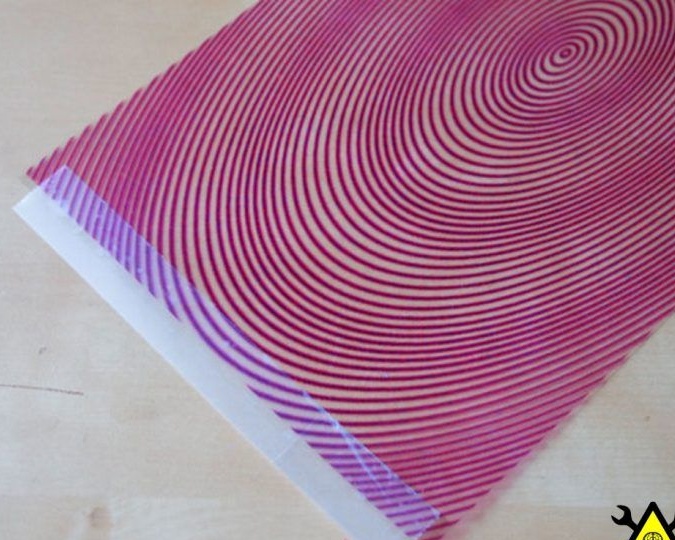
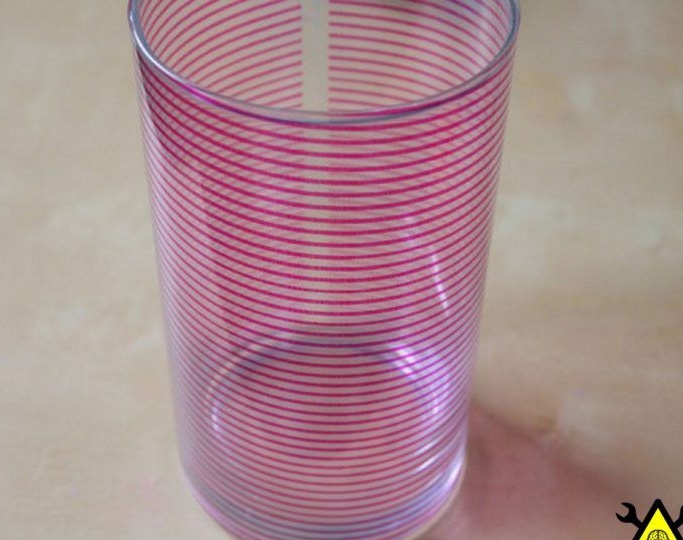
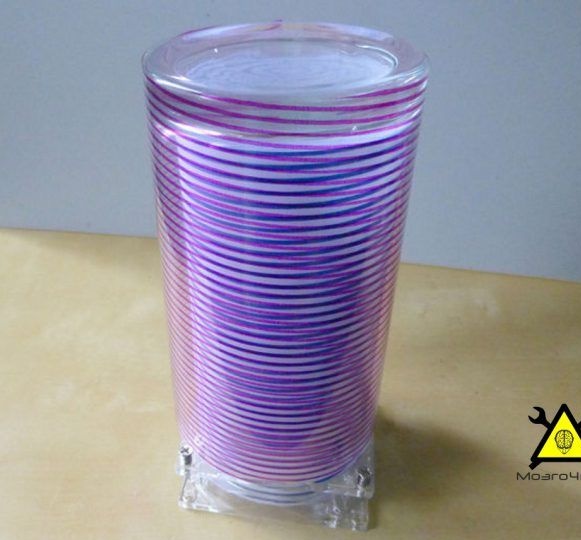
If you want to make a unique lamp, this instruction will be just for you. In this interesting lamp, the author used the Moire effect. Such a pattern occurs if two mesh patterns are superimposed on each other. And since the drawings are superimposed on each other with different frequencies, we see this funny picture.
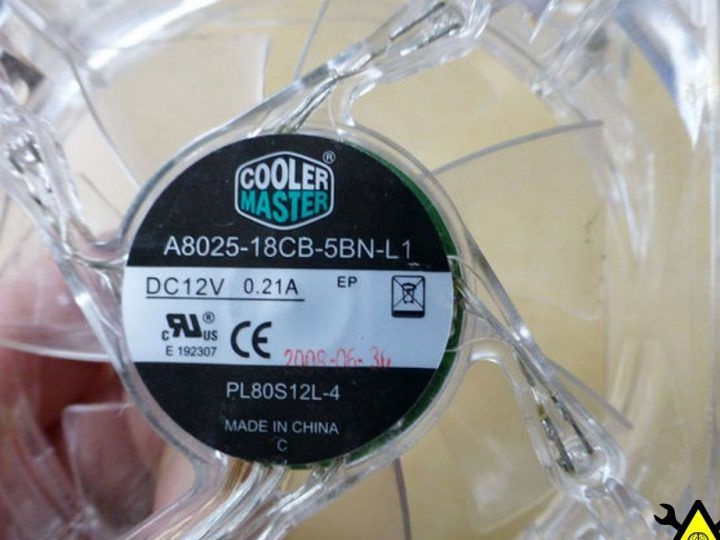
In general, such designs use most often a rotating paper lampshade. It rotates due to the fact that the incandescent lamp heats the air and, thanks to its circulation, the lampshade spins. But the author did not have an incandescent lamp at hand, and he decided to do everything using LEDs and a computer cooler.
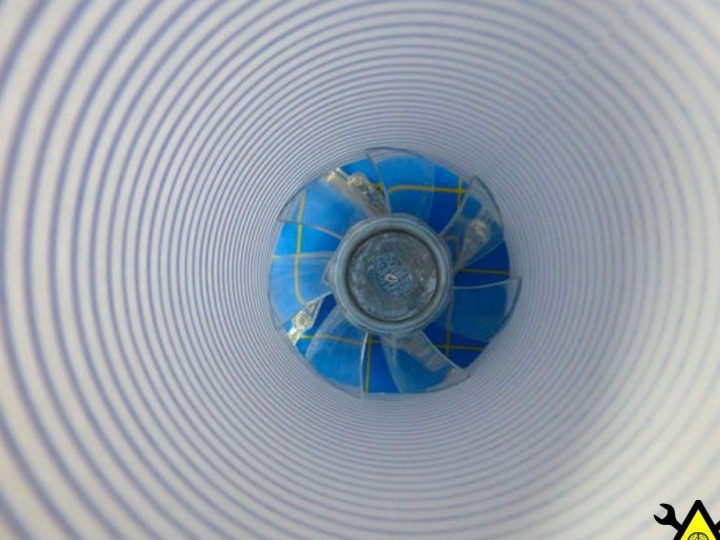
Due to the fact that the cooler rotates too fast, detailed pictures cannot be used here, so the author decided to use drawings in the form of spirals and stripes. As a result, an interesting moire effect formed.
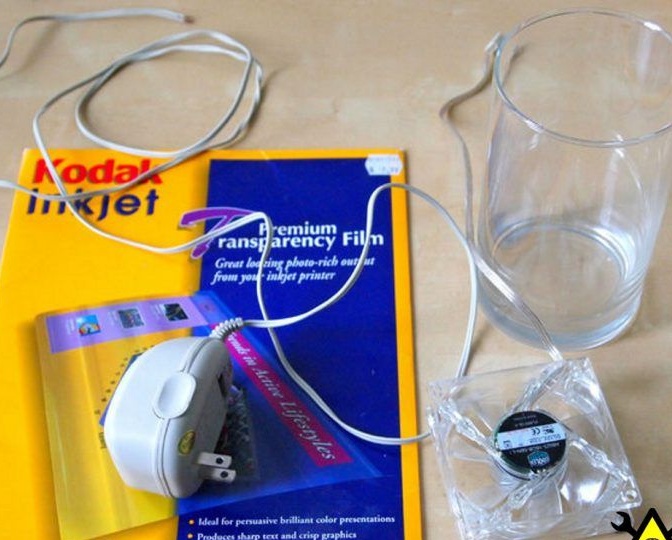
For the manufacture of homemade we will need:
- cooler with LEDs with a diameter of 80 mm;
- Power Supply;
- a glass vase (the author has a vase in a circle of 28 cm and a height of 15 cm);
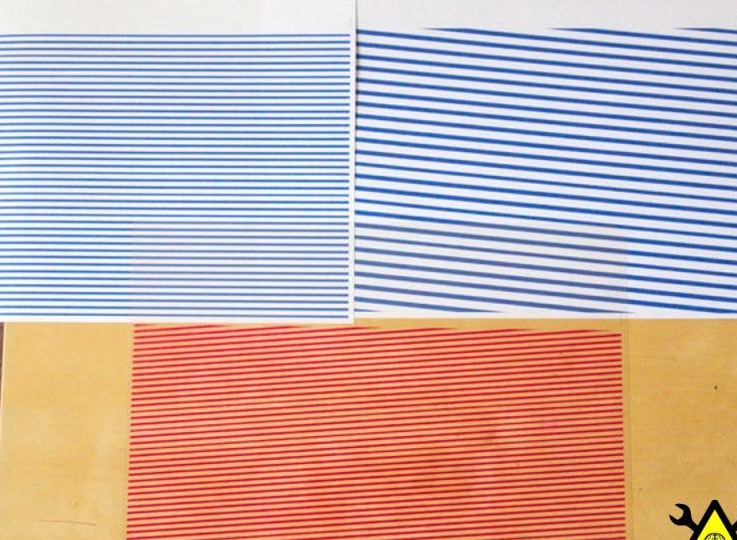
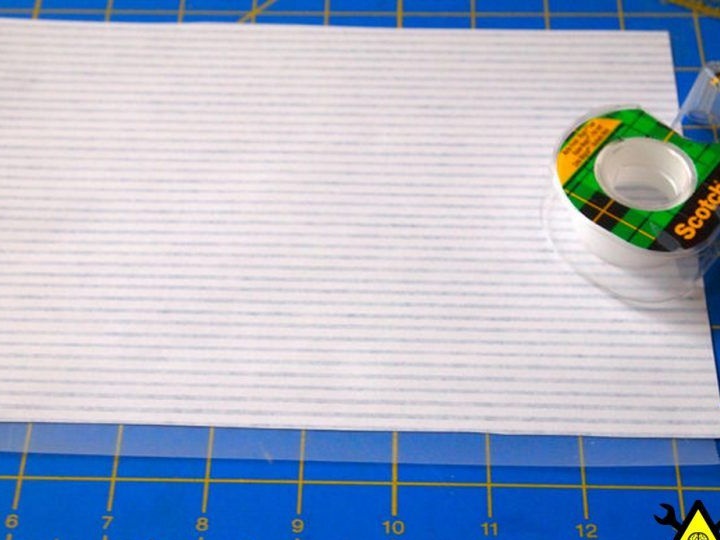
- printer, transparent film, white paper;
- nippers;
- scissors;
- adhesive tape;
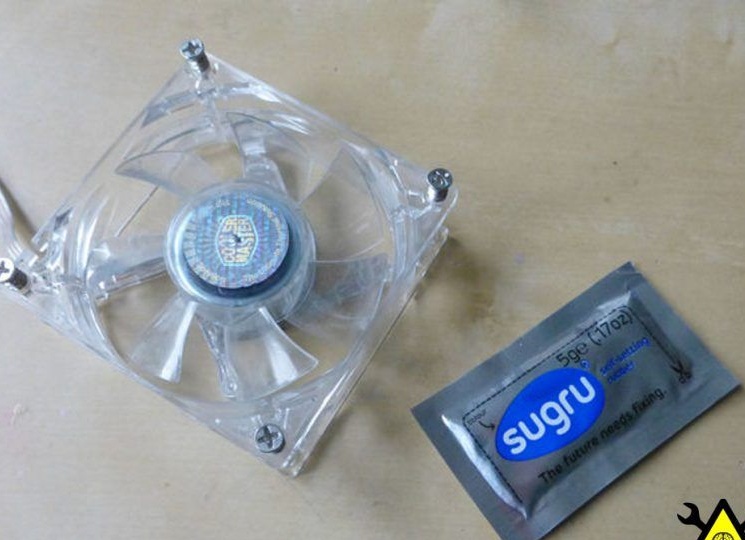
- Sugru - thermoplastic;
- two cap PPE (connecting insulating clip).

Lamp assembly process:
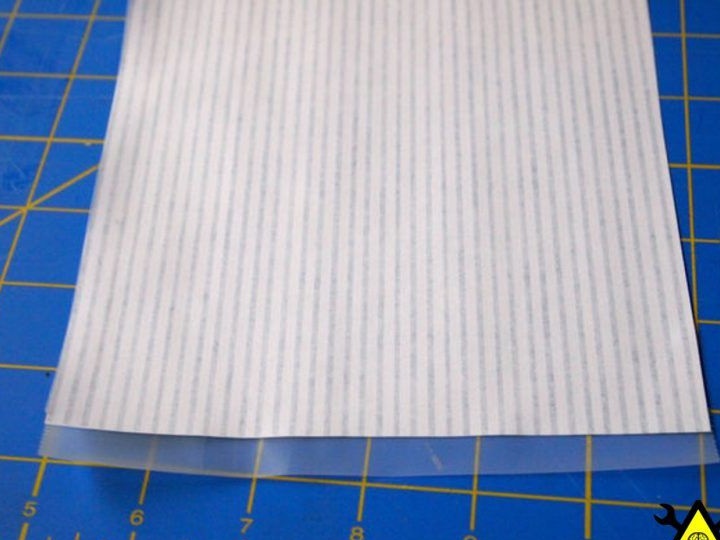
Step one. For the outer surface of the vase, the drawing will need to be printed on a transparent film. Plain white paper is used for the inside.

The internal drawing will have to be between the blades and the cooler case.

Step Two Production of the outer cylinder
The author cuts the film from the top / bottom to form a cylinder. The sides will need to be glued with adhesive tape. The diameter of the cylinder should be such that it can fit well to the walls of the vase.

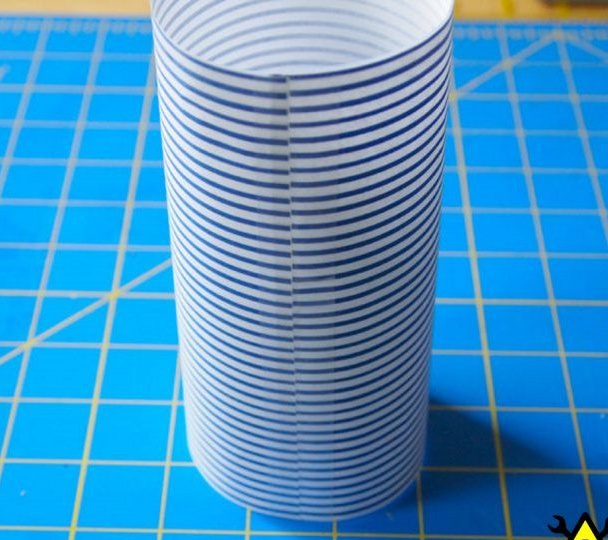
Step Three Fabrication of the inner cylinder
As in the previous step, the excess must be cut off from the film. The lower edge here will need to be strengthened with adhesive tape, so that when the cylinder contacts the cooler blades, the paper does not tear. As a result, it will be necessary to form a cylinder that should fit snugly against the cooler body. If the cylinder touches the blades, the cooler will not work or will buzz violently.
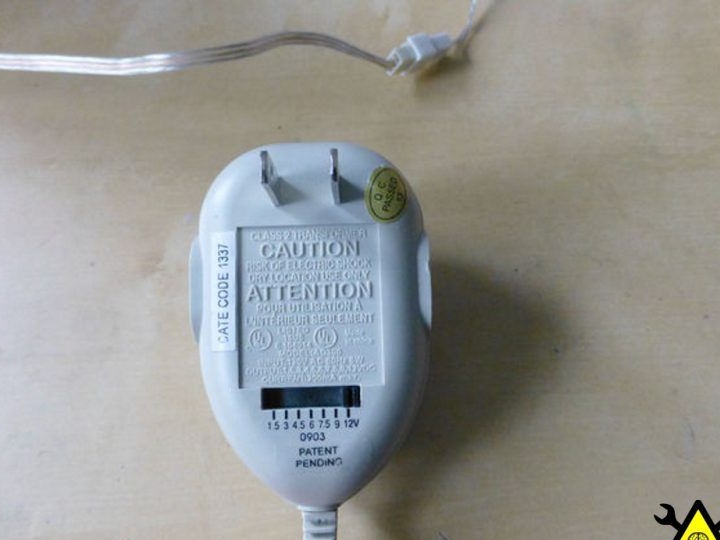
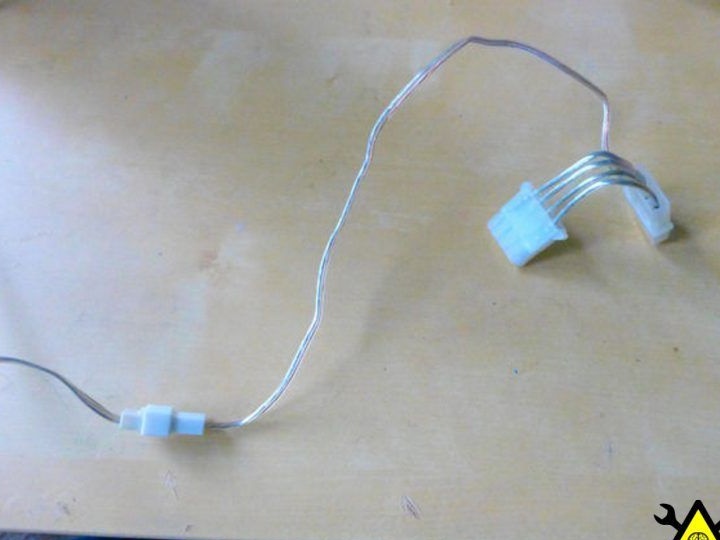
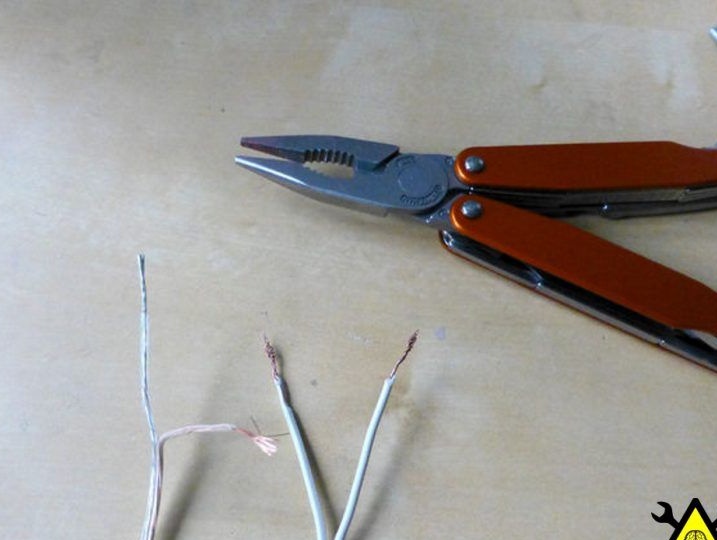
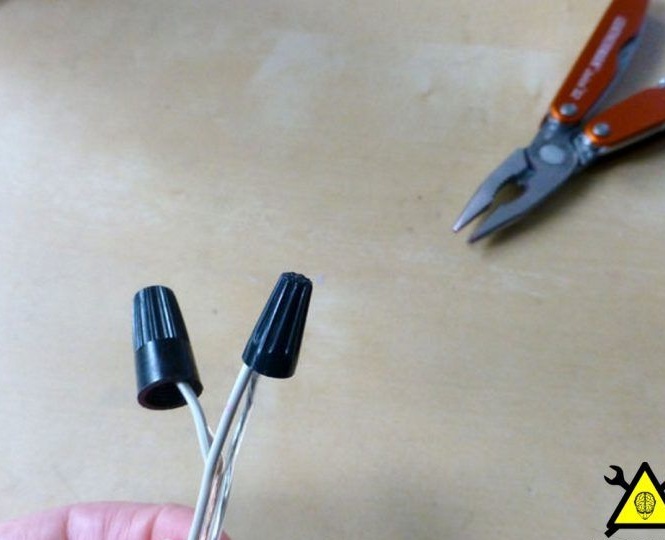
Step FourPower supply connection
As a power source, you need 12V DC. Having picked up the necessary power supply unit, it will be necessary to cut off the connectors from it and from the cooler. Well, then the wires are connected in polarity, plus with plus, and minus with minus. Compounds must not be forgotten to insulate well.
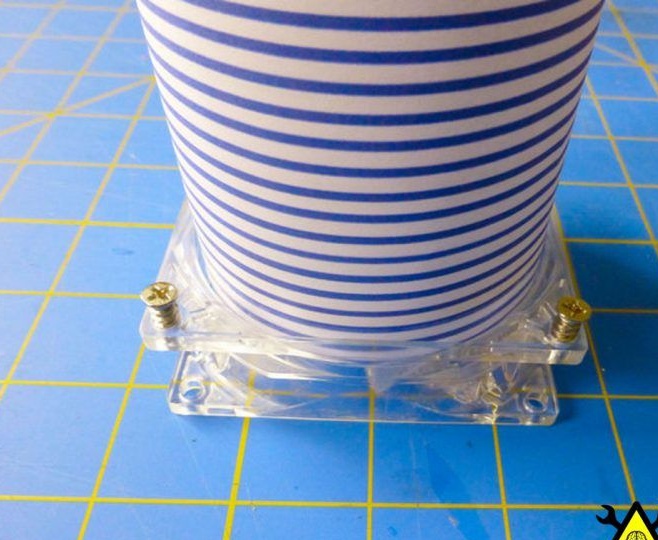
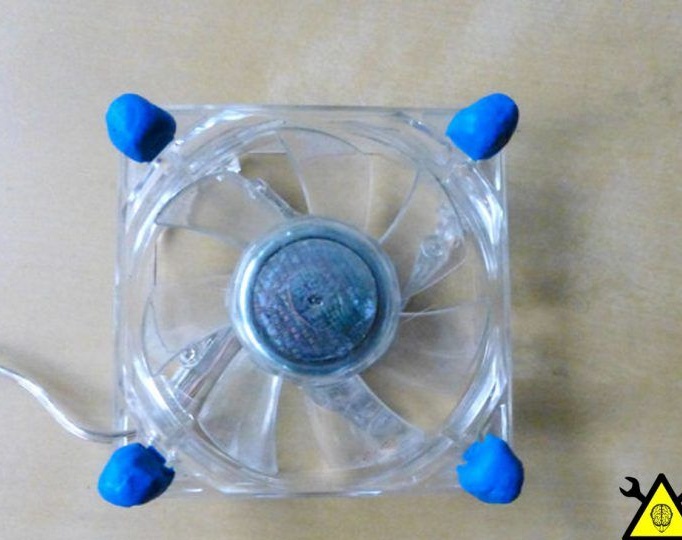
Step Five Shock absorbers
For the manufacture of shock absorbers, on which the vase will stand, the author needed a thermoplastic sugru. First, you need to tighten the screws in the cooler case, and then stick the thermoplastic over the edges that have come out, having previously installed a vase on the cooler.


That's all. Homemade ready. The lamp is very simple and cheap to manufacture, but at the same time it is very effective.