The belt cutting machine is a very convenient tool for the manufacture of various homemade, and indeed domestic needs. It allows you to cut objects figuratively, which the grinder cannot do. On such machines it is possible to cut not only soft blanks, for example from wood and wood, but also metals.
In this instruction, I will show you how to make such a stationary machine, having a manual one. This will greatly facilitate your work and increase accuracy.
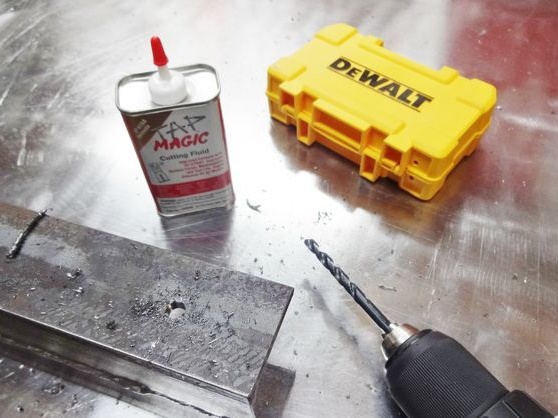
Materials and tools for making homemade products:
1. You will need welding and working skills with it
2. Steel corner
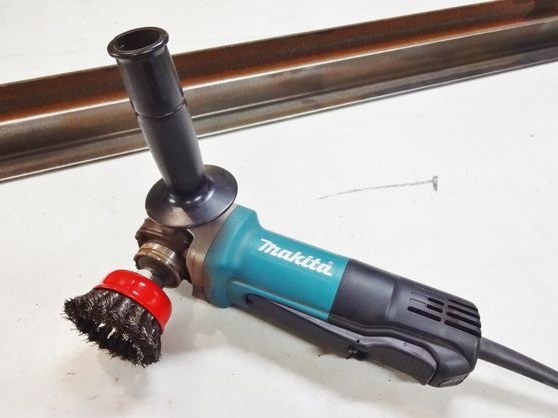
3. Grinder with a cutting wheel and a metal brush for cleaning rust
4. Steel sheet for the manufacture of a working "table"
5. Drill with drills
6. Bolts and nuts
7. Paint
8. Clamps, plastic clamps
9. Wrenches, screwdrivers, etc.
Homemade manufacturing process:
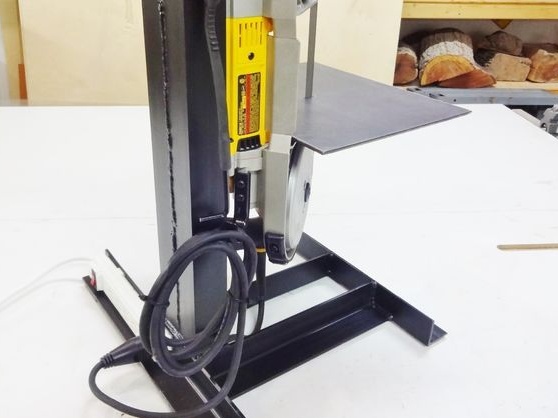
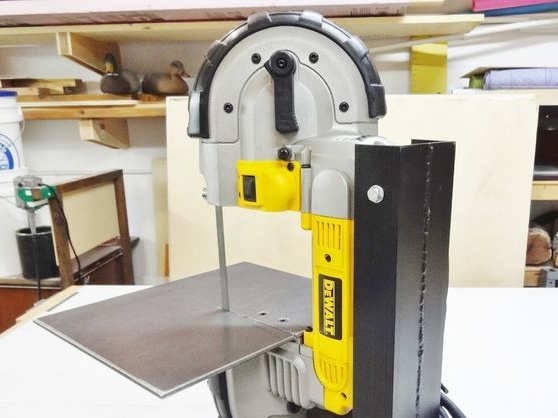
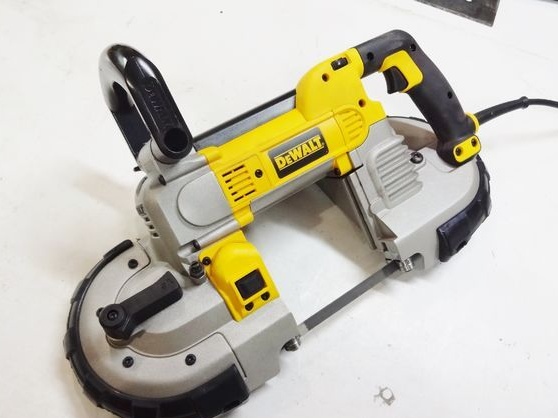
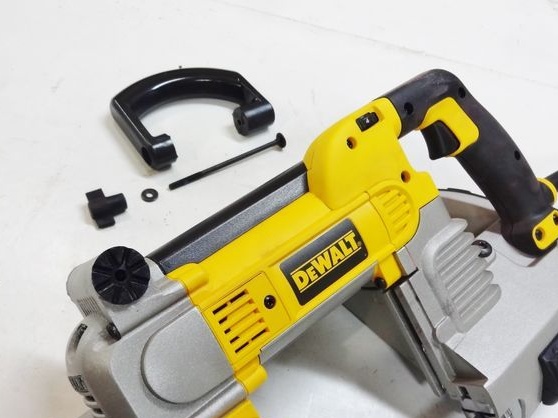
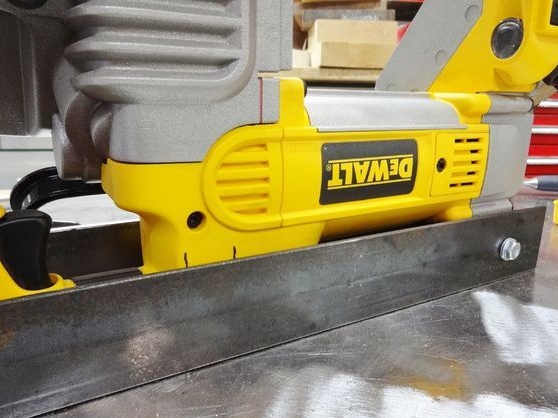
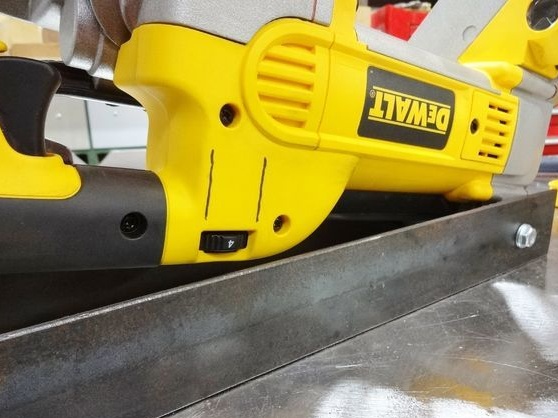
Step one. We prepare a band saw
First of all, you will need screwdrivers to partially disassemble the band saw. From it, you will need to unscrew the extra handles and other parts that will interfere with its installation on the rams /
Step Two Frame manufacturing
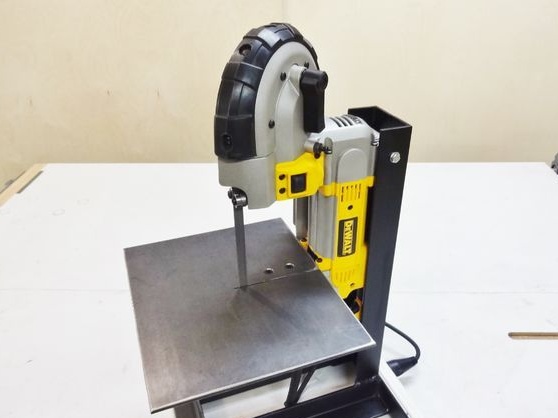
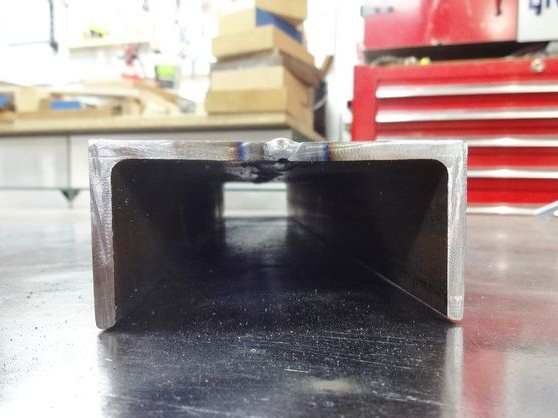
The band saw will need to be securely fastened, otherwise if the saw hangs during operation, you can ruin the product or even be left without fingers.
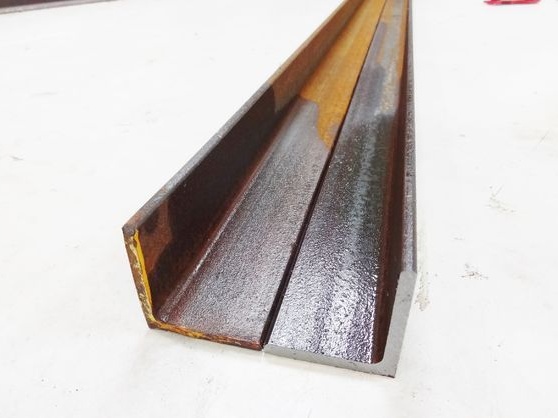
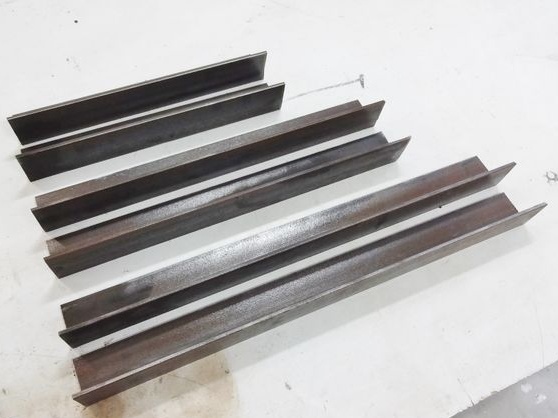
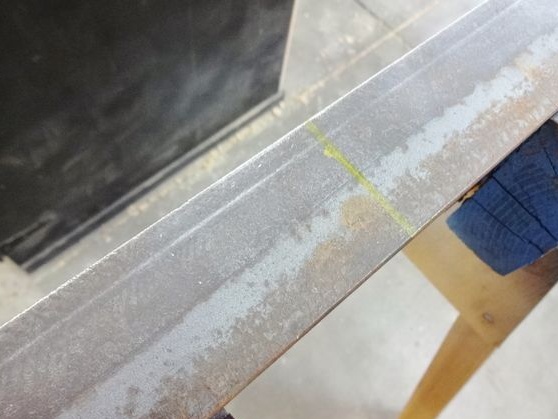
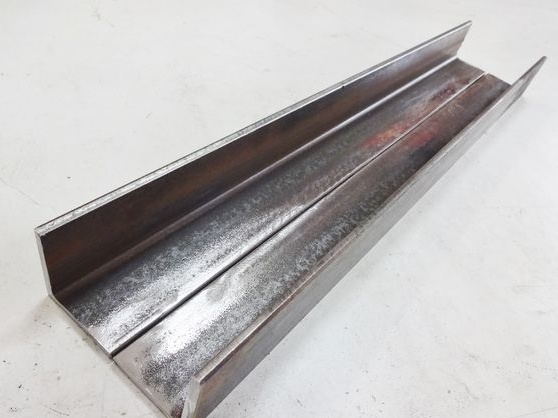
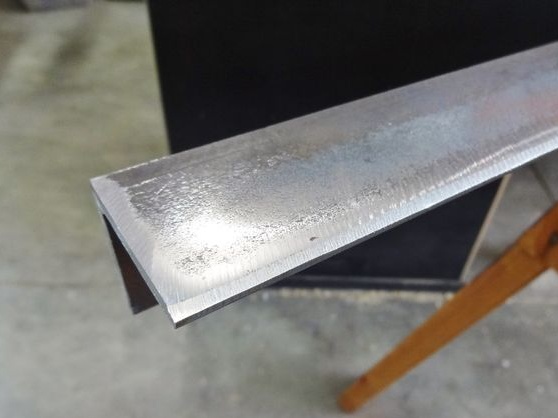
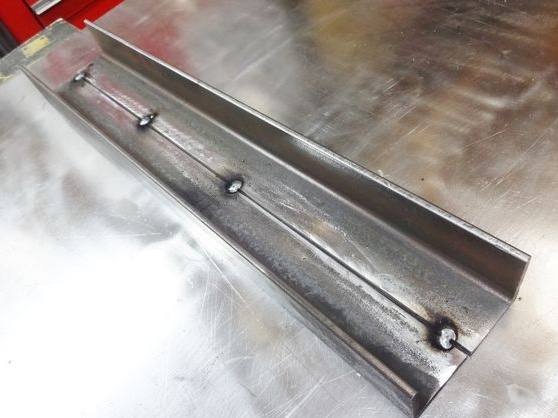
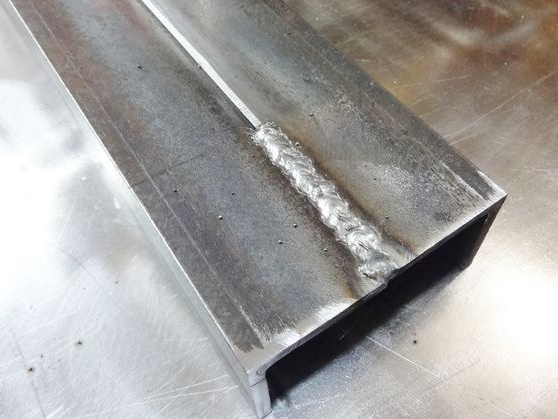
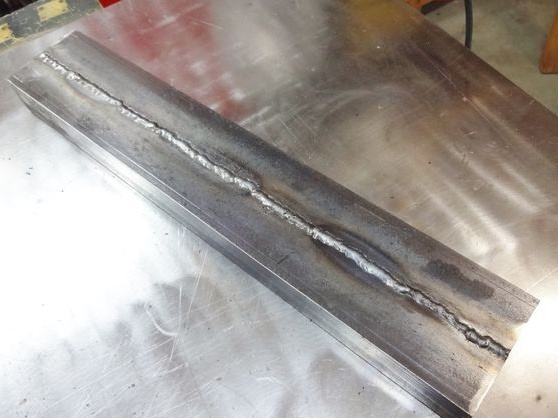
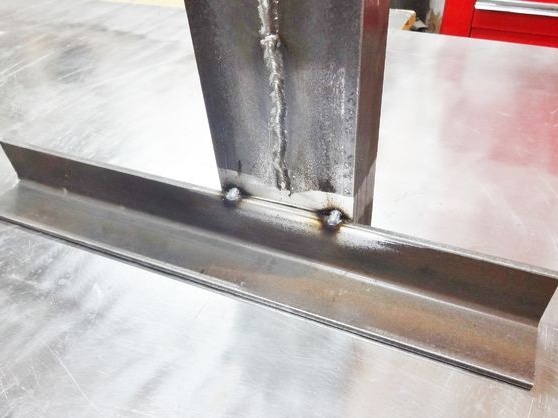
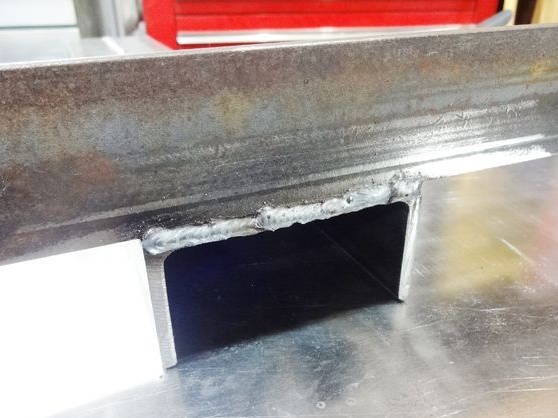
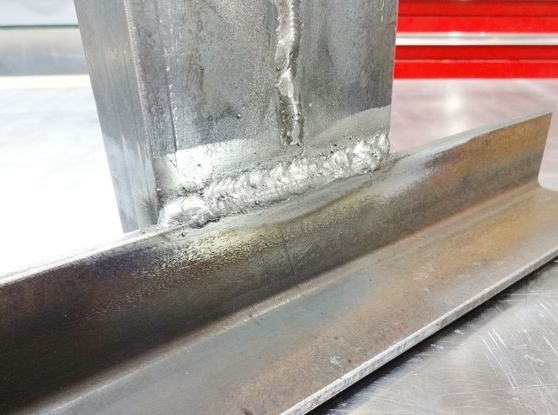
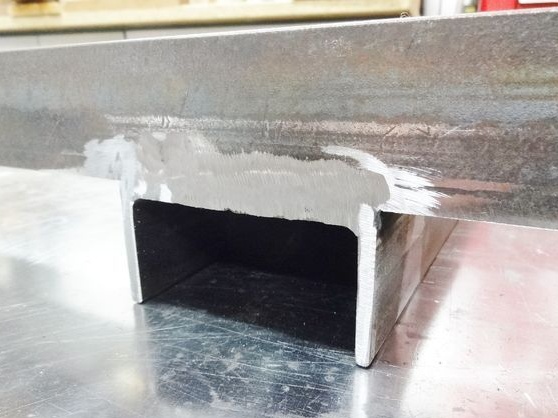
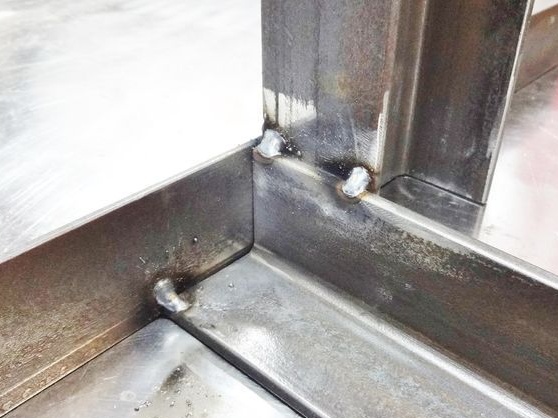
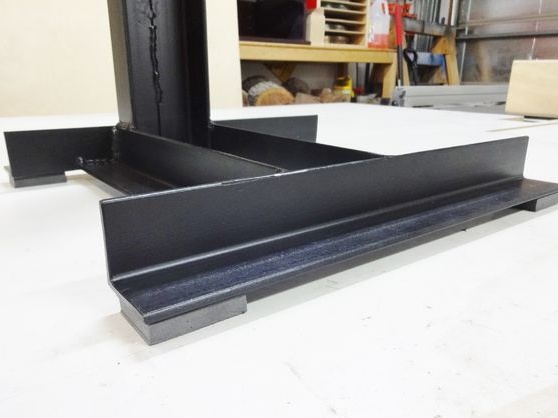
To make the frame, the author needed a steel corner. He cuts off two pieces of the desired length, and then them in, eventually forming a channel. In principle, the channel can be found already ready. The main nuance here is that the place of attachment of the saw fits into the manufactured bracket with a minimum clearance, this will guarantee the reliability of the structure. If the gap is large, then you will need to think and put some washers or plates.
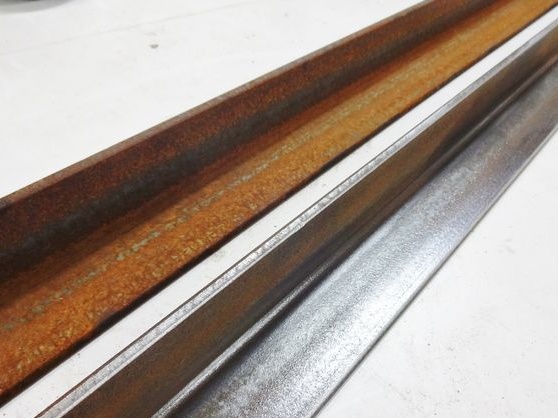
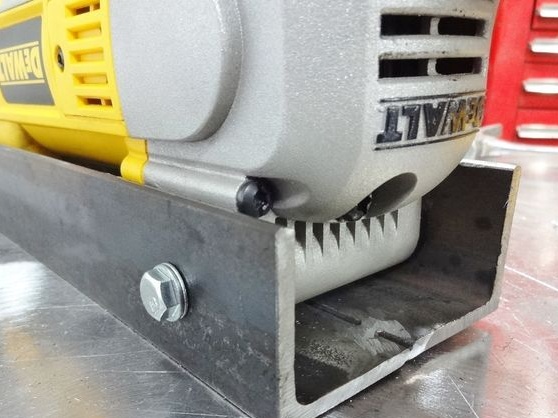
Before welding, the author carefully cleans the corner from rust. This can be done using a grinder with a metal brush.
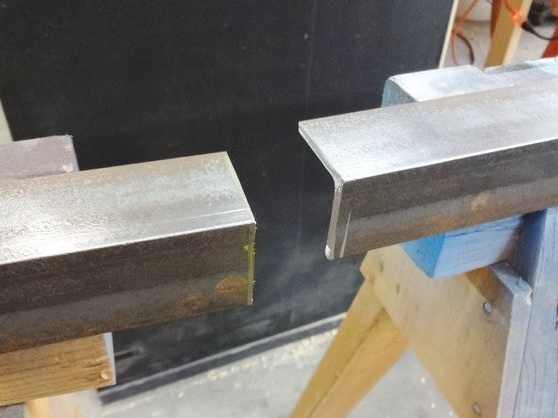
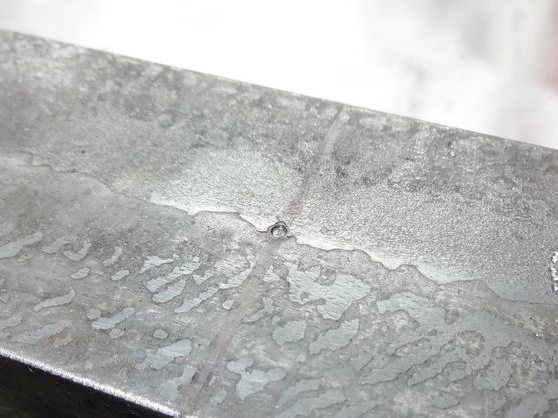
As for the welding process, the author first connects the corners pointwise to make sure that they connect smoothly. Well, then boils the junction along the entire length. However, this is not necessary to do, the design will be strong even so if you weld the corner pointly, in places.

Step Three Installation of the tape machine
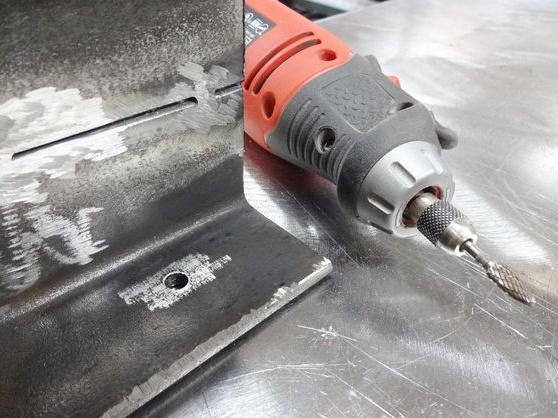
To install a manual tape machine, you need a drill. Using it, you need to drill two holes in the bracket. Well, then the tool is simply bolted with a nut.
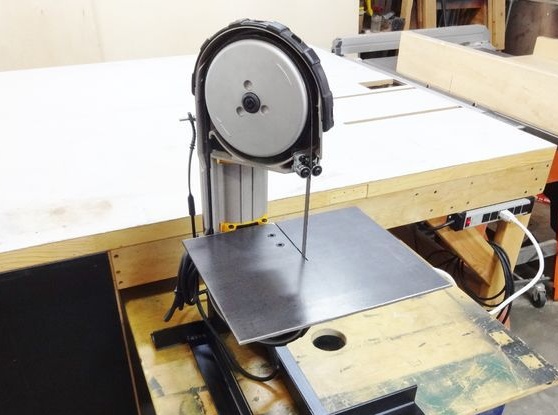
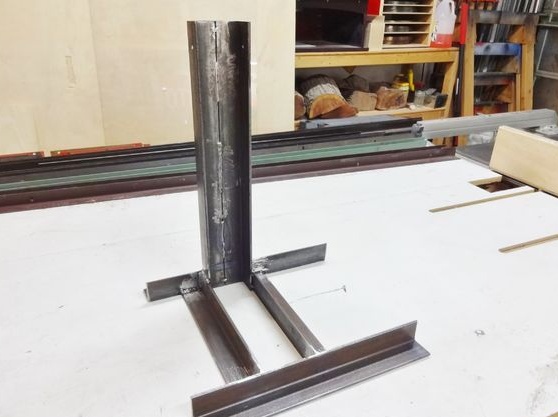
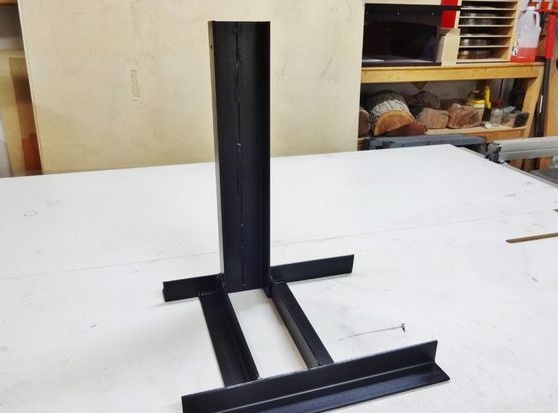
Step Four We make a support
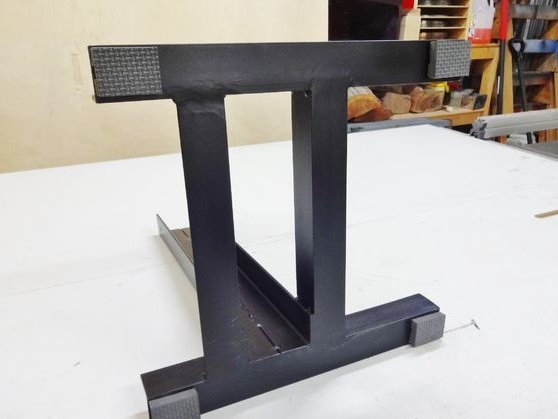
In addition to securely attaching the saw, you will need to make sure that the entire structure is securely installed and does not stagger. For this, she needs to make a good support. The basic requirements for the support are sufficient area for stability and weight if the machine is not screwed to the floor.
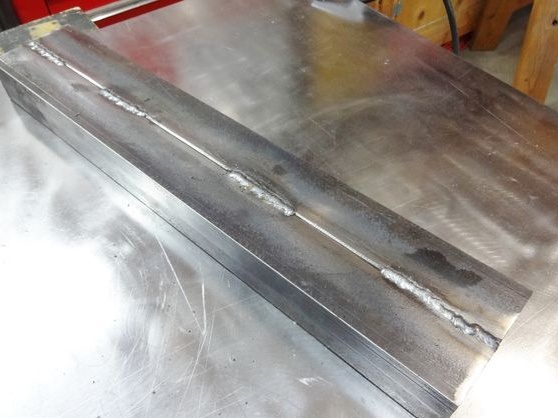
The author also makes the necessary construction from the corner; its production will not be difficult. In total, it consists of two pieces of aluminum, some are attached lengthwise, others across.
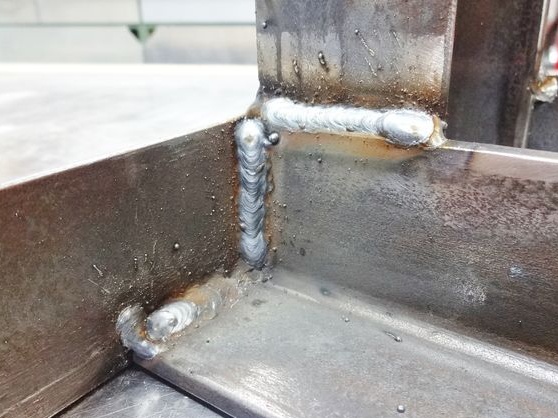
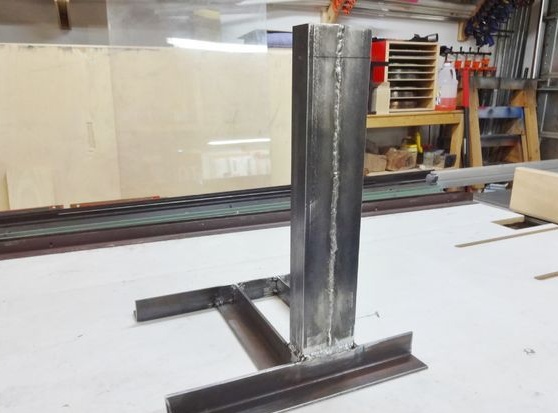
First, the author grabs the parts by welding, and then, making sure that the assembly is correct, reliably boils the joints. At the end of the welding spot, the author polishes the grinder. The meaning of this action other than aesthetics is not very clear. If your appearance is not important to you, it is better not to bother with this, since grinding the welding site makes the weld less durable.
Step Five Frame painting
Since everything is made of steel, it is highly advisable to paint the structure. And this is not a matter of beauty, but of rust, which actively destroys metal. First, it is desirable to cover the structure with soil, and then after drying it can be painted.
Step Six We fix the desktop
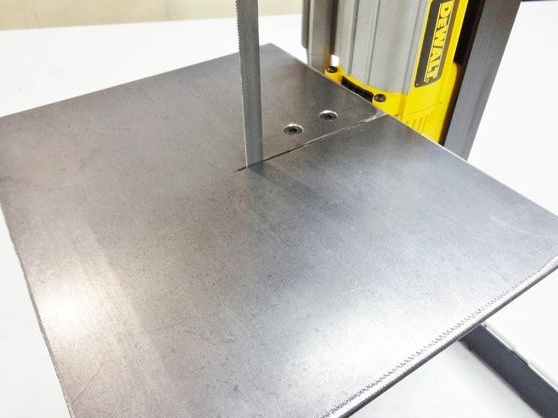
The desktop is the most important structural element, because it is on this plane that all the necessary work is carried out. The author makes a table out of a sheet of steel about 5 mm thick. The thicker the steel, the better, the thick sheet will not bend during operation.
As for the size of the sheet, it is approximately 25 by 30 cm, if translated approximately from inches.
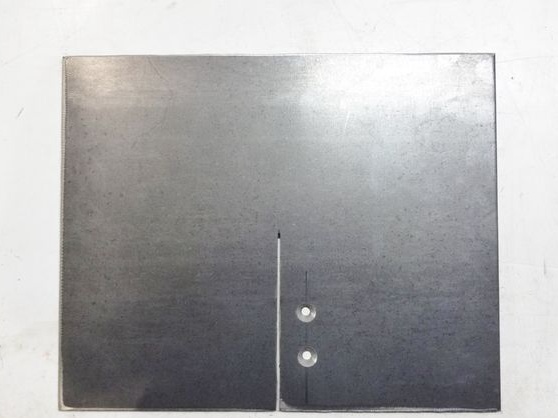
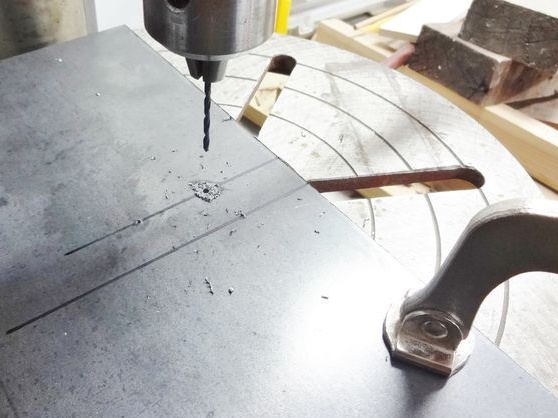

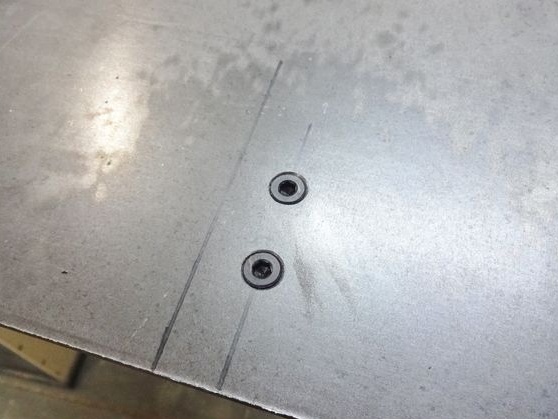
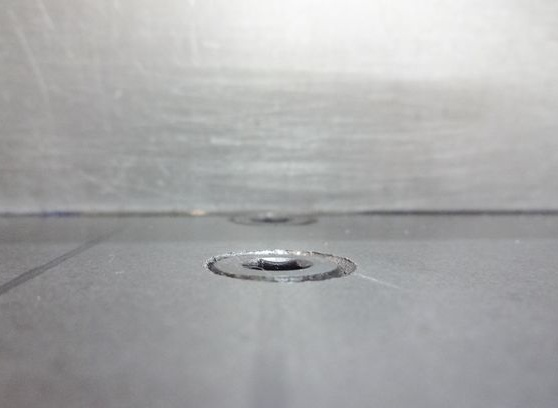
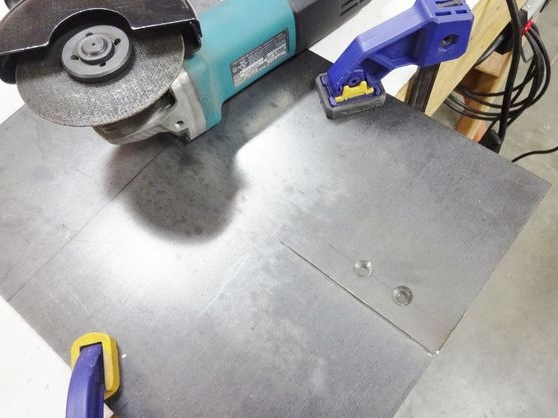
In total, three holes will need to be made in the sheet. The first hole is the slot into which the cutting blade enters. It can be cut through with an ordinary grinder. Well, two more round holes, they are drilled with a conventional drill, due to which the sheet is held on the frame.
To fix the sheet, the author used two countersunk screws. To twist them, you will need to drill a corner. Well, then either we cut the thread in the corner, or we attach the nuts, as another option - the nuts can be welded, but in this case the metal can become weak.
Seventh step. Final assembly steps
At the final stage, the author connects the machine, adjusts and installs additional fixtures. First of all, you need to figure out how to make the legs of the machine softer so that it does not jump during operation and does not destroy the floor. To do this, they stick four polyurethane squares to the platform. Now the installation will be more reliable.
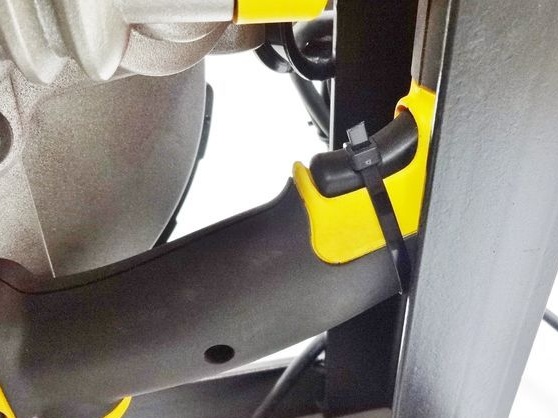
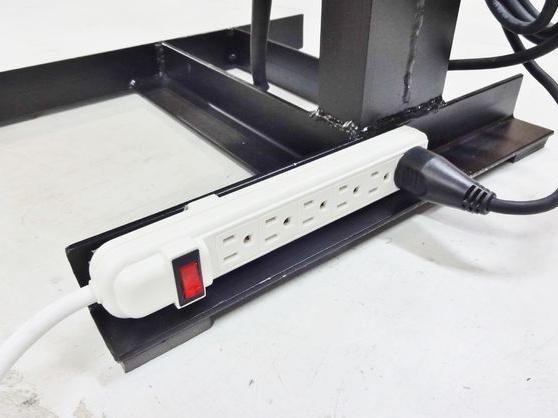
Still need to refine such a thing as machine control. The author locks the standard power button in the on state with a plastic clamp. Further, the wire from the tool is included in the extension cord with a switch and it will turn on by this switch. Although it is not very safe and it is advisable to make a switch somewhere in a conspicuous place to quickly turn off the device in case of emergency.