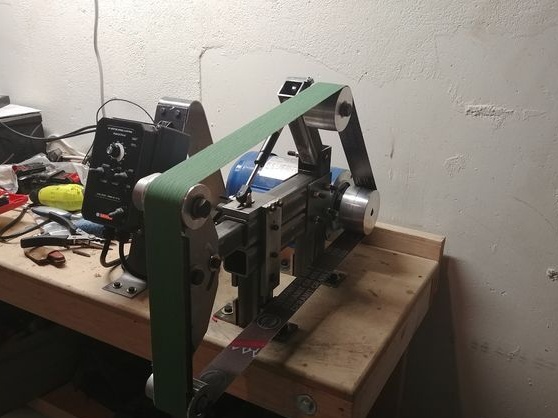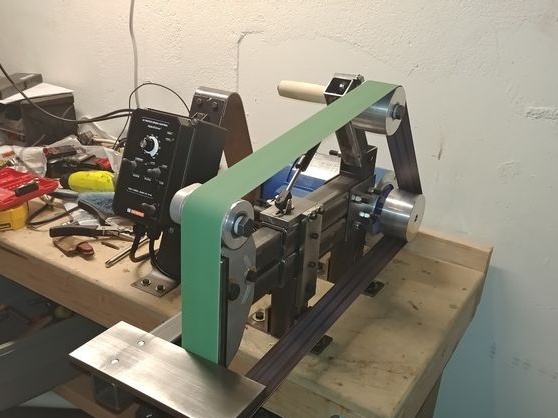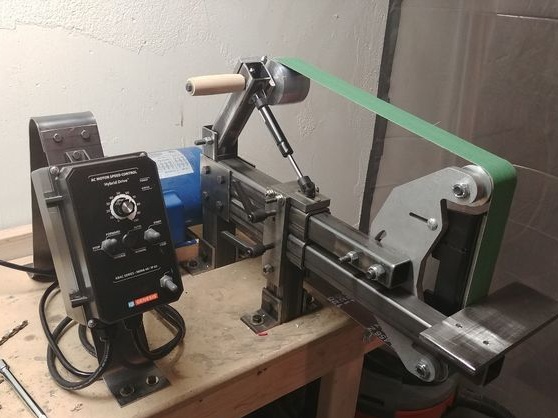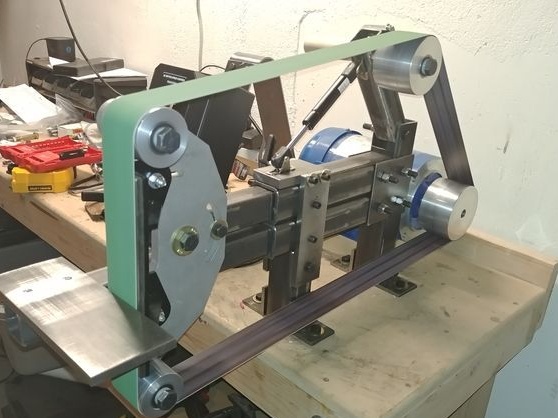
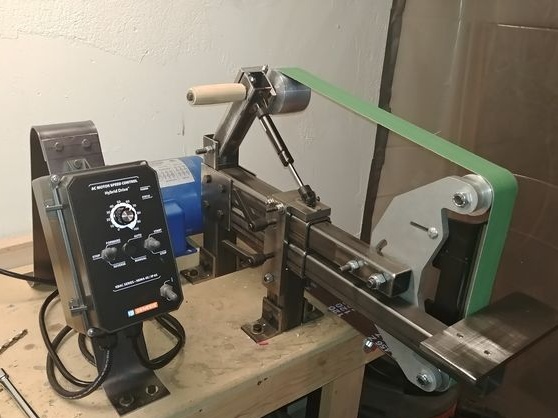
Another model belt grinding machine consider in this article. One of the tasks that the master set for himself in the manufacture of the machine is the assembly of the machine on bolted joints (without welding).
Tools and materials:
-Pipe profile;
- Corner;
-Metal plate;
-Fasteners;
-Plastic washers;
-
-
- Four shafts
-Gas spring;
-Handle wooden;
-Electric motor;
-Roulette;
-Ushm;
-Drilling machine;
-Set of open-end wrenches;
-Tap;
Step One: Project
The master approached his work thoroughly and made a drawing for every detail. Download the drawings below.
Step Two: Plates
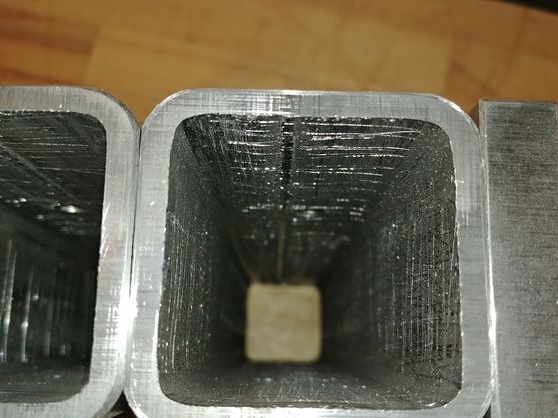
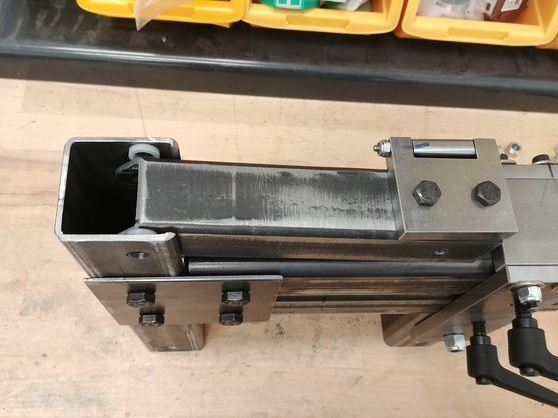
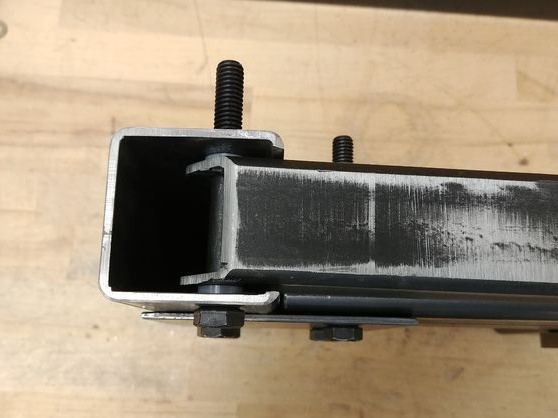
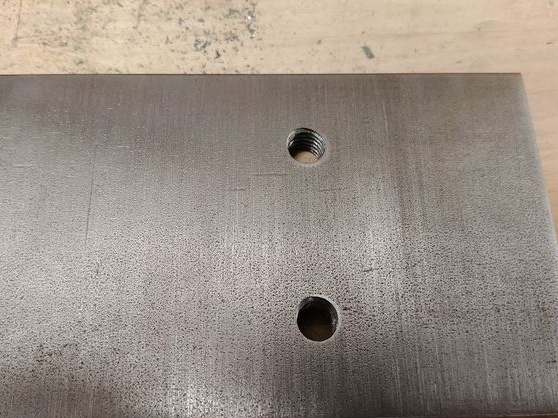
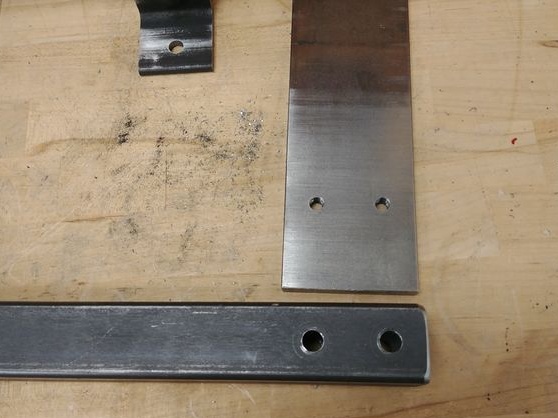
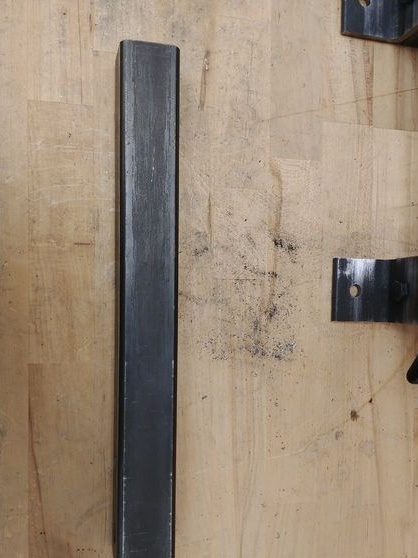
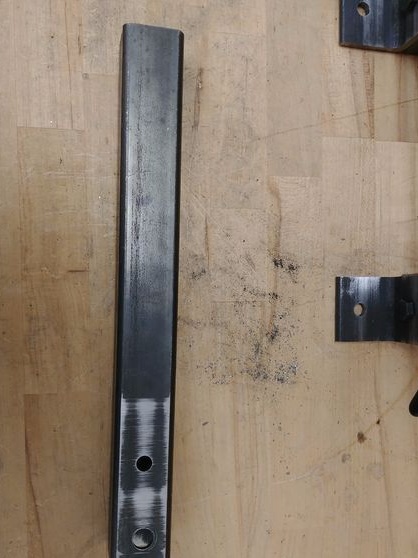
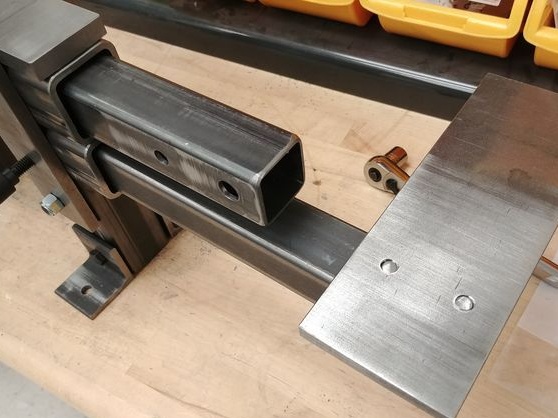
In order to be able to put a tape of different lengths on the machine, the master made a machine with a variable base. It is implemented as follows. Two profile tubes of a smaller diameter (a pendulum is fixed on one and a supporting table on the other) are inserted into two tubes of a larger diameter. On tubes of larger diameter, plates are fixed on both sides. Holes were drilled in the plates (and on the same axis with them in large tubes) and a thread was cut. Handles with a hairpin are screwed into the holes. To adjust, unscrew the handle, set the inner tube to the desired length, fix it with a handle with a hairpin. In the lower part of the plates, a rack is fixed.
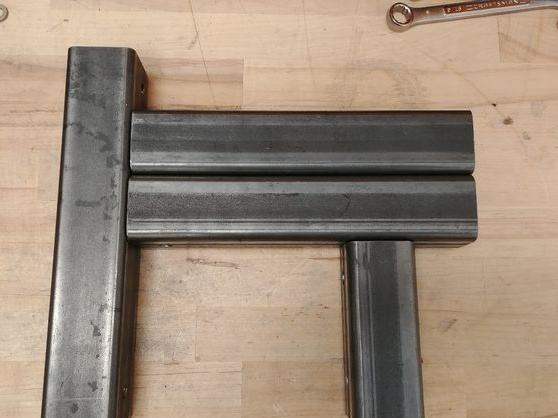
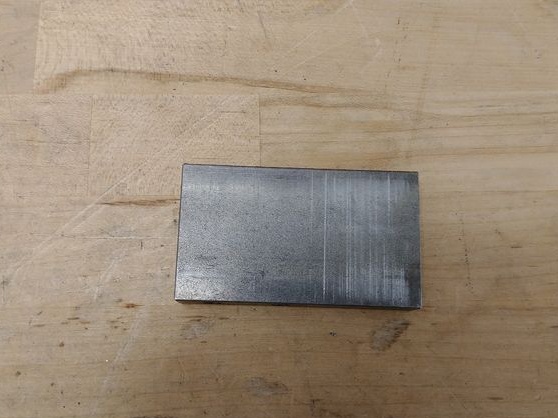
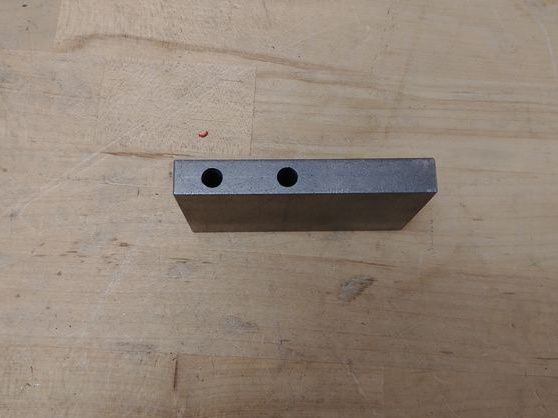
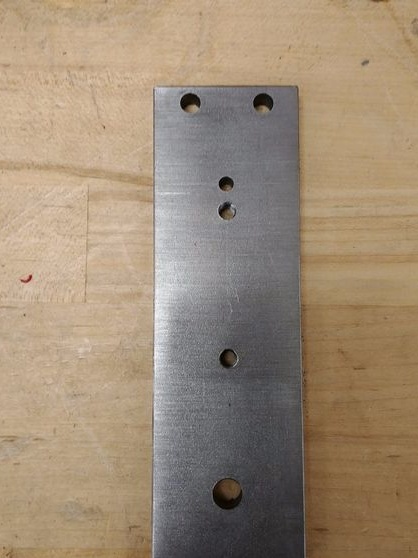
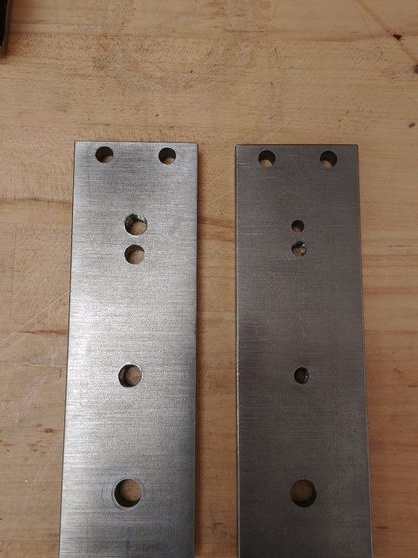
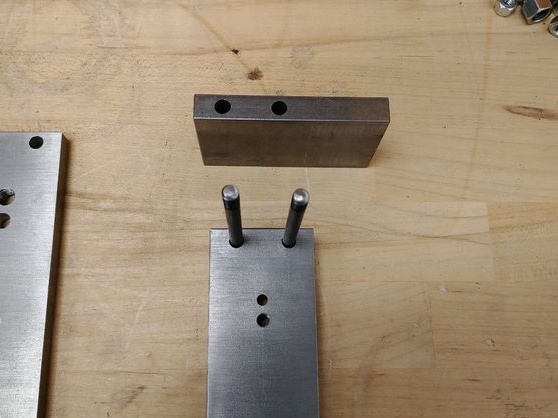
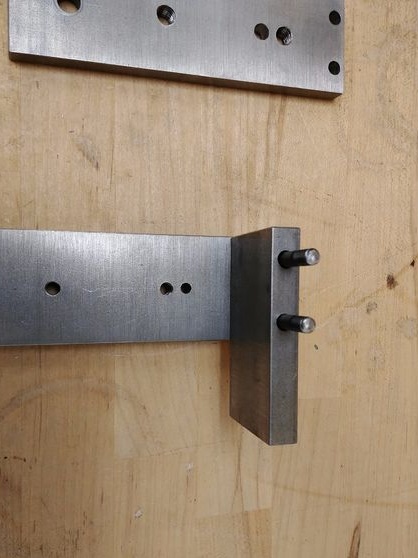
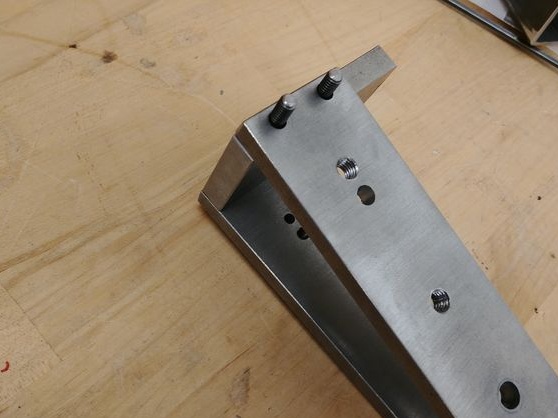
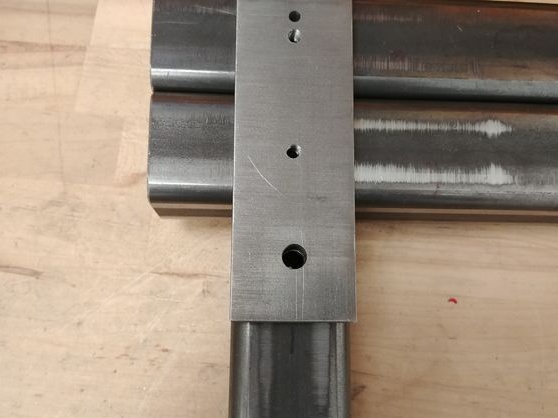
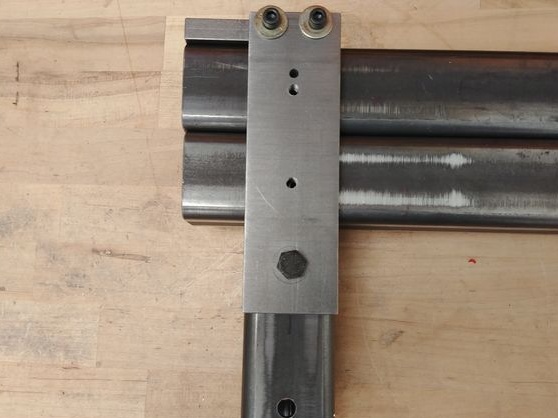
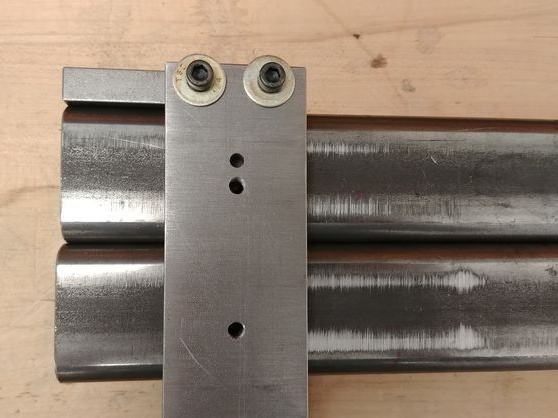
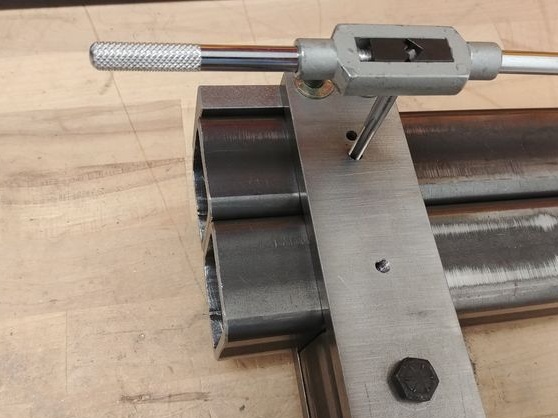
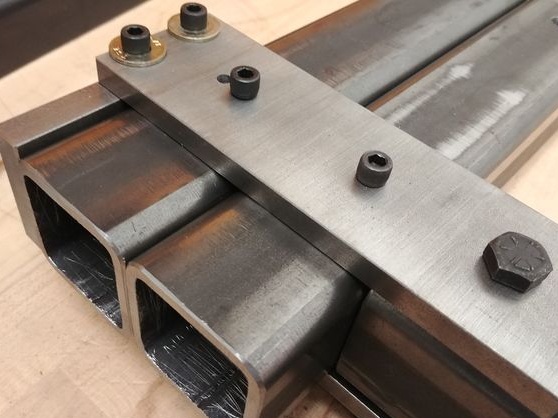
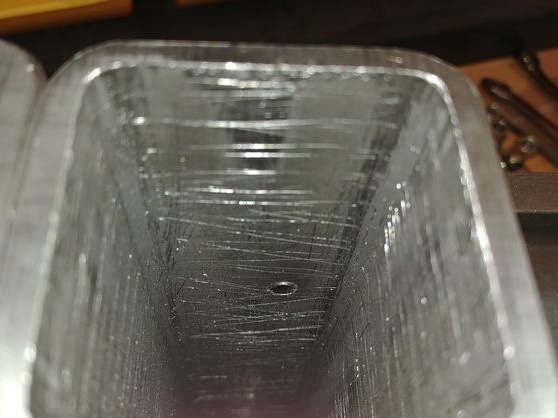
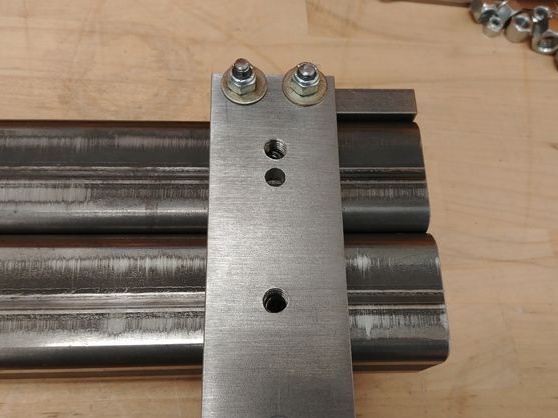
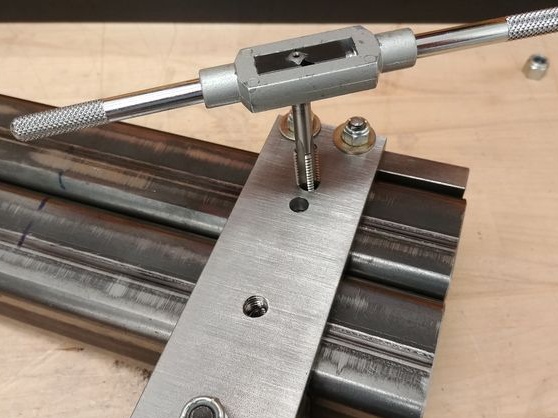
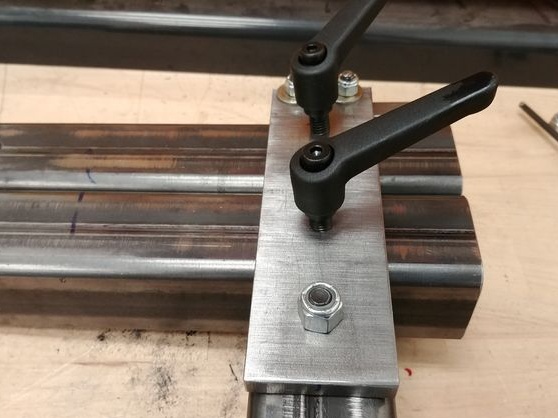
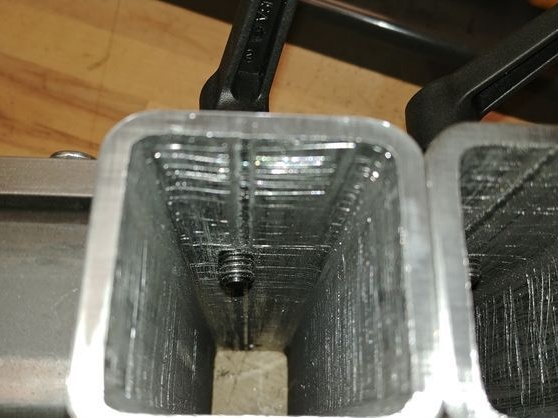
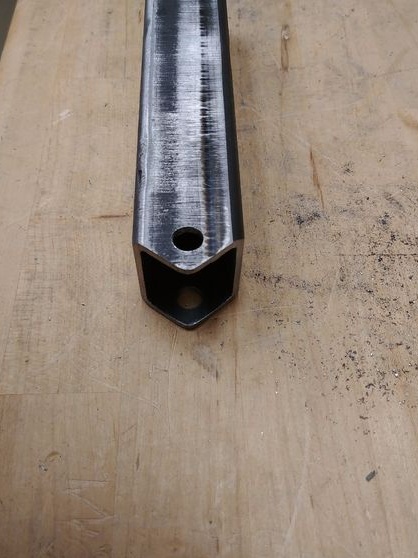
On the other hand, two plates are installed on which a rear pillar from a profile pipe is fixed.The top of the stand protrudes above the plates. Part of one wall is cut off.
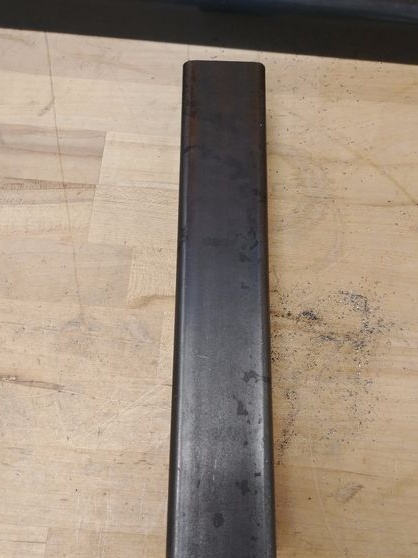
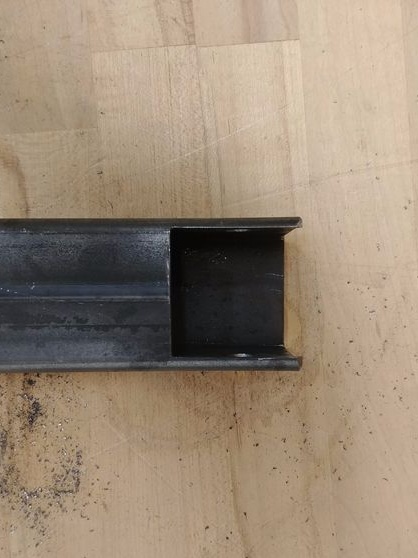
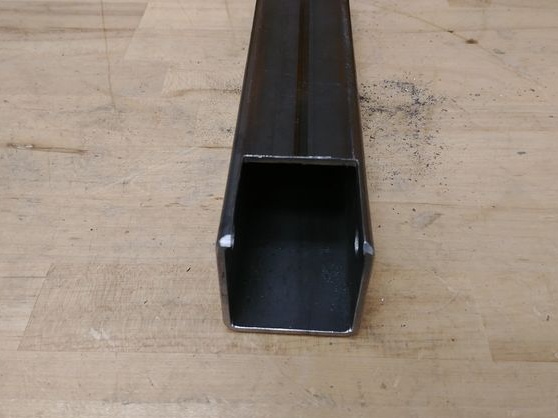
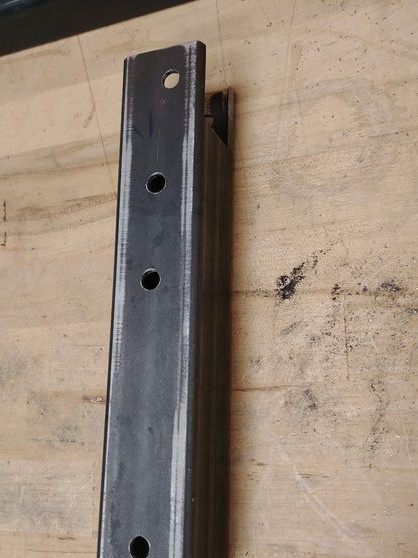
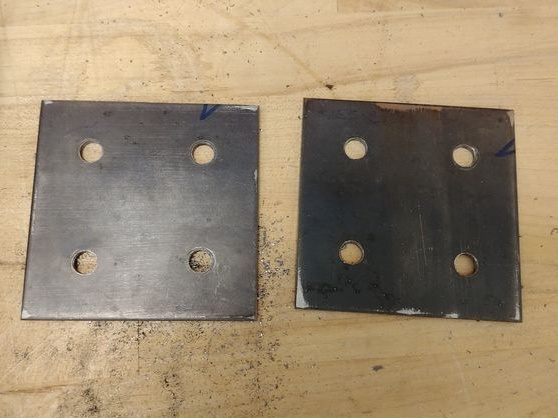
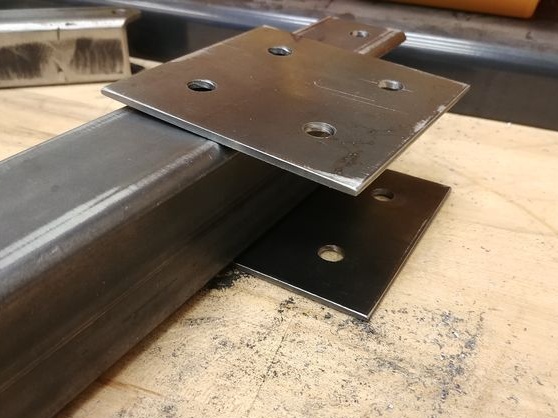
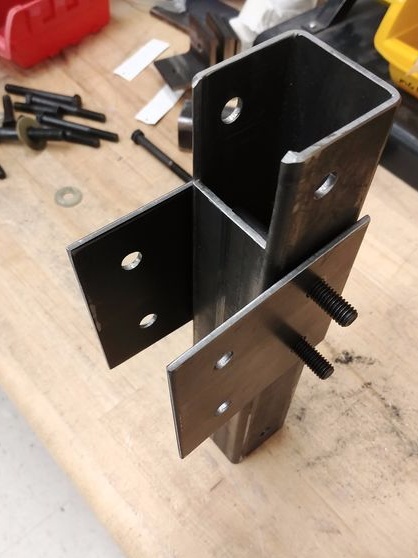
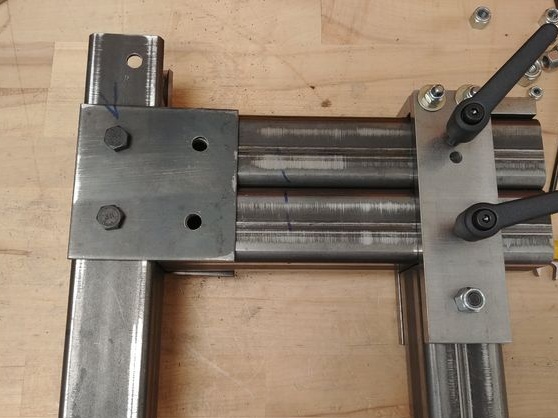
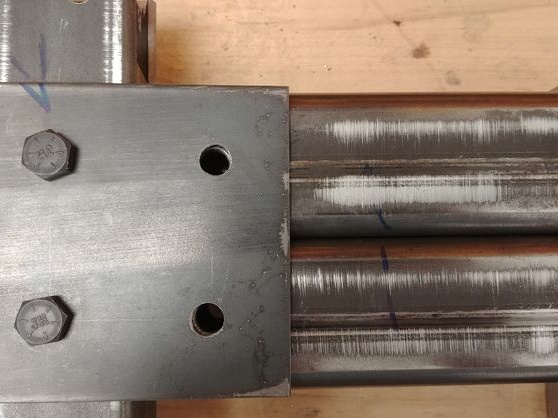
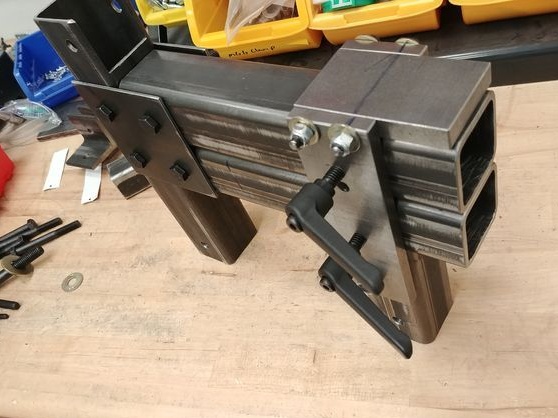
The racks will be attached to the table using the corners.
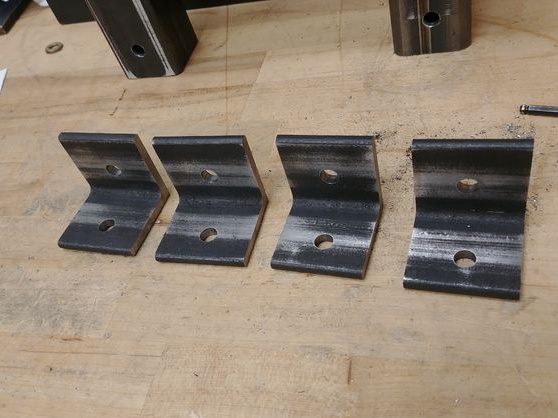
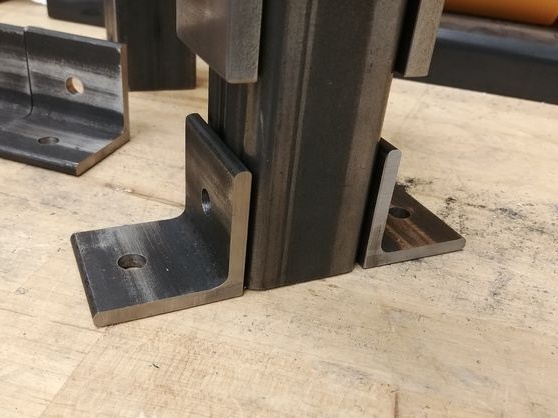
Step Three: Tensioner
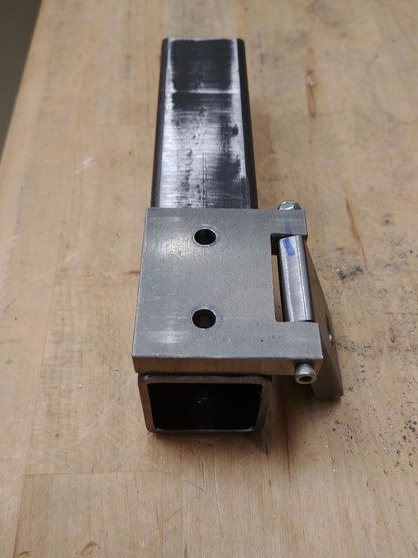
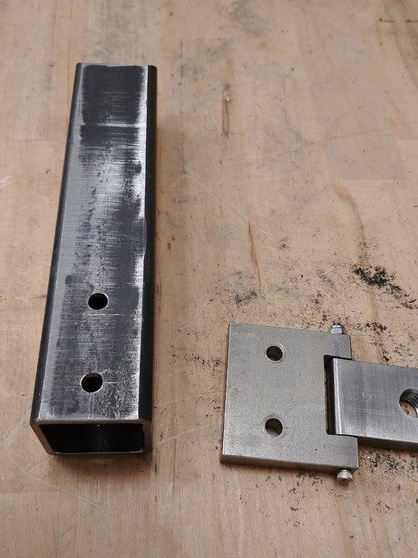
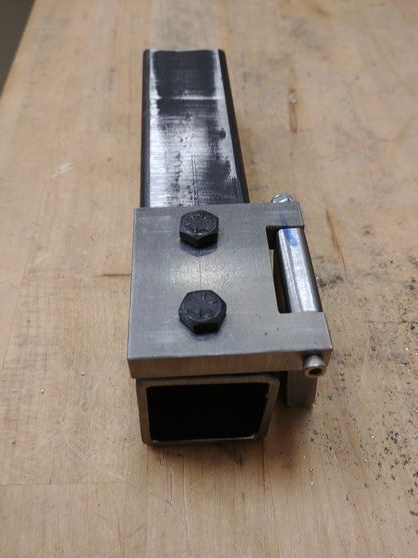
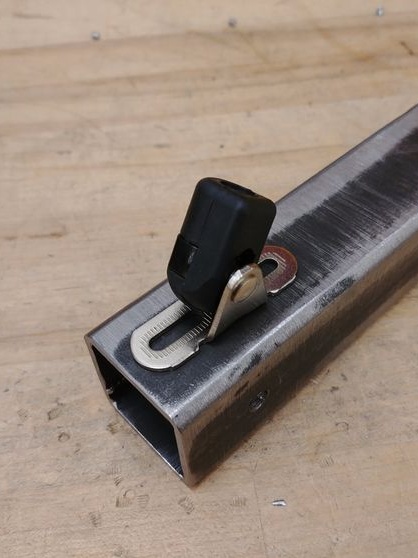
The sanding belt tends to stretch, so a tensioner is required in the design. Some masters install a twisted spring under the lever, but the author decided to put a gas spring. It makes a loop from a metal plate.

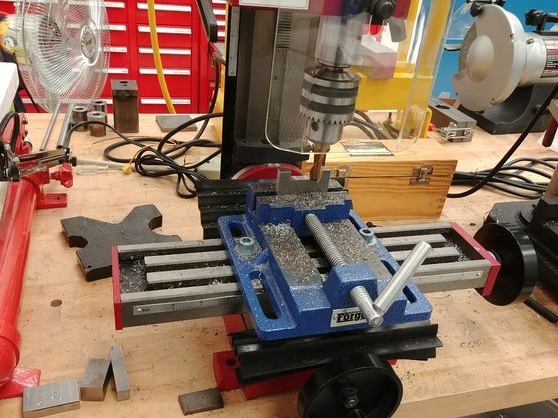
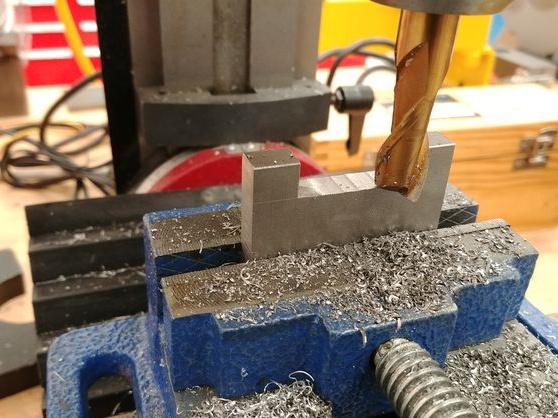
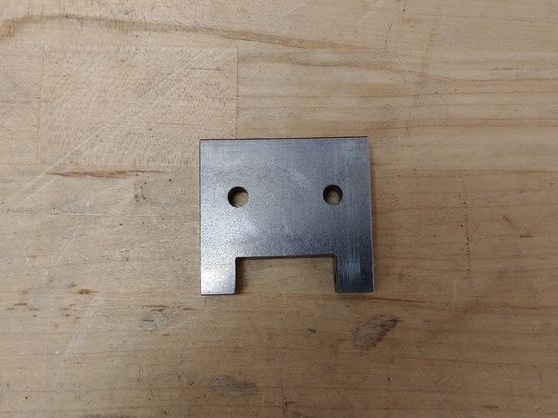
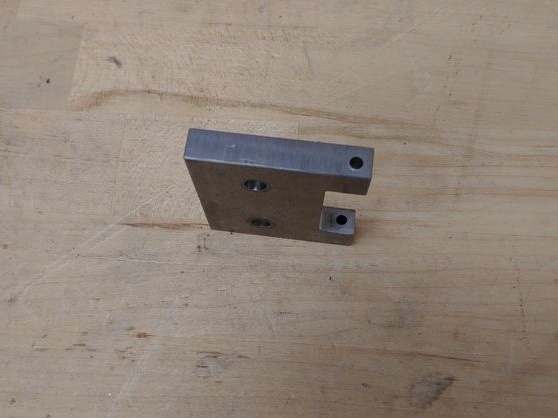
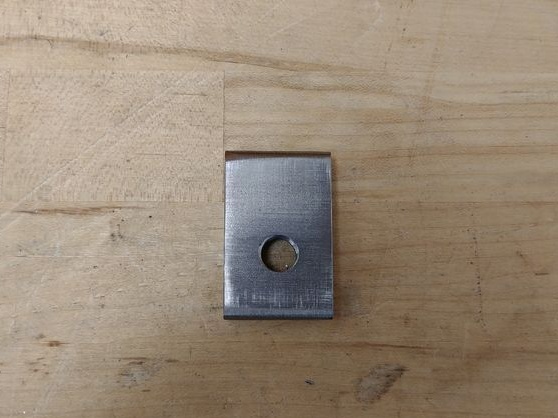
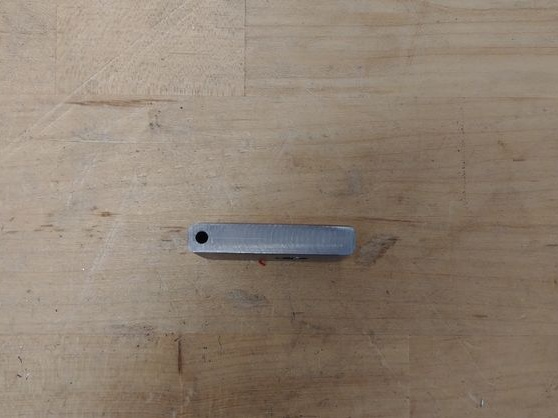
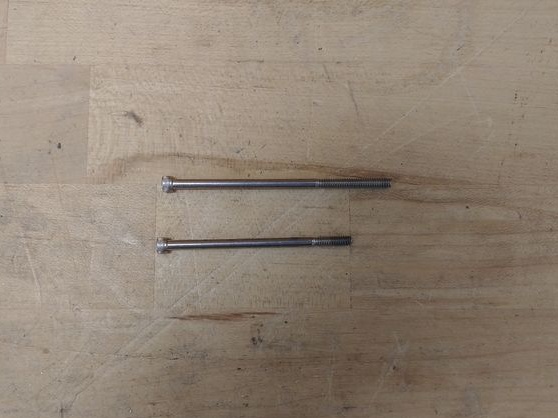
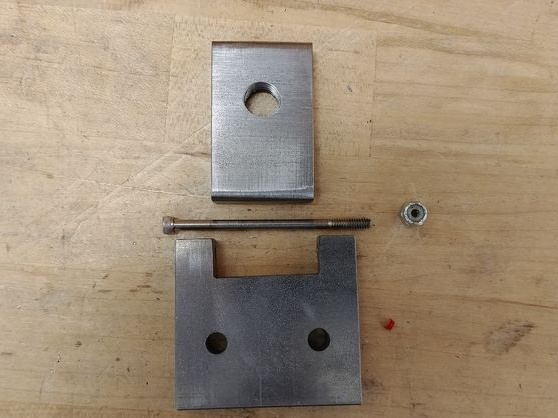
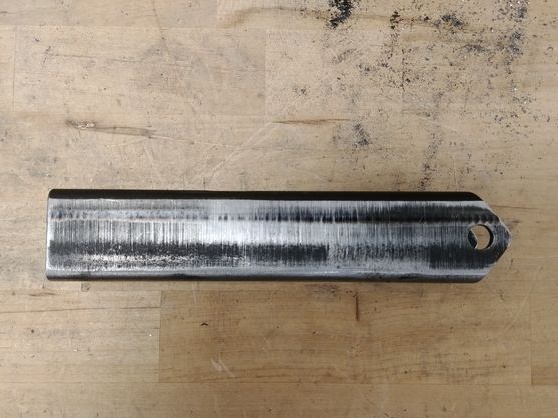
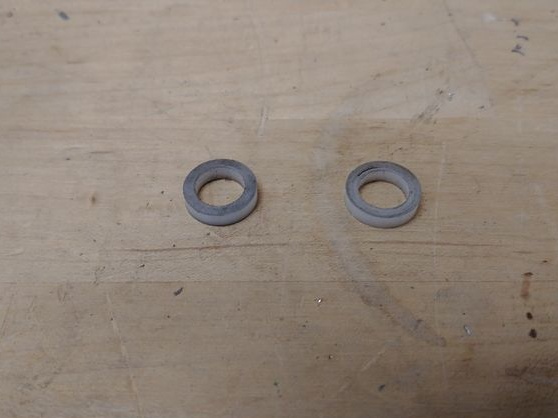
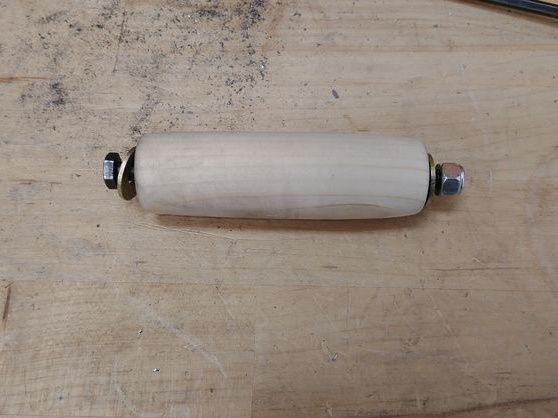
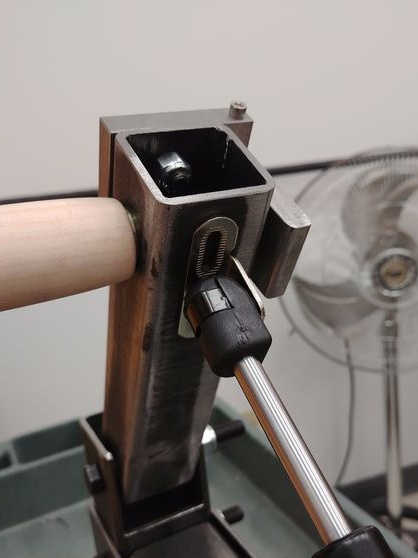
From the profile makes a lever. Fastens a loop and a wooden handle on one side of the lever. The handle is needed for the convenience of changing tapes. Press the lever down and put on a new ribbon. The other end of the lever sets into the cutout of the leg. The lever is fixed with a bolt. Between the walls of the profiles, plastic washers are installed. On the other part of the loop, the roller is fixed.
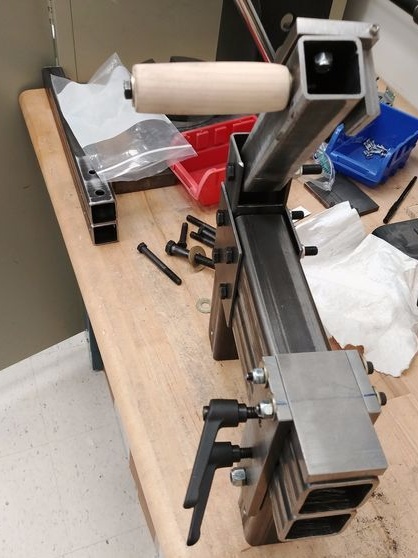
Installs a gas spring.
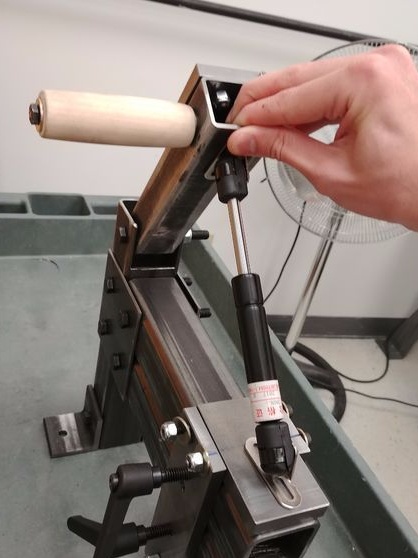
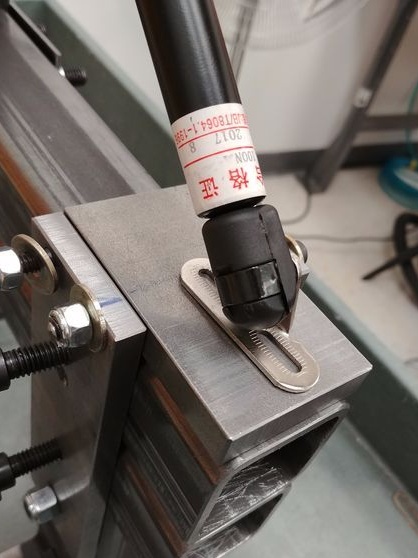
Step Four: Support Table
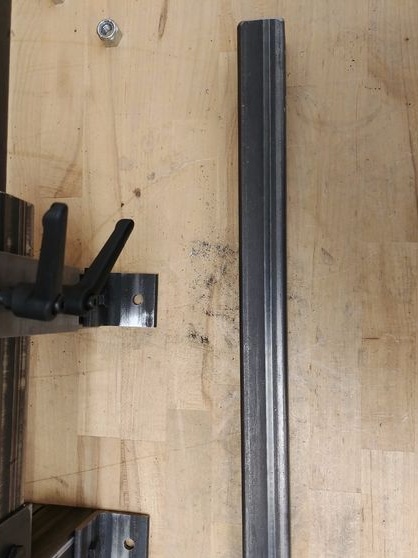
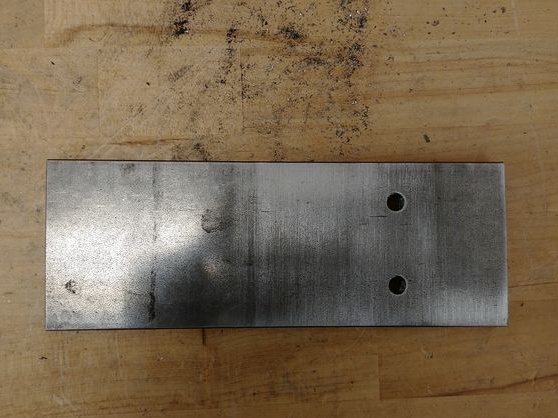
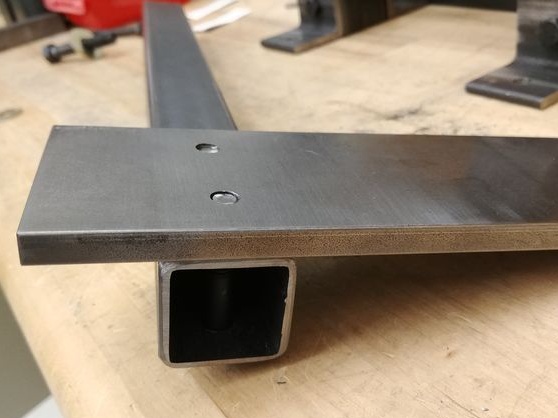
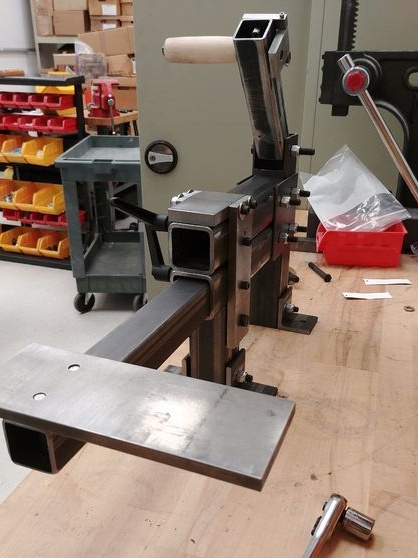
On the profile pipe secures the plate. Inserts a pipe in the lower pipe of the machine, fixes.
Step Five: Pendulum and Engine
On a pipe fixed in the upper profile of the machine, a pendulum with rollers is screwed. Makes and fixes, on a pendulum, a pressure plate. Installs the engine. A fourth roller is attached to the motor shaft. The master engine used 1 horsepower. (approx. 750 W) and adjustable speed.
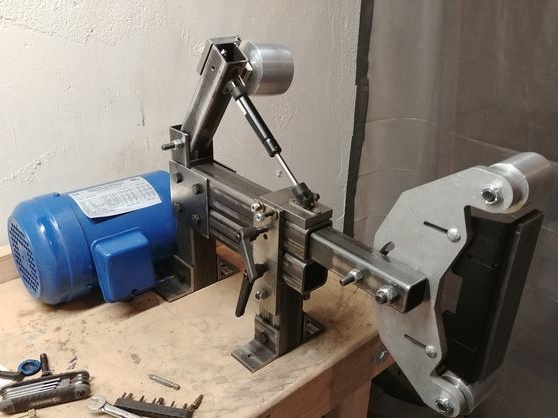
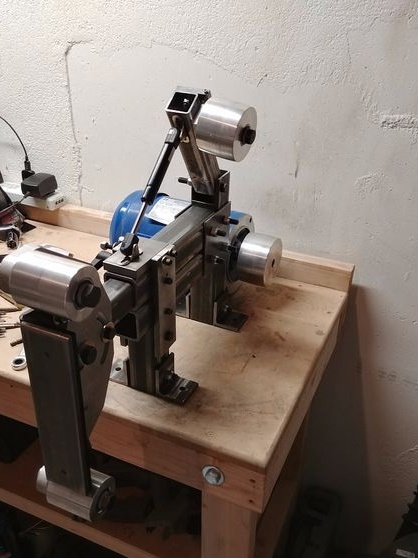
The wizard warns of the need to place the rollers on the same plane. After assembly and testing, the author had to adjust the rollers.
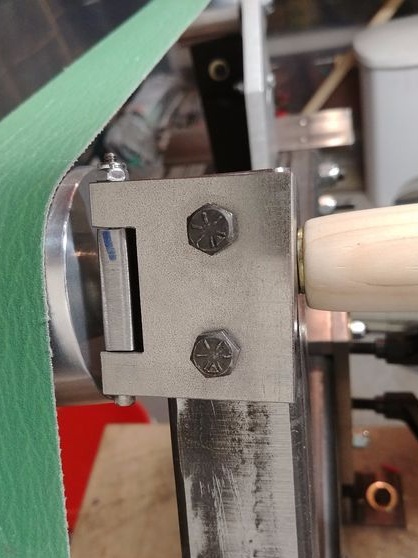
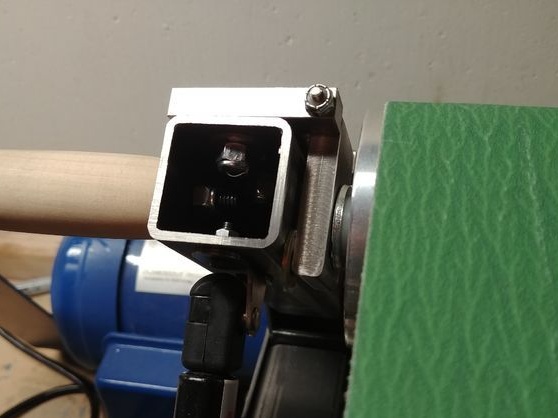
The belt sander is ready.
