
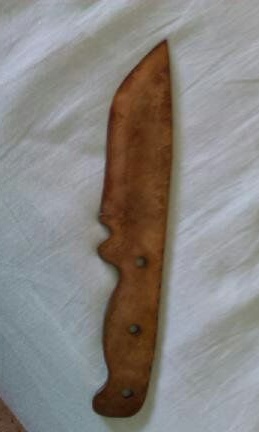
I bring to your attention the manual for making a knife almost by hand. The main tool for the main work here can be considered a small grinder. The knife goes through the hardening process, so it turns out to be durable. As a material, the author used steel with a high carbon content, this is 1075.
Materials and tools for homemade:
- Bulgarian with cutting and grinding discs;
- a piece of steel with a high carbon content (do not temper the other);
- various grit sandpaper;
- wood for the manufacture of pens;
- rods for pins;
- felt-tip pen, cardboard, scissors and other little things for making a template;
- linseed oil or other (used as an impregnation).
The process of making a knife:
Step one. Make a template and cut out the primary profile
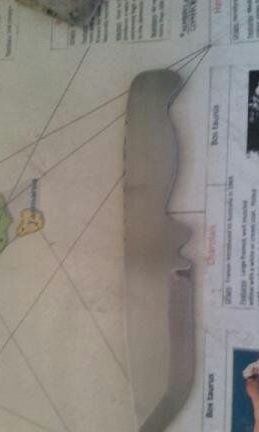
Making any knife begins with the creation of a template. Thanks to him, you can accurately cut the profile of the future knife. To create a template it is more convenient to use thick cardboard. Having cut out the cardboard profile, it will already be possible to hold it in your hands and figure out what needs to be finalized so that the knife is comfortable. You can modify the blade at your discretion, make it unique.
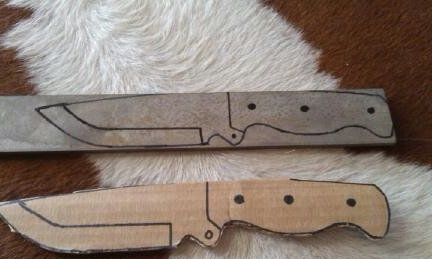
As for where to get the profile itself, you can search the Internet and print a ready-made profile. And you can come up with it yourself if you have no problems with this.
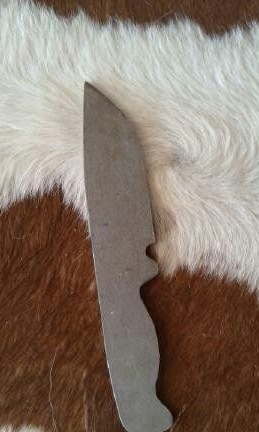
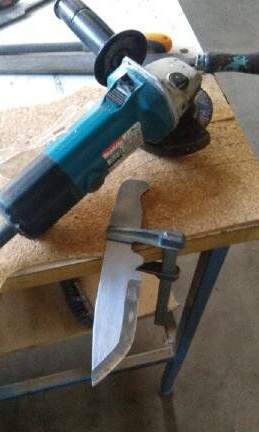
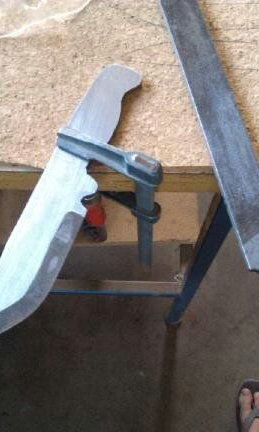
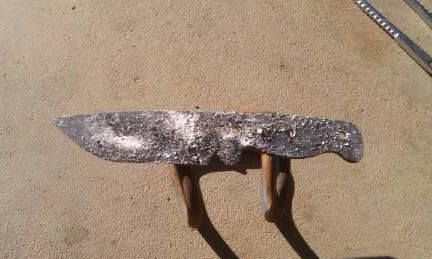
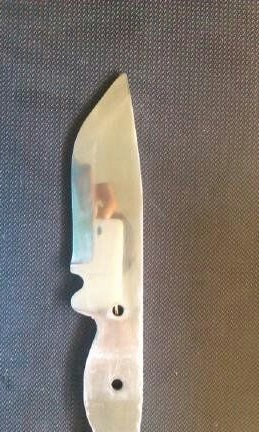
Having made the template, we apply it to the metal plate from which the knife will be made, and circle with a felt-tip pen or a sharp object. Well, then you can cut it. If you have a grinder, using it you can cut off the main excess pieces of metal. The same work can be done with a hacksaw for metal. Next, the remaining rounded places and other details are cut separately by a grinder, grind with files and so on.
Among other things, do not forget to determine the location of the holes for the pins on which the handle will be mounted on the blade. They must not be forgotten to drill until steel is hardened, since it will be extremely difficult to drill hardened steel.
Step Two Handle pattern
On the metal part of the hand, the author decided to make a pattern, but this procedure is not required. Such work can be done with files, for example, round or semicircular. But this work is quite painstaking. By the way, here, too, you will need to first apply a template to the blade.
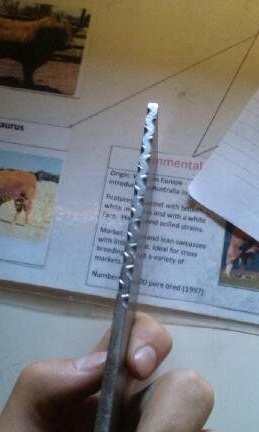
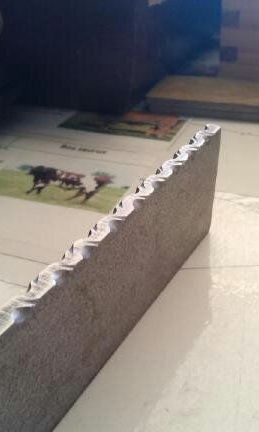

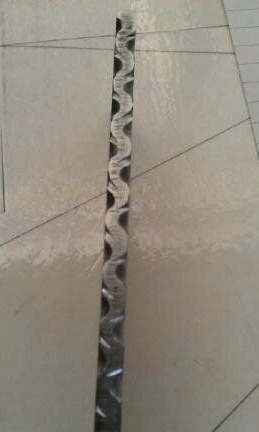
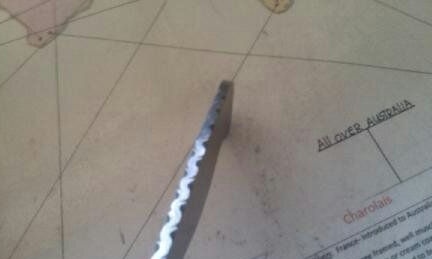
Step Three We form the bevels on the blade
The most crucial step in the manufacture of the knife has come - the formation of bevels. Thanks to the angle of sharpening the blade, the knife cuts the way it cuts. The thinner the blade, the better the knife will be sharpened and cut. If you need a knife that can be chopped and not be afraid that the blade will crack, the blade needs to be made thicker, that is, the bevel will go not far.
First of all, we take a felt-tip pen and on the blade we draw the area on which the bevel will go. In addition, you will need to draw a center line that will divide the future blade into two halves. Thanks to this line, you can make the bevel even. To draw such a line, you will need a drill bit in diameter such as the thickness of the workpiece. We put the drill and the workpiece on a flat surface and draw a line.
That's all, you can get to work. You can remove the main part of the excess metal with a grinder. You need to work slowly, slowly, since one wrong move can cut off the excess. Well, then we take a set of files and form a bevel to its final value.
Some masters form braids with only files. In mass production, it is convenient to use belt grinders.
Do not grind the blade too much, its thickness at this step should be at least 1 mm, as the hardened thin metal overheats.
Step Four Quenching
Before this step, do not forget to drill holes for the pins, otherwise this will not work in hardened metal.
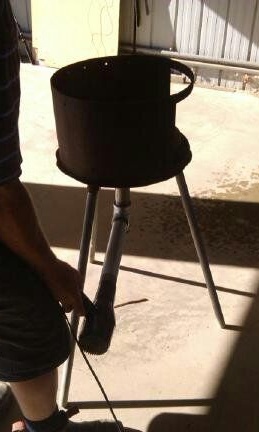
For hardening we will need a stove or a good bonfire, the author uses for his affairs his home-made stove from a car brake drum. Steel should be heated quite strongly, it should be a temperature of at least 800aboutC. To get it, you need a forced supply of air to the coals, you need a household hairdryer or compressor.
The author does multi-stage hardening. First of all, it normalizes the state of the metal. The bottom line is that the workpiece is heated three times and cools down in the open air. It is necessary to heat it until the moment when the steel ceases to be attracted by a magnet along its entire length. Having completed this procedure three times, we proceed to hardening.
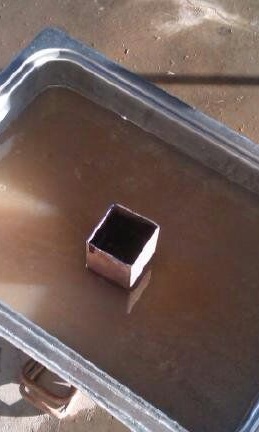
For quenching, we heat the workpiece to the desired temperature, and then cool in oil. The author used engine oil for such purposes, since he had it available. But you can use vegetable oils. Tempering the knife in water is risky, since the water cools the metal too quickly, and it can crack or deform.
Work carefully, as when lowering the hot metal into the oil, it lights up and splashes in different directions.
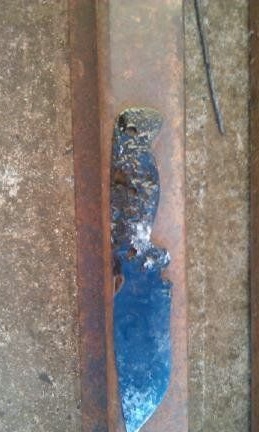
The final moment of steel hardening is metal tempering. Thanks to this process, the steel becomes more flexible and no longer breaks under mechanical stress. Before vacation, the blades are usually cleaned of soot, which is formed by cooling in oil.
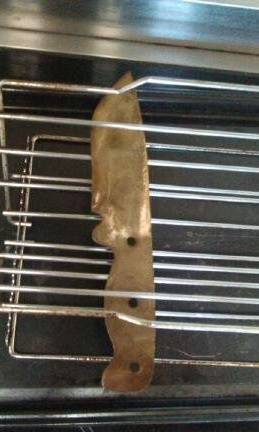
For this procedure, you need an oven heated to 220aboutC. Put the blade in it for one hour and then let it cool smoothly. The procedure is also carried out three times.
If the metal is warmed up as needed, it will turn a straw color.
Step Five Cleaning and polishing
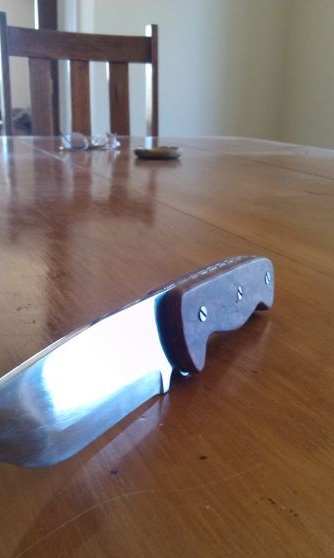
After hardening, the metal must be properly sanded. Your task will be to remove all scratches, dirt and other defects. Gradually reducing the grain size of the sandpaper, we bring the metal to shine. If necessary, you can polish the blade to a mirror shine.

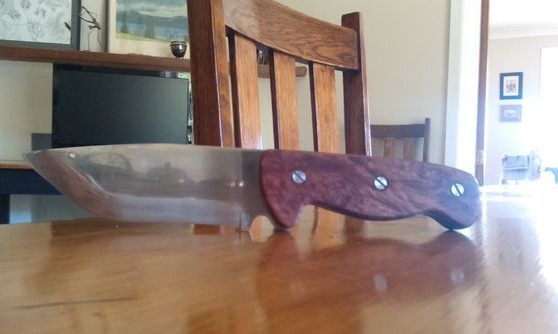
Step Six We make a handle and collect a knife
To make a pen, you will need beautiful wood species. Instead of wood, some craftsmen use bones, horns, textolite and other materials. The handle is made of two halves, so the material should be thin enough so that the knife is comfortable to hold in your hand.
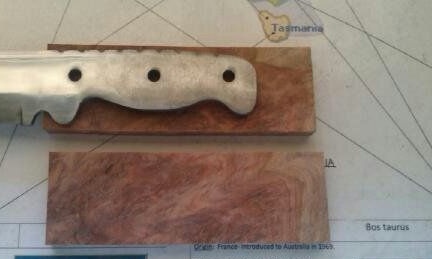
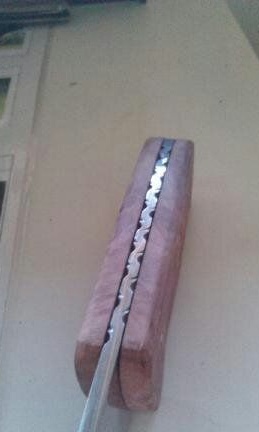
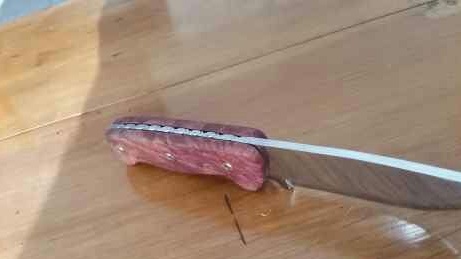
We apply the blade to the wood, circle the profile and cut out two blanks. Then, holes for pins are drilled in the handle. There should be at least two holes, this is enough for a reliable fastening of the handle. Some craftsmen make a larger number of pins, but there is no practical purpose, it is just an opportunity to decorate the handle.
Different materials can also be used as pins. The most popular pins are made of copper, brass and other non-ferrous materials. You can show imagination and immediately use pins made of different metal in one knife ... or even not metal.
Now is the time to pick up the knife. Here the epoxy comes to the rescue, dilute it with the hardener in the required proportions and lubricate the halves of the handle. Now all this business needs to be squeezed well by a clamp or in a vice. We wait until the glue is completely dry. Usually this process takes a day.
After the glue dries, we arm ourselves with an emery cloth and carefully grind the handle. It should get smooth shapes and become perfectly smooth. After grinding the handle, do not forget to thoroughly clean the knife and crevices from dust.
That's all, the knife is almost ready, now you will need linseed oil to soak the wooden handle, thereby protecting it from moisture. Instead of linseed oil, the author used cedar. Do not forget to grease the metal with oil if you poison the knife for long-term storage.