


Hello to all lovers homemade, I’ve been using a laptop for a long time and noticed that the air below does not circulate very well, since the gap is not enough for this. Therefore, I decided to make a stand for a laptop, which will elevate a little laptop, thereby improving air circulation, and therefore better heat dissipation.
In this homemade product, all materials are easily accessible, I think they will be found in everyone who has worked with wood to some extent. In this article I will tell you how to do do it yourself laptop stand, which will extend the life of components and the laptop itself.
In order to make this stand, you must:
* Parquet or board
* Wood screws
* Electric drill
* Drill 5 mm and 3 mm
* PVA glue
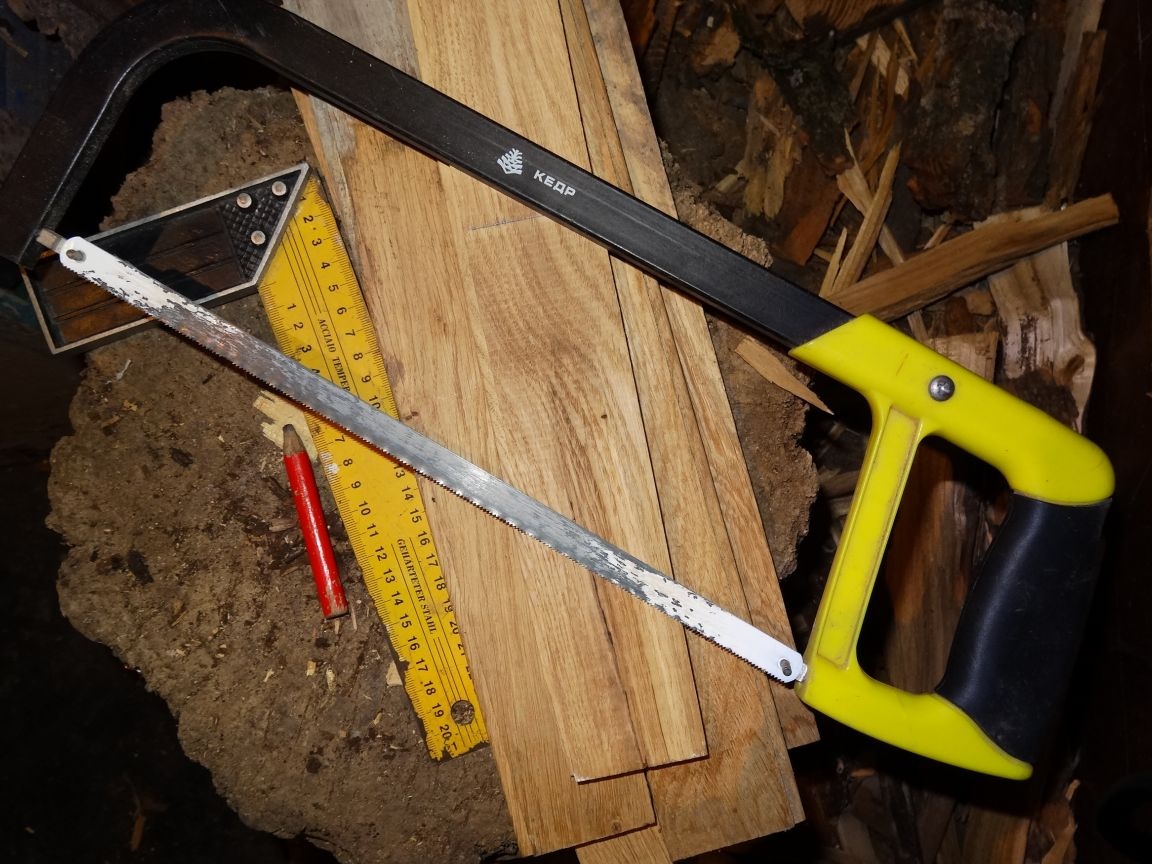
* Square construction
* Hacksaw
* Construction pencil
That's all you need to make such a homemade product.
Step one.
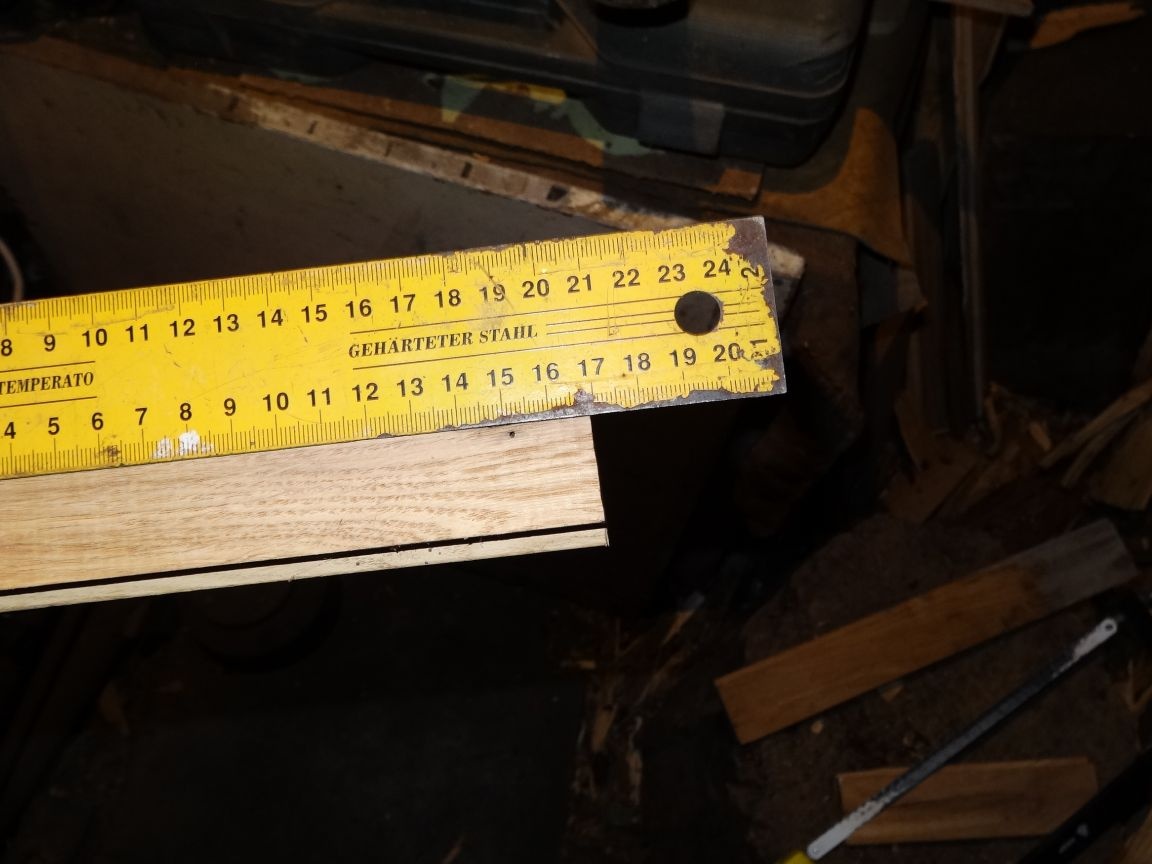
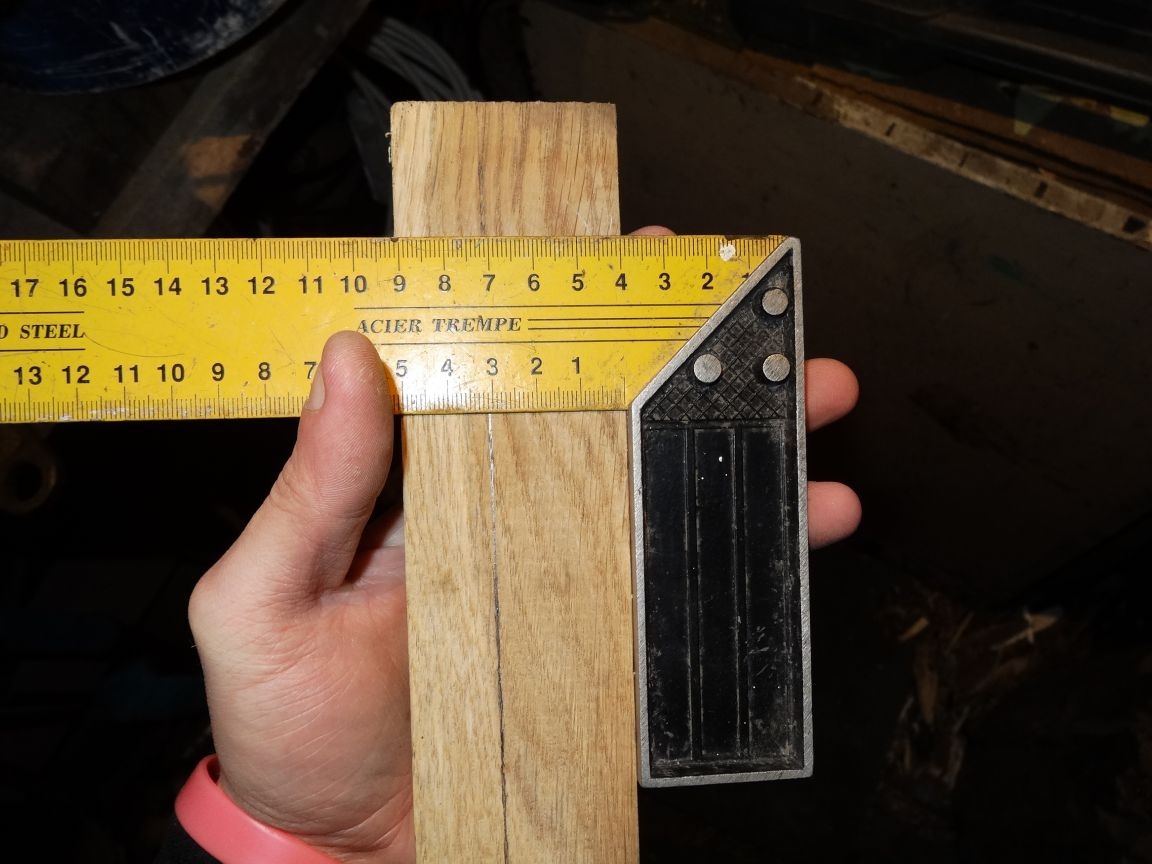
First you need to take the dimensions from your laptop, in my case I took the sizes from the rubber legs, so the sizes turned out to be smaller if I took the dimensions of the entire laptop.
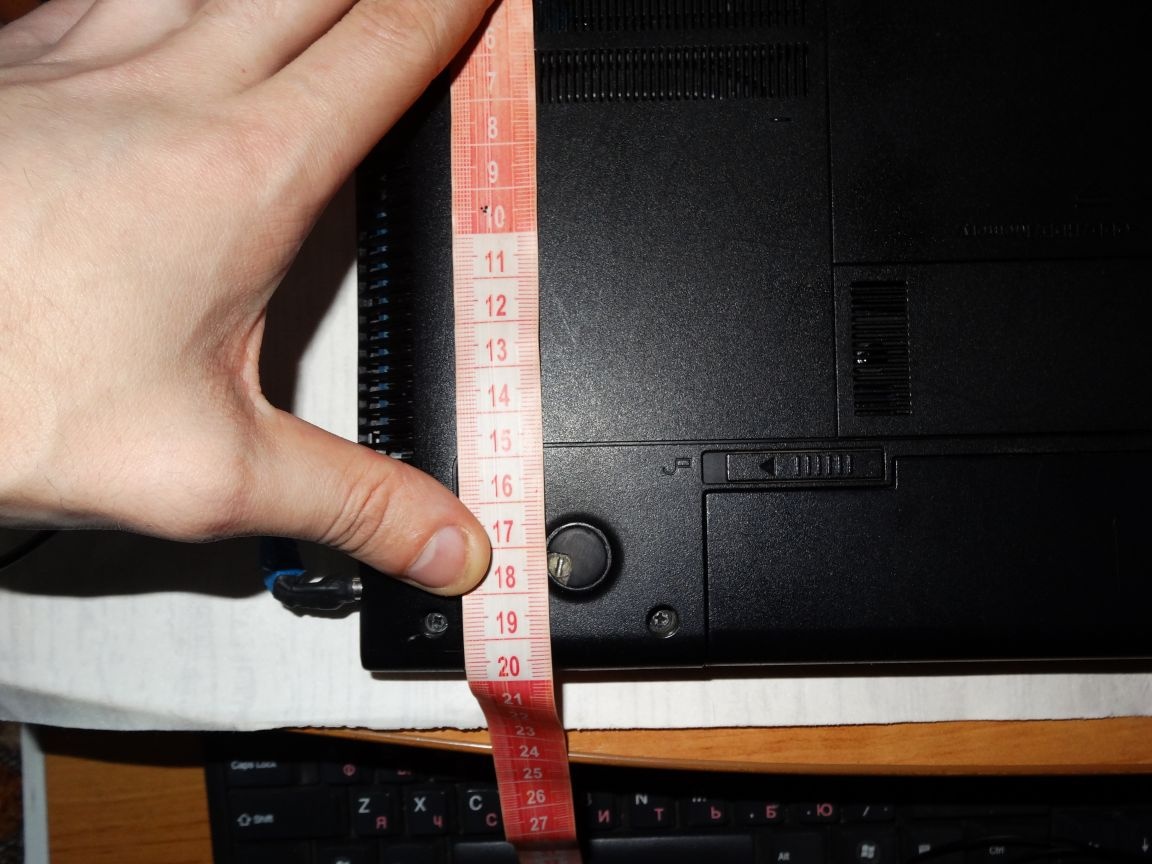

It turned out 17 cm in length and 27 in width. After all the necessary dimensions are recorded, you can begin to assemble, or rather cut the parts. Note that the size of the laptop for each is different, so you can’t do it according to the template, because you risk not falling into the dimensions of your laptop. I also advise you to take the dimensions precisely by the legs, because the stand, which will rest on the laptop case itself, can damage it or hurt important components in operation.
Step Two
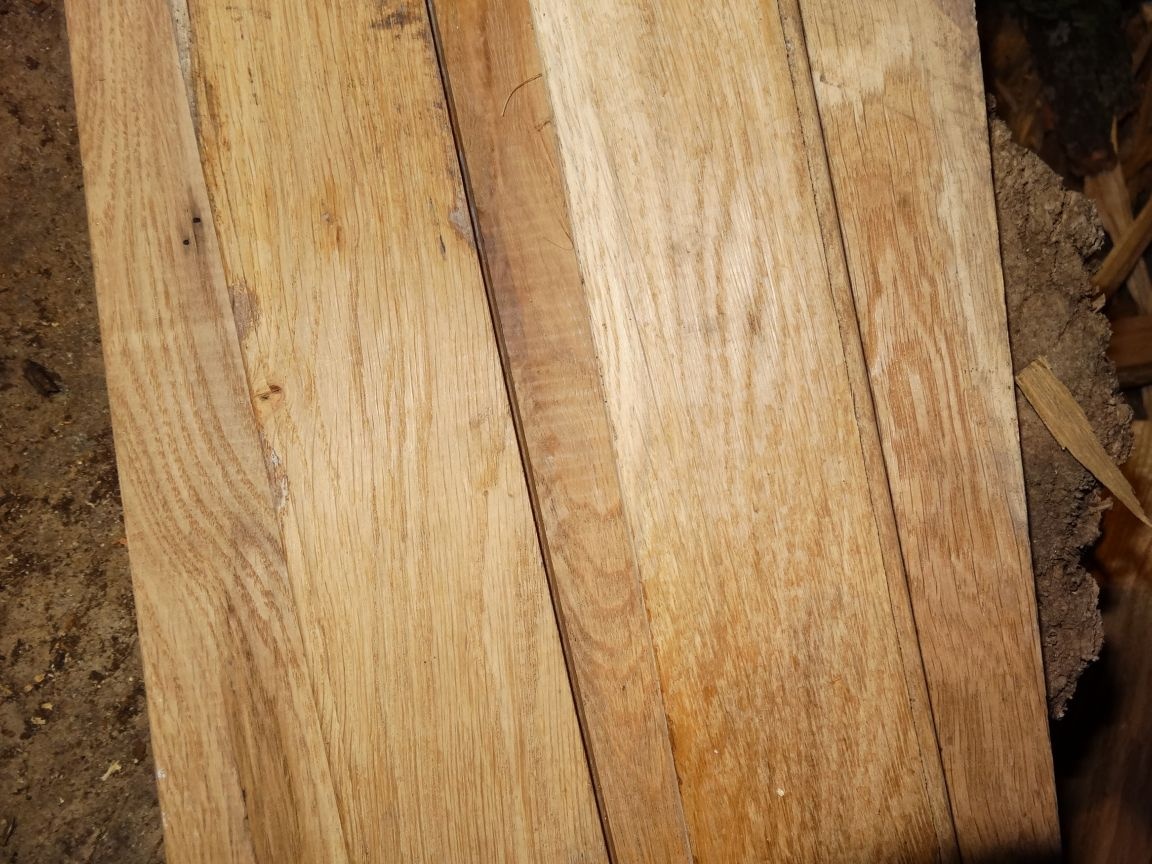
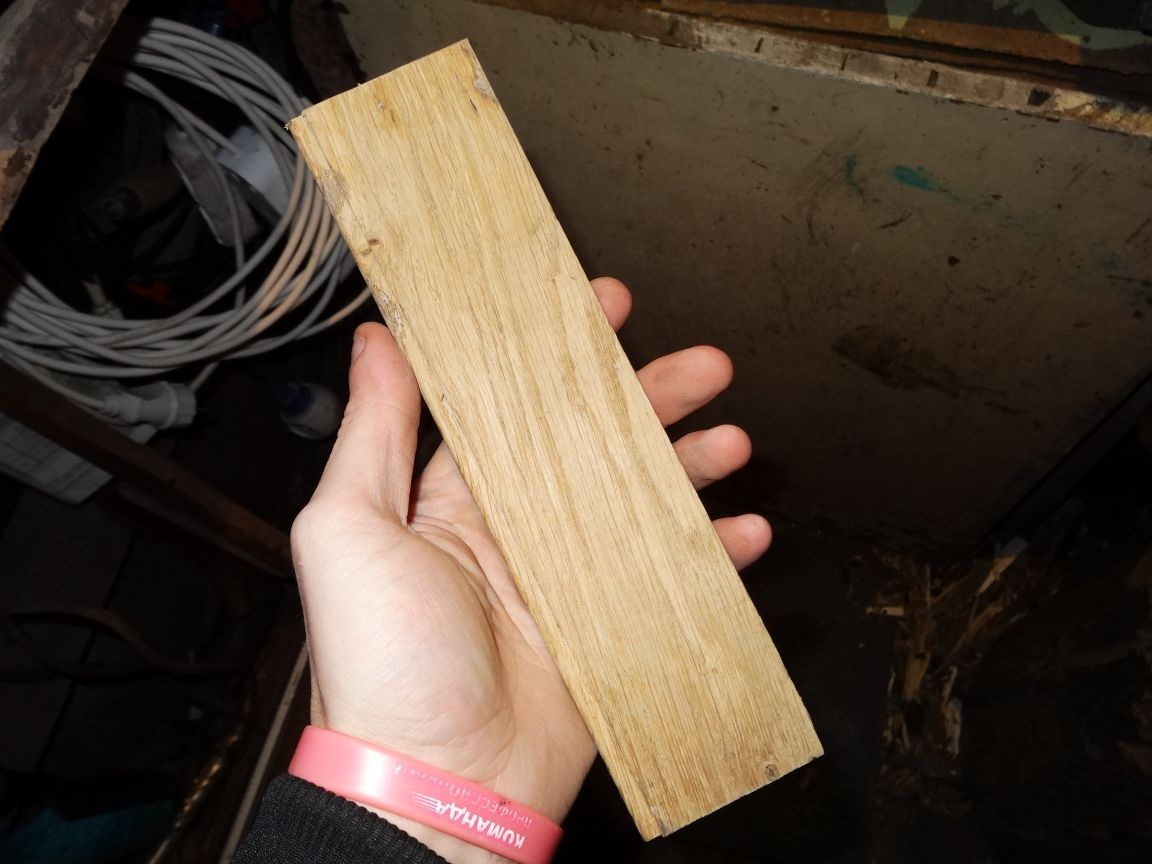
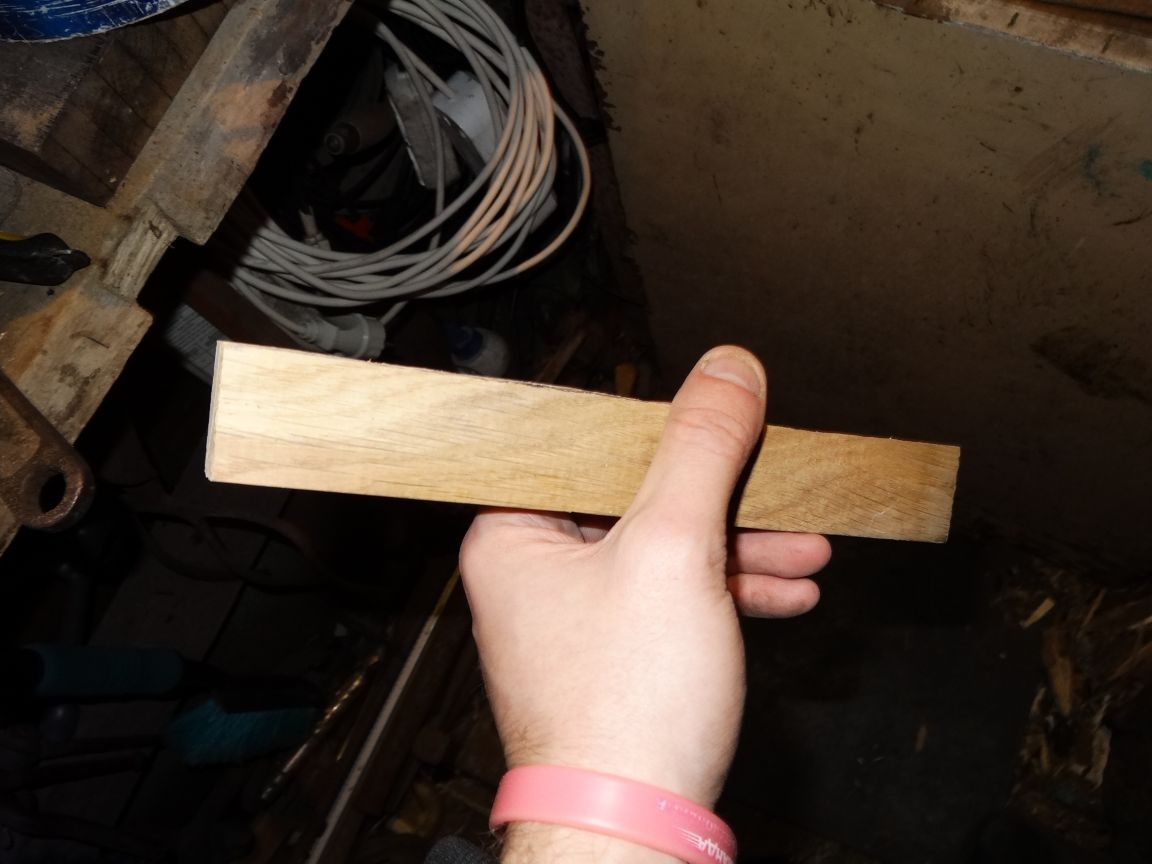
I got four parquet floors of the best quality from my parquet reserves.
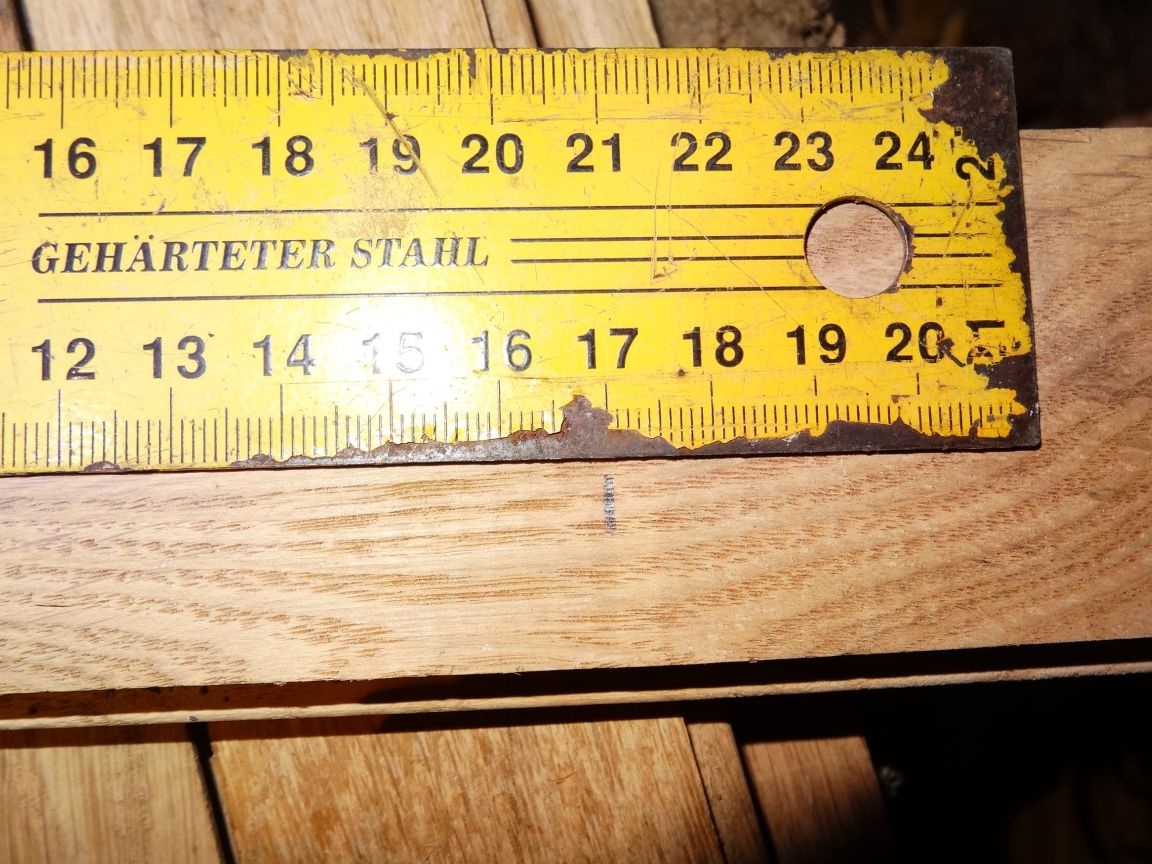
Now, armed with a construction square, I transferred the dimensions to the floor, made a line strictly at 90 degrees and sawed off the excess with a hacksaw.

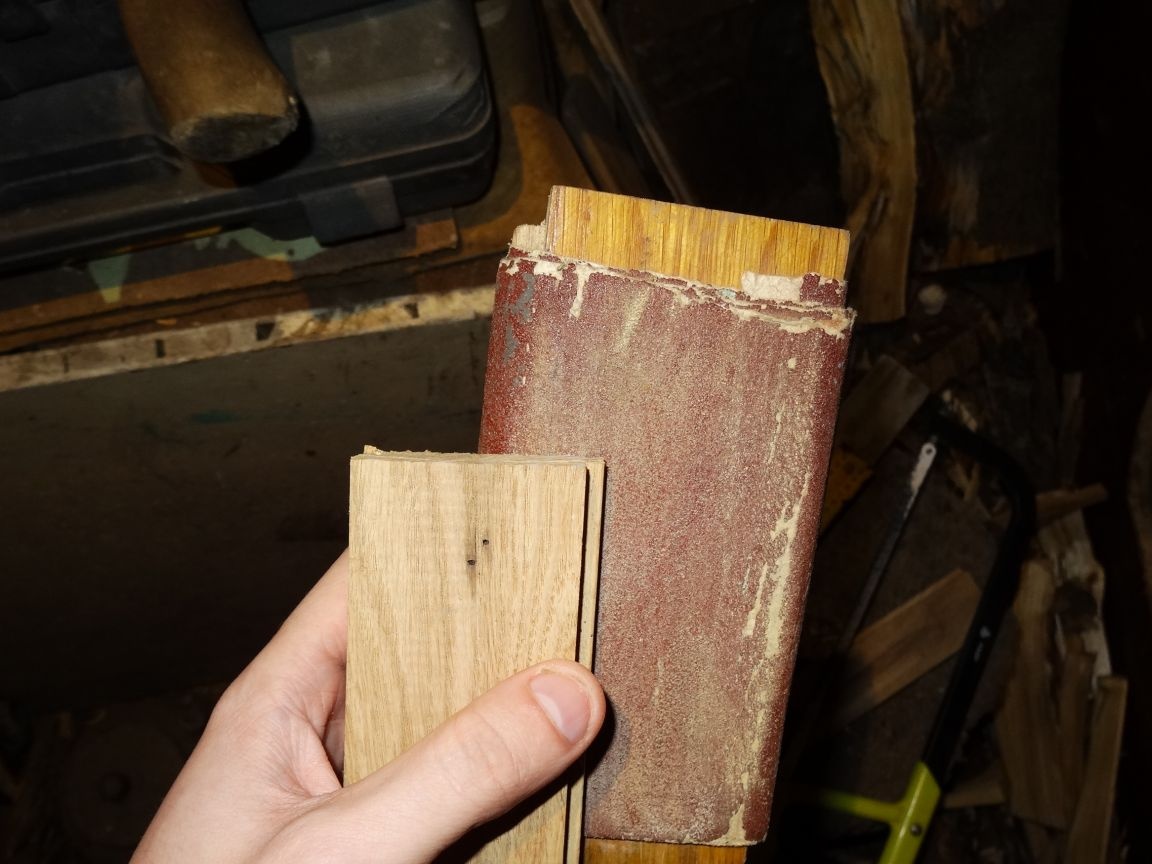
The cut came out a bit with burrs, although the hacksaw has a small tooth, so I decided to grind the corners and cut the place with medium-sized sandpaper, I don’t have to achieve a perfectly smooth surface, since there will be a connection to another part in the places, and the roughness for this is necessary.

Step Three
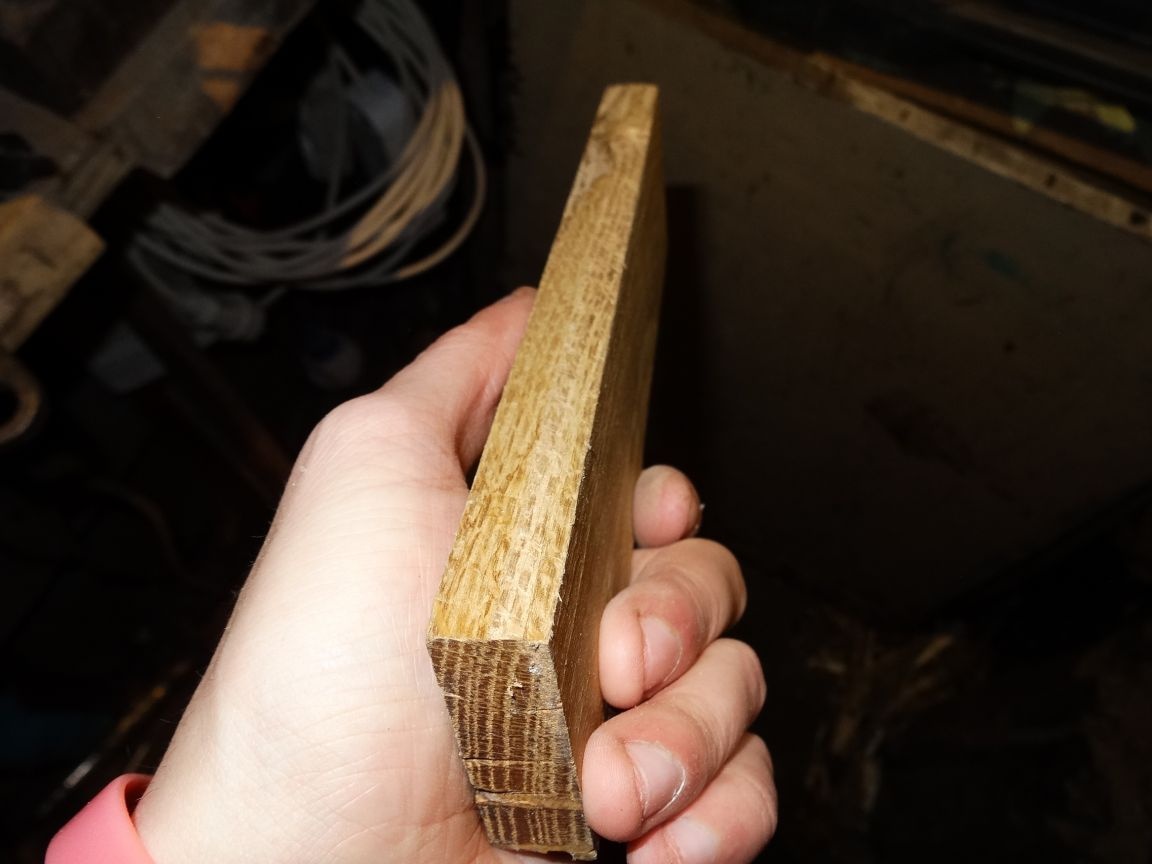
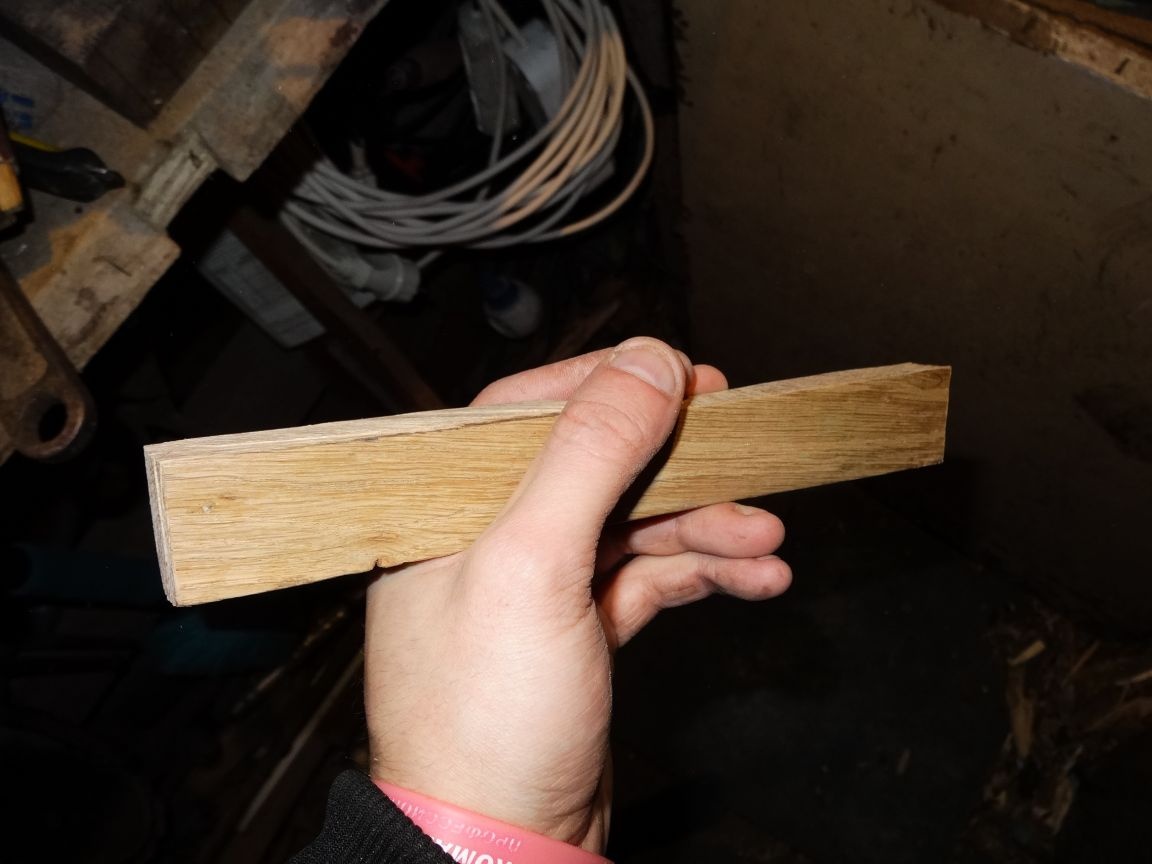
On the floor there is a protrusion in the form of a groove, which can be easily removed using the same hacksaw for metal.
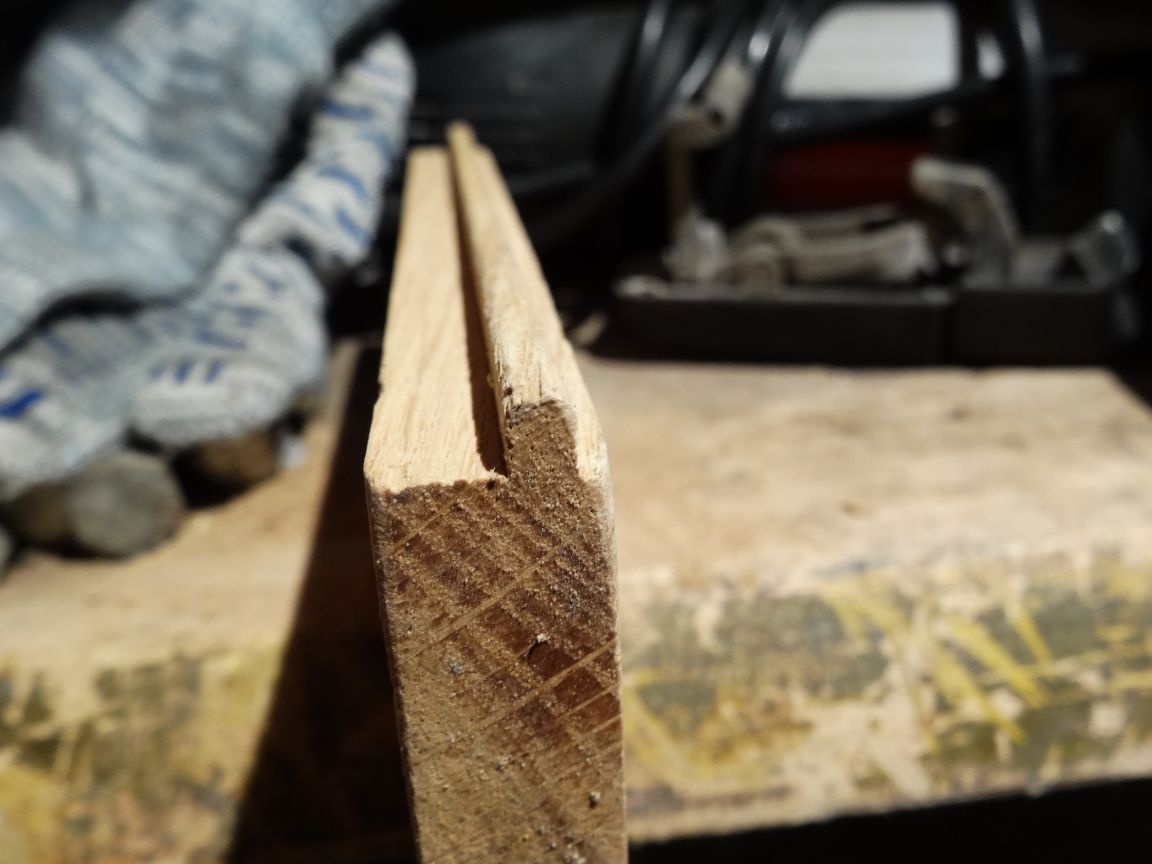
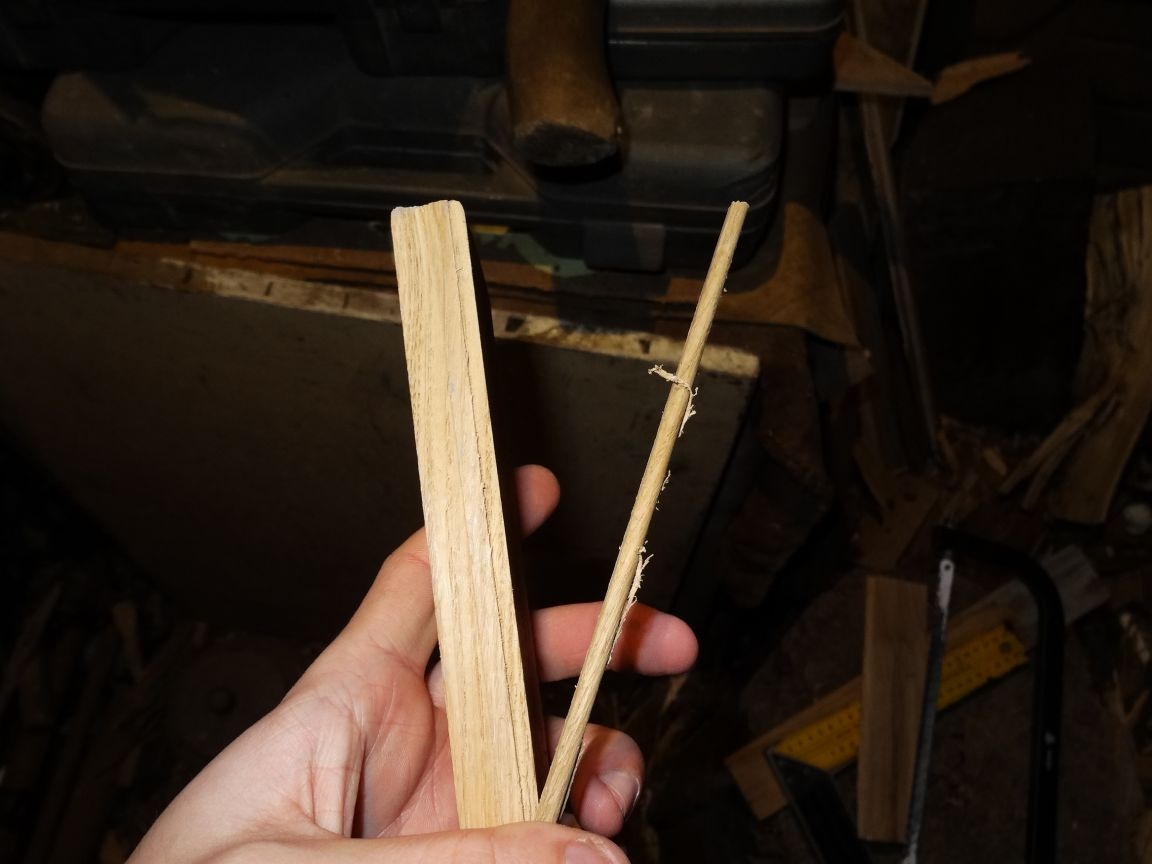
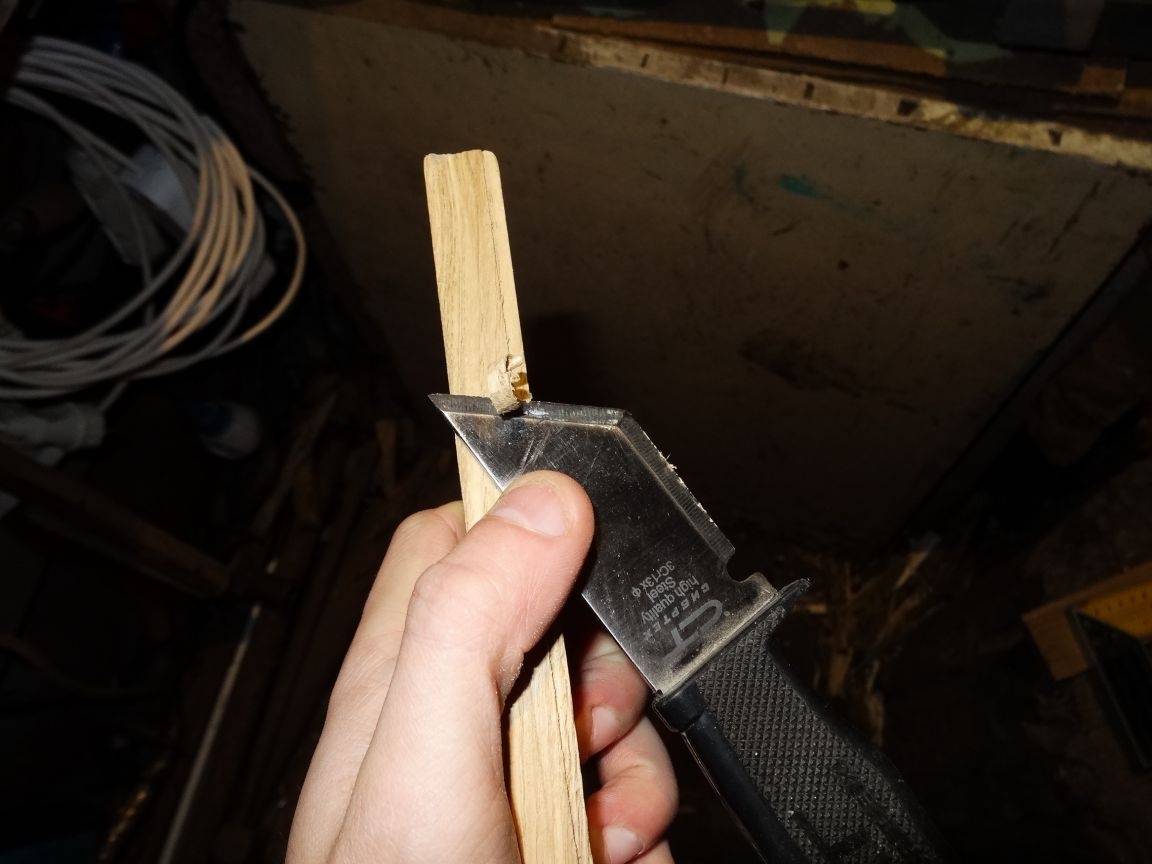
This groove could not be completely removed with a hacksaw, so with the help of a slanting knife I removed the remains until a flat surface was obtained.
Step Four
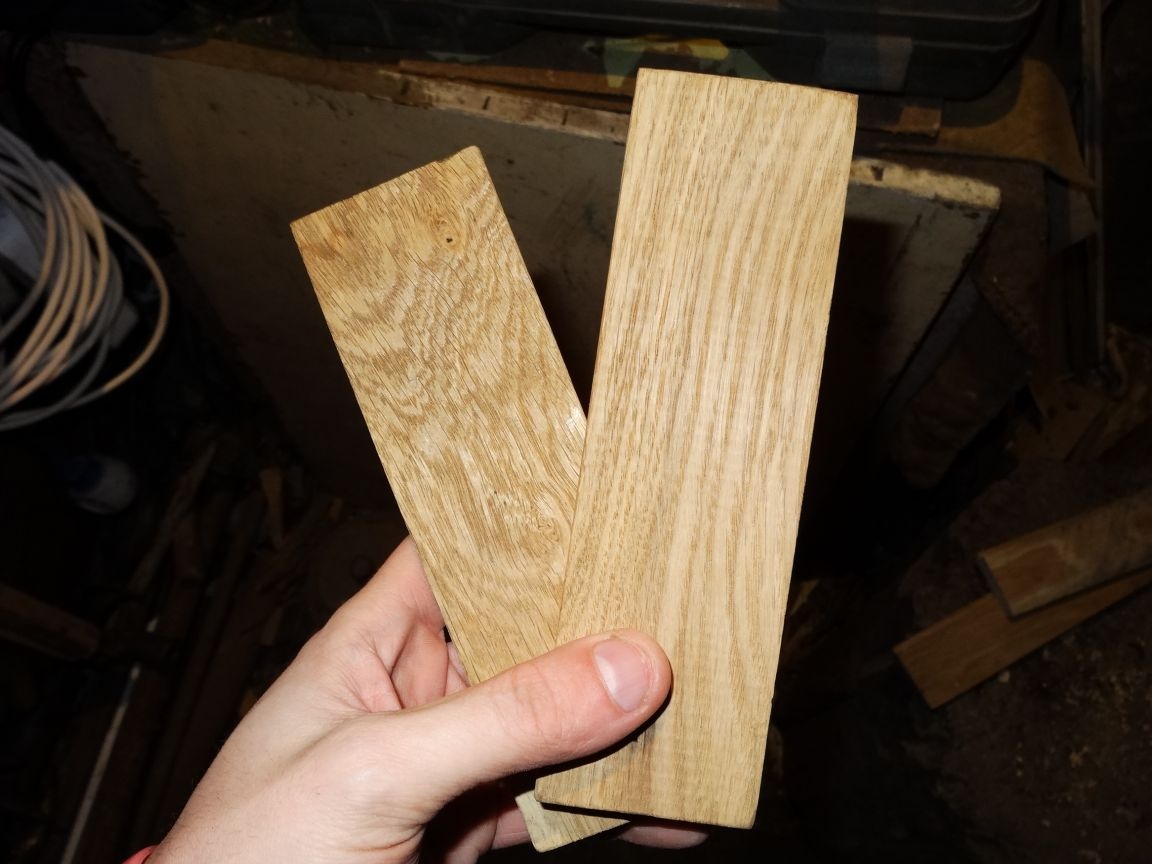
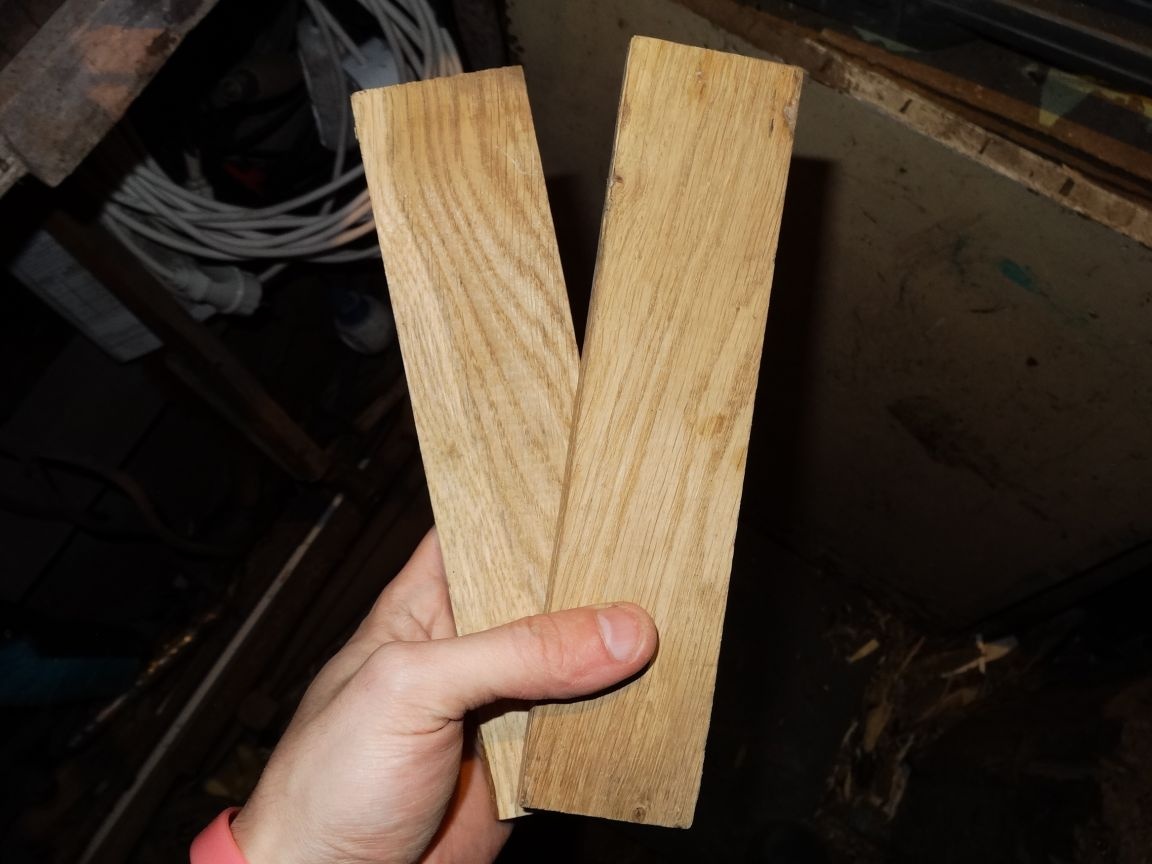
Similarly to the first part, we make the second one, do not forget to polish the places of the saw cuts and the resulting burrs.

The result is two such details.
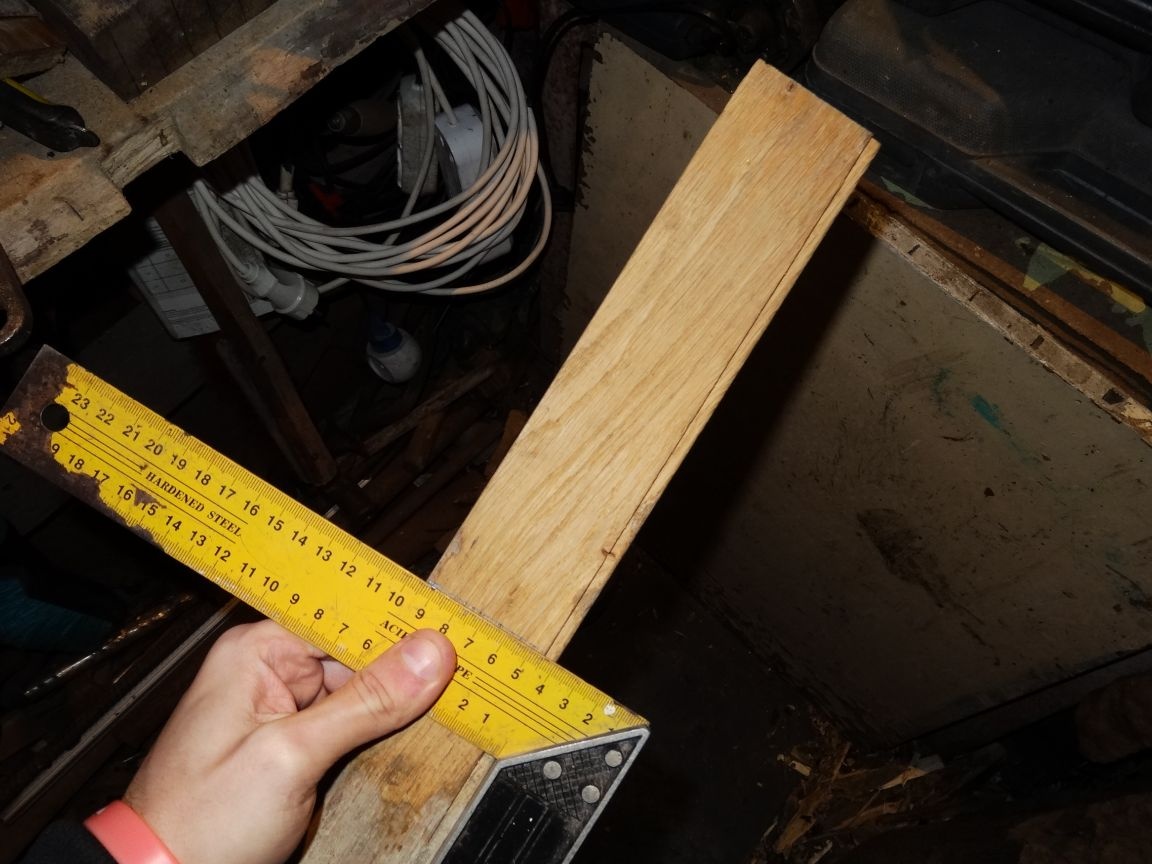
For now, put them aside and start manufacturing larger parts, in my case, these are 27 cm long workpieces. We mark the length using a building square and saw off with a hacksaw for metal.
We perform the same operations as with small parts, namely grinding and removing an unnecessary ledge-groove. Well, if you have a grinding machine, do not neglect protective equipment when working with it, a respirator and glasses are mandatory.
Step Five
After processing the first part, we cut out the second, similar to the first. It’s better to take the dimensions already from the finished part, since there may be an error during the sawing process, which you, for example, might not have noticed.

Also, the height of these parts will be large when assembling the stand, so I marked 3 cm from one of the edges and sawed it strictly along the line, in this case sawing a workpiece 27 cm long with a hacksaw for metal is not very convenient, as a result of which a skew was formed, for this operation it’s better just fit a jigsaw machine or a band saw.
Step Six
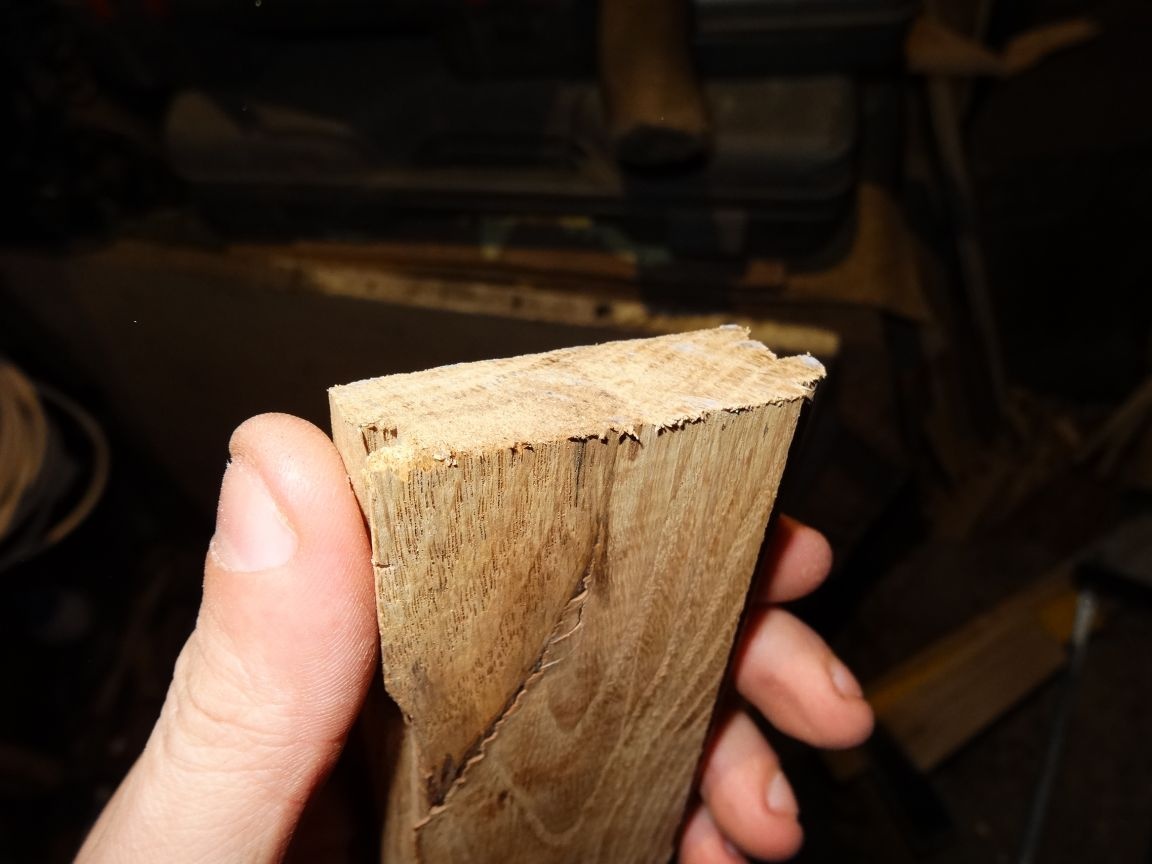
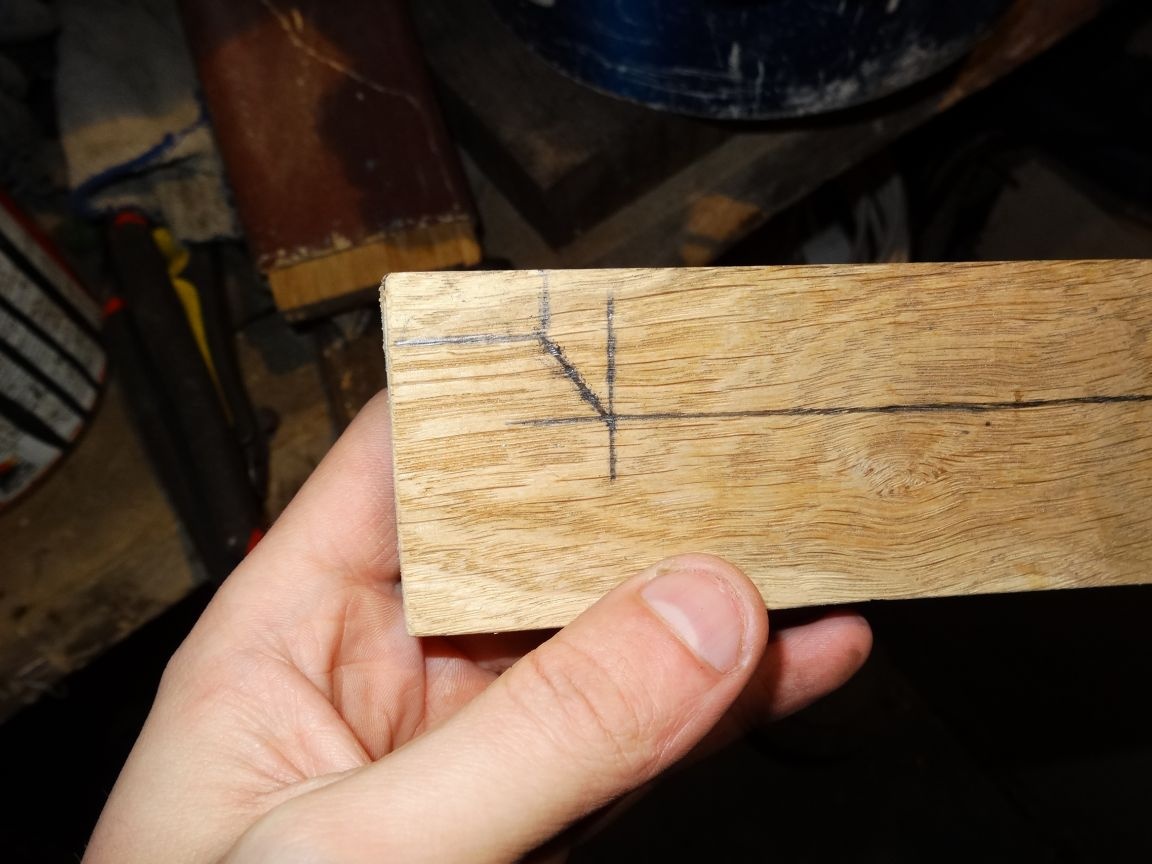
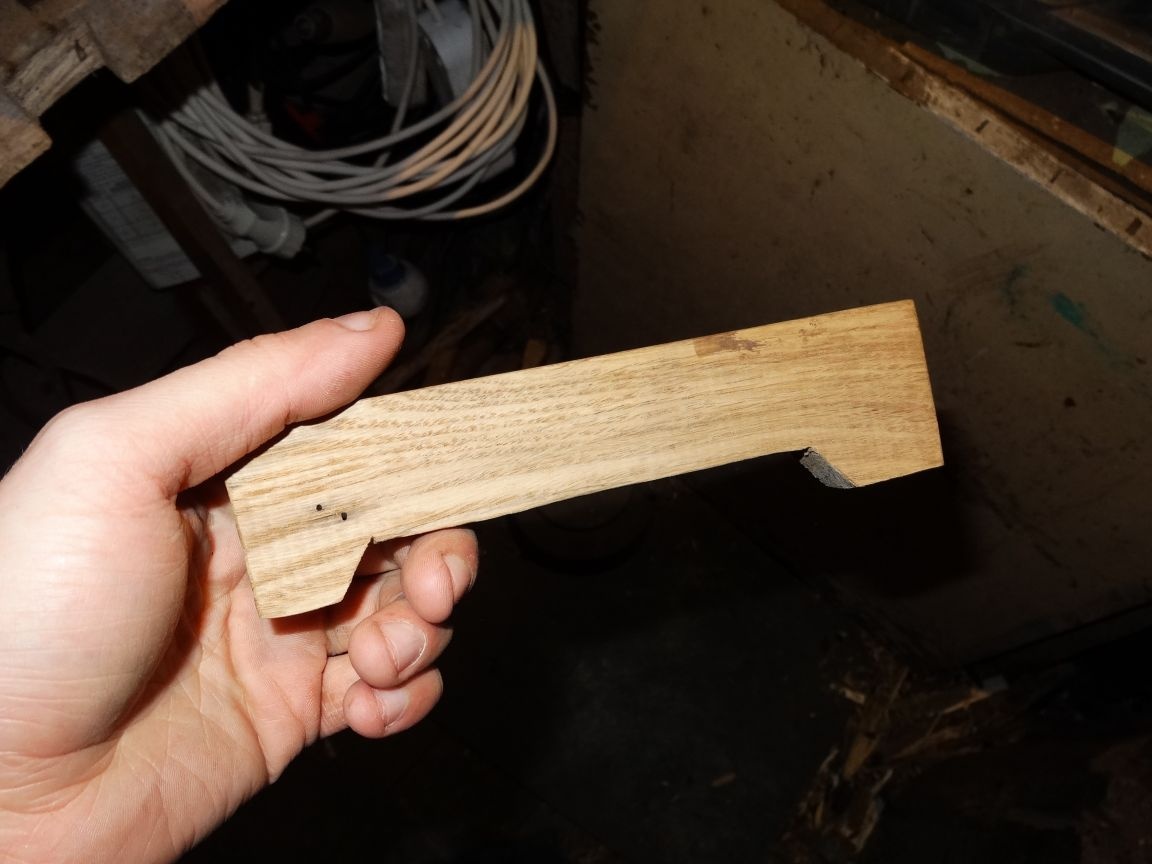
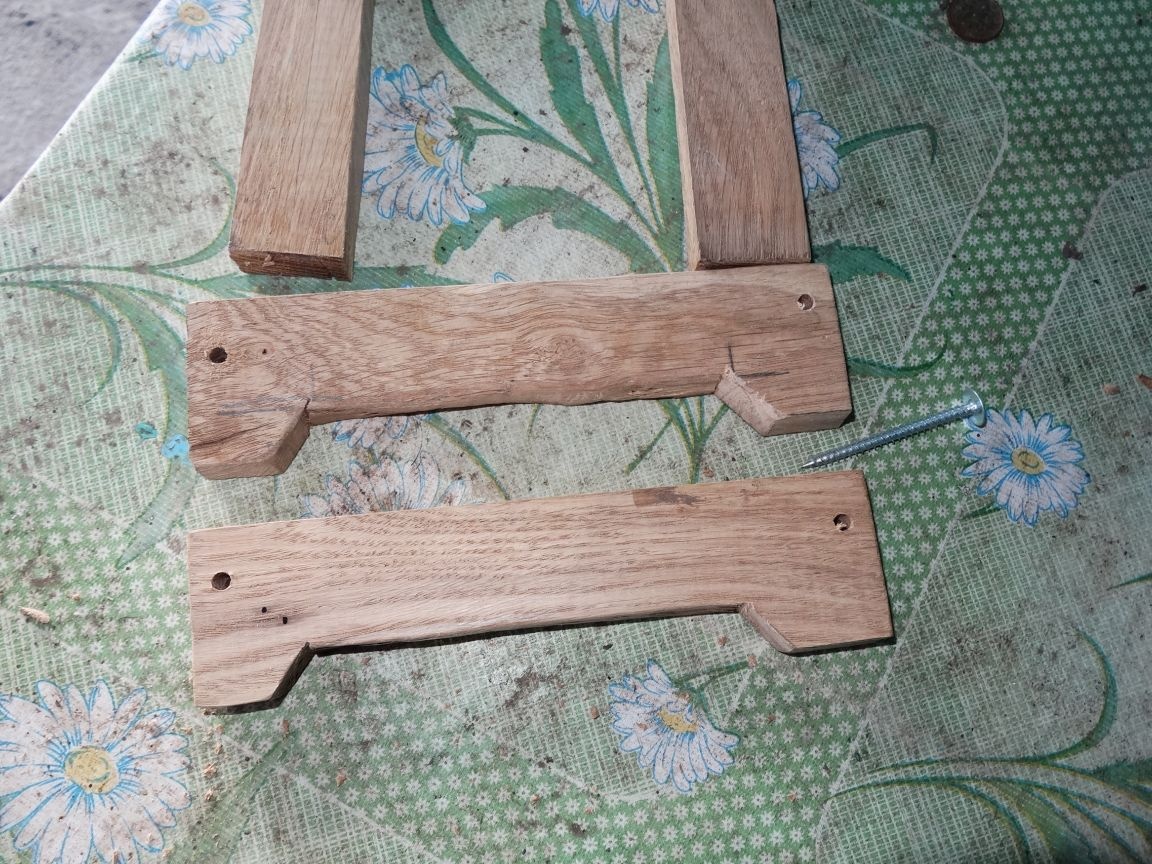
Since the stand implies the presence of legs, it was at this stage that I thought about how to make them. I did not have to think long and decided to cut them out on already made parts, the length of which is 17 cm, I myself conceived the legs 1 cm high and 2 cm wide.
First I marked the places of the legs, and then sawed off the excess with a hacksaw for metal.

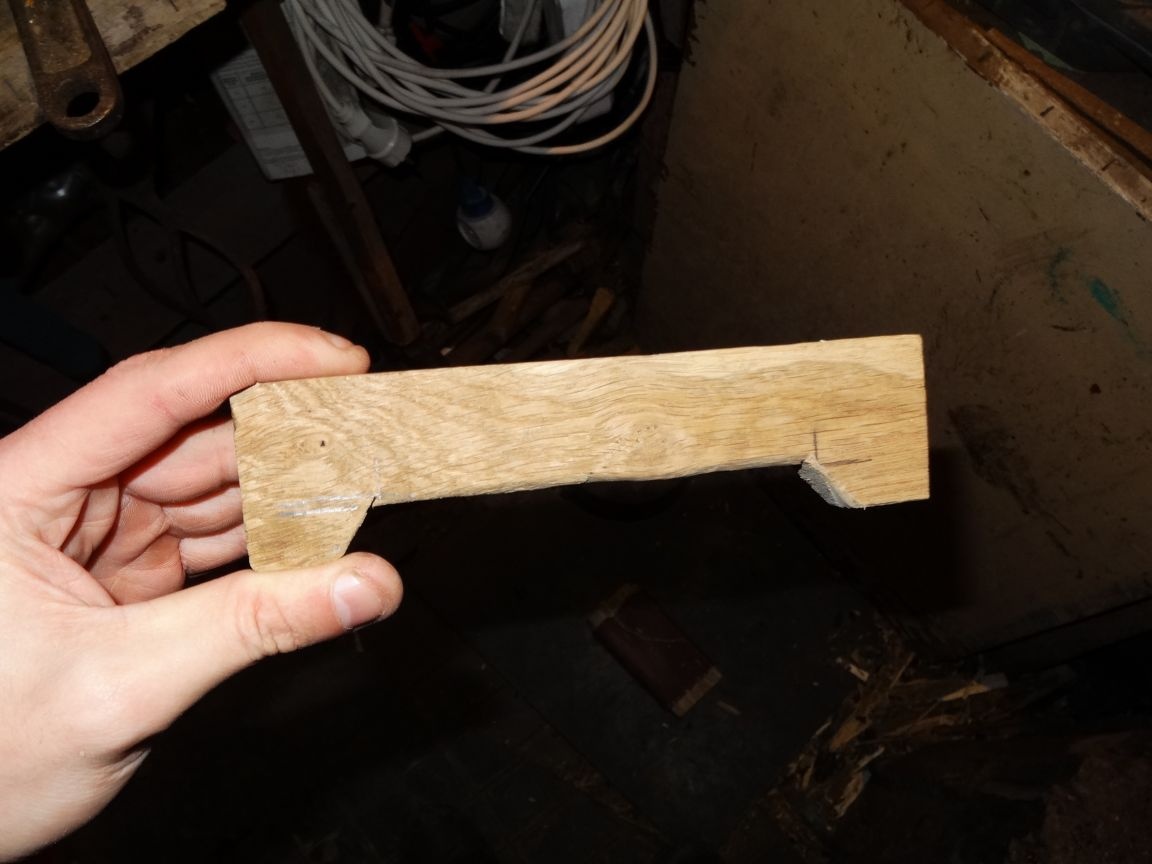
In order to remove excess material from the legs, I used a chisel and a hammer. As a result, it turned out somehow. I did the same with the second part.
Seventh step.
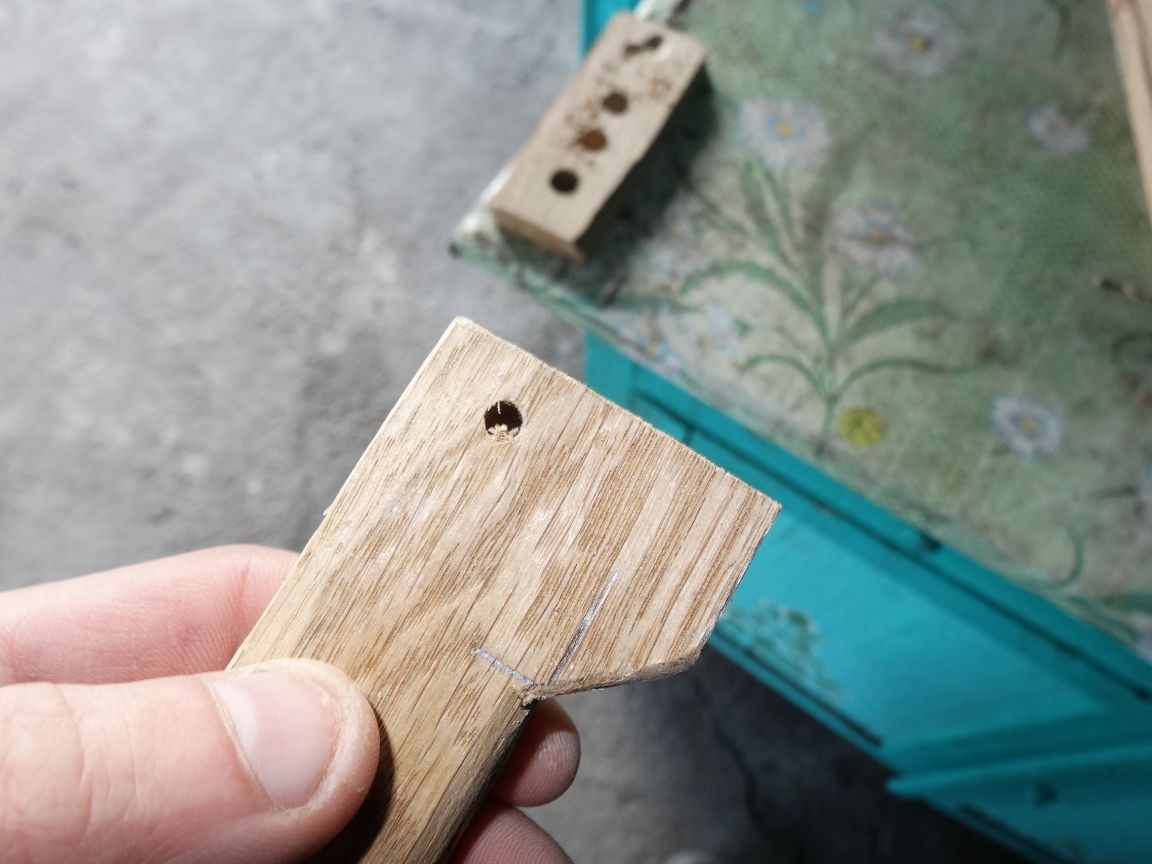
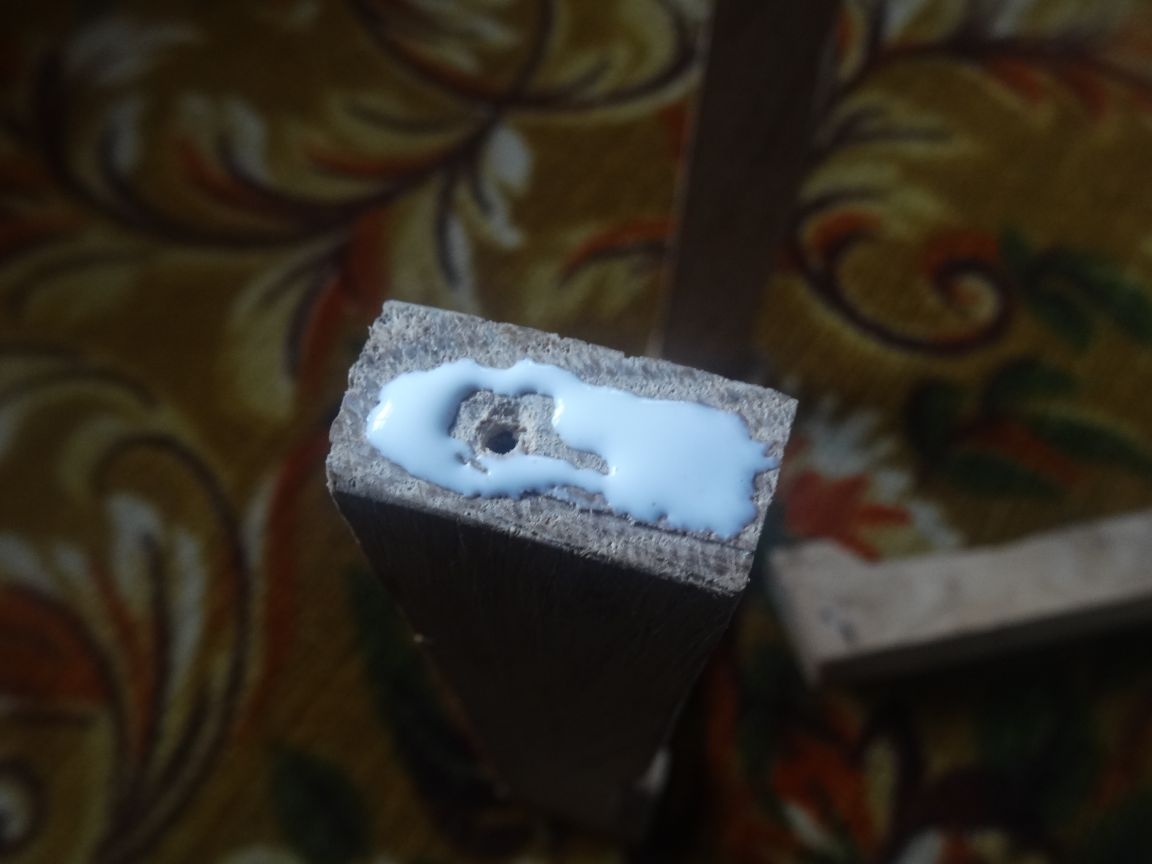
It's time to put all four parts together. An electric drill will help me with this, we use it to drill holes with a 5 mm drill in two short parts, and drill a hole in the counterpart 27 cm long, but with a smaller drill, in my case, 3 mm in diameter.

Step Eight.
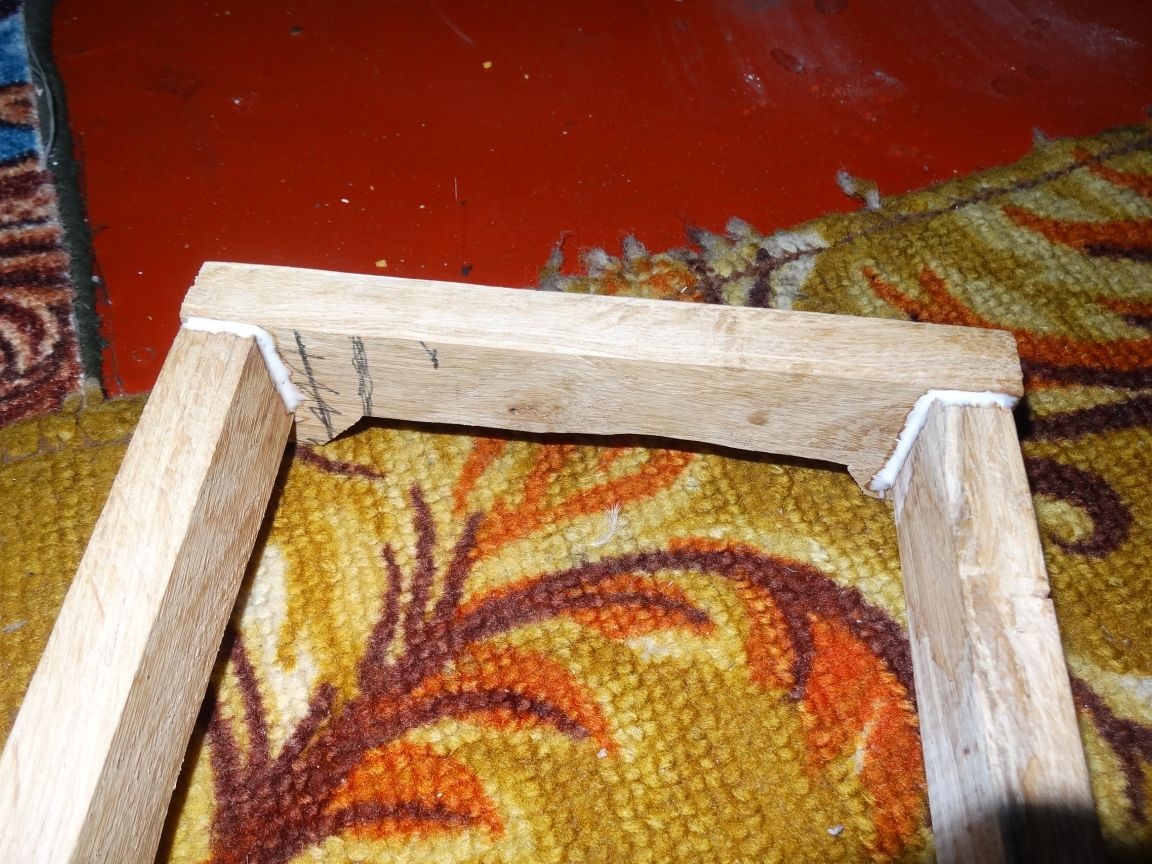
Using a screwdriver and screws, we assemble the structure, also do not forget to grease the joints with PVA glue, this will give the structure more strength and save your screws. After the glue dries, the stand can be fully used.
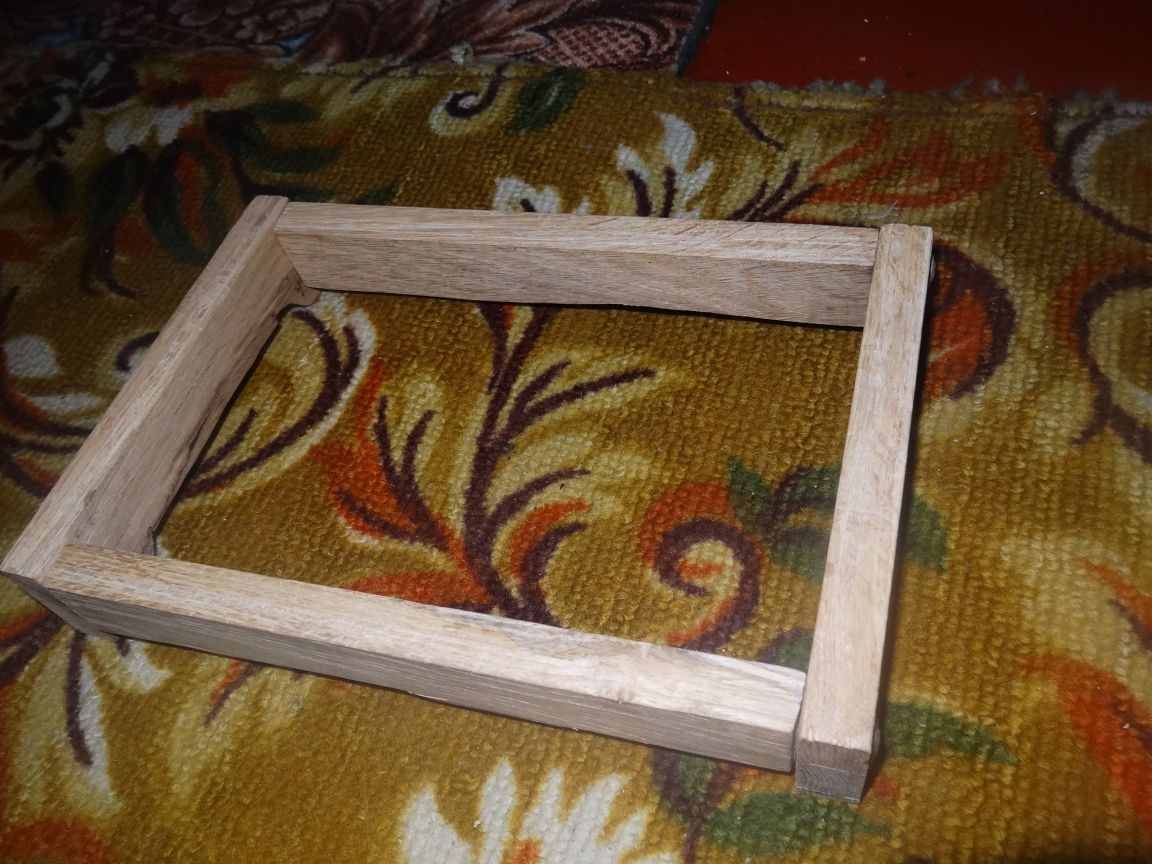

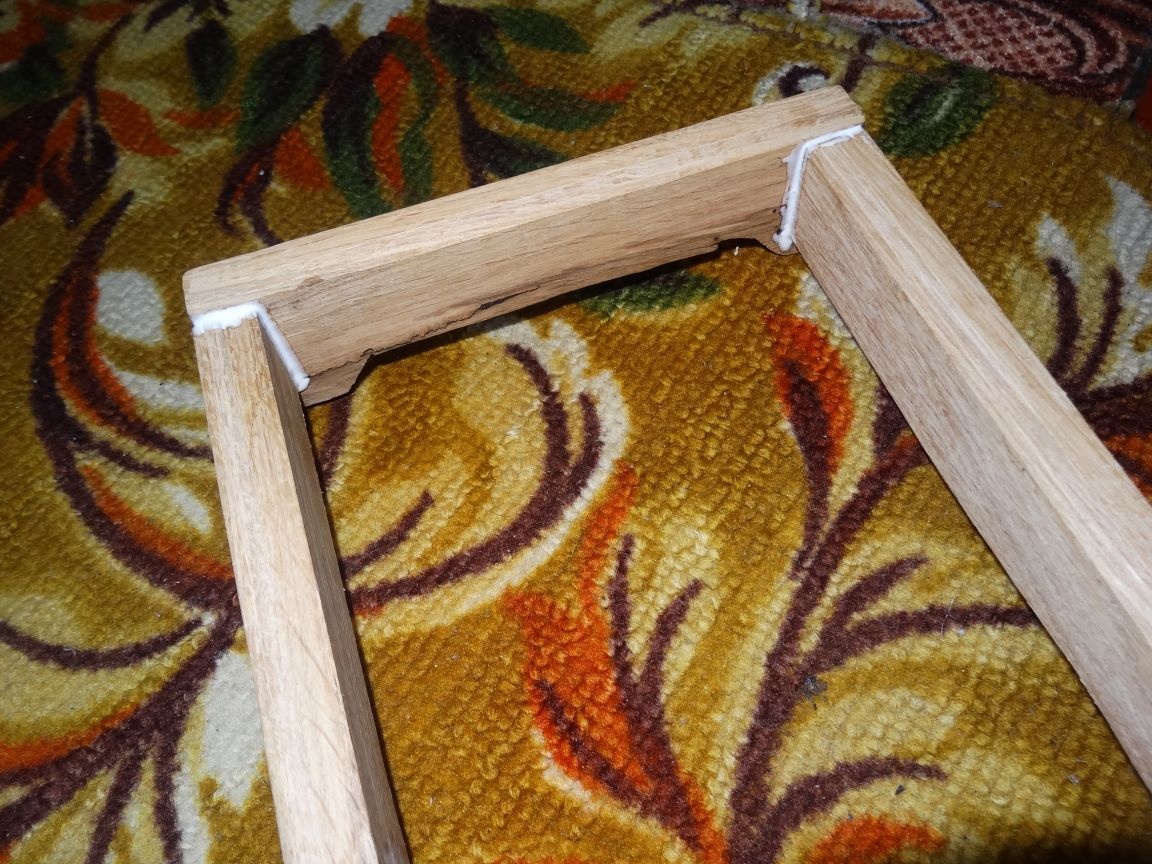
That's all for me, I tested this stand on my laptop, now the air in the cooling system circulates well.

Thank you all for your attention, successful homemade products and creative ideas.