

If you still do not have a grinding machine, then I suggest you make it yourself! This machine consists of two abrasive wheels, which means that you can put at the same time a larger-grain circle with small grains, for finishing grinding. The drive of this machine will be an ordinary drill or screwdriver with a speed control.
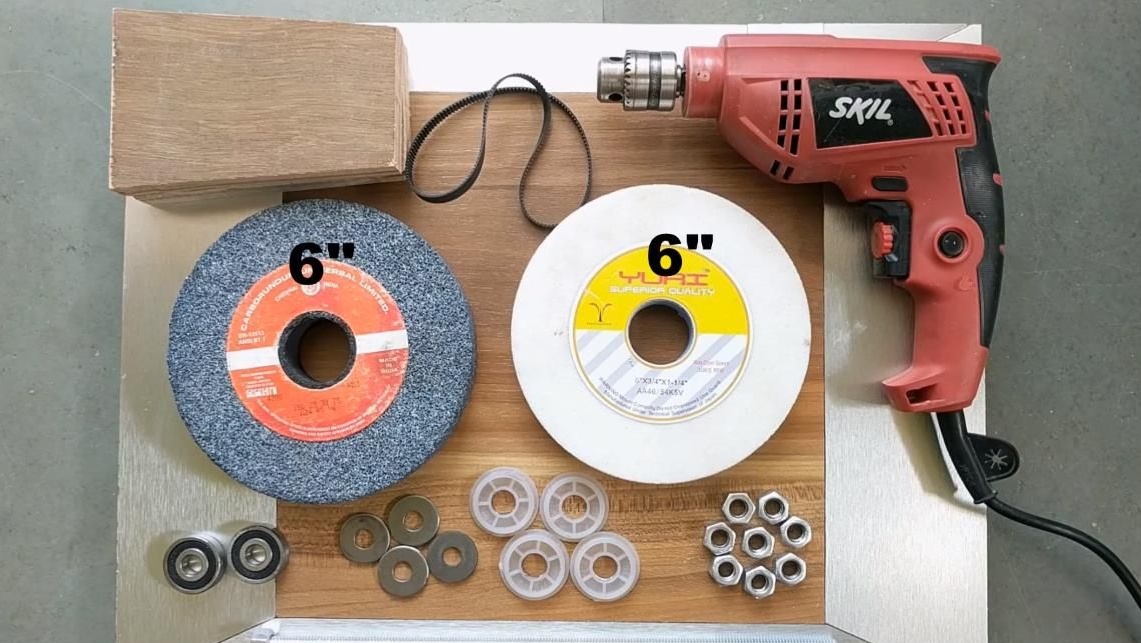
What is necessary for the manufacture of the machine.
- Speed control screwdriver
- Toothed belt
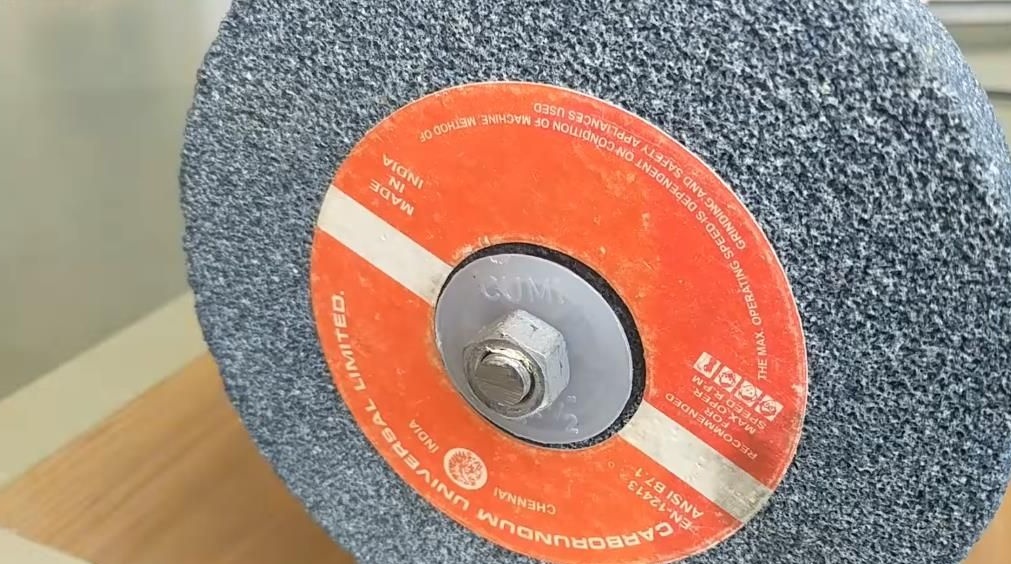
- Two abrasive wheels with small and large grains
- Long thread with nuts
- Metal washers
- Two bearings
- A piece of plywood (stand) 45-35 cm
- Two pieces of plywood for less
- Auxiliary tool
Machine tool
Attention! All sizes must be selected independently, depending on what details you will use. The article will describe the design itself and instructions for its manufacture.
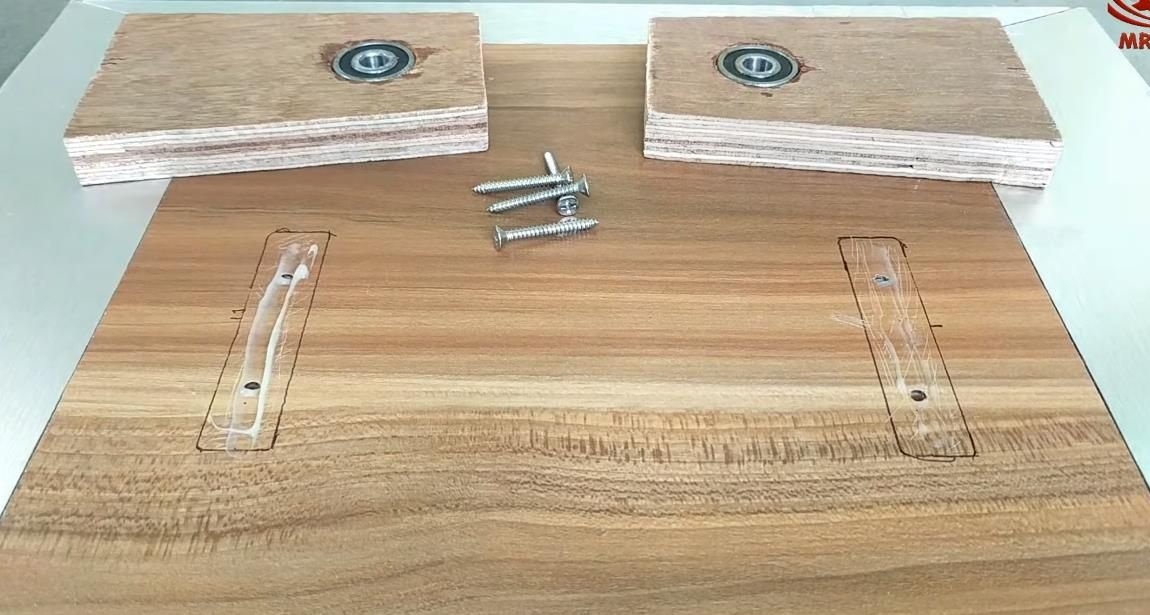
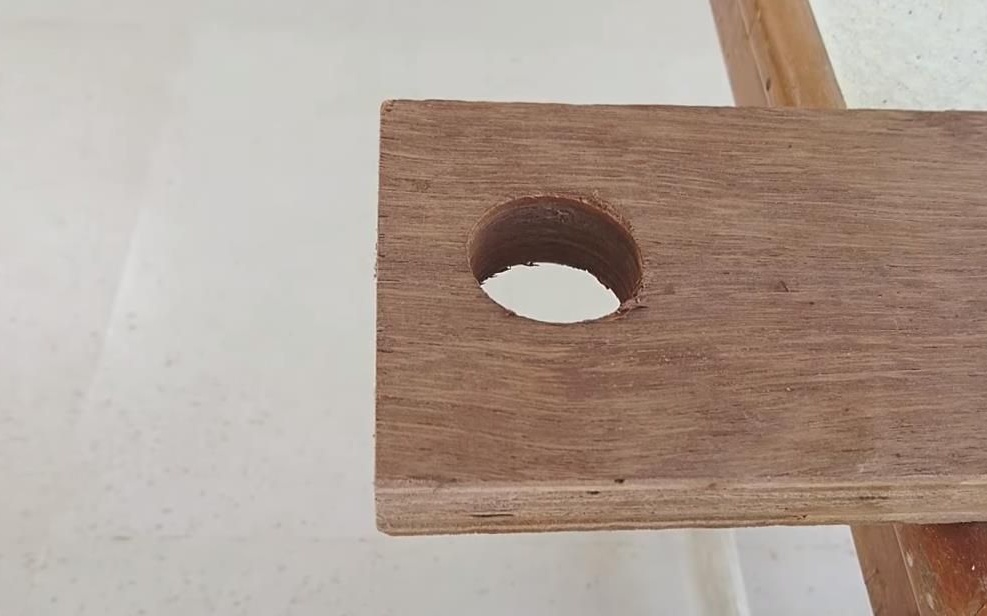
The first thing you need to do from plywood is to cut two bars, the shape can be square or in the form of a pyramid. These bars will act as holders of the axis on which the abrasive wheels will be mounted, so that we select the dimensions and their height based on the sizes of the circles used. In plywood, with a pen, cut out two holes where the bearings will be installed, respectively, the pen must be selected according to the diameter of the bearings.
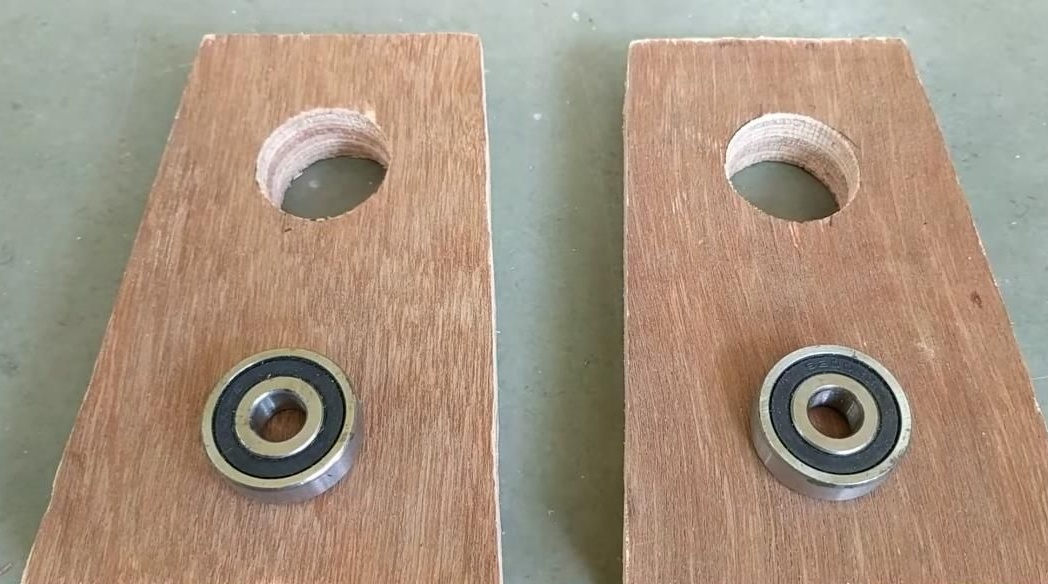
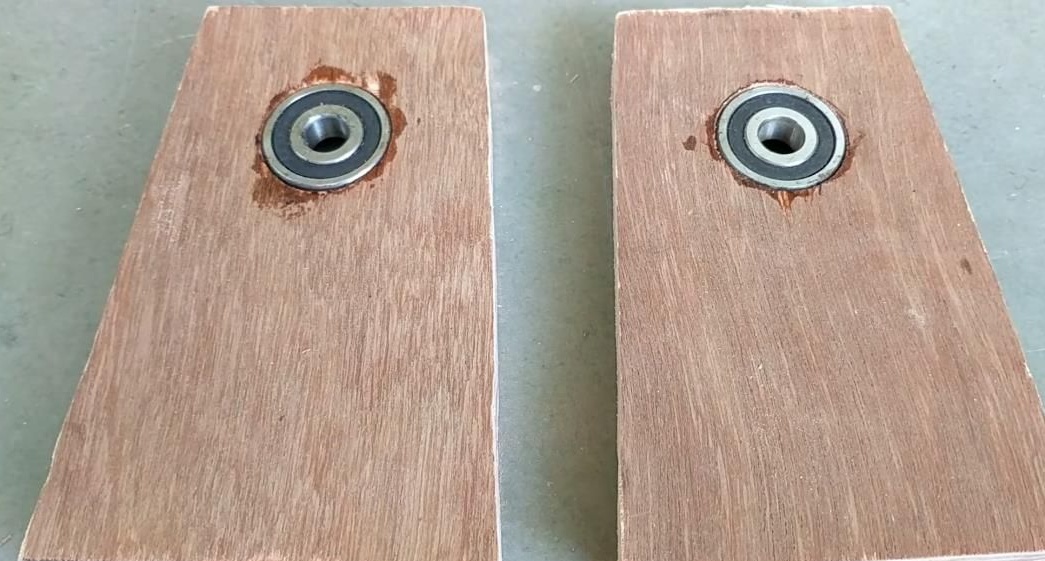
Then we coat these holes with superglue and press bearings into them.
Bearings are selected very simply, it all depends on what thread for the axis you will use, it is advisable to take a thickness of at least 12 mm, respectively, the diameter of the inner ring of the bearing should be about the same.
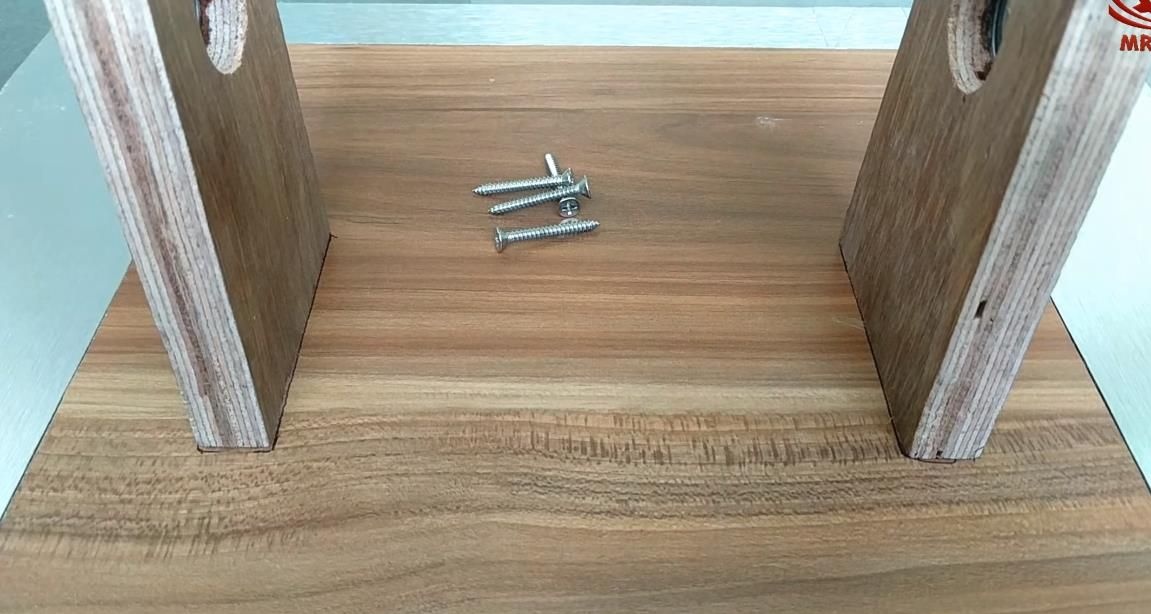
Now we begin to install the axis stand. To do this, as in the photo below, we make the markings, placing the bars exactly on one another, retreating from the edge of the base by about 5-10 cm. Immediately make two holes with a small drill, for screws.
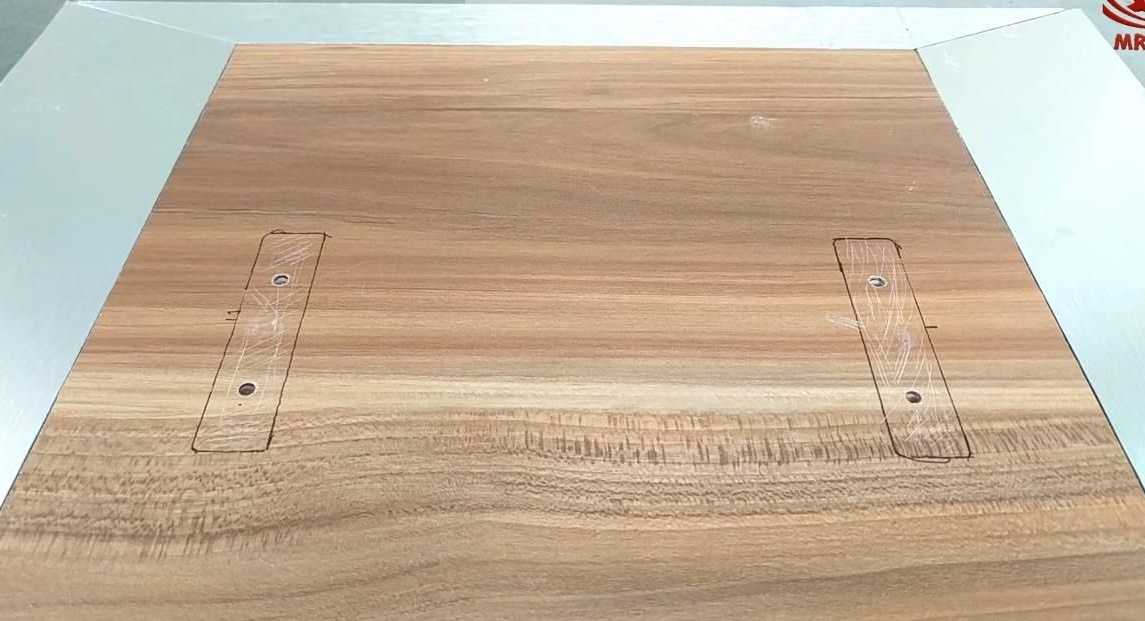
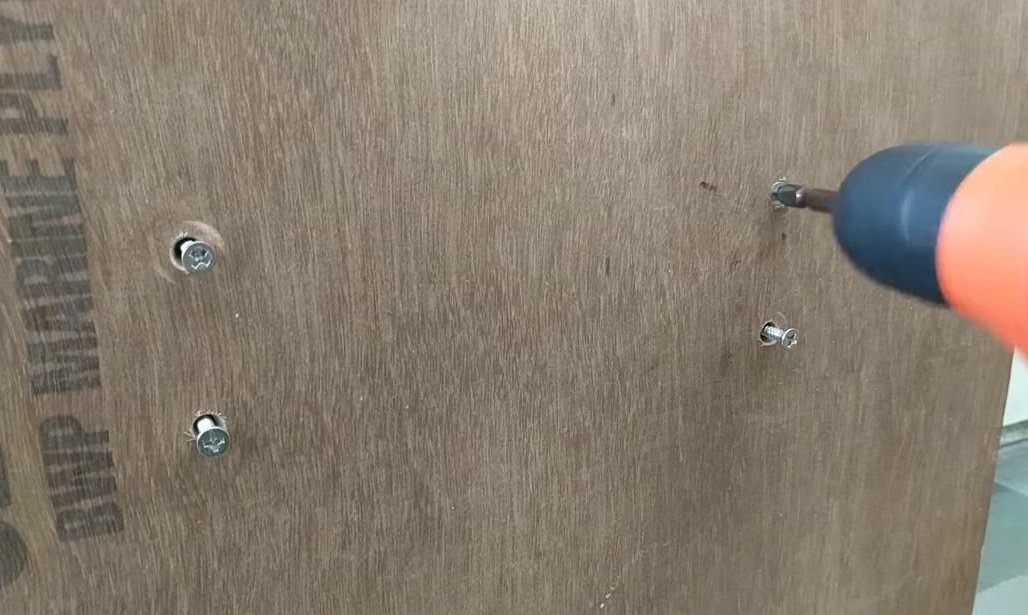
We coat the marking places with PVA glue and put the prepared supports in place. On the reverse side we fix them with screws.
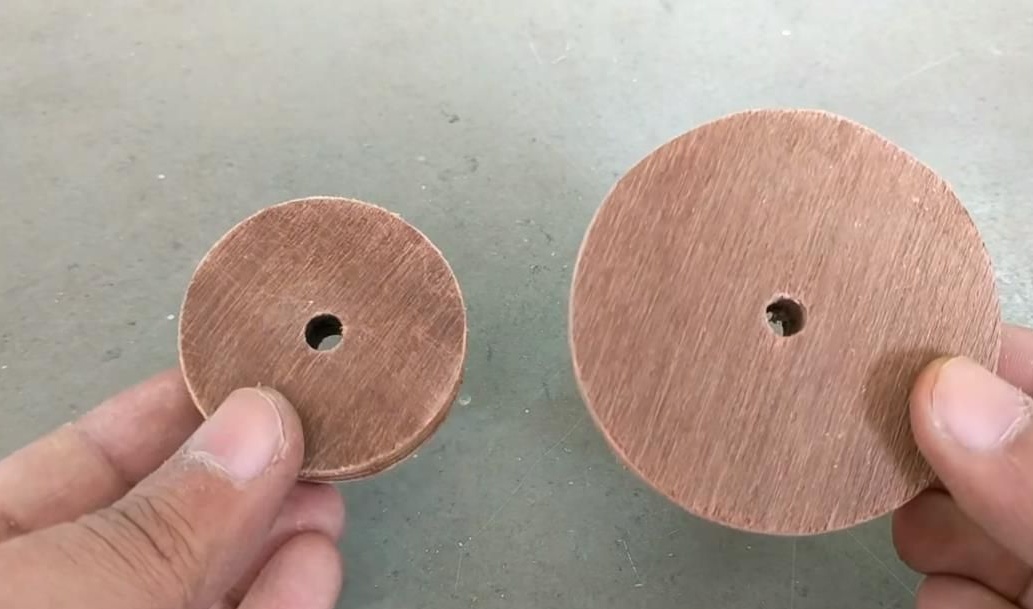
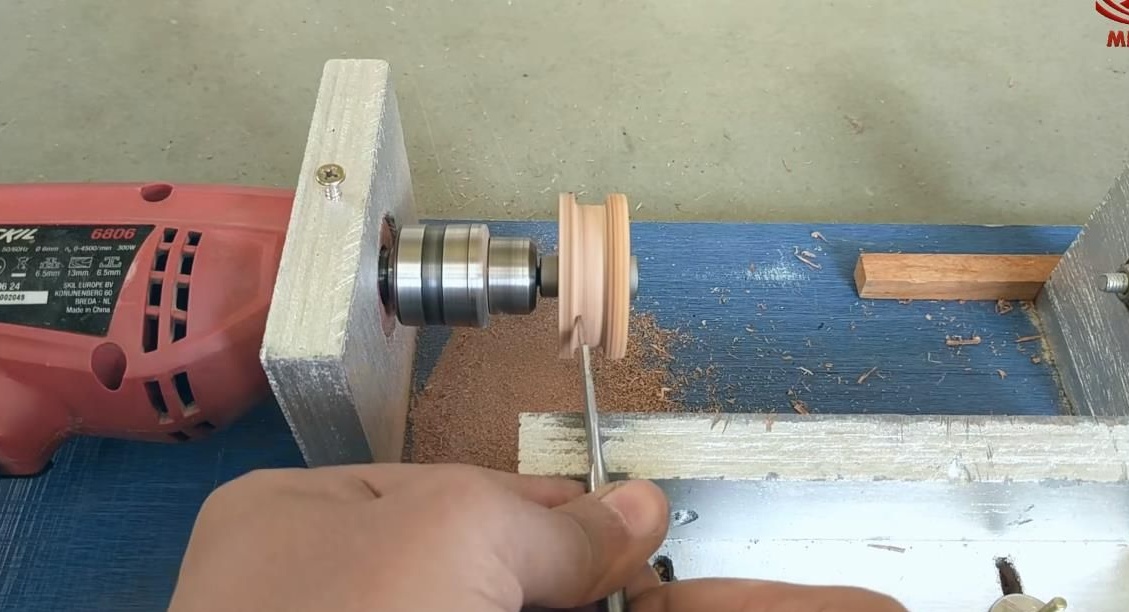
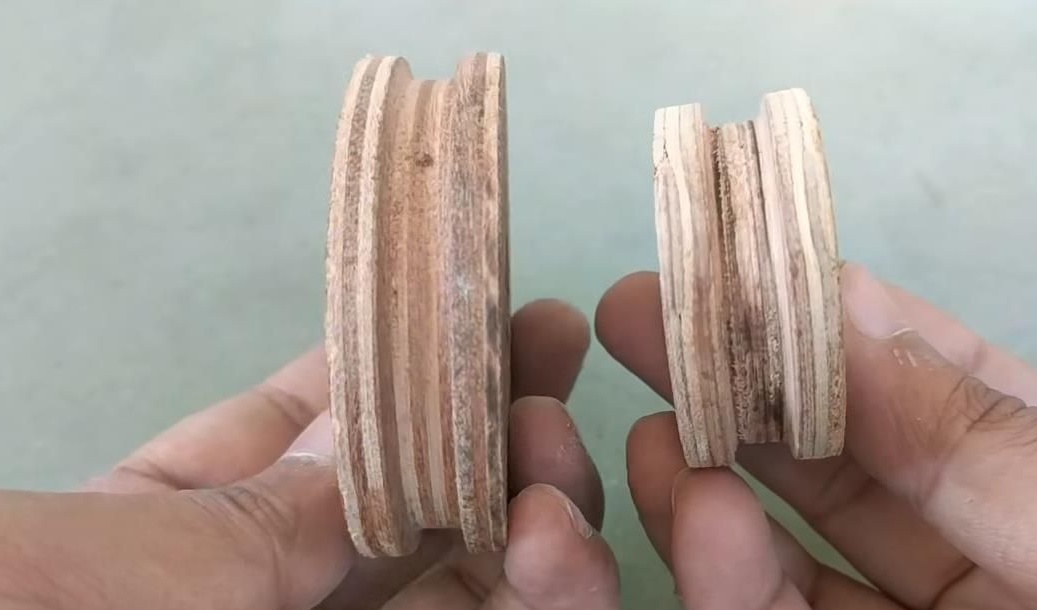
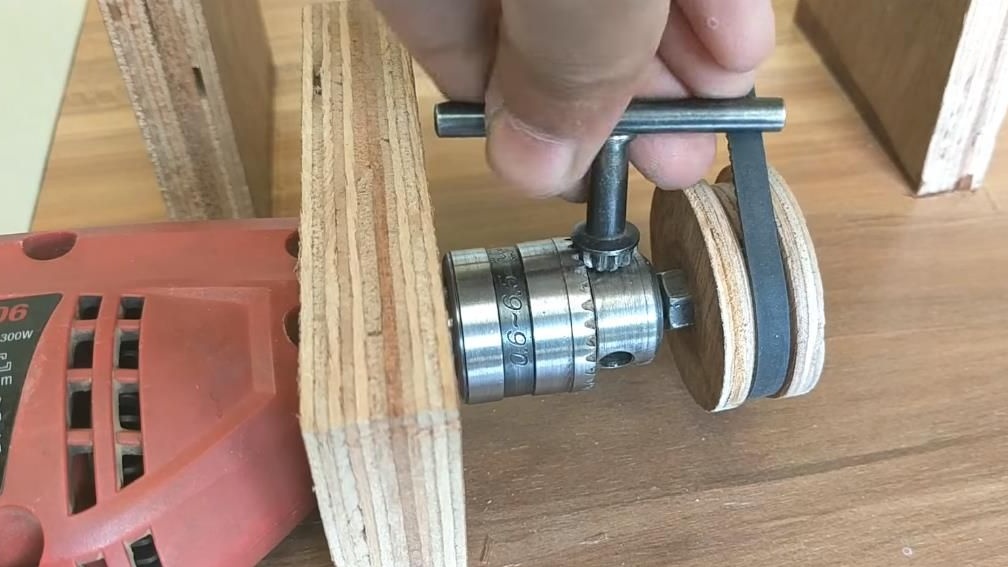
The next step will be to make two belt pulleys. For this, it is necessary to cut two circles from thick plywood, one 50 mm and the other about 80 mm. You need to drill with crowns on a tree with a guide drill, so that we get an additional hole exactly along the centers of the pulley.
Using a homemade lathe, we make a seat for the belt.If there is no lathe, you can clamp the workpiece in the drill and also make a groove, this method is a bit more complicated, but still feasible.
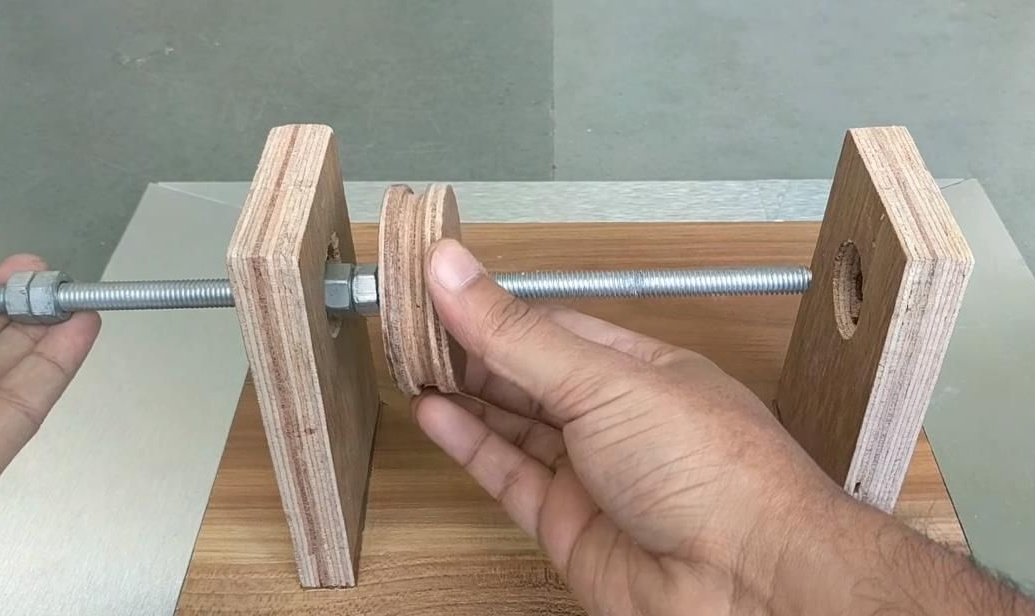
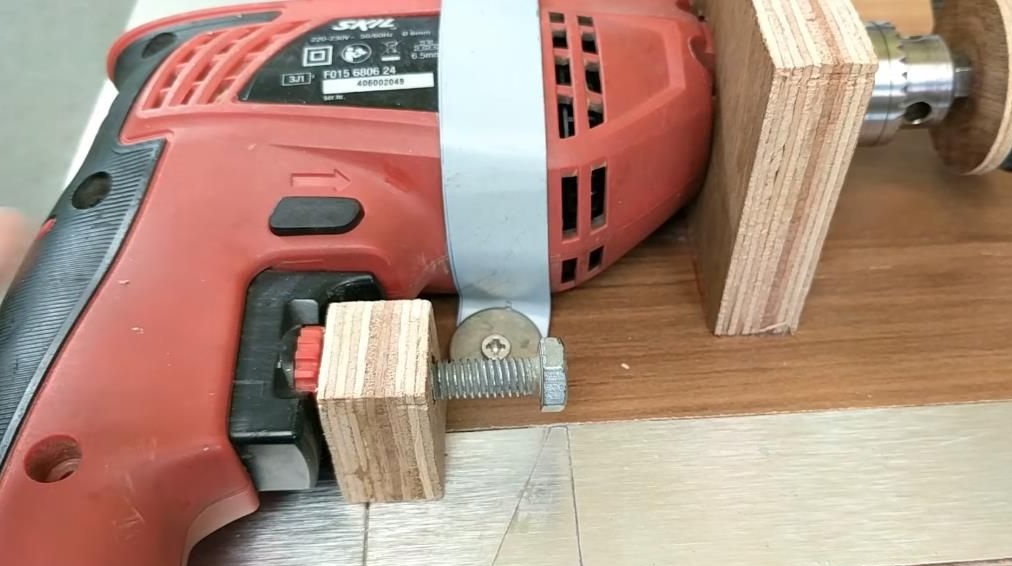
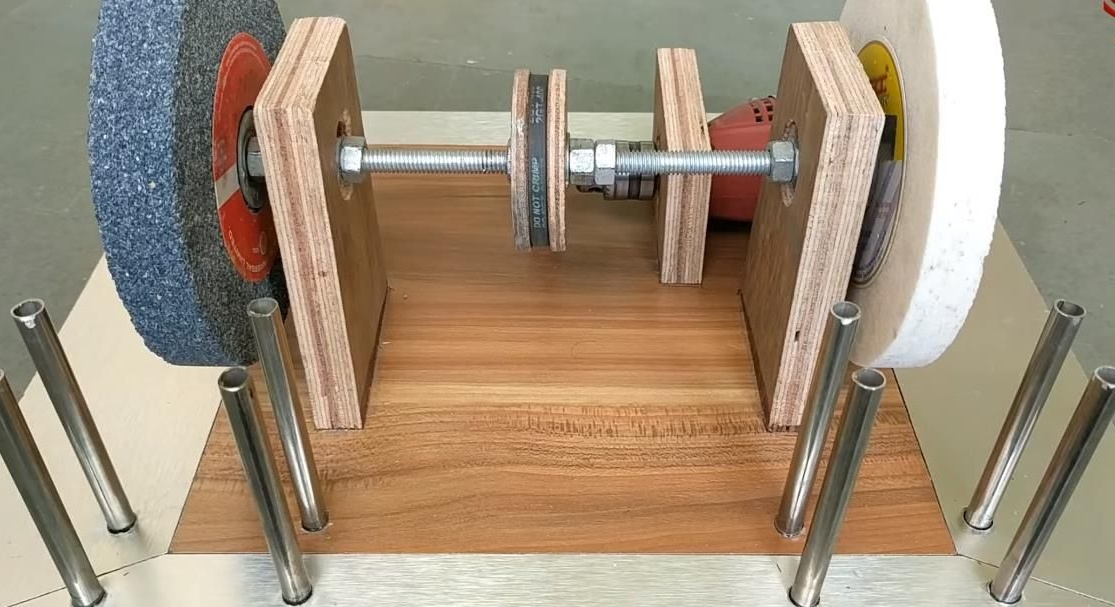
Next, we take the thread and saw off a long piece so that on both sides of the riser it protrudes 8-12 cm.
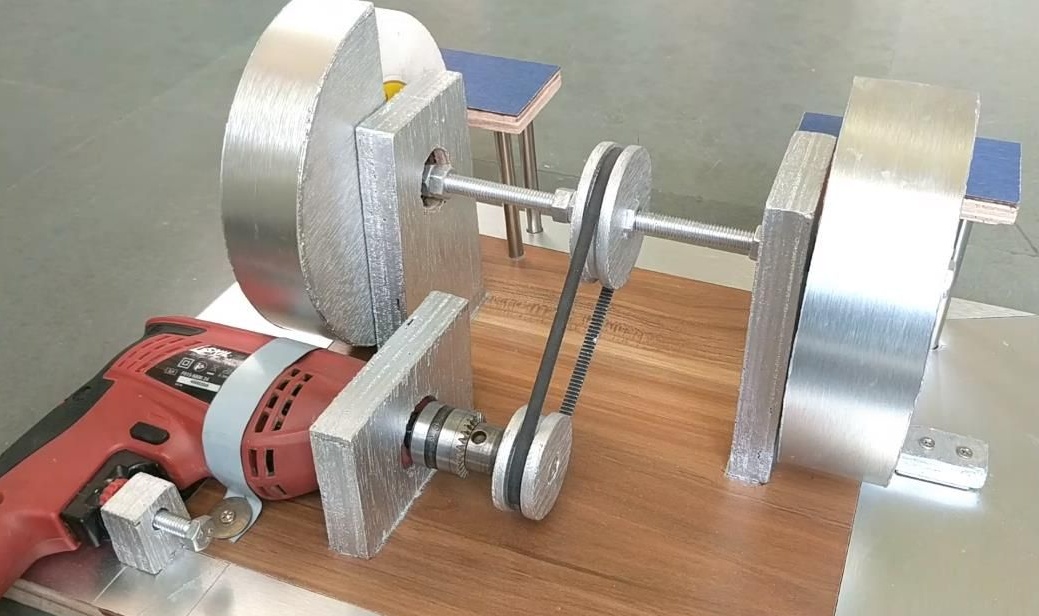
Now you need to install the axis on the racks, fix the pulley and thread the belt. Using the nuts, we fix the large pulley exactly in the center of the axis between the uprights, and attach the axis directly to the bearings. This must be done sequentially, first threading through one bearing and turning the nuts, install the pulley and fix the axis.
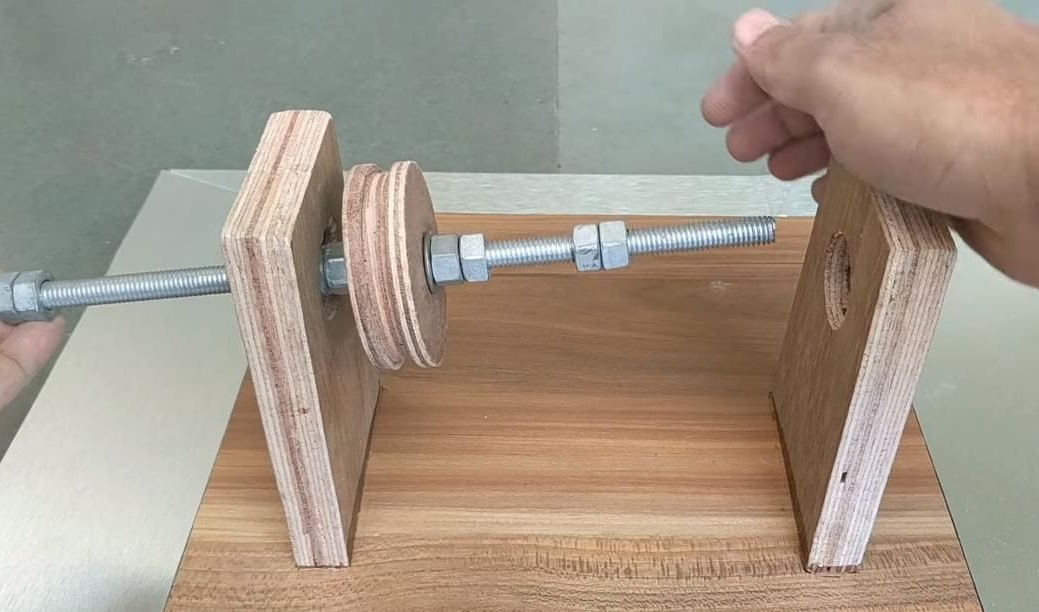
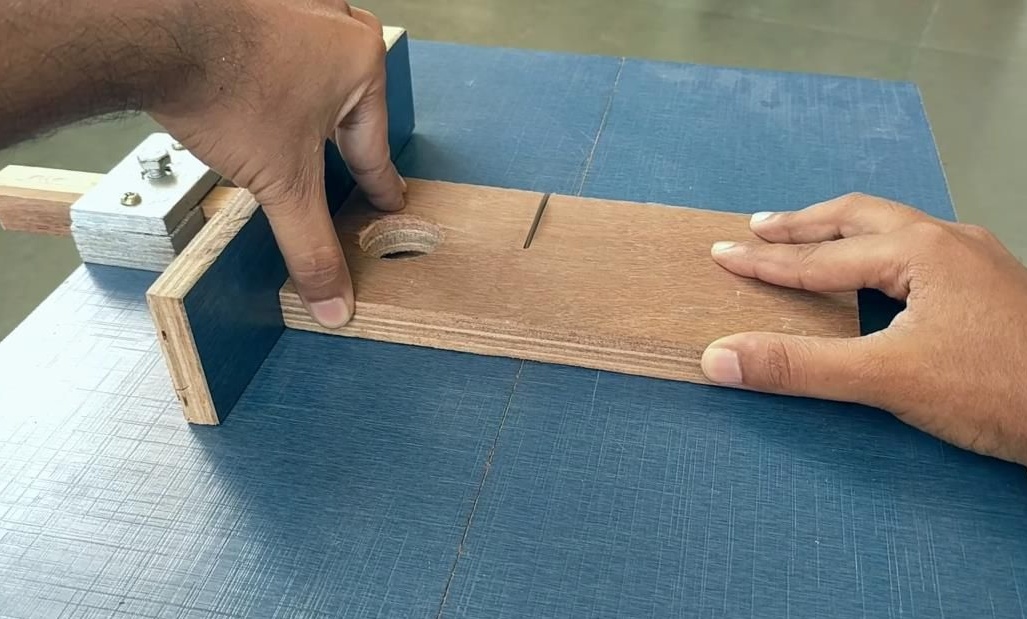
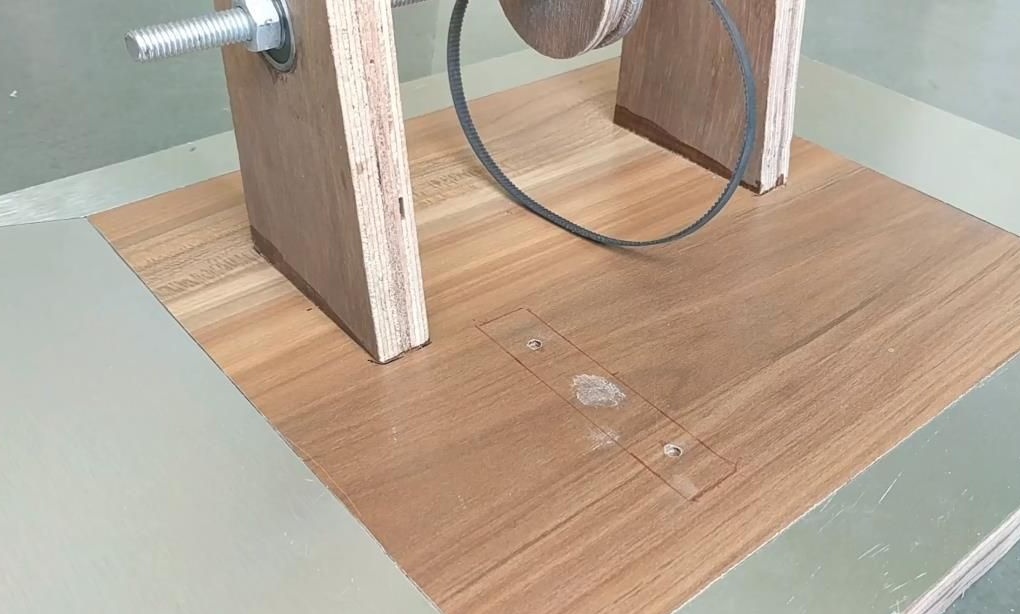
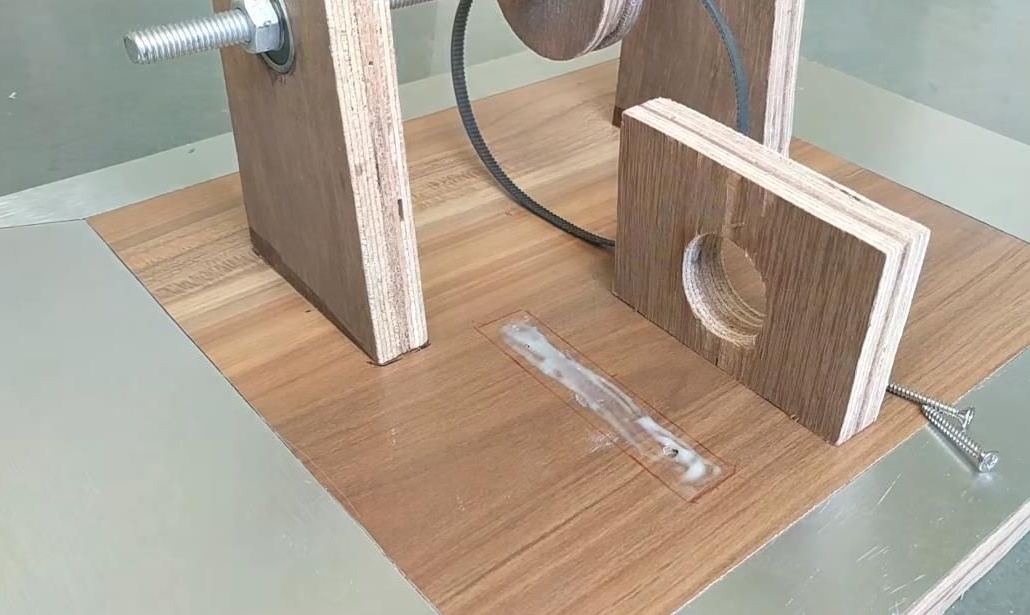
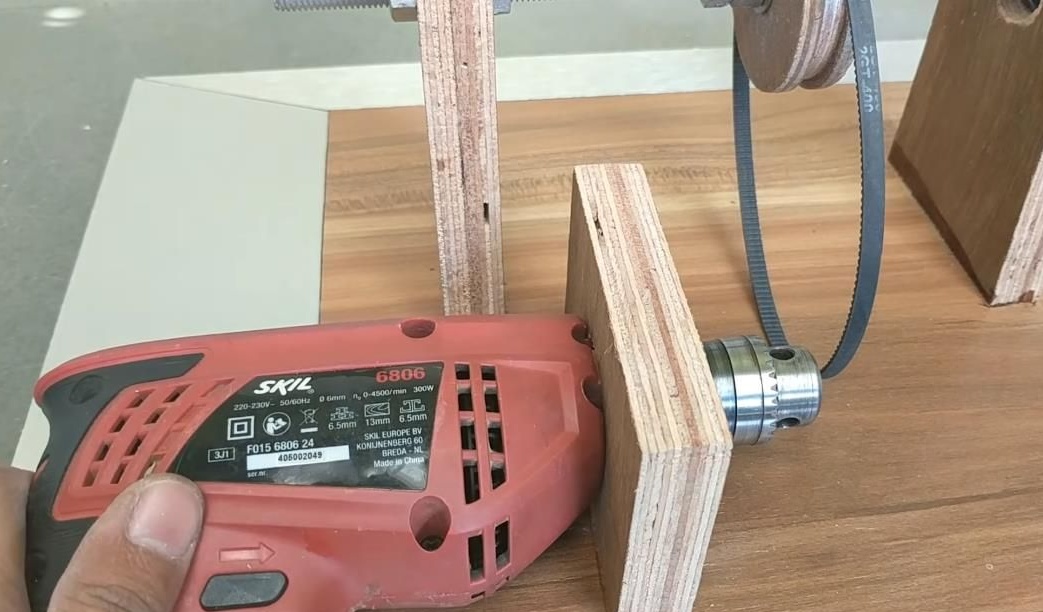
The next step is to install the guide rack where the drill will be mounted (machine drive). To do this, in a small piece of thick plywood, with a crown we make a hole a little more than a cartridge on the drill so that the drill goes into this hole and is fixed there with its plastic base.
Then saw off the excess. You should get a stand where the drill will be freely fixed, the height of the stand must be selected according to the size of your drill.
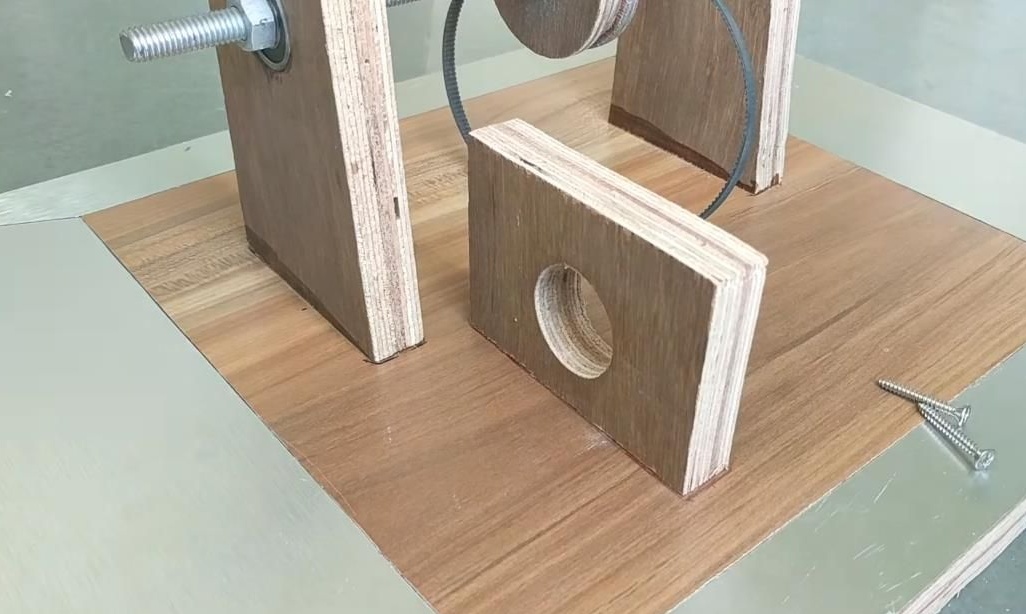
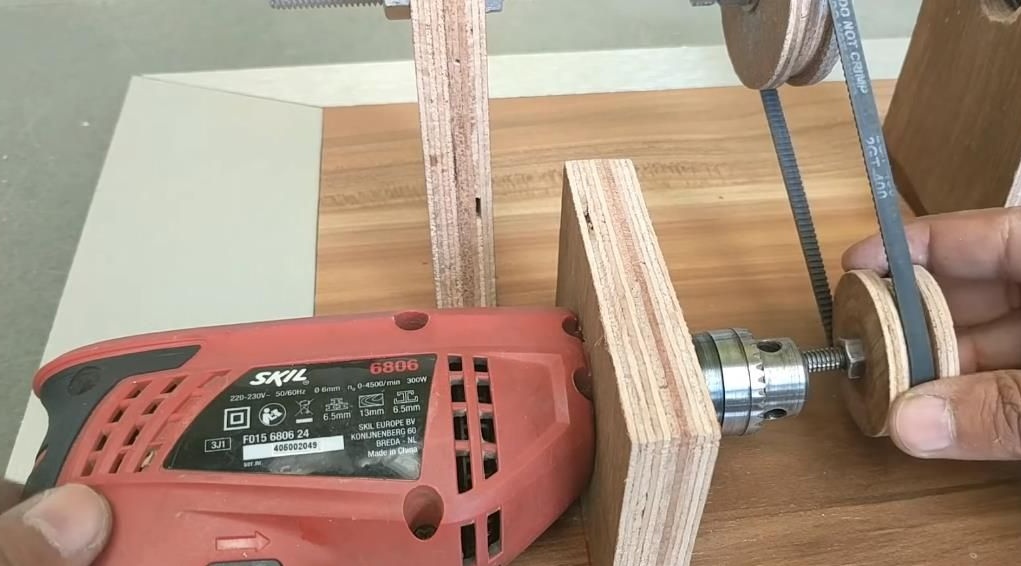
Now we outline the finished rack so that it is located on the side of the pulley that is mounted on the axis and we drill two holes for the screws. The drive pulley will be mounted in the drill chuck, so it is necessary that both pulleys are on each other. Choose a distance arbitrarily, according to the length of the belt used and its tension.
Then we coat the joint with PVA glue and put the rack in place. On the reverse side we fix the rack with screws.
Install the drill in the seat.
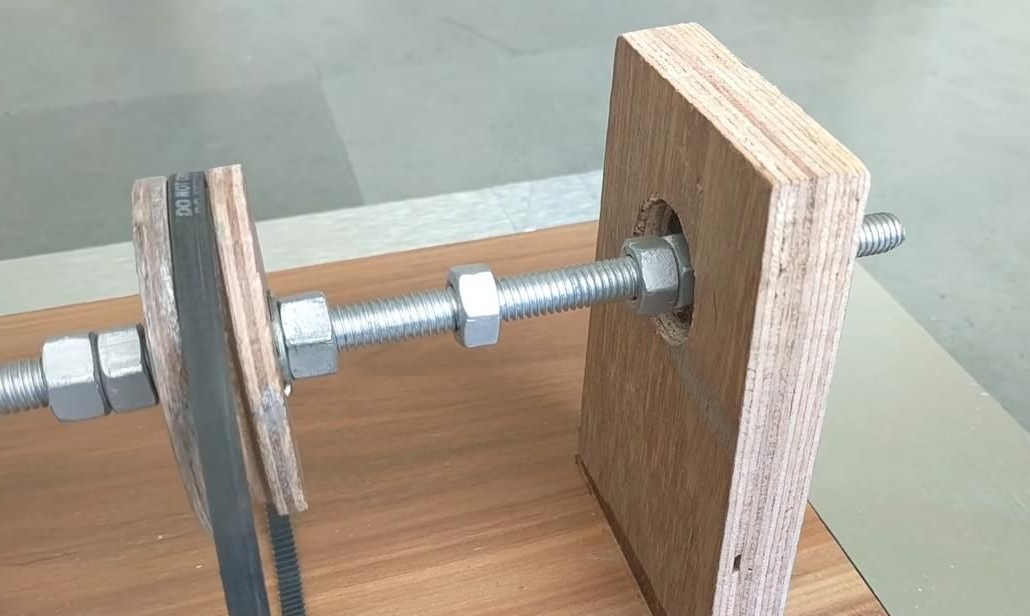
Screw the bolt into the second pulley and fix it with a nut. Then we put on a belt and clamp the pulley in the drill chuck.
Next, fix the drill with a staple cut out of tin.
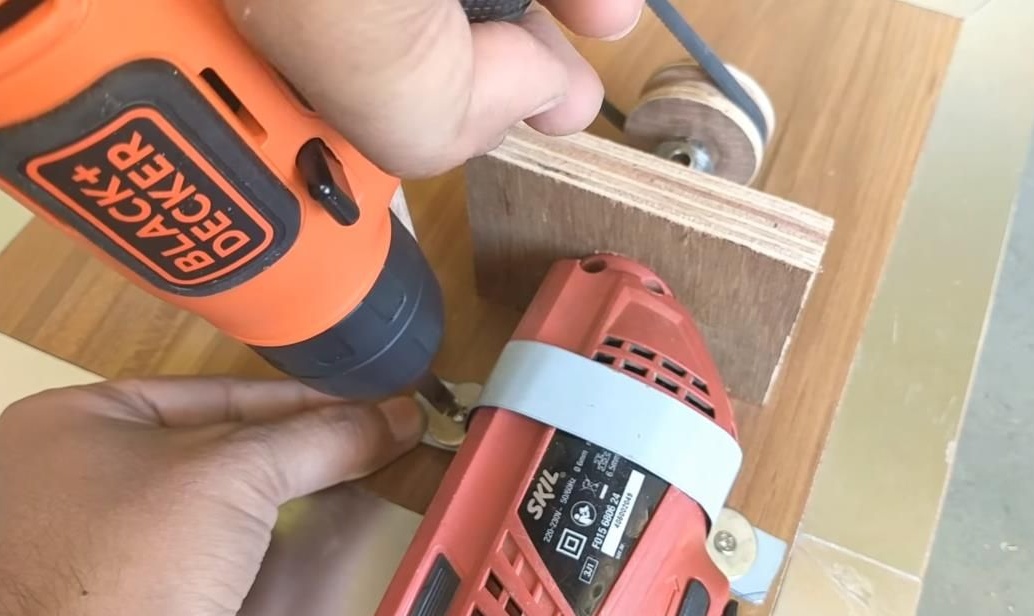
The speed regulator (fixed button) can be made very simply, for this we put a nut in a small block and screw a bolt in there, we install this design opposite the drill button, as the bolt is screwed in, it will press the button and we will get continuous fixed turns.
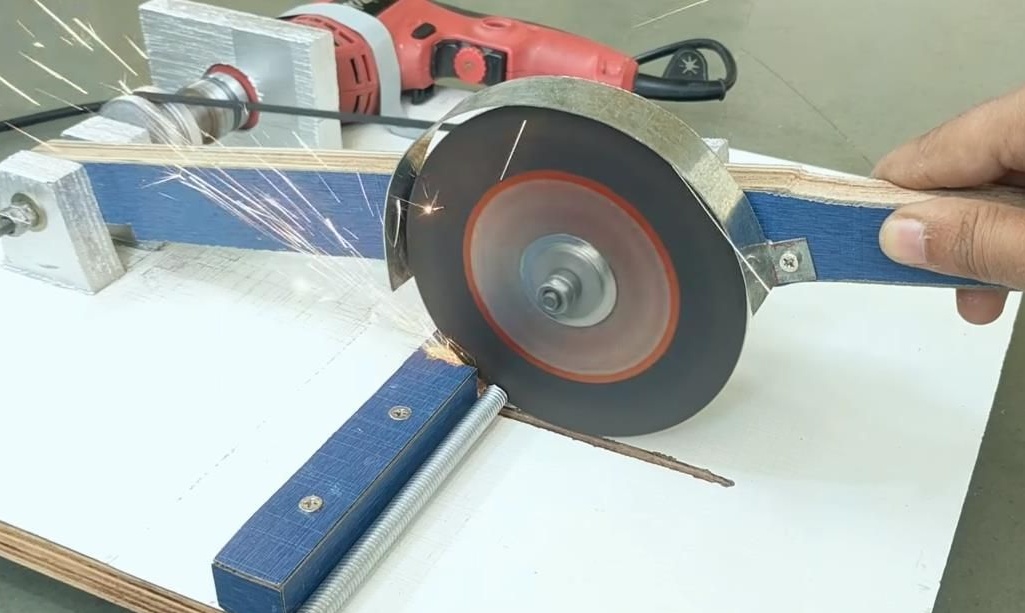
Now set the abrasive wheels. To do this, insert guide washers into the circle and put it on the axis, fix it with a nut.
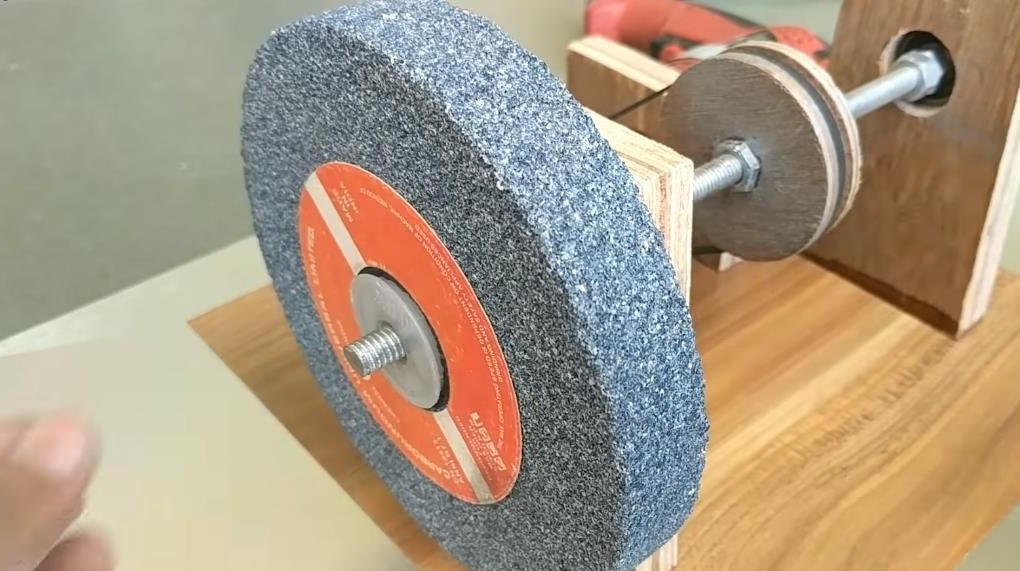
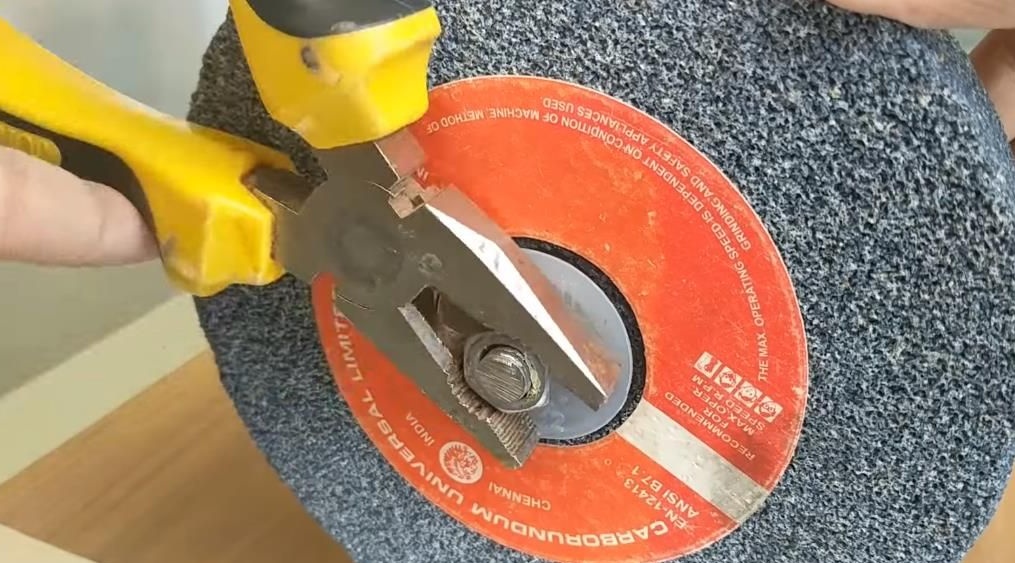
We do the same with the other side ..

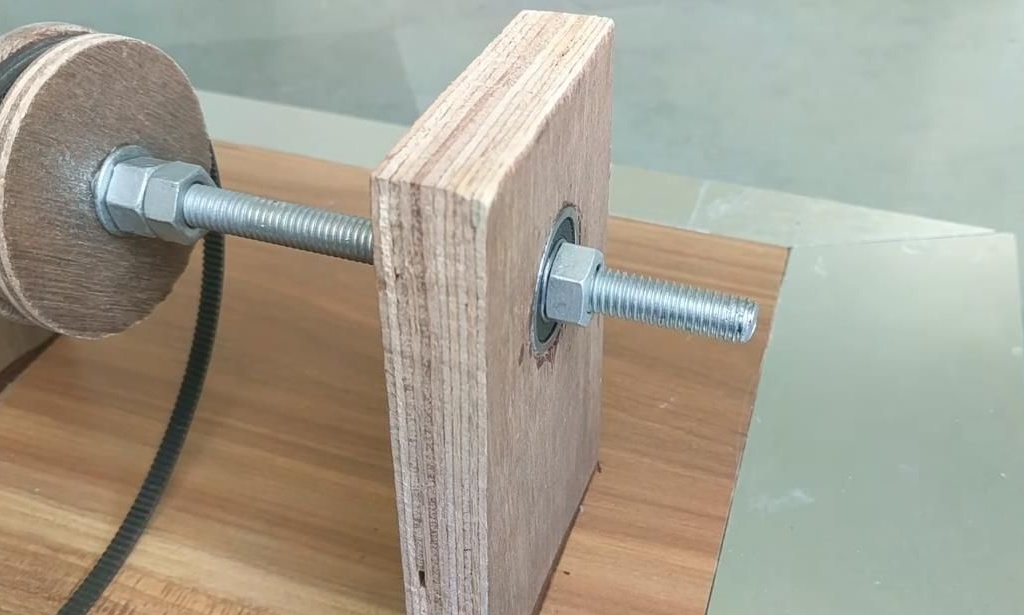
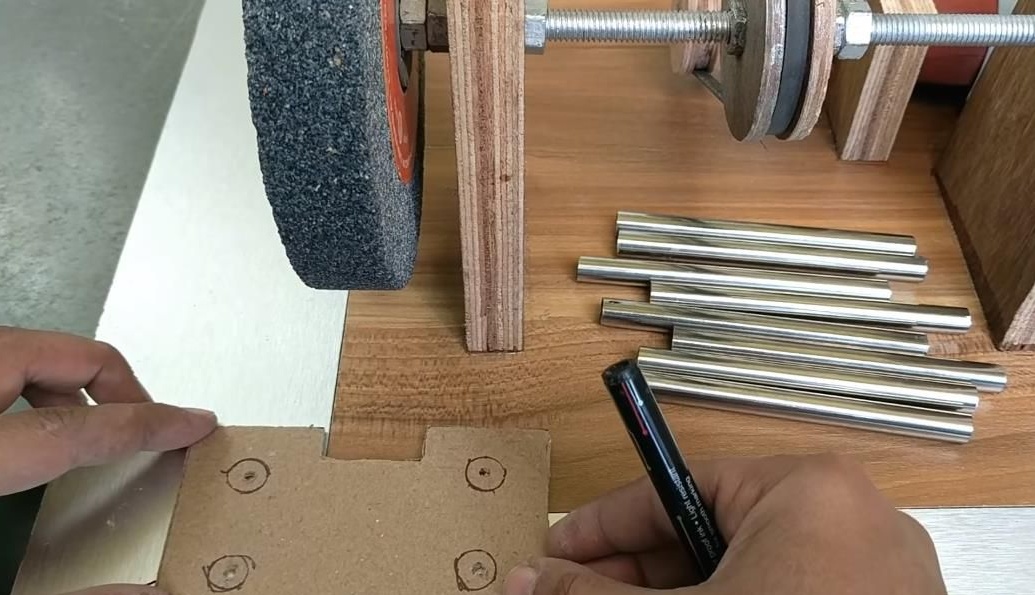
On the opposite of the working area, we do not make through holes and insert the studs of the required length there.
Then we cut out the stand from plywood approximately the same as in the photo below. After that, we also do not make through holes in it and put it on the studs.

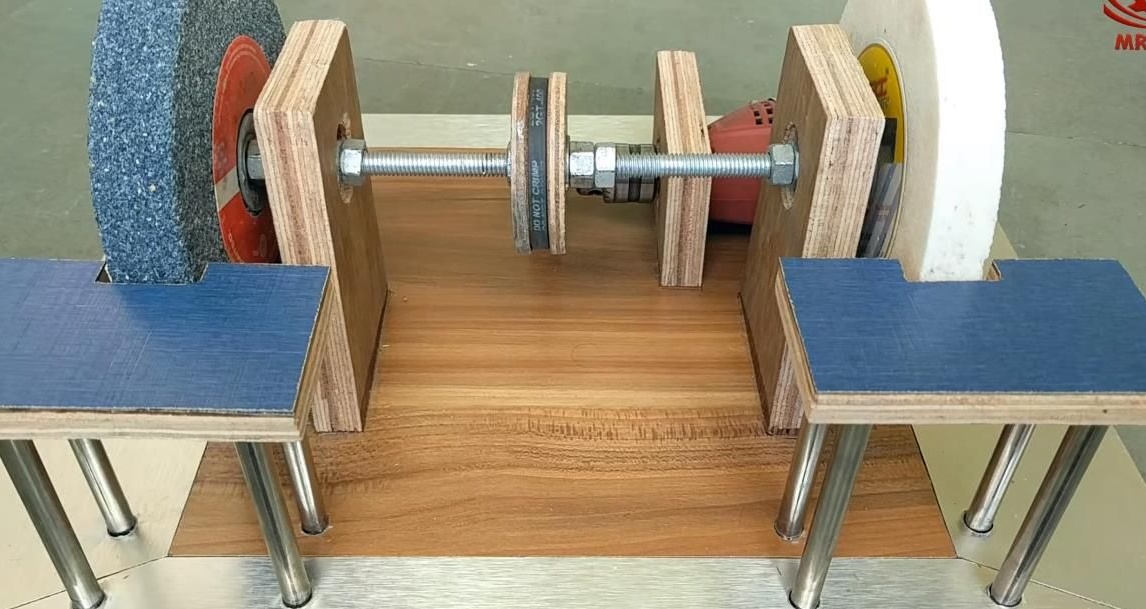
Holes gently in the stand and on the base must be done on a previously prepared pattern, so that the holes coincide.
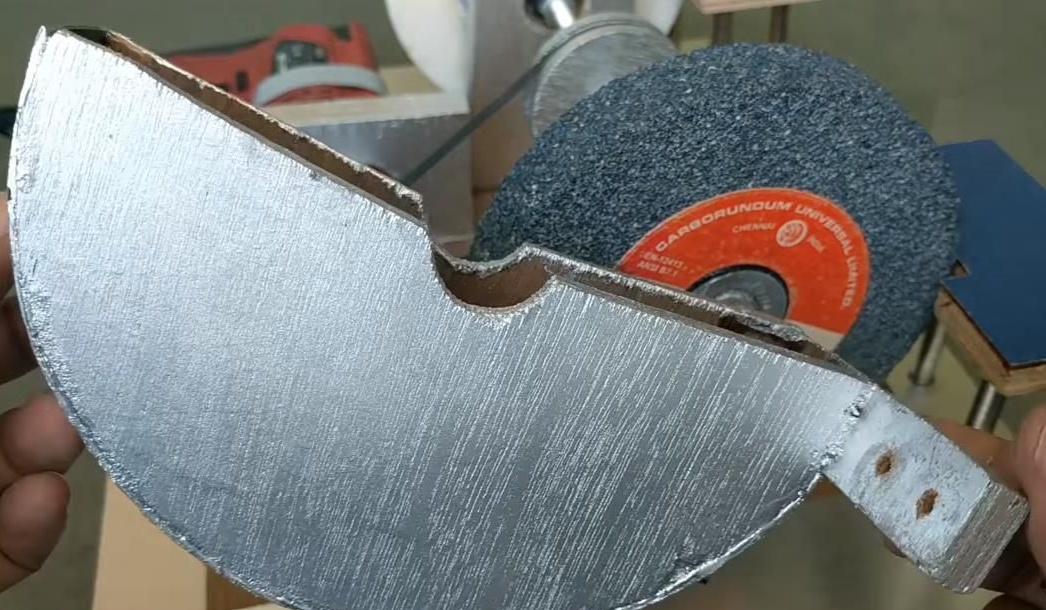
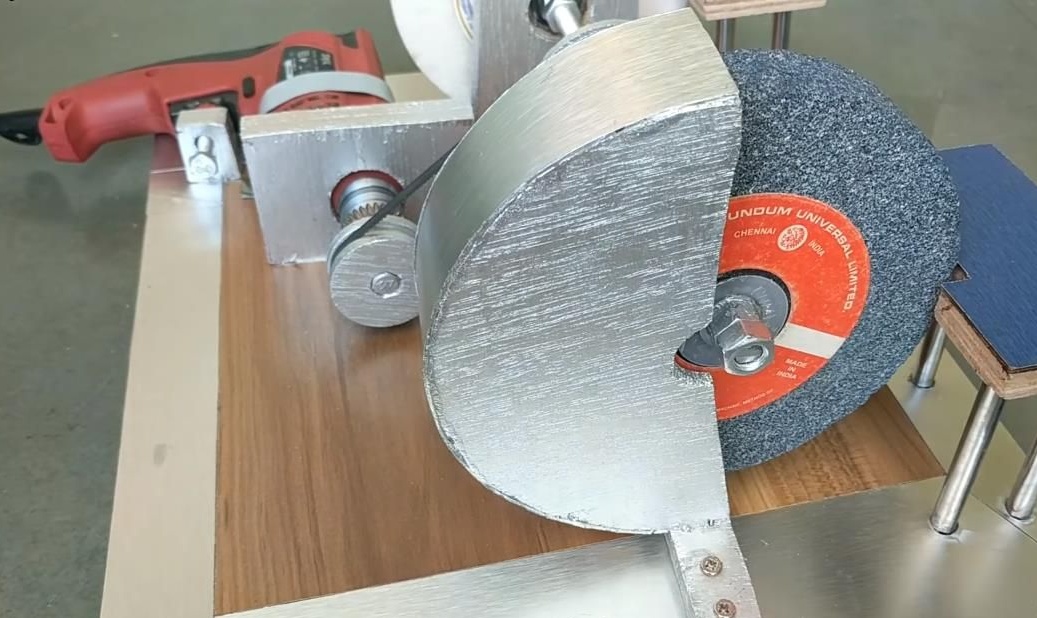
Then we make a protective casing from thin plywood. It is done very simply, two semicircles are cut a little more that the diameter of the abrasive and the long strip of sheet aluminum or sheet metal, all this connects together and a casing is obtained. We fix it as in the photo below and carry out painting work to give an aesthetic appearance.
In principle, the machine is ready for use.
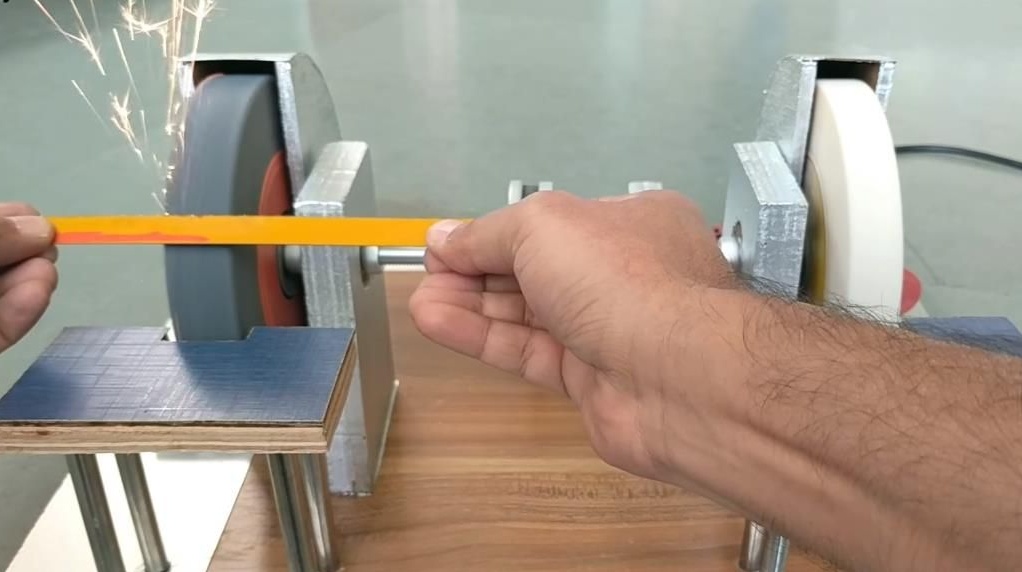

The result was a fully functional machine, with two abrasives and speed control. The cost of such a machine is not high, given that all the details of the case can be found in stocks, including an old drill and abrasives.
Thank you all for your attention, bye!
Video homemade: