
Outside the winter window, the time itself is beginning to prepare for the summer season. As the famous saying goes, “Cook felt boots in the summer, and a refrigerator in the winter.” In this article, we will look at how to make a mini-fridge. Such a refrigerator can be put at the workplace, or you can take it with you on vacation. A refrigerator works, both from 220 V and from the on-board network of a 12 V car. Details about the manufacture of a mini-fridge, we will be told by a home-made craftsman from Norway.
Tools and materials:
-White LED strip;
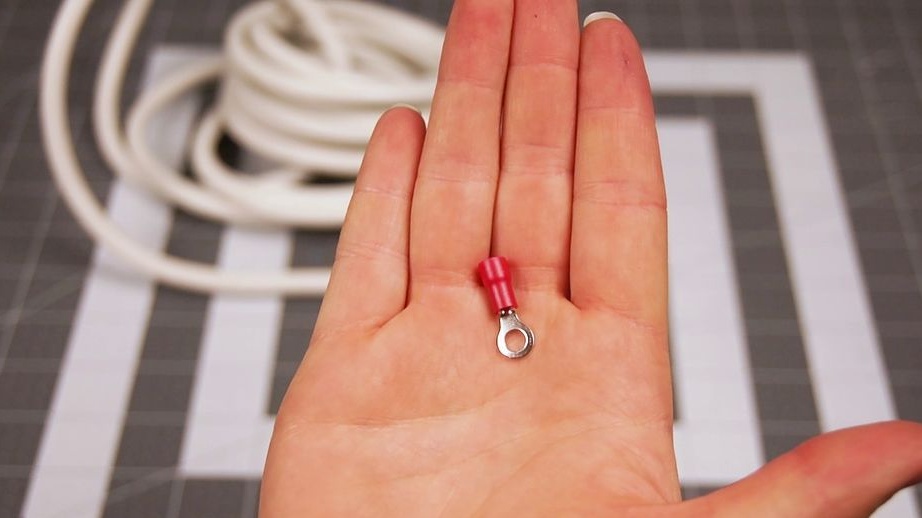
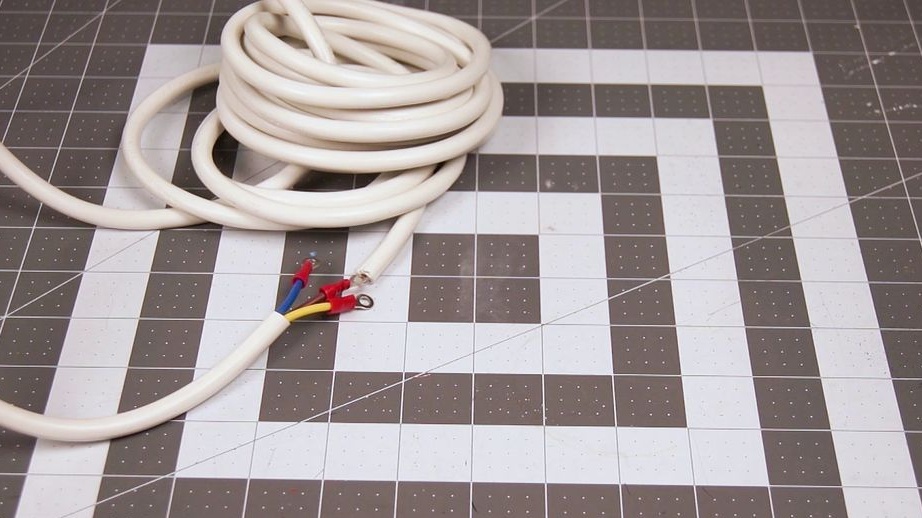
- Terminals;
-Shrink tubes;
-Network connector;
- 12V plug;
-Microswitch;
-Aluminum channel for LED strip;
-Metalized adhesive tape;
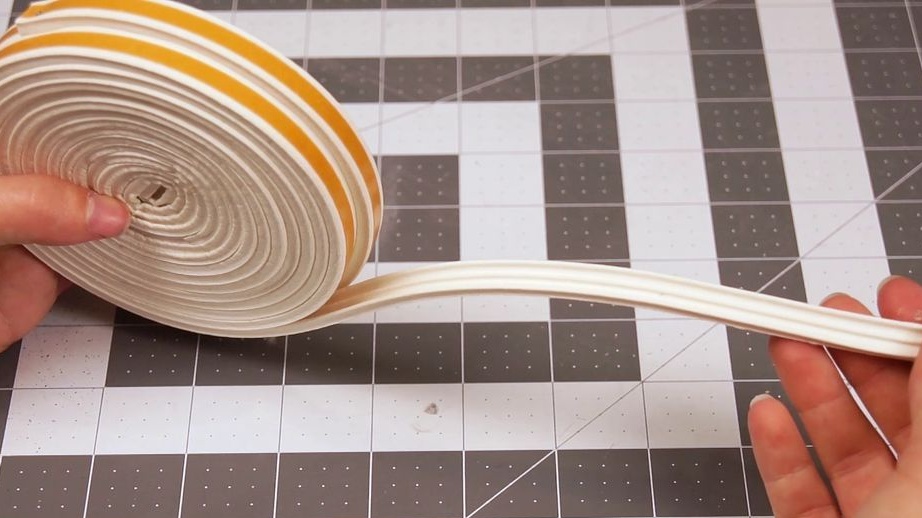
- Self-adhesive rubber seal;
-Acrylic;
- Paper with an adhesive layer;
MDF;
-Styrofoam;
-Doorknobs;
-Aluminum corners;
-Spray-paint;
-Foam cutter;
-Roulette;
-Pencil;
- Clamps;
-Glue;
- Electric jigsaw;
-A screwdriver;
-Knife;
-Screwdriver;
-Fasteners;
-Soldering iron;
-Sawing;
-Scissors;
-Glue gun;
-Silicone;
-Hair dryer;
-A printer;
-Dremel;
-The wire;
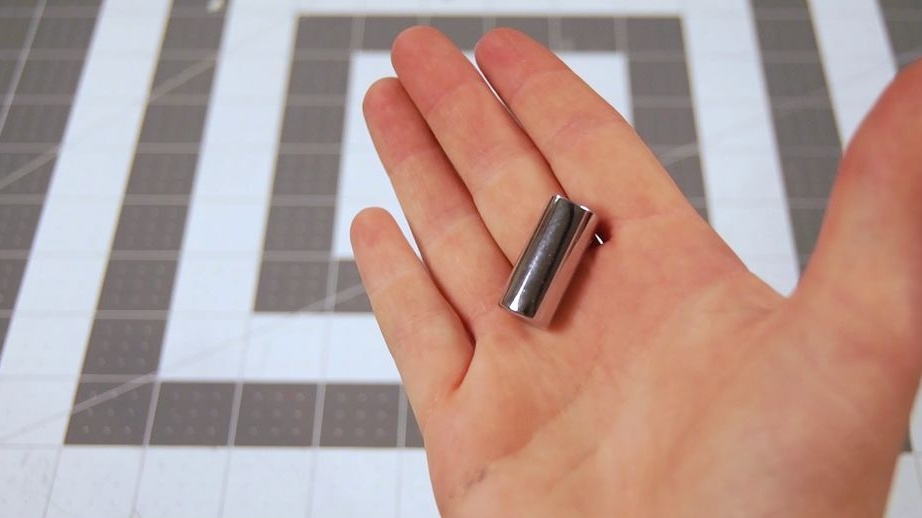
-Magnets;
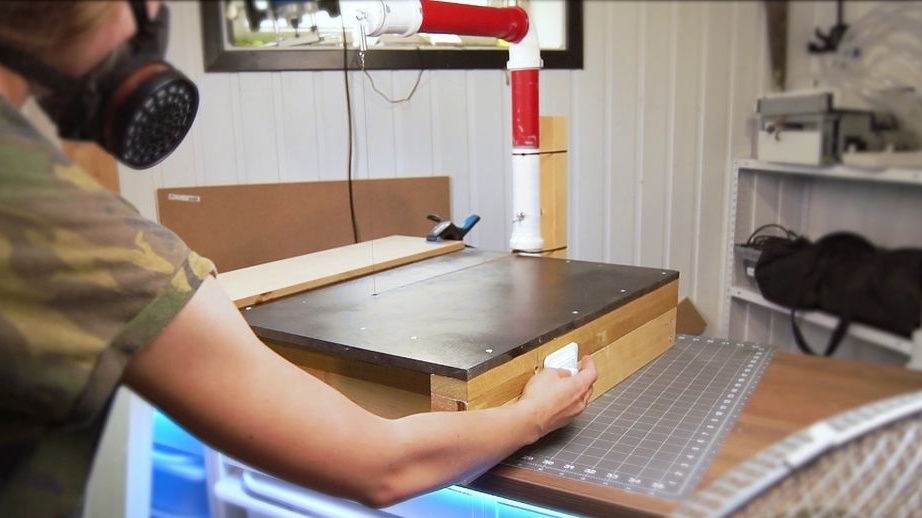
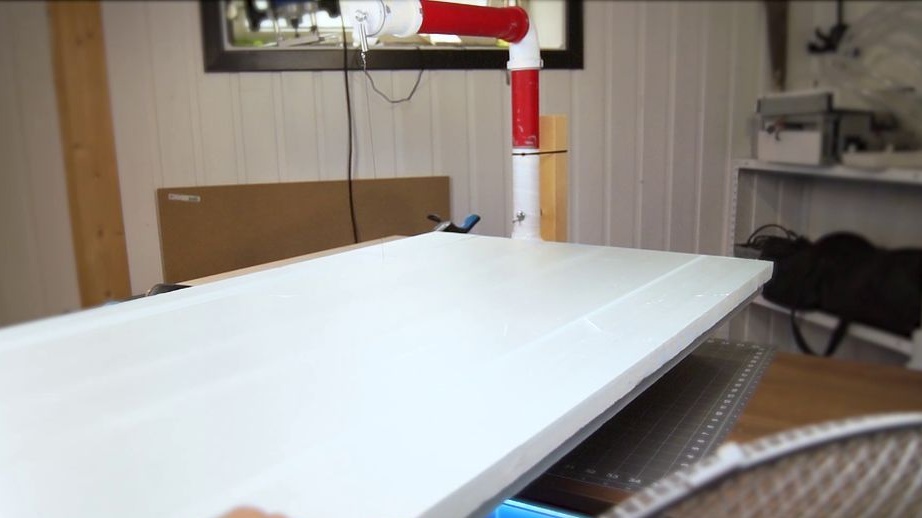
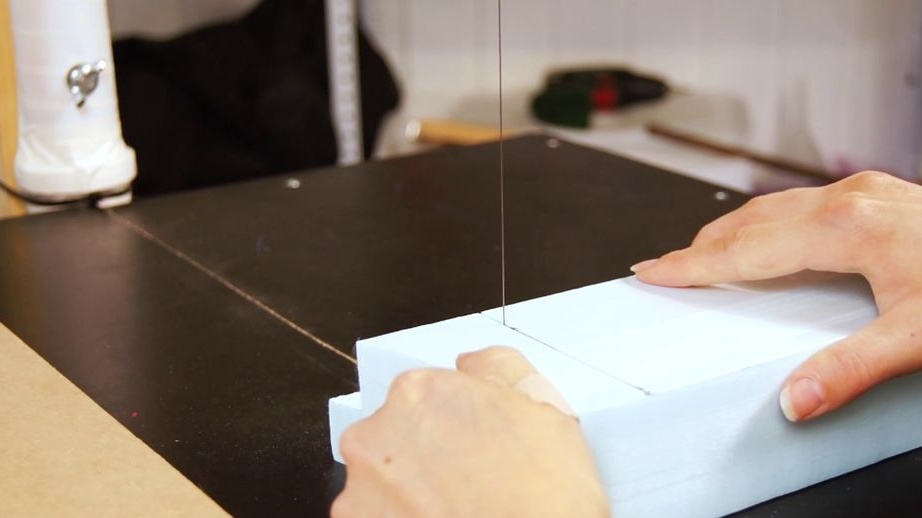
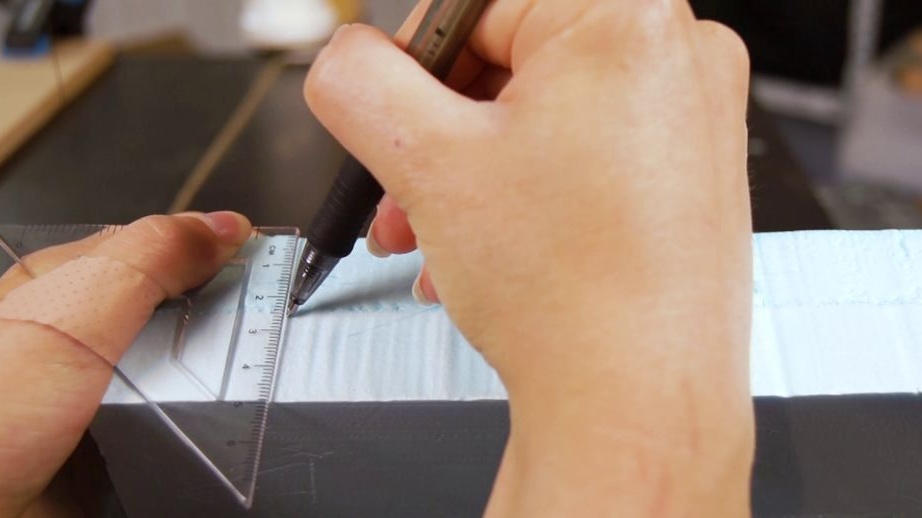
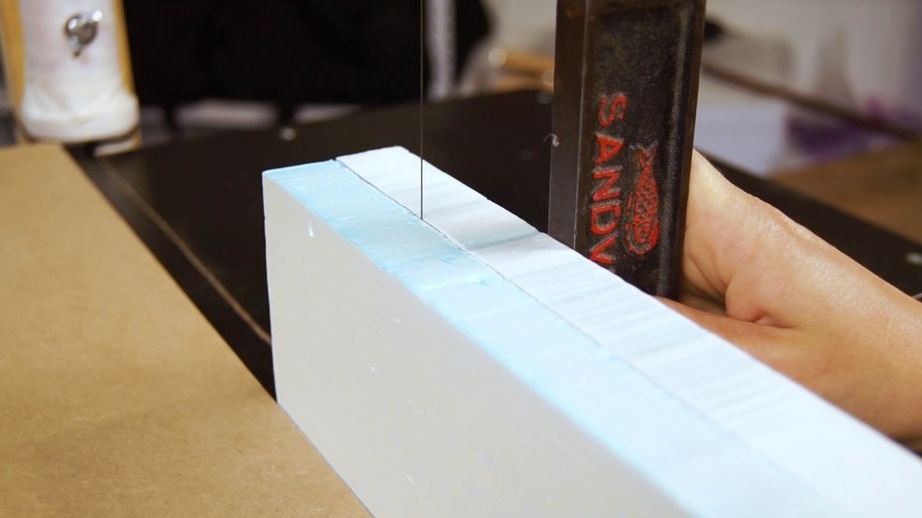
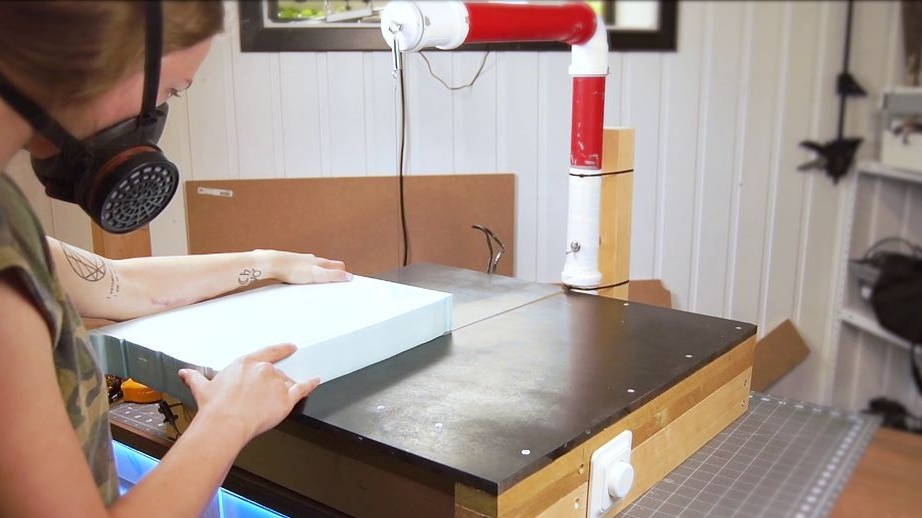
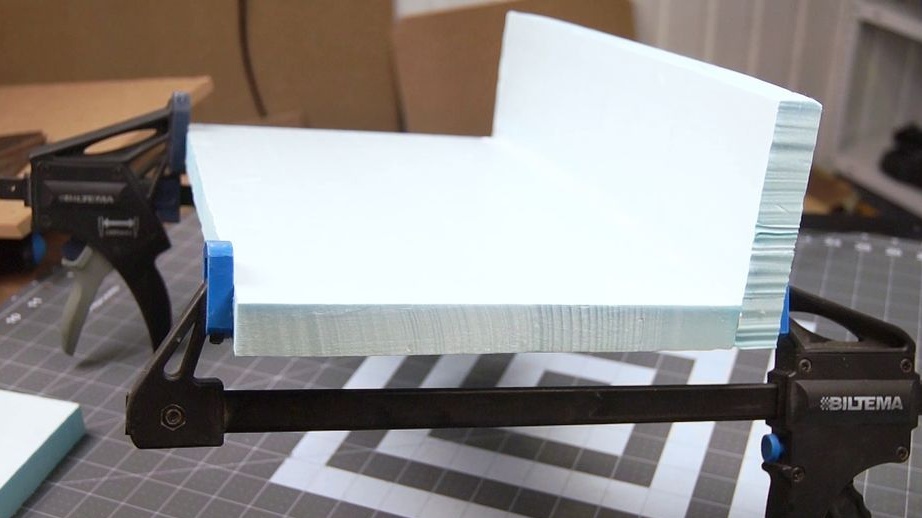
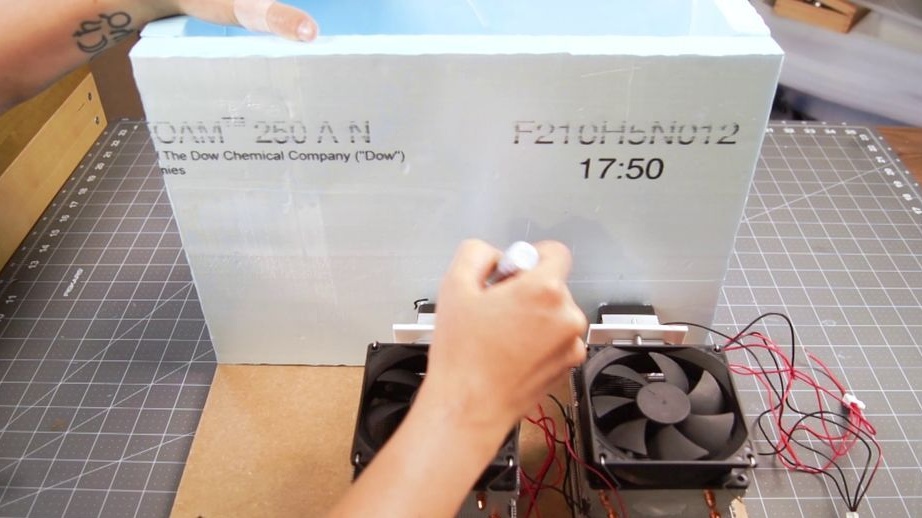
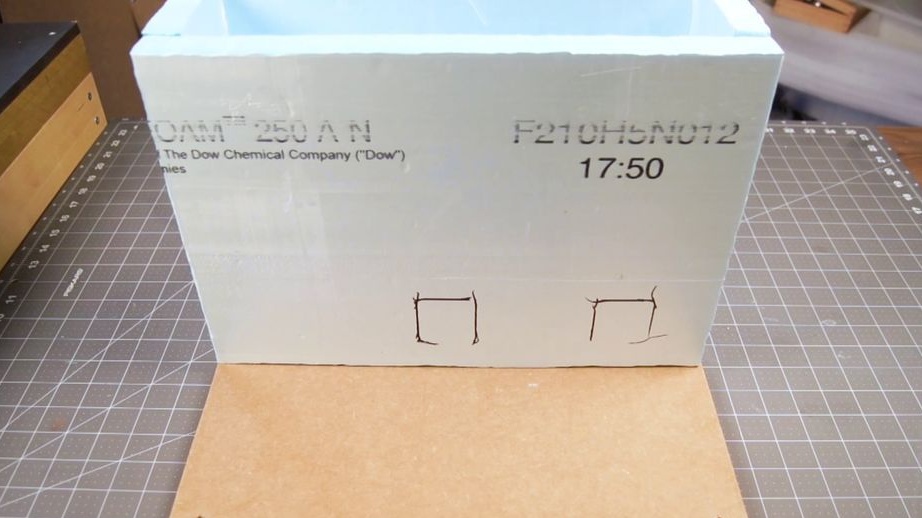
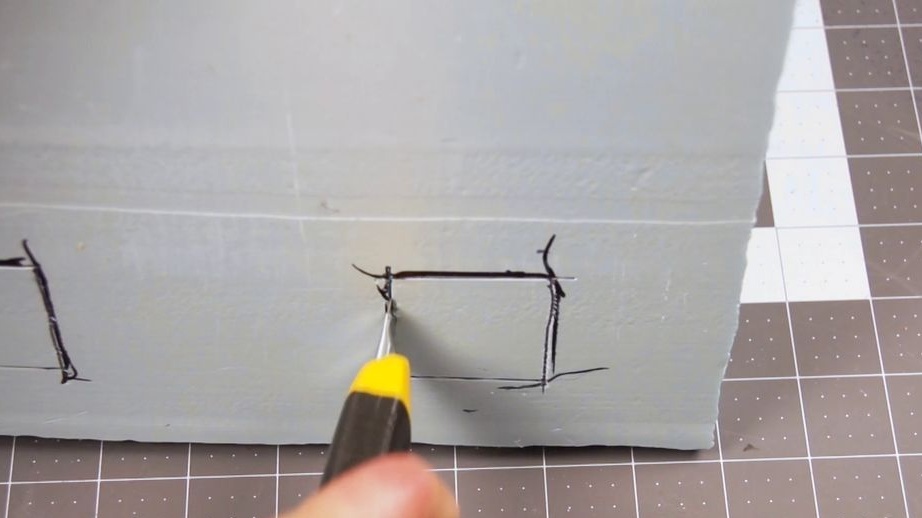
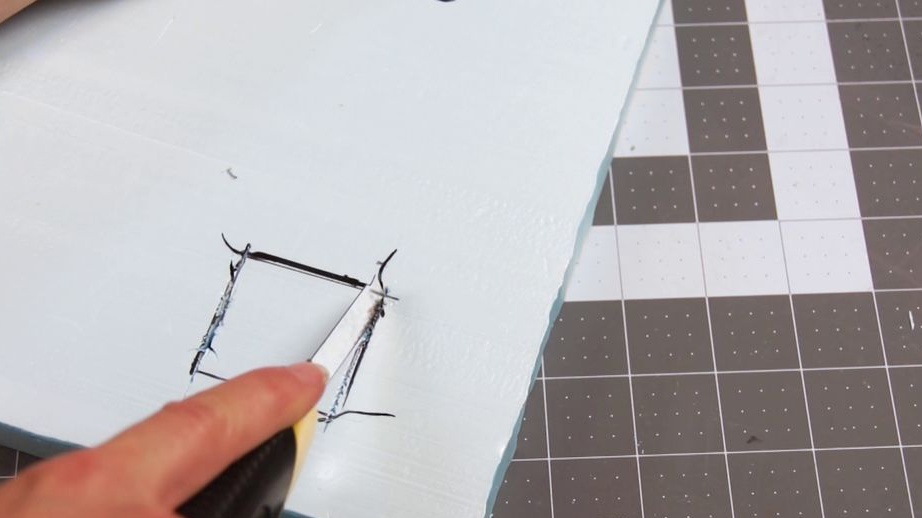
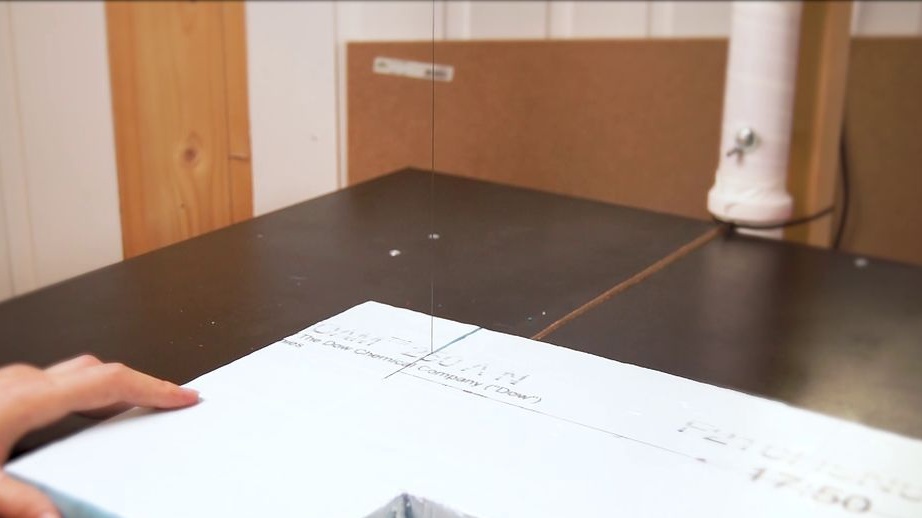
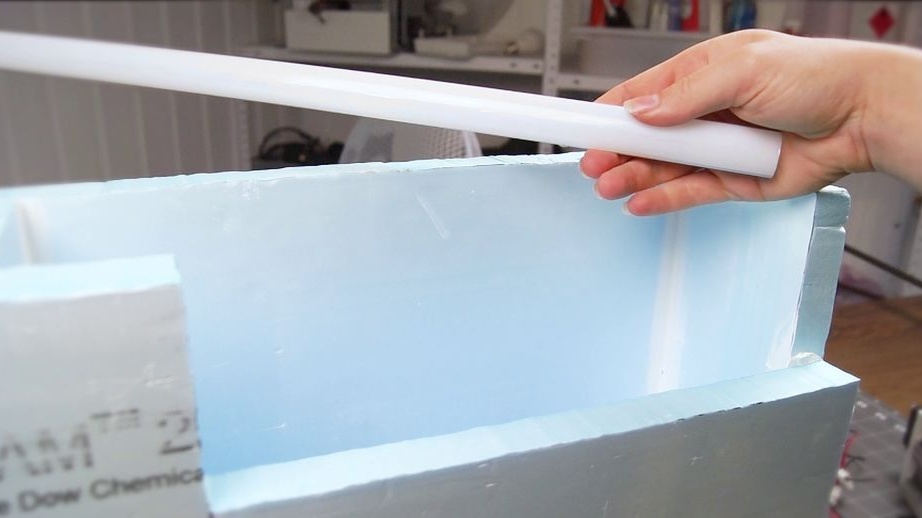
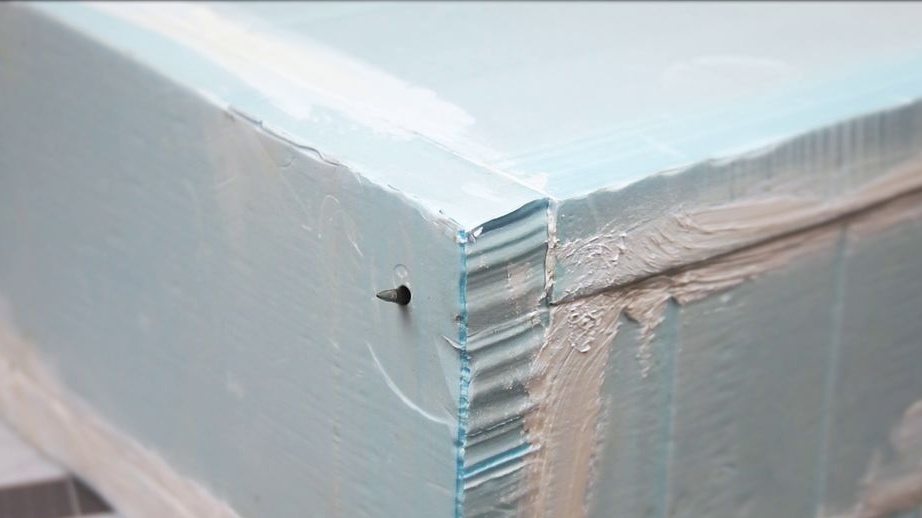
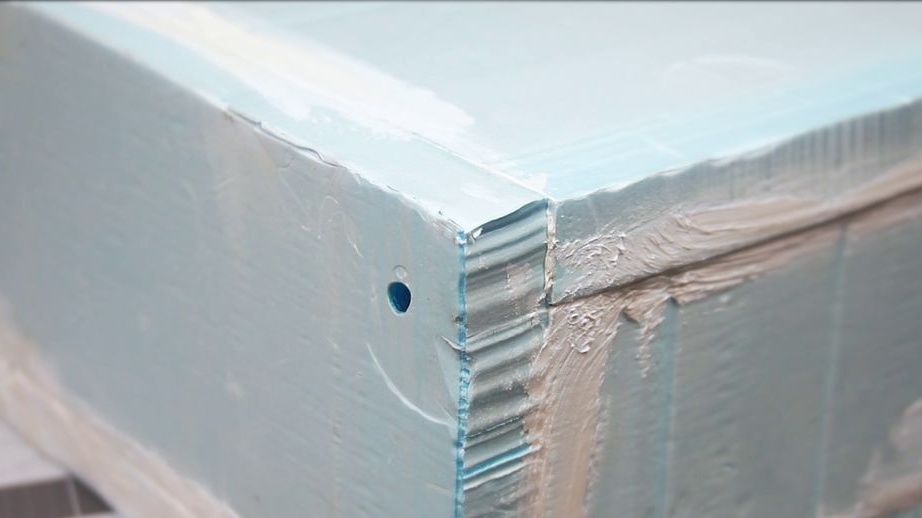
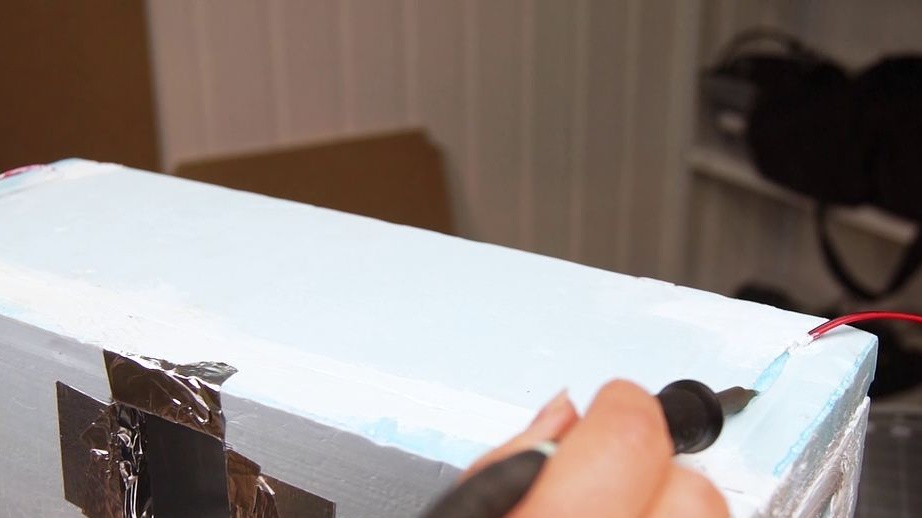
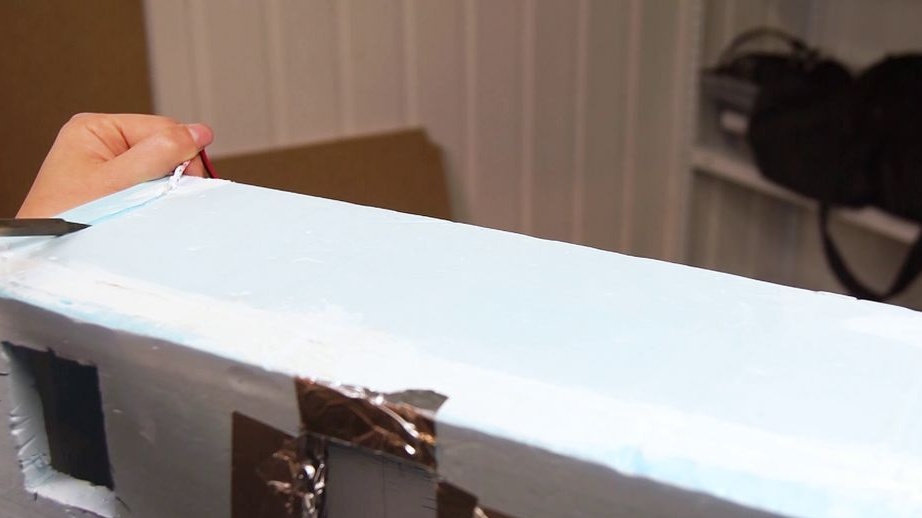
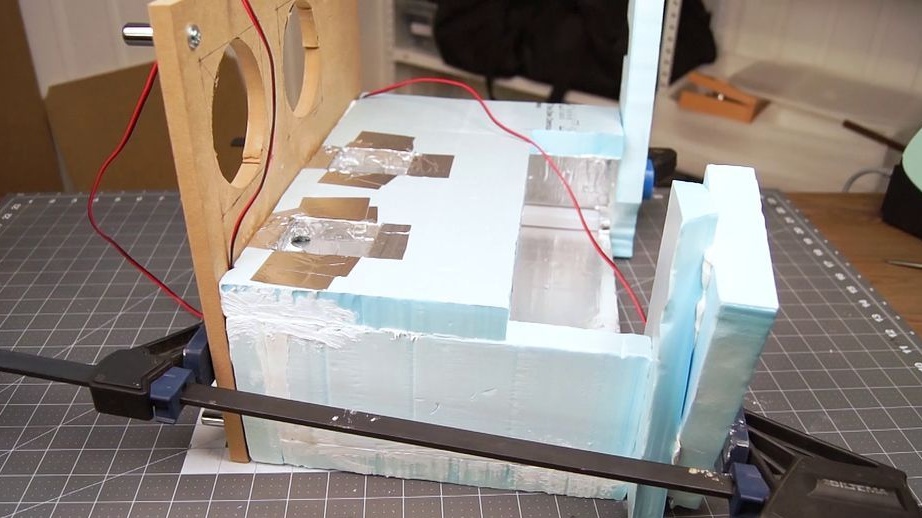
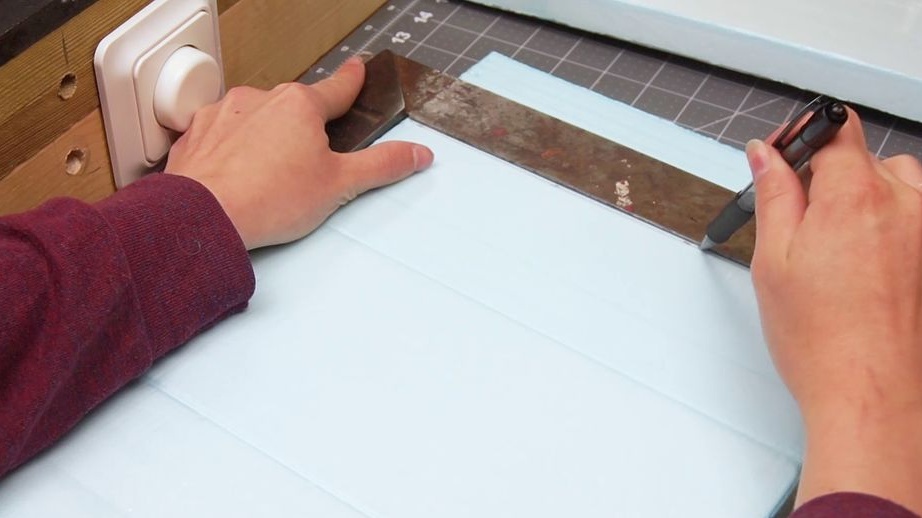
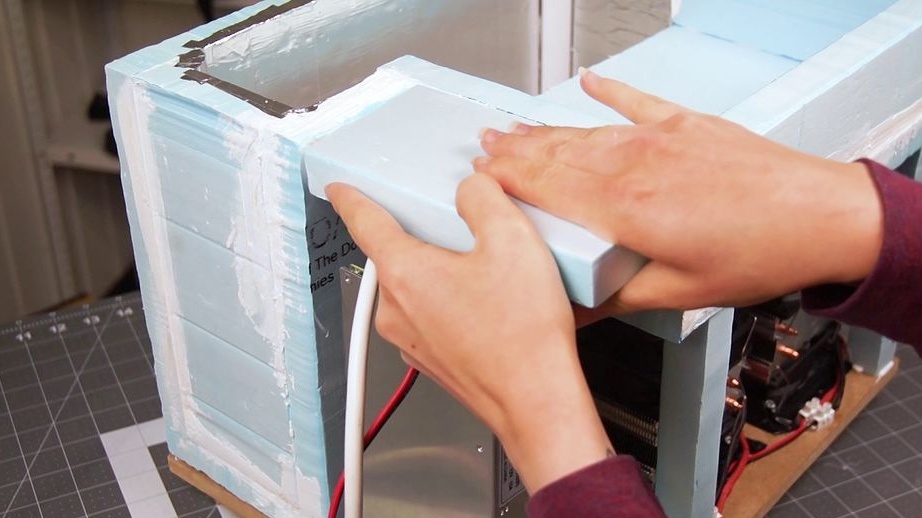
Step One: Cutting Styrofoam
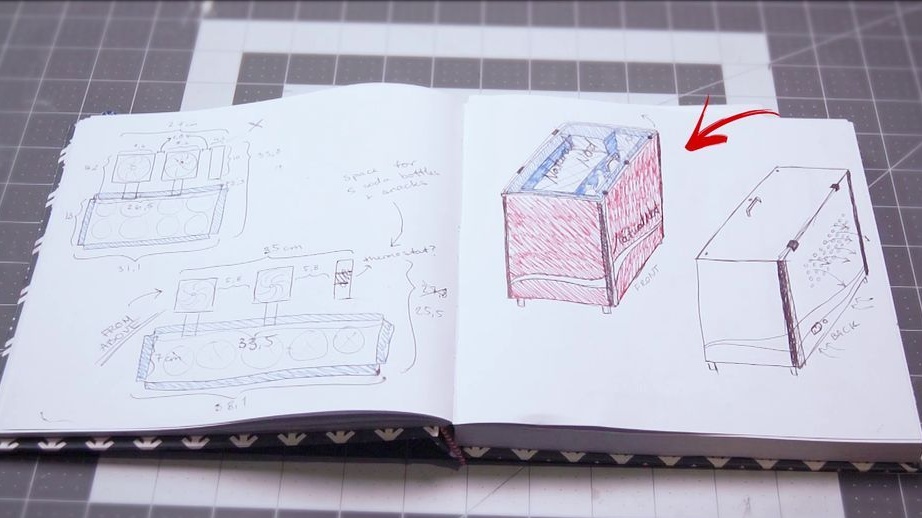
According to the sketch, it cuts out parts of the future refrigerator from polystyrene foam.
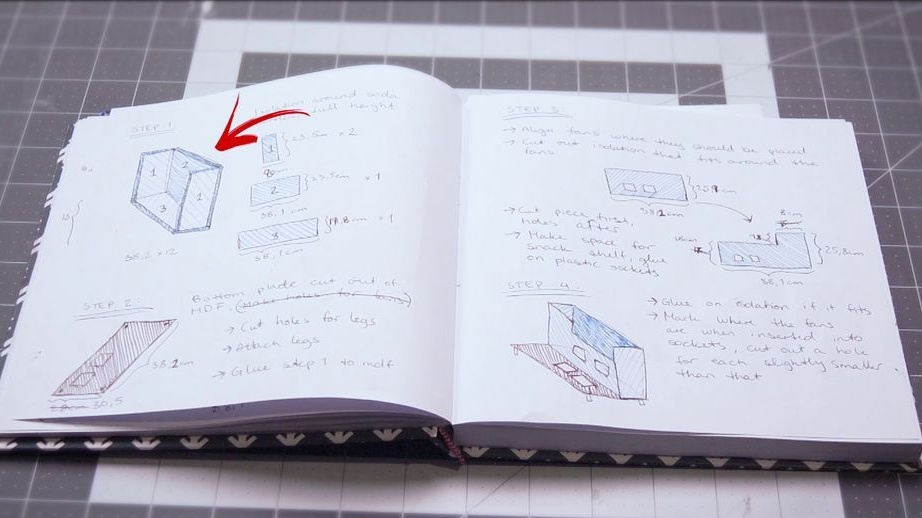
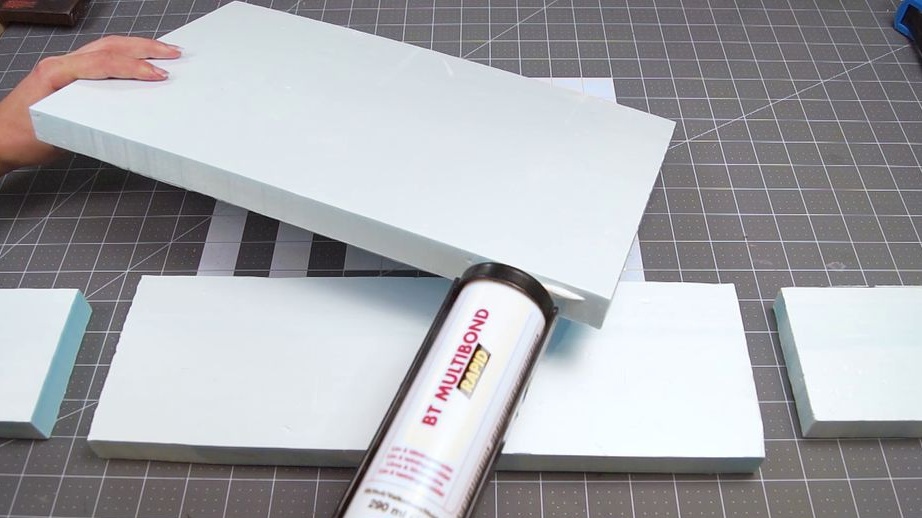
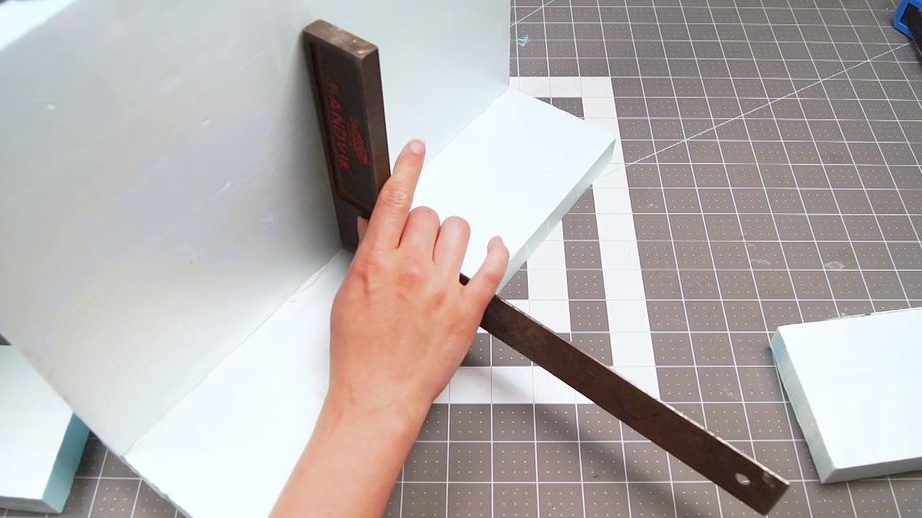
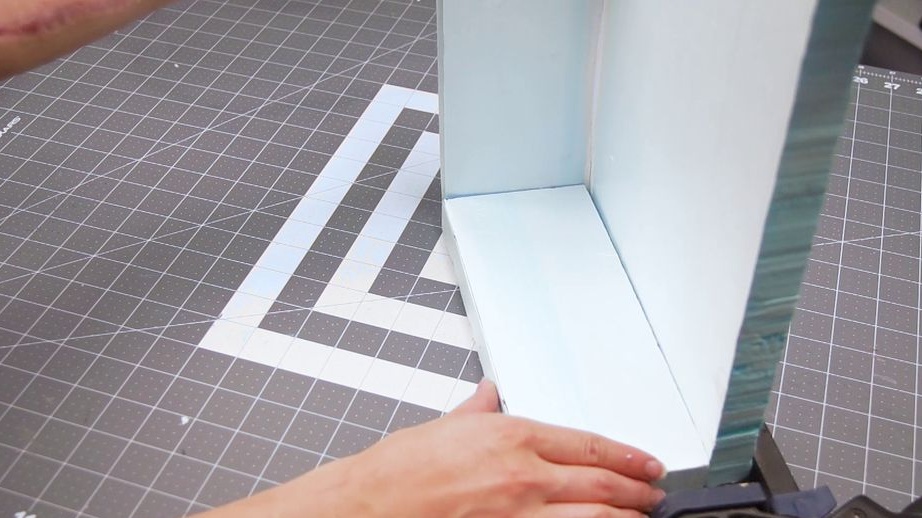
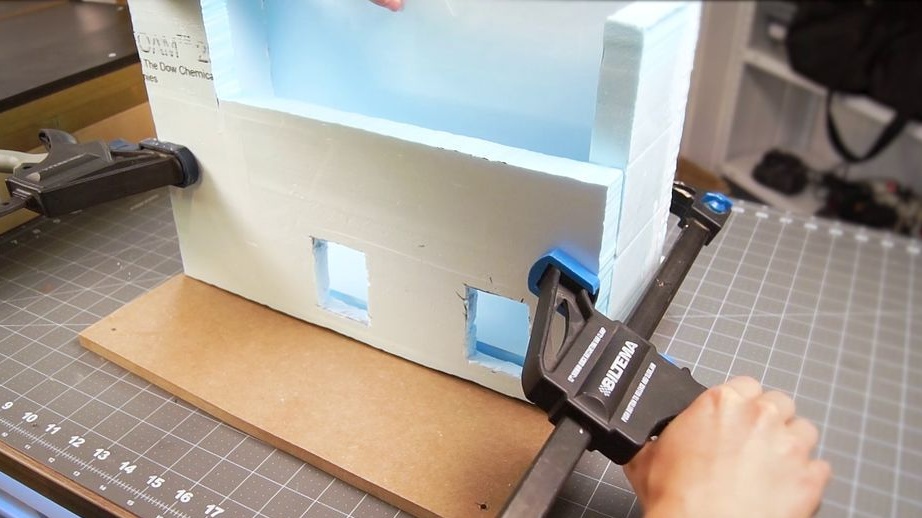
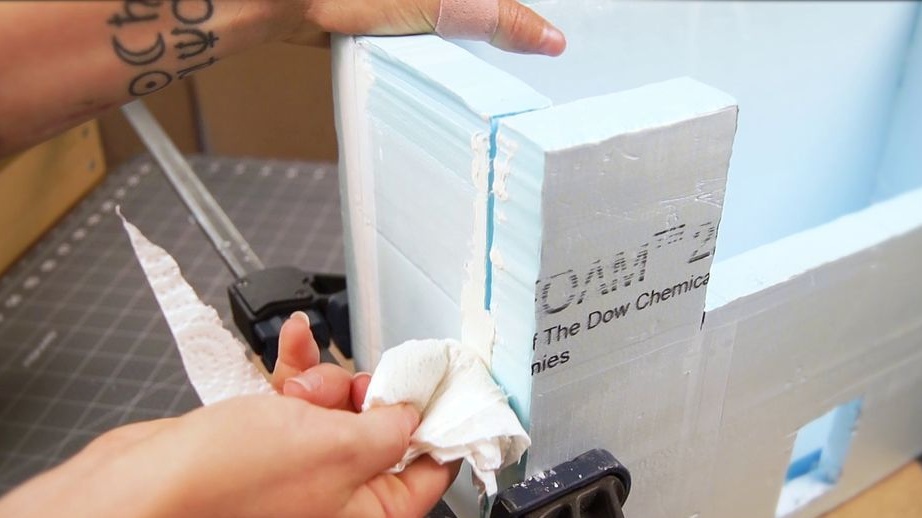
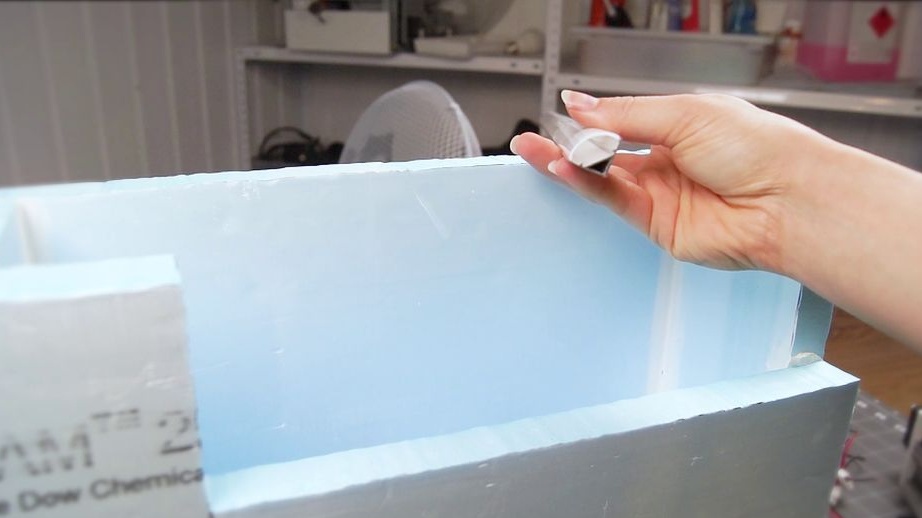
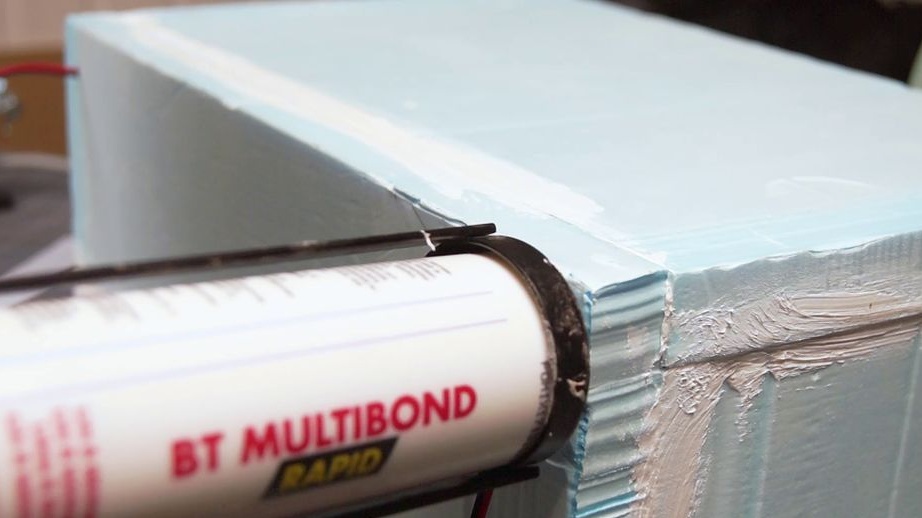
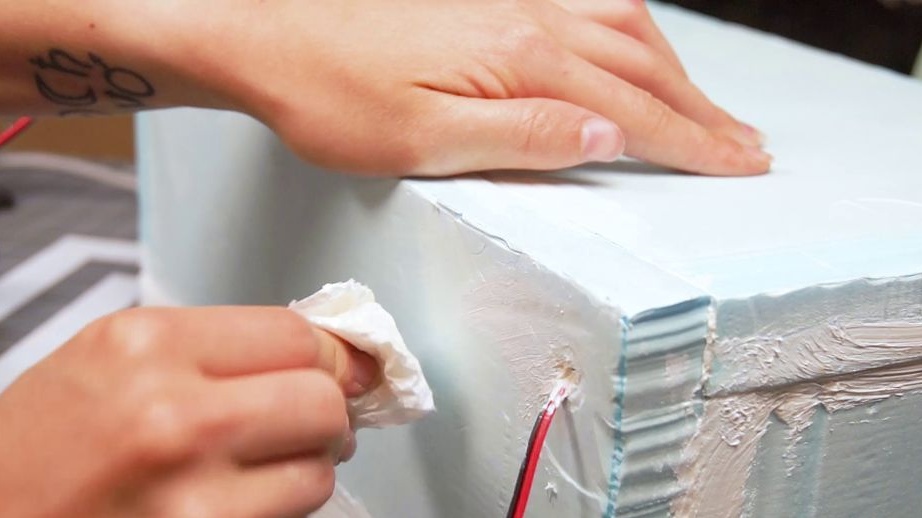
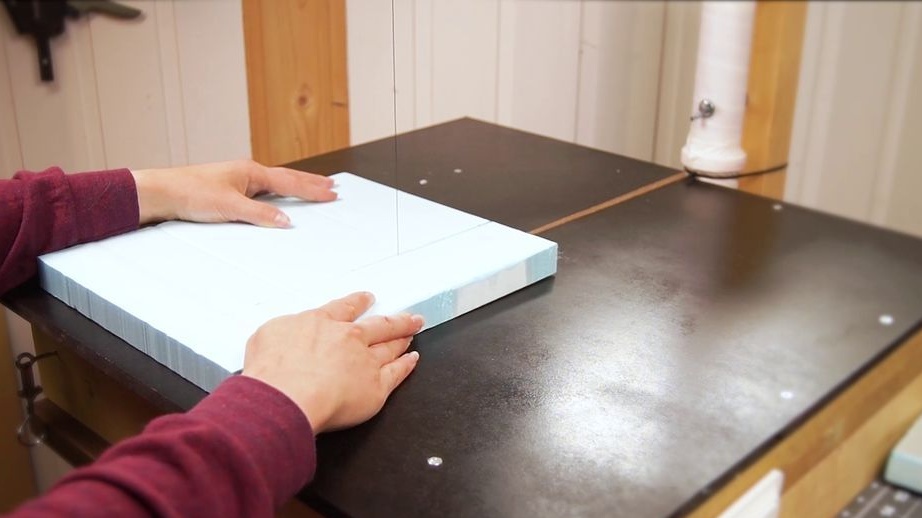
Step Two: Connecting the Parts
Glues parts.

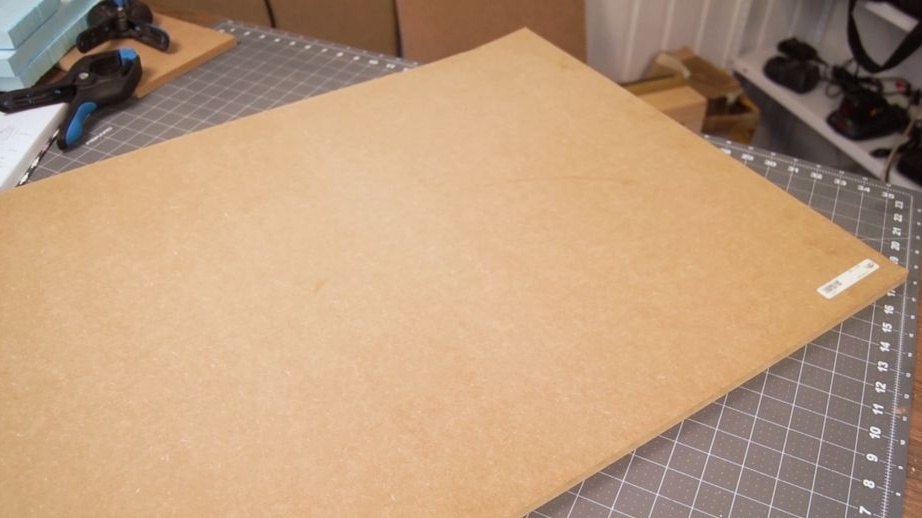
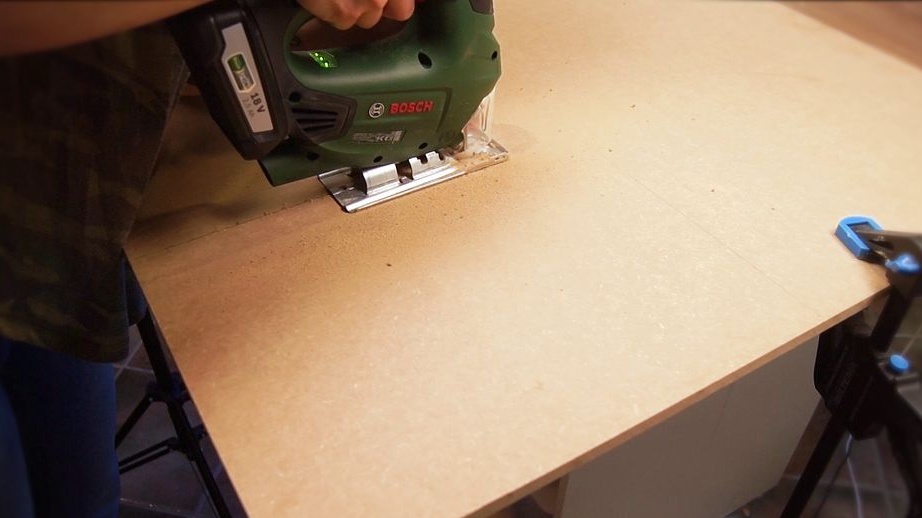
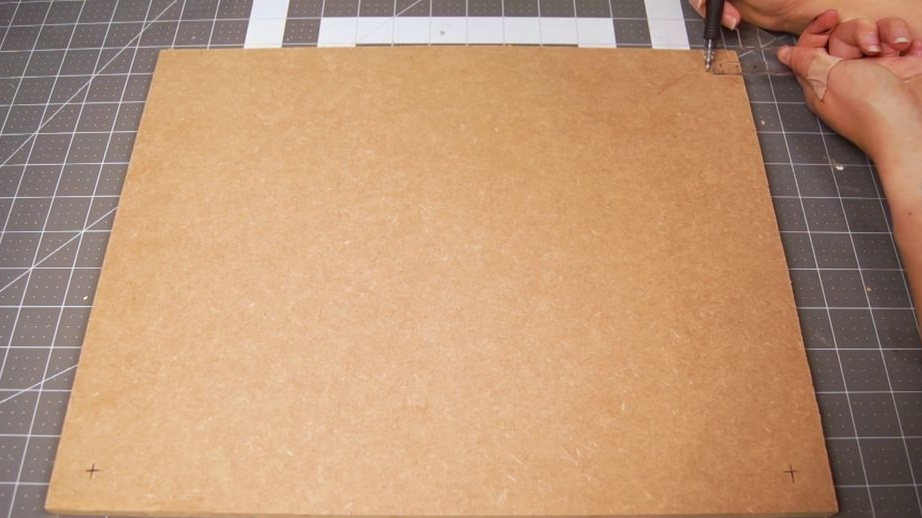
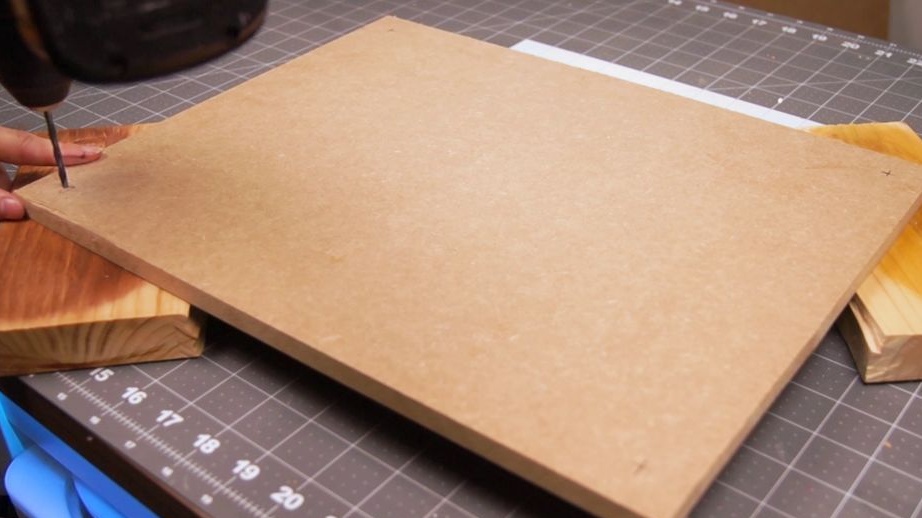
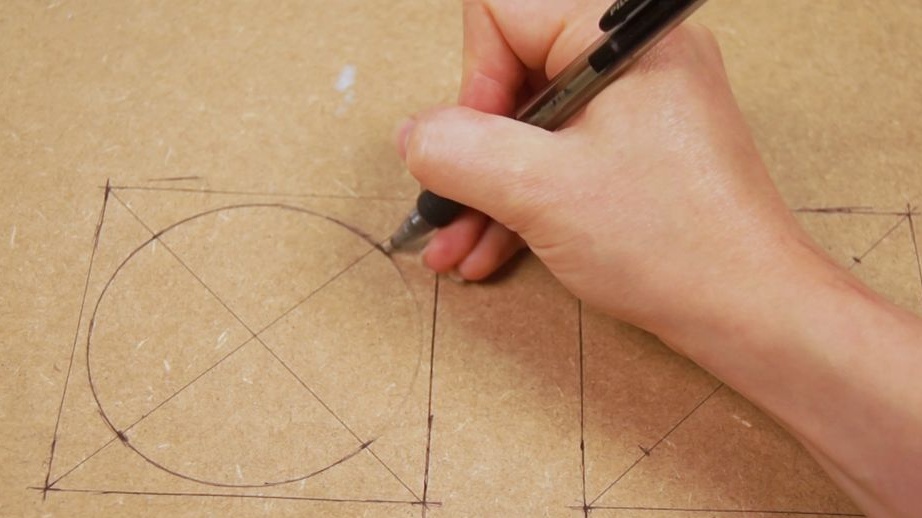
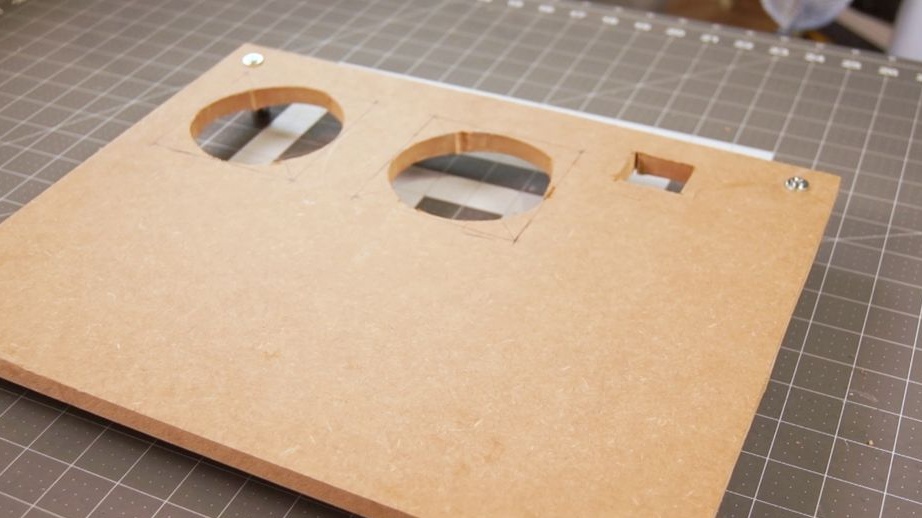
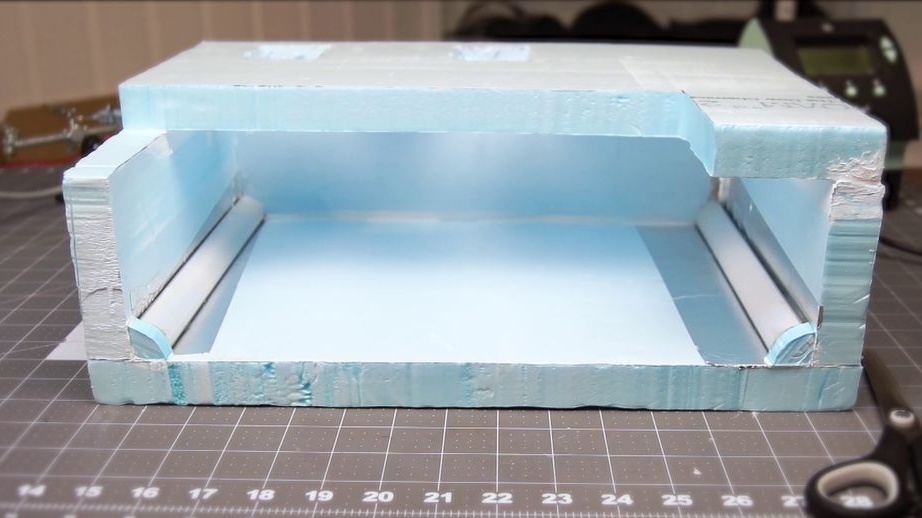
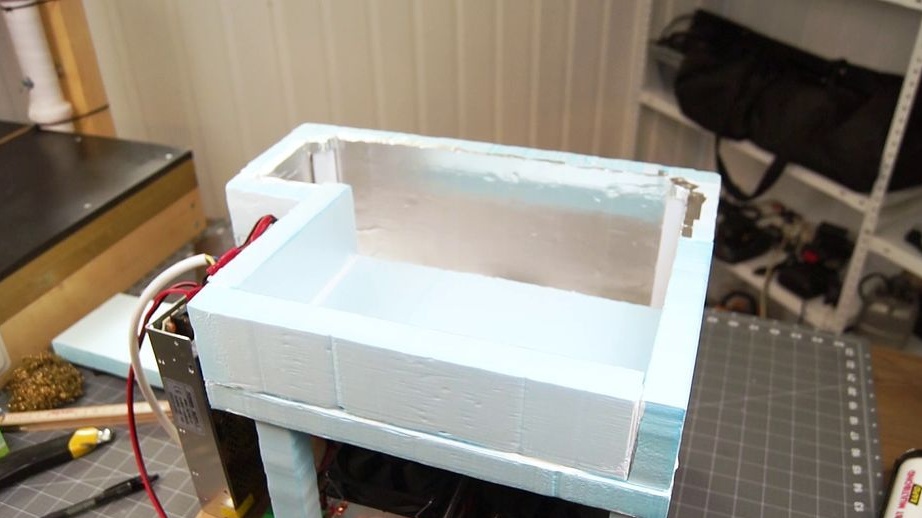
Step Three: Foundation
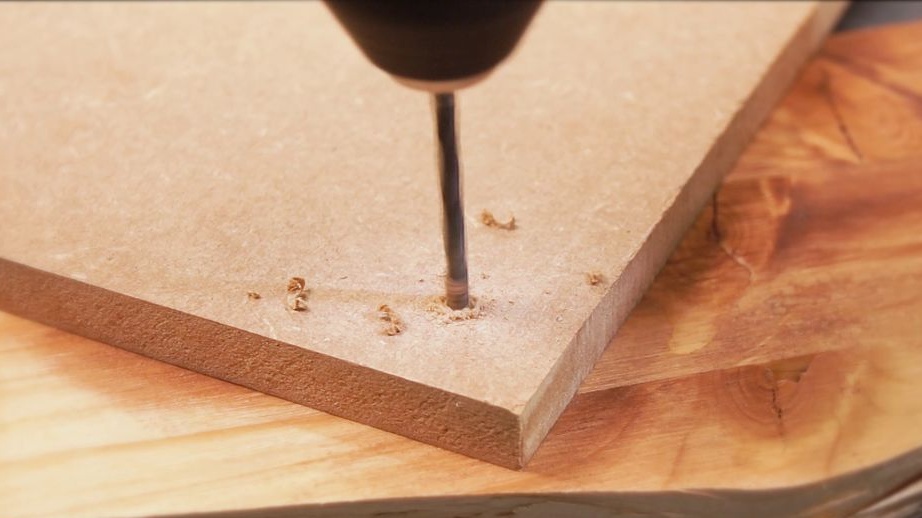
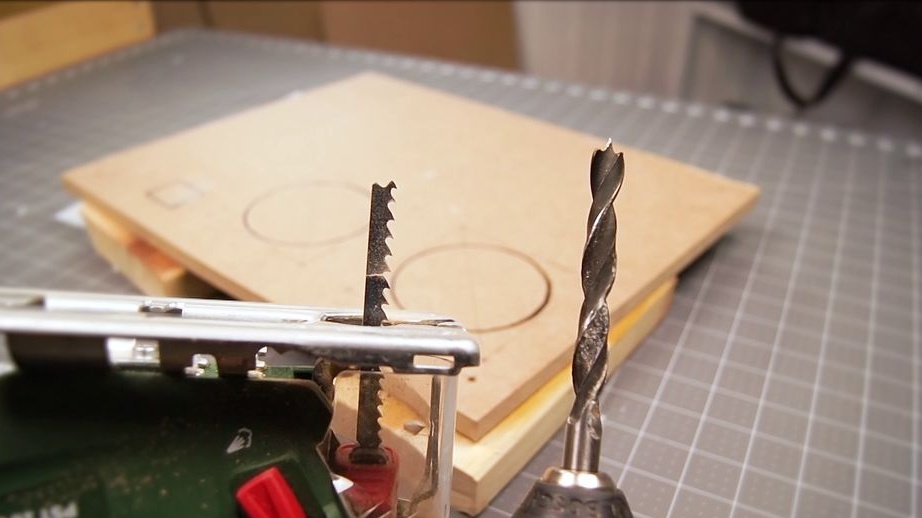
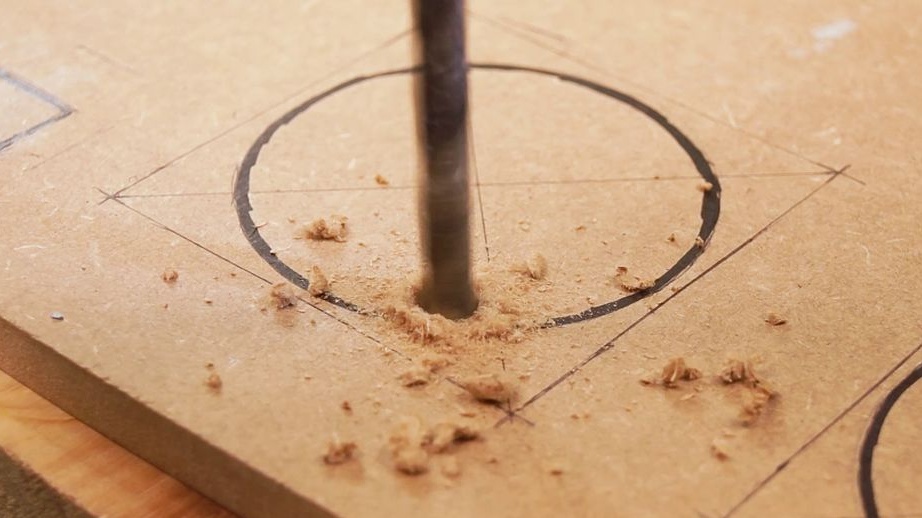
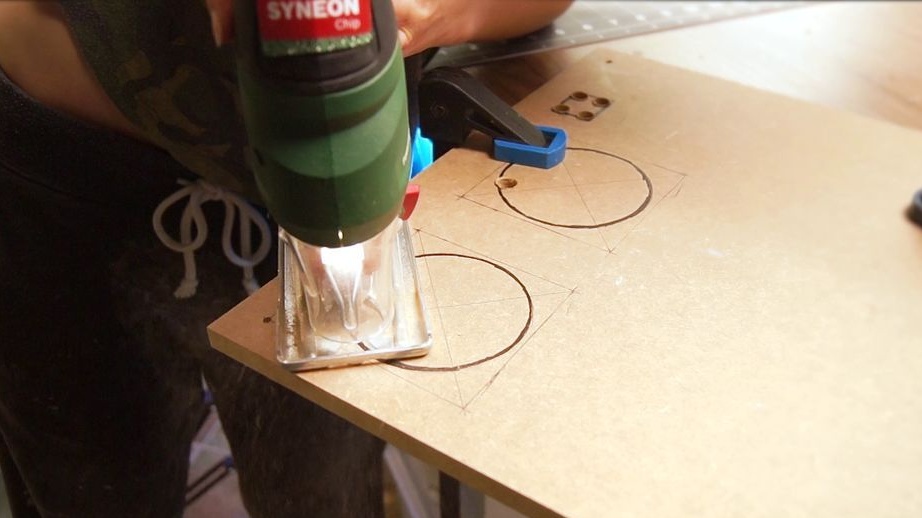
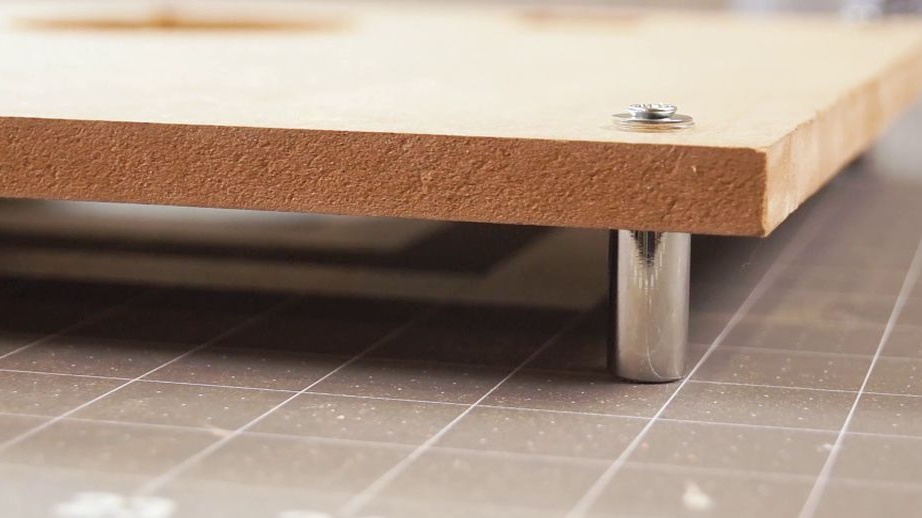
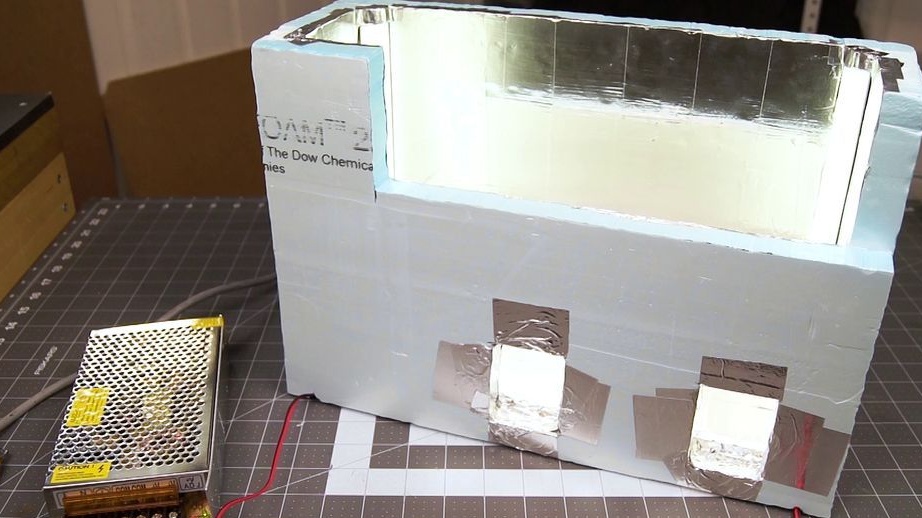
The master made the base of the refrigerator from MDF. A refrigeration chamber and all equipment will be mounted on the base. In the corners, the base drills holes for fixing the legs.
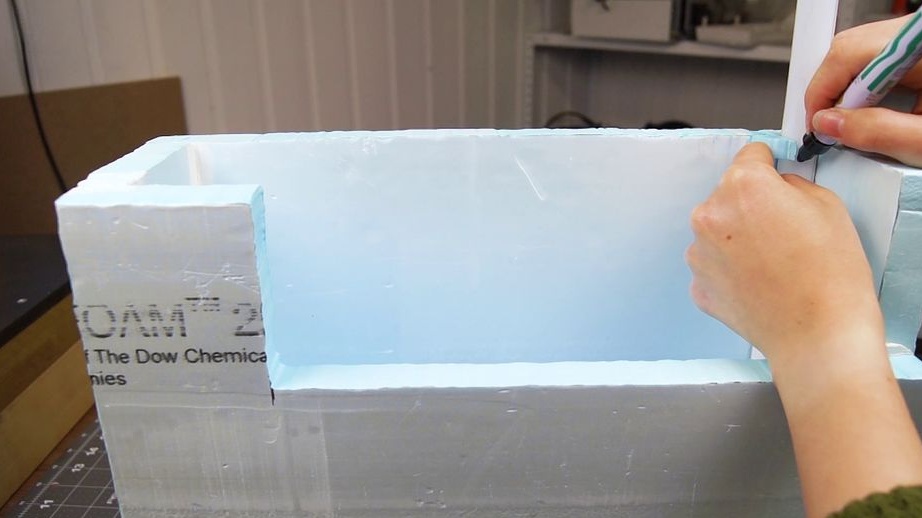
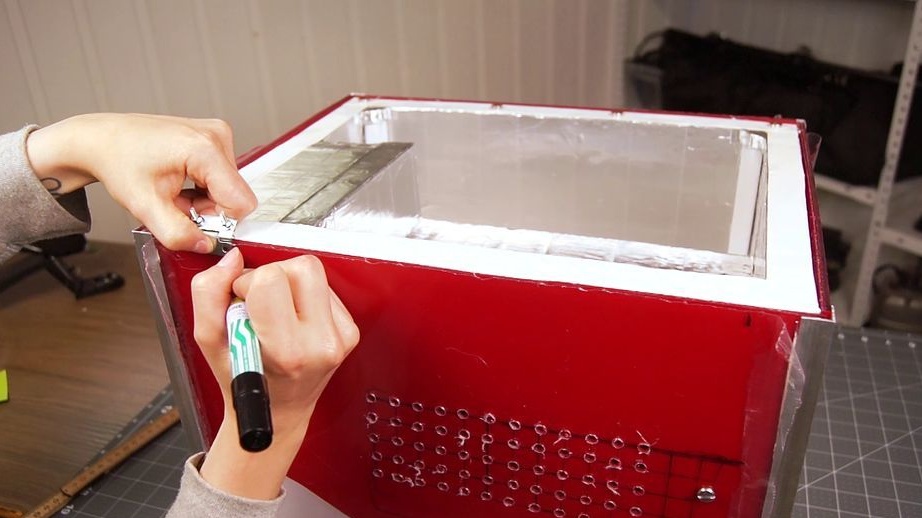
Marks installation locations for modules.
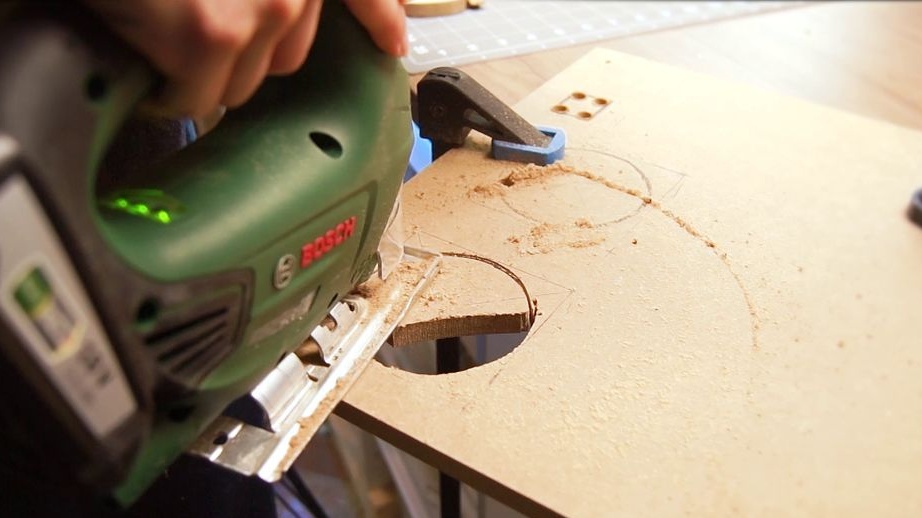
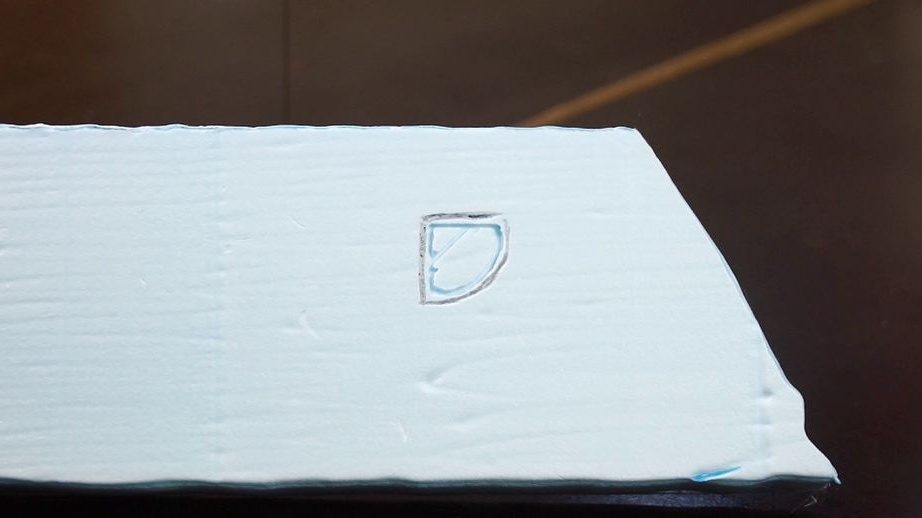
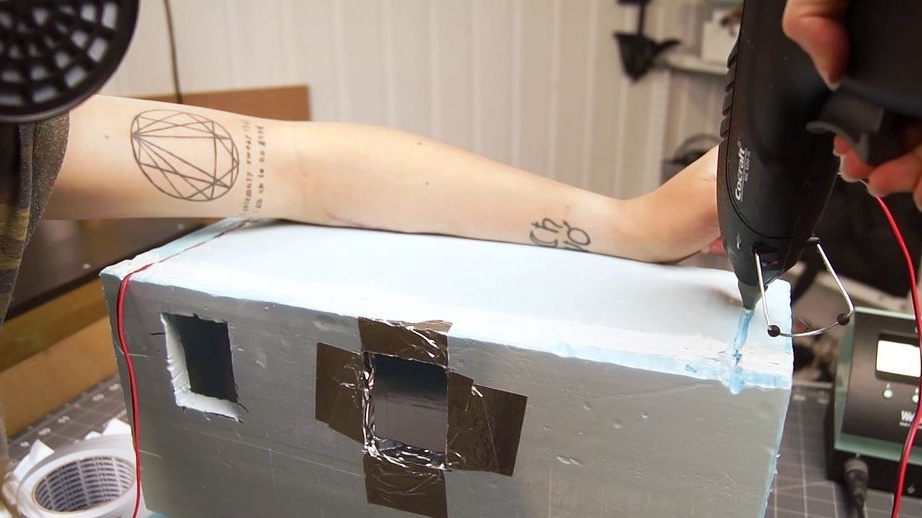
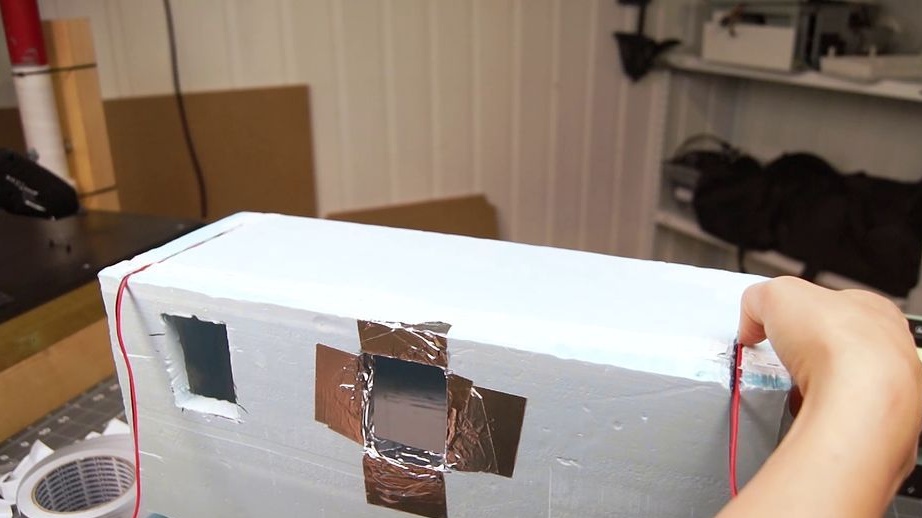
Cut holes in the side wall of the chamber.
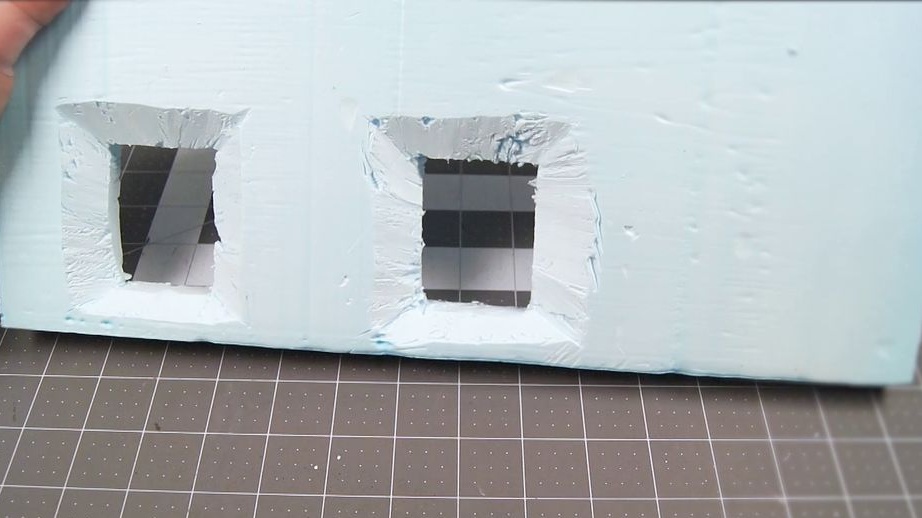
Glues the side wall.
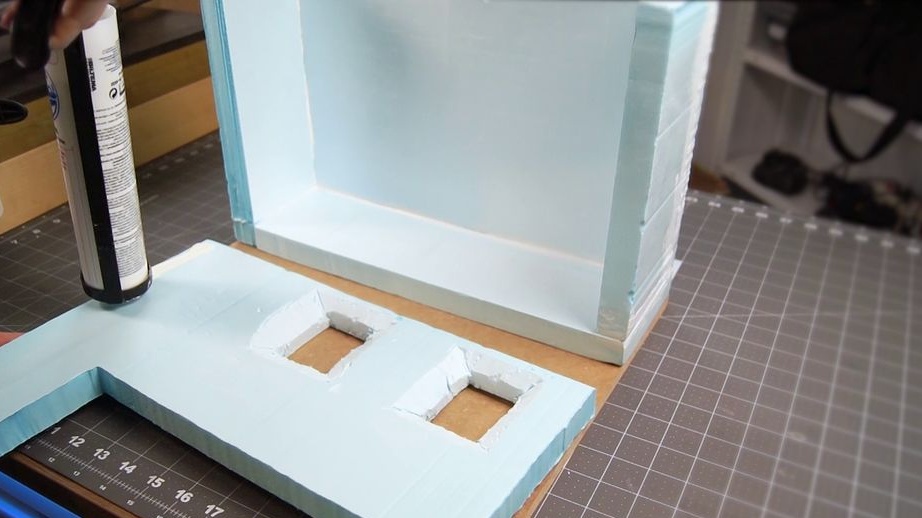
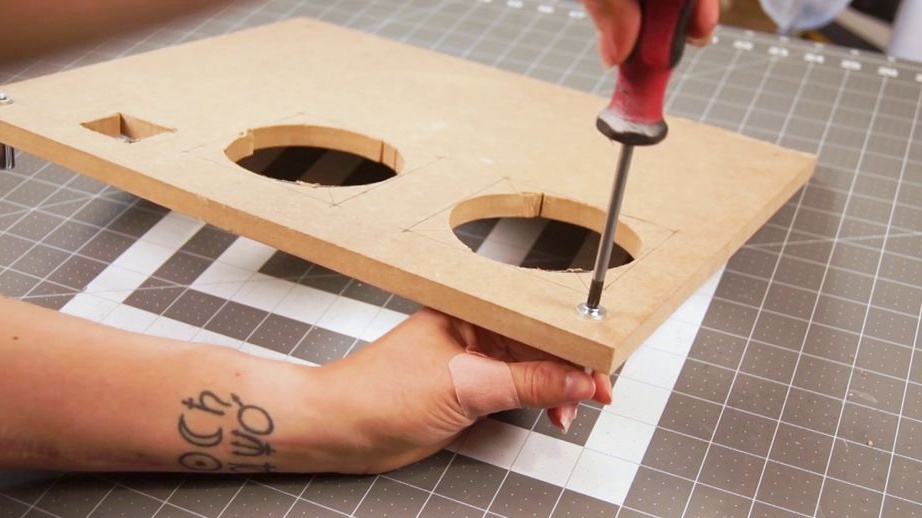
Marks and cuts vents at the base.
Screws in the corners of the base of the legs.
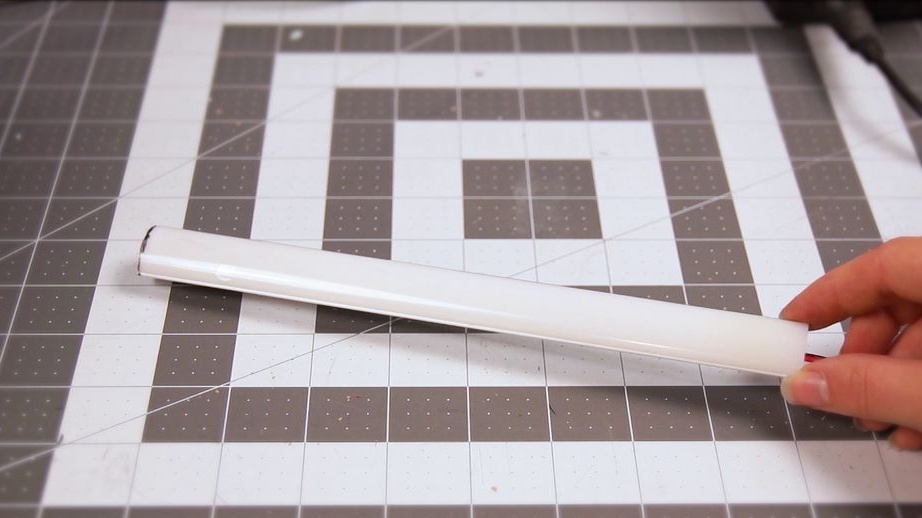
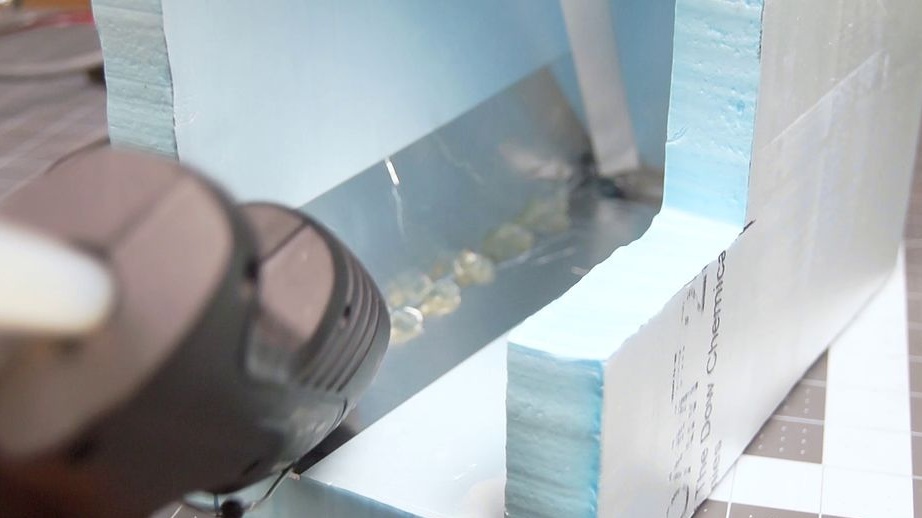
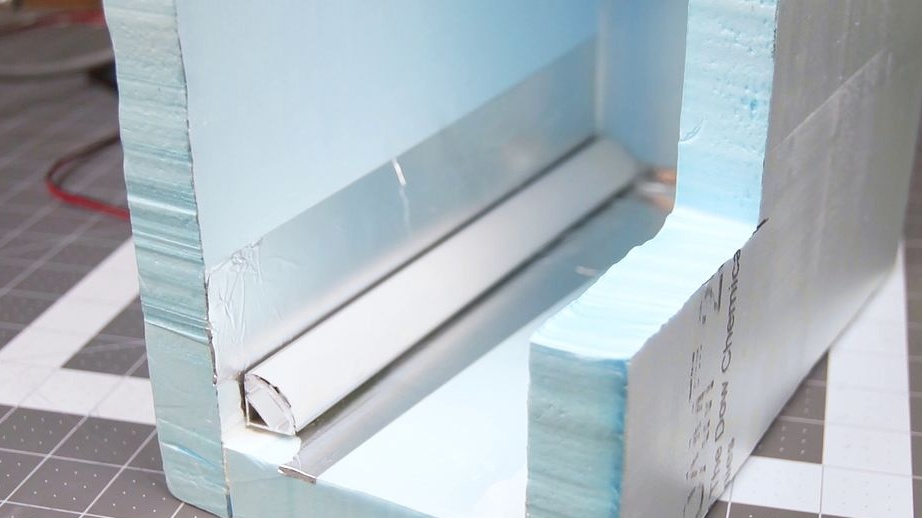
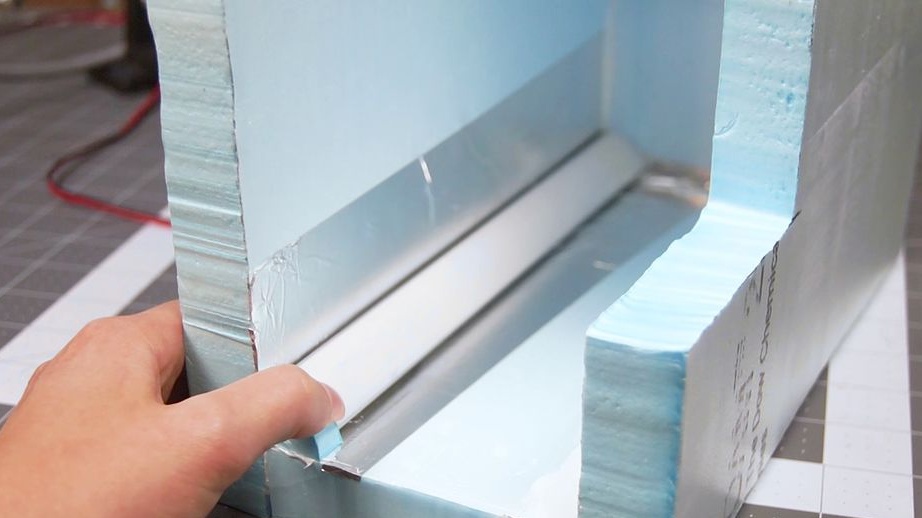
Step Four: Lighting
Mounts LED camera lighting. Lamps will be placed on both sides.
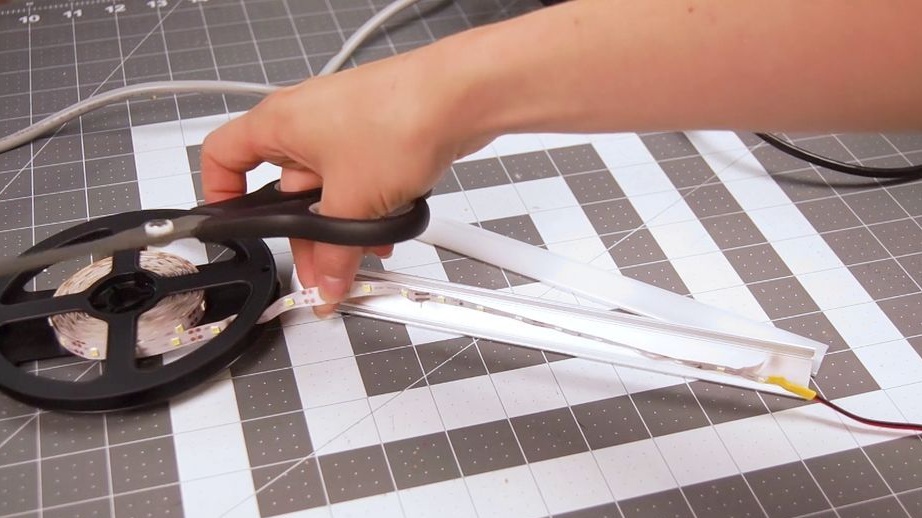
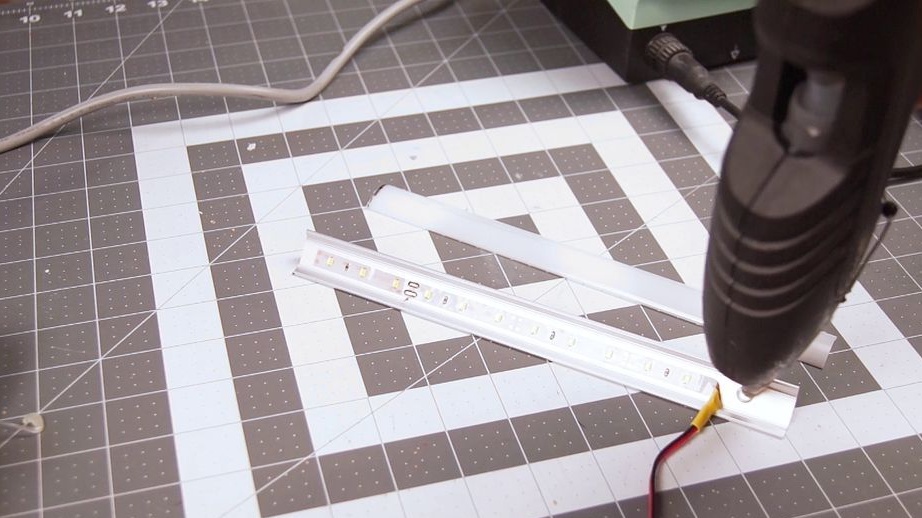
Cuts the aluminum channel to the desired length. Cuts off a piece of LED strip. Solder to the contacts of the tape wire. Sticks tapes to niche channels. Installs a diffuser.

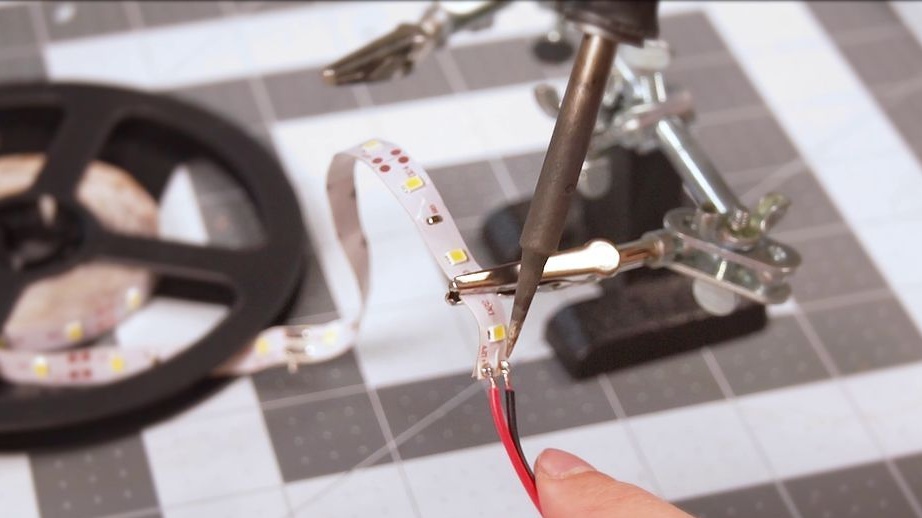
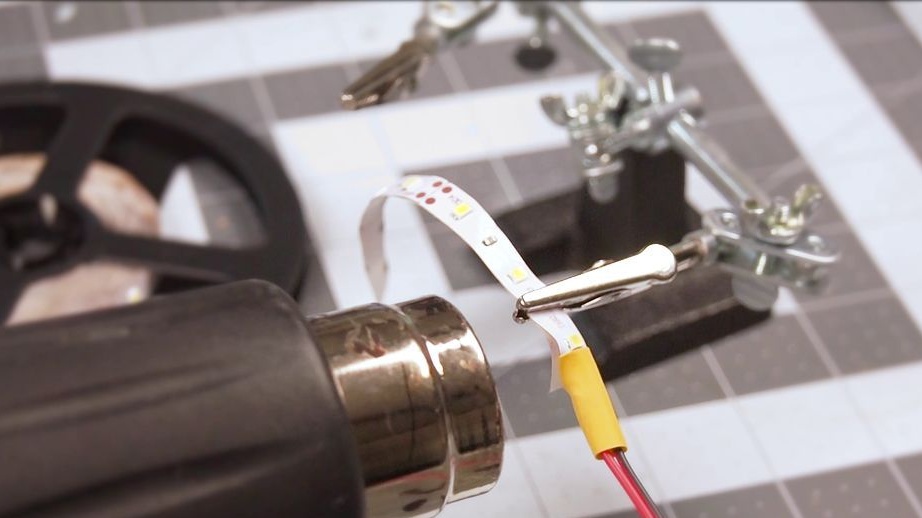
Makes holes in the wall and leads the wire out. The holes are sealed. The lamp is fixed with aluminum tape.Performs the same operation with the second lamp.
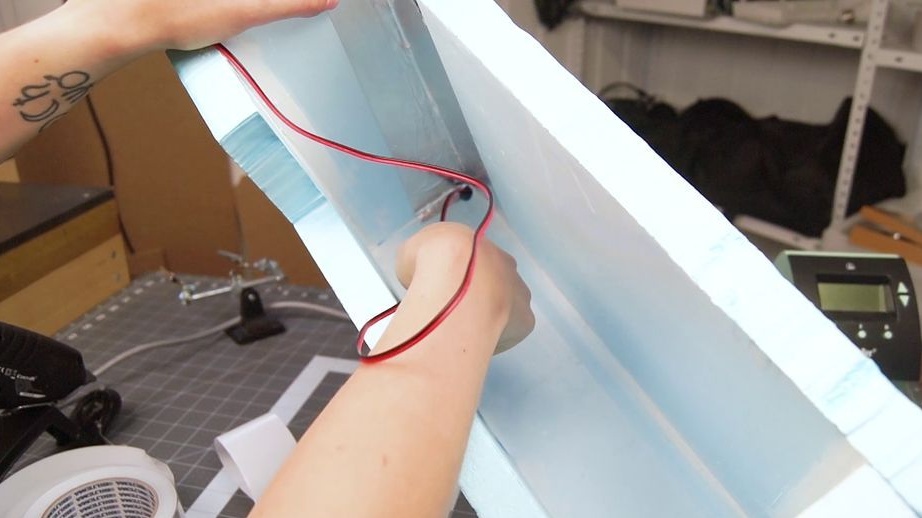
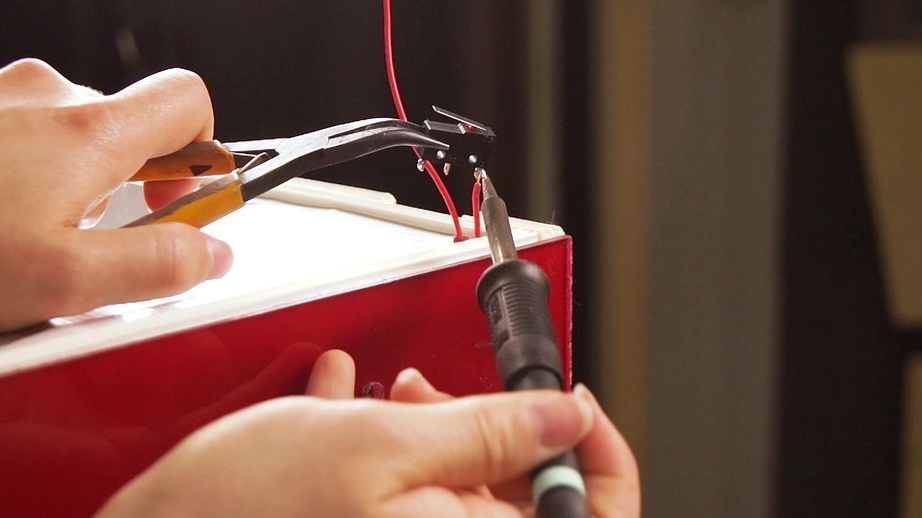
A soldering iron burns channels under the wires. Fastens the wires.
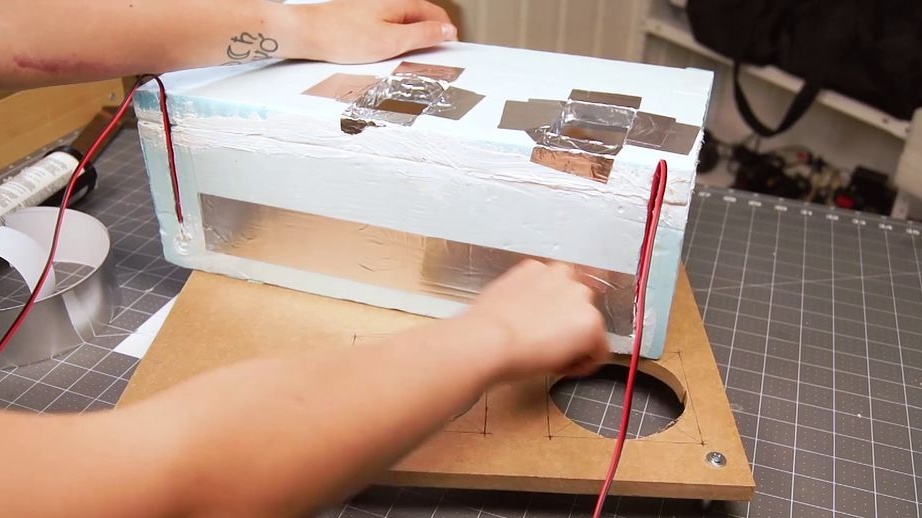
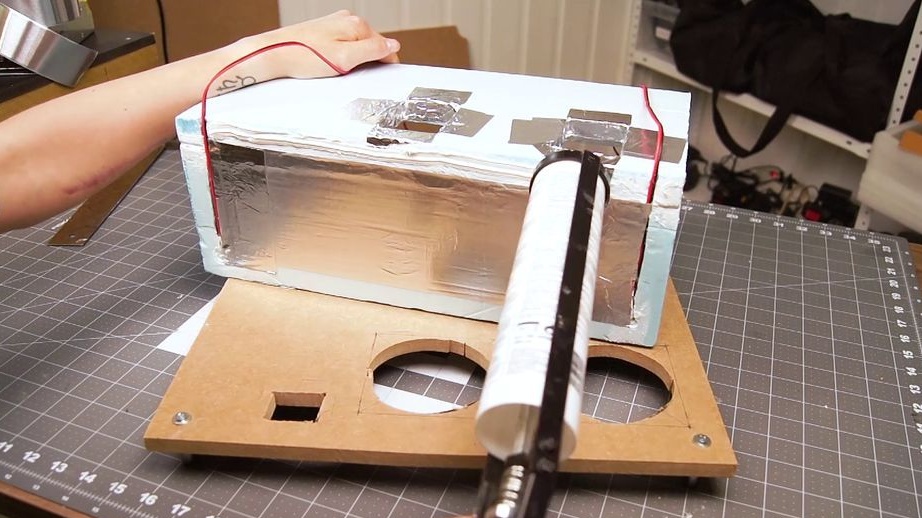
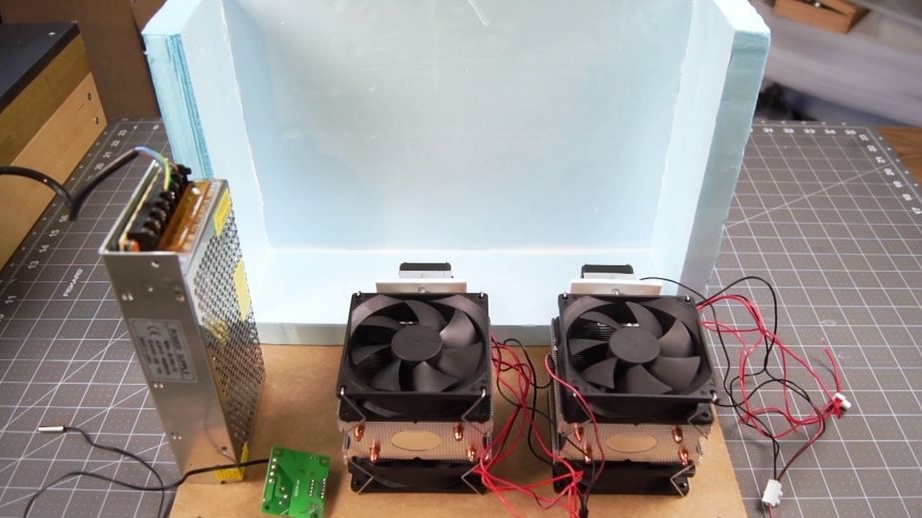
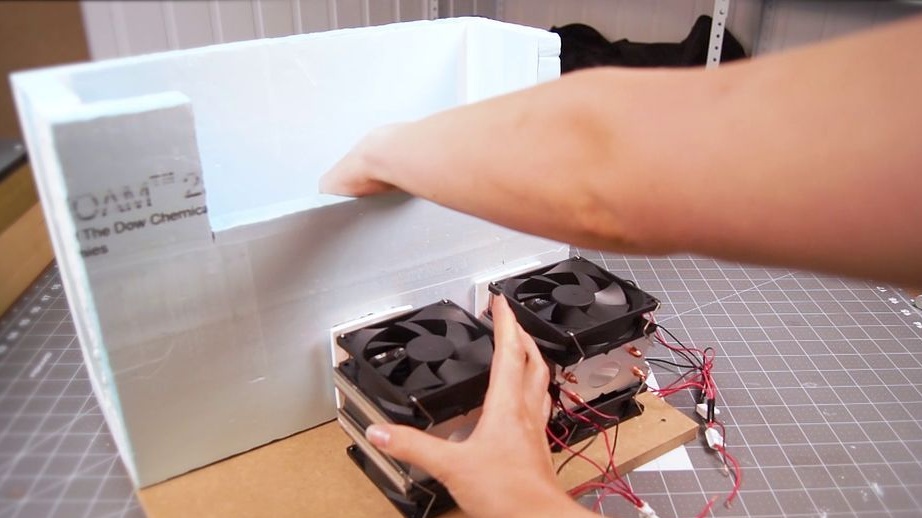
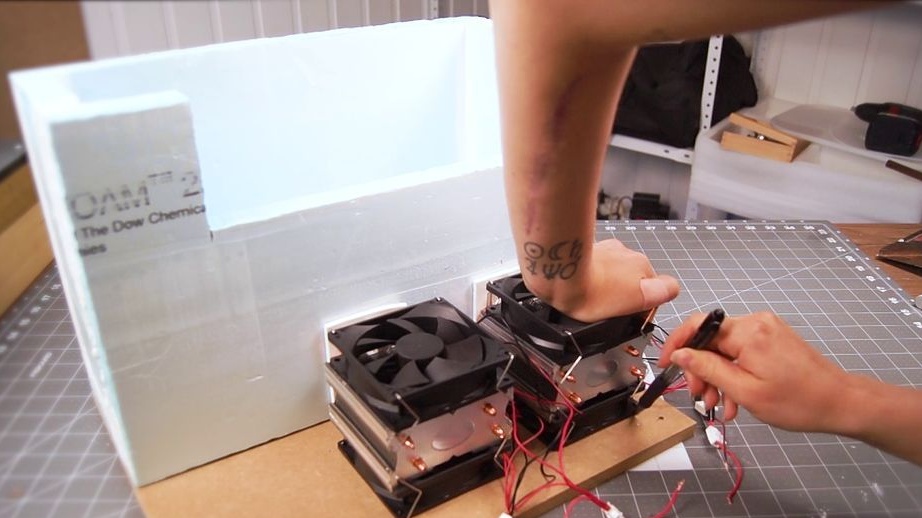
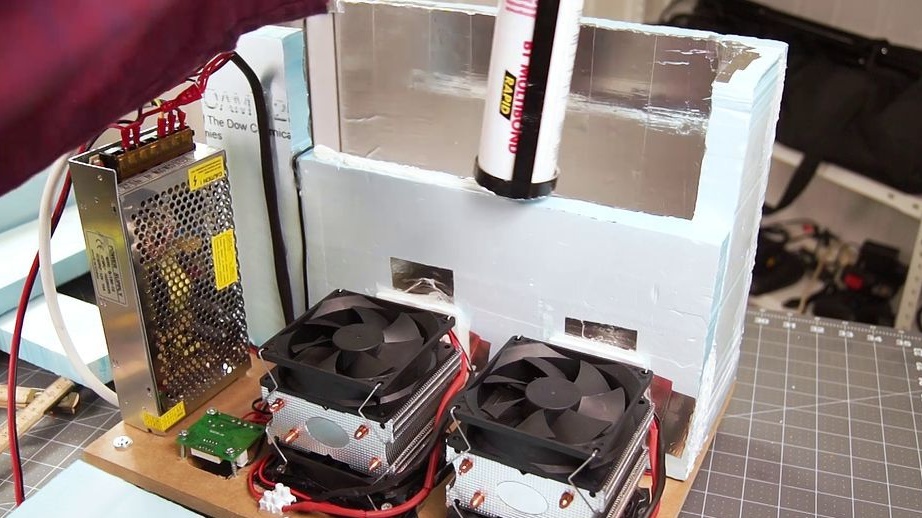
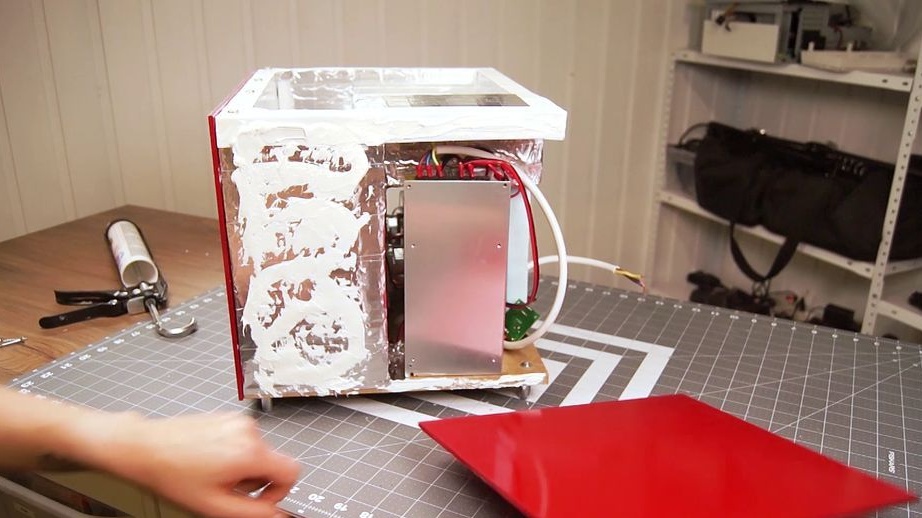
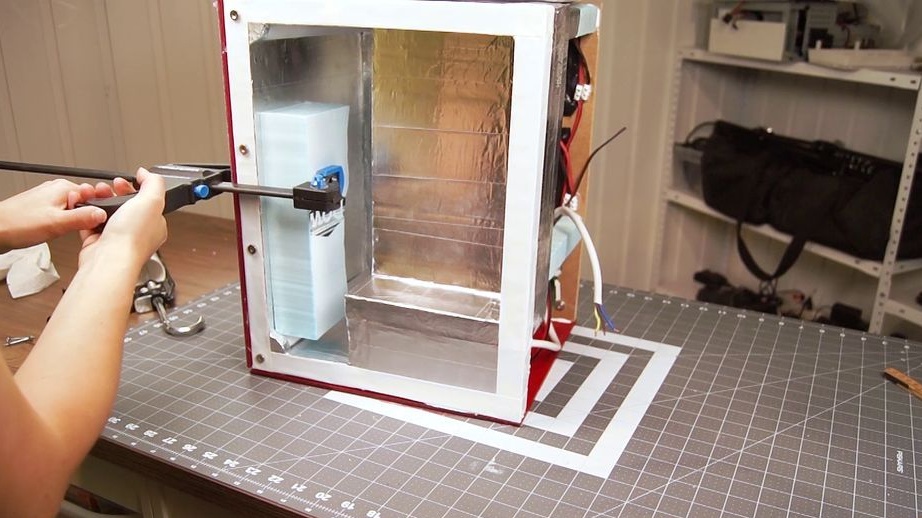
Step Five: Hardware Installation
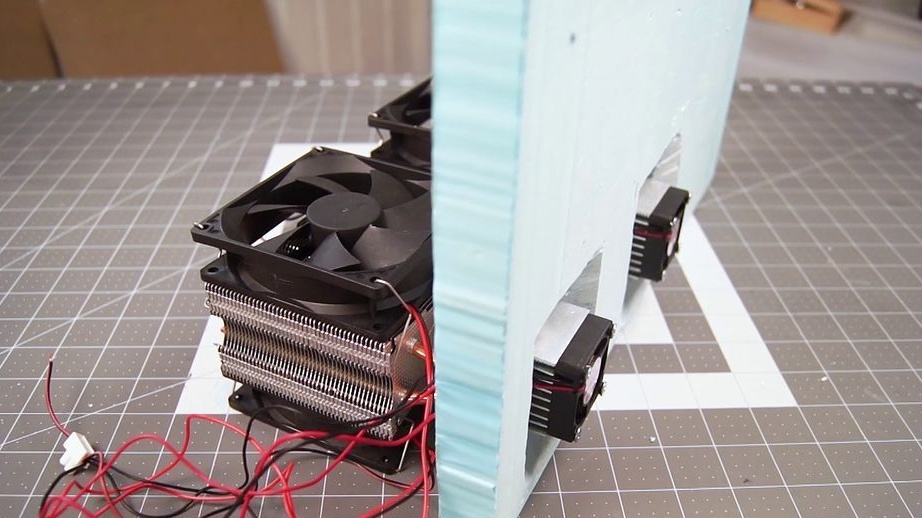
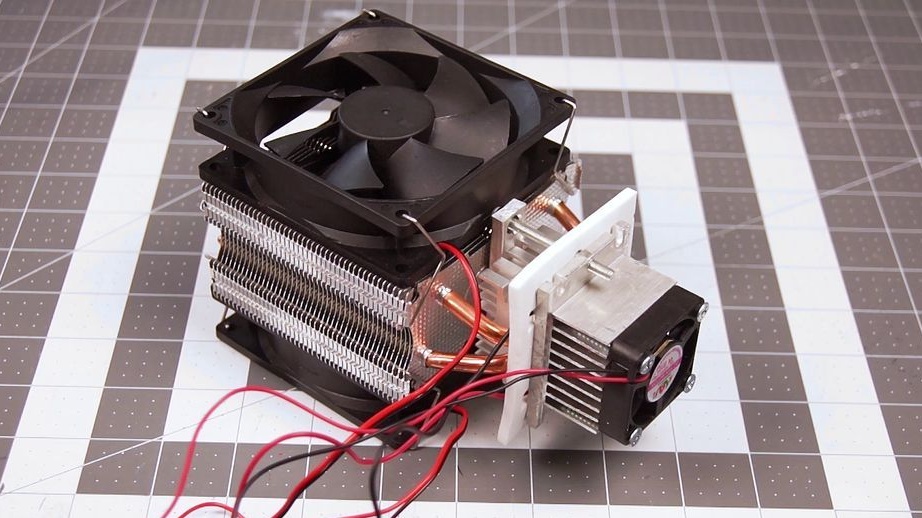
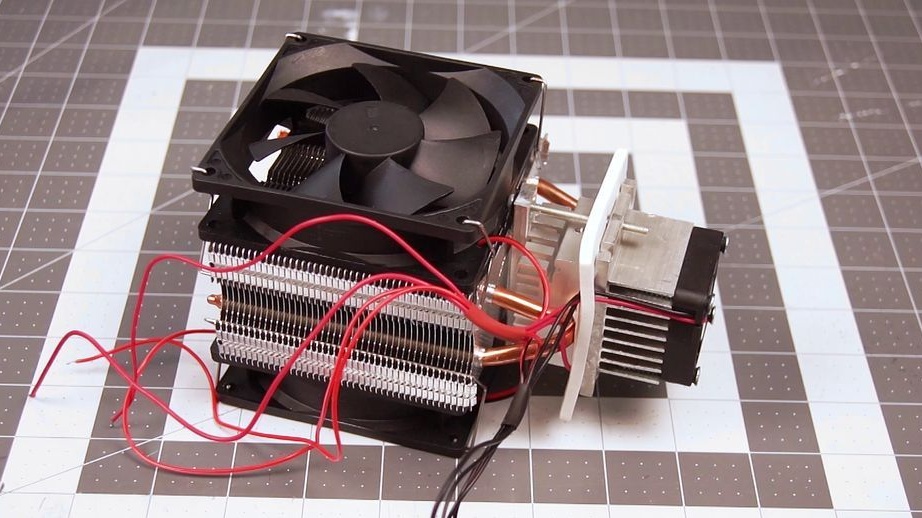
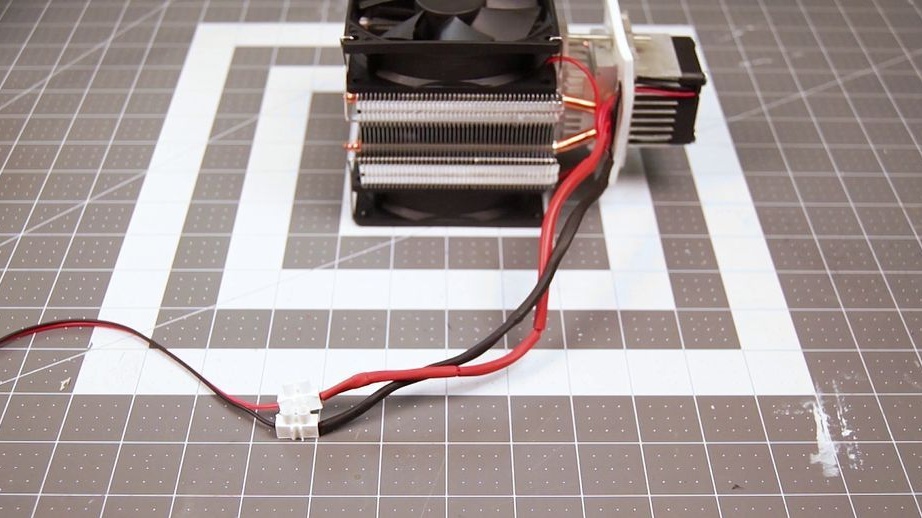
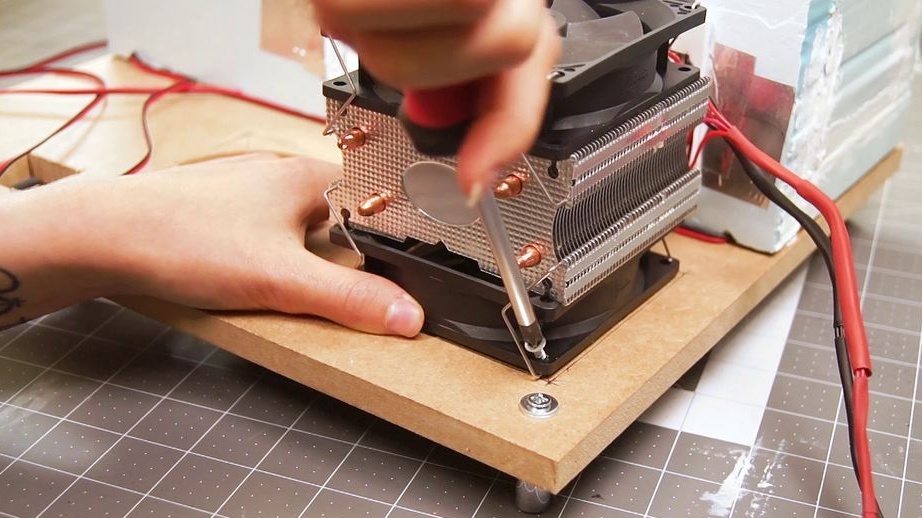
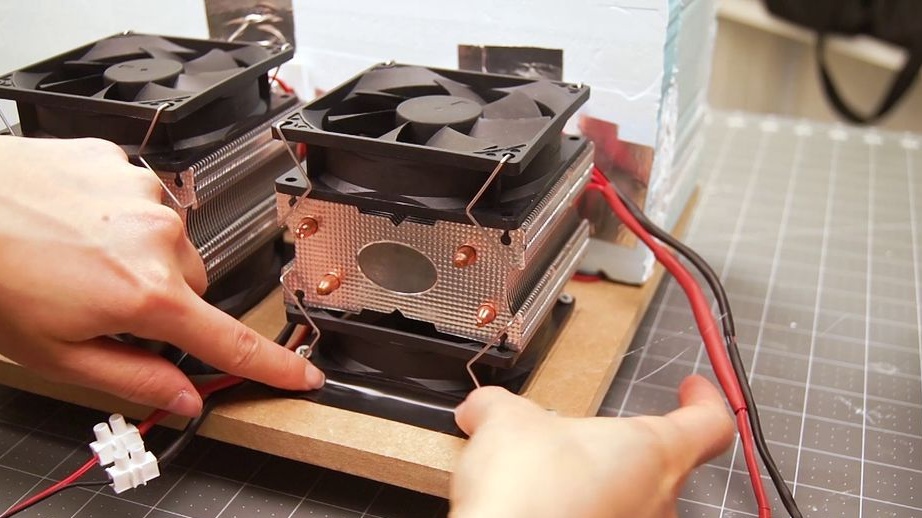
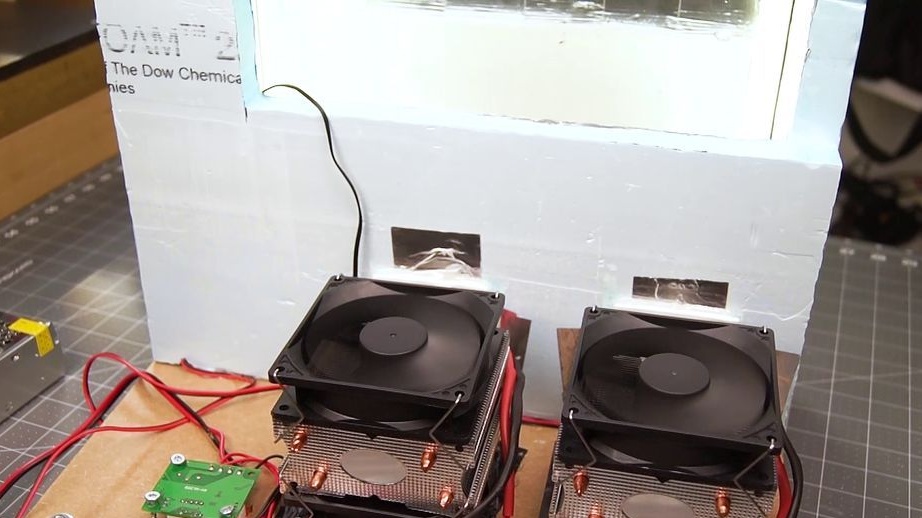
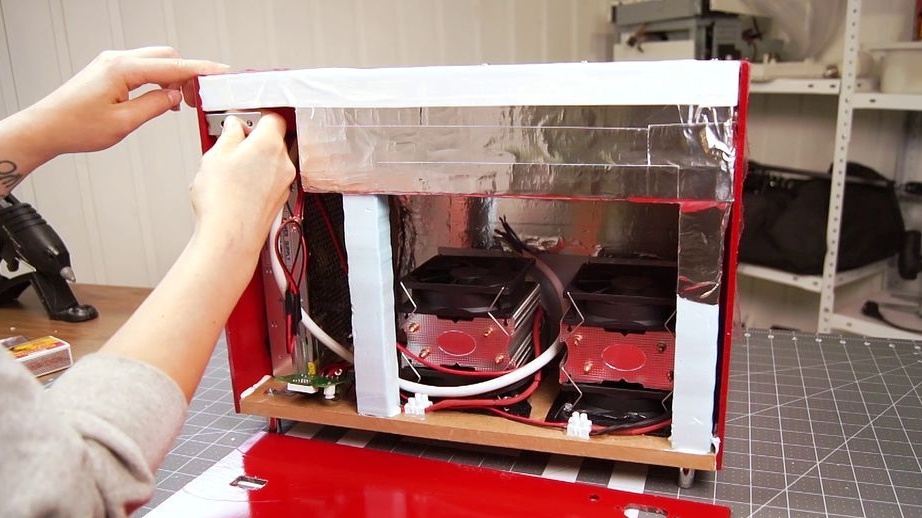
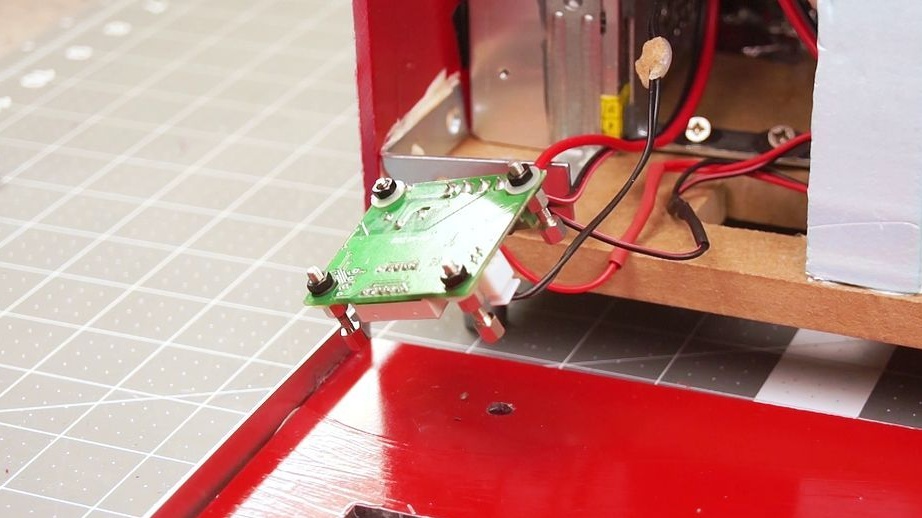
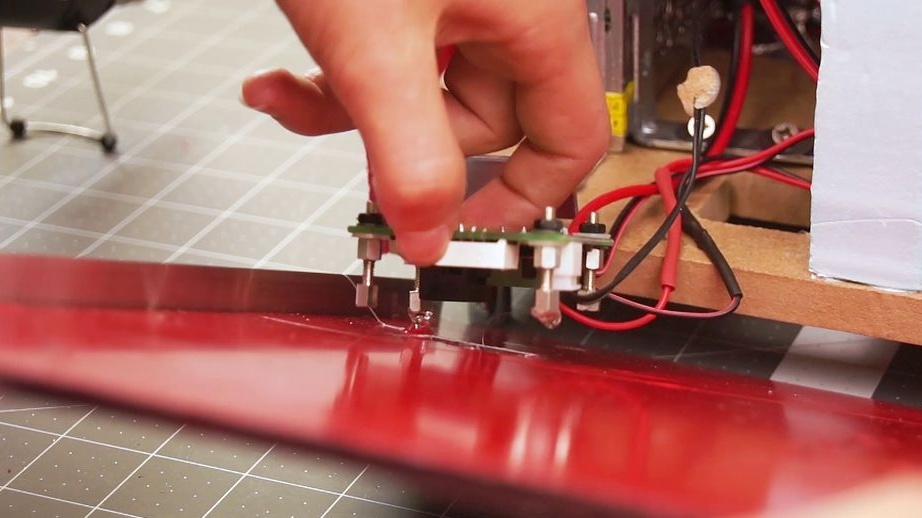
All equipment is mounted according to the scheme.
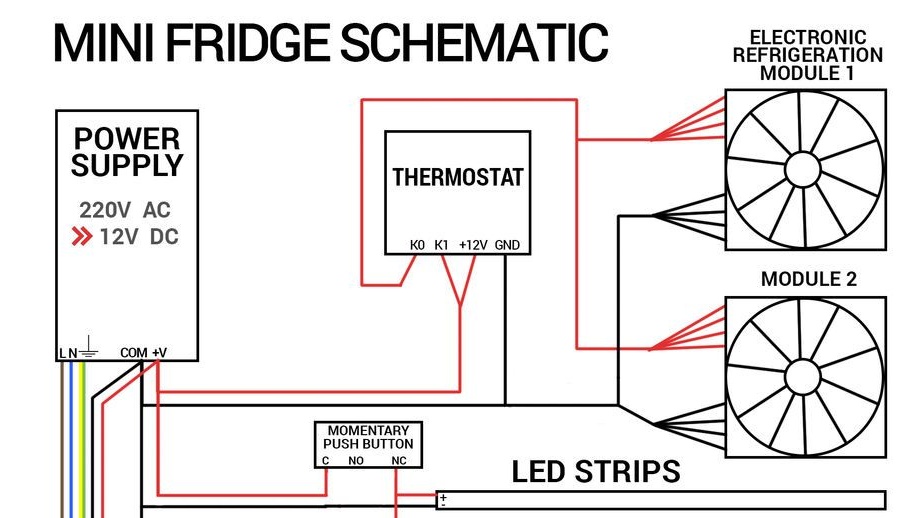
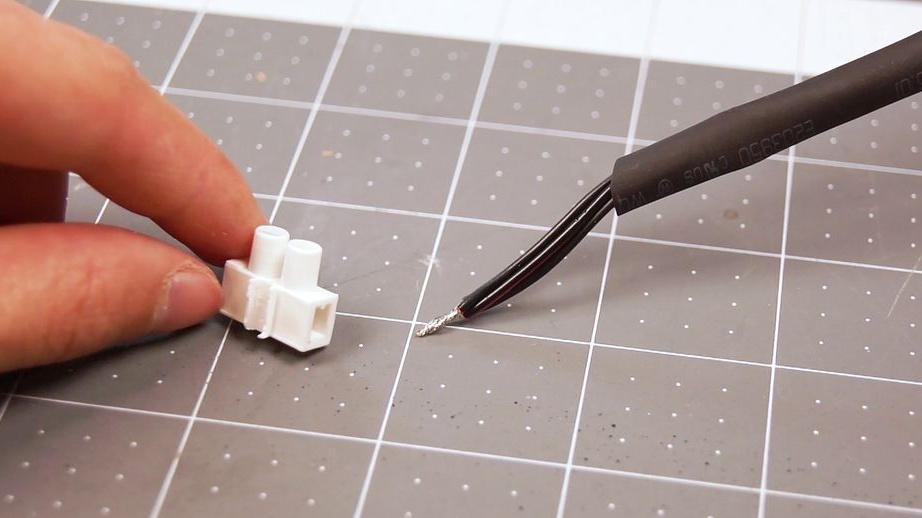
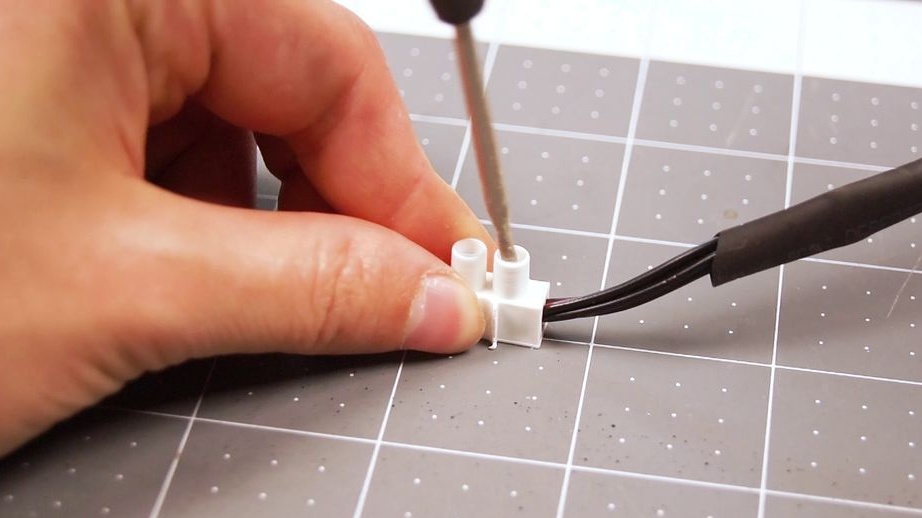
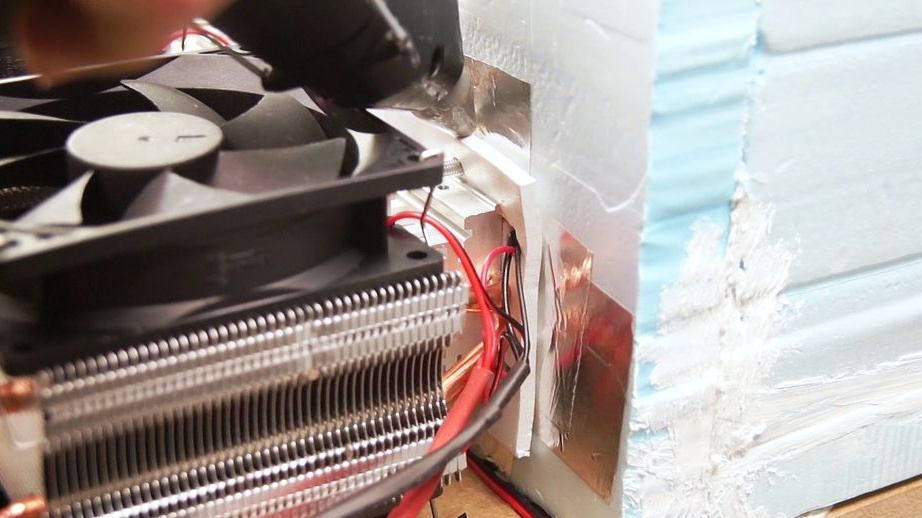
It puts on the wires of the thermotube modules. Mounts mounting block. Fixes modules. Hot glue seals the junction of the module and the refrigerator.
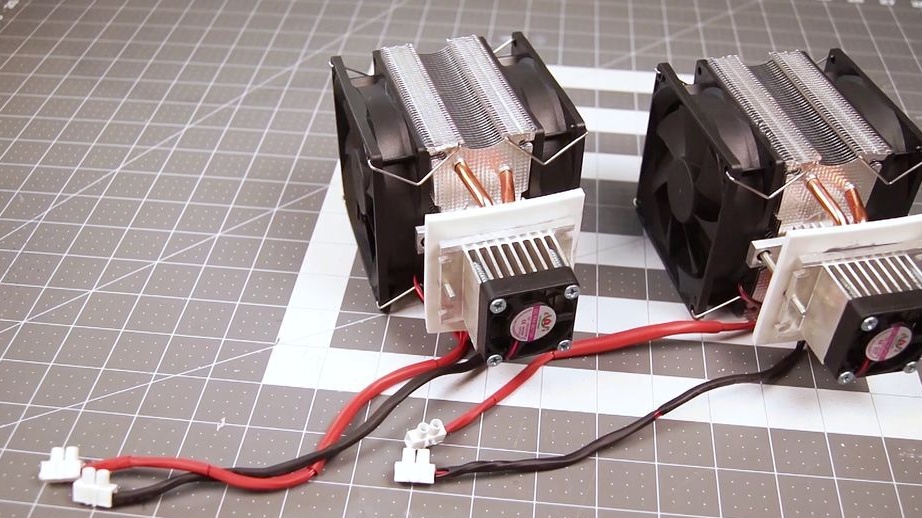
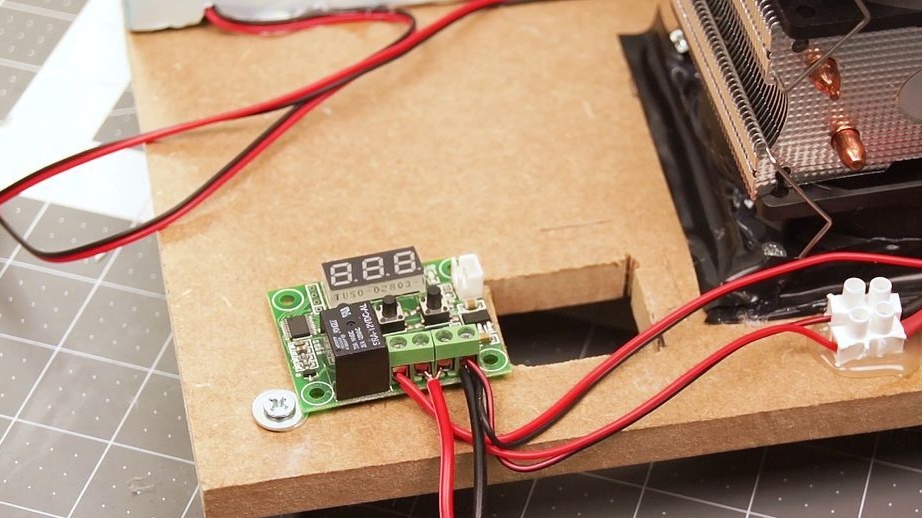
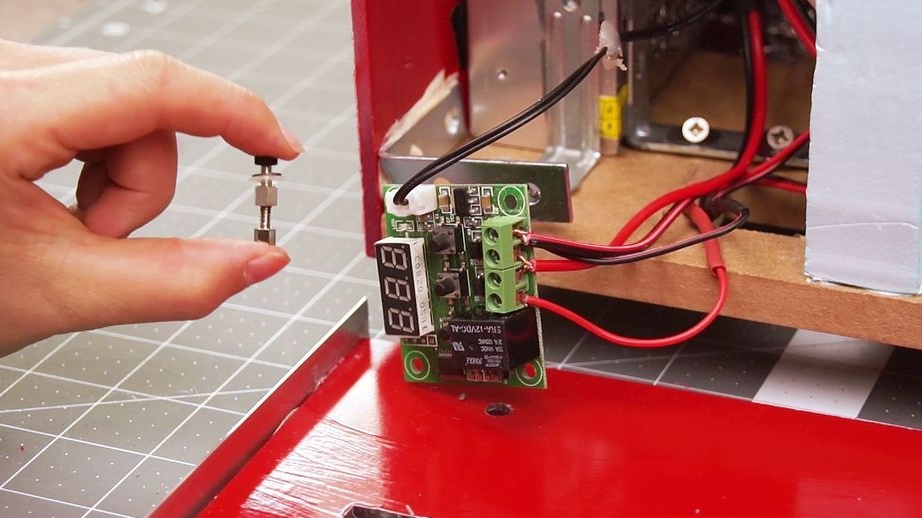
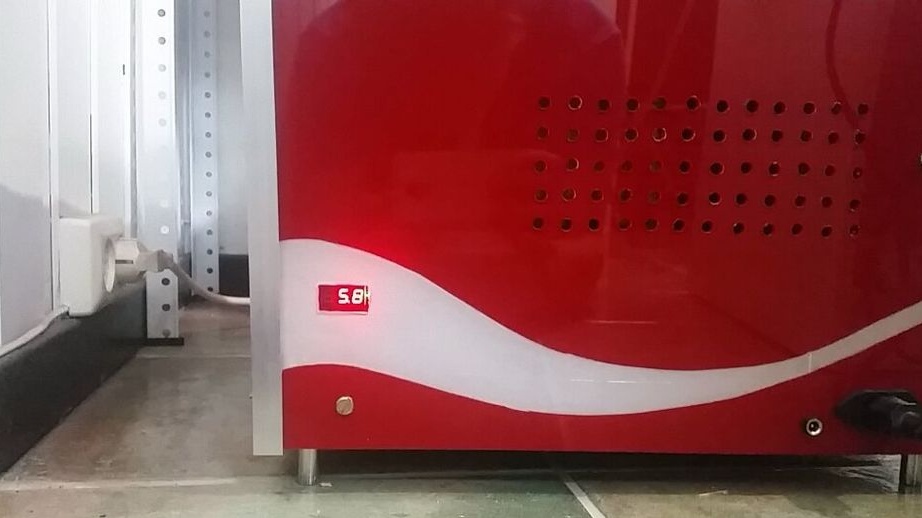
Sets the thermostat. A thermocouple is installed at the bottom of the camera.
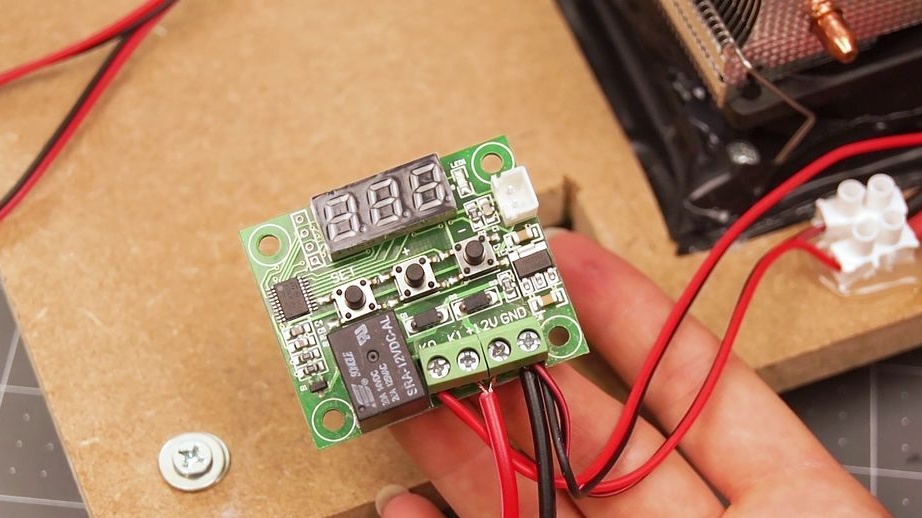
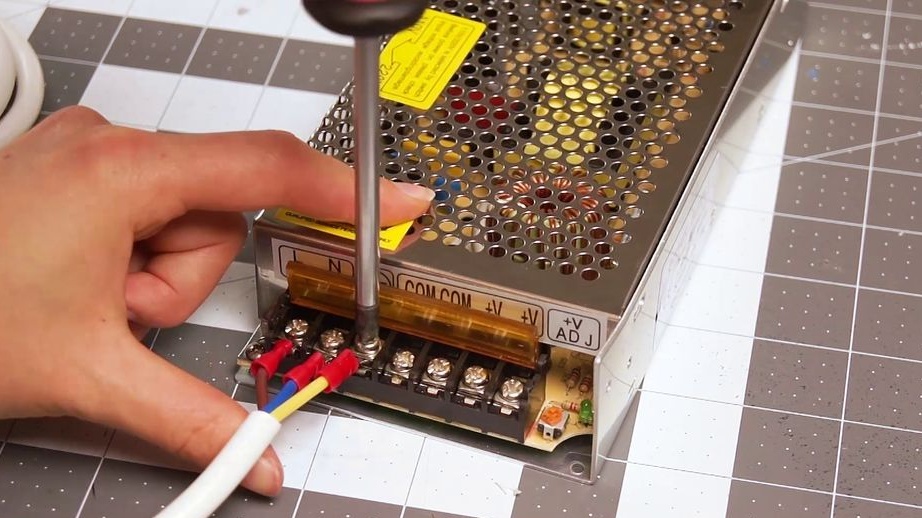
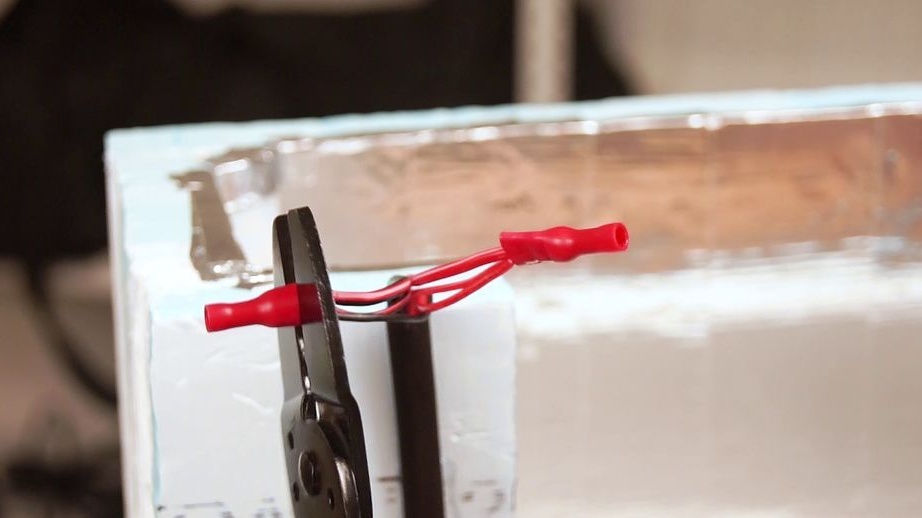
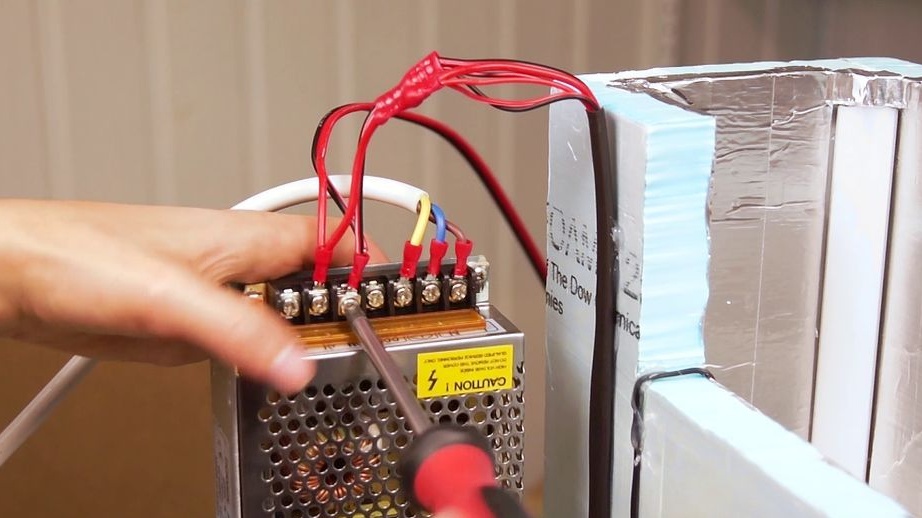
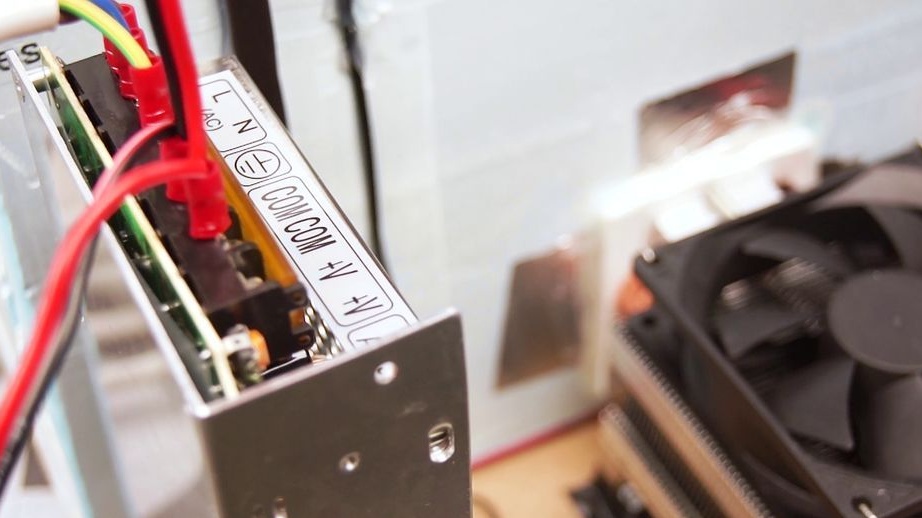
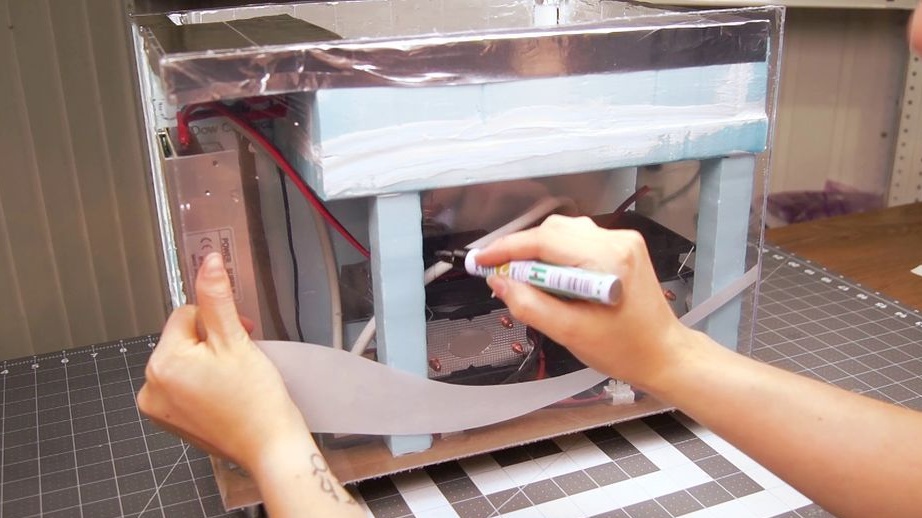
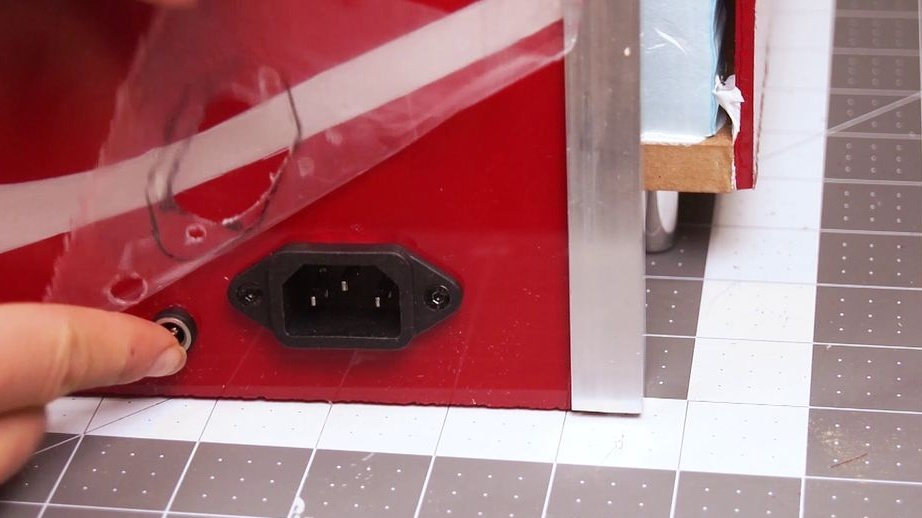
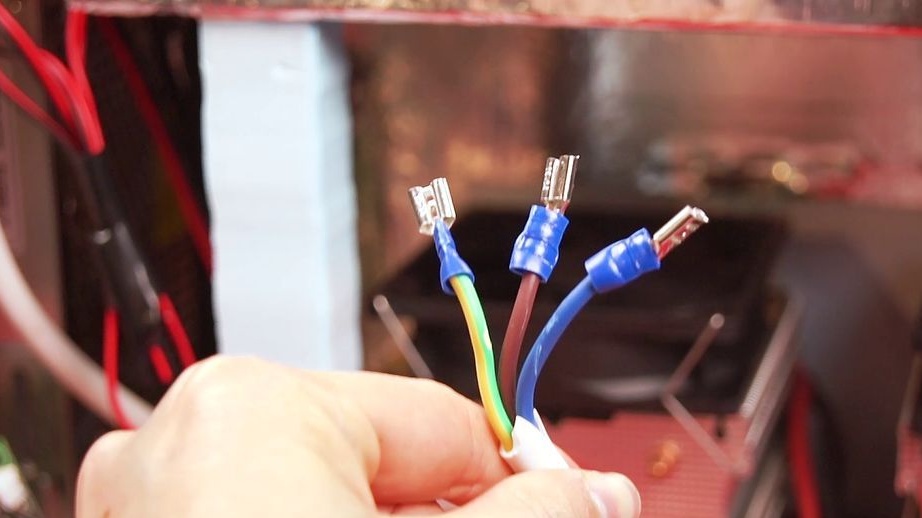
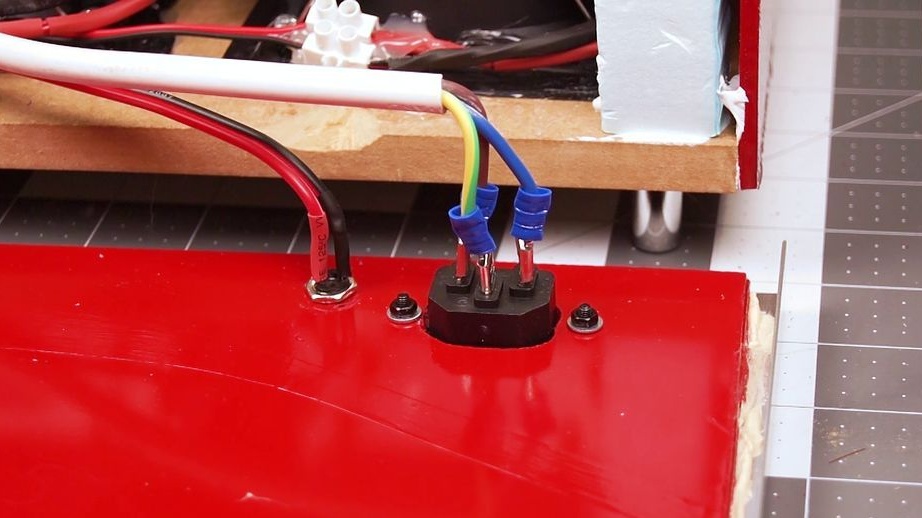
Connects the power side.
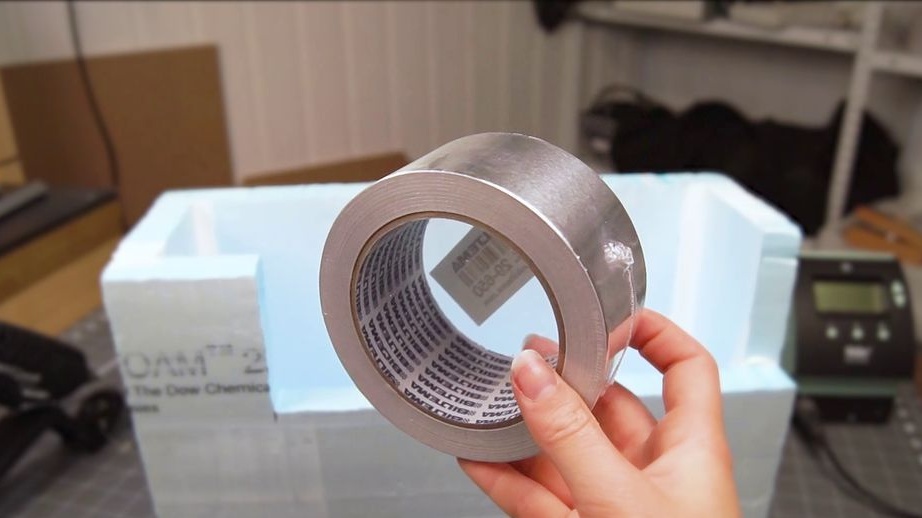
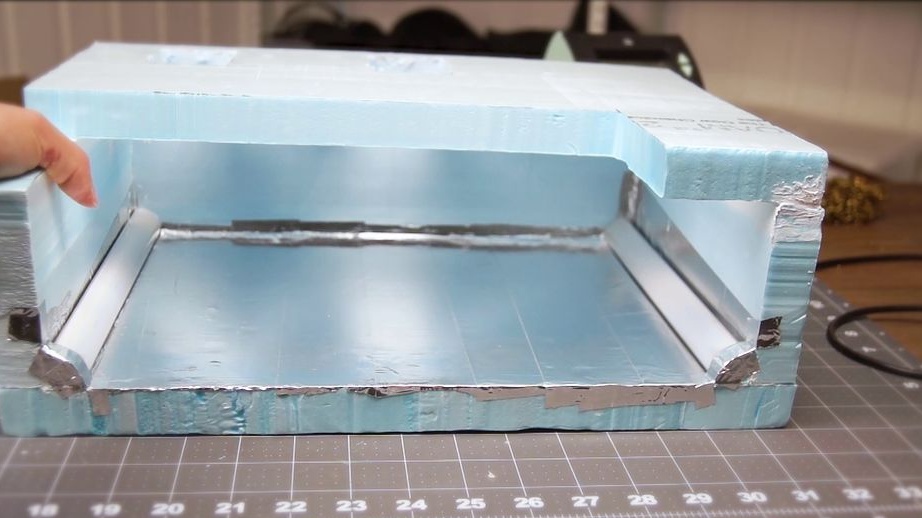
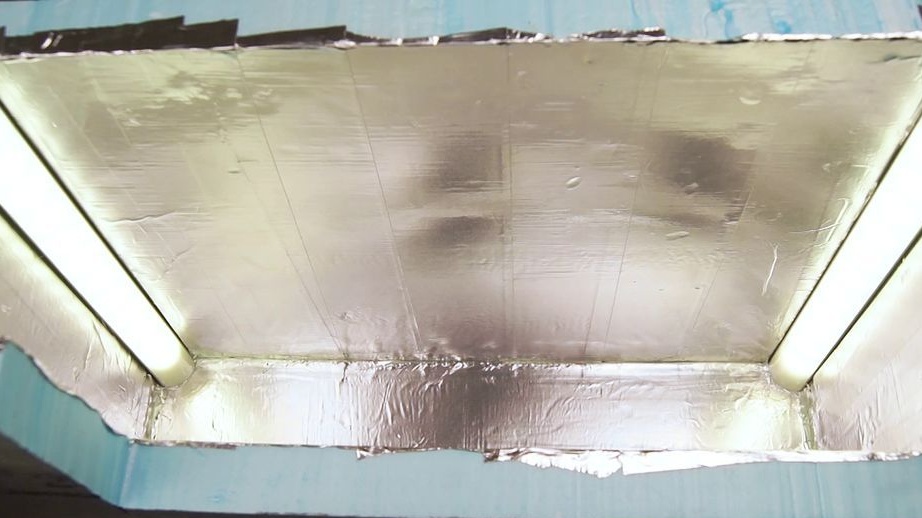
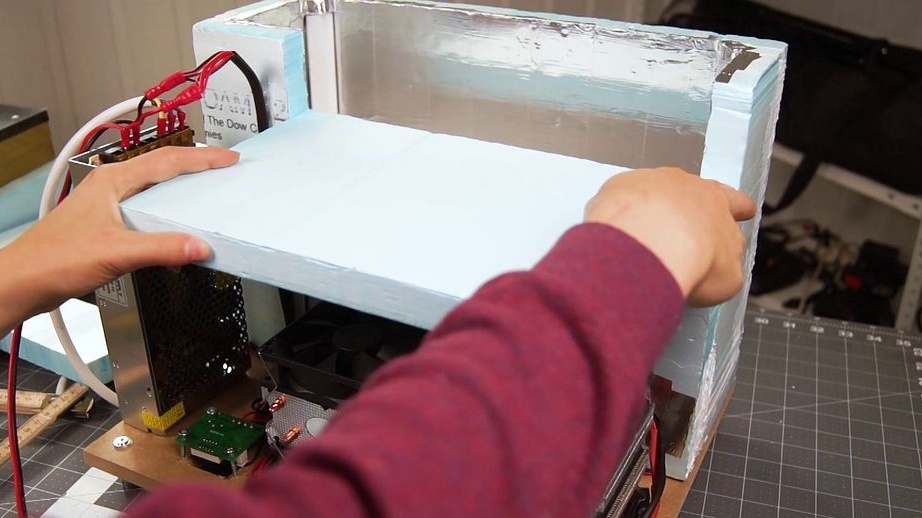
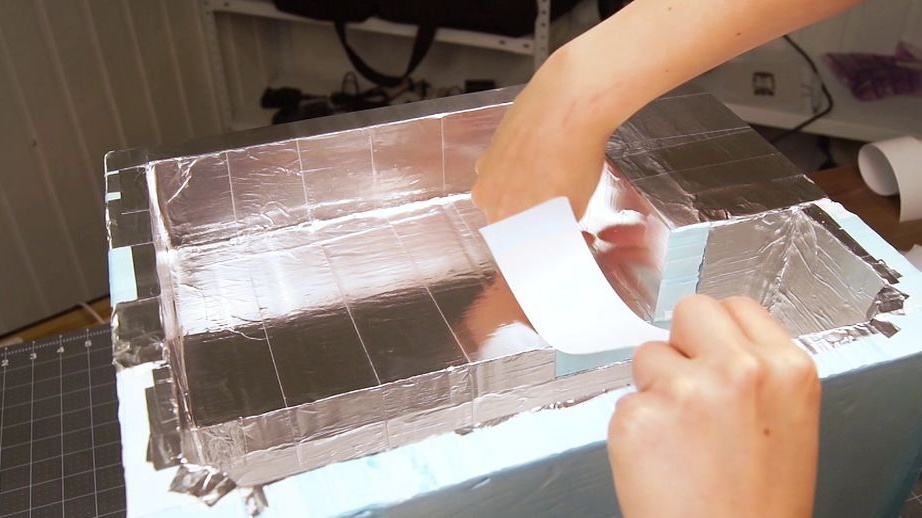
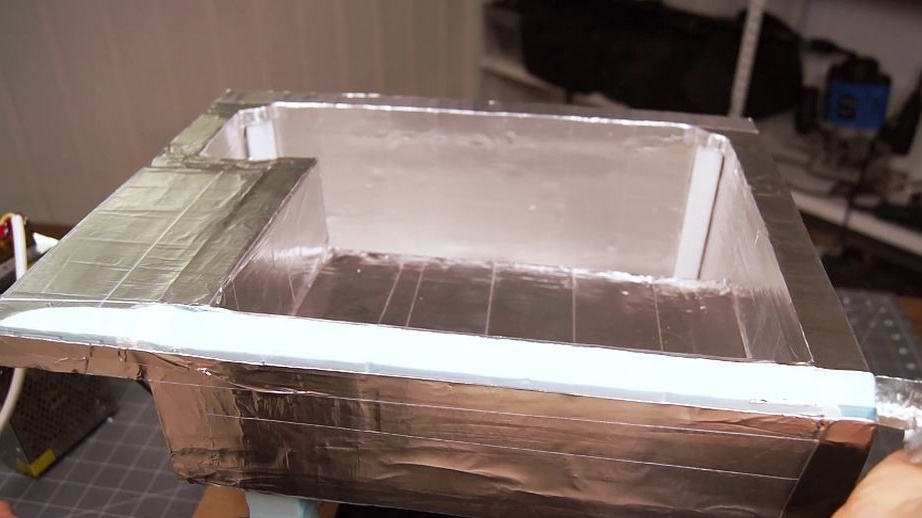
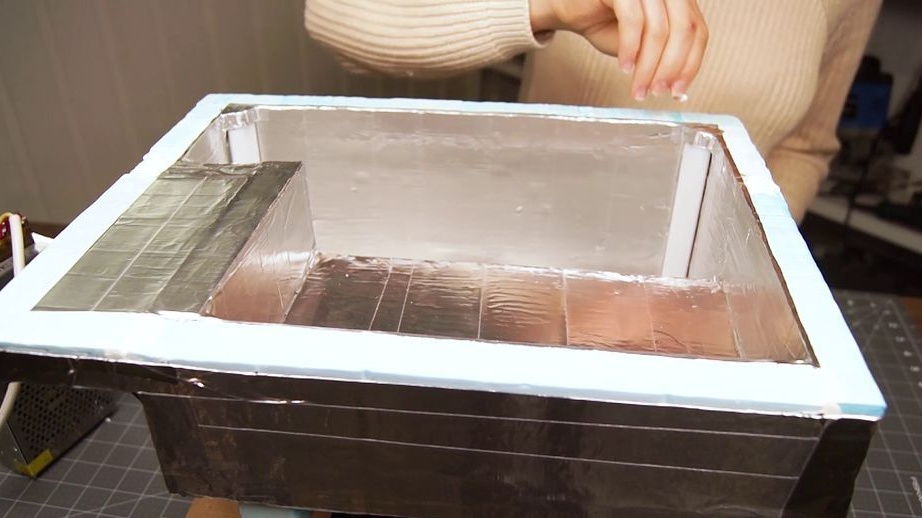
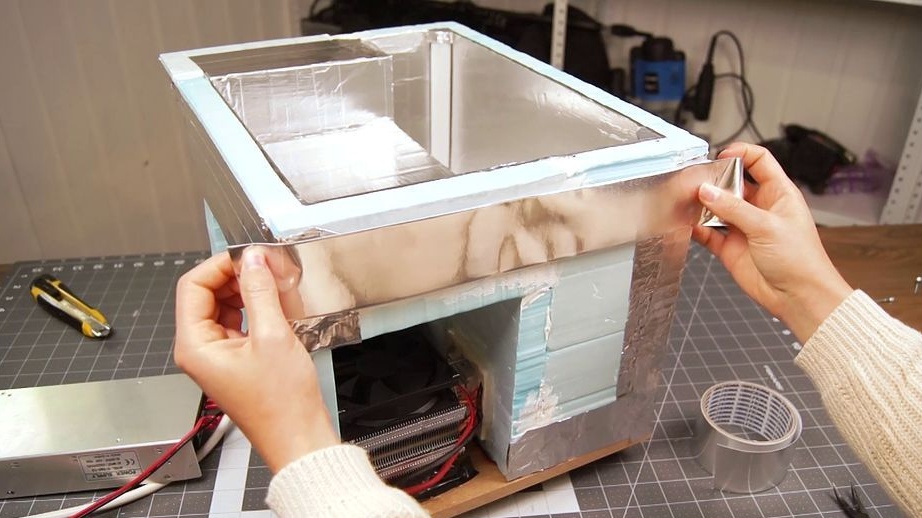
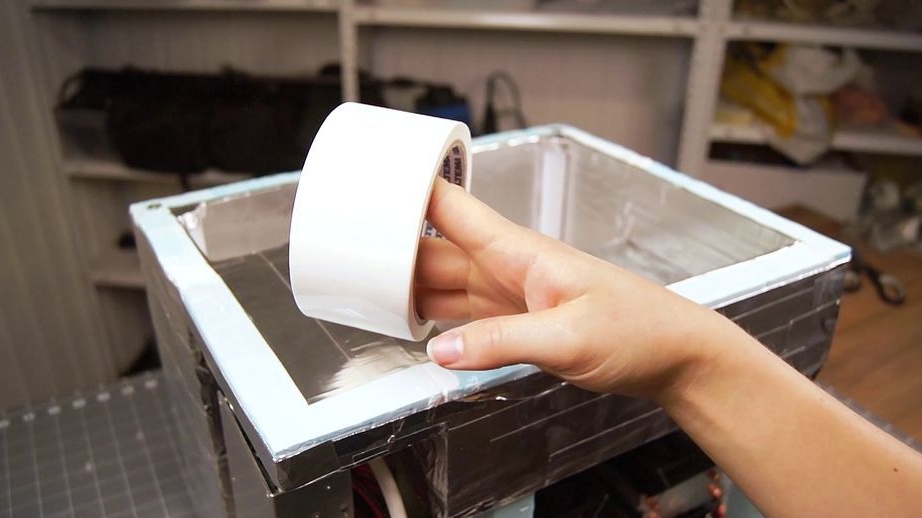
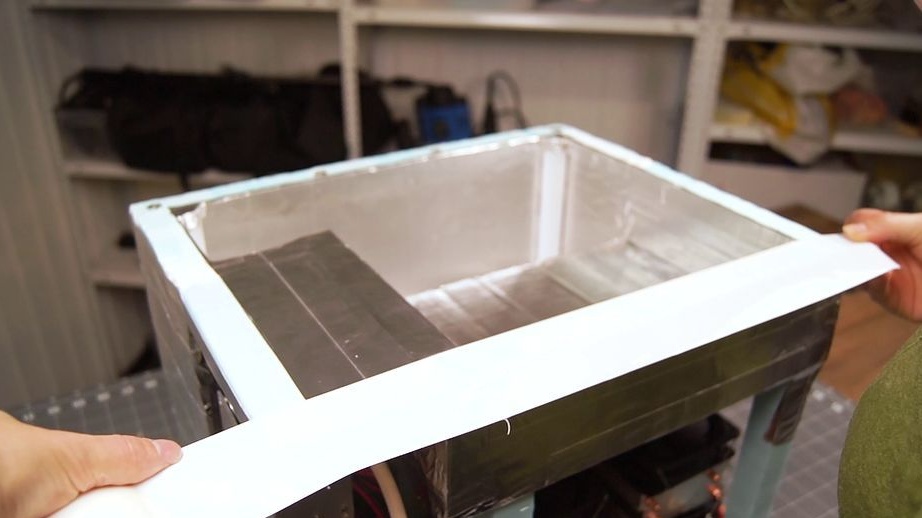
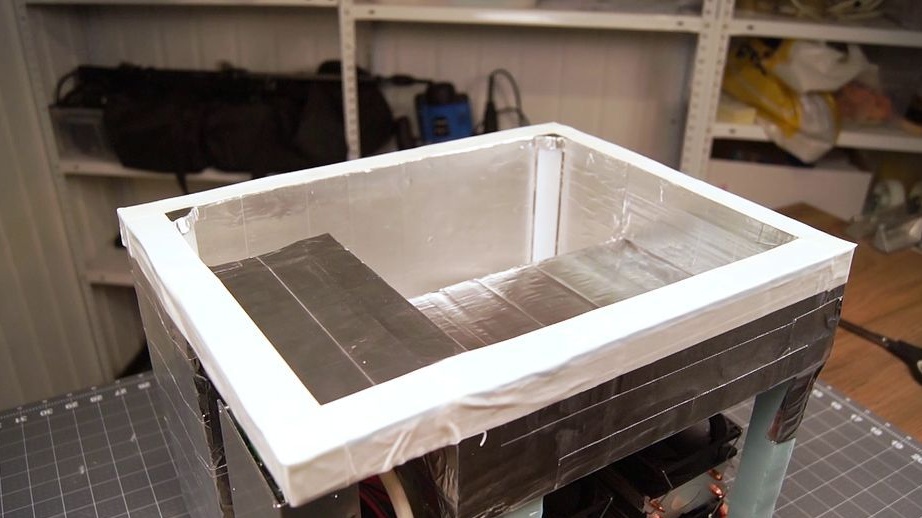
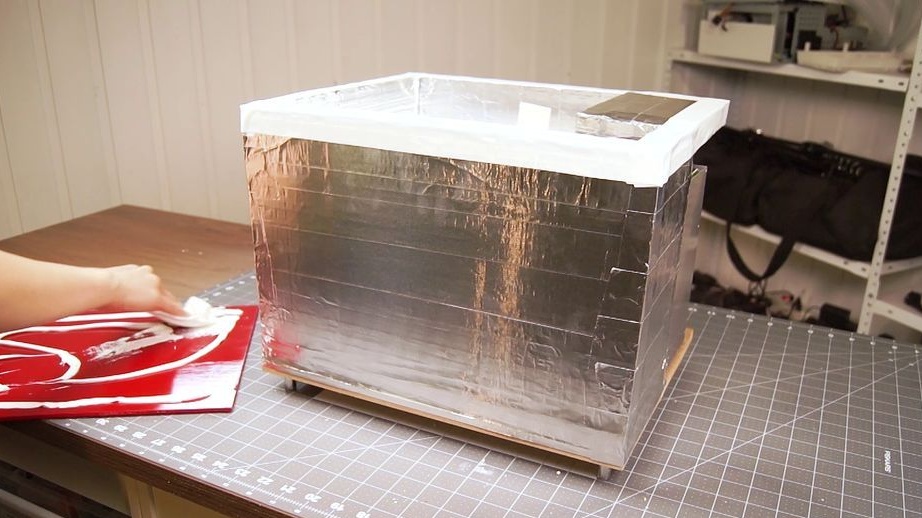
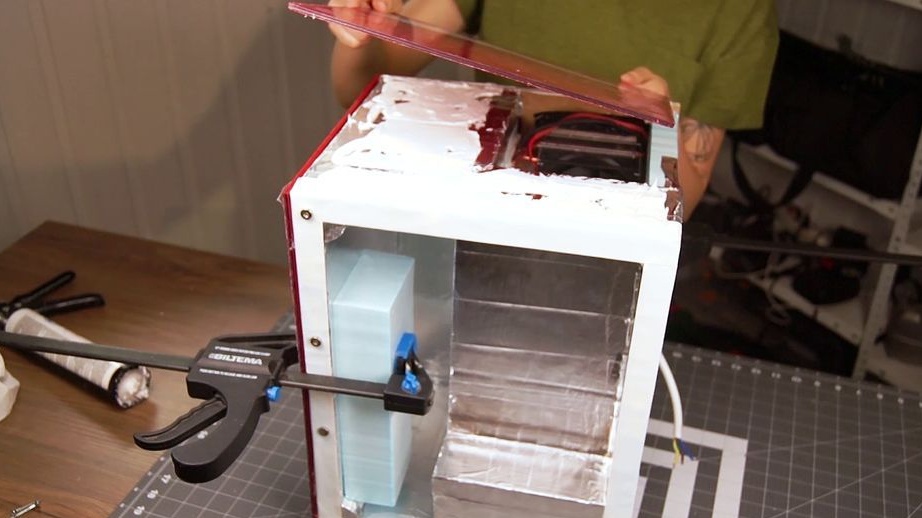
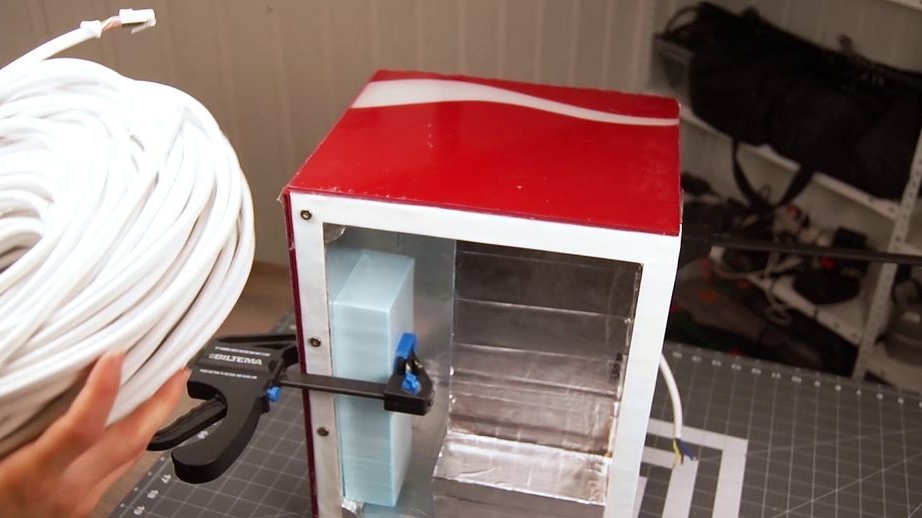
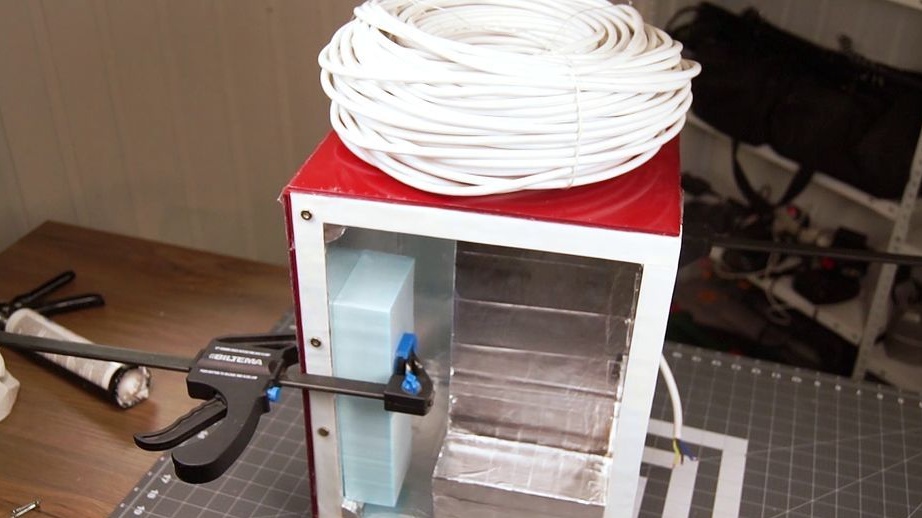
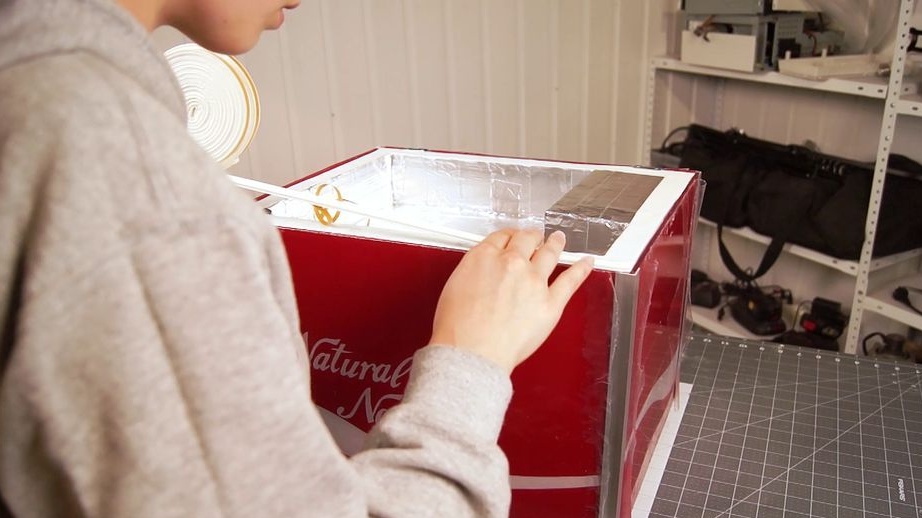
Step Six: Aluminum Tape
Installs an optional bay. To reduce the thermal conductivity, it is glued on the inside with metallic tape (the upper perimeter does not need gluing).
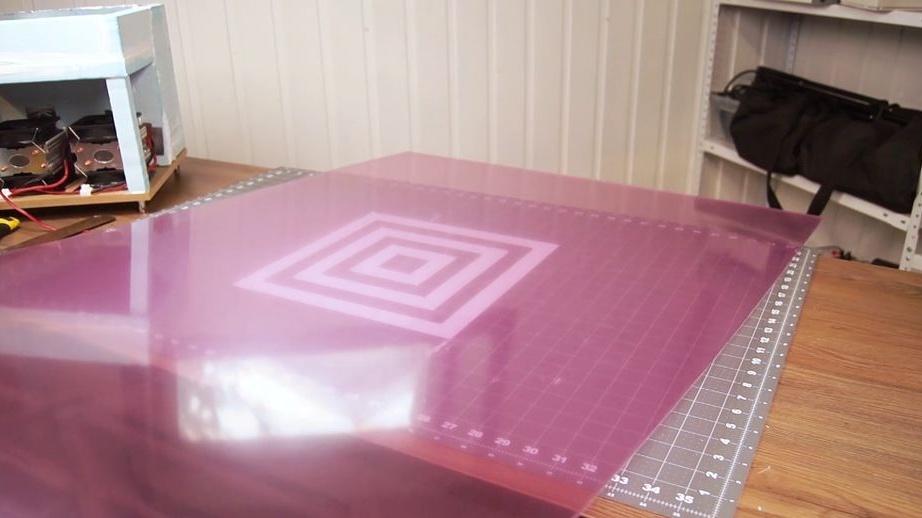
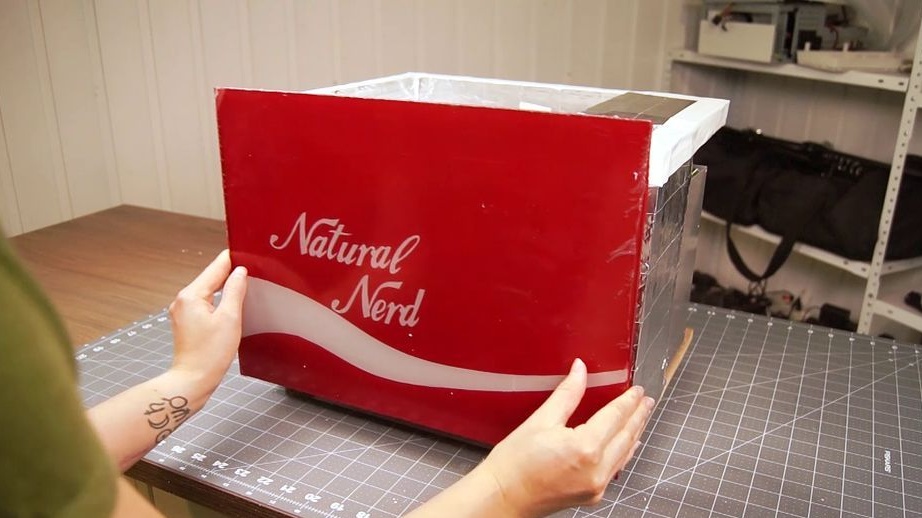
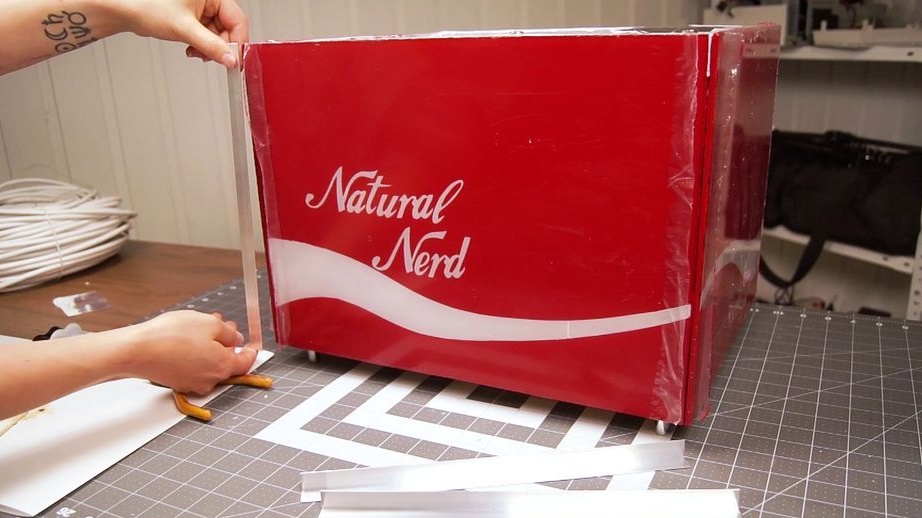
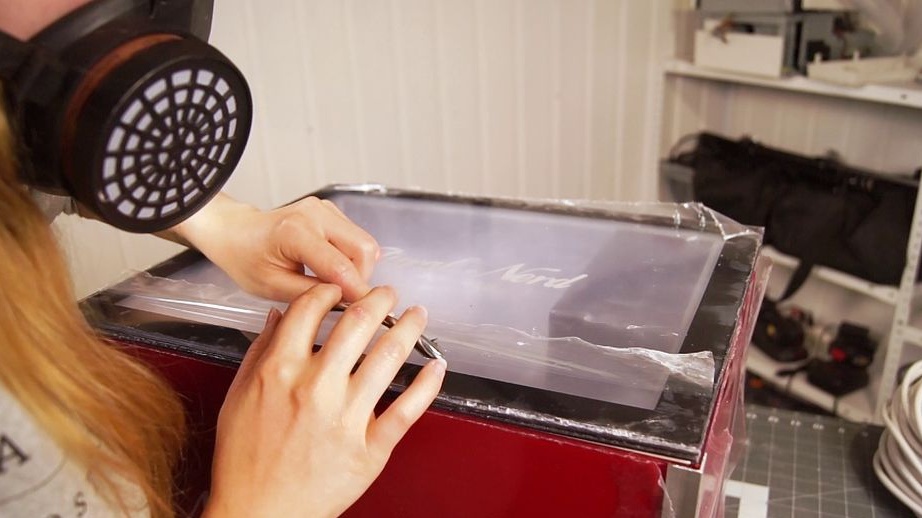
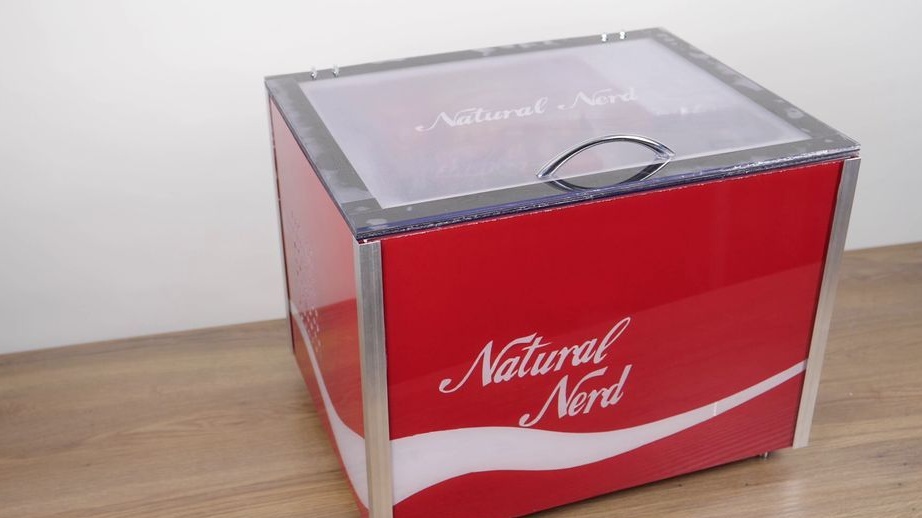
Seventh step: sheathing
He begins to cover the refrigerator.
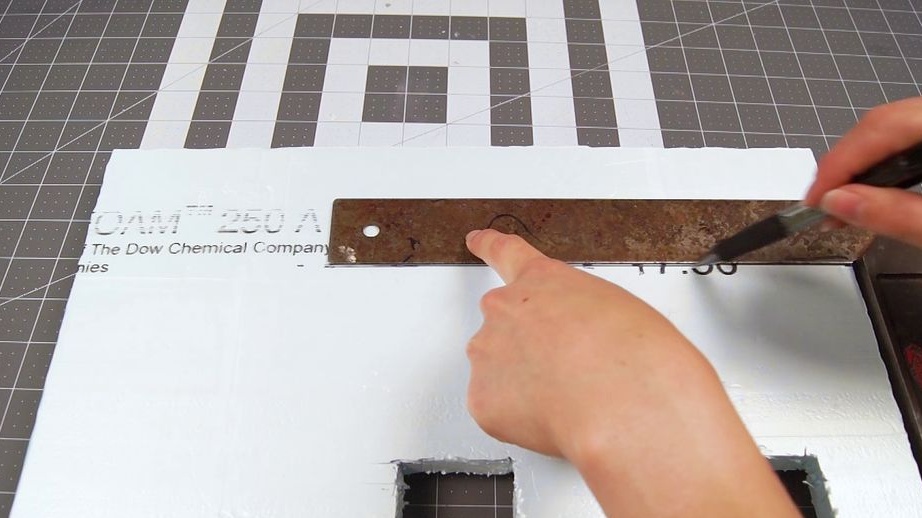
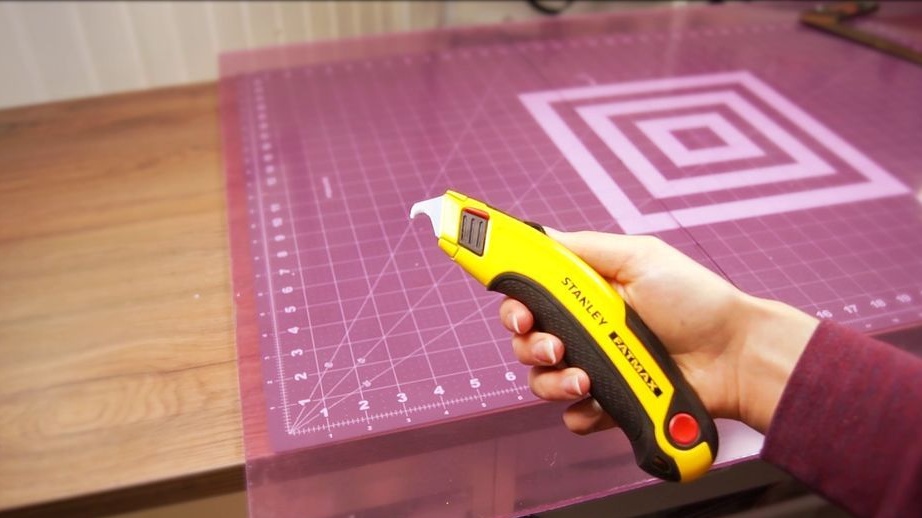
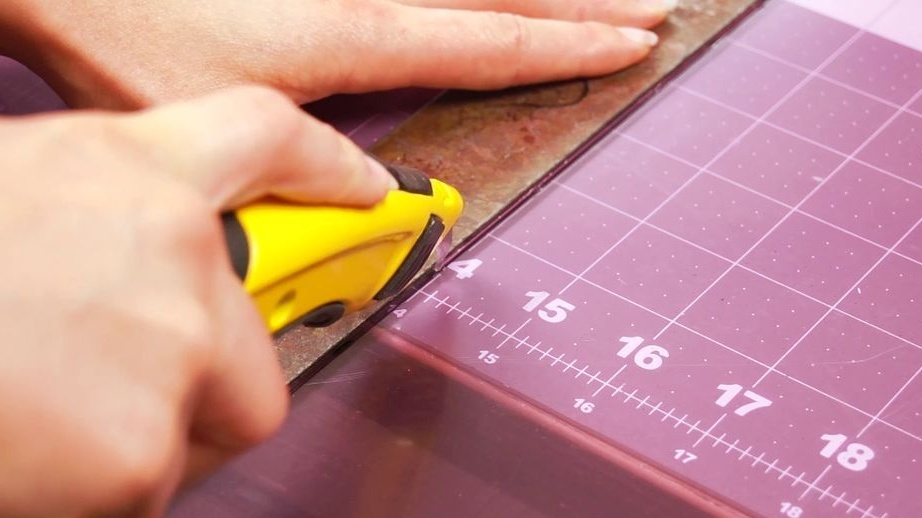
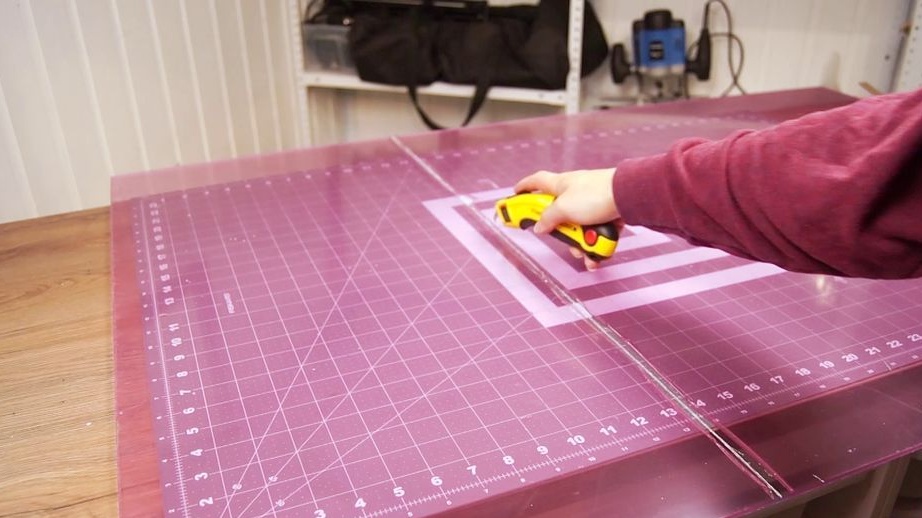
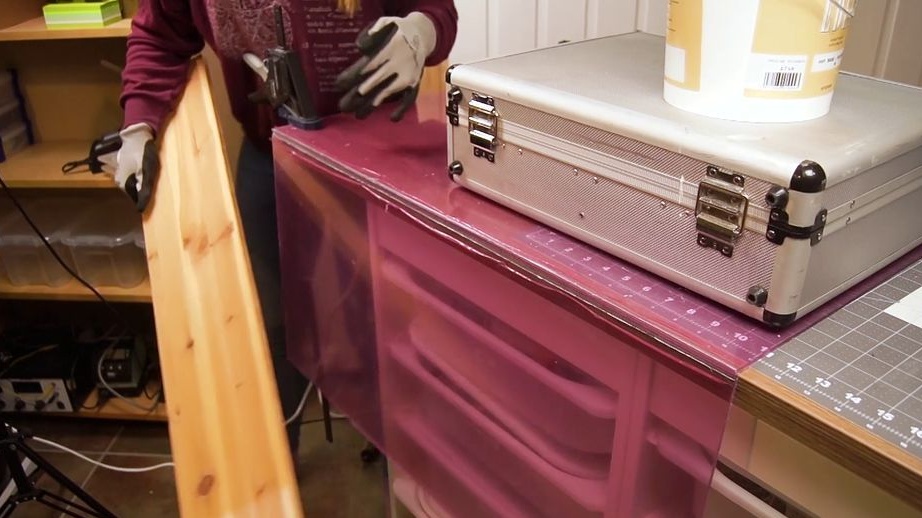
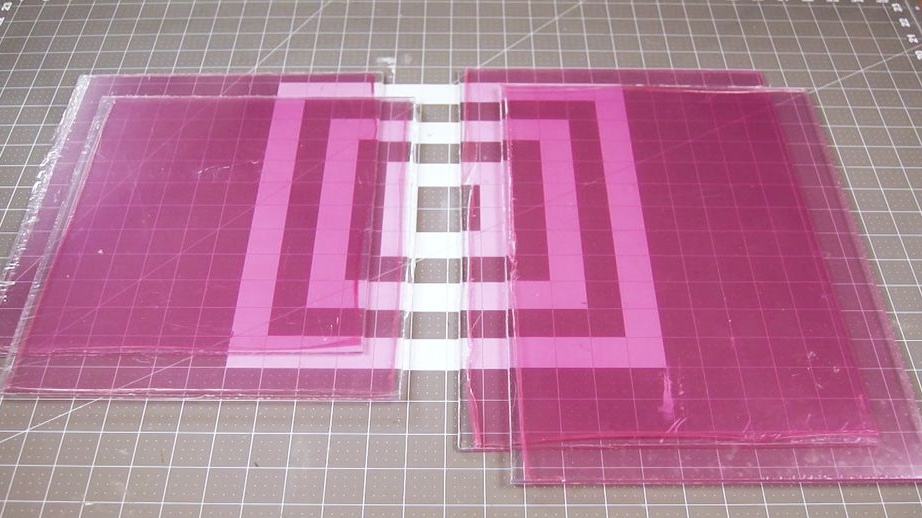
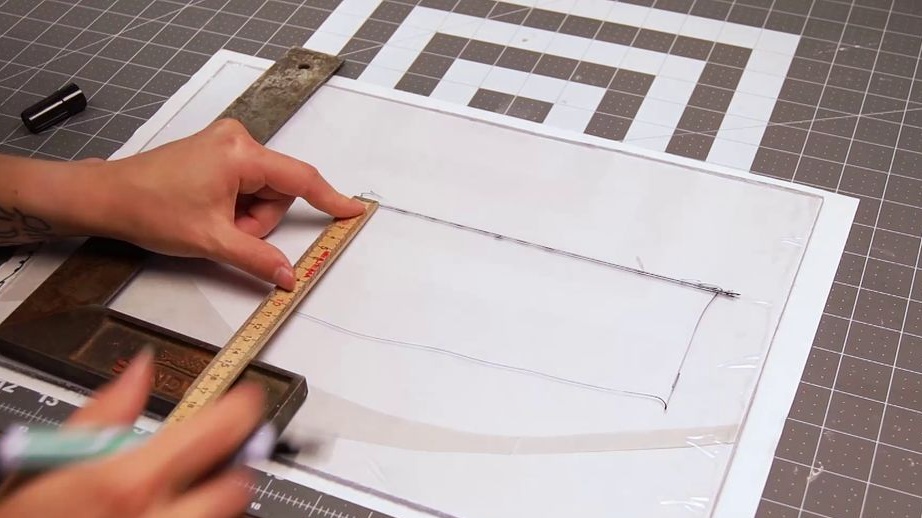
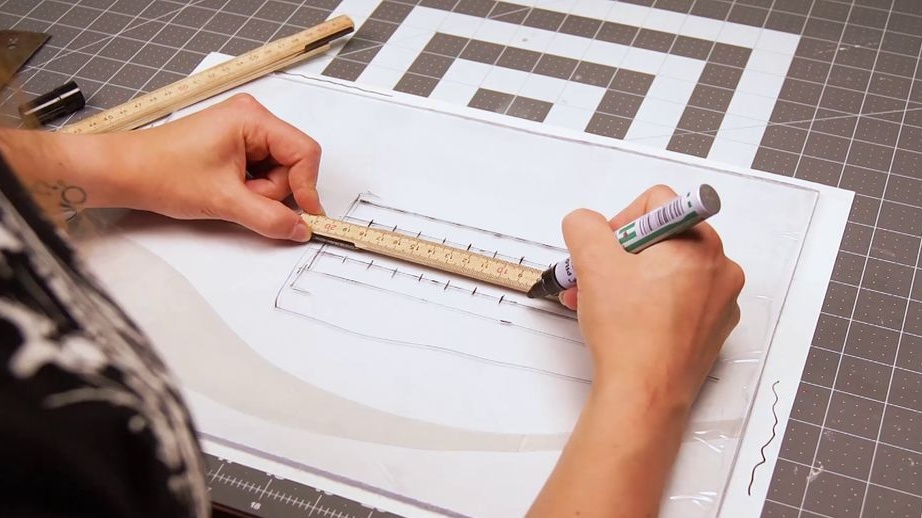
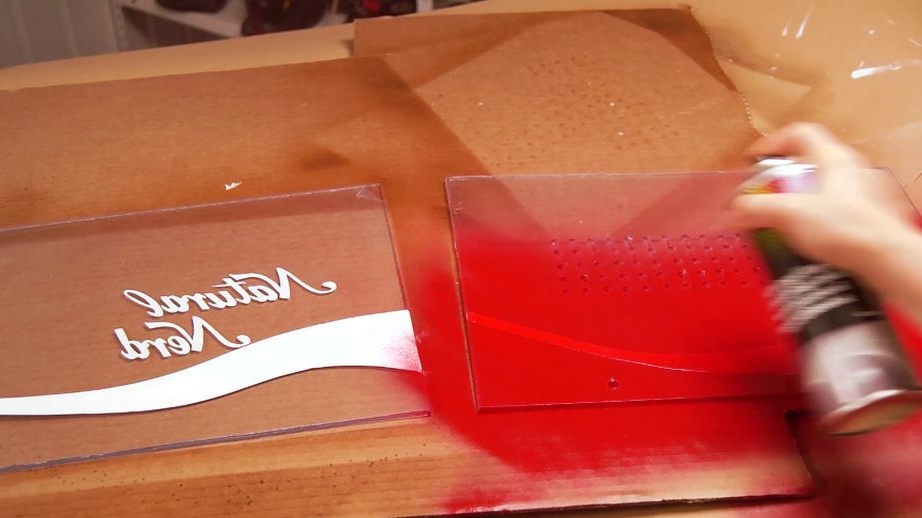
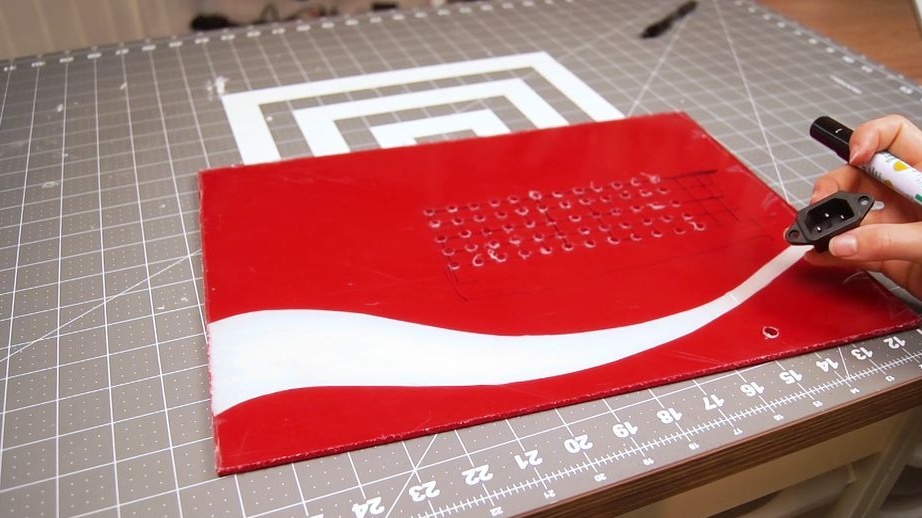
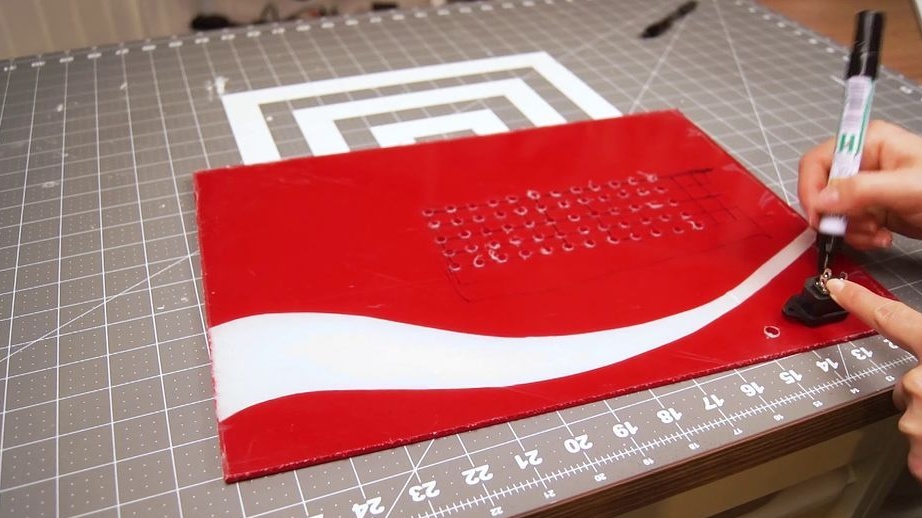
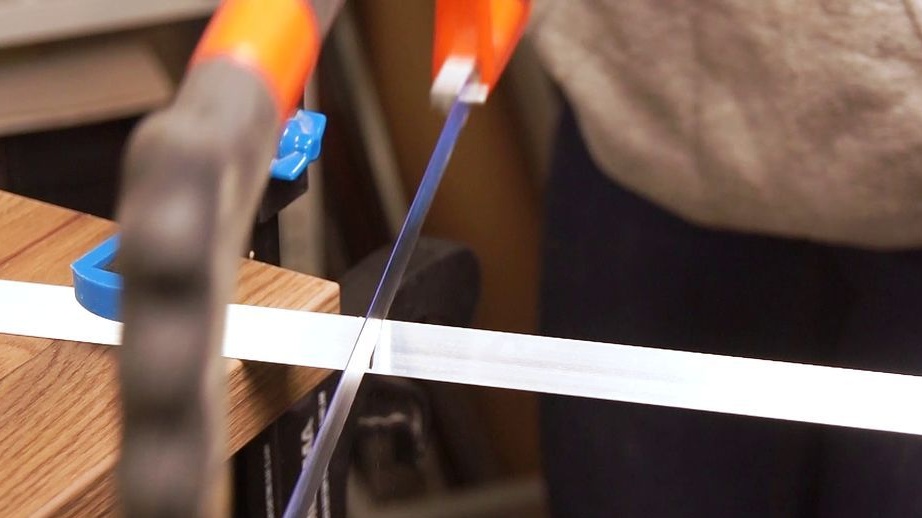
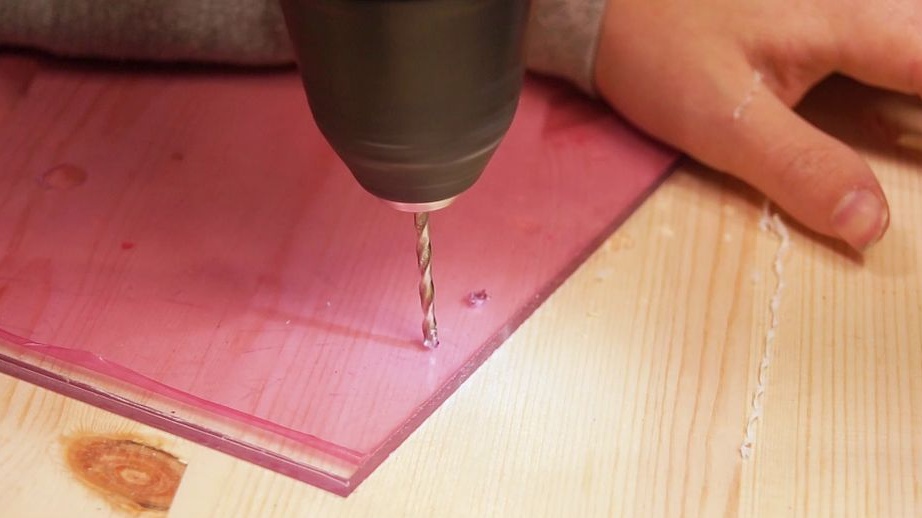
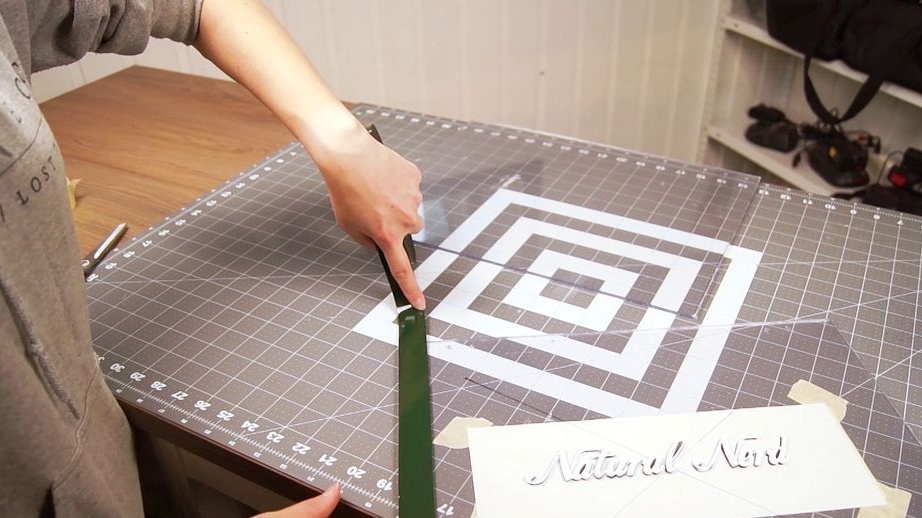
Measures and cuts the required number of acrylic panels.


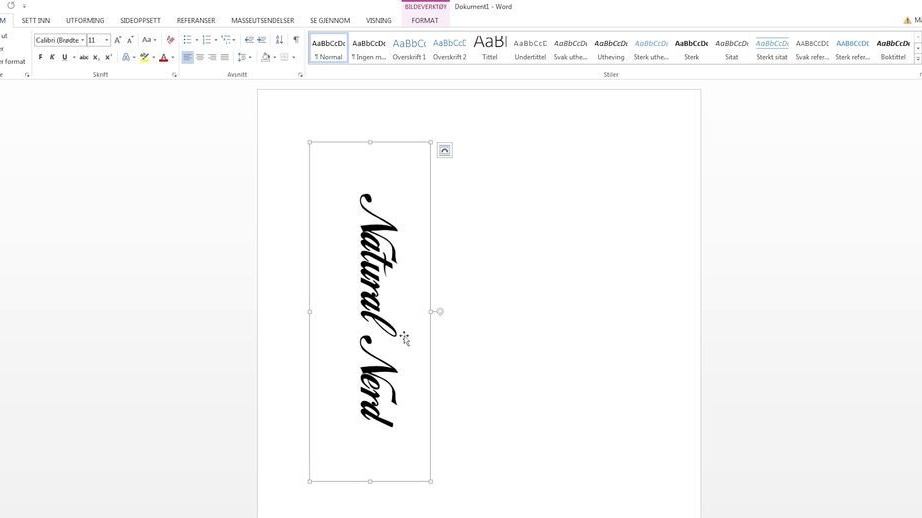
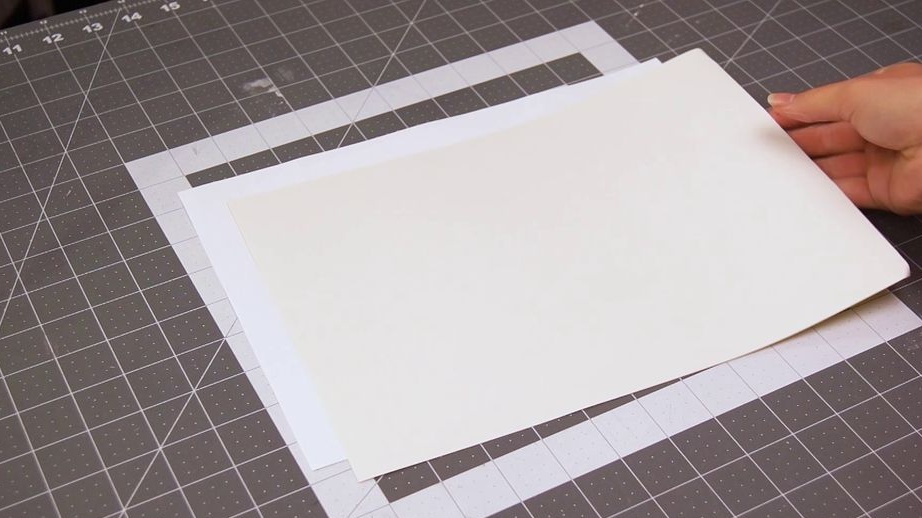
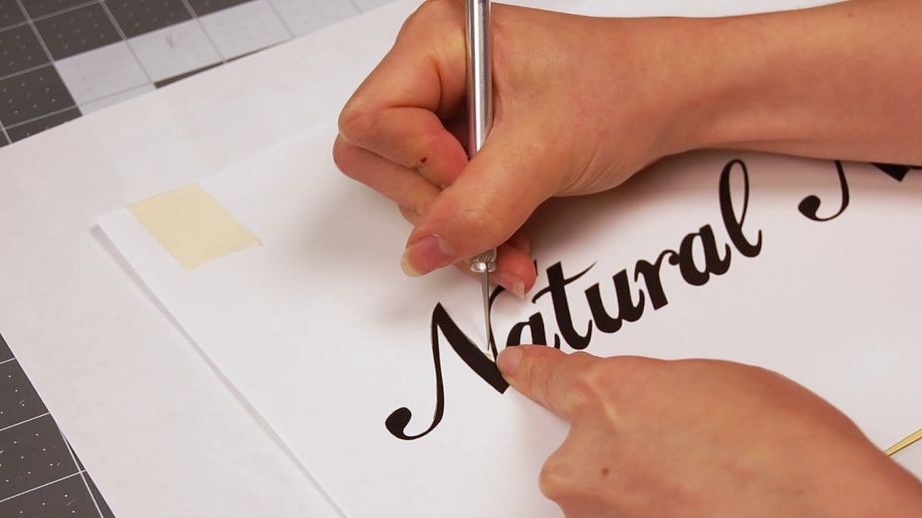
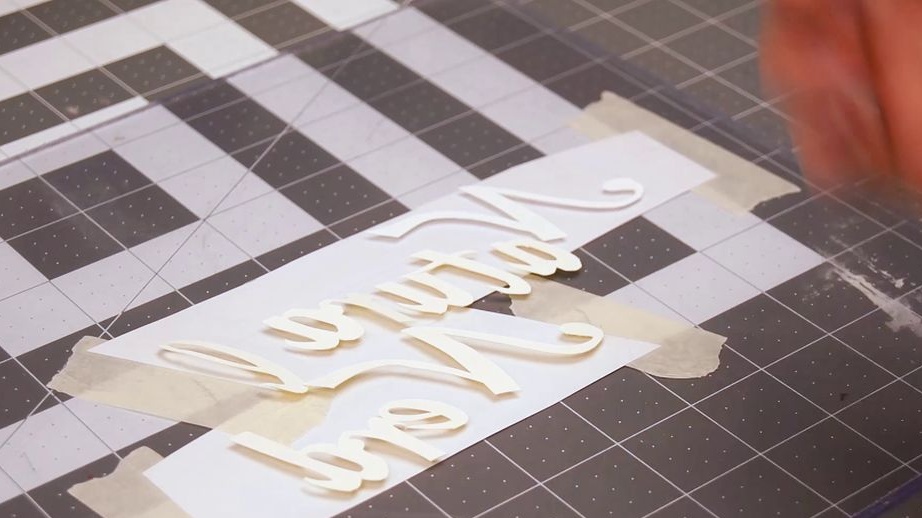
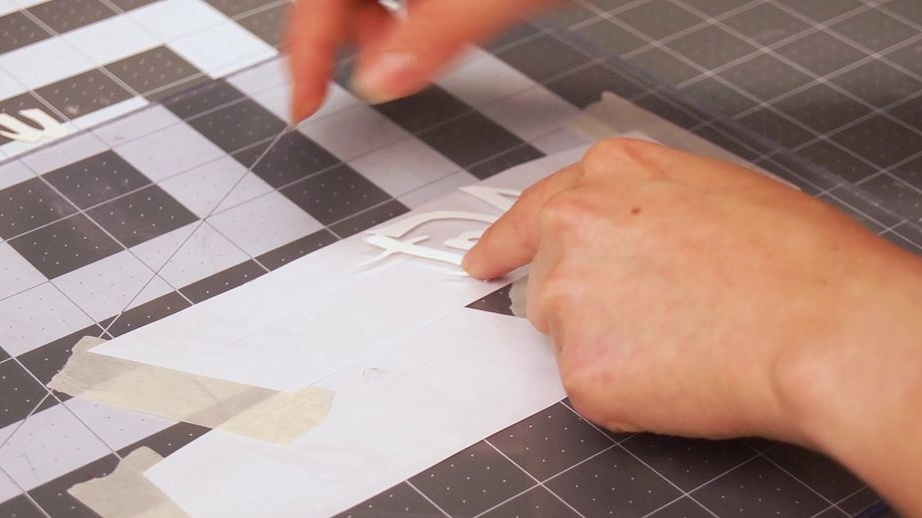
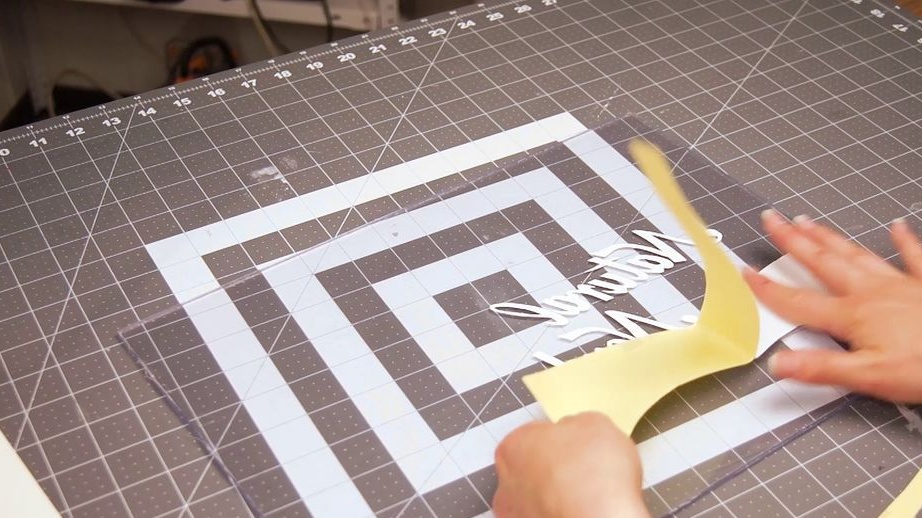
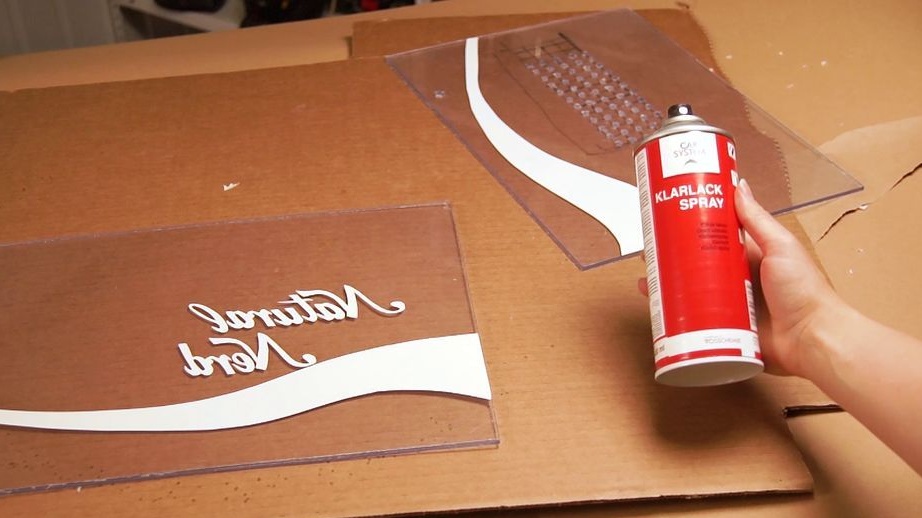
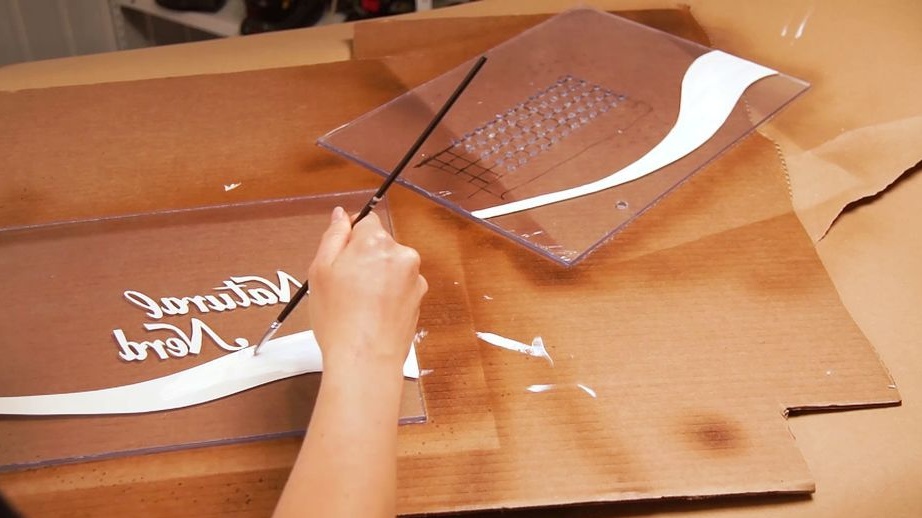
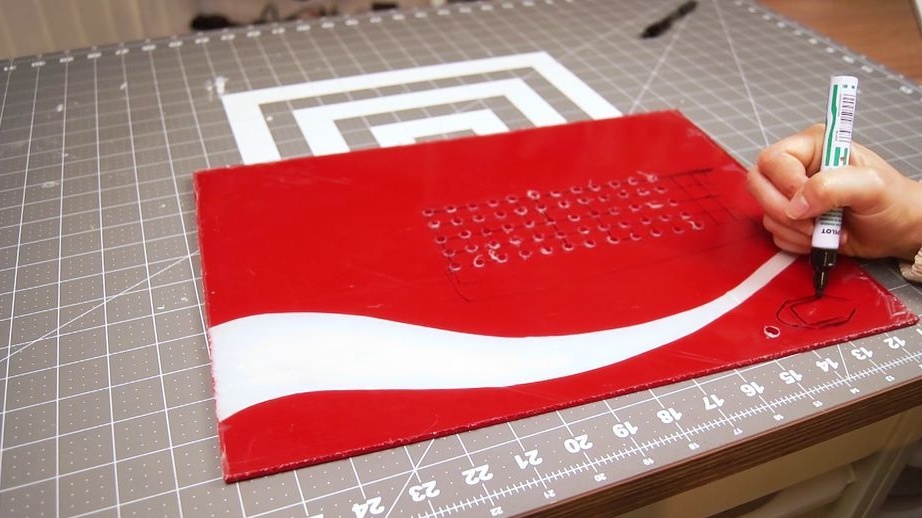
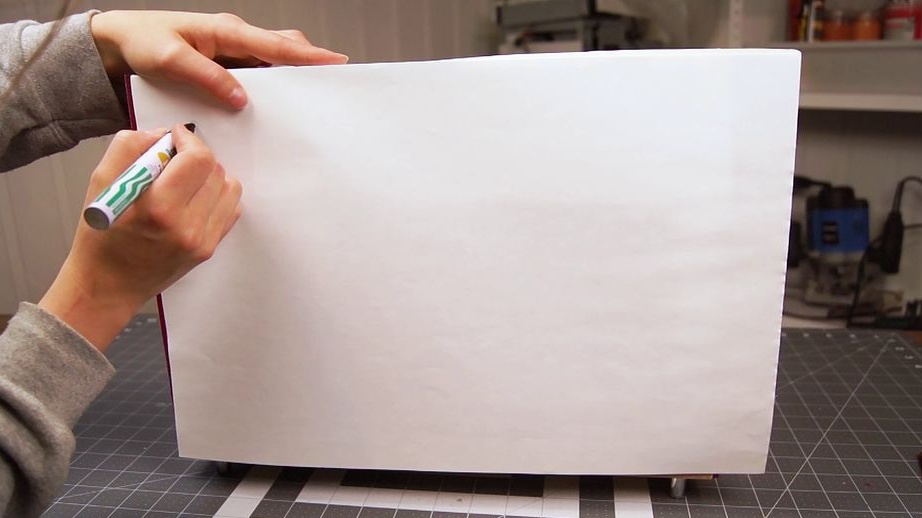
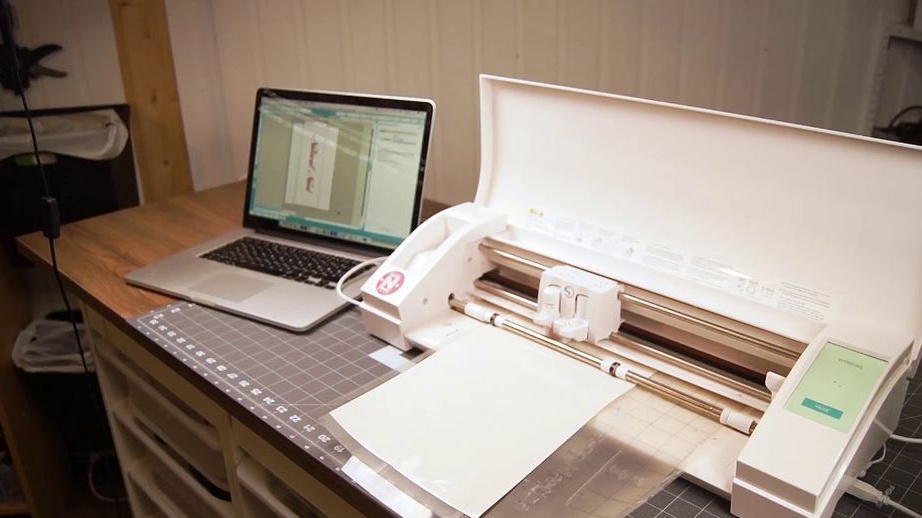
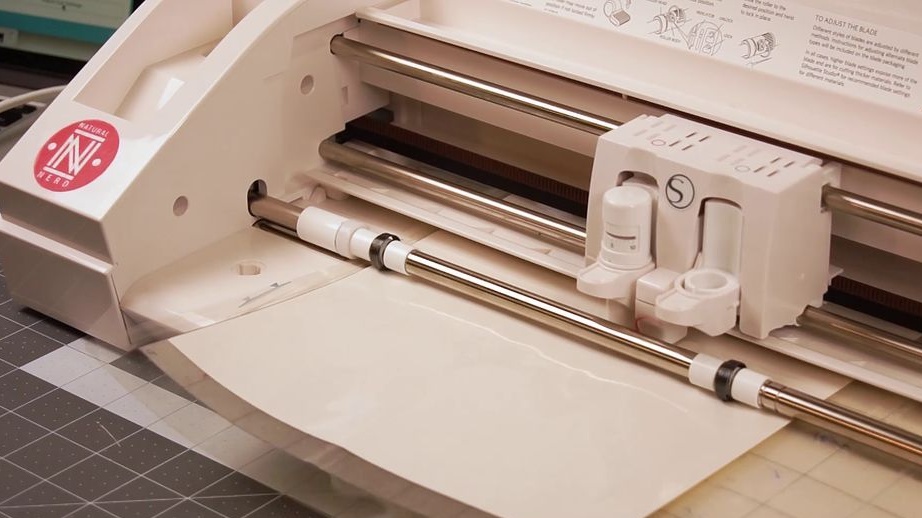
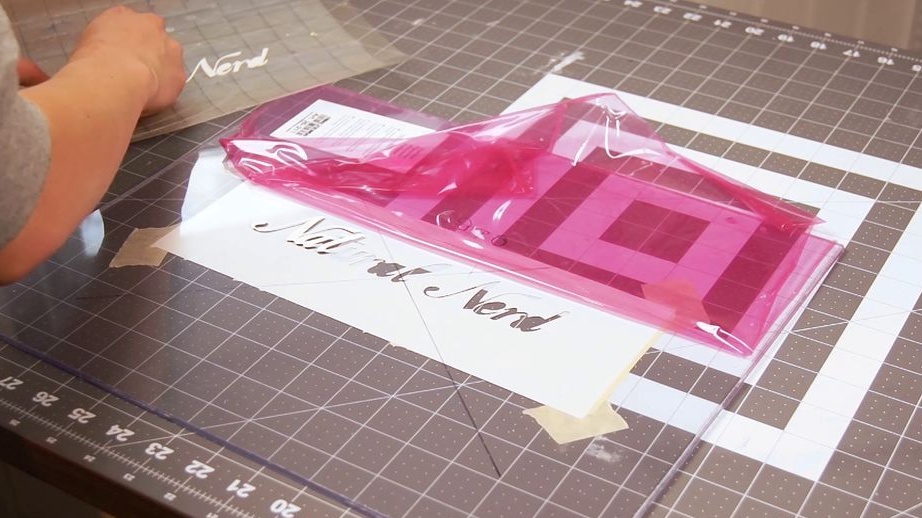
Prints a logo on self-adhesive paper. Cut logo.
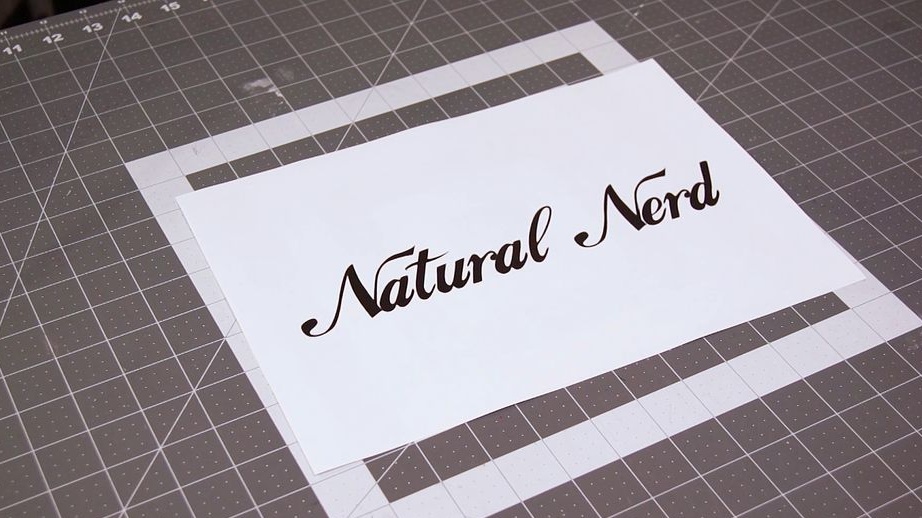
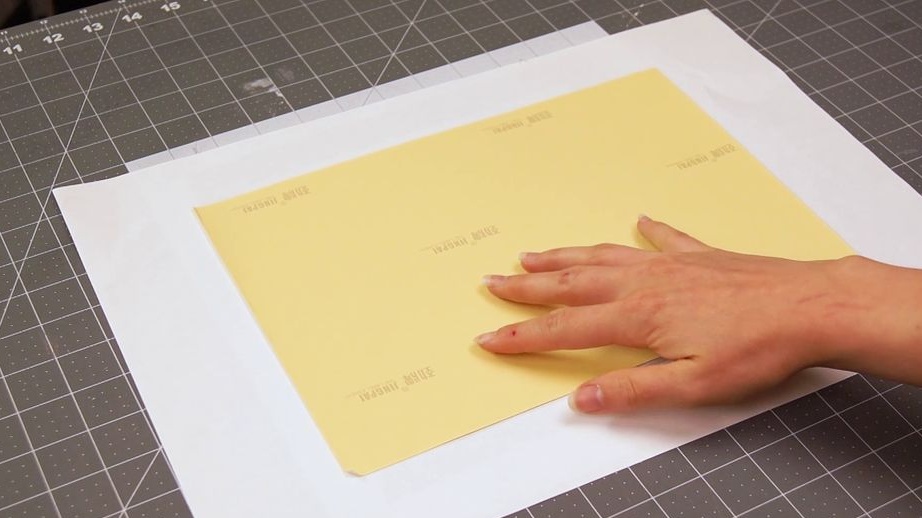
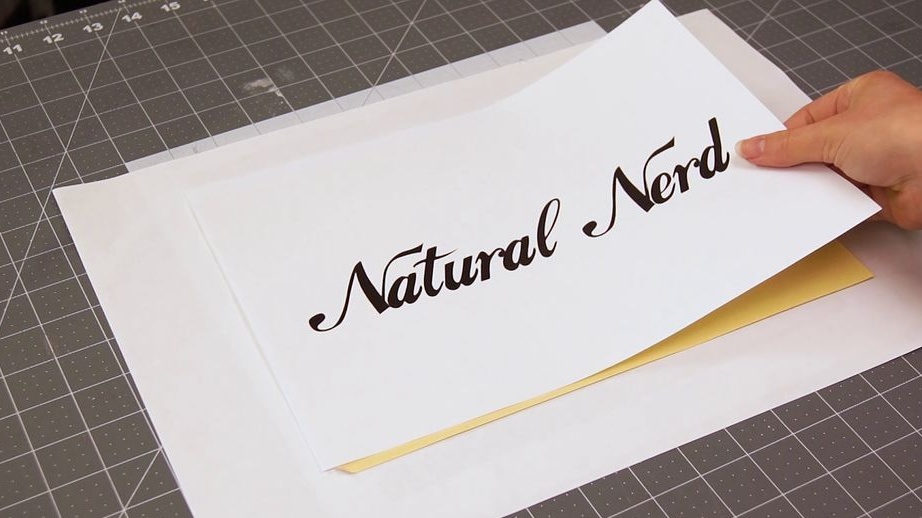
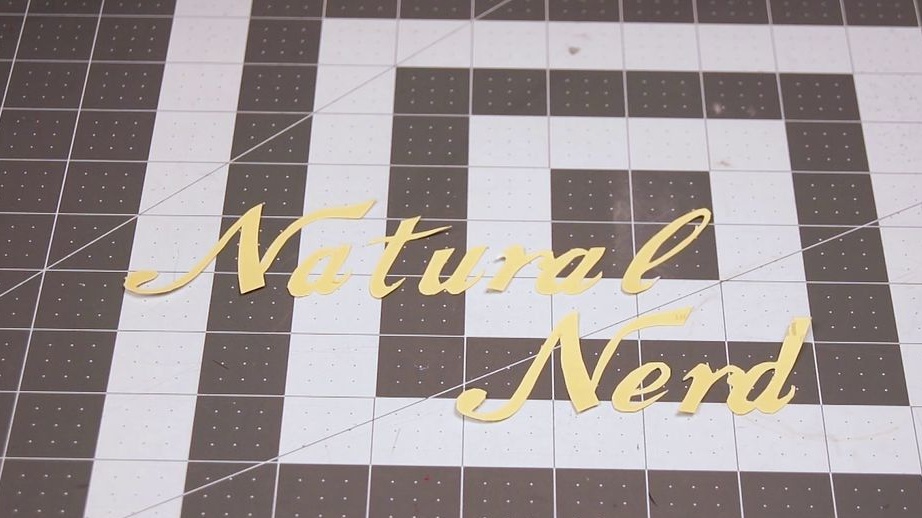
Sticks the logo to acrylic.
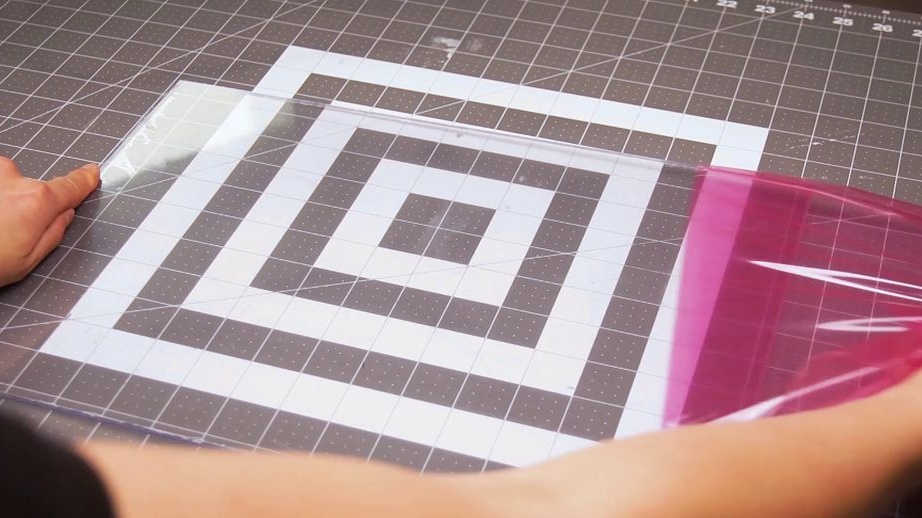
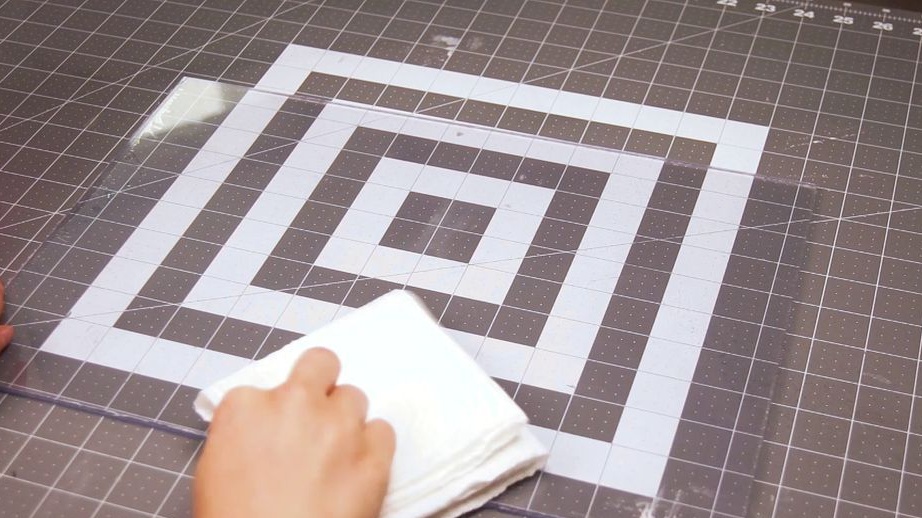
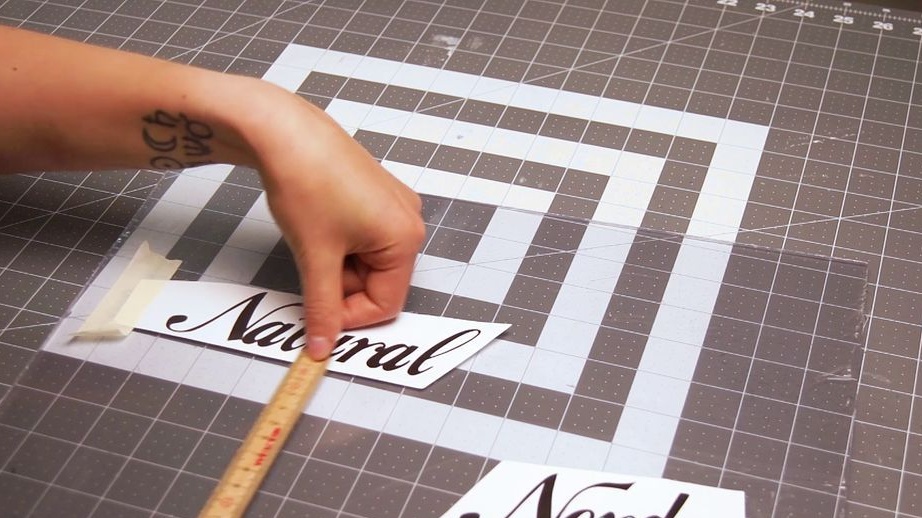
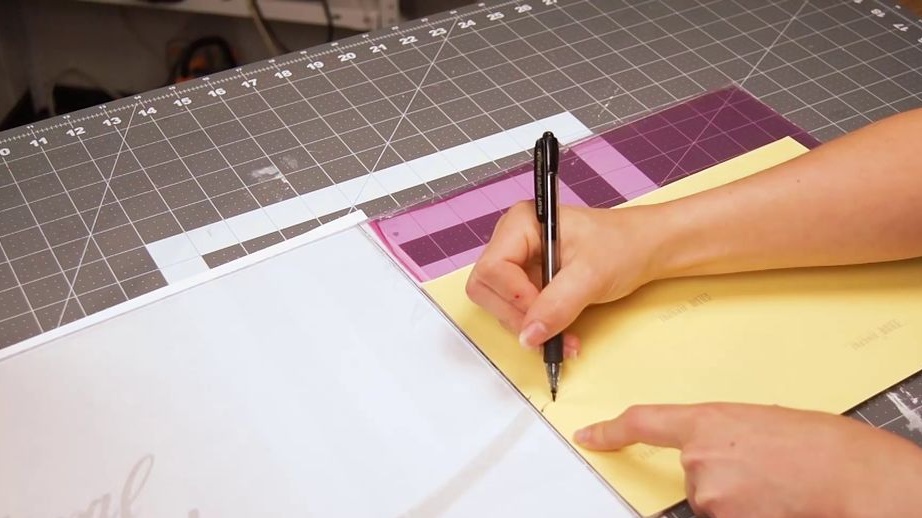
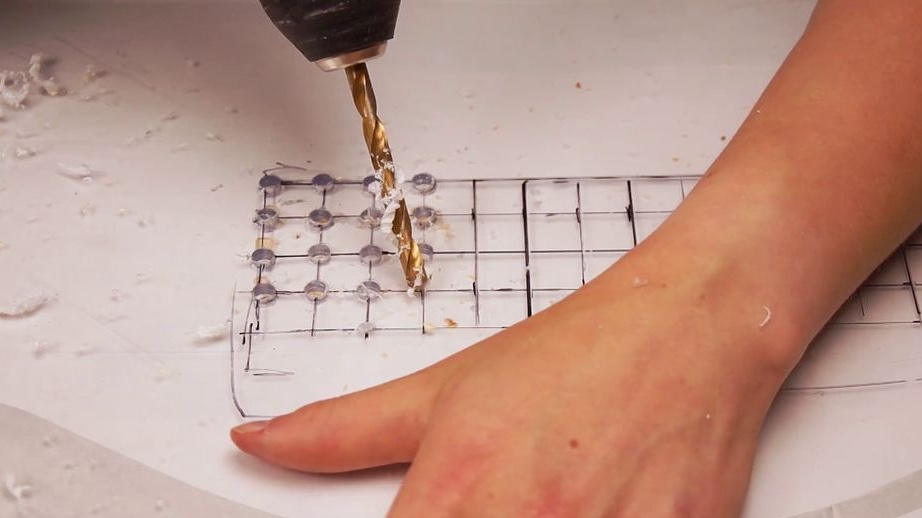
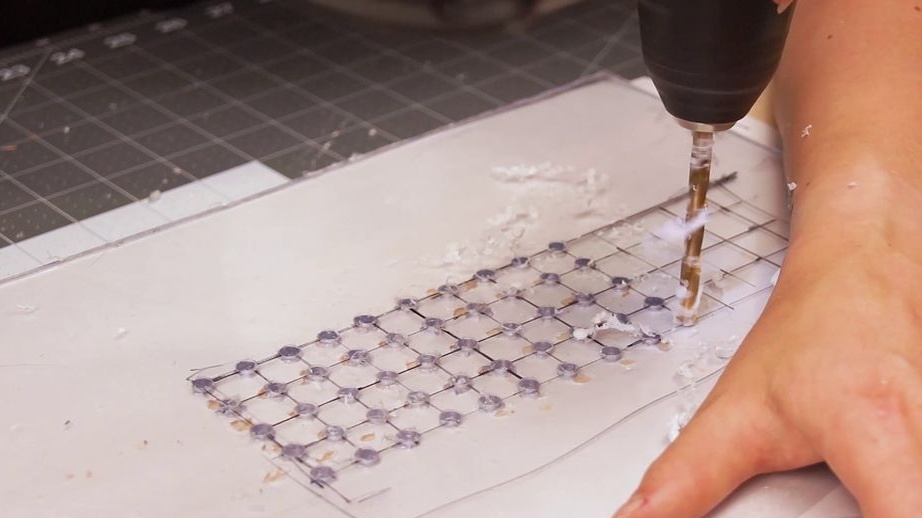
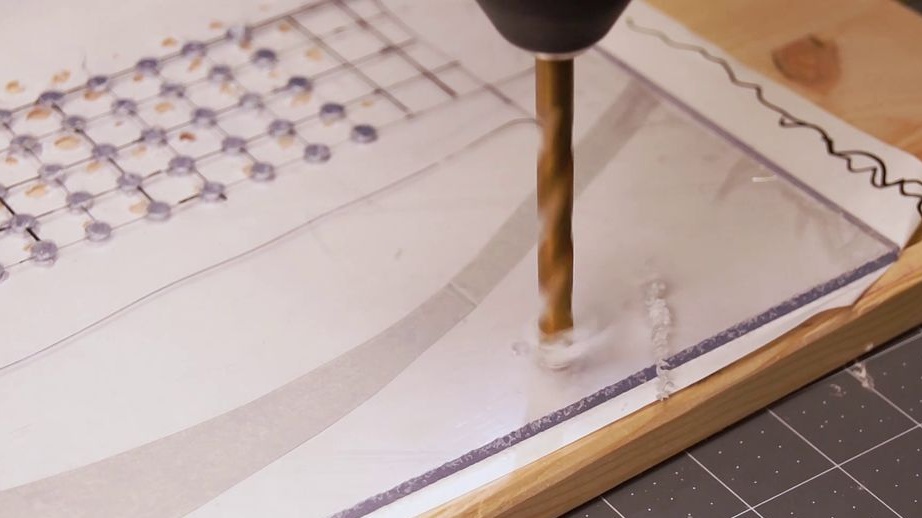
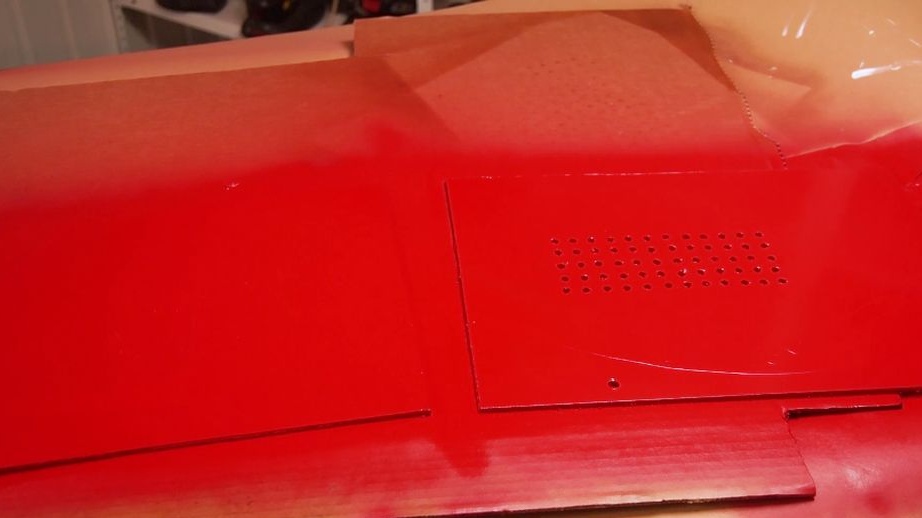
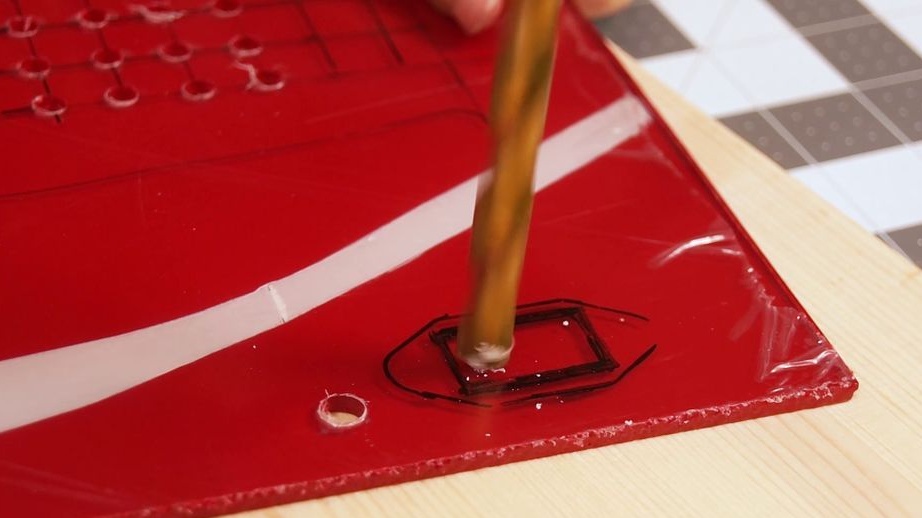
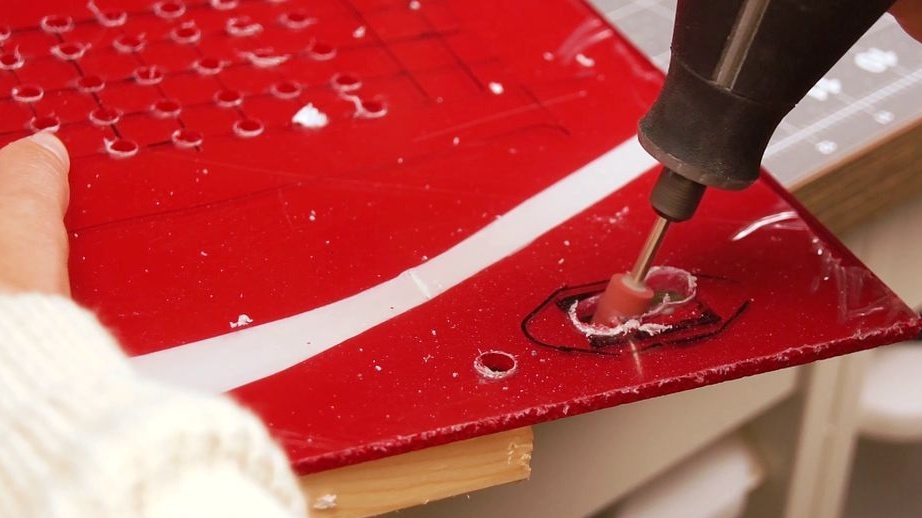
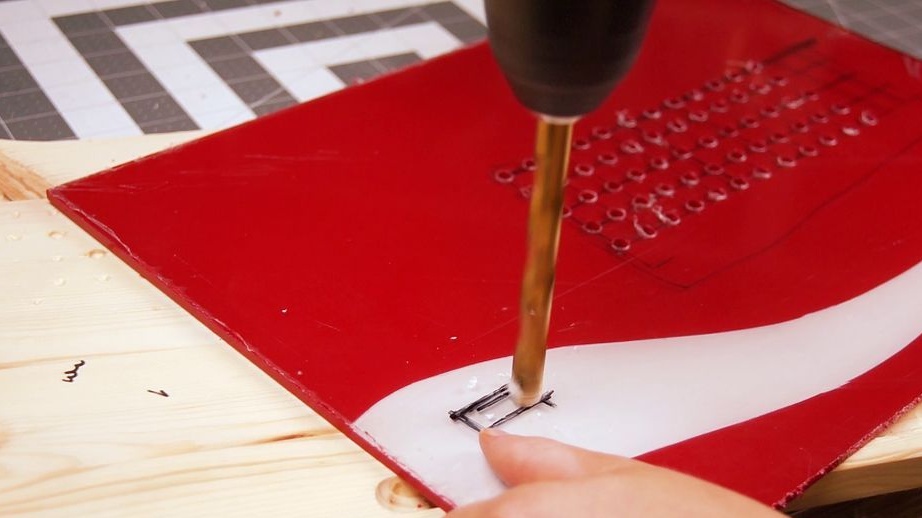
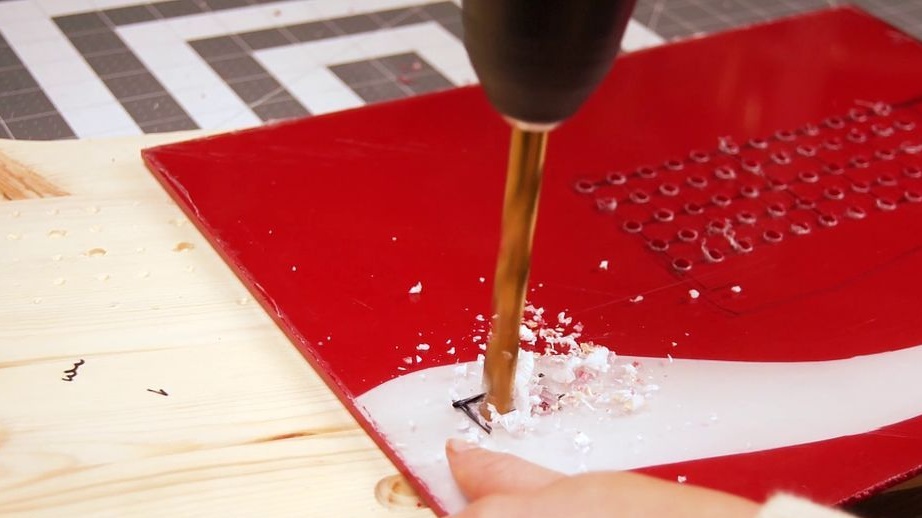
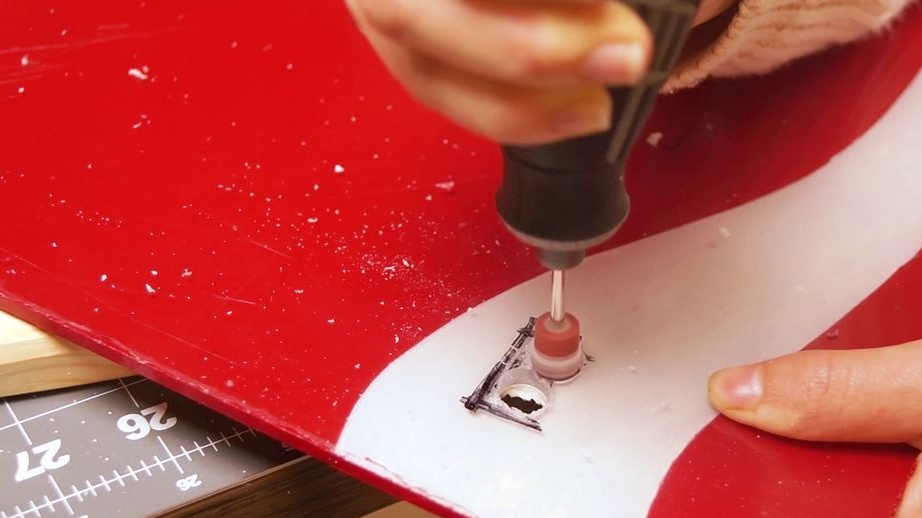
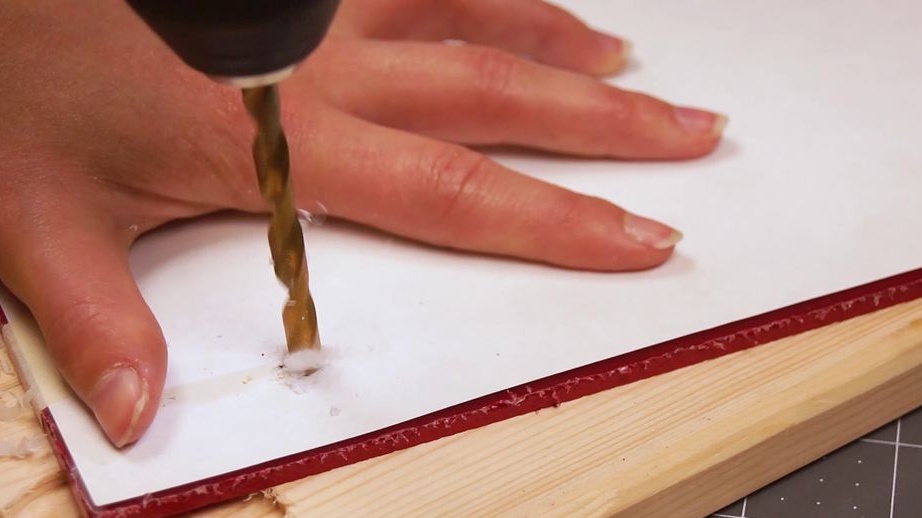
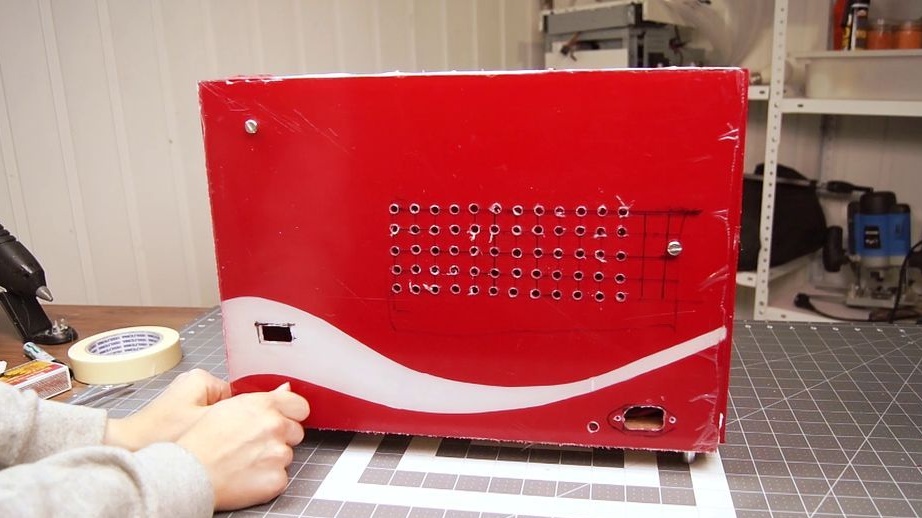
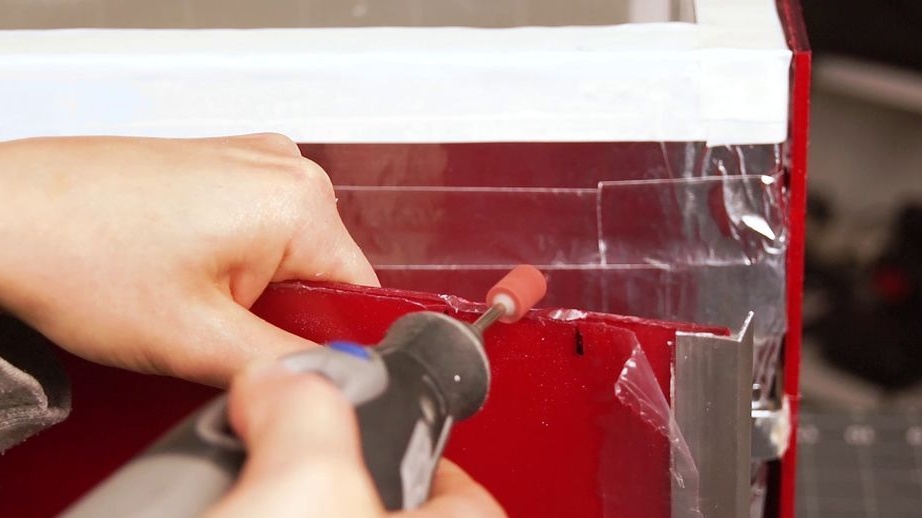
Marks and drills vents in acrylic.
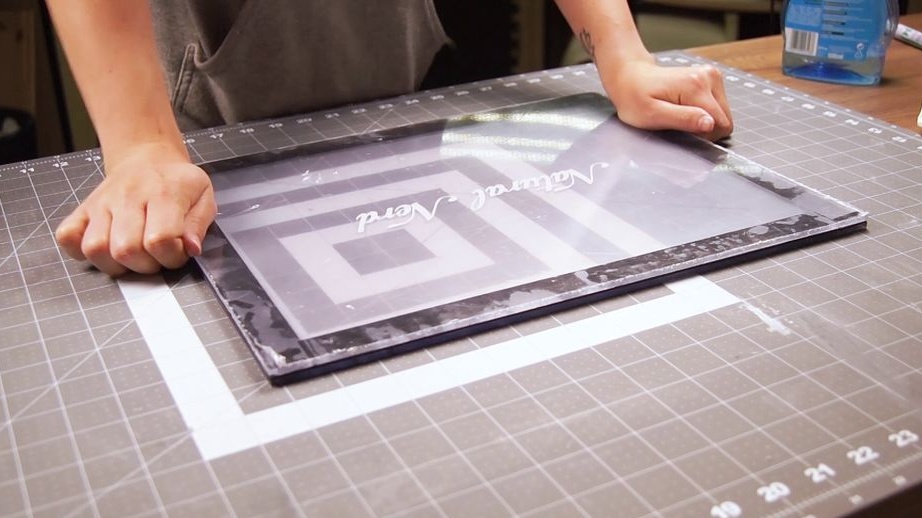
Stains acrylic on the inside.
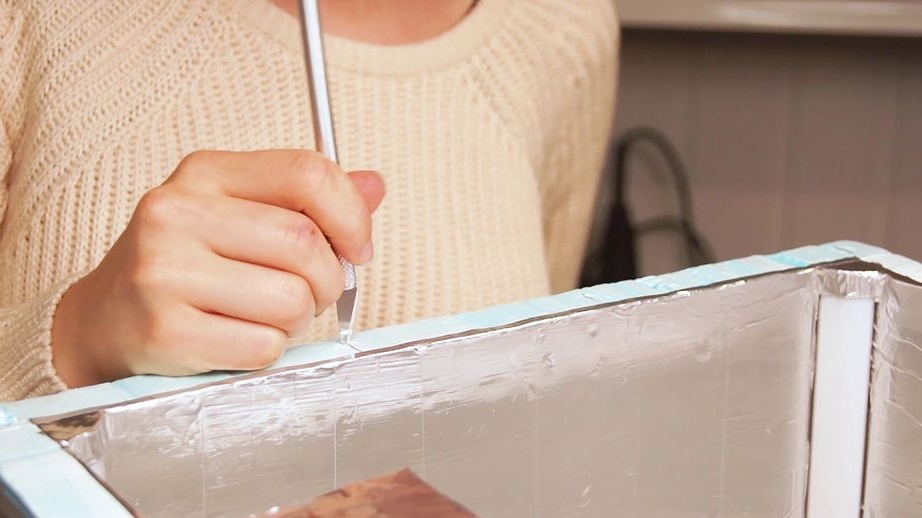
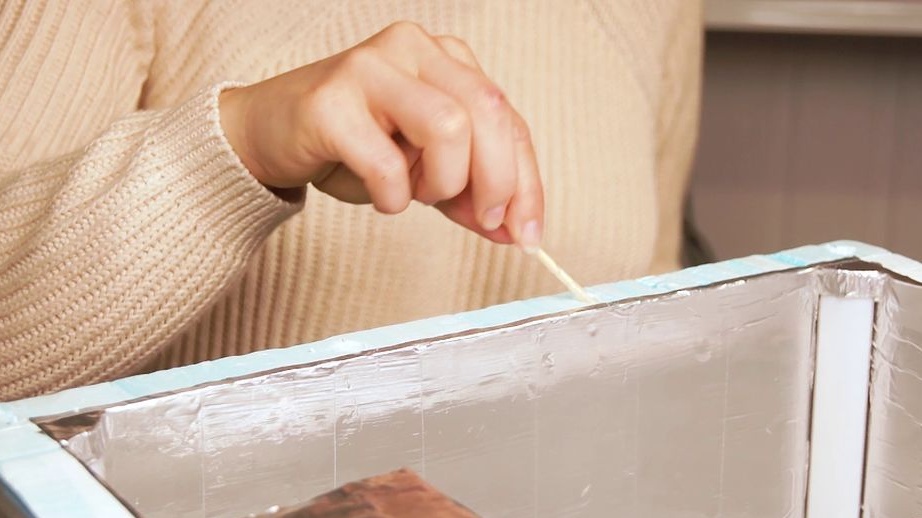
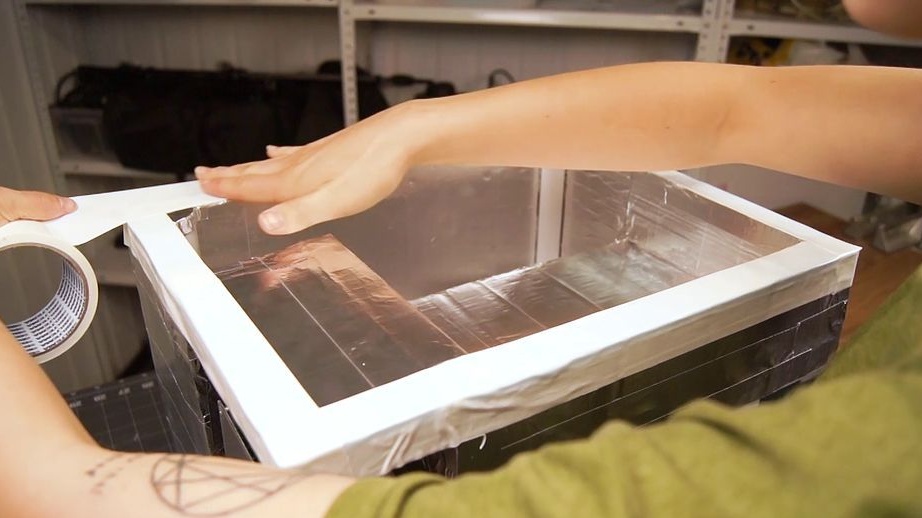
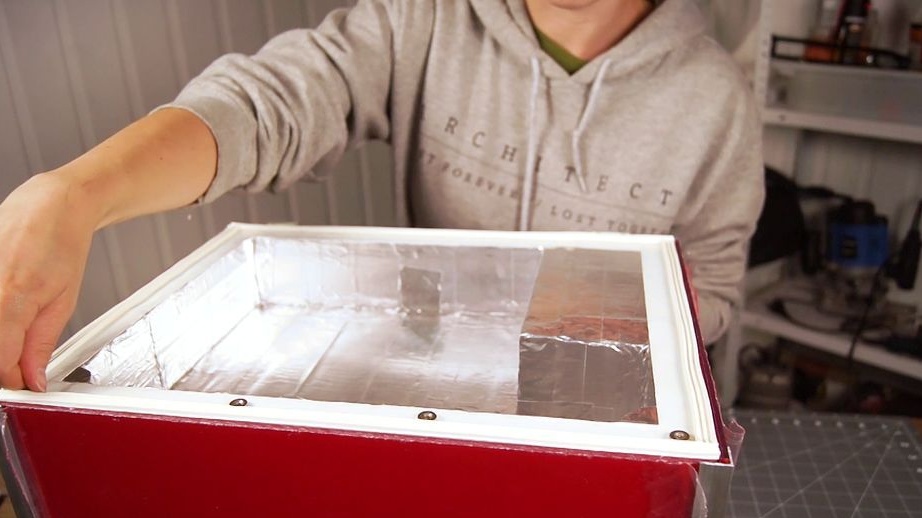
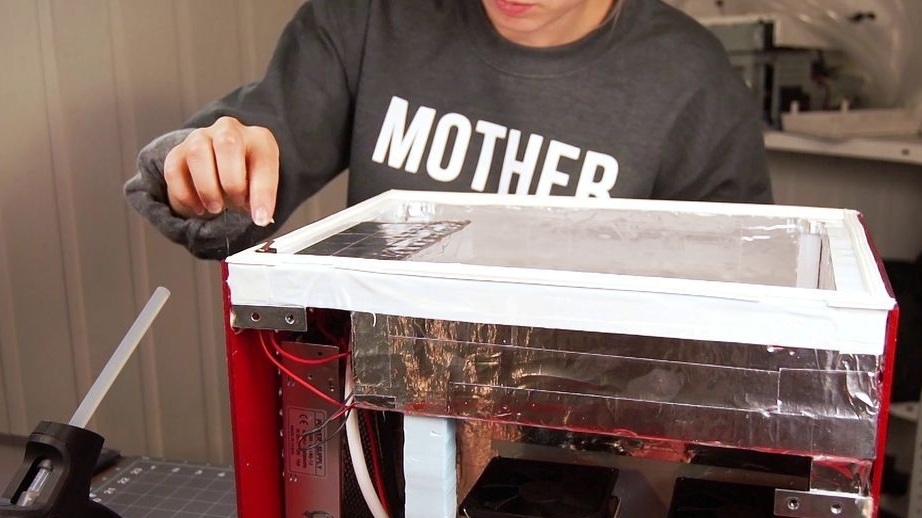
Step Eight: Top Perimeter
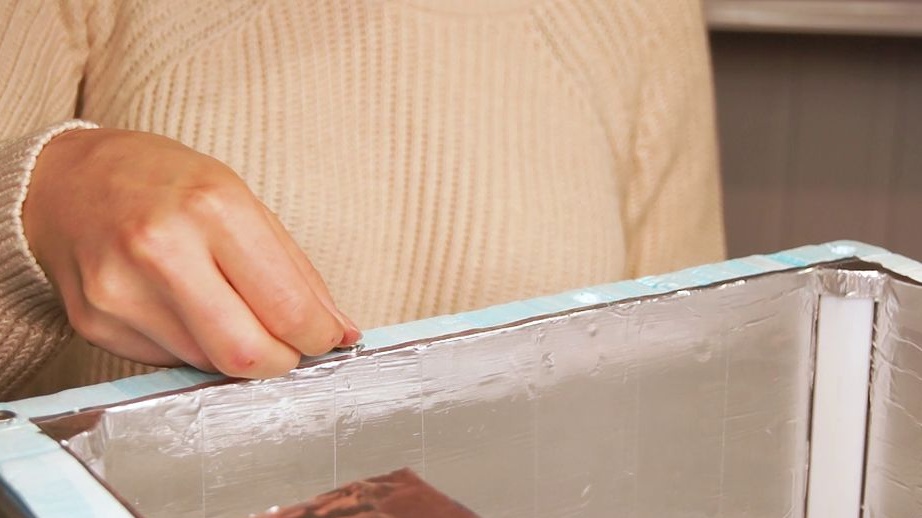
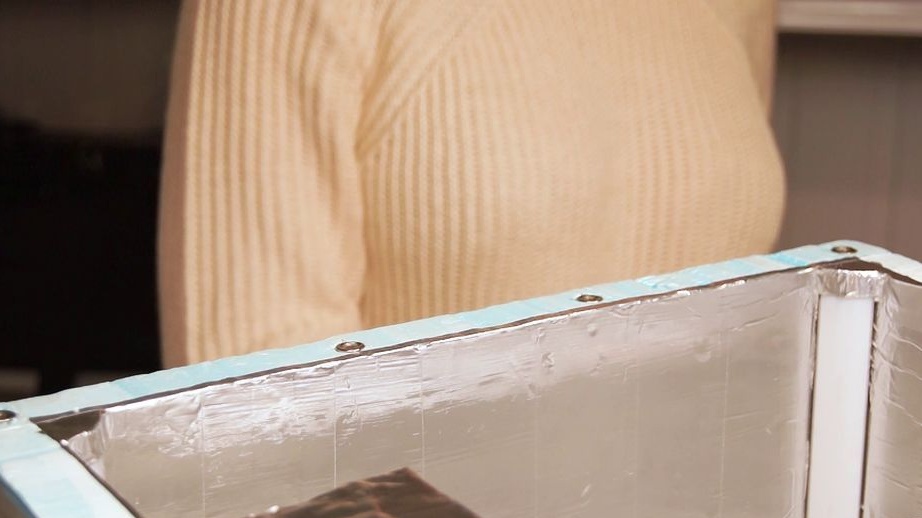
While the paint dries, the master prepares the installation site for the cover. Removes foil pasted around the perimeter by mistake. Installs magnets (will attract the cover). Tape with masking tape.

Step Nine: Install Sheathing
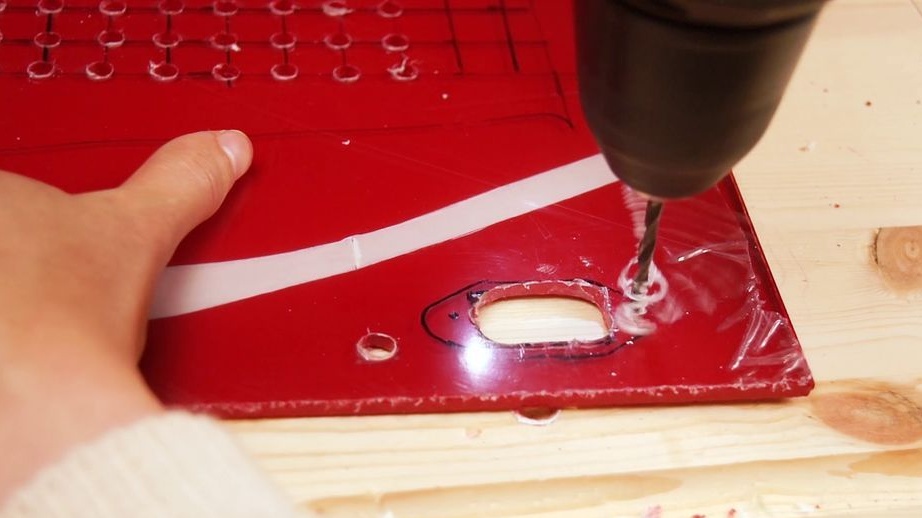
In the back cover makes a hole for installing connectors.
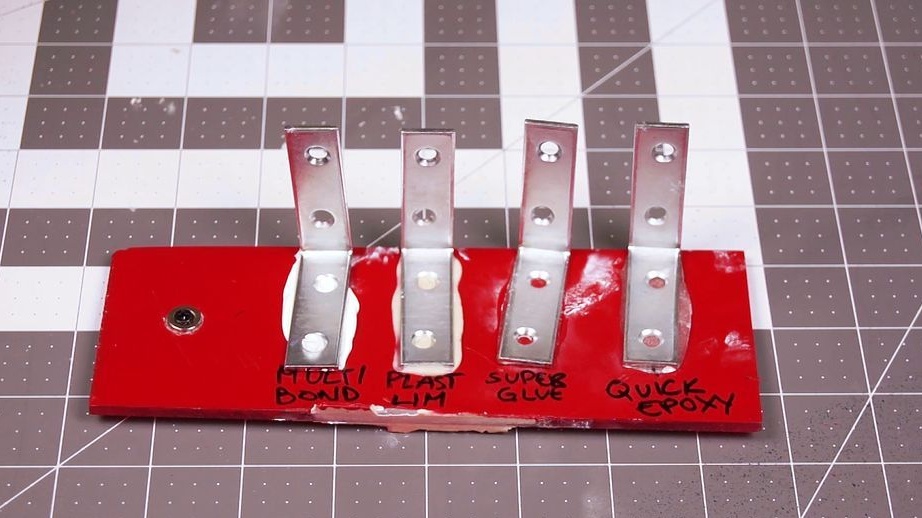
Before gluing the covers, it tests different types of glue. Only one came up for acrylic.

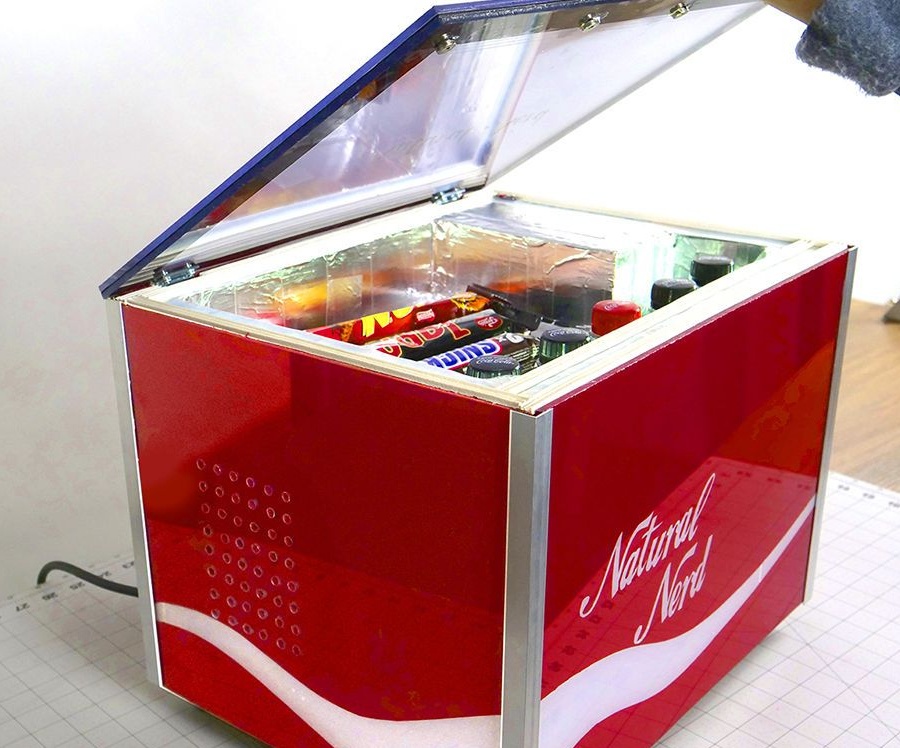
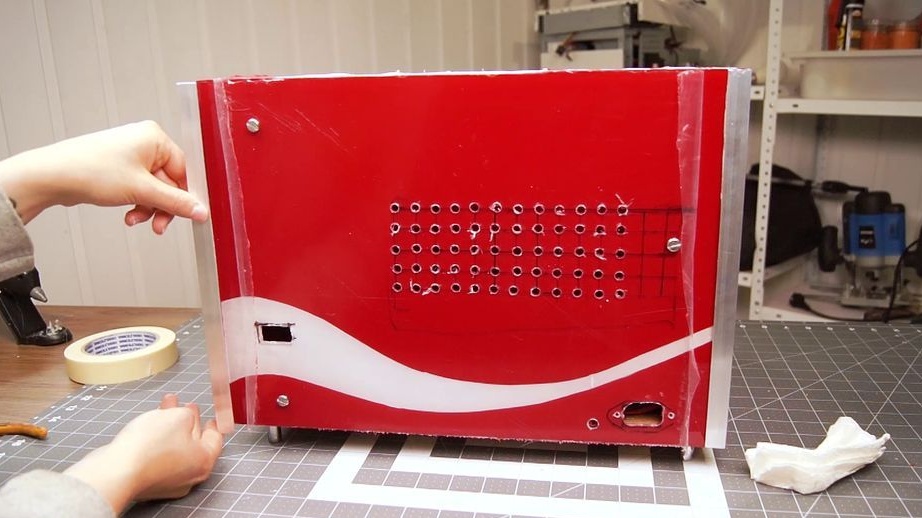
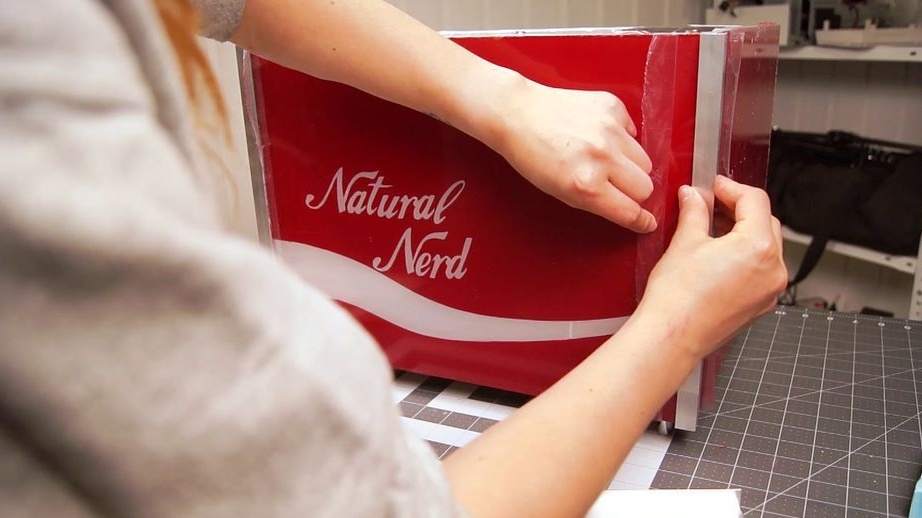
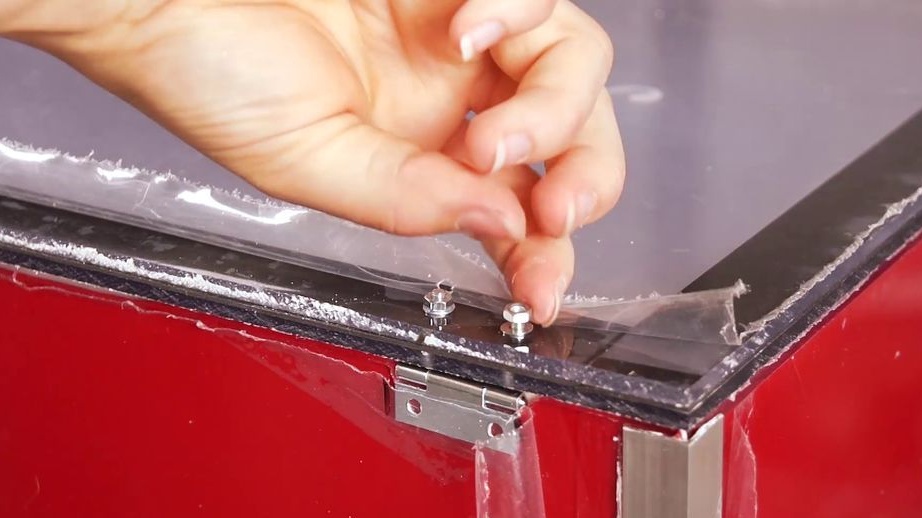
Glues the front and side covers.
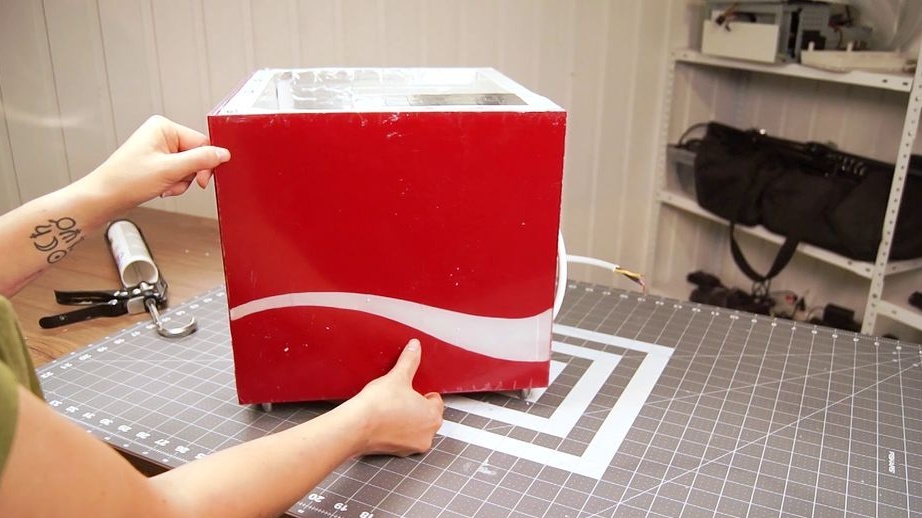
For access to the equipment, the master made the back cover removable.
Connects wires to connectors.
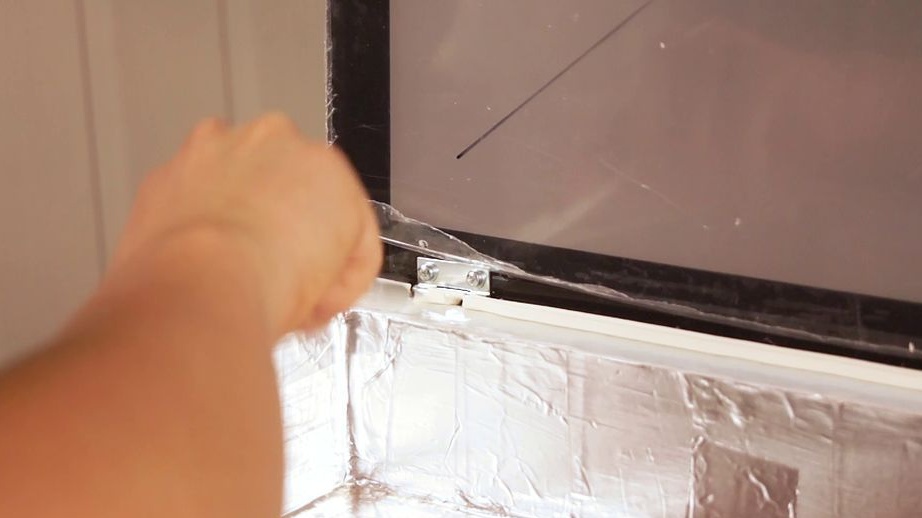
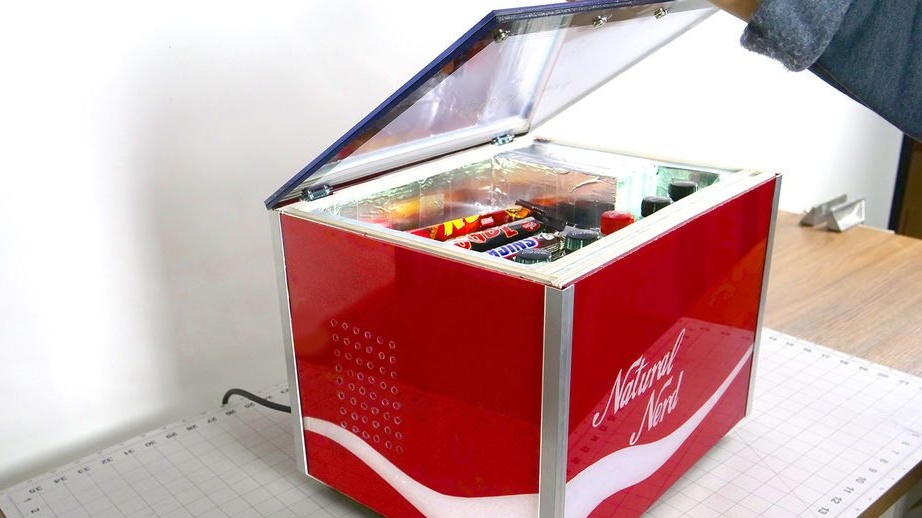
Step Ten: Cover
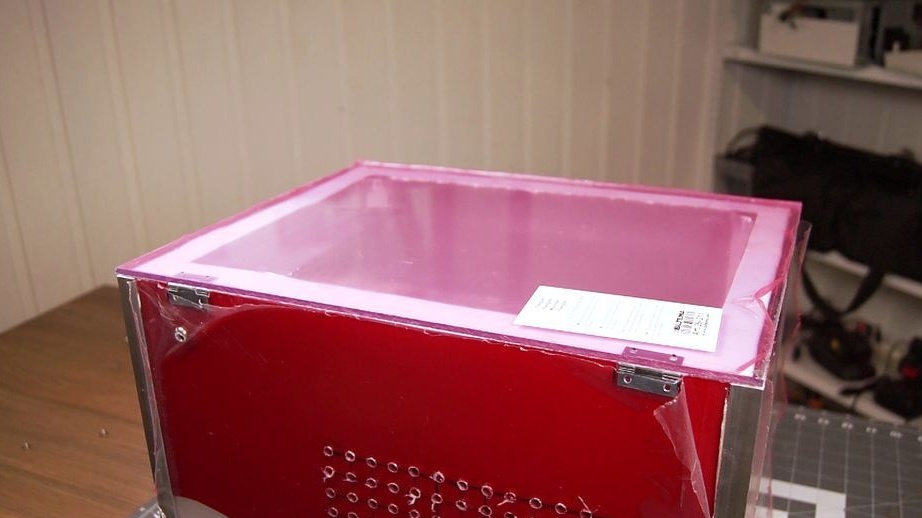
The master makes a lid from two pieces of acrylic.
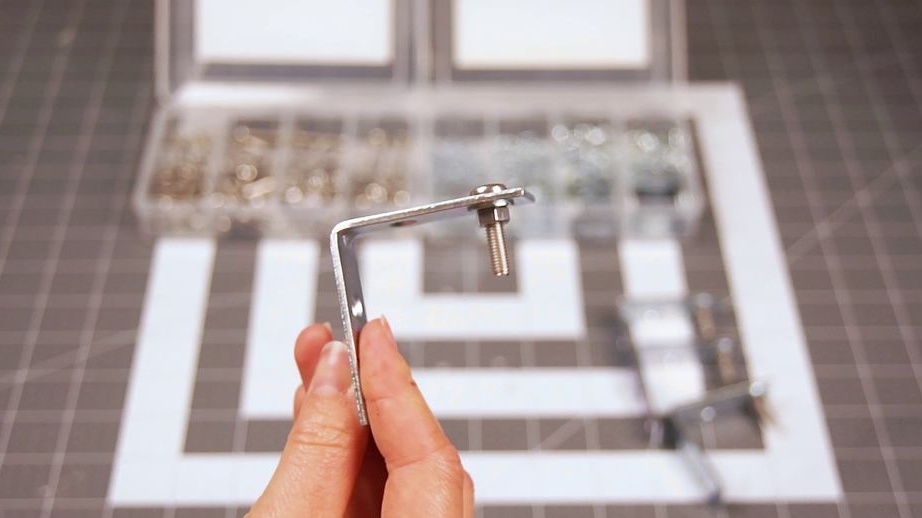
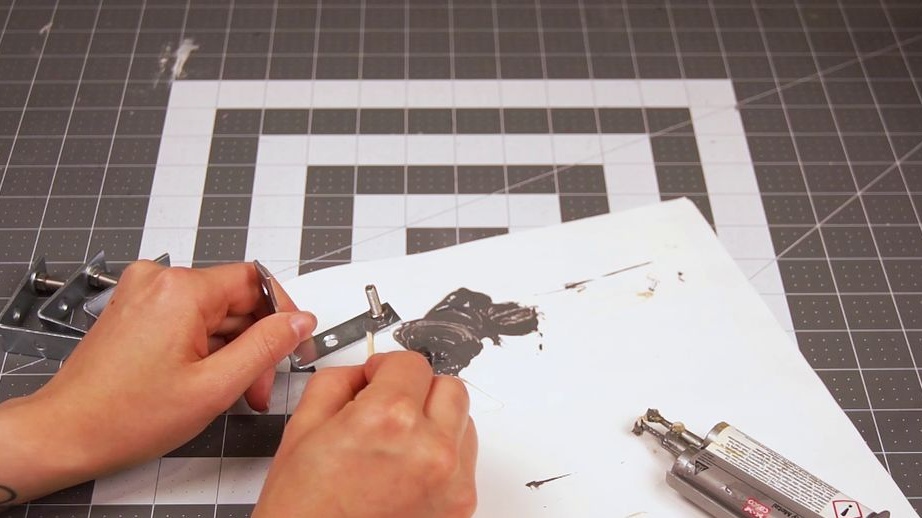
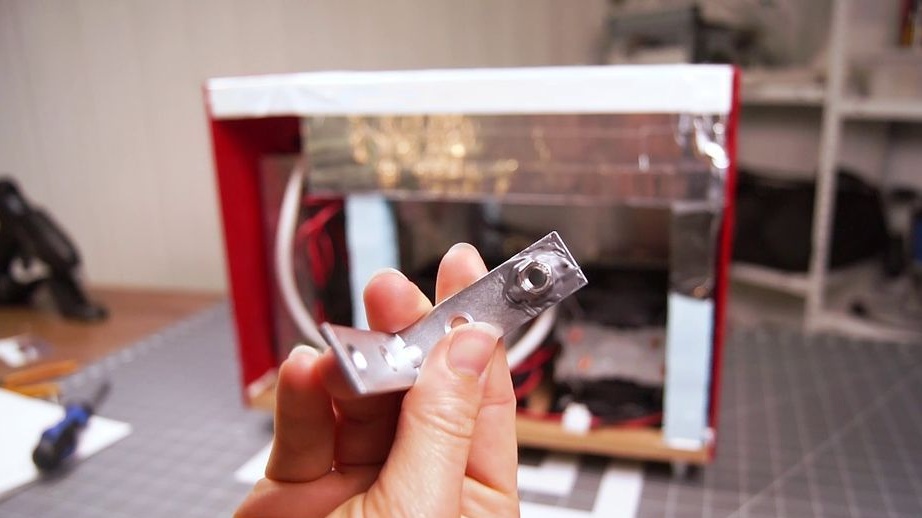
Glue loops to the back wall.
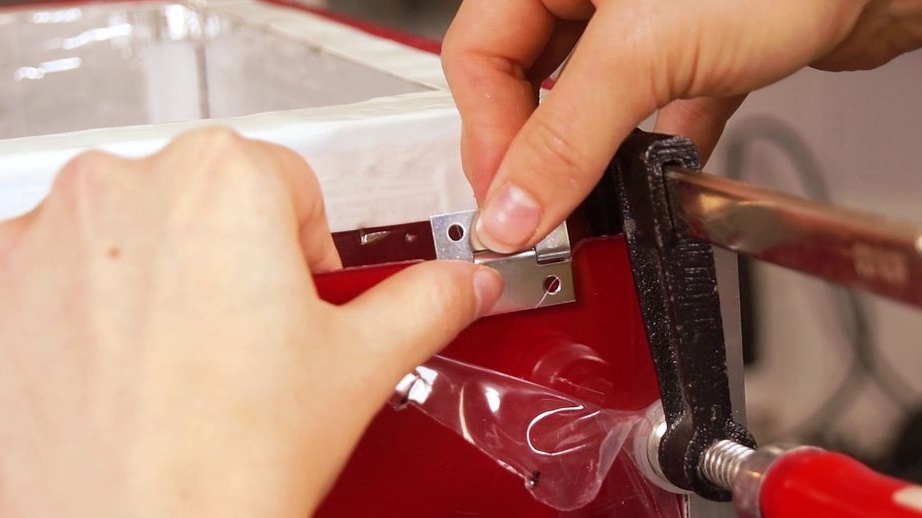
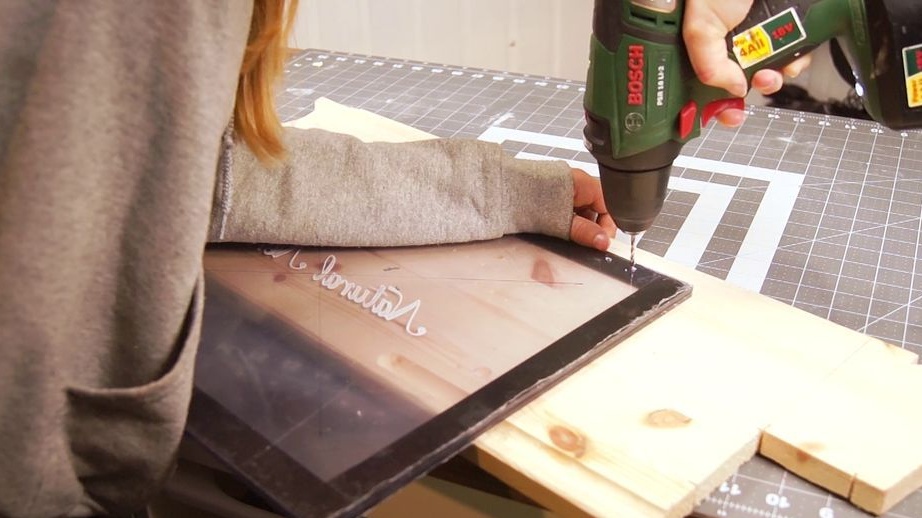
On the cover marks holes for fastening loops. Drills.
Prints, cuts and pastes a logo.
Glue double-sided tape around the perimeter of the lid. Glues two pieces of acrylic. Duplicates on the second part of the hole cover.
Glues a seal around the perimeter of the chamber. Glues magnets to the cover (opposite to those installed). Screws on the lid.
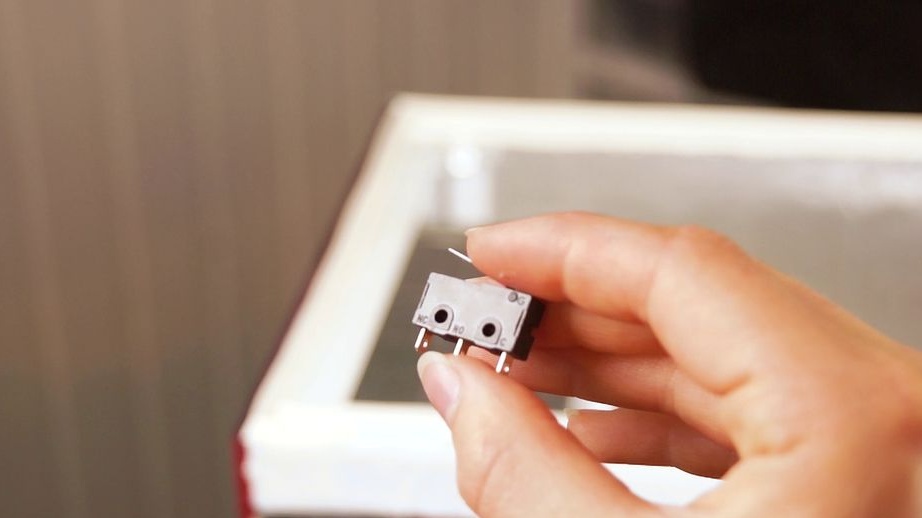
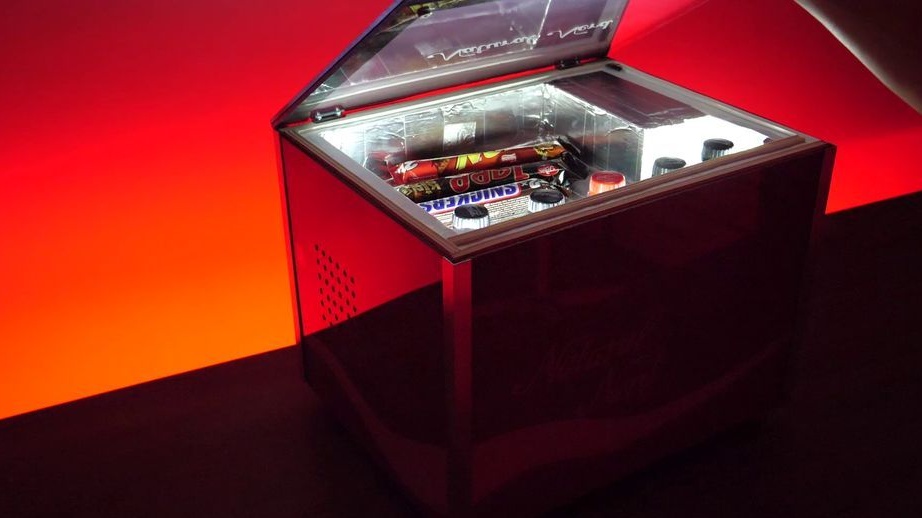
Sets the microswitch. MK will turn on the light when you open the lid and turn it off when it is closed.
Remained the final touch, remove the protective film.
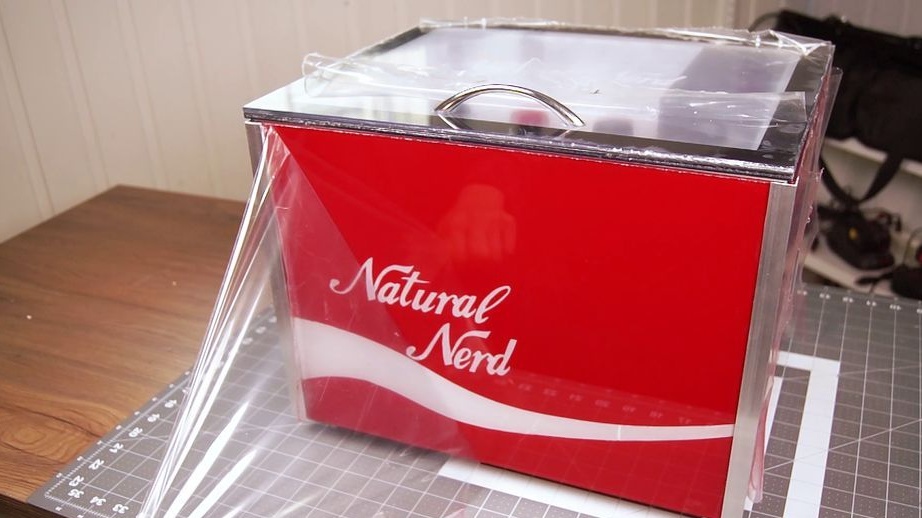
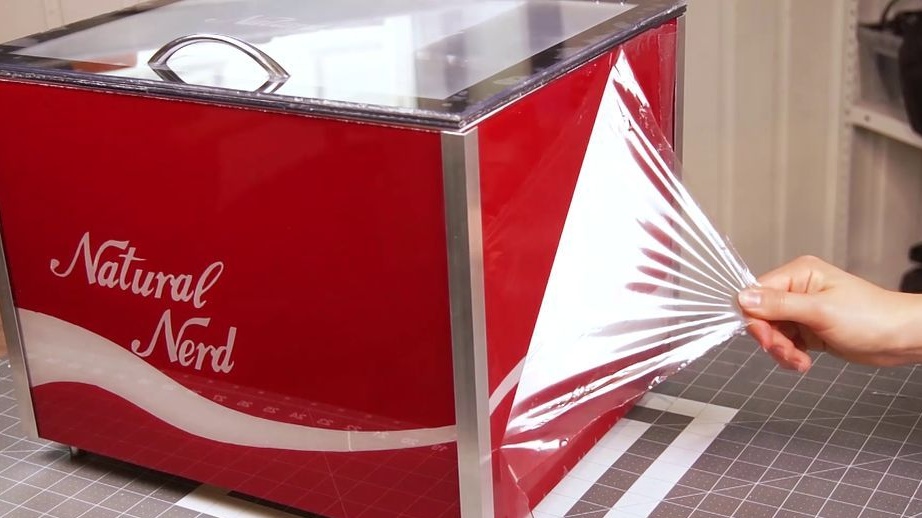
Mini fridge is ready.
The whole process of making a mini-refrigerator can be seen in the video.