
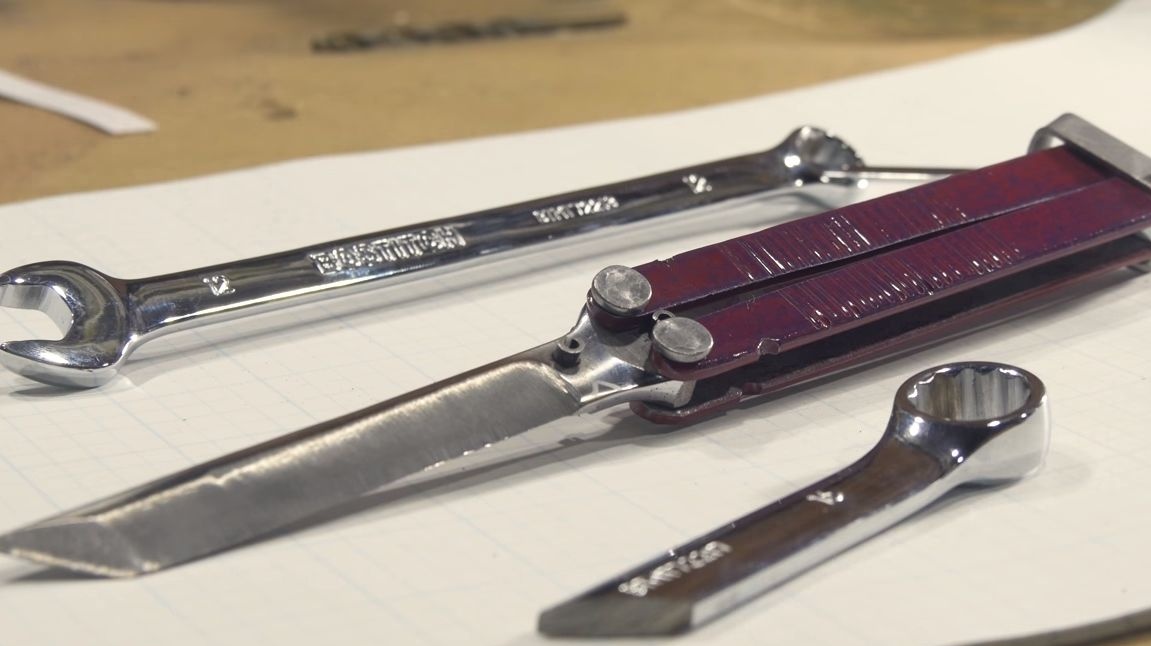
Want to make a Butterfly knife? In this instruction I will tell you how to do it the easiest way! The blade can be easily made from a wrench, and materials for all other components are even easier to find. A wrench is not the best metal for making knives, at least this steel is durable and a wrench is easy to get. The author did not try too hard to design the blade and the knife as a whole, he only quickly showed the principle of its manufacture. Using the same methodology, you can make a real masterpiece for yourself and all this from improvised materials.
In the manufacture of the knife did not use any special equipment, you will need and preferably a drilling machine, however, you can do with a conventional drill. The knife handle is made of sheet steel, and all the moving parts are assembled on steel rivets, as the author used pieces of nails with a hat. So, let's get down to manufacturing.
Materials and tools used by the author:
Material List:
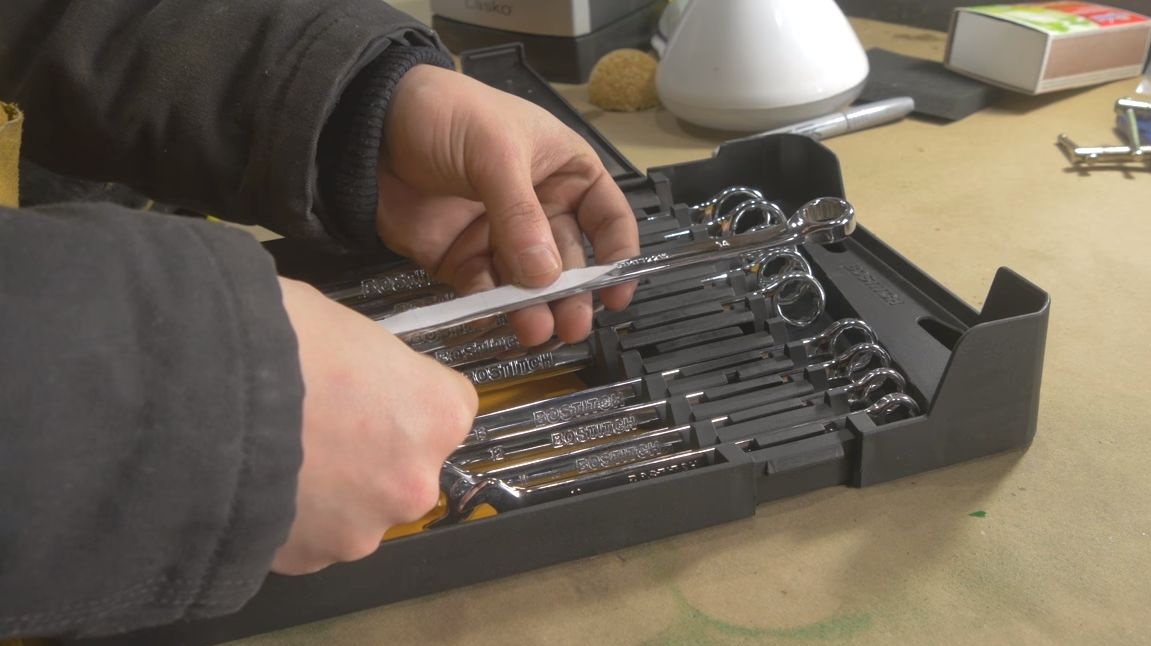
- wrench;
- nails;
- nuts;
- Sheet steel;
- paint.
Tool List:
-
- belt sander (optional);
- a drilling machine or drill;
- clamps;
- hammer;
- paper and pencil or a ready-made diagram.
The process of making a knife "Butterfly"
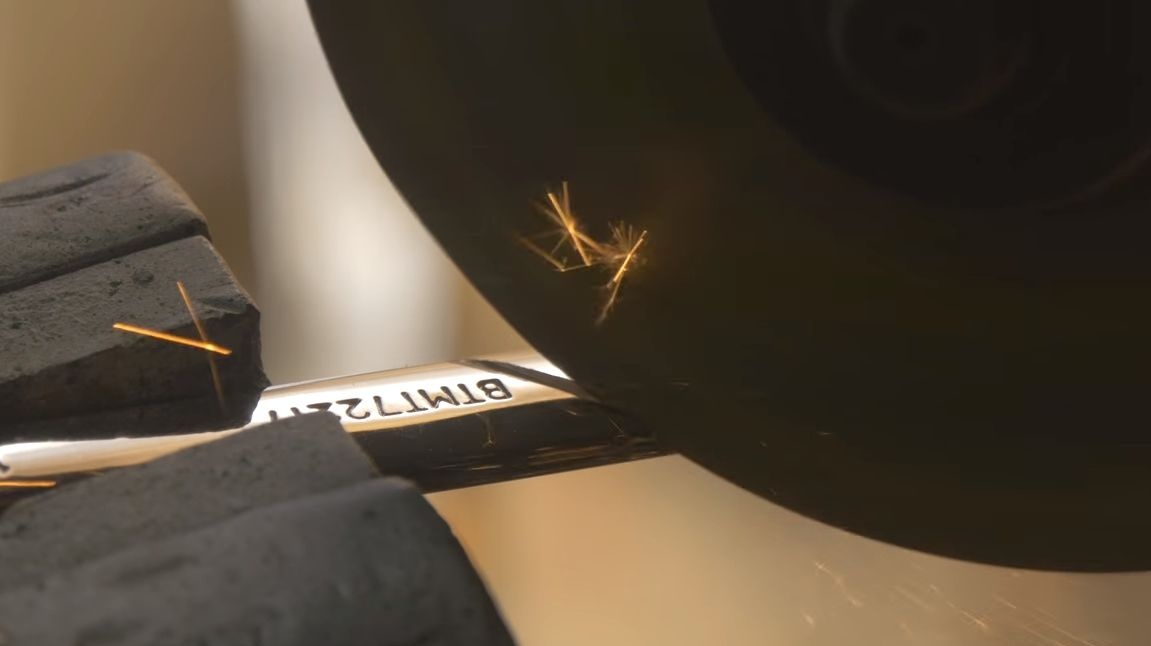
Step one. We prepare a blank for the blade
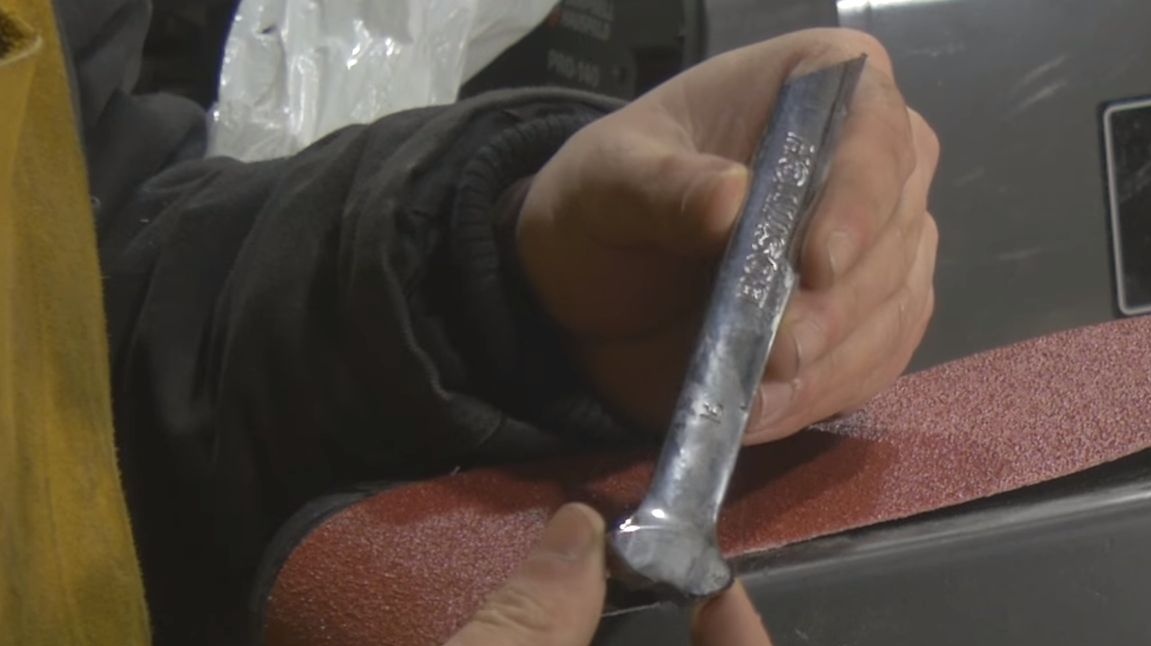
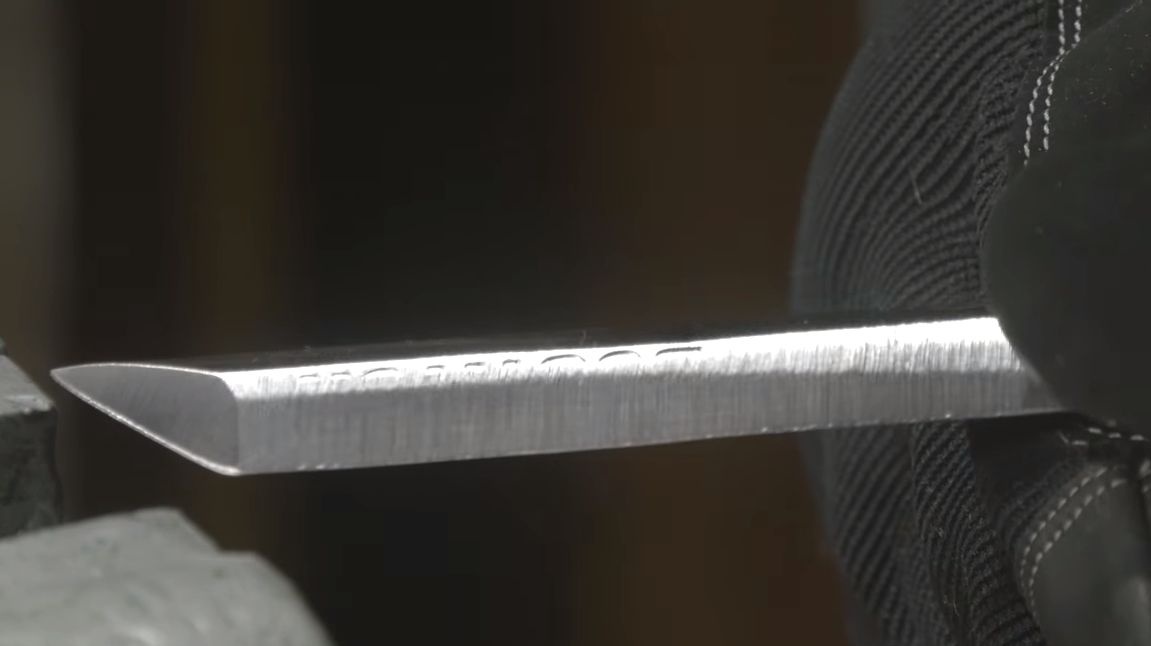
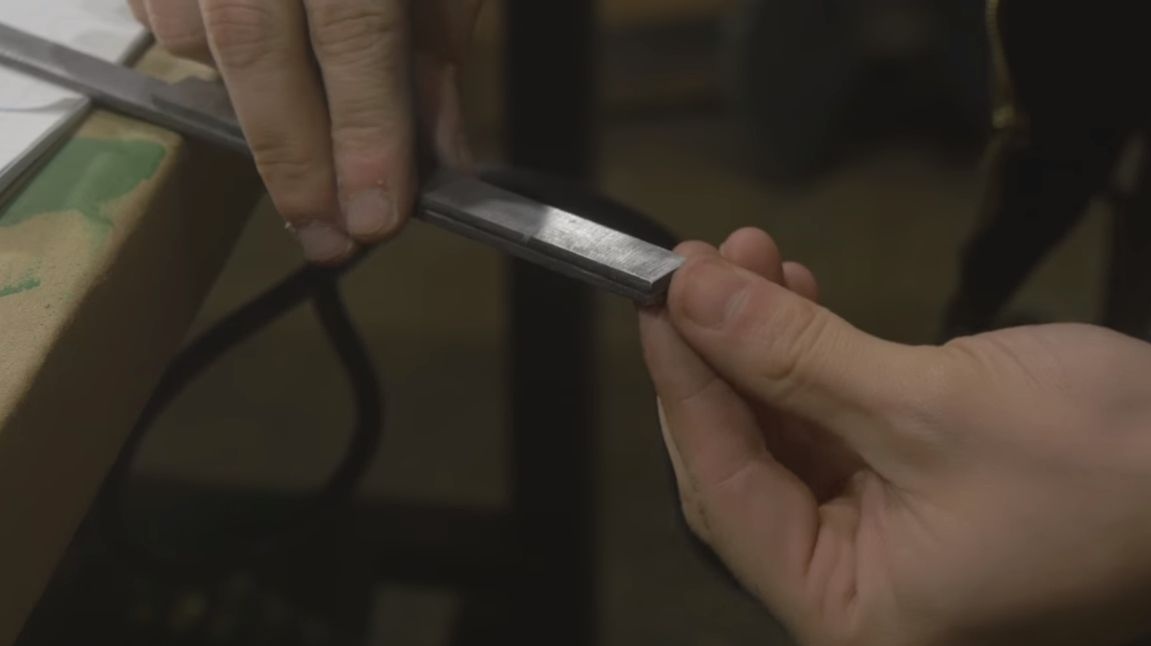
You will need a key of suitable length, the author used the key on "16". From it you need to cut off the "horns", as well as the excess part, depending on the length. Handles will be attached to that part of the key where the horns used to be, this is very convenient.


Step Two We form the desired profile
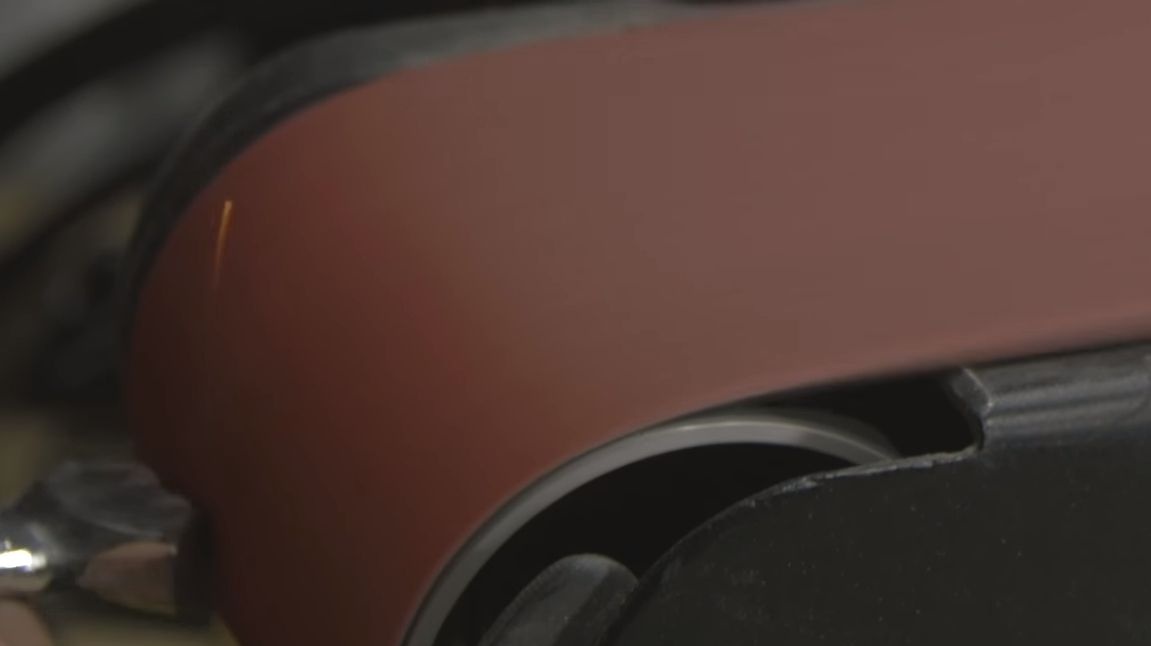
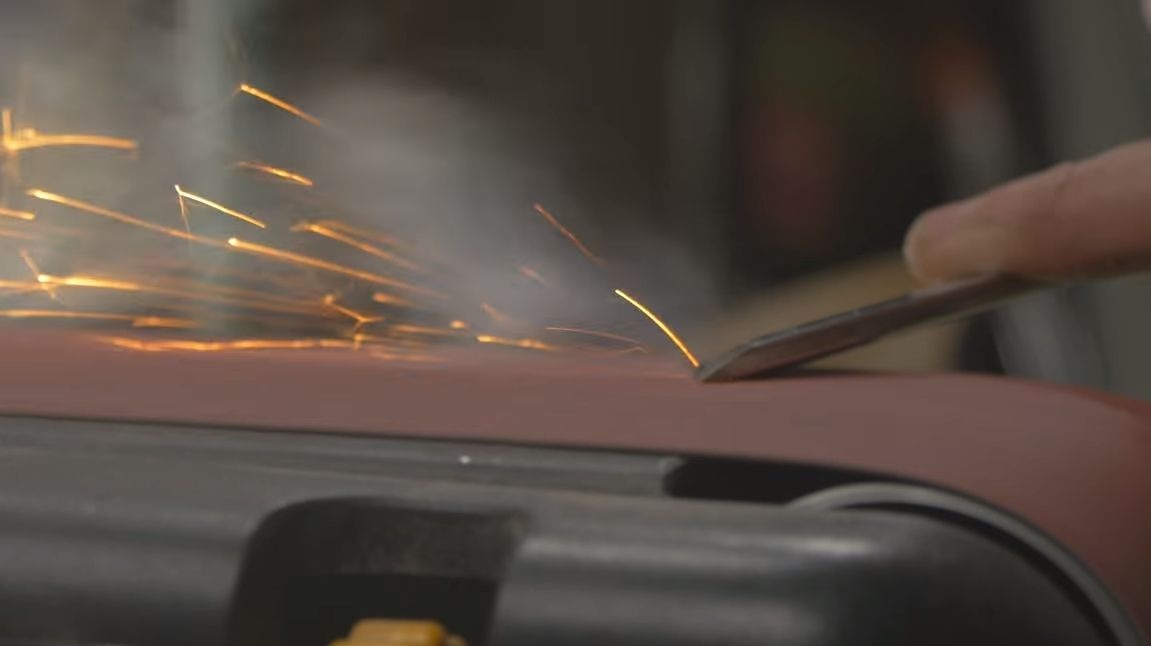
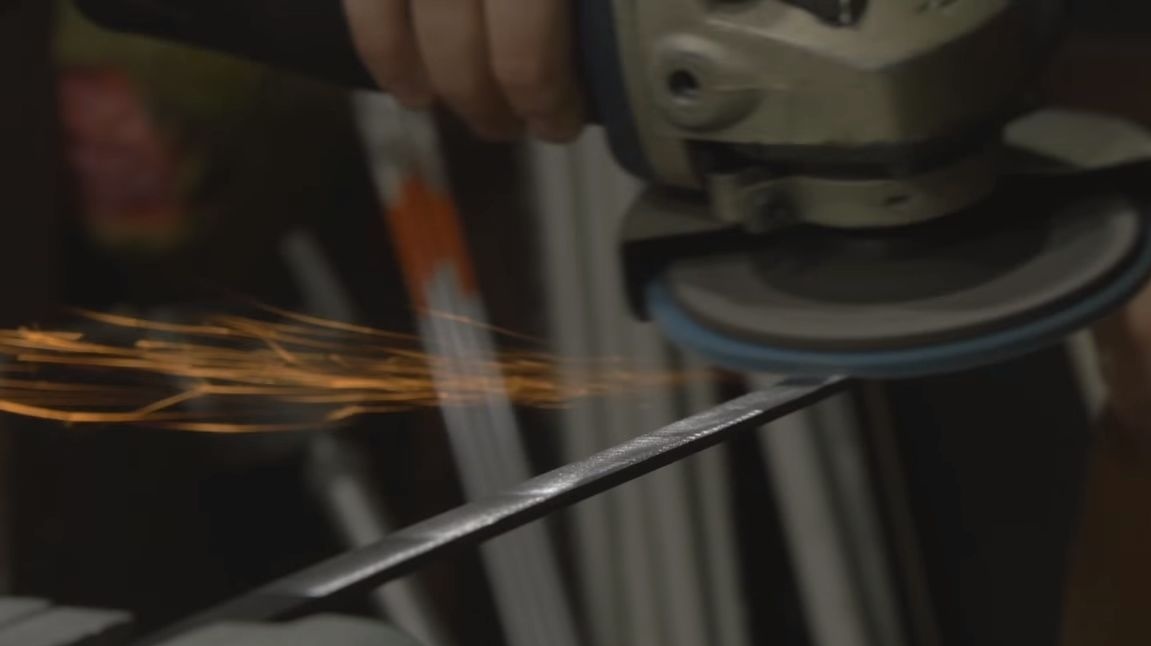
Now form the desired blade profile. The author used a belt sander for these purposes. But, as for me, this device did not help him very much, and the blade turned out to be not very high quality. The main task here is to form the bevels on the knife. You can make them manually using a grinder. Just clamp the workpiece with a clamp and work with a grinder with a grinding wheel.As for the shape of the blade, then try and show your imagination. When grinding, try not to overheat the metal, as this may violate its strength.
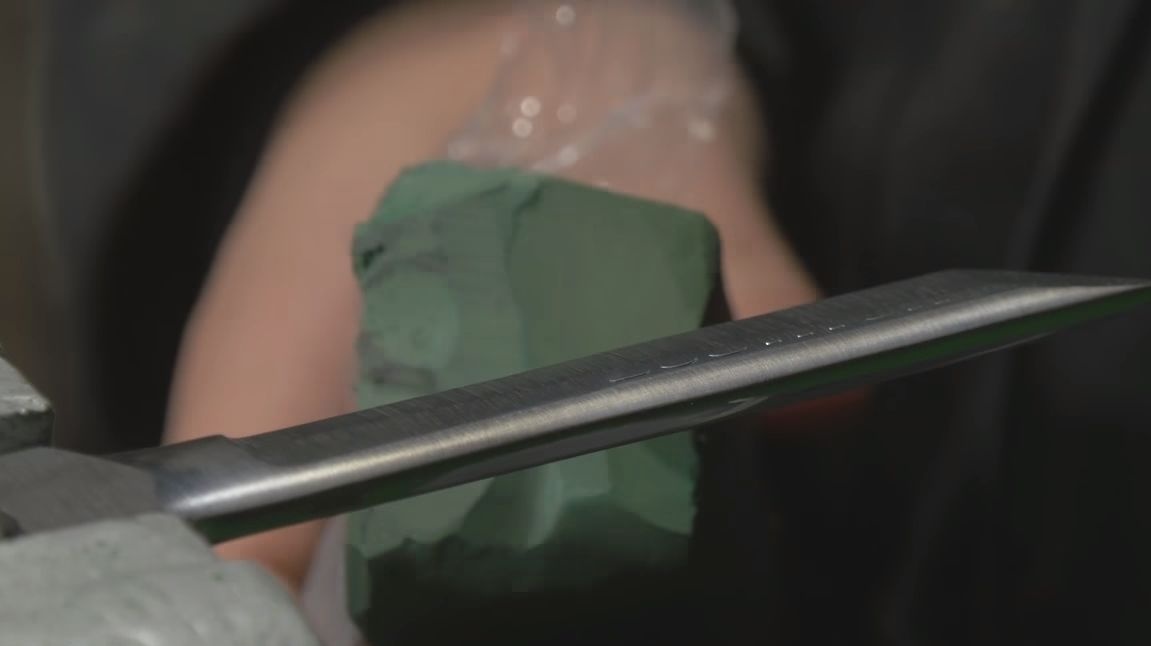
In the end, the author decided to polish the blade using GOI paste and a polishing wheel. This did not give a particularly pronounced effect, since the blade must first be treated with very fine sandpaper to smooth out deep scratches. Only after fine sanding can the blade be polished.

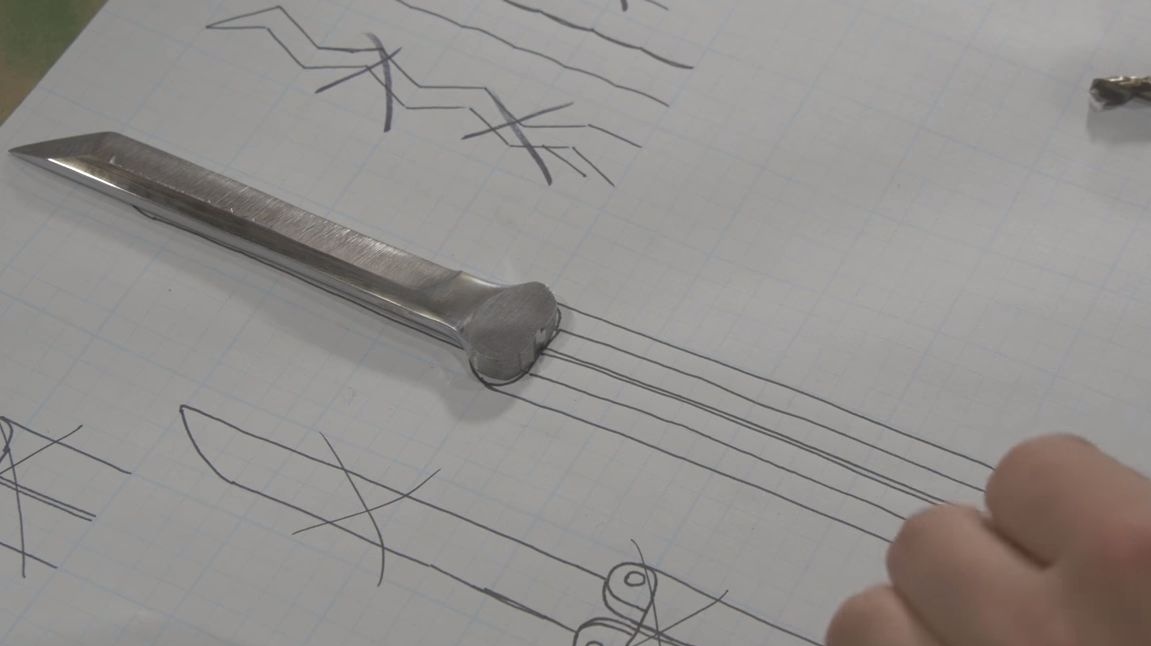
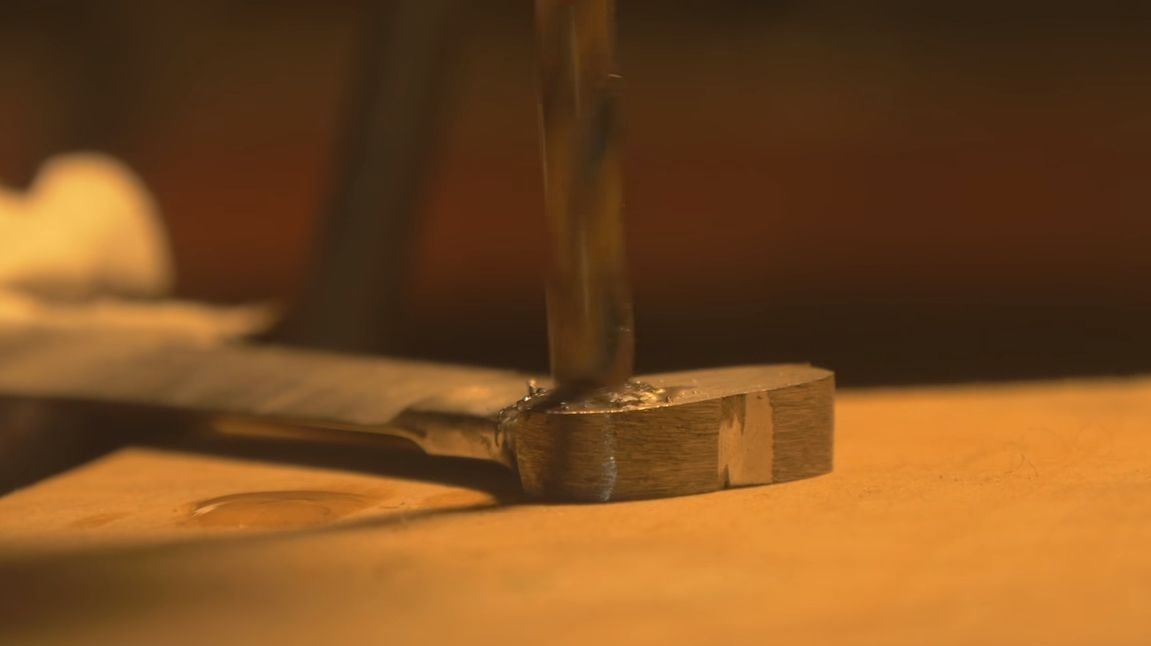
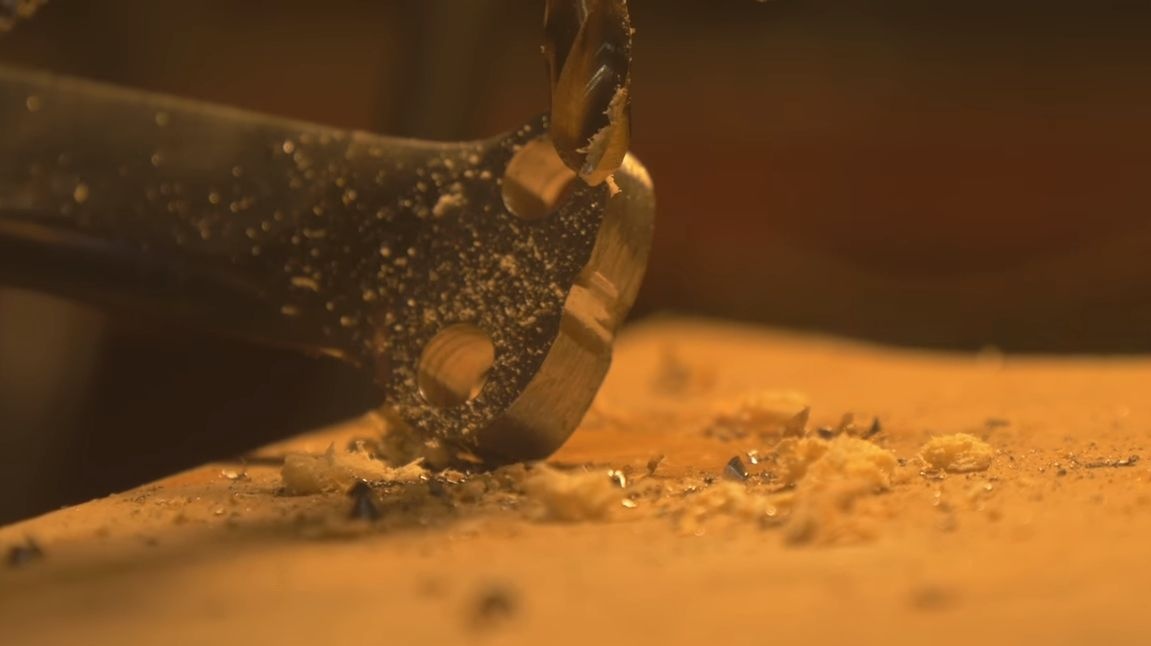
Step Three Drill holes
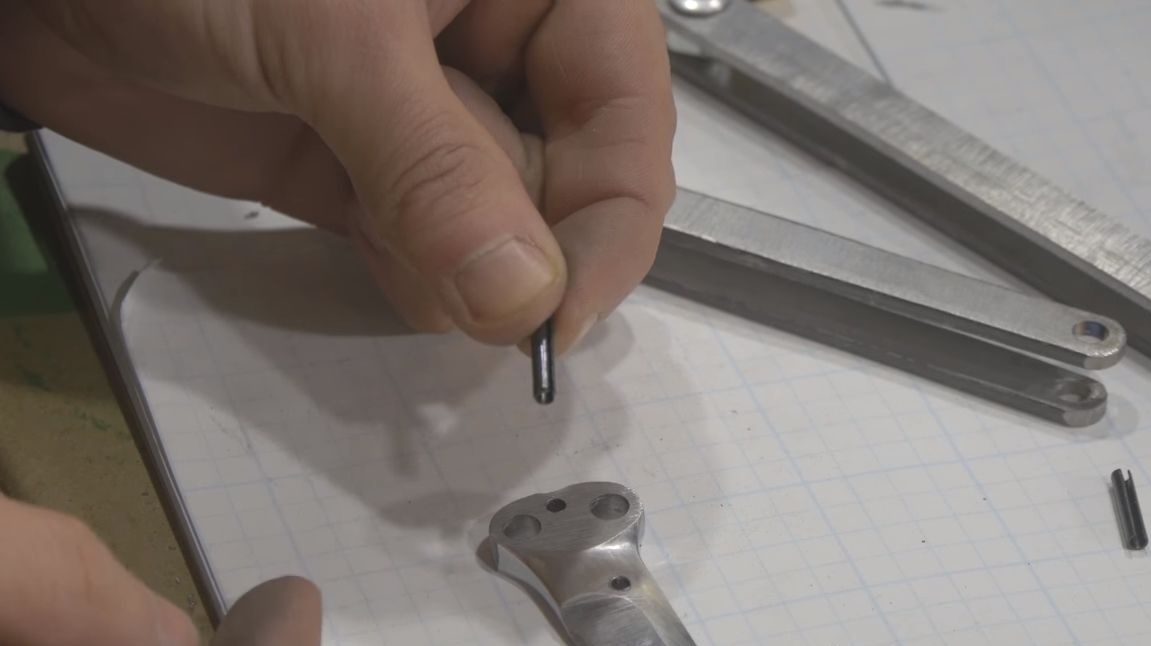
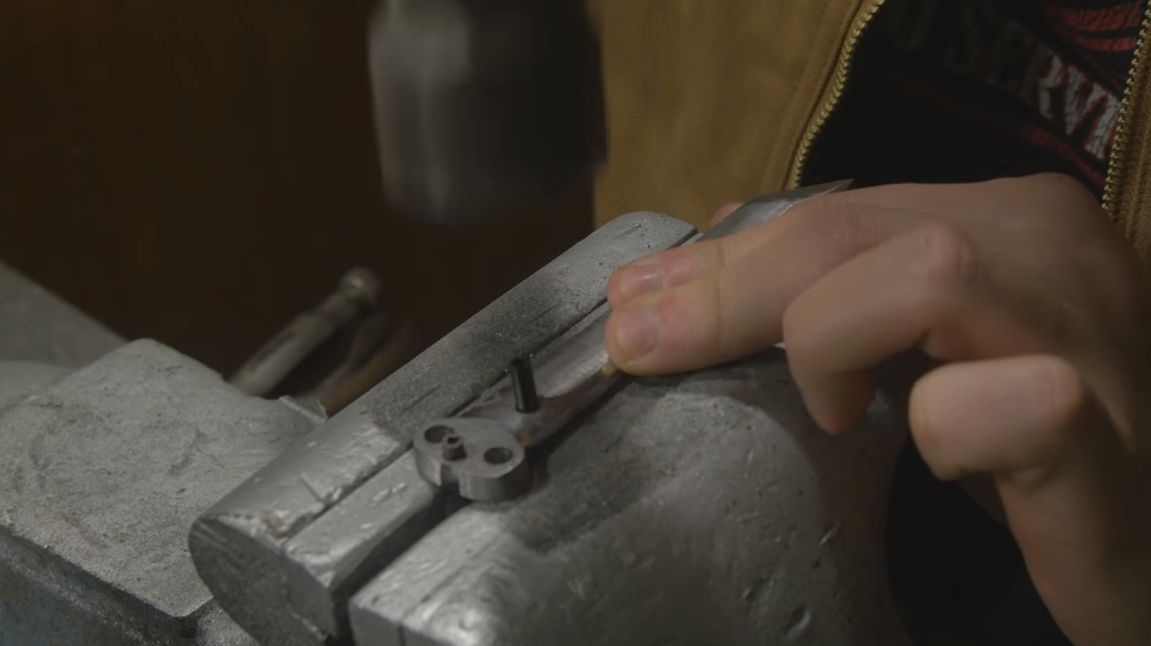
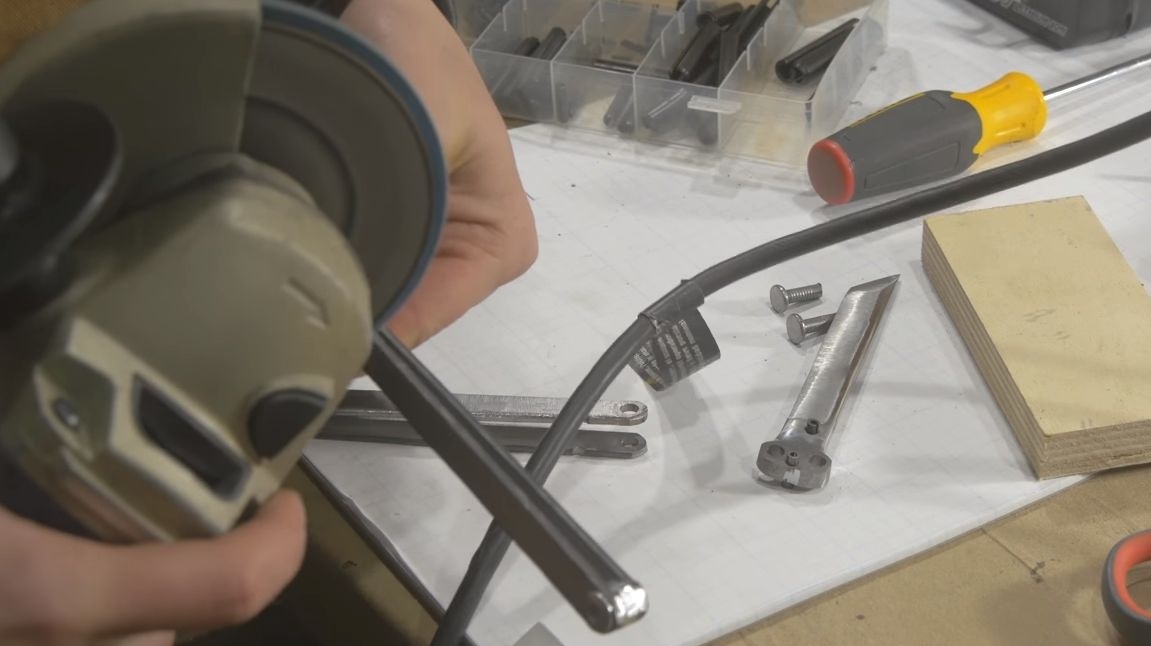
In the back of the blade, you will need to drill 4 holes, two of a small diameter, and two more. Small holes will be used to install the thrust pins, and thanks to the large holes, a handle will be installed. Drilling holes in the swinging key is not so easy, as the metal is quite durable. Here you will need a drill with a special tip, and heating the part of the knife red-hot can also help.
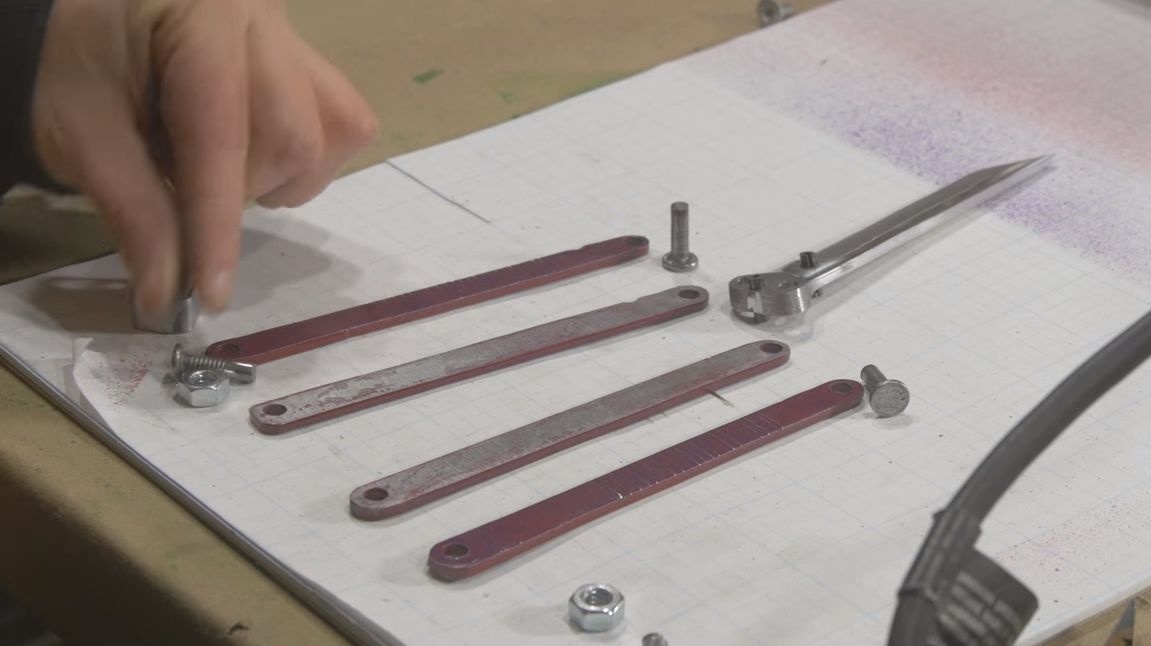
Step Four We prepare blanks for pens
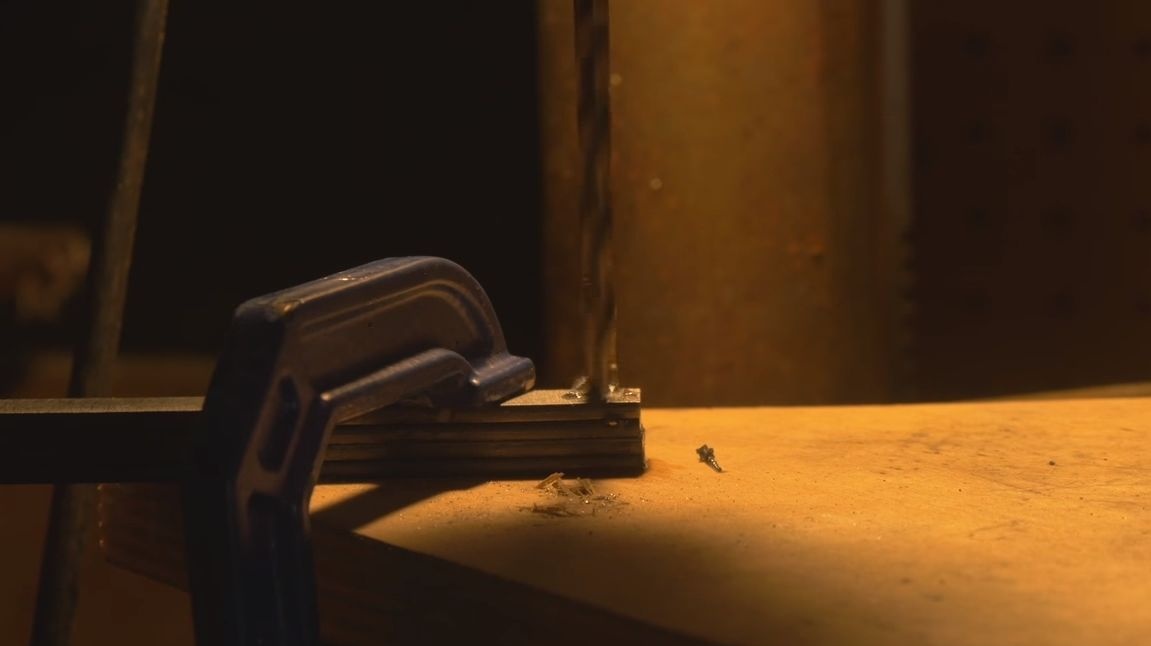
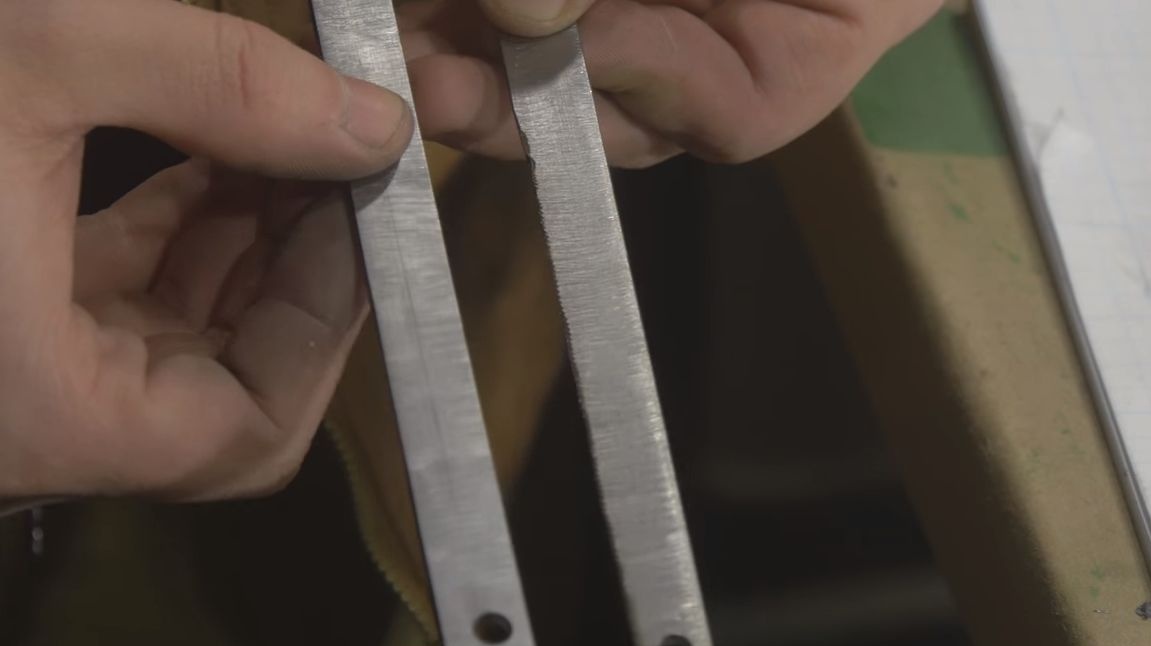
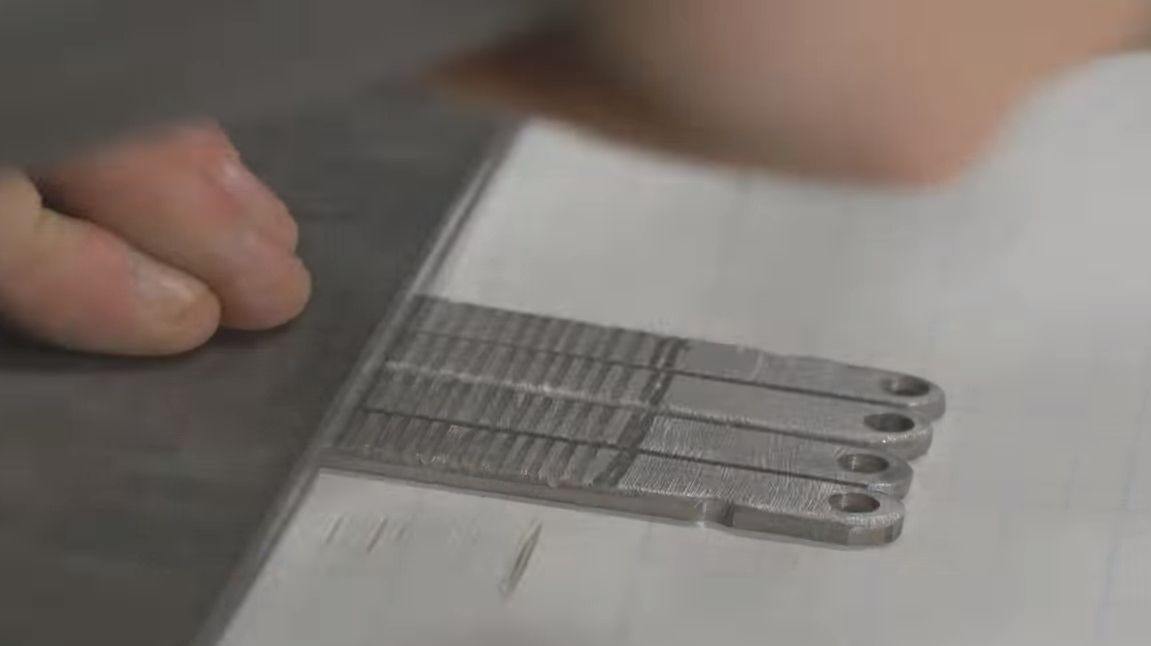
The handle is made of steel plates. We clean them with a grinder and grind sandpaper. Then you can cut, you need to cut 4 pieces of equal length. When everything is ready, fold the pieces together and drill immediately through all the holes along the edges. Smooth the corners of the pieces so that they are smooth and do not hurt your hands.
The author also decided to cut grooves on the handles, they are needed for decorative purposes, and this makes the appearance more interesting.


Step Five Test assembly
Drive the pins into the small holes of the blade. The lower pin is used to hold the blade when the knife is open. Well, the second pin holds the blade when the knife is closed.
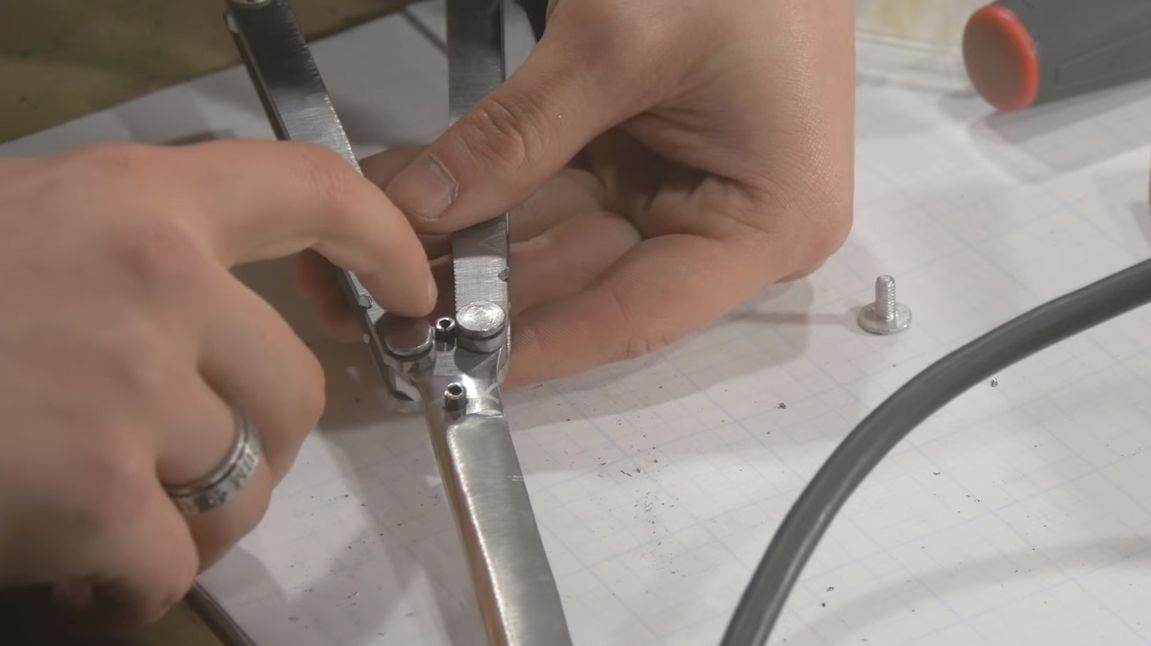
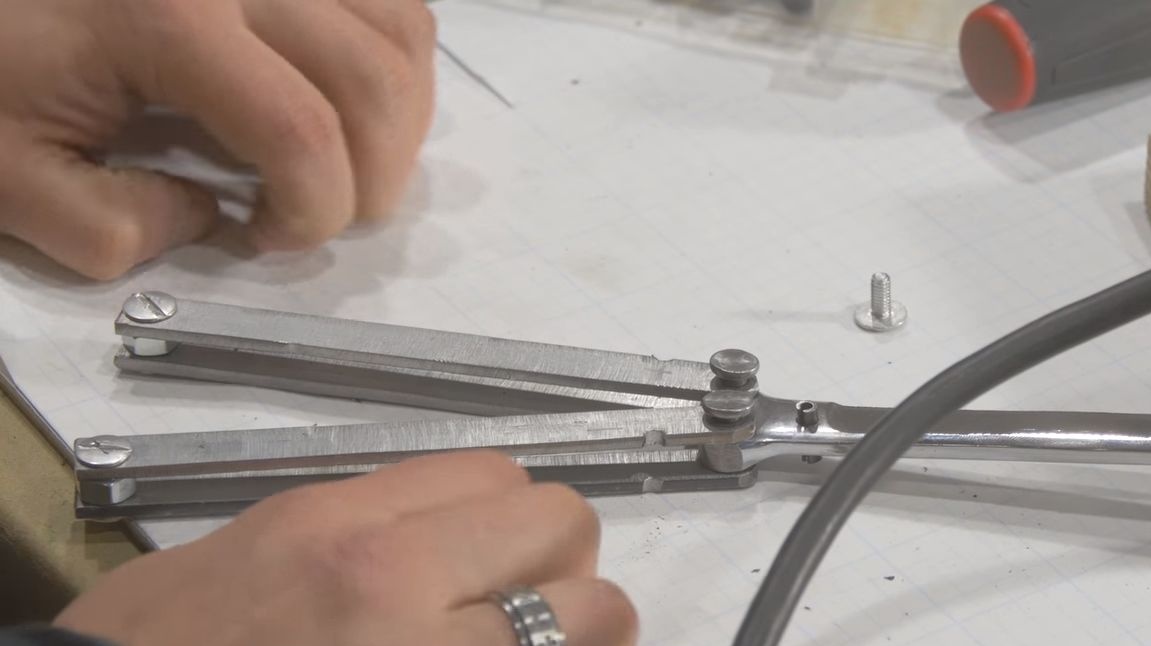
Now you can assemble and install the handles. Everything is assembled on rivets, as the author used ordinary nails. In the back of the handles, the author sets between the halves of the nut to get the desired clearance. Also do not forget to make a latch, for this we bend a part in the form of the letter “P” from a steel plate and drill holes.
Prepare all the components and for now disassemble the knife.
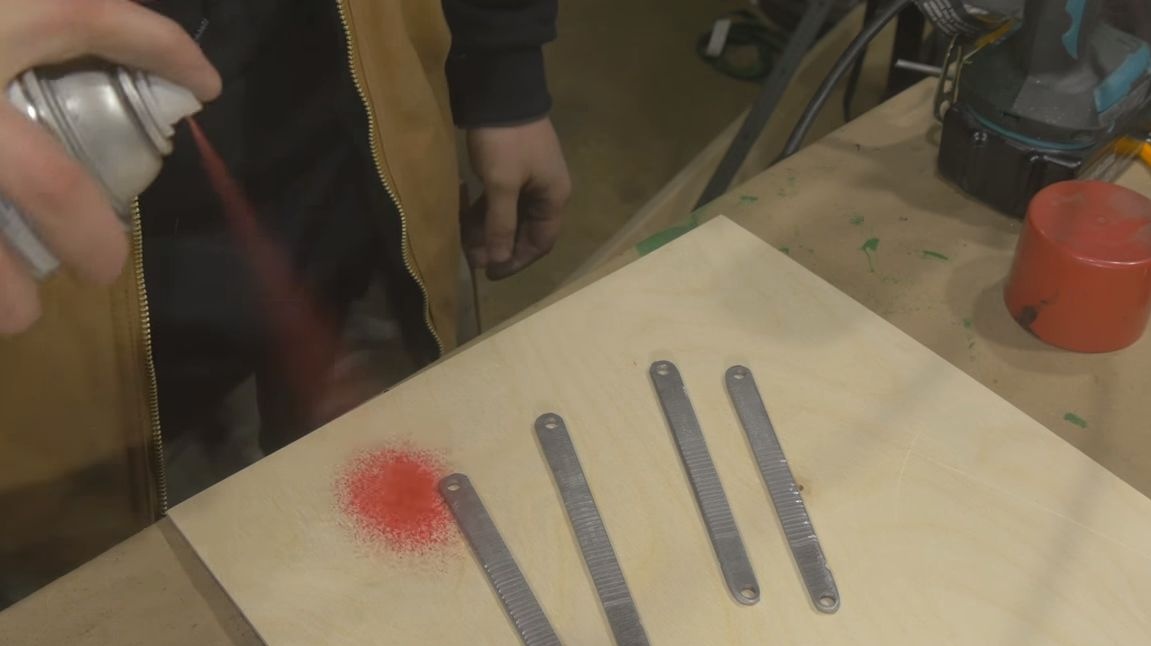
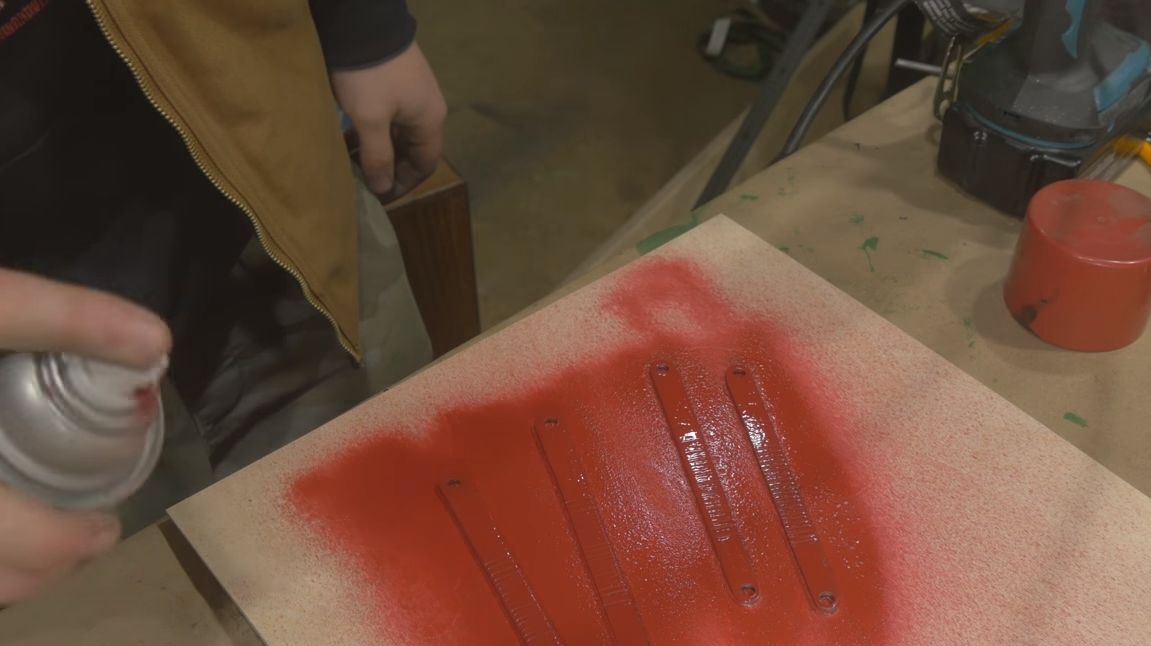
Step Six Painting
This step is optional, but since the handle is made of ordinary steel, it will rust over time and look ugly. The author decided to use a spray can of paint for painting.
Seventh step. Knife assembly


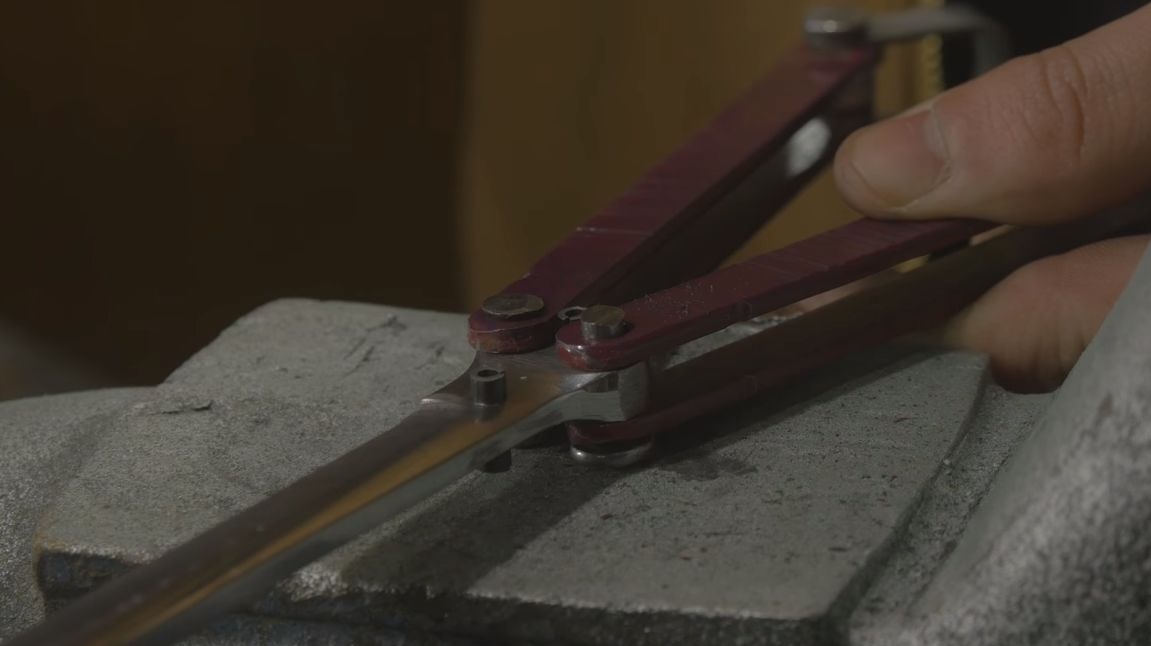


Finally you can start assembling the knife! We pick up the hammer and go to the anvil or other object suitable for this matter. We install rivets in the right places and with frequent blows of the hammer we unfasten the ends of the nails. The main thing here is not to overdo it, the handles should rotate very easily.
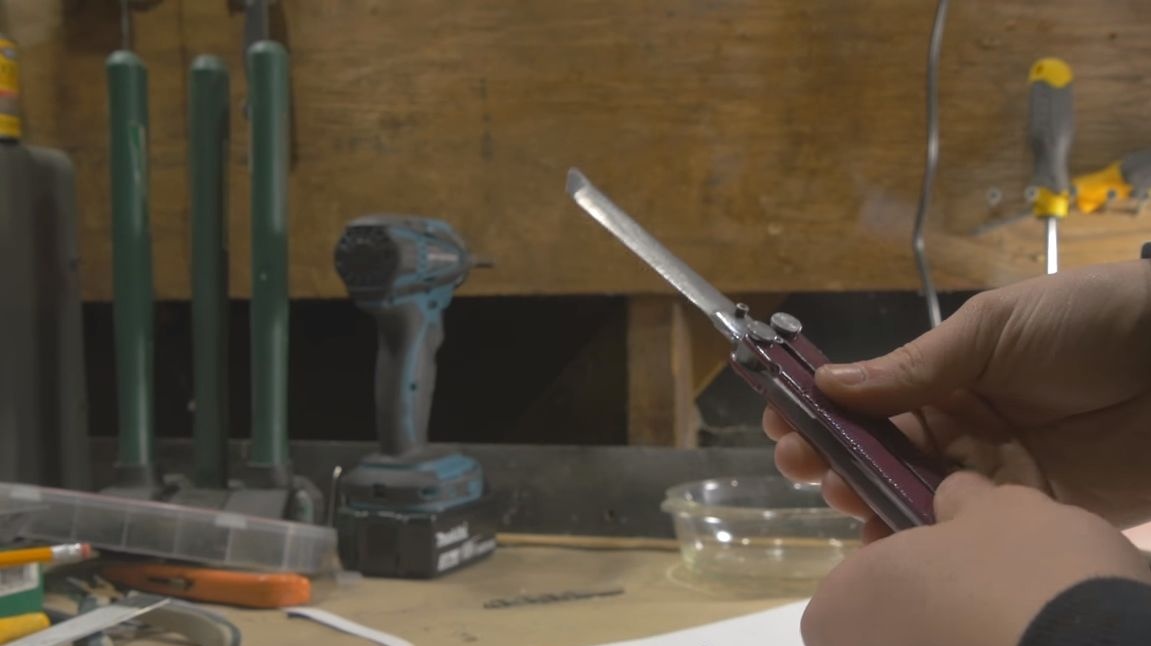
That's all, the knife is ready, you just have to sharpen it well. It was made, of course, not very high quality, but it is completely reliable and always useful for domestic needs and not only. That's all, use the knife for good purposes. Good luck and take care!