
Ice will soon come down, and in some cities the rivers have already melted. And this means only one thing, the water will warm up and the fishing season will begin. Fishing at night is in great demand, at this time of day roach, bream are excellent, and predatory fish do not mind eating at night. But what to do if nothing is visible at night, do not constantly shine on the float with a flashlight? There is a conclusion from this situation, you can do do it yourself . The author found an interesting solution on how to do this the easiest way.
In this instruction, we will look at how to make the float not just luminous, but blinking. And it will flash with us only when the fish pecks! This is good because you will always see a bite, you can sit in absolute darkness and watch the float blink, then you need to hook it up! This mode saves battery power, however, you will not be able to accurately determine the moment when it is necessary to do a hook.
The considered float can be used as an indicator for bottom fishing, it will cope with this task perfectly. But as a float specifically, this design is not very suitable, since homemade It turns out pretty bulky. So, we will consider in more detail how to make such an alarm.
Materials and tools used by the author:
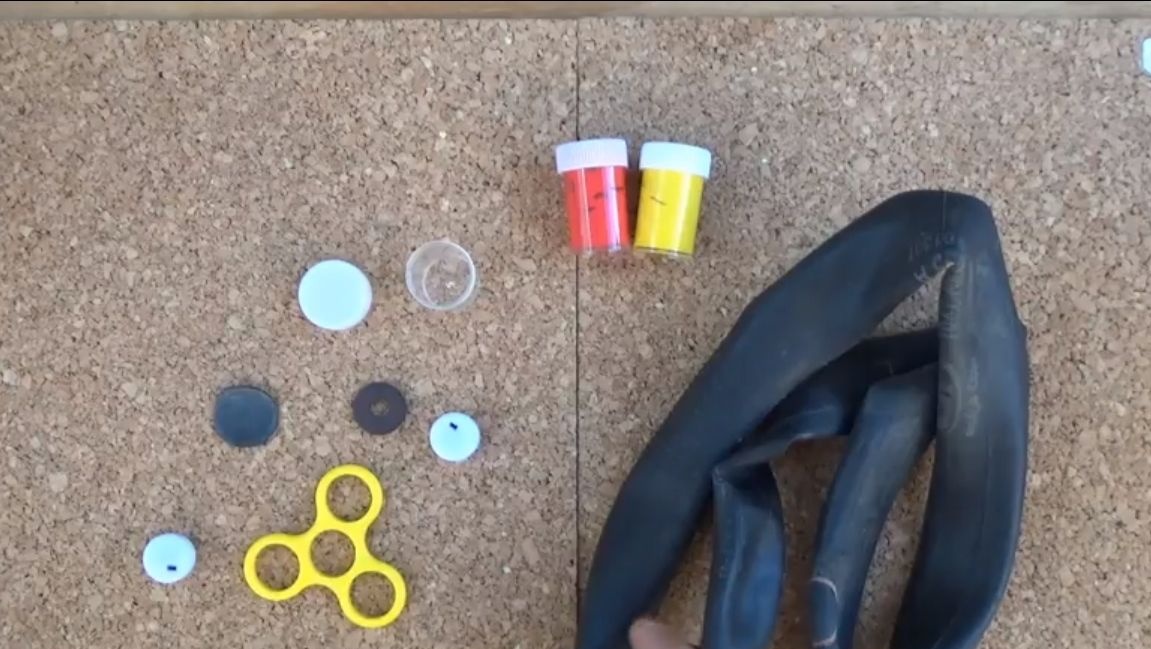
Material List:
- “flasher” (from or another toy);
- a small bottle or container with a lid;
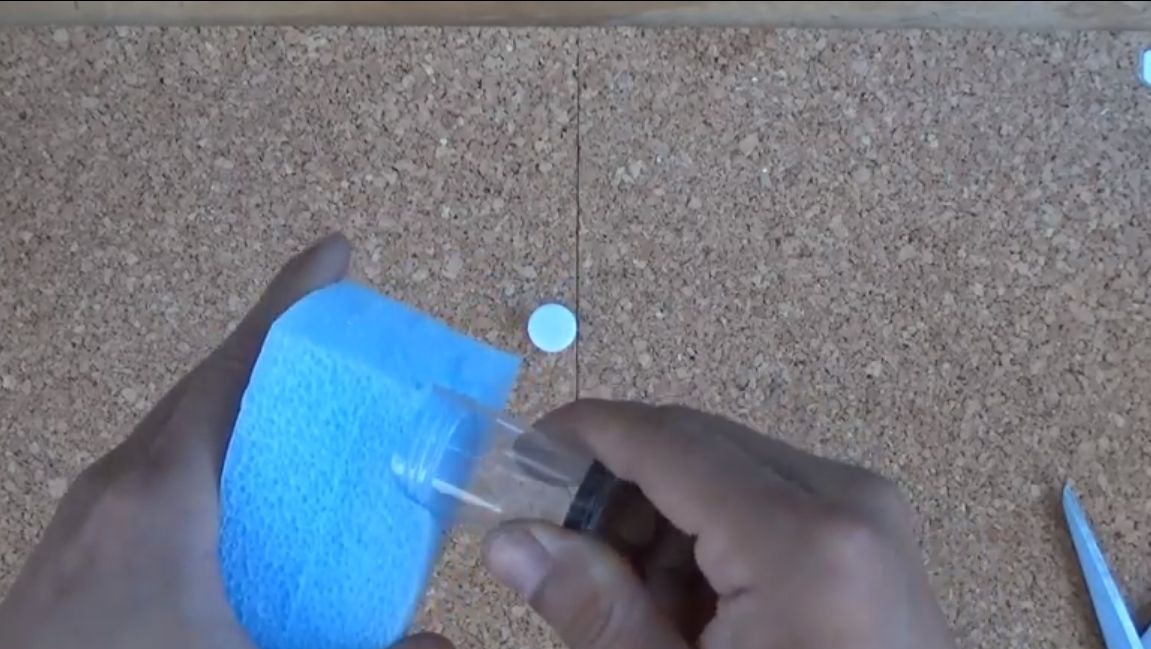
- foam, sponge, or other similar material;
- a piece of rubber from a bicycle chamber;
- two plastic ties;
- glue;
- fum tape;
- a tube.
Tool List:
- scissors;
- stationery knife.
The manufacturing process of the float indicator:
Step one. Insulate the lid
As a case, we need a bottle that can be sealed tightly. The author decided to make an additional gasket from rubber, which additionally seals the bottle. It can be cut out of the bicycle chamber.


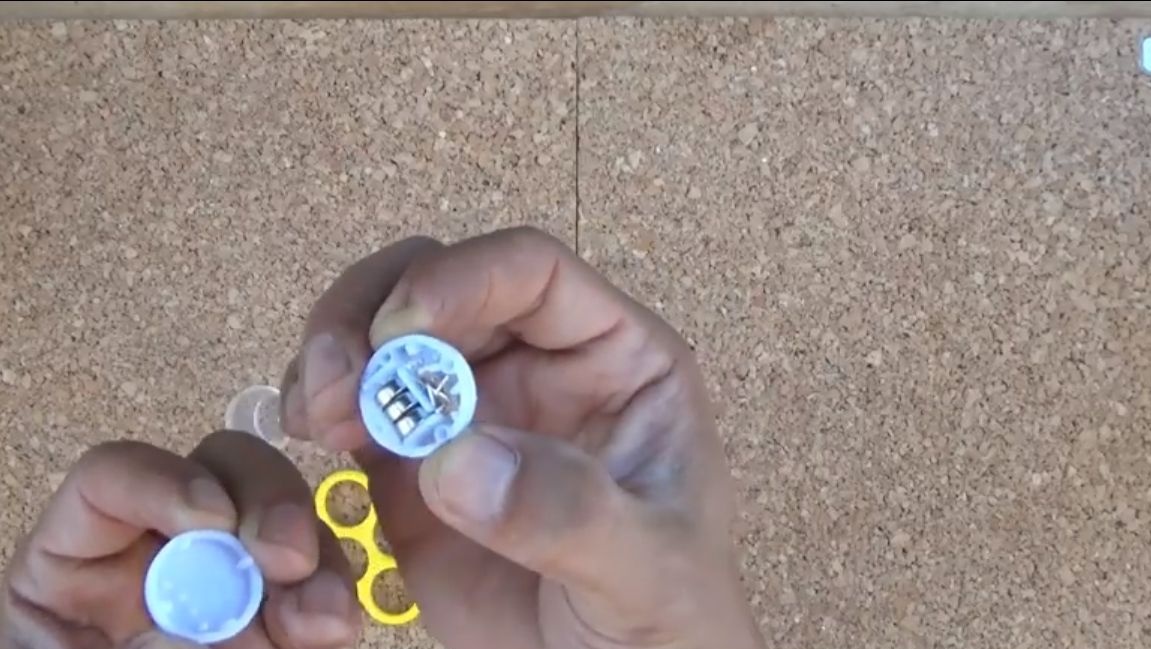
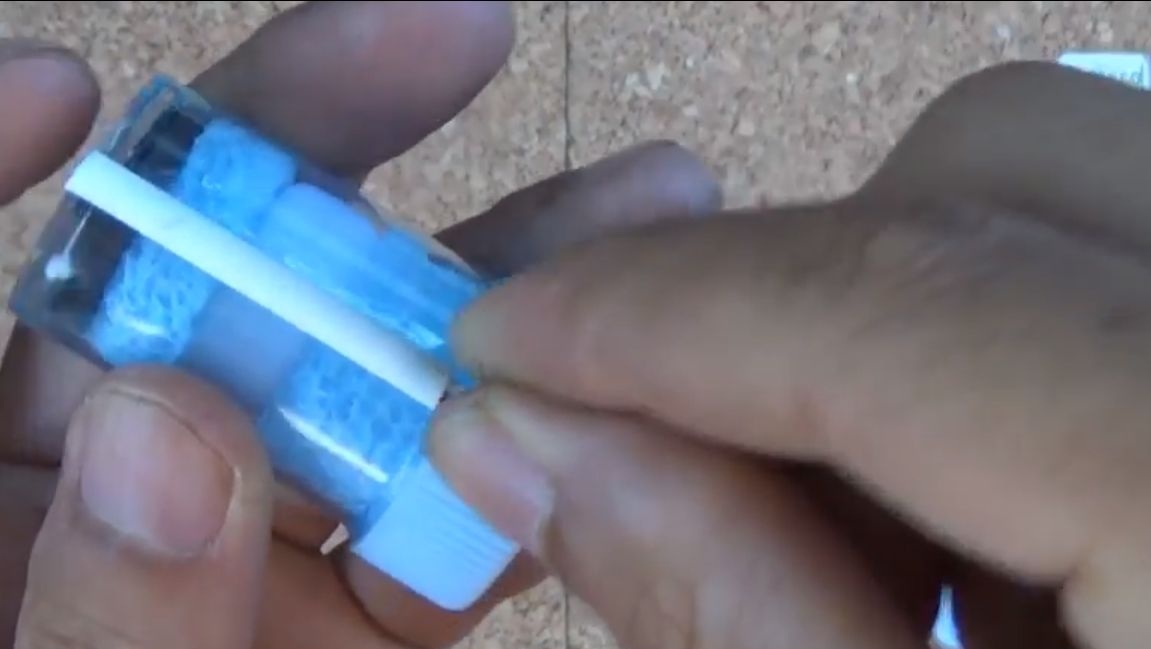
Step Two Seals for signaling device
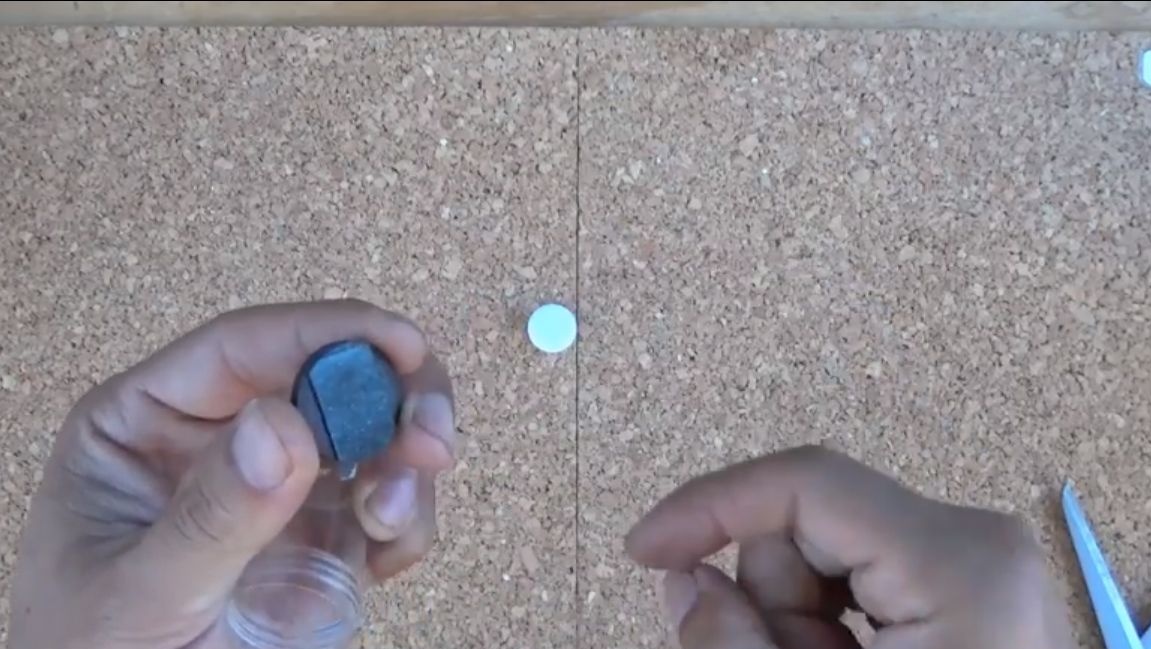
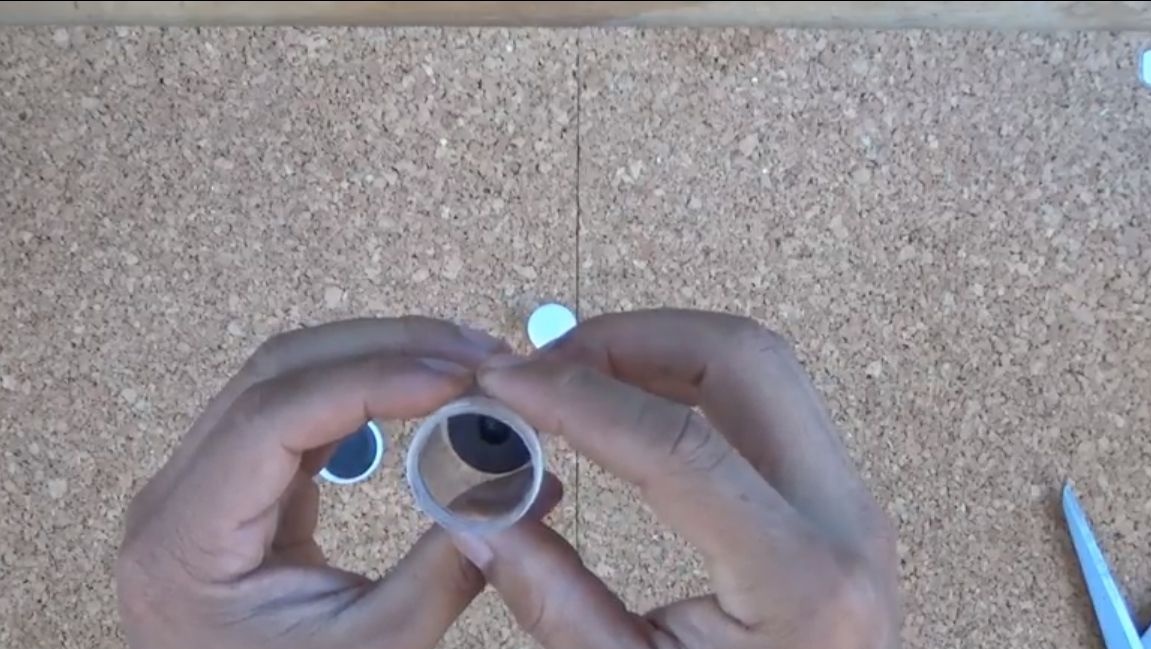
As a signaling device that emits light, you will need electronic item from or similar toy. The bottom line is that the LEDs begin to flash if you shake the device. The part must be placed in the housing so that it does not hang. For sealing, you can use a sponge for washing dishes, just take a bottle and use it to cut out the required round log, then adjust the length using an office knife.
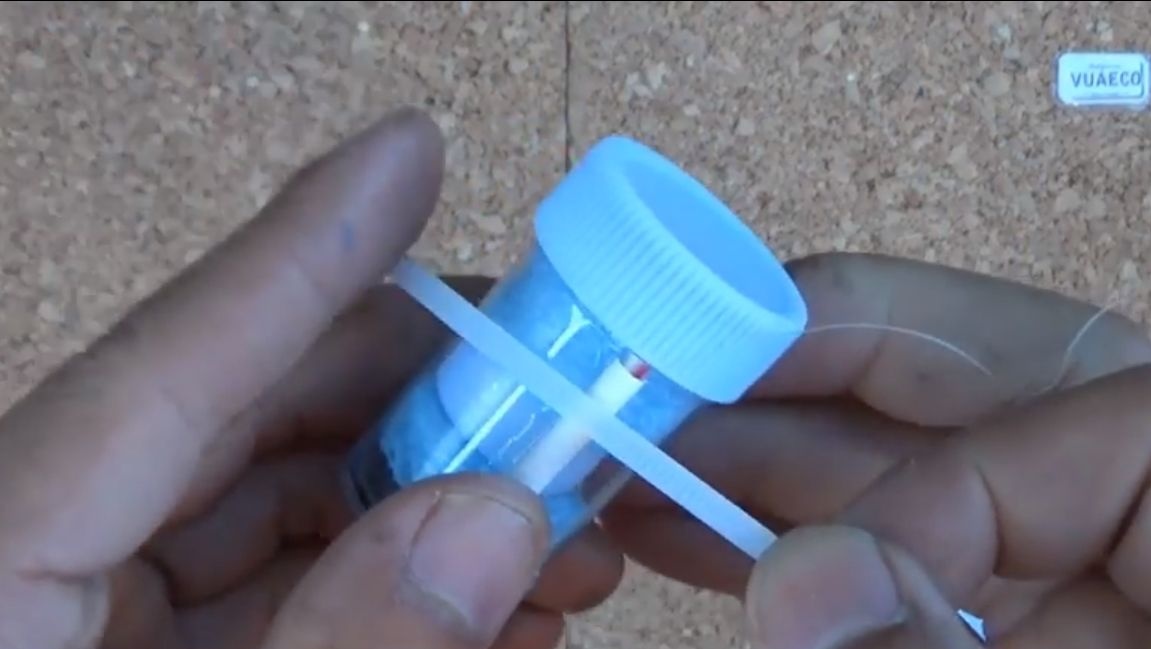
Step Three Install the fastener
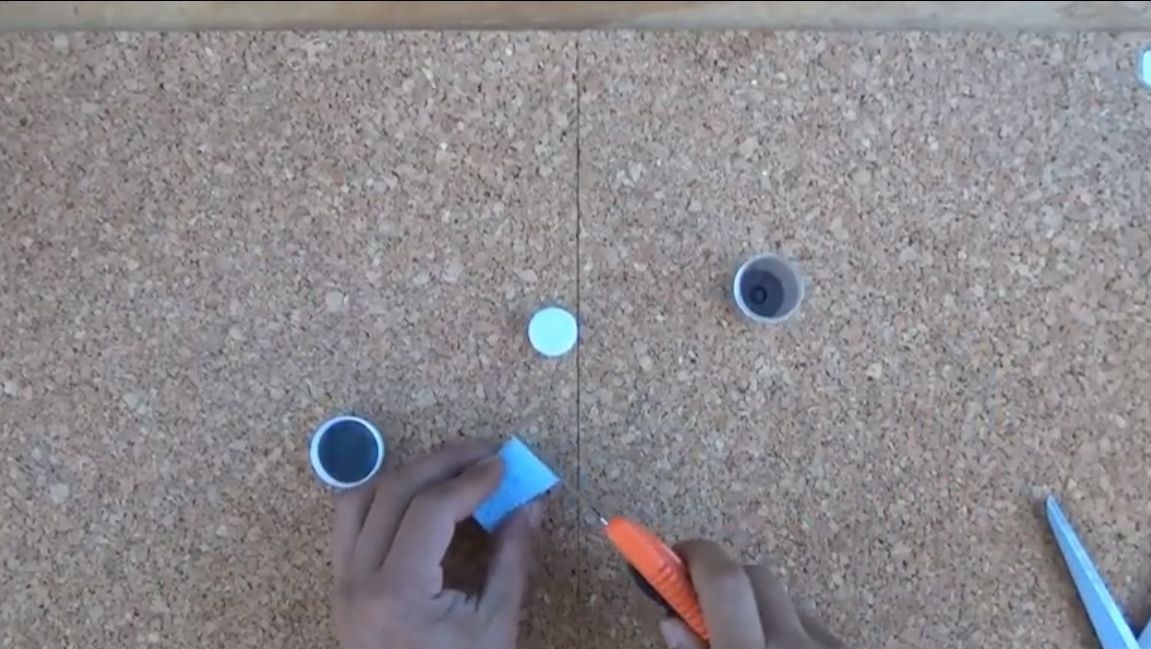
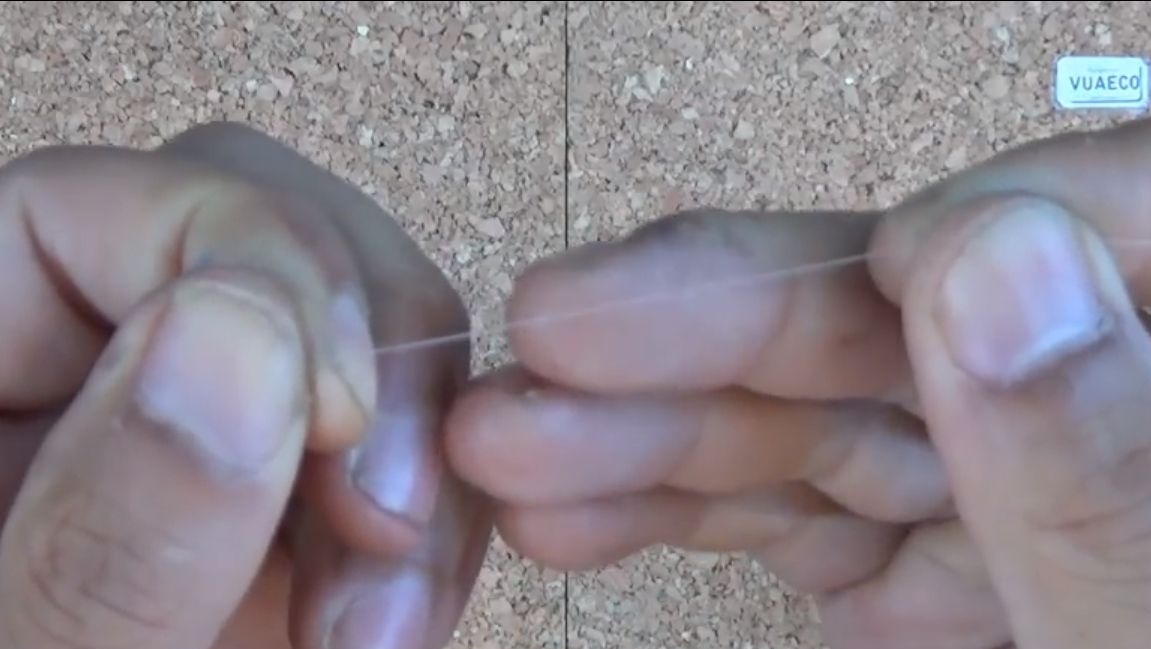
So that the float can be fixed on a fishing rod or fishing line, we need a piece of tubule. Glue it to the body using epoxy or other similar glue. To strengthen the connection, the tube is additionally fixed with two plastic clamps.
The final step will be thread isolation, for this you will need a fum tape. We make a few revolutions and tightly screw the lid.

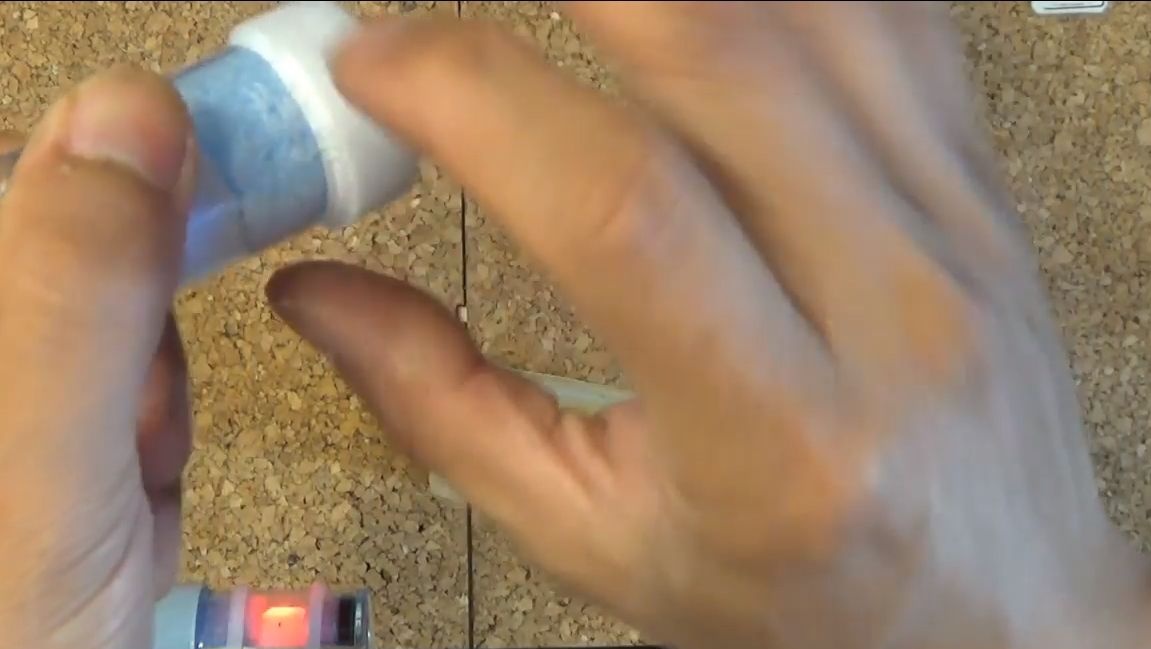
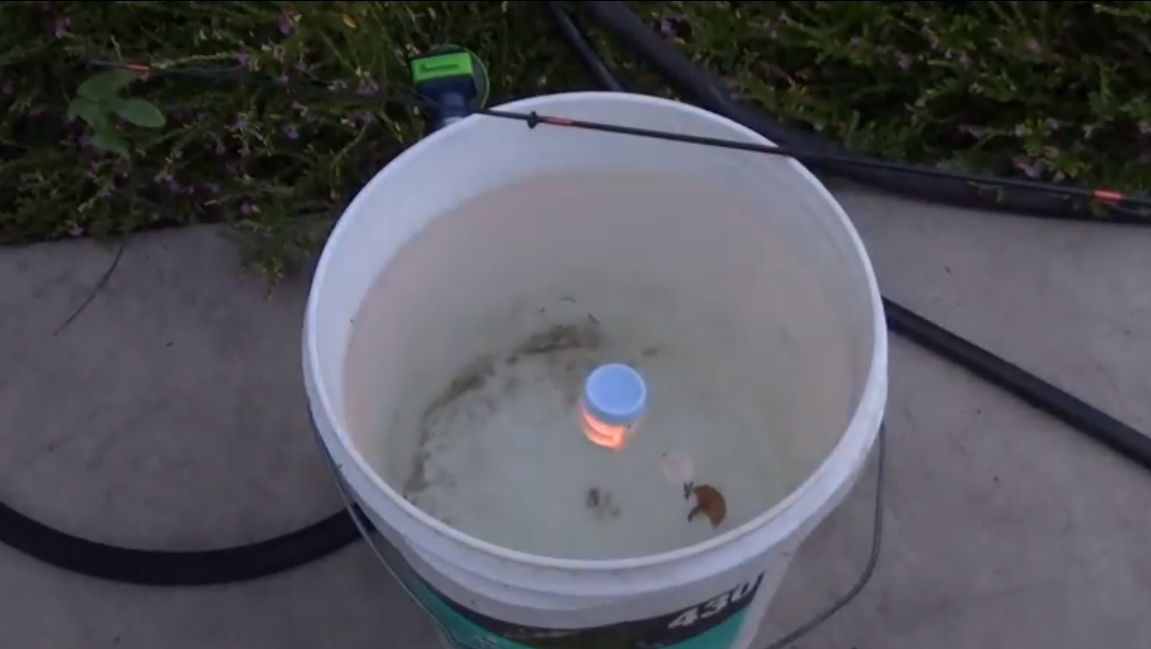
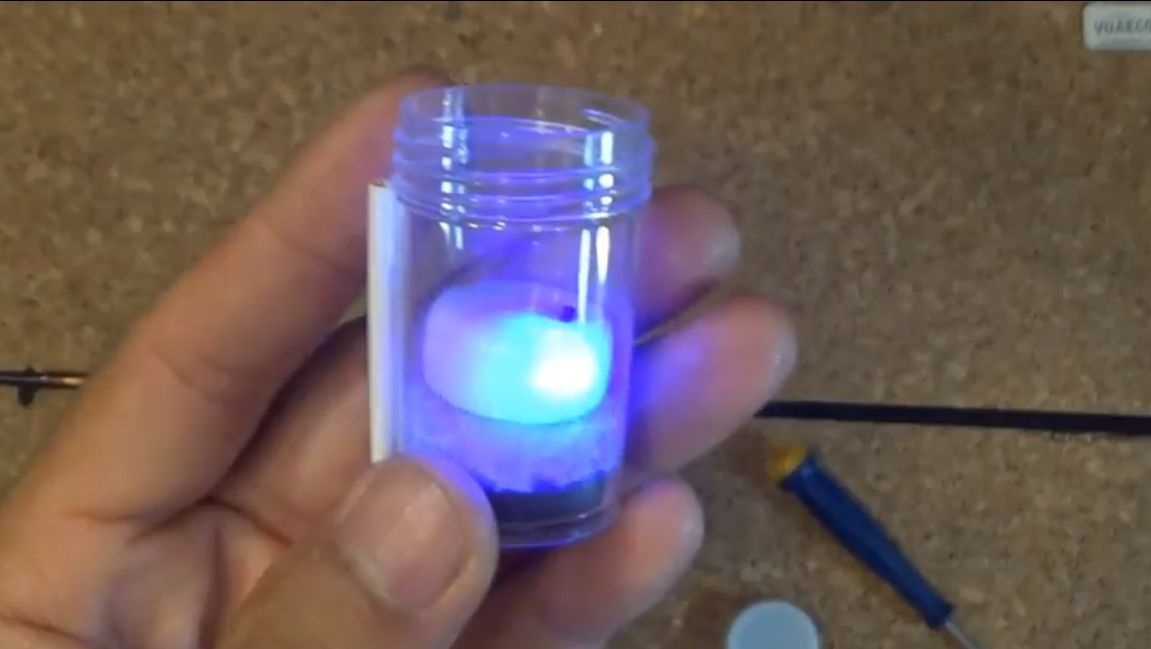
Step Four Testing!
Set the float on the fishing line and send it into the water! With the slightest shaking, the float should begin to flash. That's all, you can go fishing!
If you decide to install the indicator on a fishing rod during bottom fishing, then you won’t really need to seal it. That's all, good luck and inspiration in the manufacture of your own projects. Do not forget to share your best practices with us!