
Hello to all lovers homemade. In this article I will tell you how to make a simple timer on the NE 555P chip, in the assembly of which a kit kit will help us, which you can order by the link at the end of the article. Based on this kit, you can make, for example, a flashing light or periodically turning on a device.
This kit kit is suitable for beginner hams to master working with a soldering iron, since it does not require special skills.
Before proceeding to read the article, I suggest watching a video with the complete assembly process, as well as checking the finished kit.
In order to make a timer on the NE 555P, you will need:
* Kit
* Soldering iron, solder, flux
* Side cutters
* Device for soldering "third hand"
* Flat-head screwdriver
* Power supply for checking the finished device
Step one.
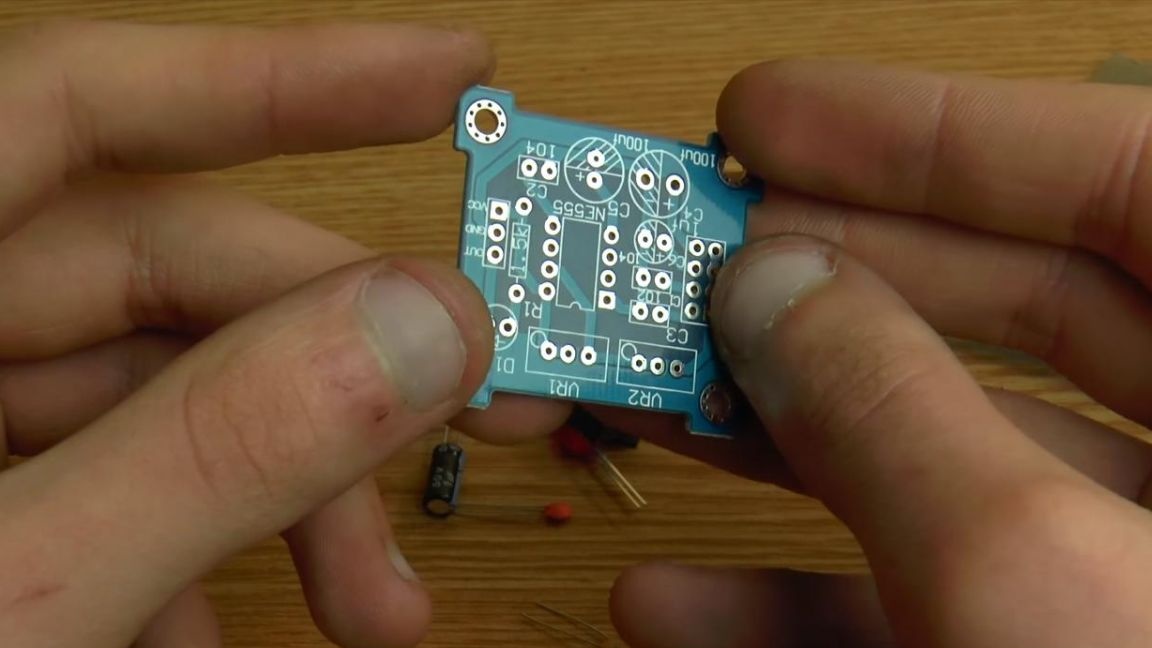
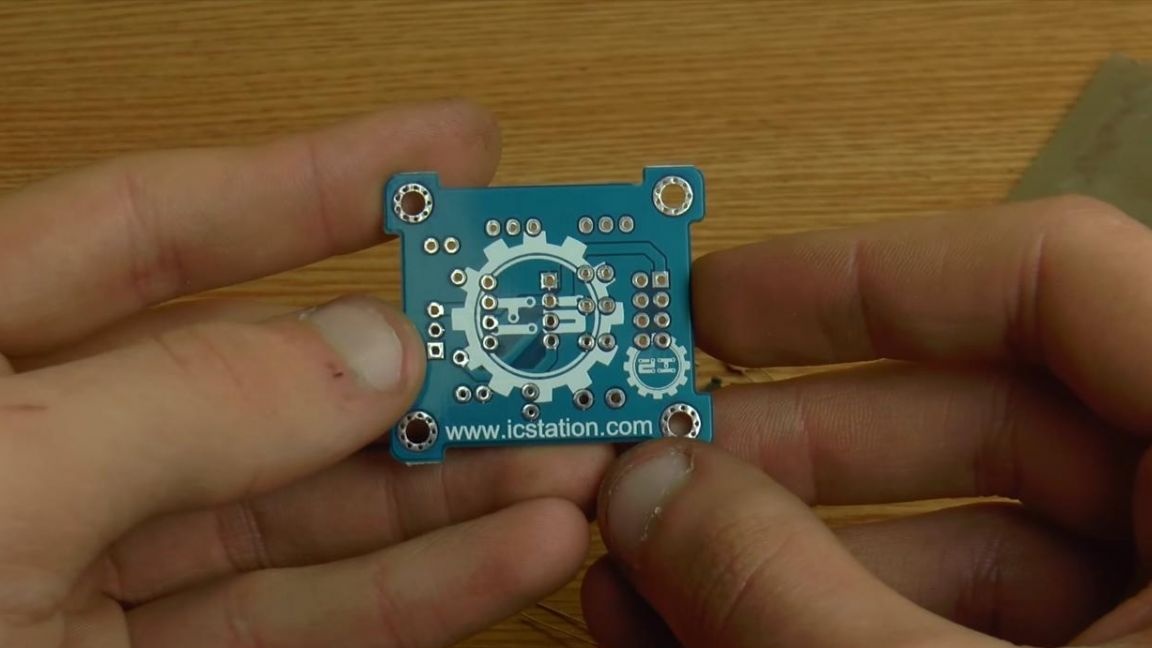
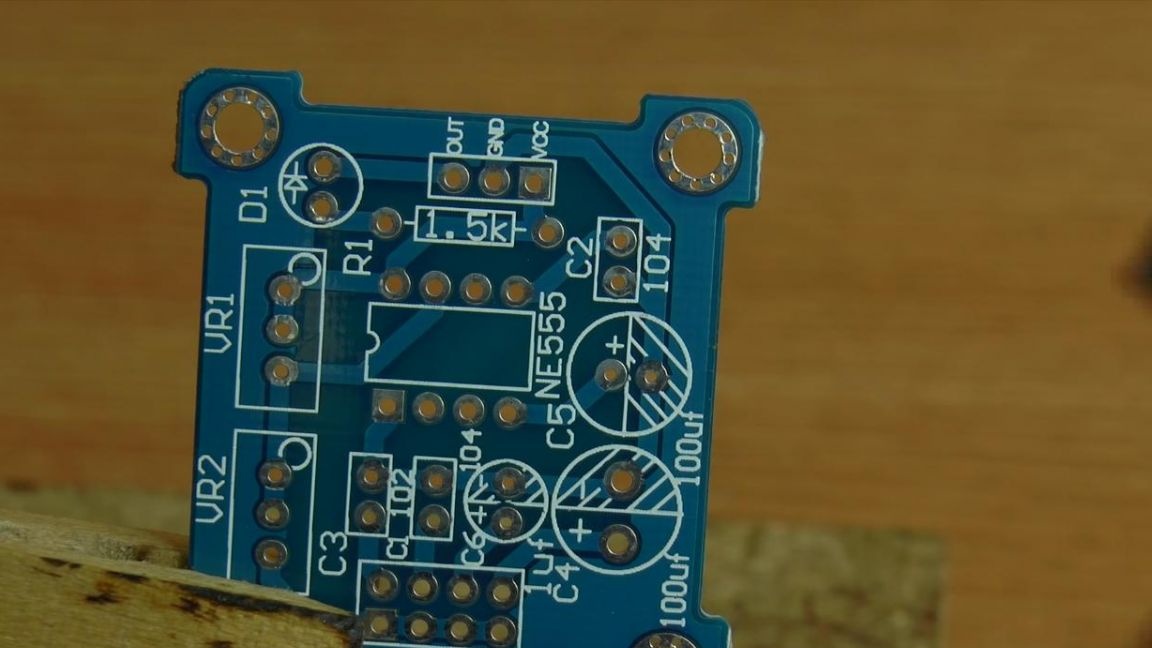
To begin, consider the delivery kit of the radio constructor.
In the kit we have a printed circuit board, it is made quite well and has contacts on both sides with all the signed components, so as not to be mistaken, since there are no instructions for the radio designer.
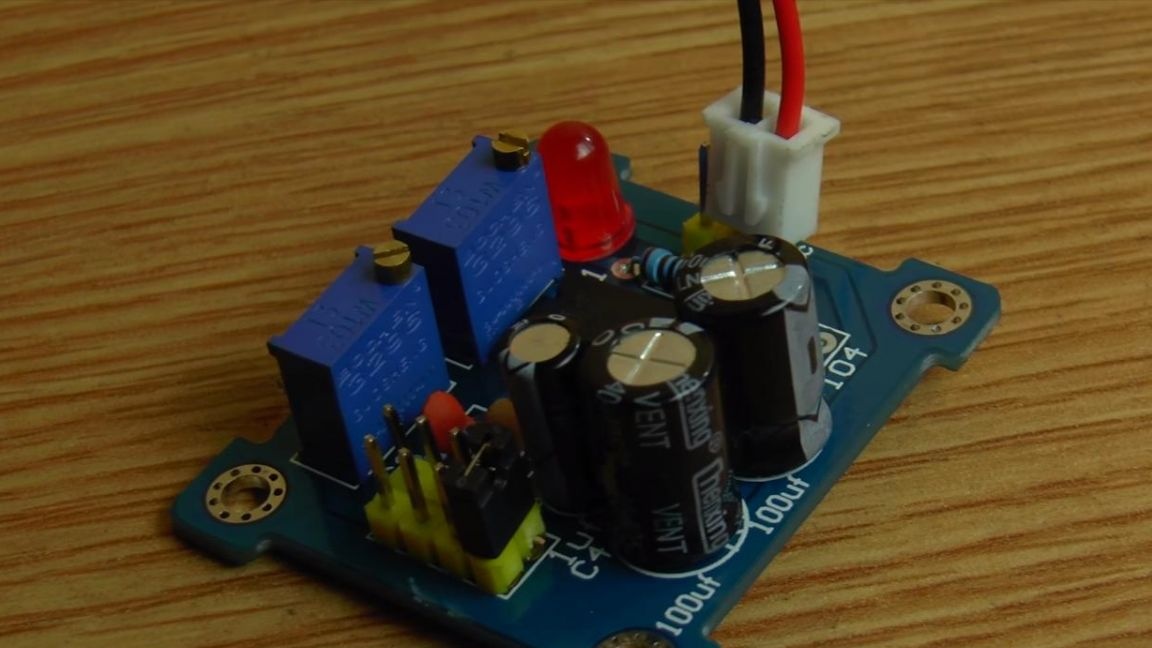
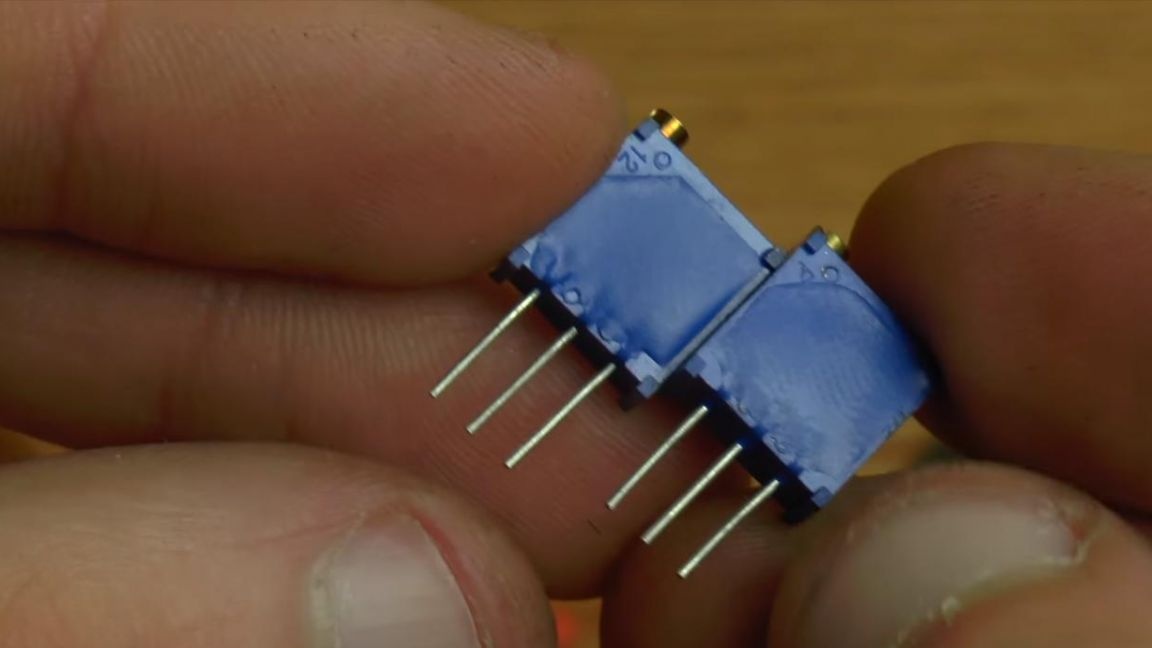
The timer is based on the NE 555P chip, also in the kit there are two variable resistors for adjusting the timer response time.

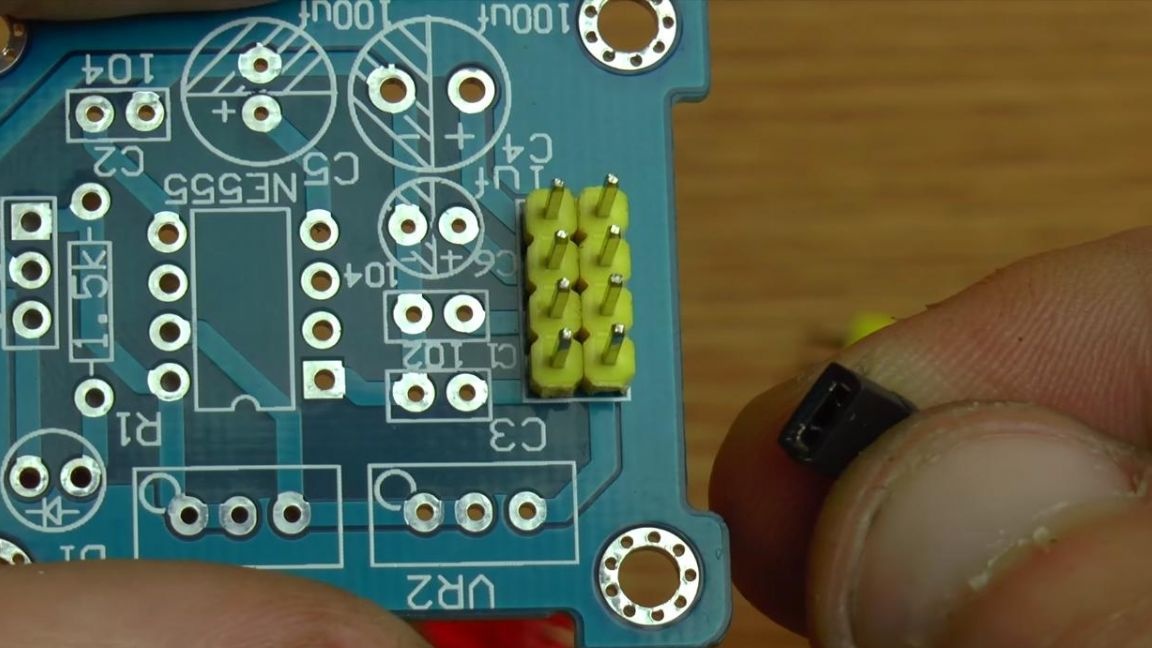
On its board, the timer has connectors, with which, by rearranging the jumper, capacitors of different capacities will change, which will affect the timer response time.
Step Two
First of all, install the board in a special clamp for soldering "third hand".
Why arrange the components. We have only one resistor in the kit, so you do not need to measure its nominal resistance.
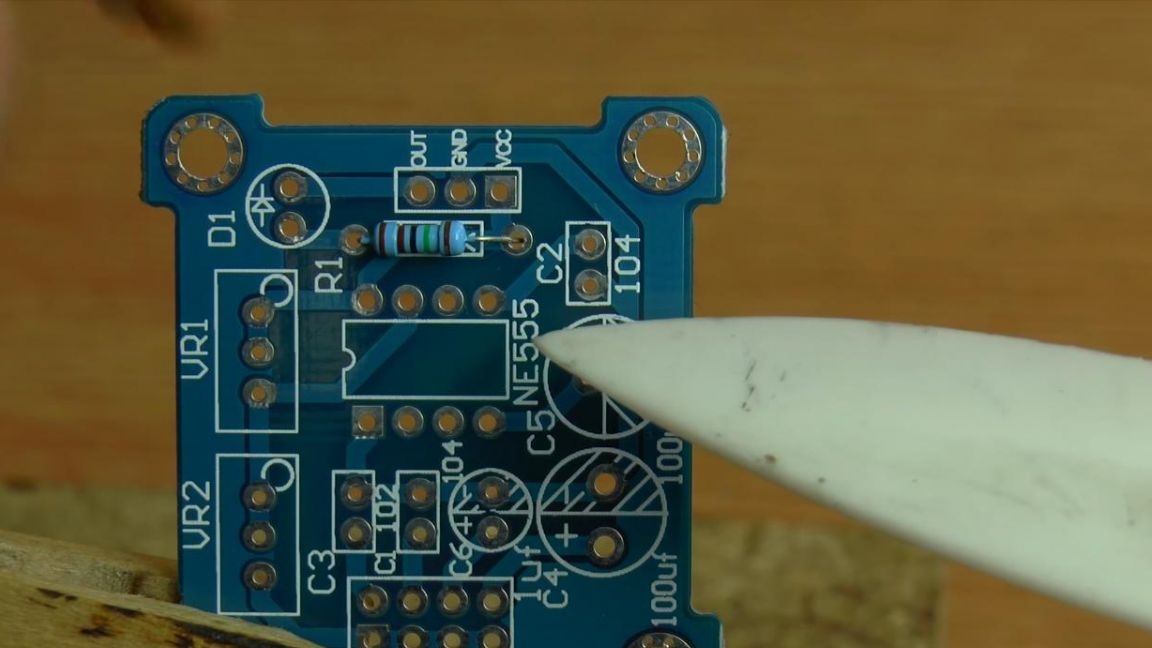
If necessary, the resistance can be measured using a multimeter or color coding on the case.
Step Three
We install non-polar ceramic capacitors, there is a number on their case, they are also indicated on the board.
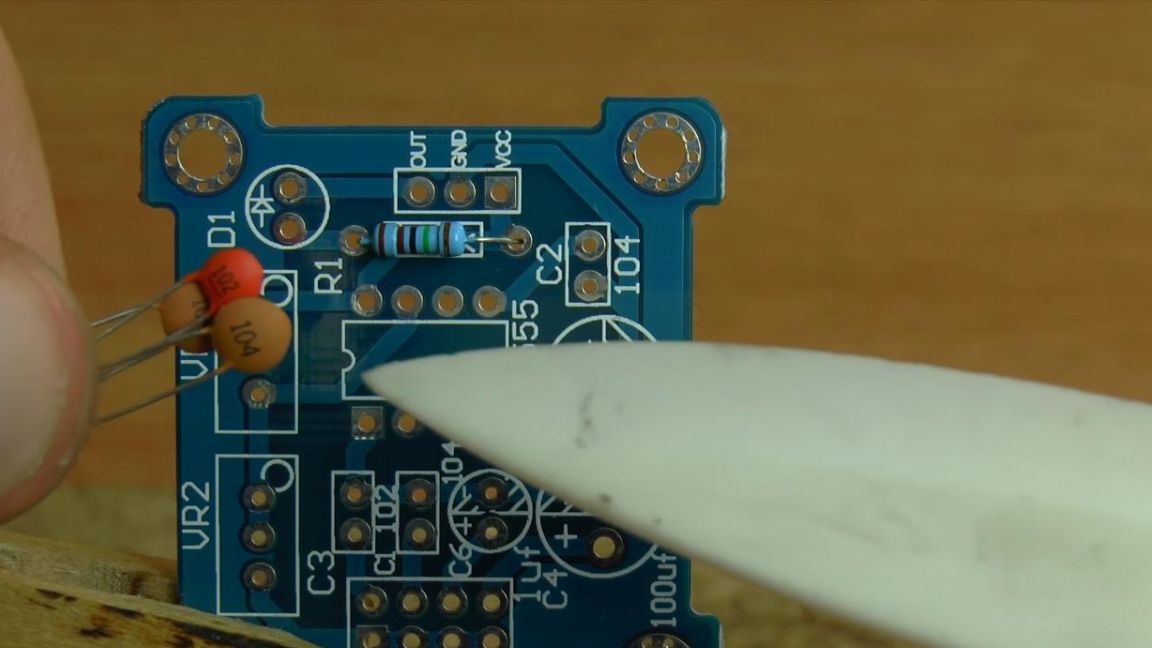
We insert the components and bend their conclusions so that they do not fall out when soldering.
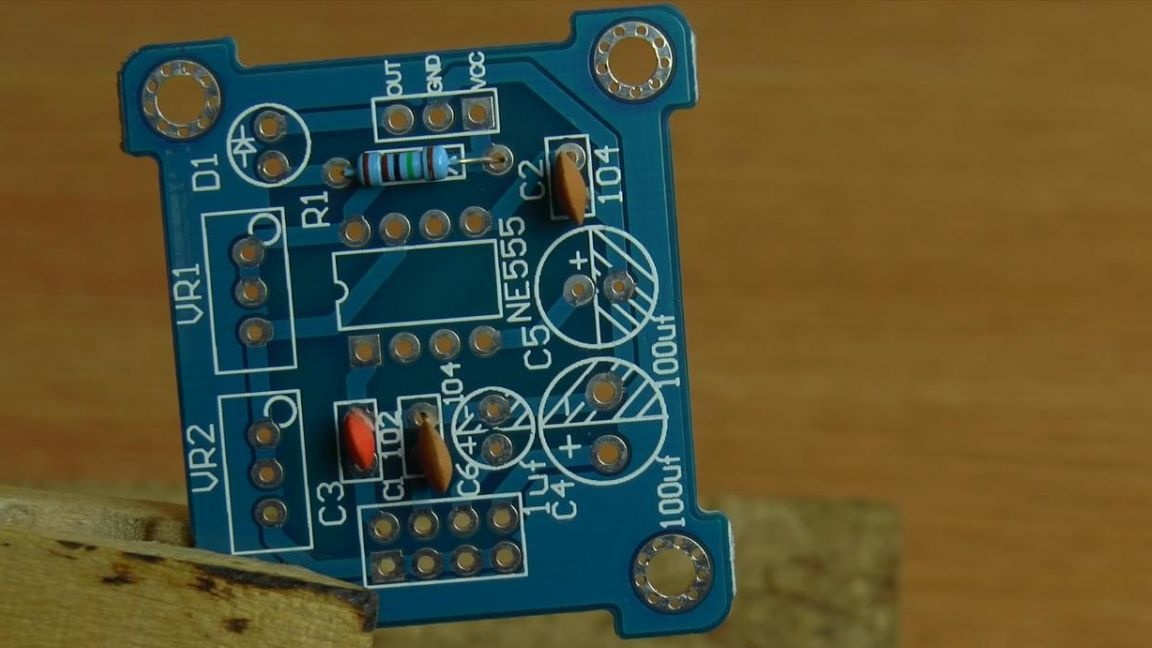
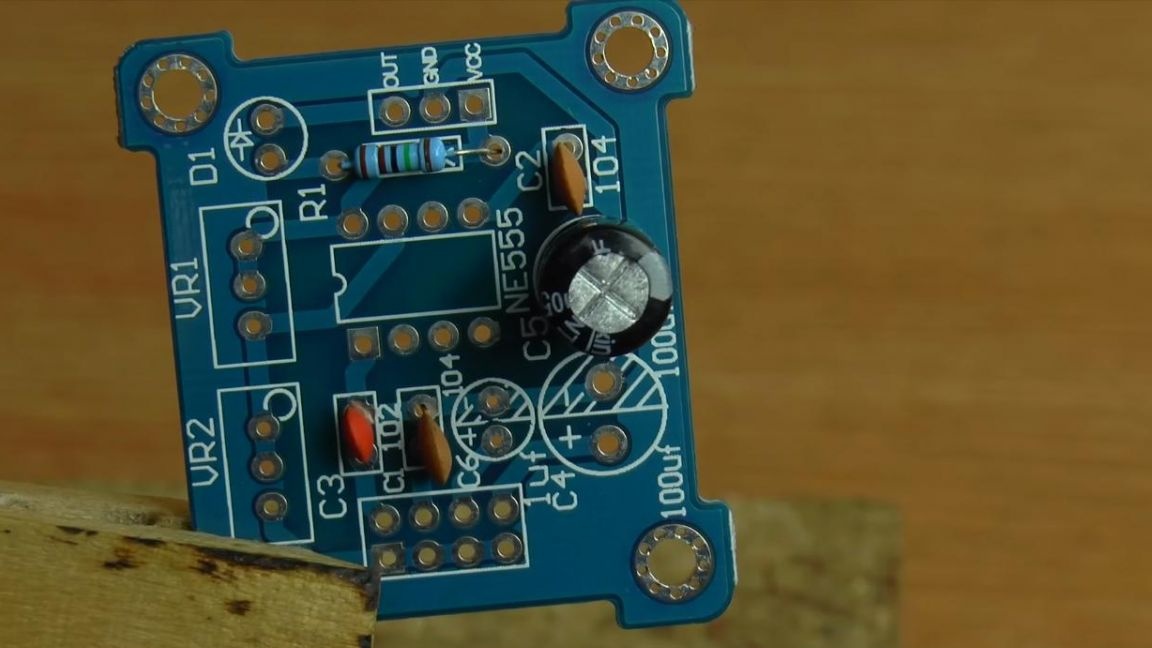
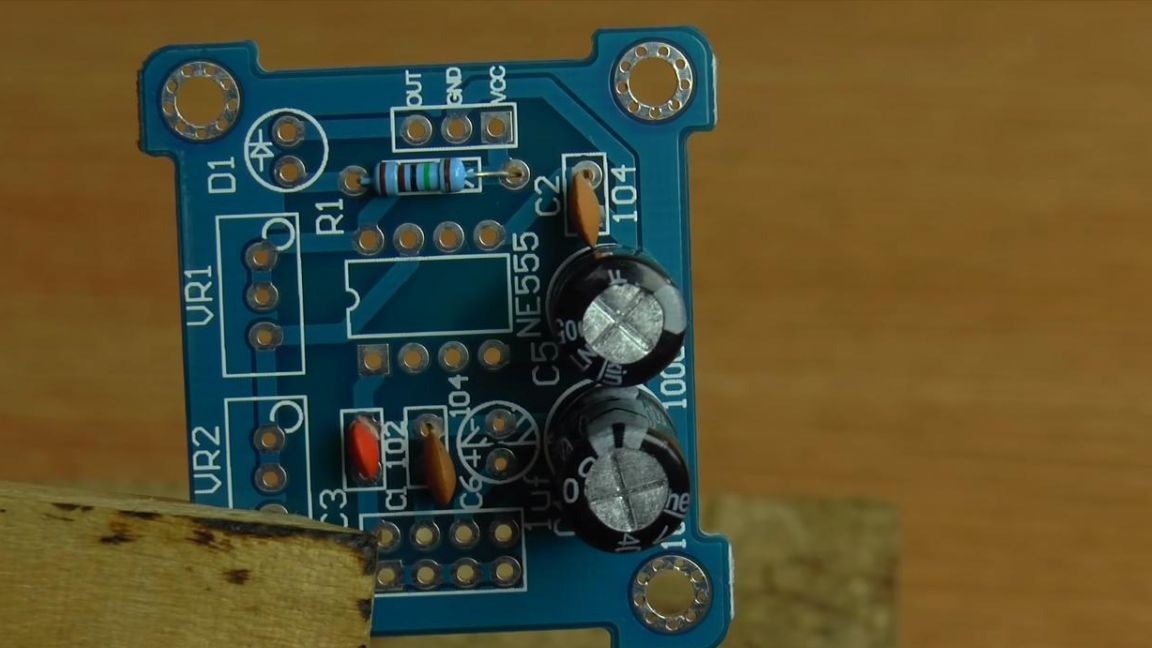
Next, insert the polar capacitors, we have three in our circuit and have different capacities. A white strip is applied to their case, opposite it is a negative terminal, plus the capacitor is a long leg. On the board, the minus is indicated by hatching, we insert the capacitors according to the ratings on the case and the board.

Step Four
Now install the heart of the timer, namely the NE 555P chip, install it according to the key on the case, made in the form of a circular recess, which is repeated on the marking of the printed circuit board.

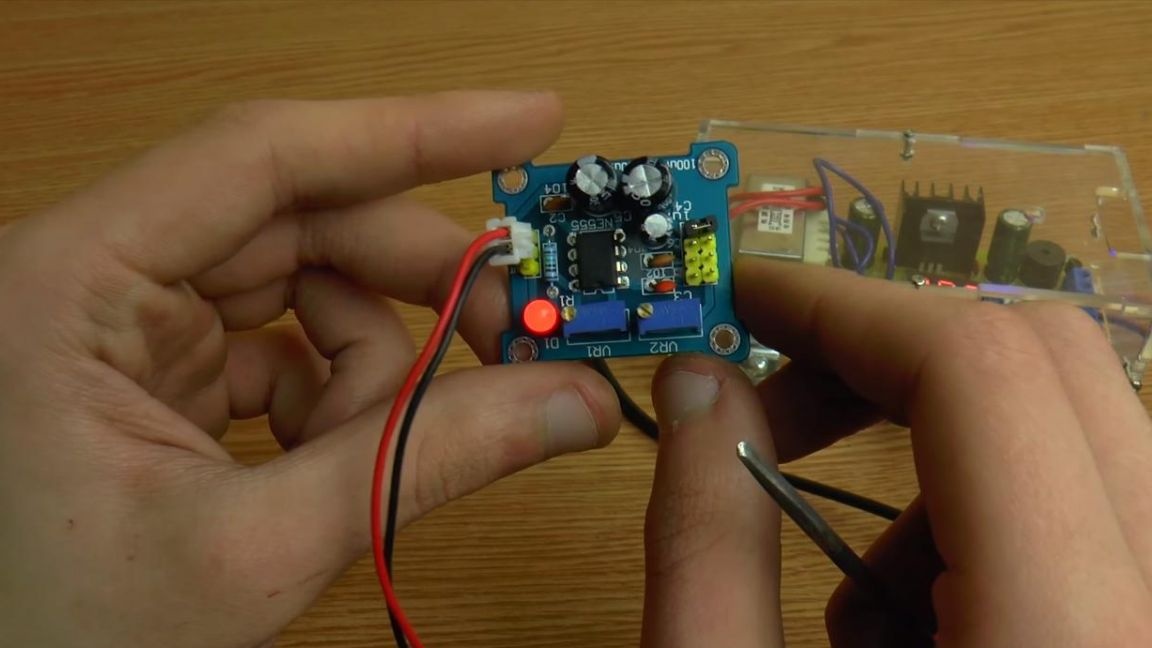
We put the red LED in its place, its long leg is a plus, a short minus.On the board, a dash is a minus contact, a triangle is a plus. Next, we insert two variable resistors and conclusions for connecting the power and jumpers to change the timer.
Step Five
All components on the board are installed. We apply a flux for better soldering and solder the conclusions to the board contacts.

After soldering, we remove the remnants of the conclusions using side cutters. When biting the conclusions with side cutters, be careful, as you can accidentally remove the track from the board.
Step Six
It's time to test the timer. We connect the power supply to the contacts on the board and set the jumper in any of four positions. The LED blinks, which means the kit is working, the response time can be changed with a screwdriver, turning the screw of variable resistors, and also moving the jumper to another position, thereby switching capacitance depending on the connected capacitor.
That's all for me, thank you all for your attention and creative success.