Hello everyone, if you are constantly making something, then surely you have a need to cut sheet material, beams, plywood and so on. The best tool for this is a hand-held circular saw. But such a tool costs a lot, and sometimes such power is sometimes not required. In this instruction, we will look at how you can assemble a home-made saw that will work on a voltage of 12-24V. This means that you can feed it from batteries or a power supply! It has not very large power, which makes it safe, but quite effective.
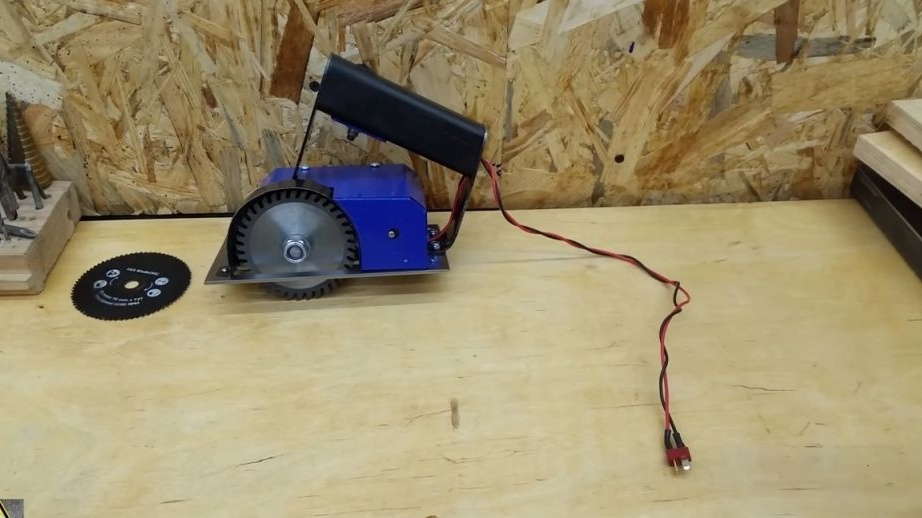
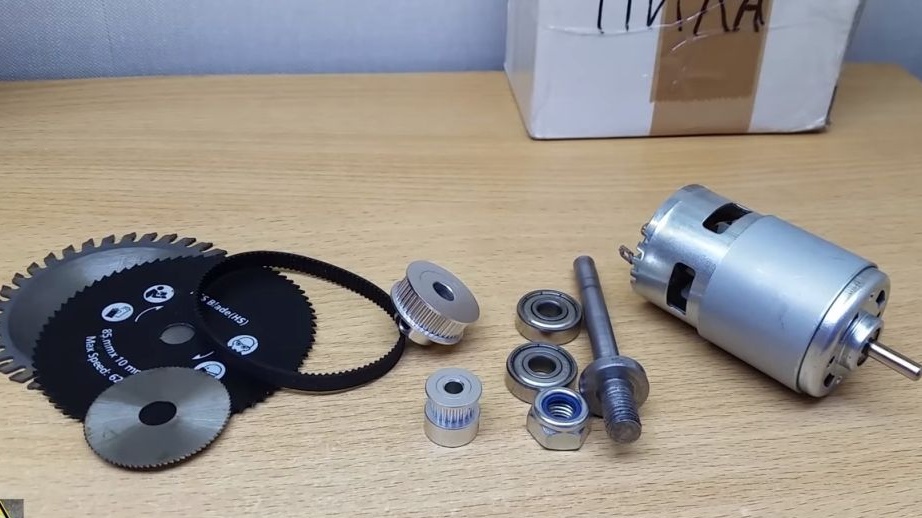
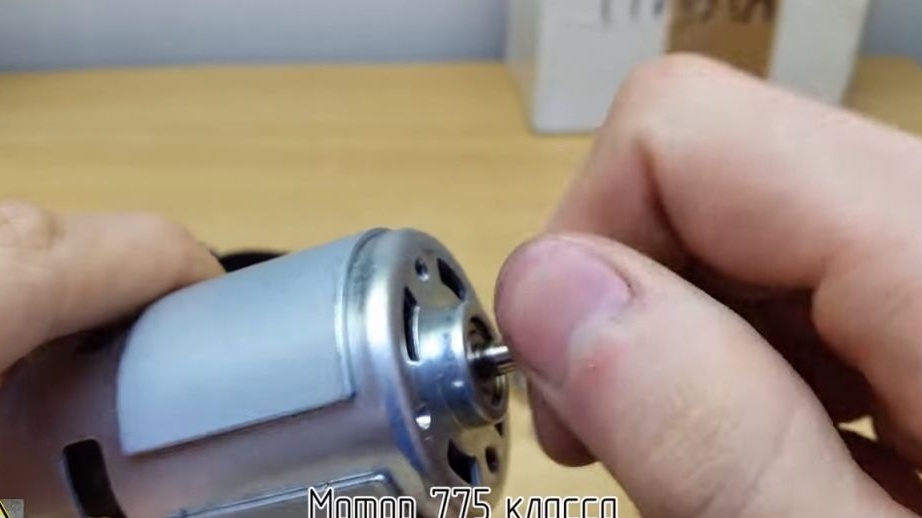
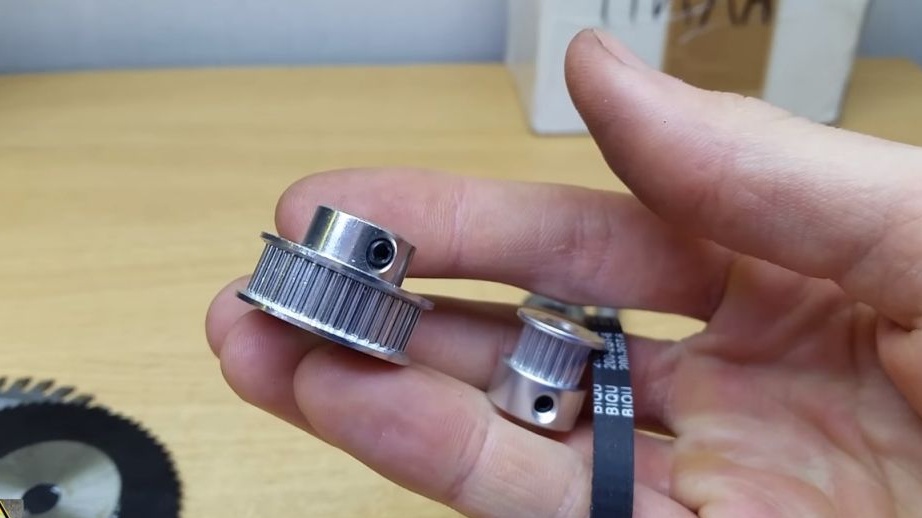
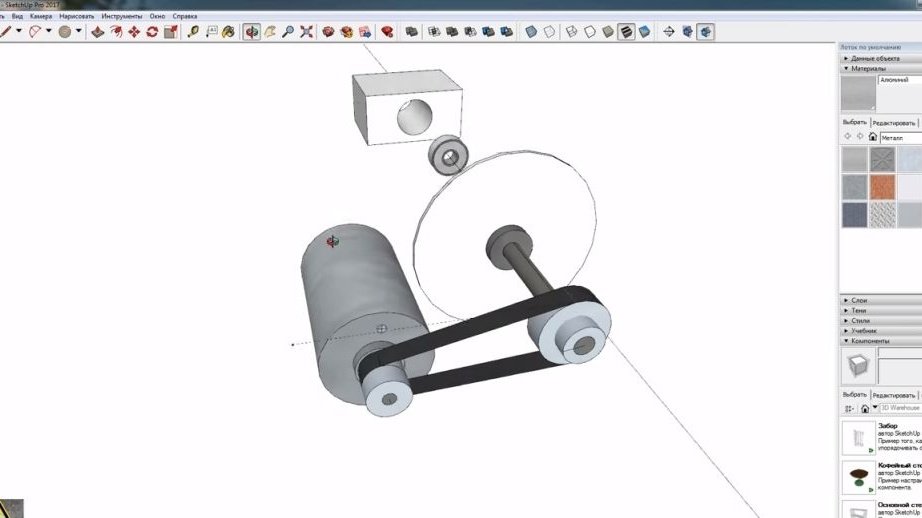
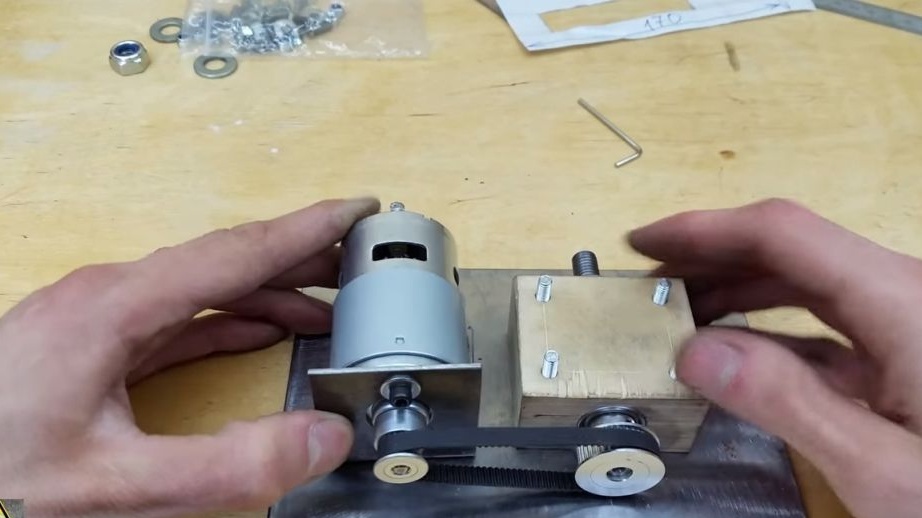
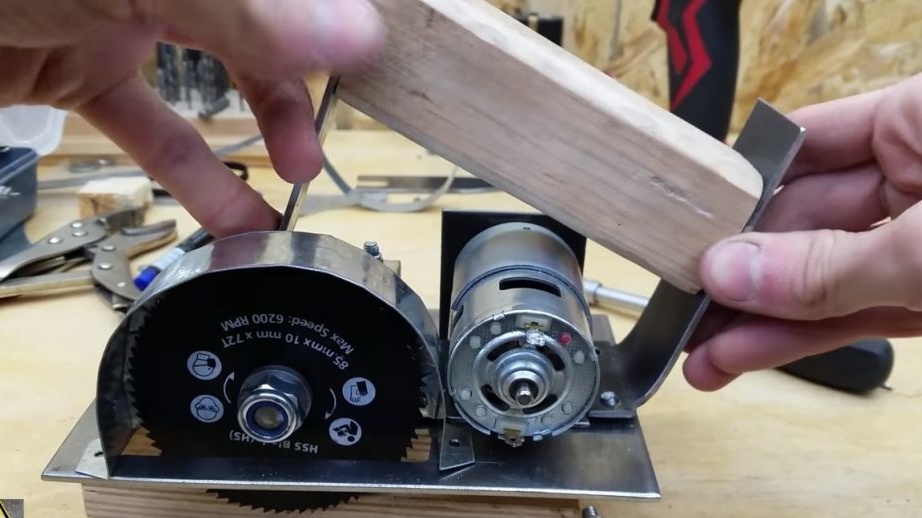
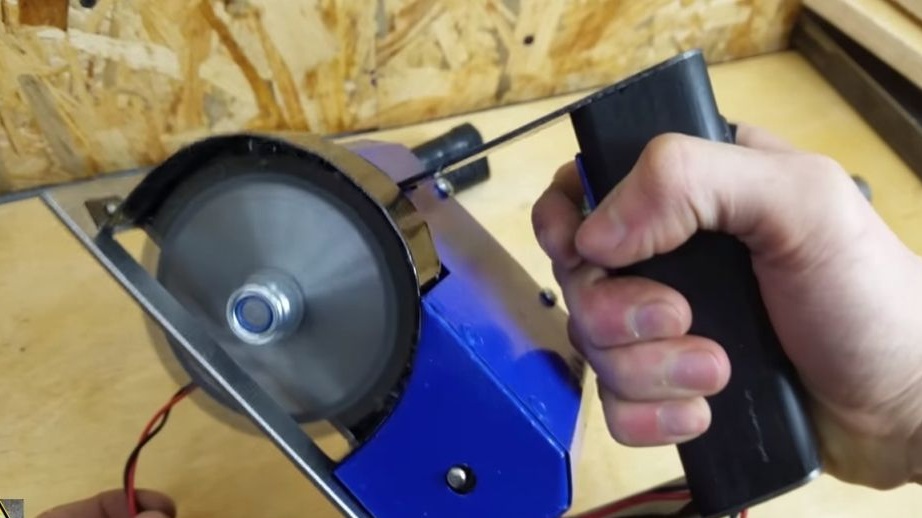
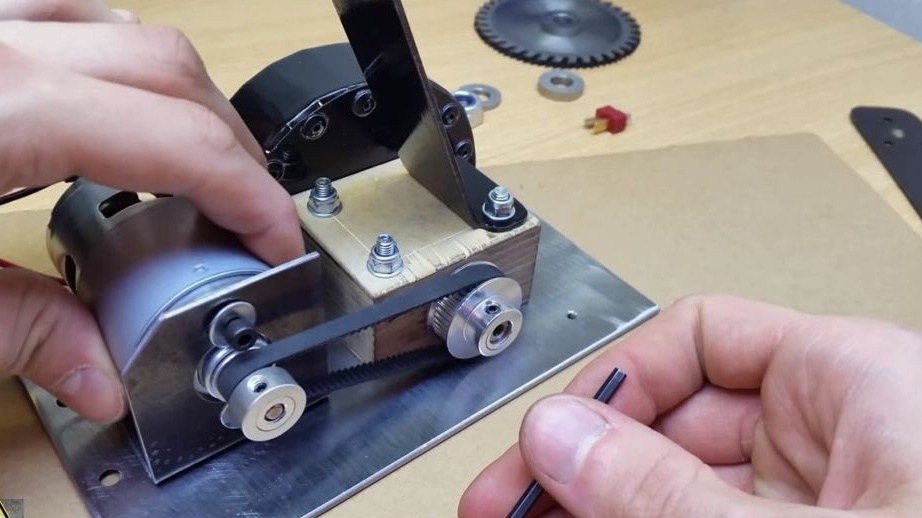
The considered saw design is quite high quality. Its sole is made of sheet metal, as is the bracket that holds the engine. Everything is assembled quite reliably, the drive to the cutting disc is carried out through a belt drive. The revs drop slightly, which increases the torque and increases safety. A motor of the 755 series is used here as an engine; it can be inexpensively ordered from China. Such engines are actively used in the manufacture of various home machine tools. When buying, choose only motors on the bearing, they serve much longer than motors on the bushings.
As an additional safety measure, rheostatic braking is used here. So, we will consider in more detail how to make such a saw!
Materials and tools used by the author:


Material List:
- ;
- ;
- ;
- bearings;
- driven shaft (homemade);
- plywood;
- epoxy adhesive;
- screws, screws, etc .;
- switches;
- sheet steel 2 mm thick;
- paper and marker;
- galvanized steel for shields and housing.
Tool List:
- drilling machine;
- belt grinding machine;
- clamps and vices;
- grinder;
- drill;
- scissors for metal;
- soldering iron;
- wrenches, hammer, etc.
Manufacturing process homemade:
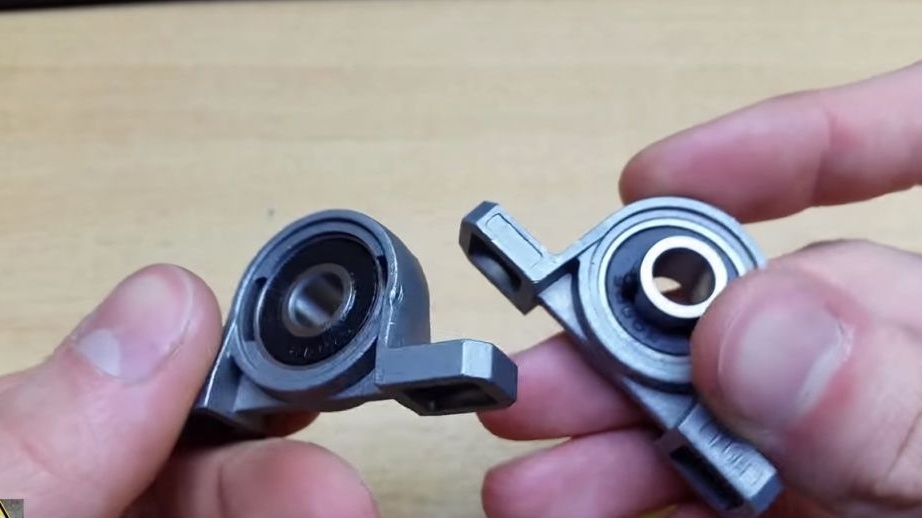
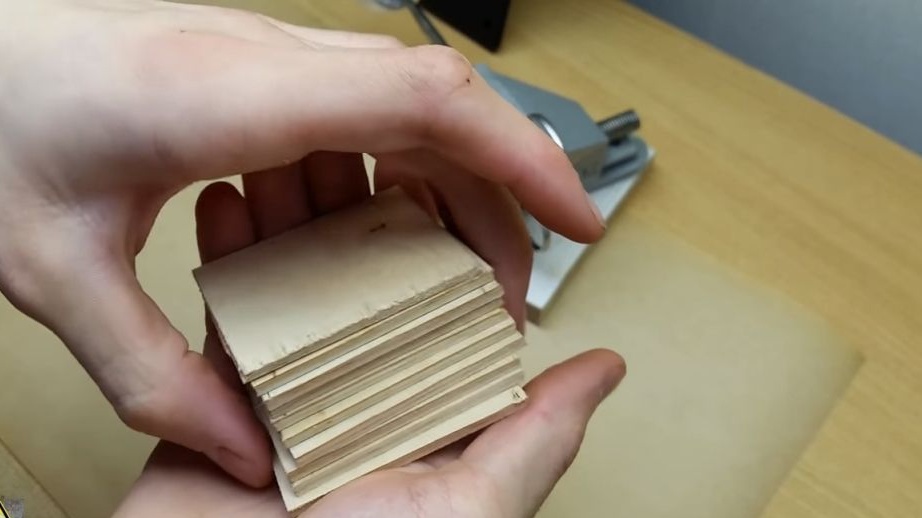
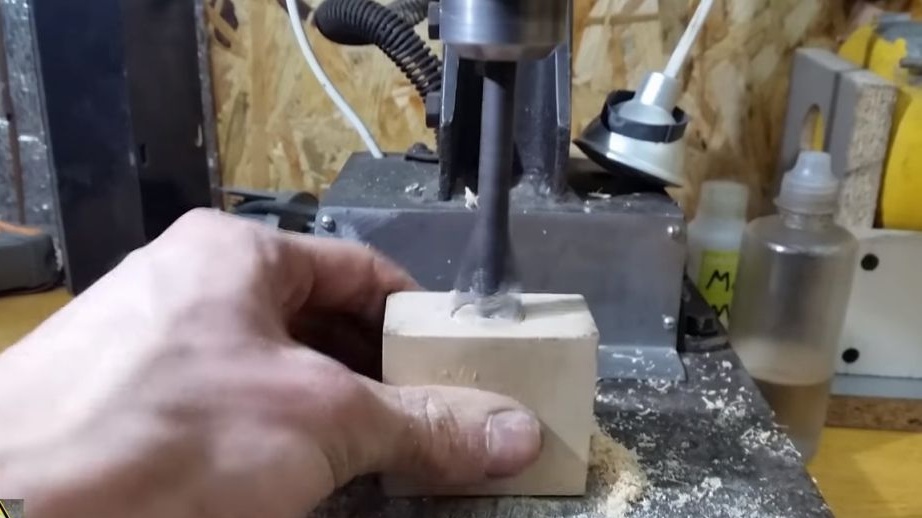
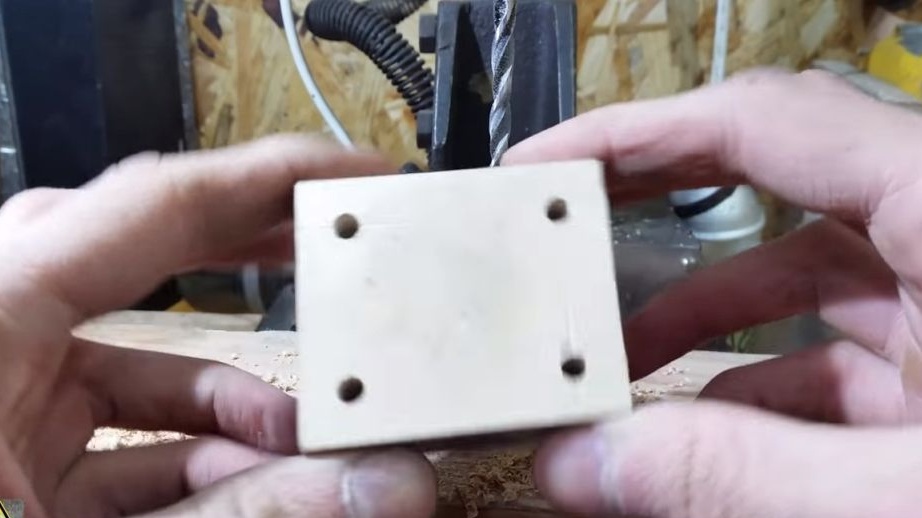
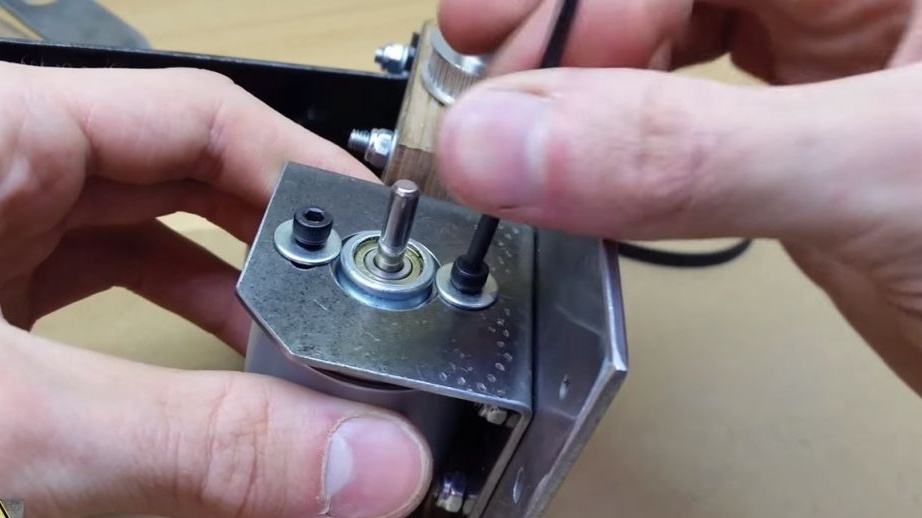
Step one. Axle mount unit
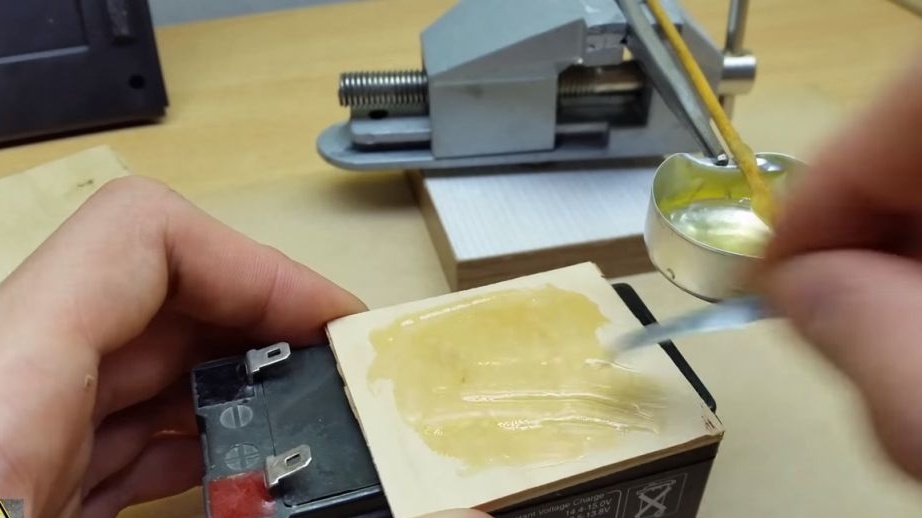
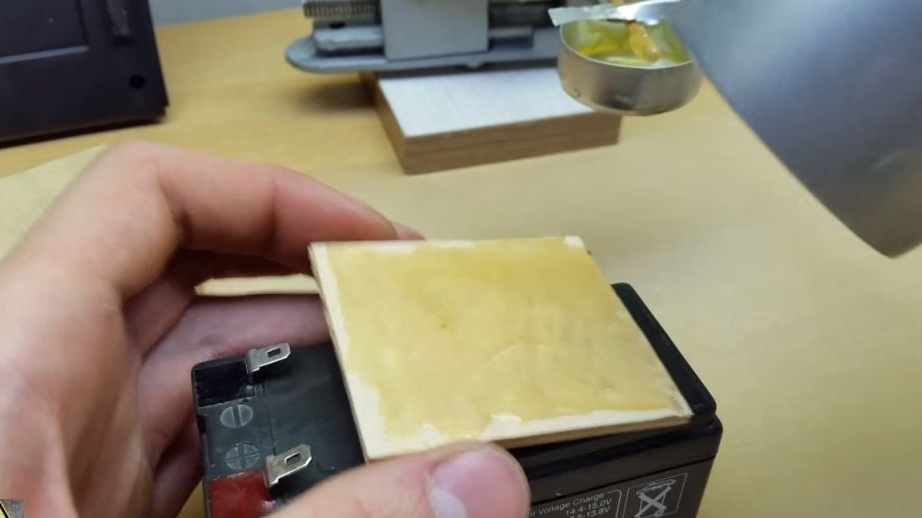
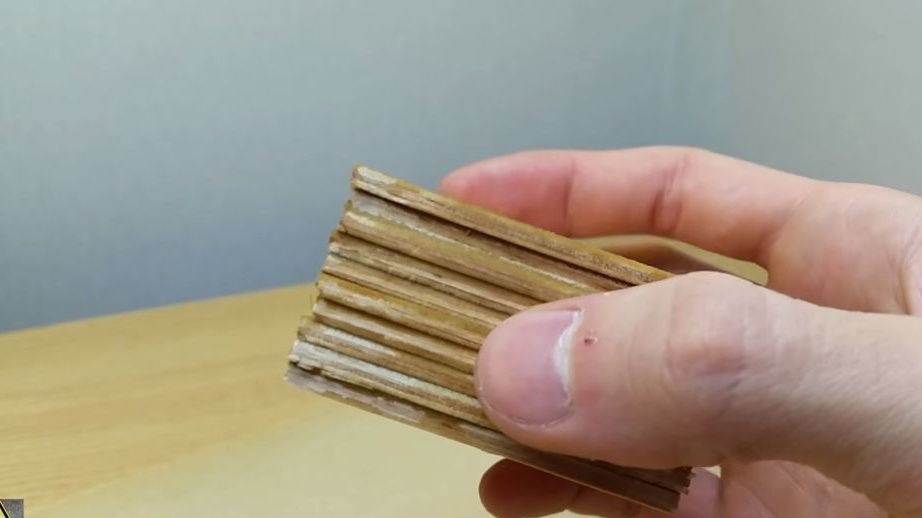
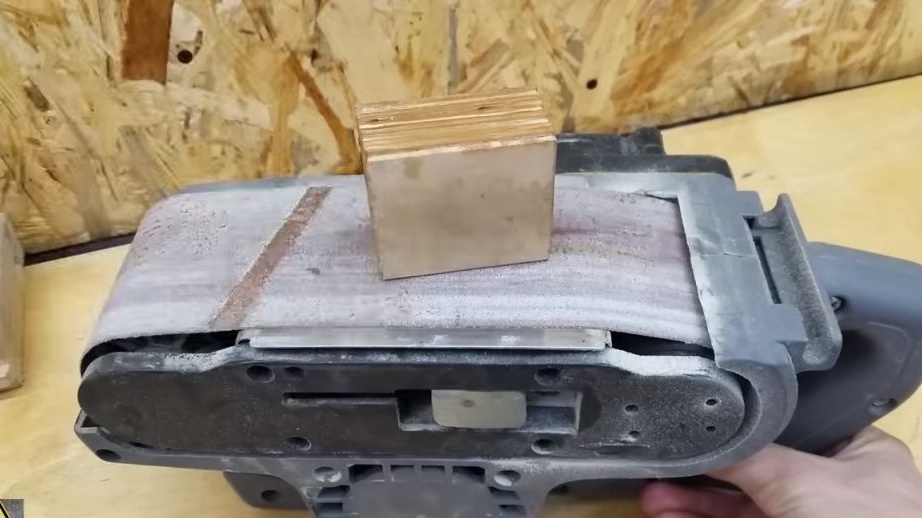
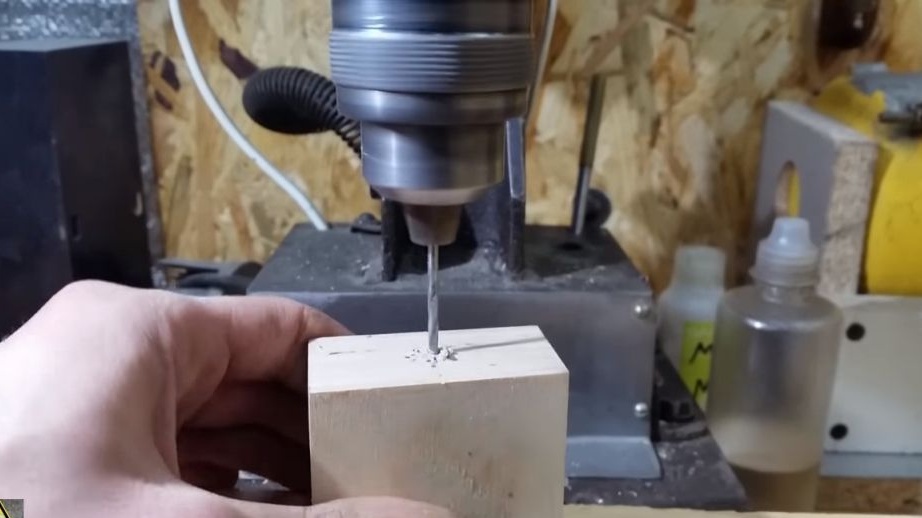
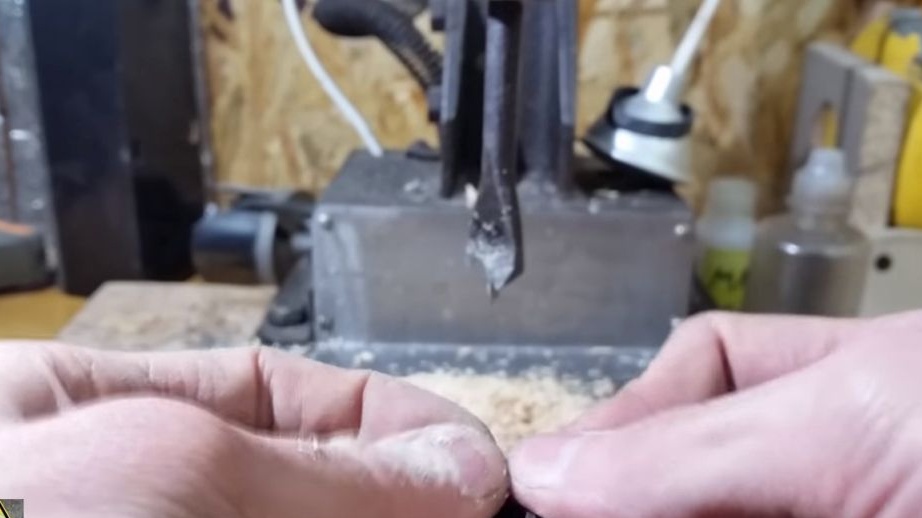
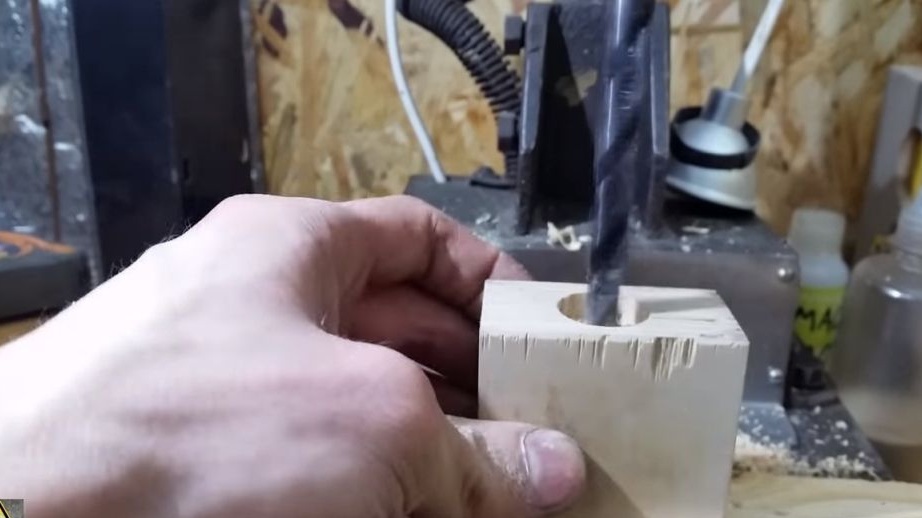
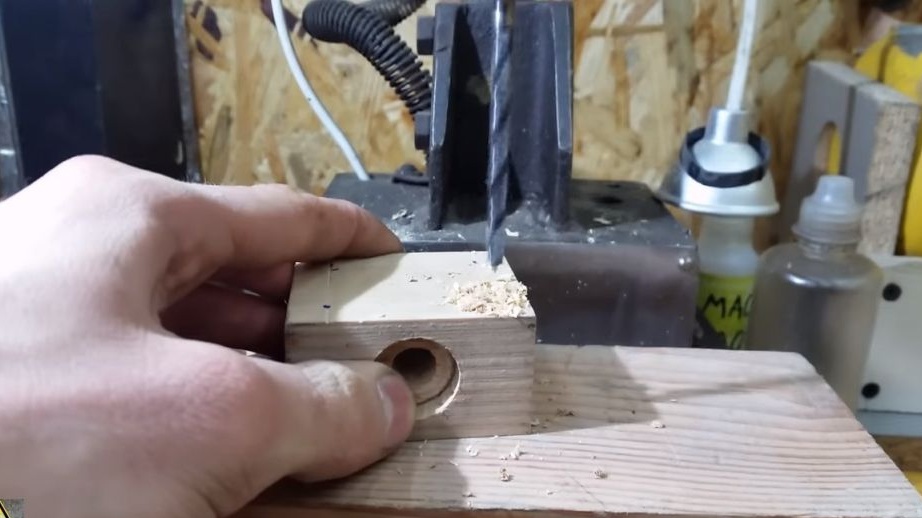
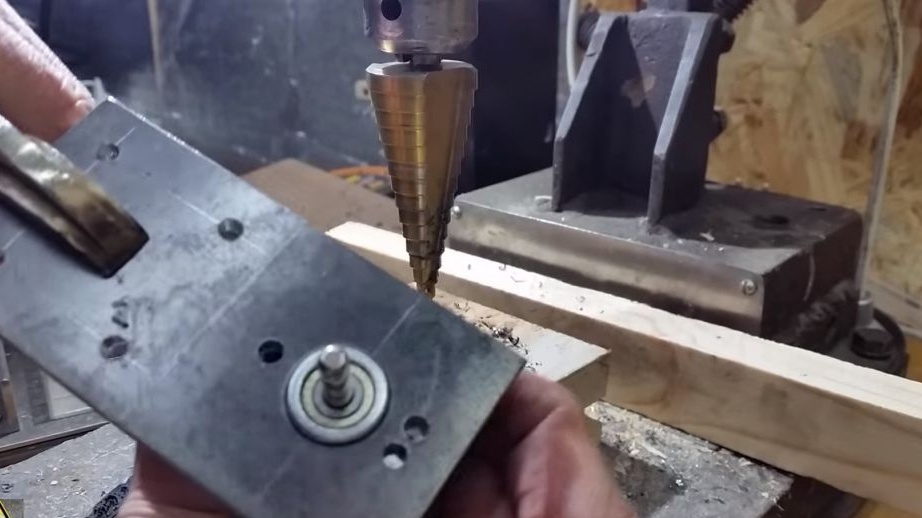
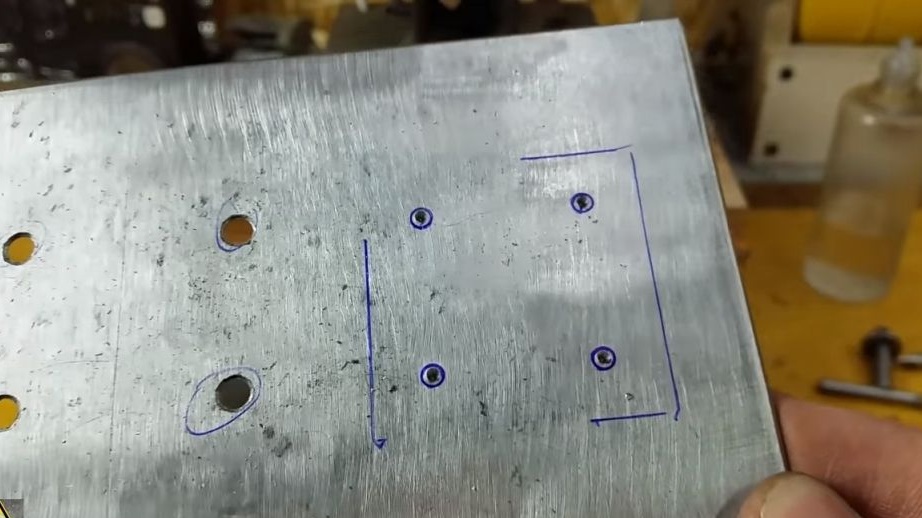
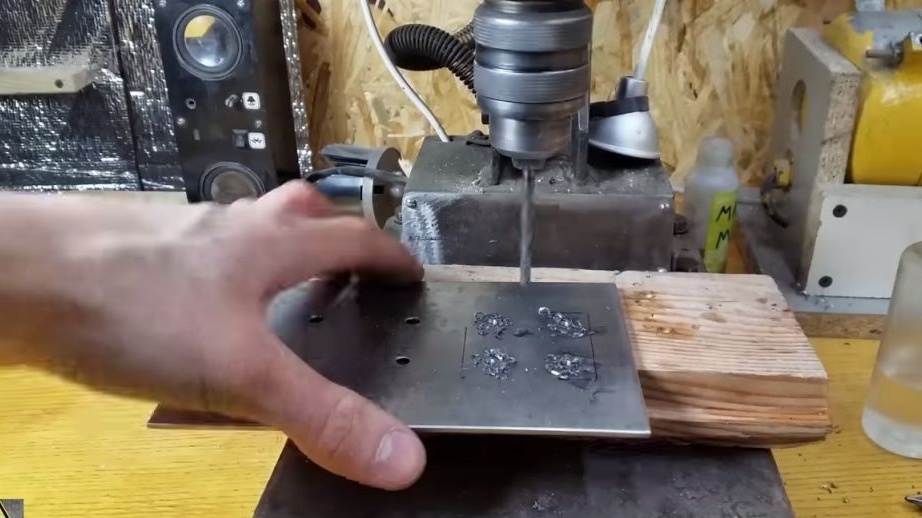
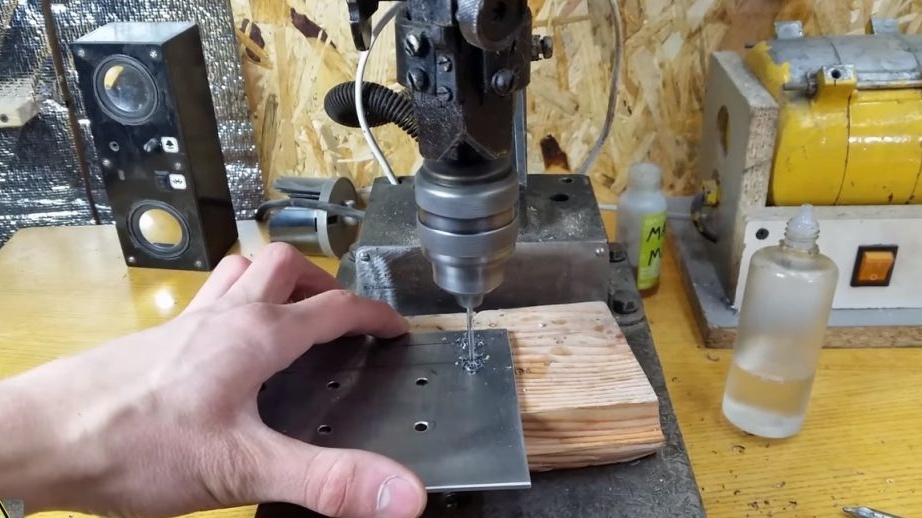
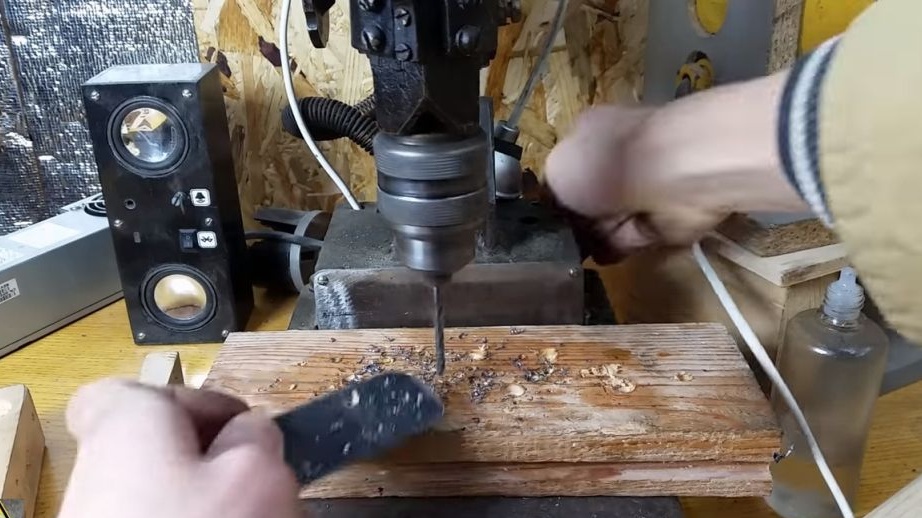
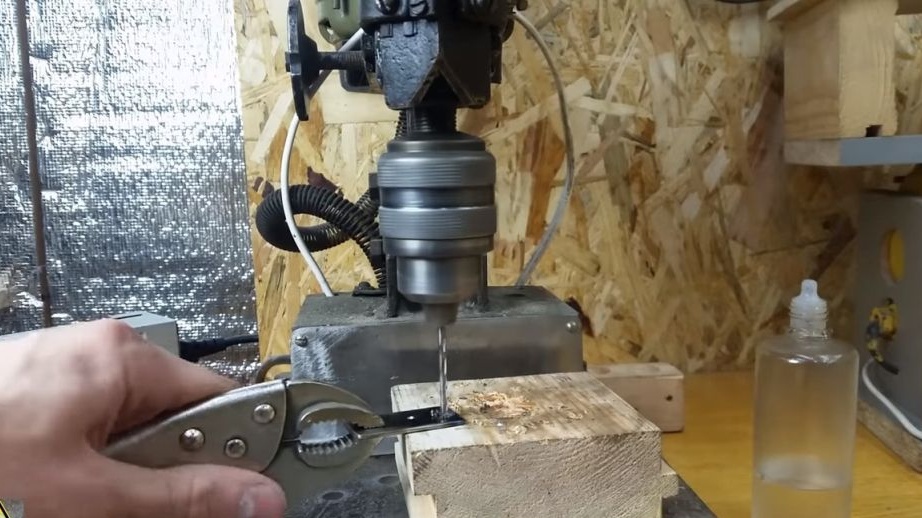
The driven axis rotates on two bearings, they are installed in a block of wood. The author collects this block from plywood, gluing sheets together using epoxy. In the block, drill a hole under the shaft, and also make a bearing seat with a pen drill.
In addition to this, you will need to drill four holes to secure the unit to the base.
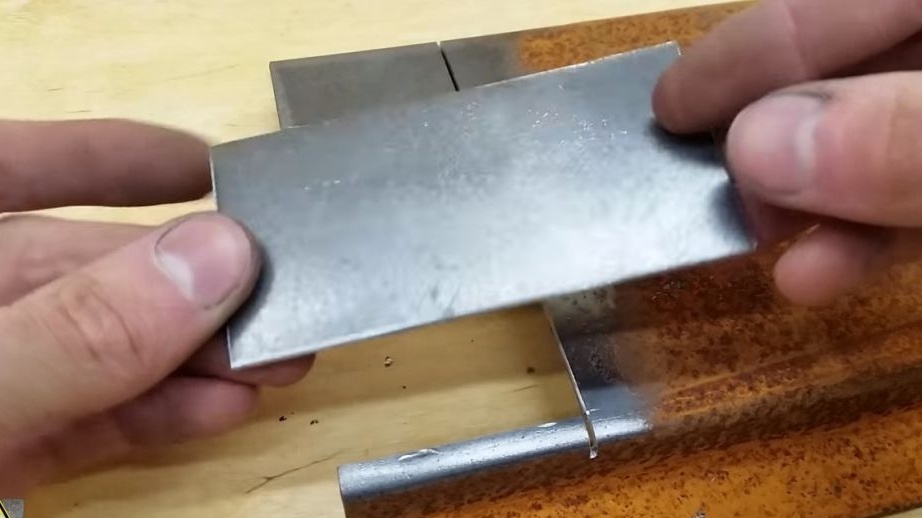
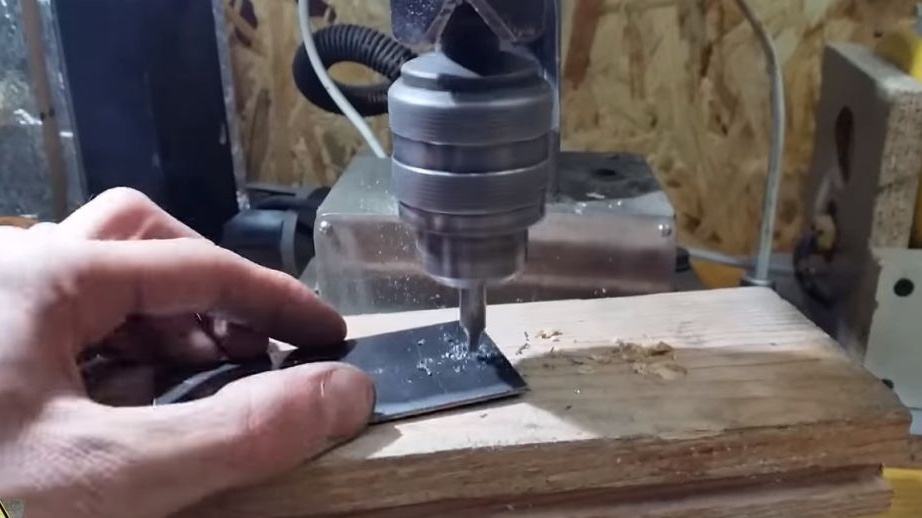
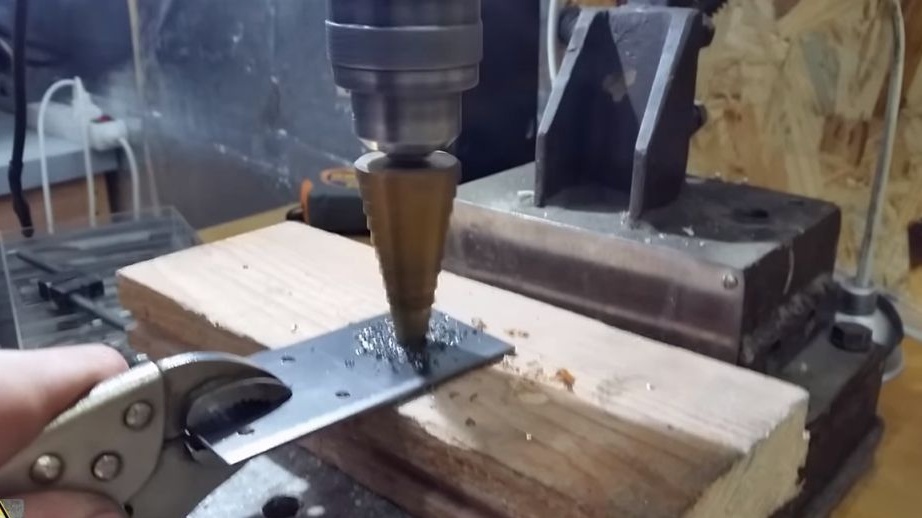
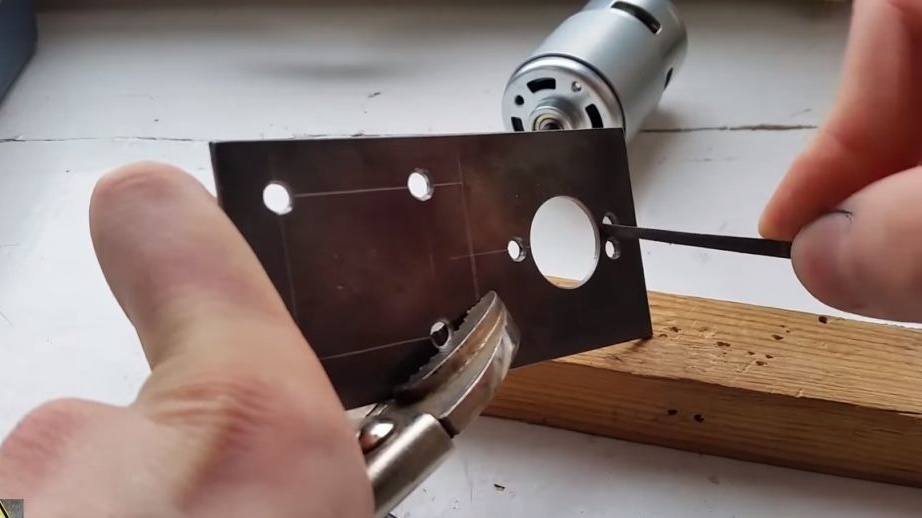
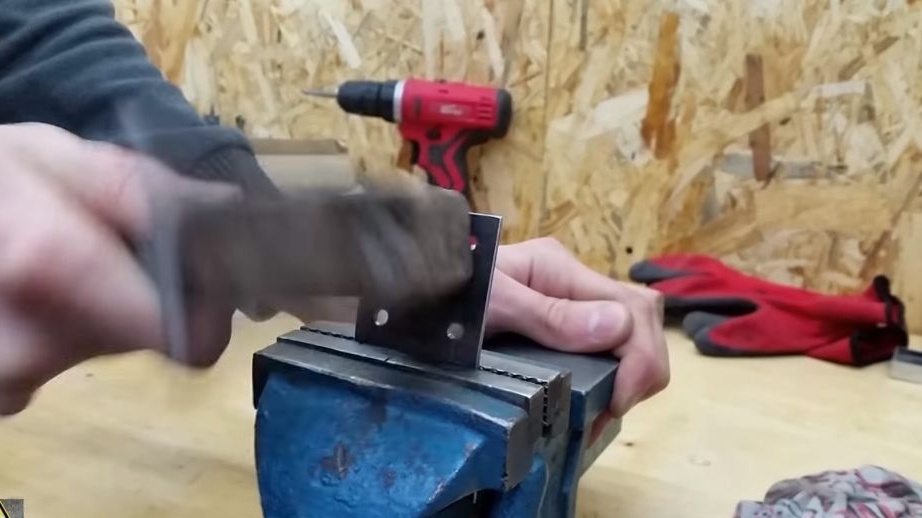
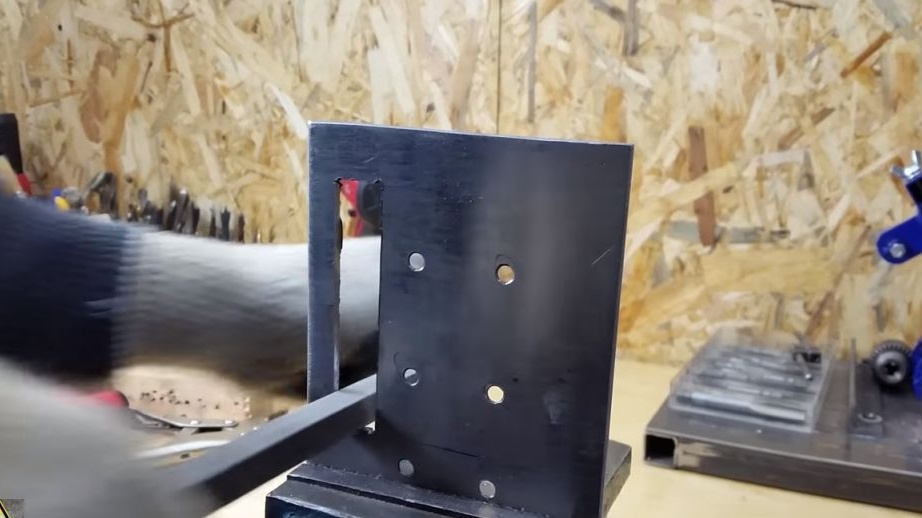
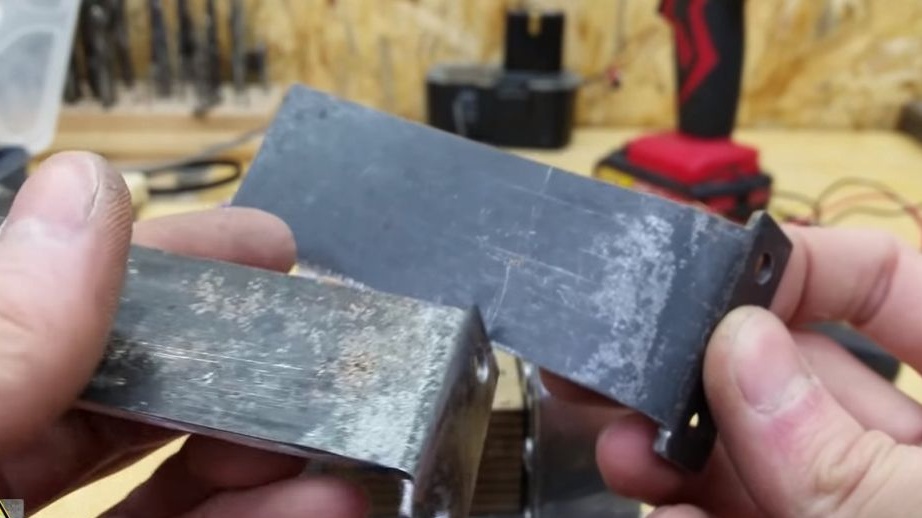
Step Two Engine mount bracket
The engine must be securely fastened. For its manufacture, the author used sheet steel 2 mm thick.We take measurements, drill holes, and then bend the plate in the form of the letter "G". Do not forget to make a longitudinal hole for belt tension.


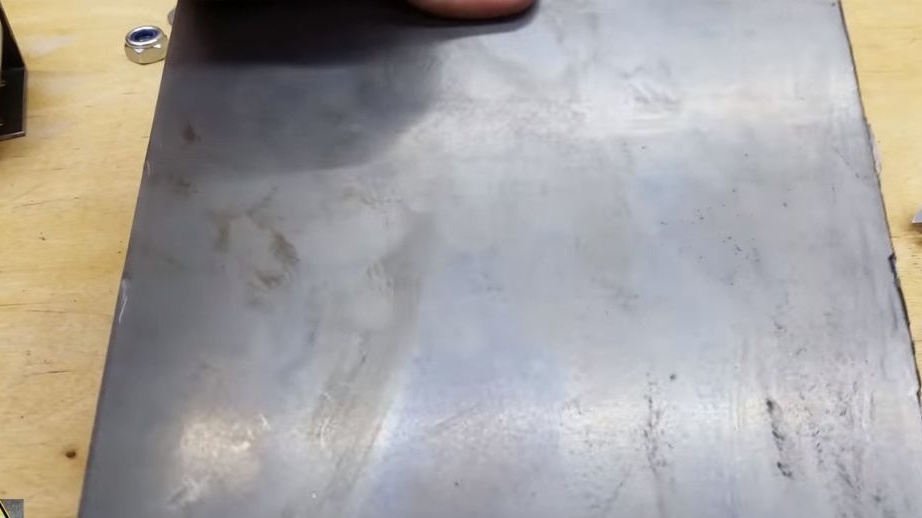
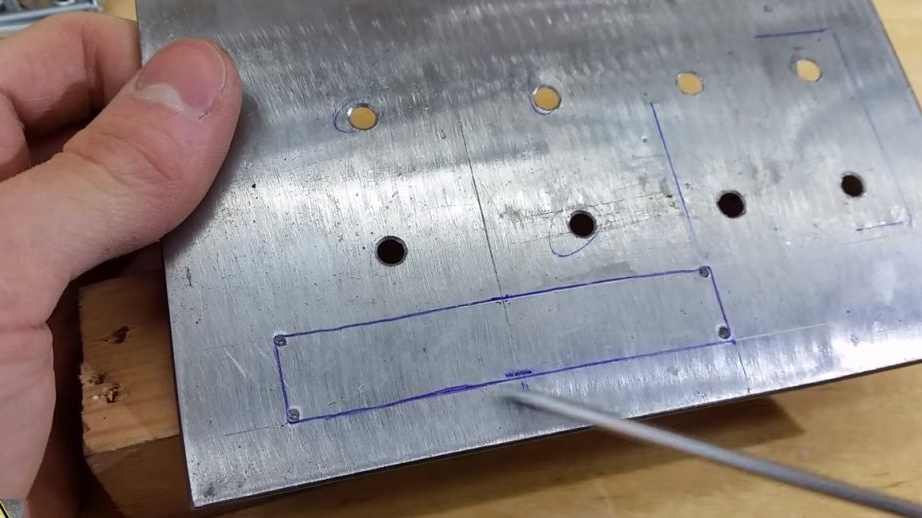
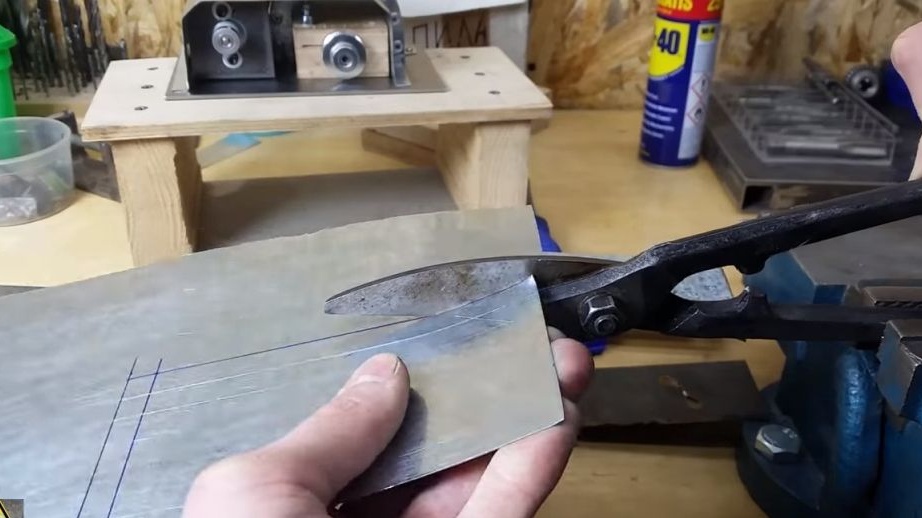
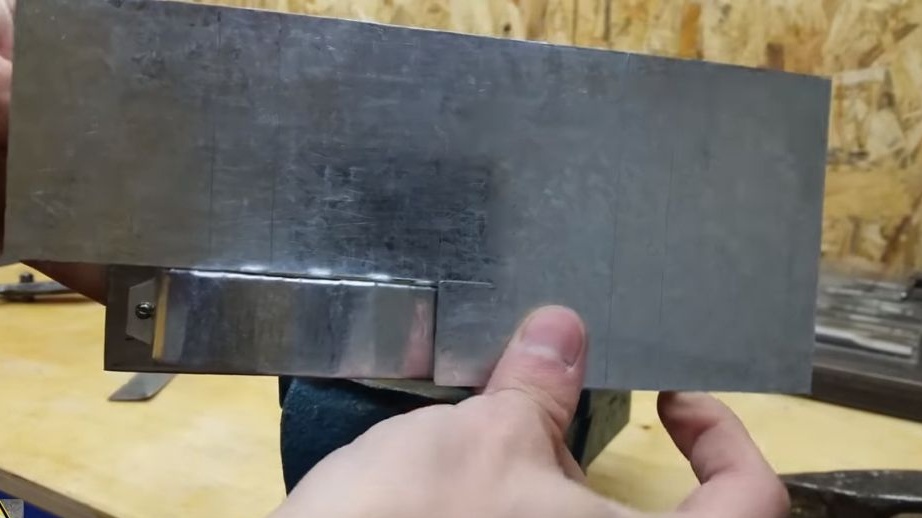
Step Three Sole manufacturing
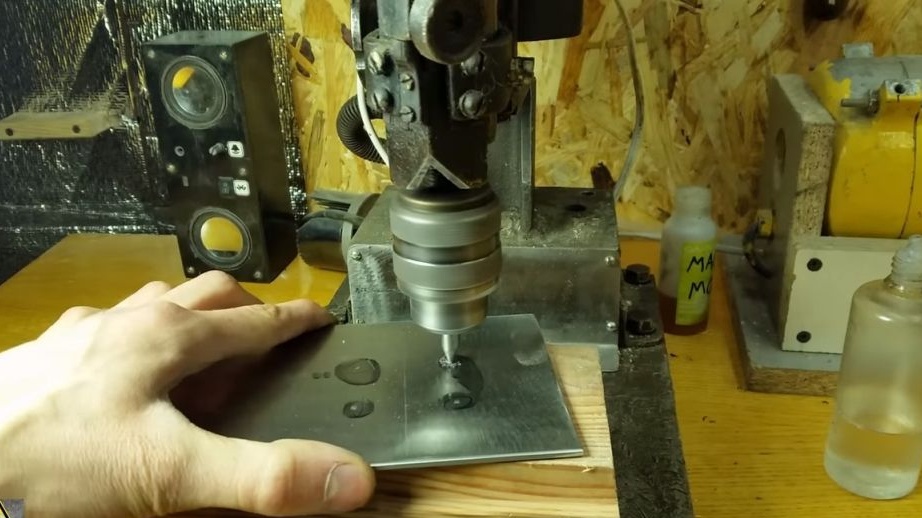
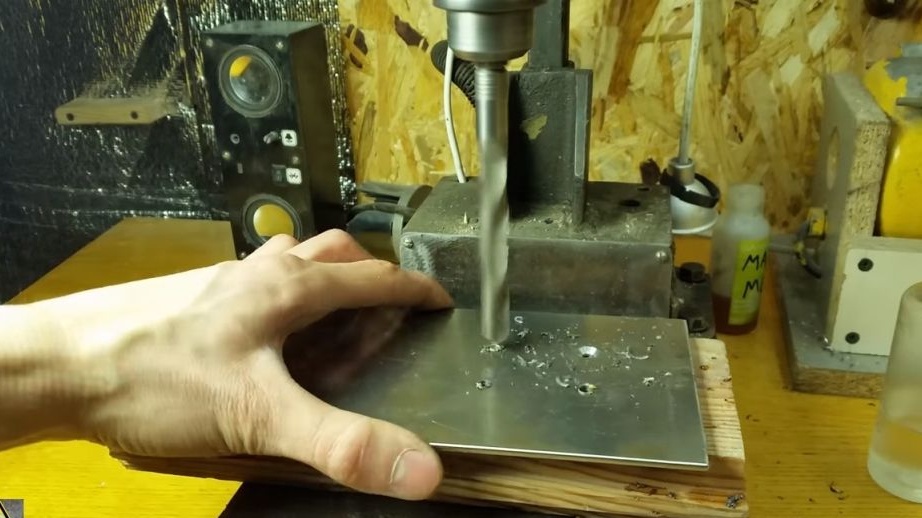
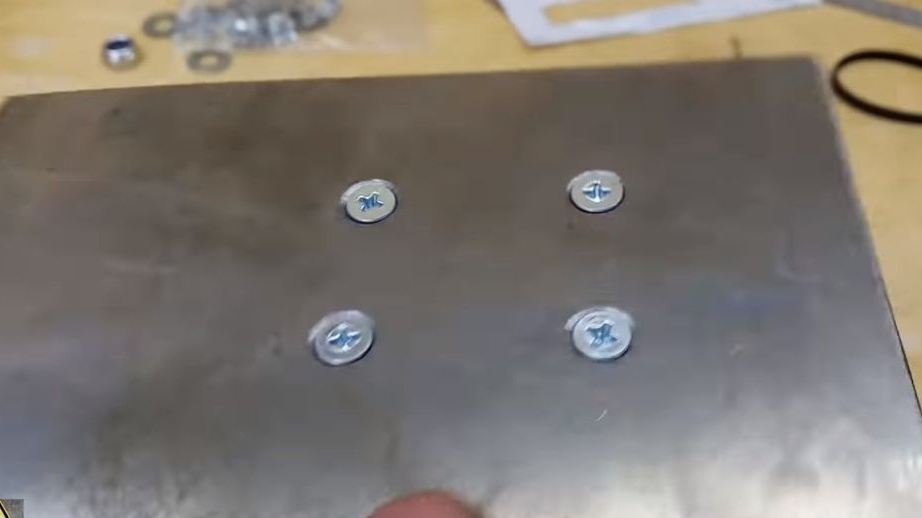
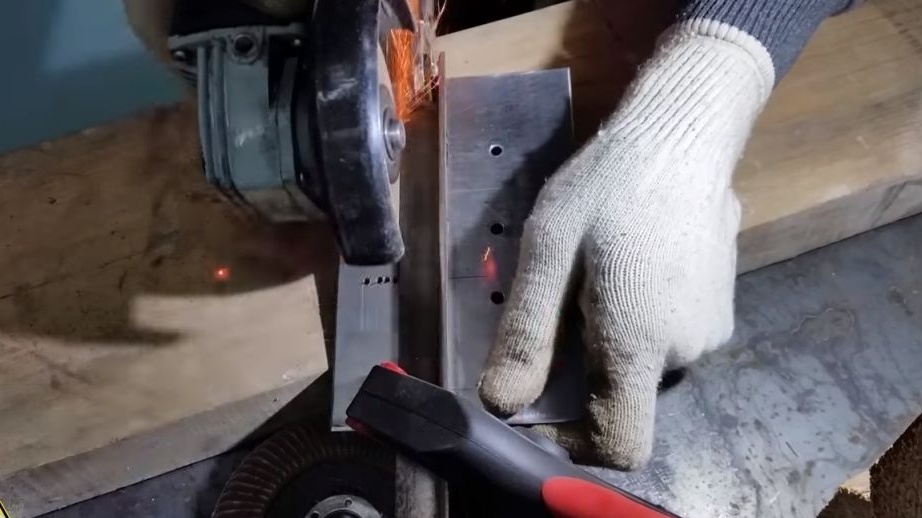
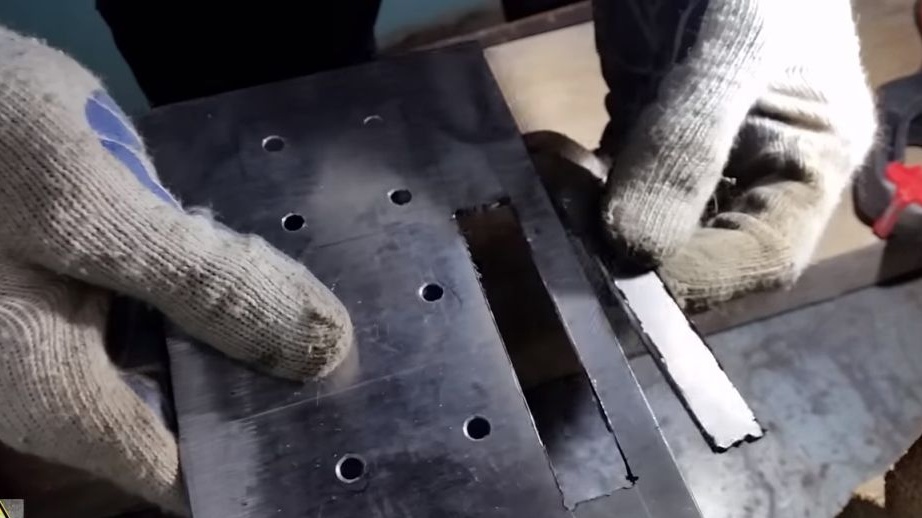
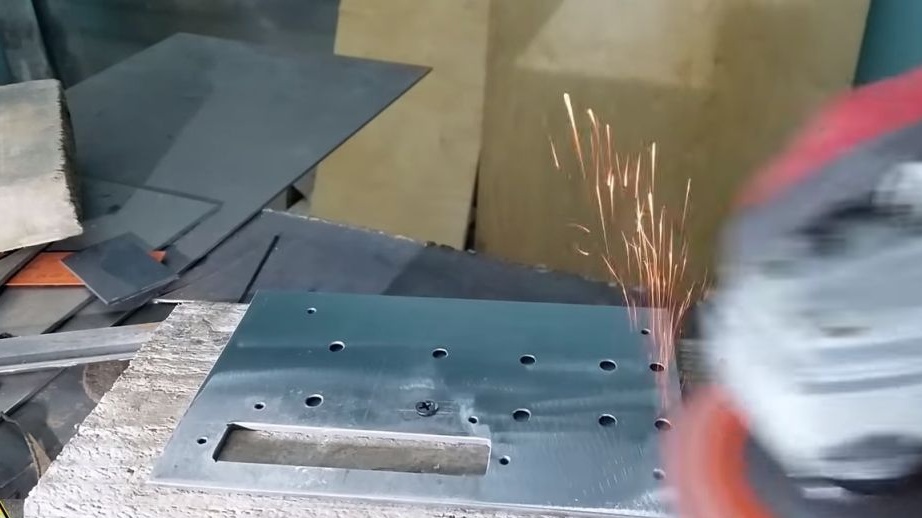
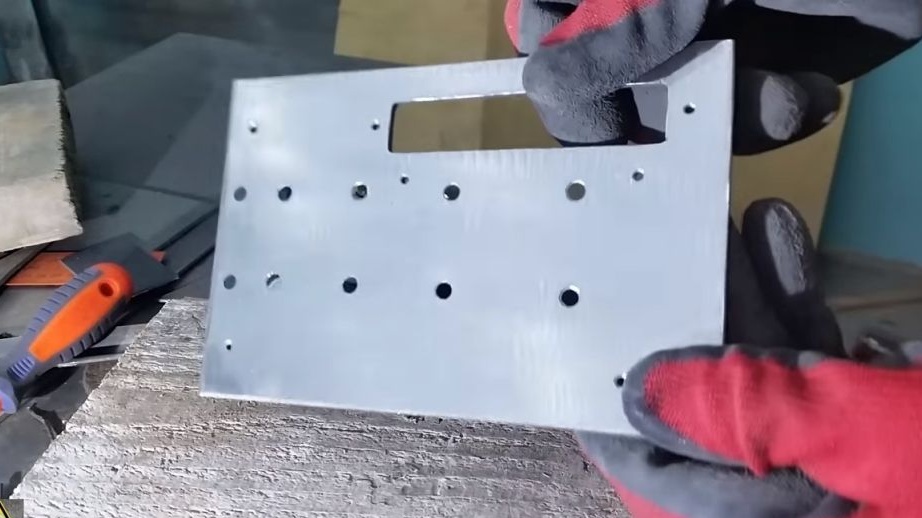
The sole, i.e. the base, was made of sheet steel 3 mm thick. But, according to the author, this is too much, which complicates the design. It is quite suitable for such a case steel 2 mm thick. Here we need to drill holes for fastening all the nodes, as well as cut a window under the cutting disc. On the other hand, the holes need to be drilled for countersunk heads so that nothing prevents the saw from sliding over the material.

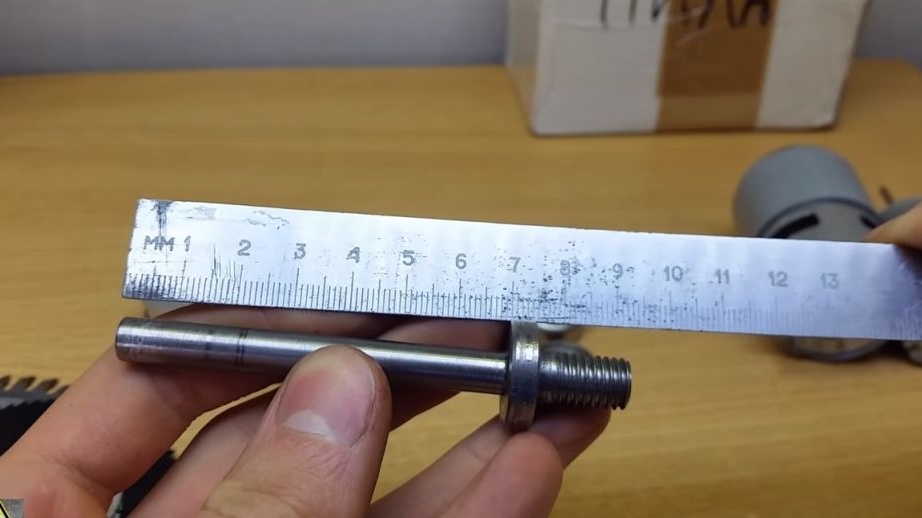
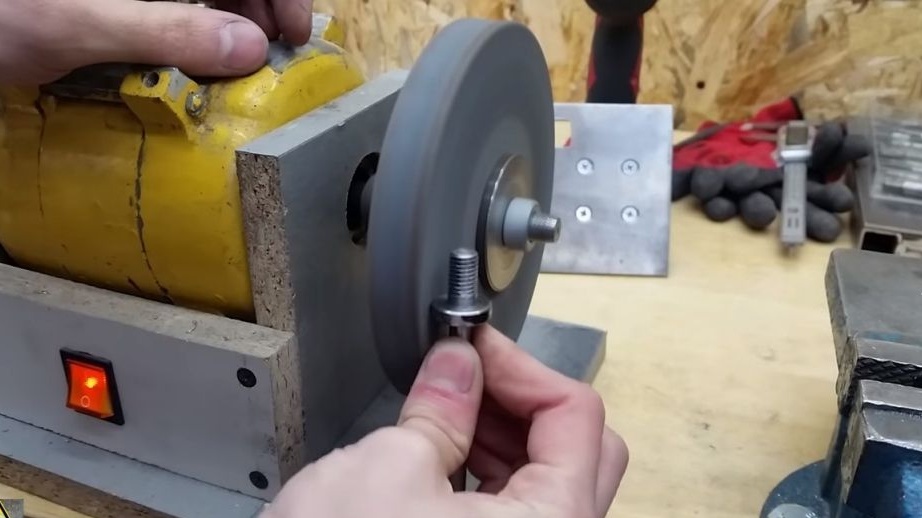
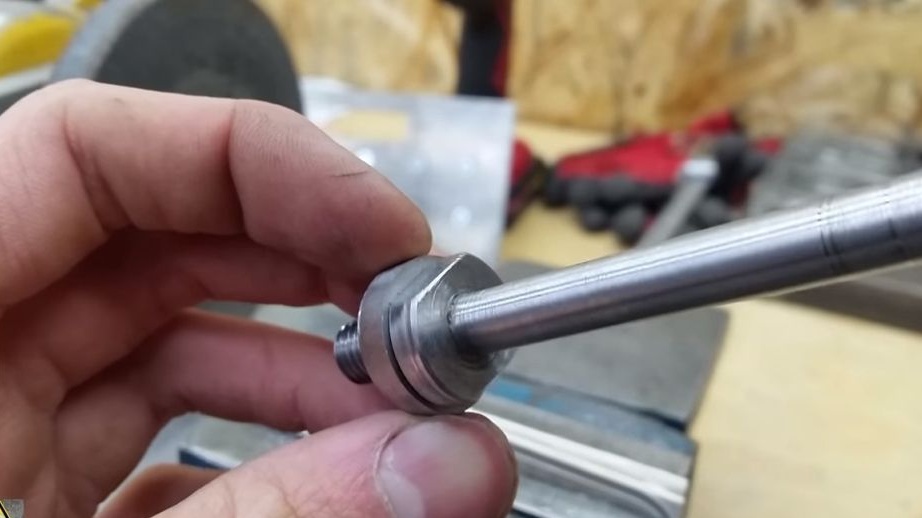
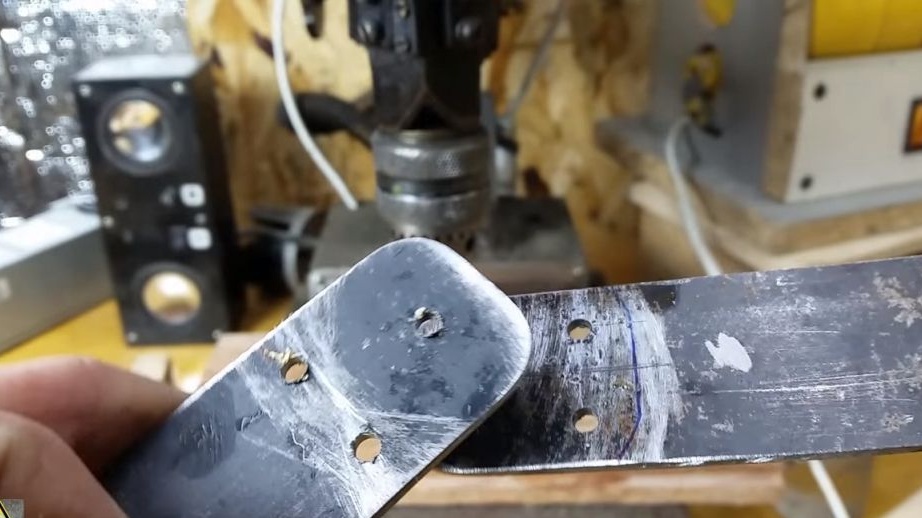
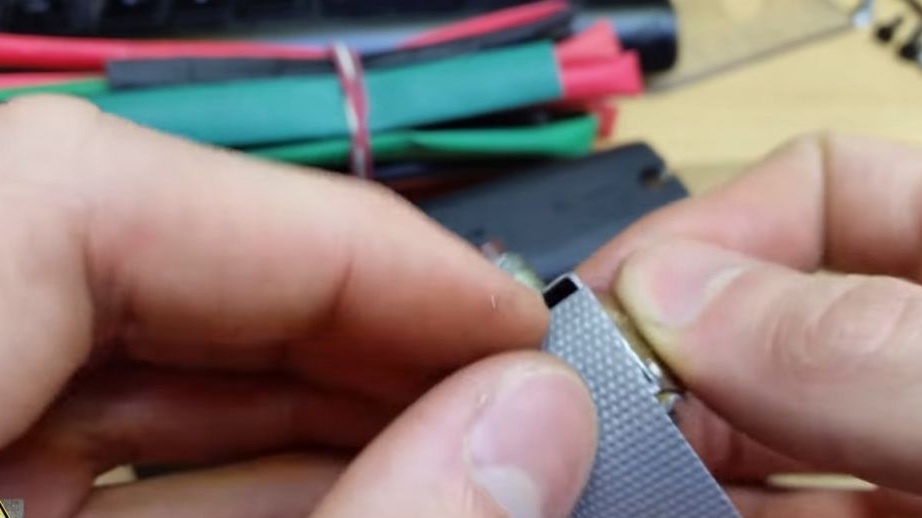
Step Four Driven shaft and key
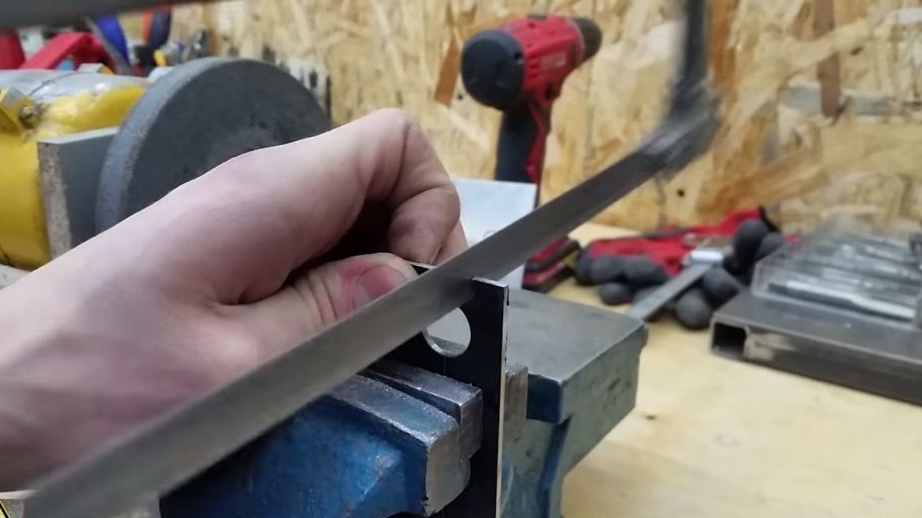
The driven shaft is made on a lathe, it can even be made from a bolt. So that the cutting discs can be installed and removed, make grooves for the open key. By the way, the author decided to make a wrench do it yourself. For this you will need a steel plate 2-3 mm thick.

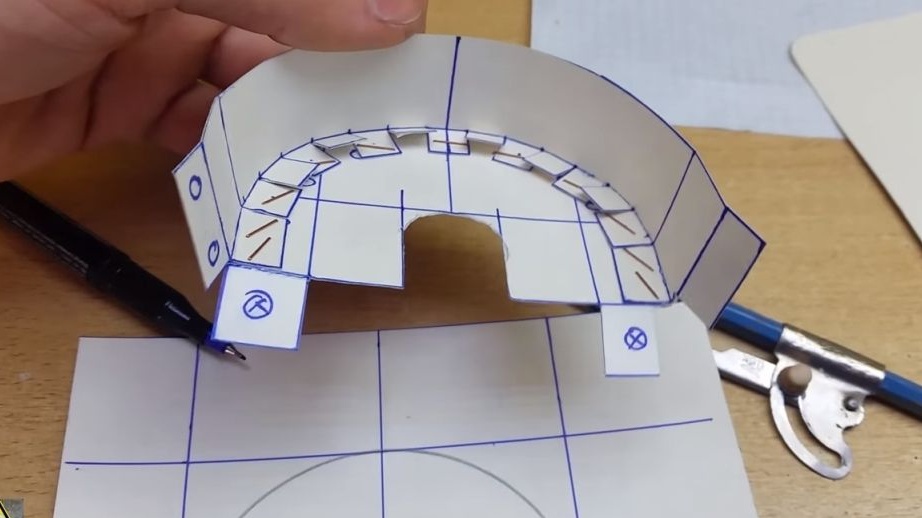
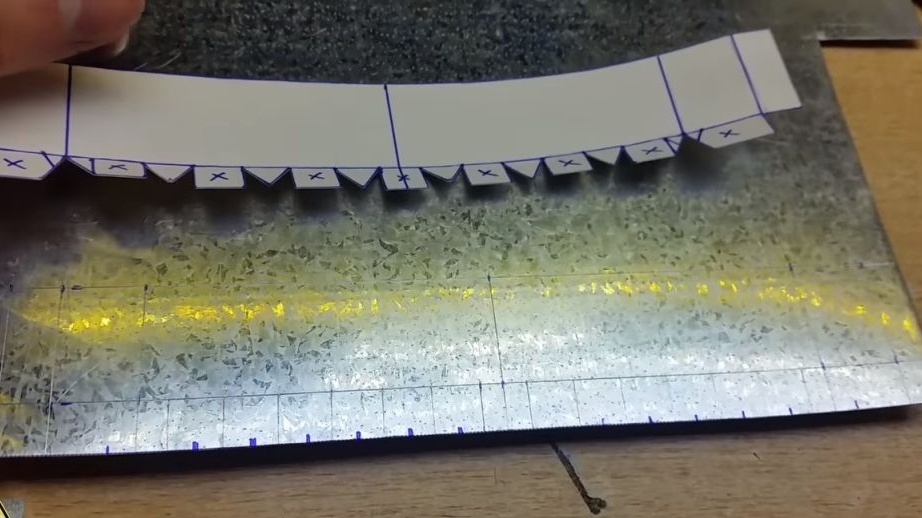
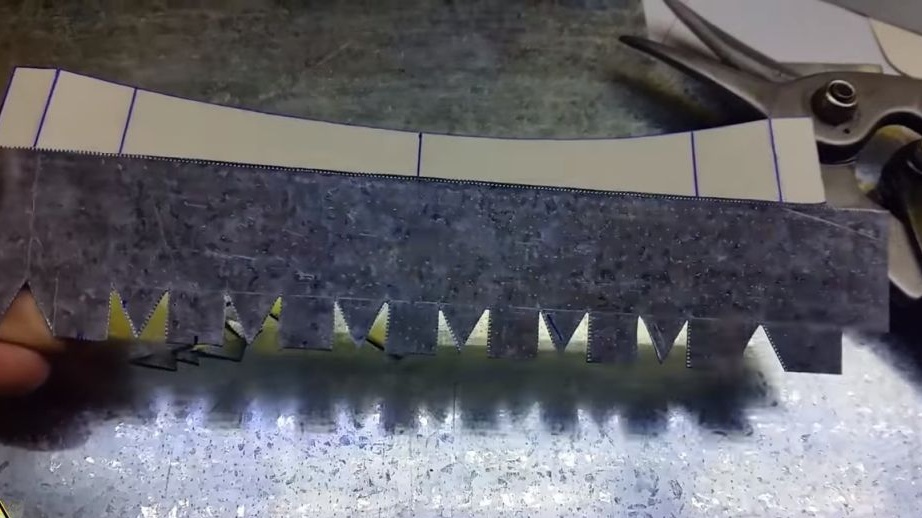
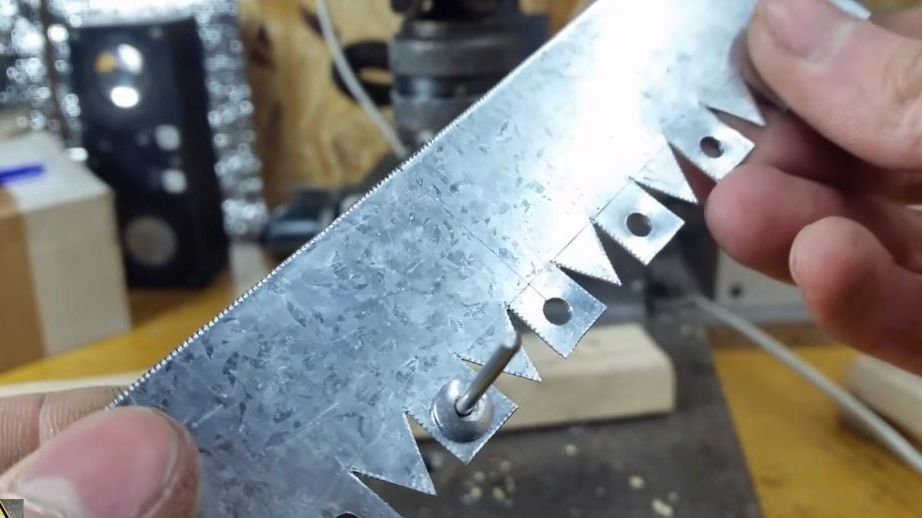
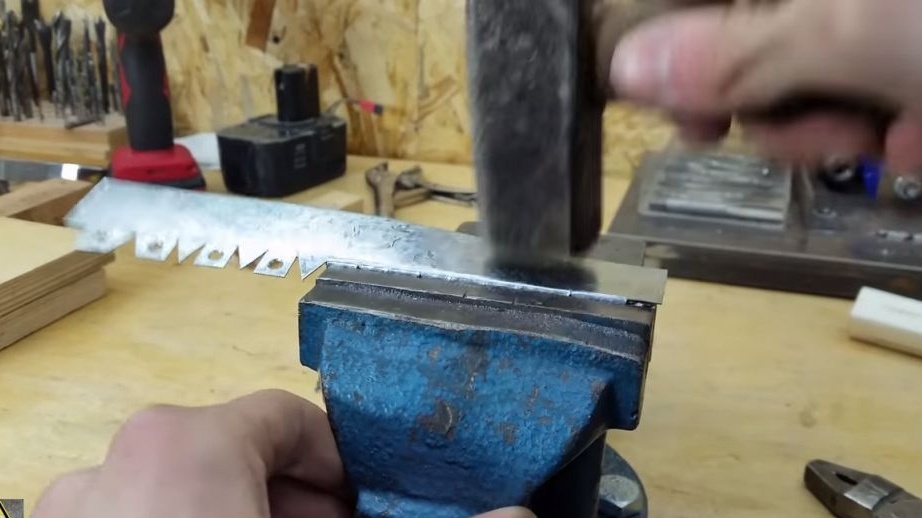
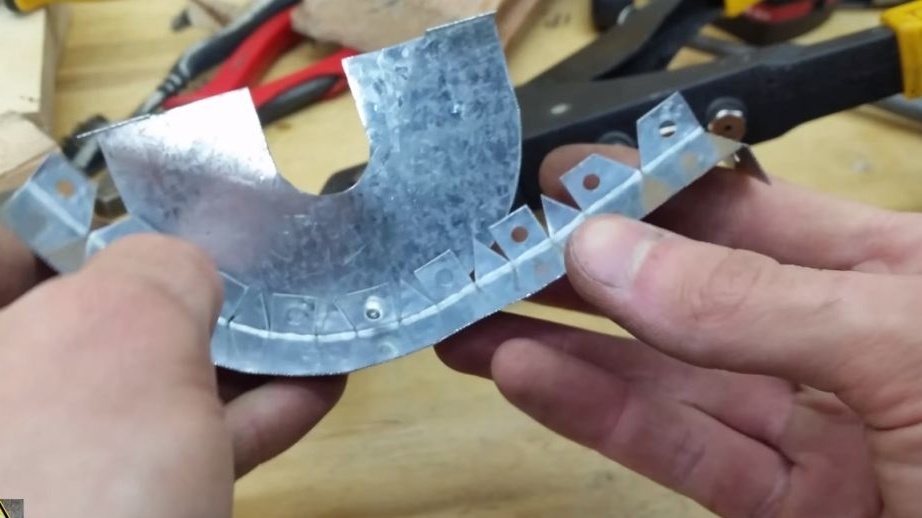
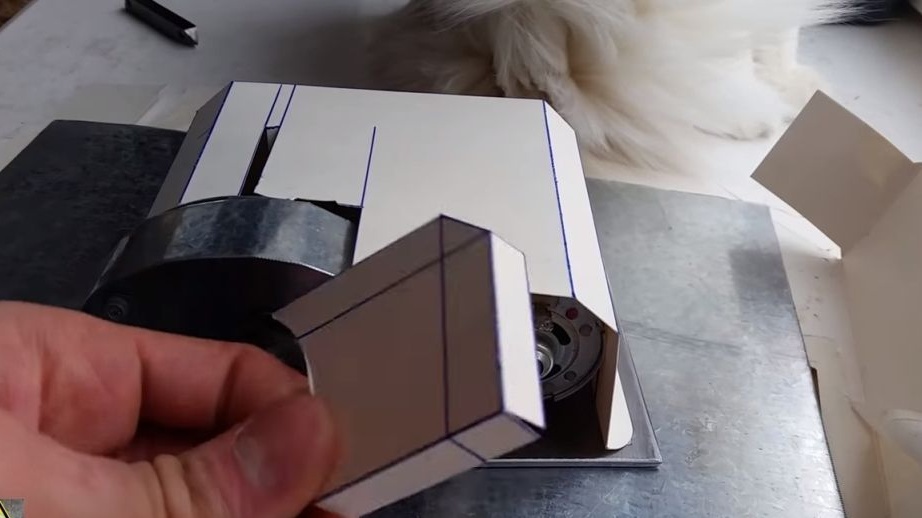
Step Five Production of a protective shield
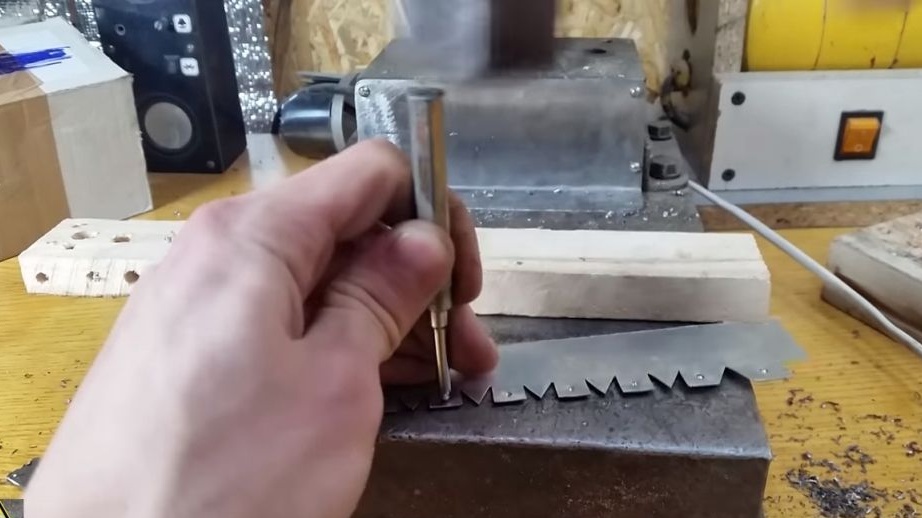
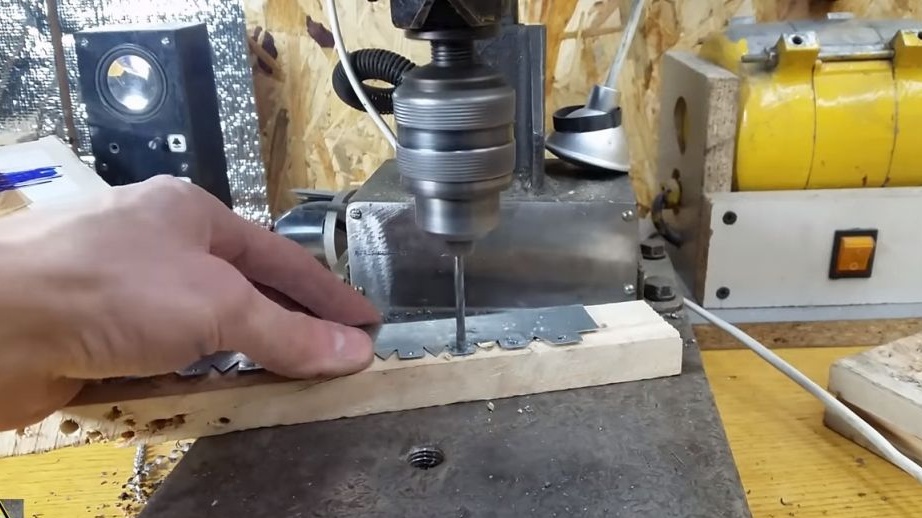
For the manufacture of a protective shield, thin sheet metal is used. First, we make all the details out of paper, and then we do exactly that from tin. This whole thing is going to rivets.

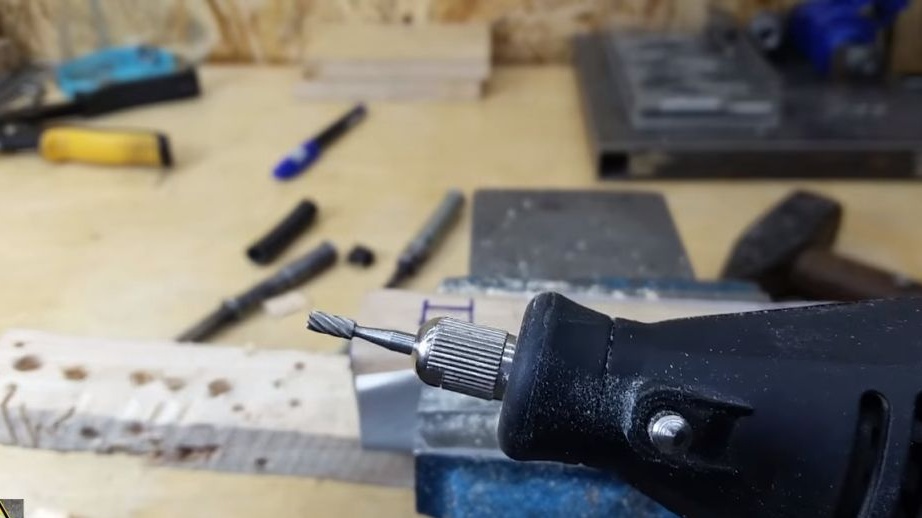
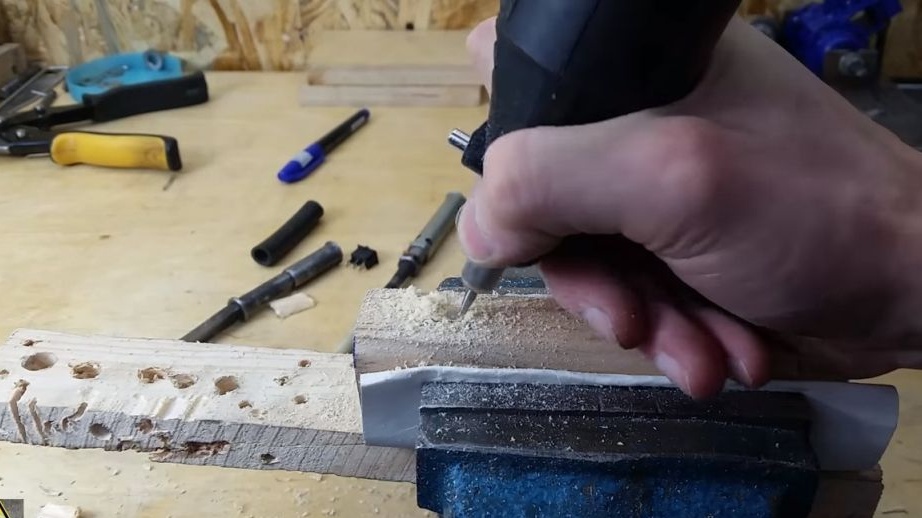
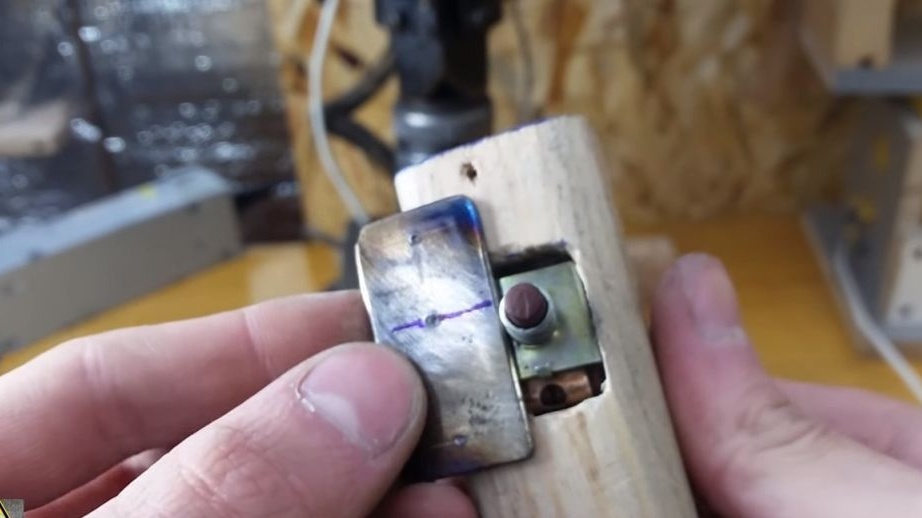
Step Six A pen
To make a pen you will need a piece of wood. We grind it with a knife and sandpaper so that it is convenient to hold on to the handle. You will also need to make two brackets of 2 mm steel for the handle. The beam is attached using self-tapping screws.
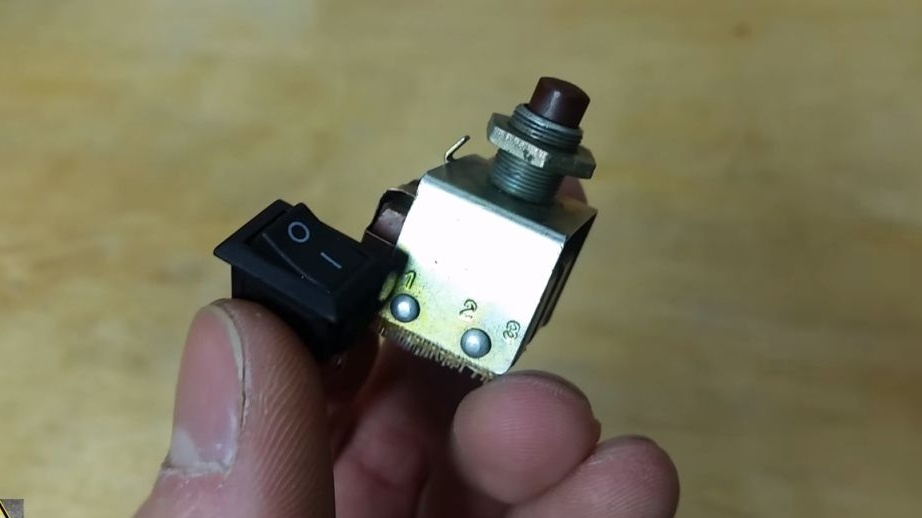
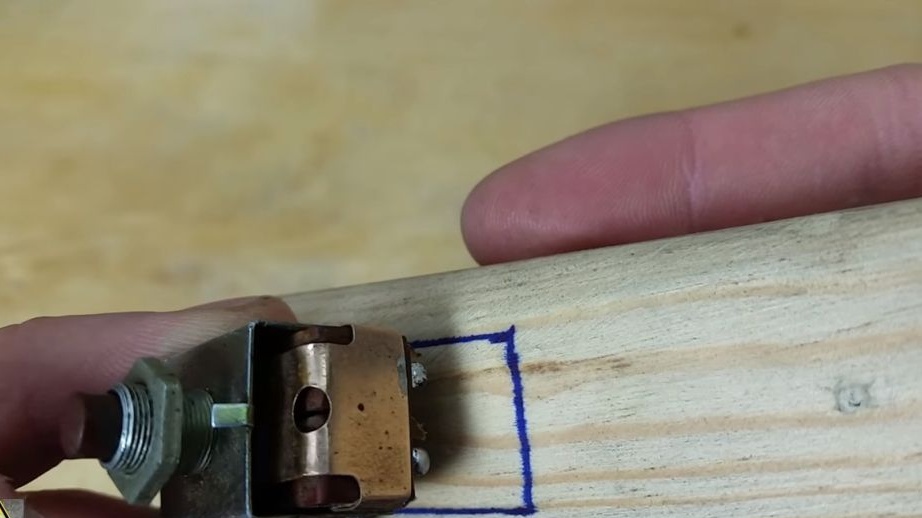
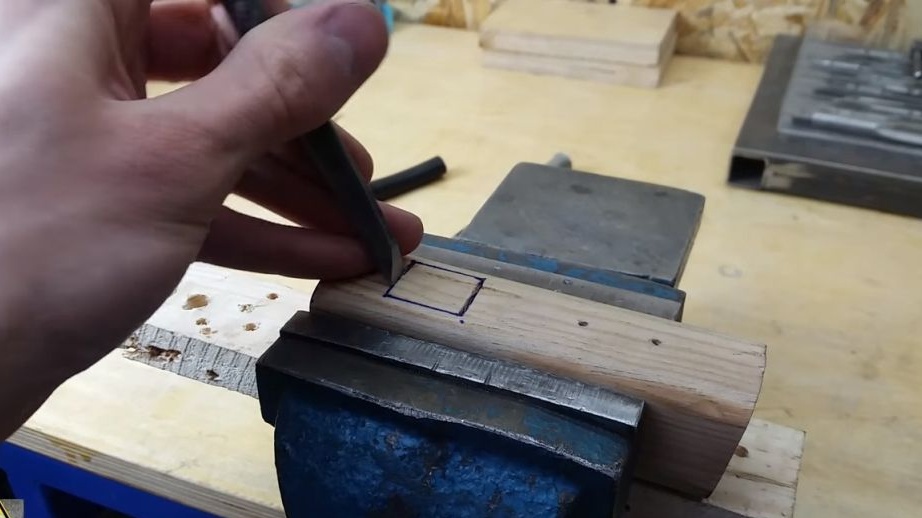
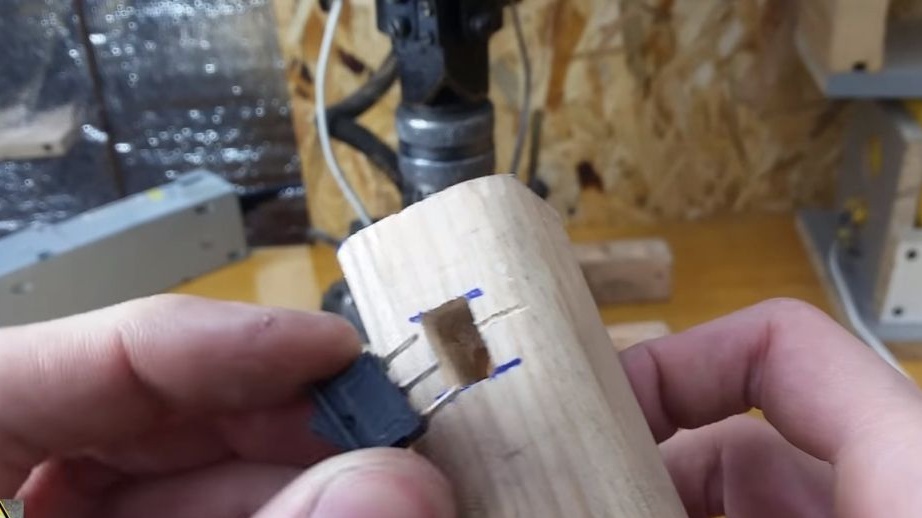
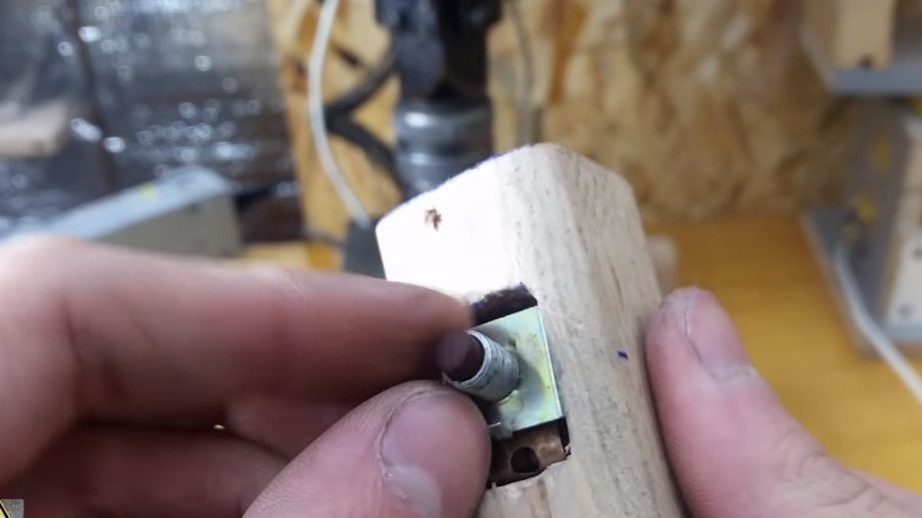
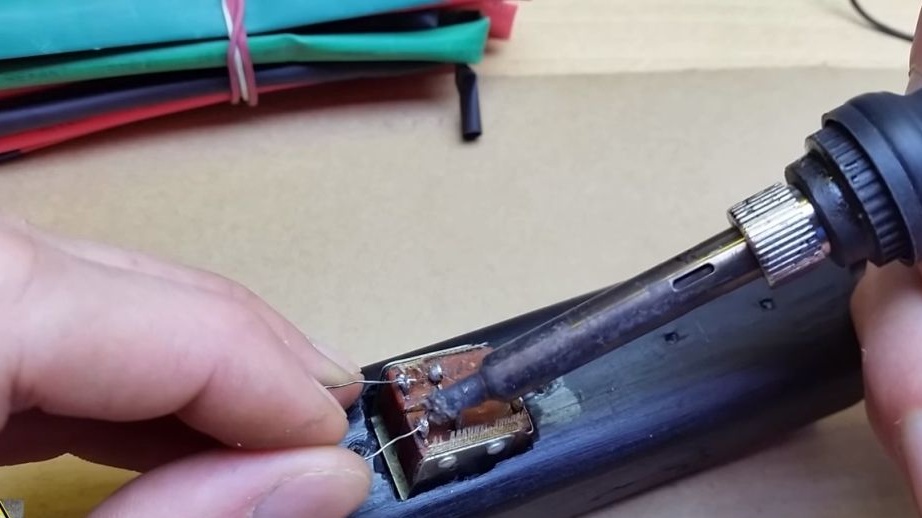
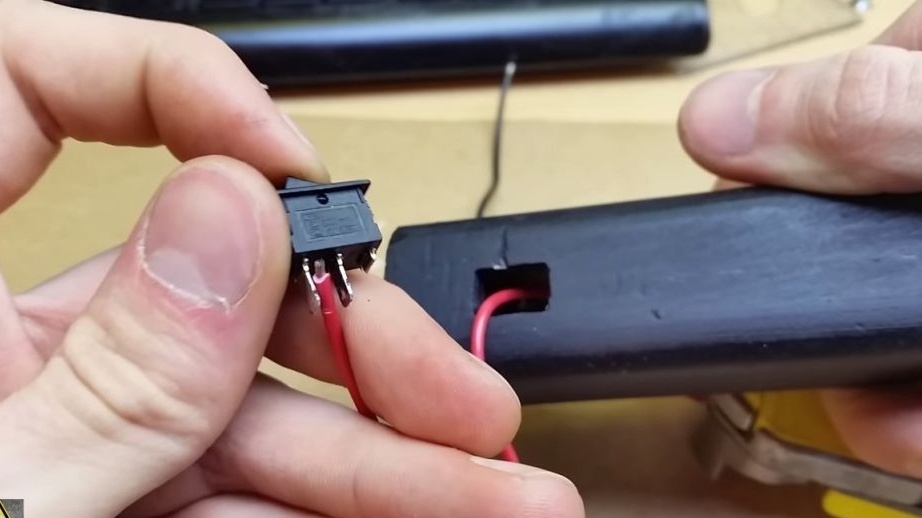
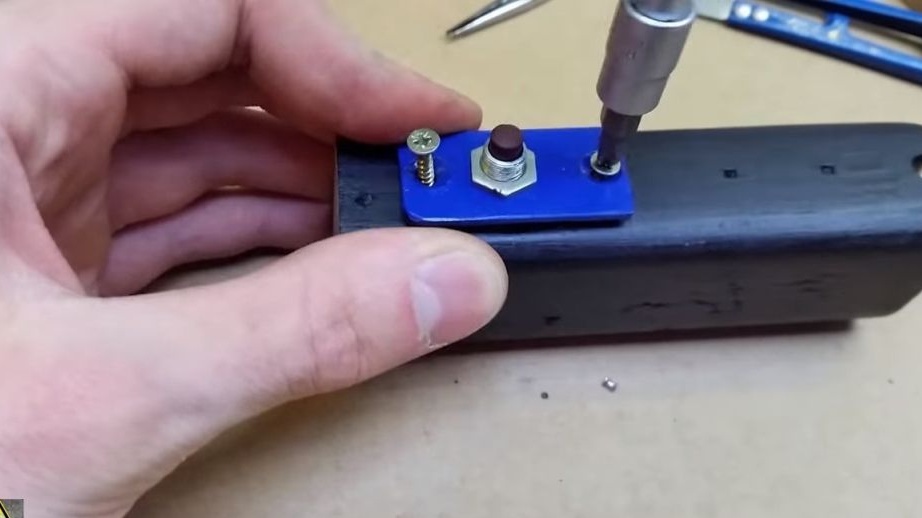
There is a button and a switch in the handle. Under them you need to adapt the seats. They can be cut down with a chisel or use a drill.
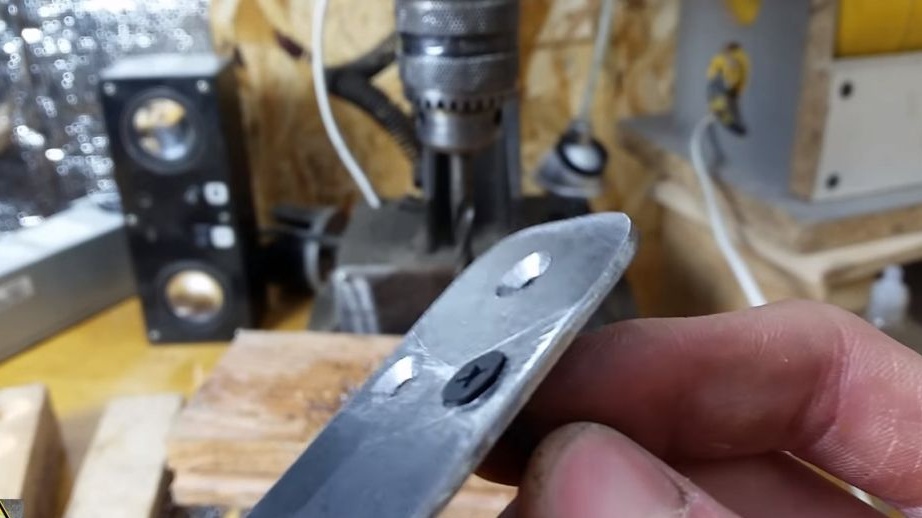
The power button on top is fixed with a steel plate with corresponding holes.

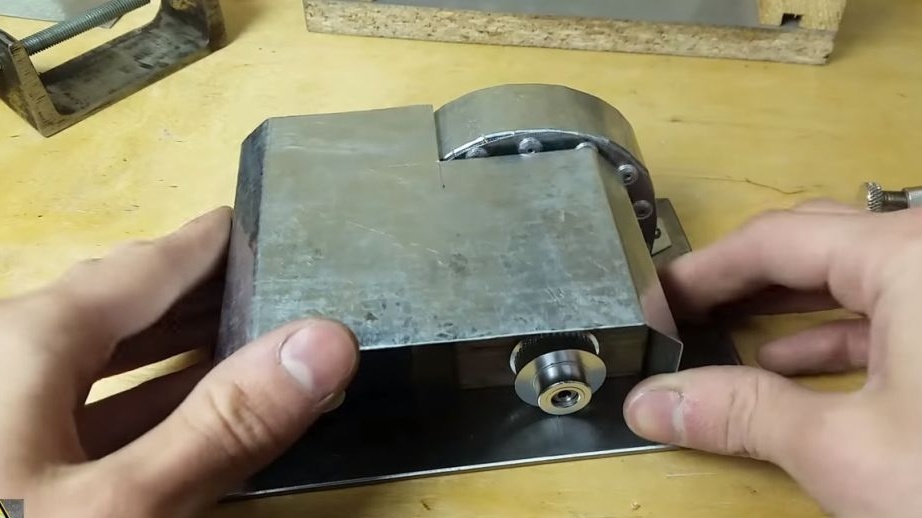
Seventh step. Housing
For the manufacture of the case we take sheet metal. The author used exactly the steel from which the protective shield is made. We use rivets in the right places
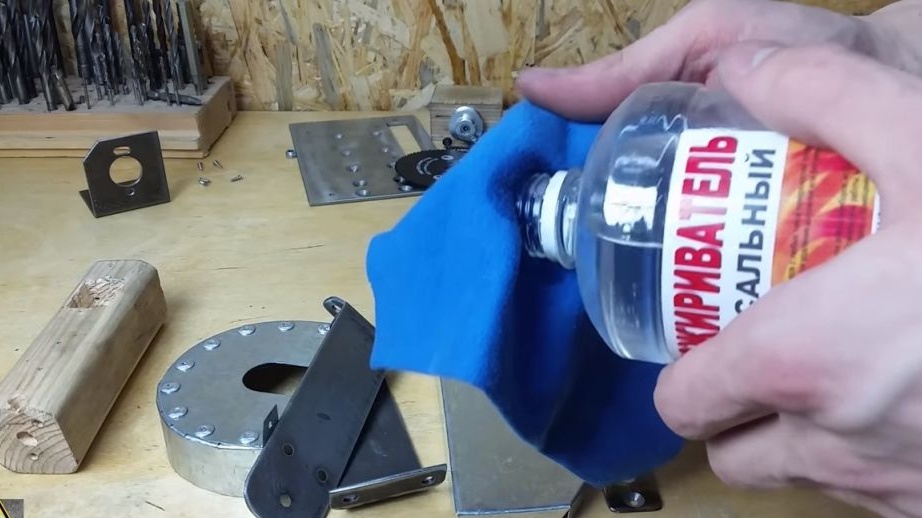
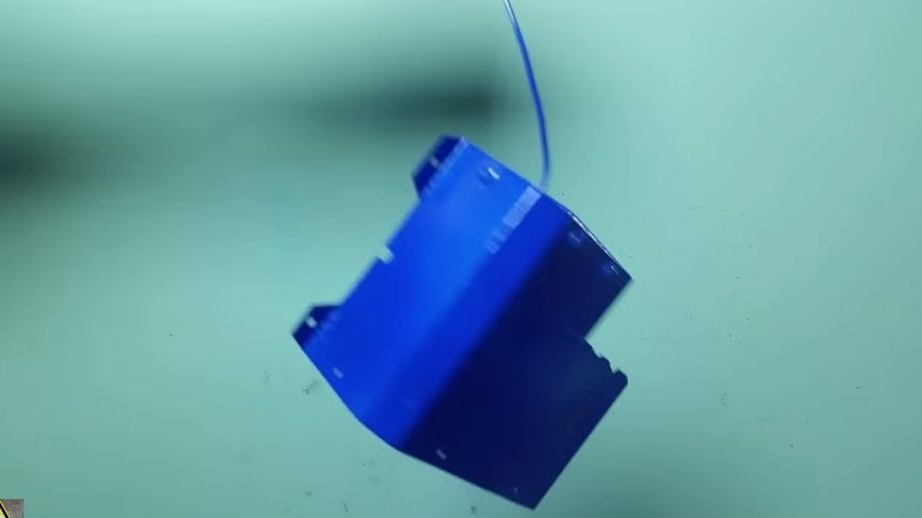
Step Eight. Painting
Paint the body and shield using a spray can. Keep in mind that not every paint will adhere to zinc. It is best to initially process the metal with sandpaper or use a primer.
As for the sole, its author is carefully grinded using a grinder with a petal nozzle. It is desirable to process the sole with sandpaper, so that it is smooth and glides well.
Step Nine. Assembly
Using countersunk screws, we assemble the saw. The author presented an electrical diagram of how everything works. The design provides an electric brake, which prevents the drive from spinning for a long time by inertia. This increases safety and makes the work process more enjoyable. The design of the brake is very simple, it is a piece of nichrome that closes the engine when it is not supplied with power. The engine generates voltage, which passes into thermal energy through nichrome.


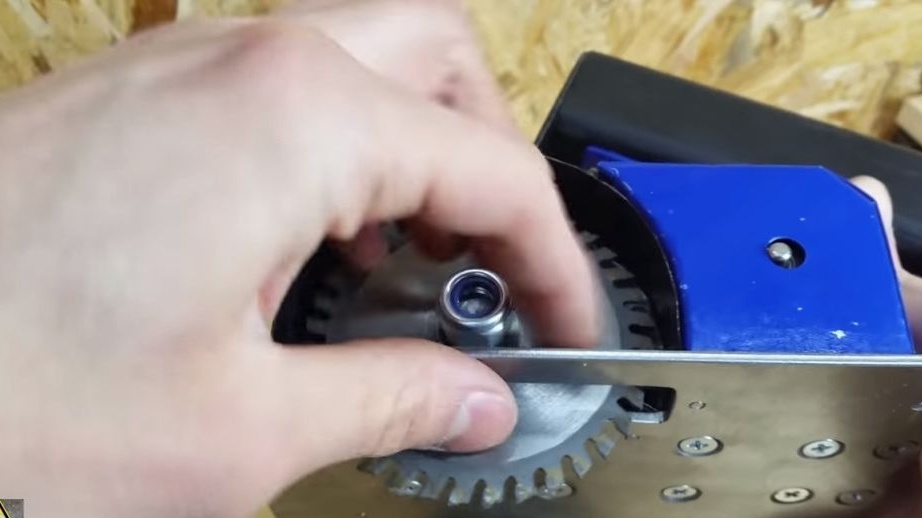
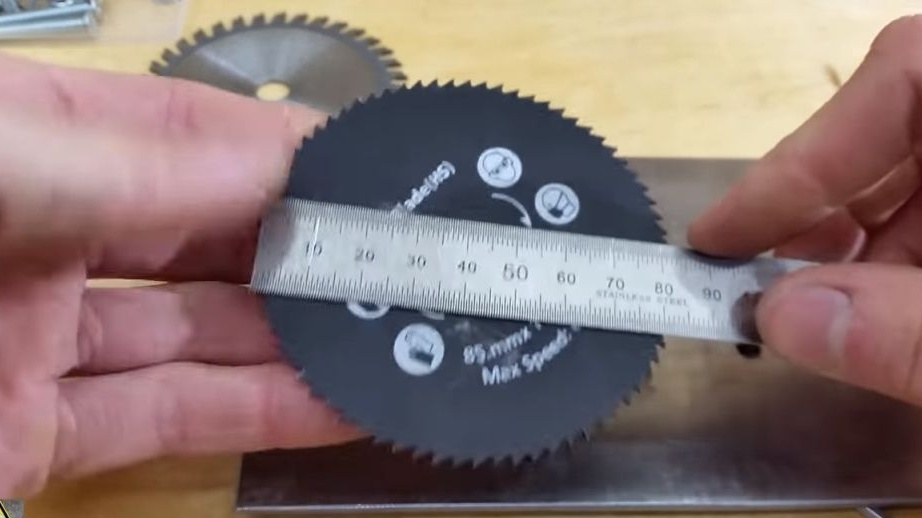
The length and thickness of the wire was selected experimentally. The disk should not stop too abruptly, as this will damage the nodes, but should not rotate too quickly. Be sure to wrap the nichrome with fiberglass or something similar so that it does not set the handle on fire. At the end, you only need to screw the cutting disc.
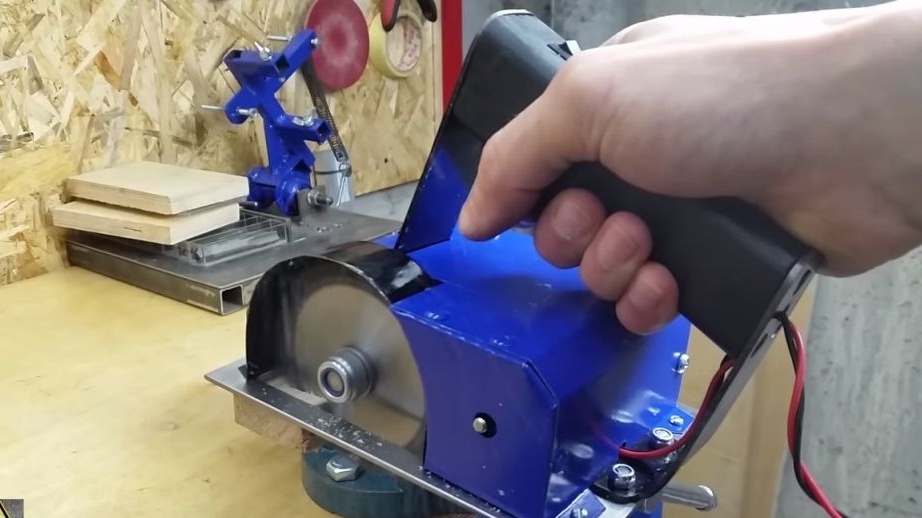
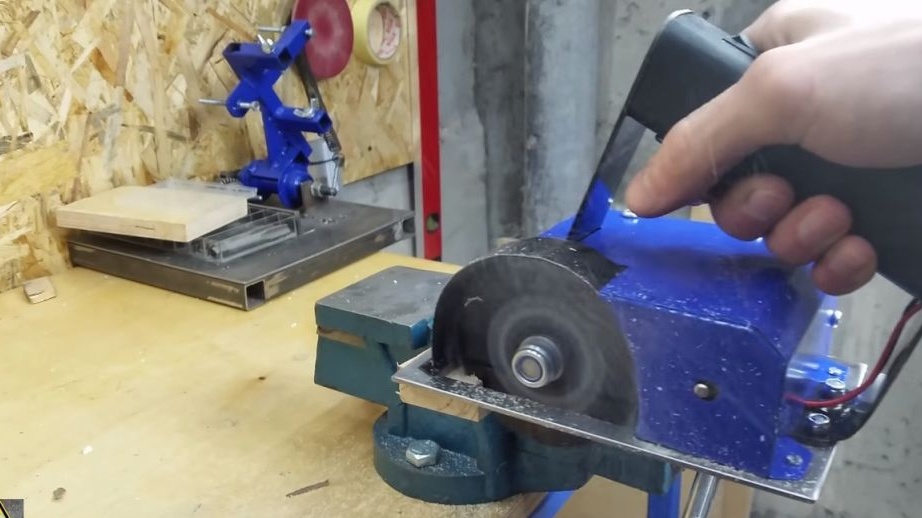
Step Ten Testing!
According to the author, the saw works without problems from a voltage of 12V, but the device does not reveal its full potential. Best of all, the machine starts to work at voltages above 20V, the current strength itself should be high. The maximum power for this motor is 24V, a higher voltage will lead to faster brush wear, overheating, and so on.
The saw is pretty fast auto pleased with the homemade. And how is this project for you?