
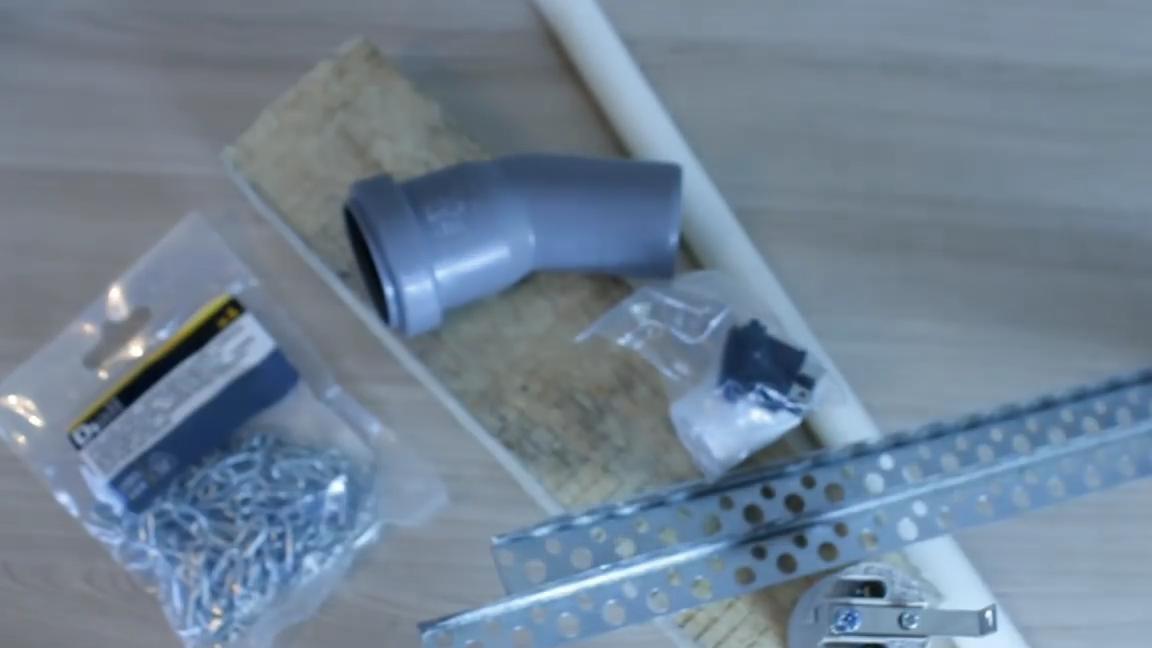
Step 1: Materials
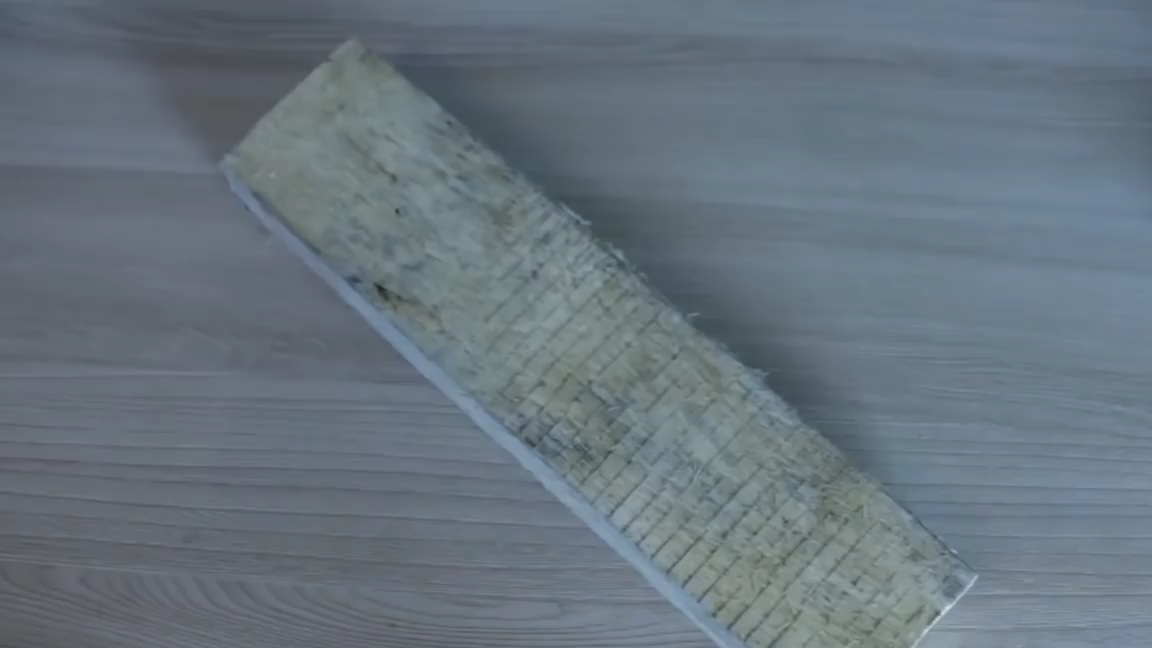
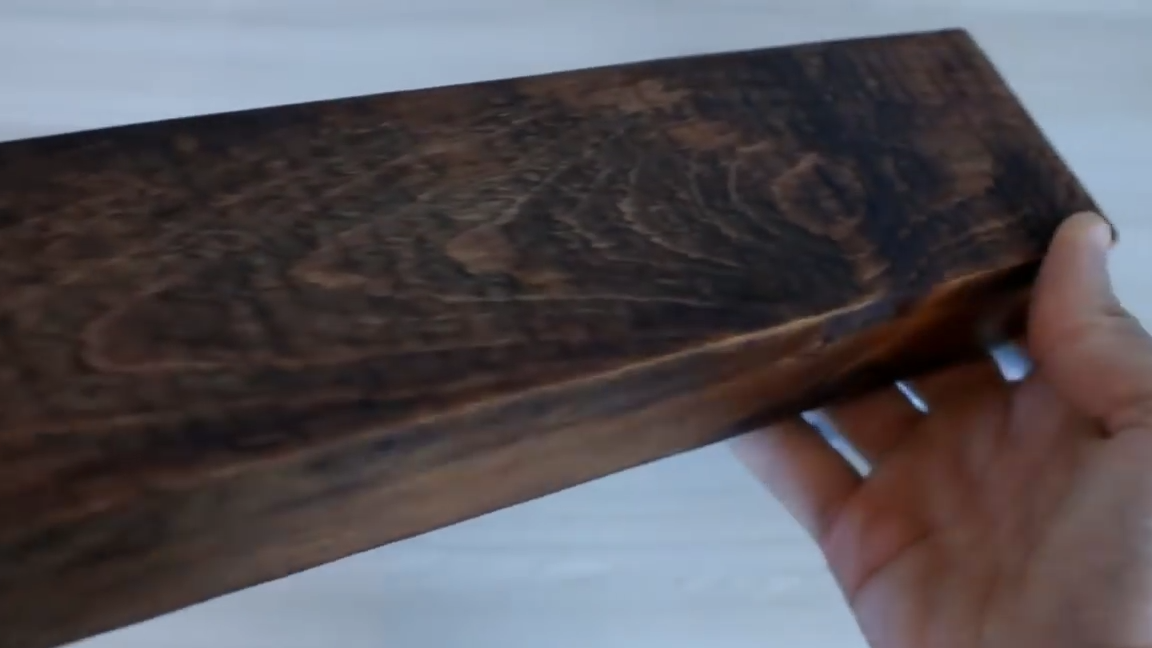
1. To assemble the lamp, a wooden block is taken 29 cm long, 6.5 cm wide, and 5 cm high. The bar is first ground with a file, then polished with an emery cloth.
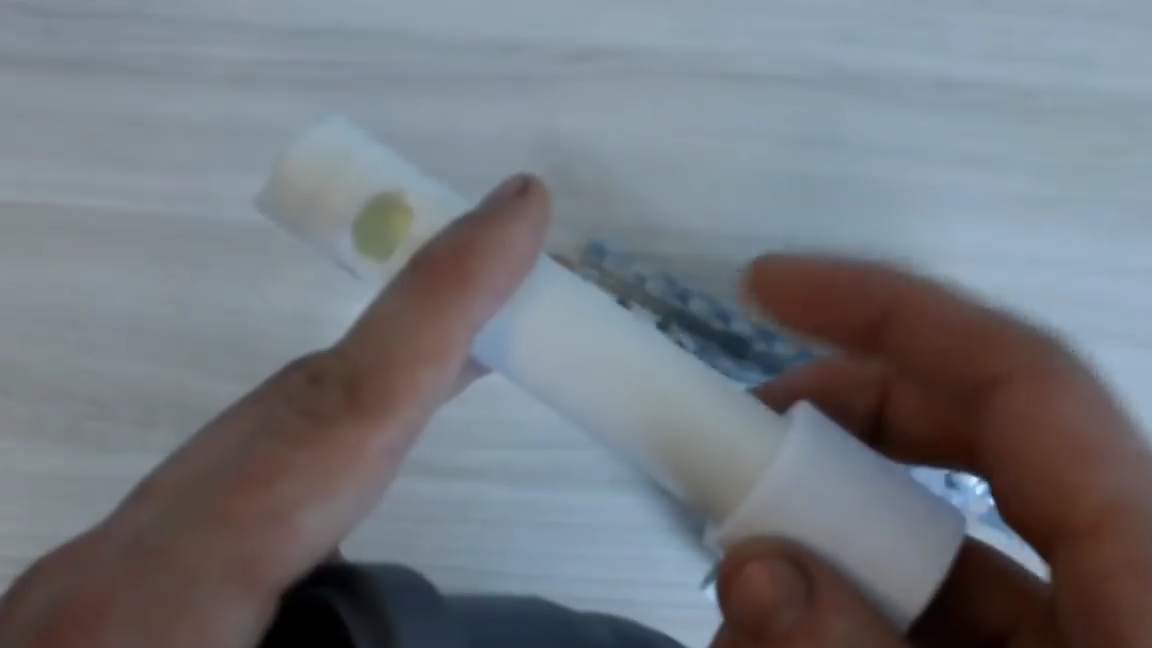
2. Plastic pipe 20 mm
3. Coupling (for 20mm pipe)
4. Tin corners
5. Wire for network
6. Lamp holder
7. 220 volt switch
8.
9. The bend of the sewer pipe
10. Chain for decor
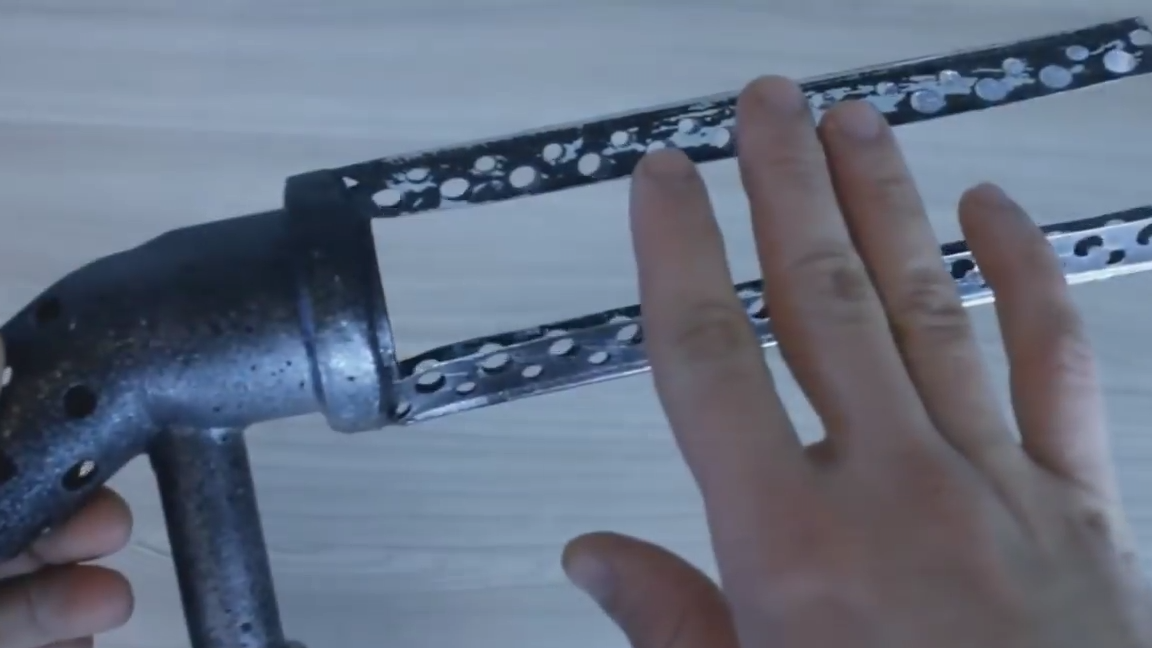
Step 2: Enclosure
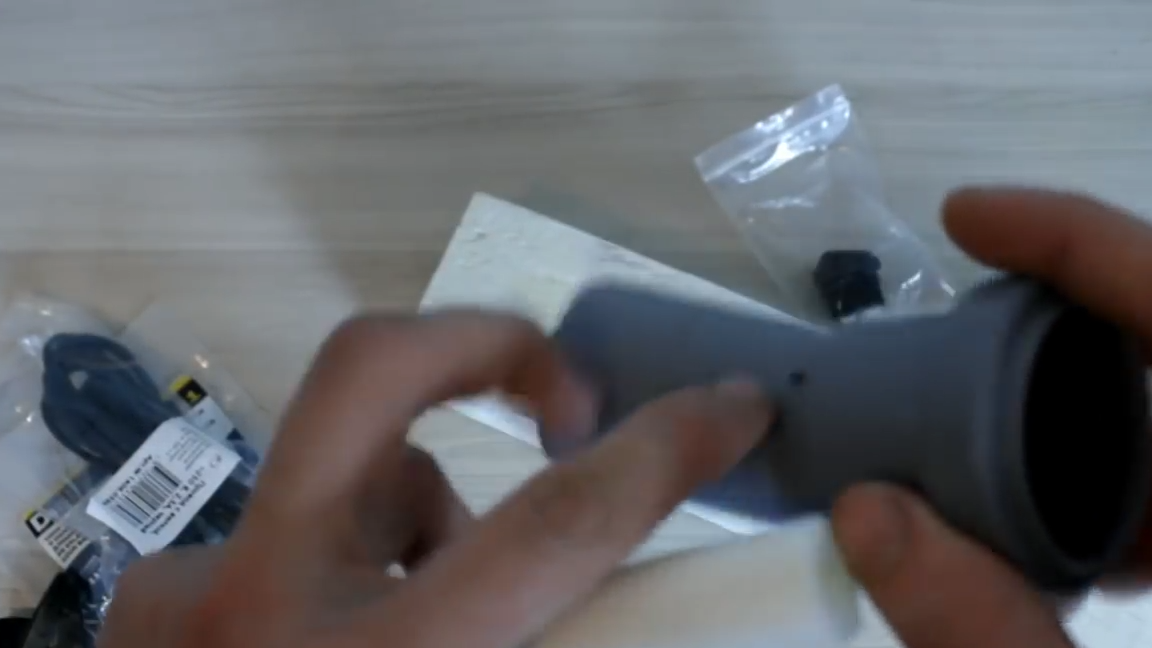
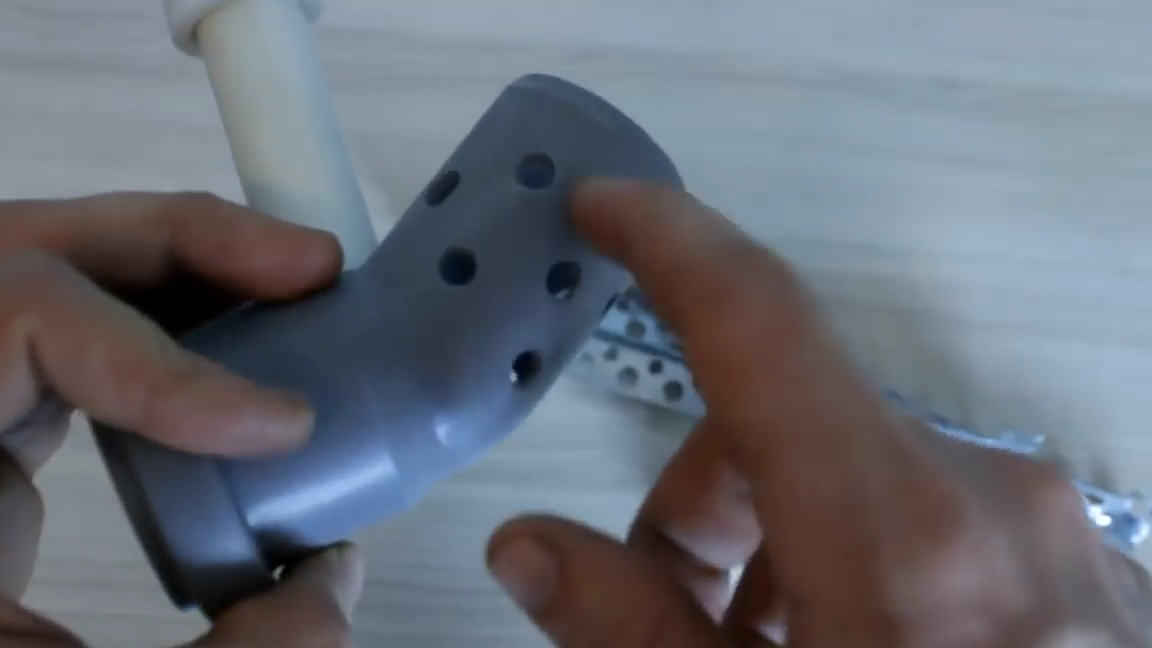
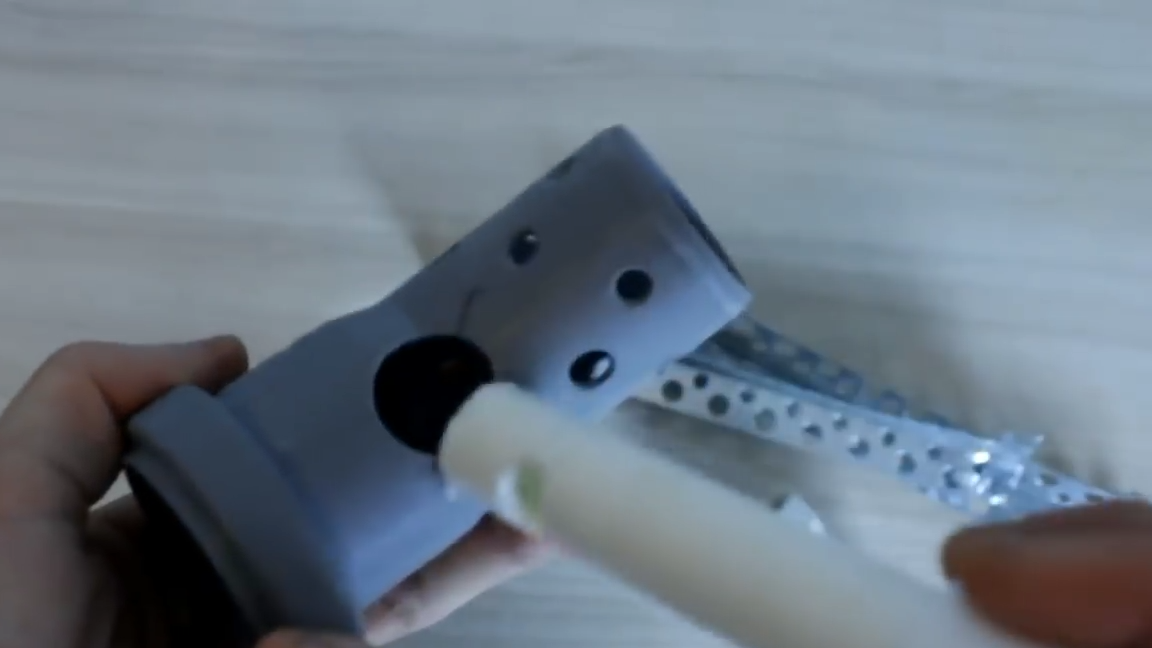

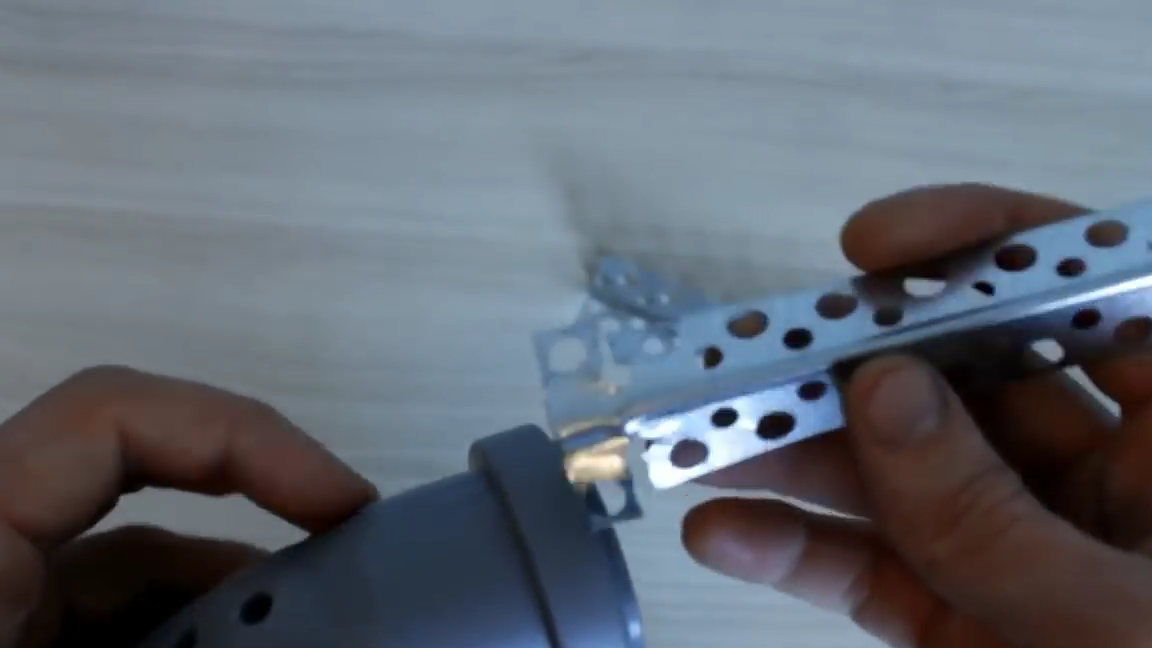
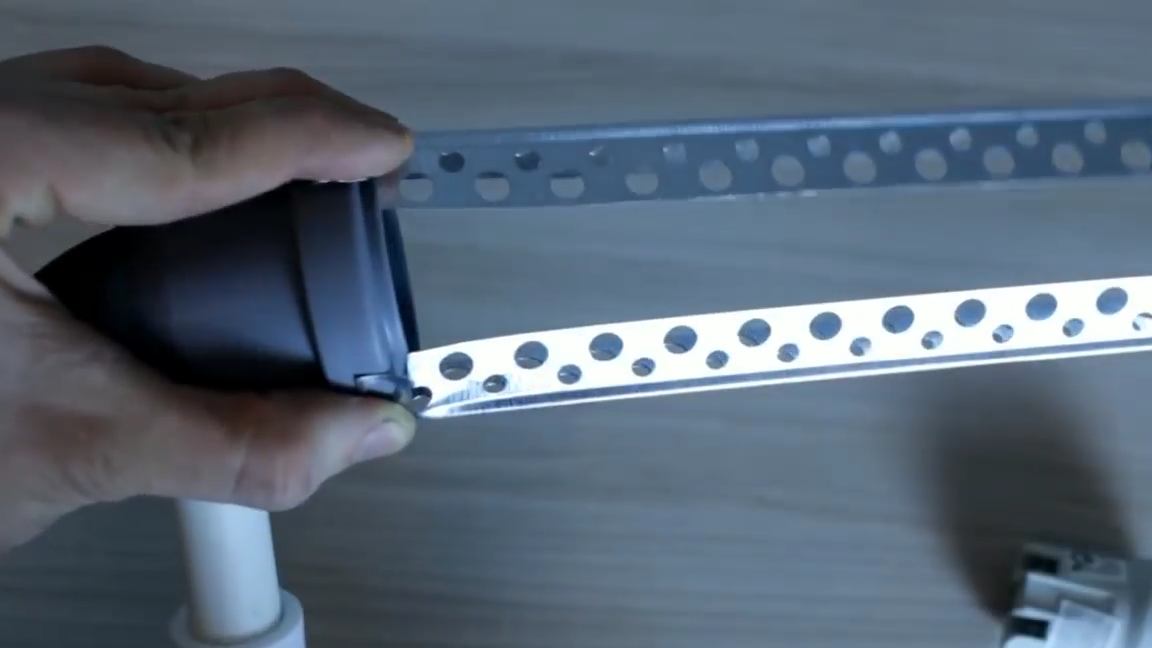
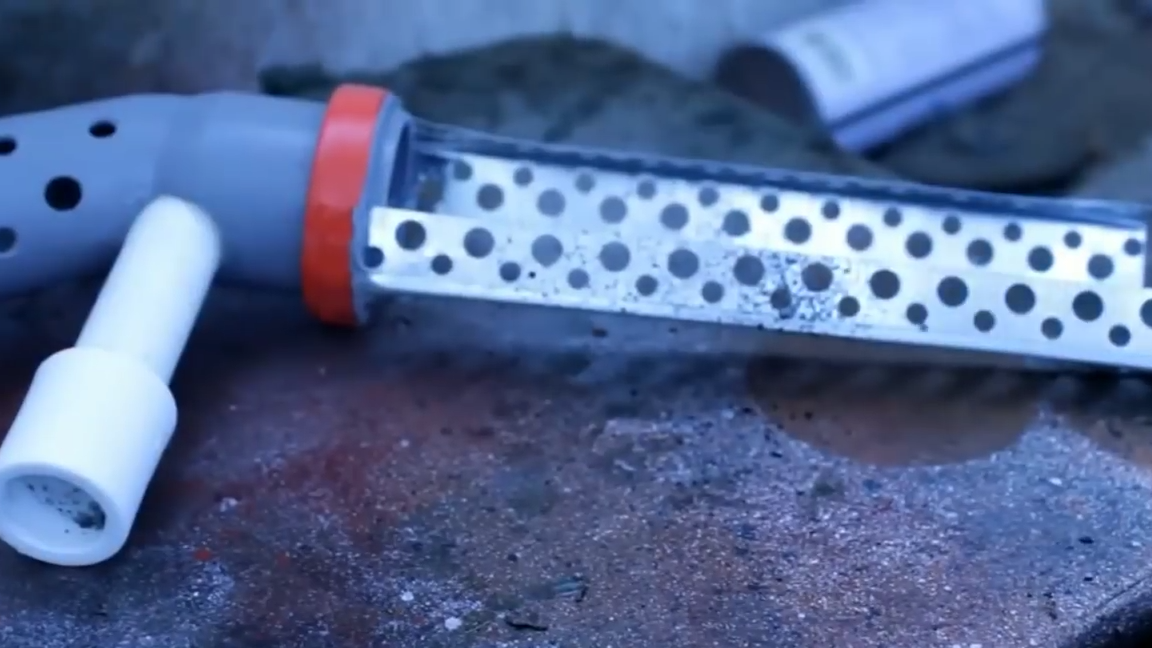
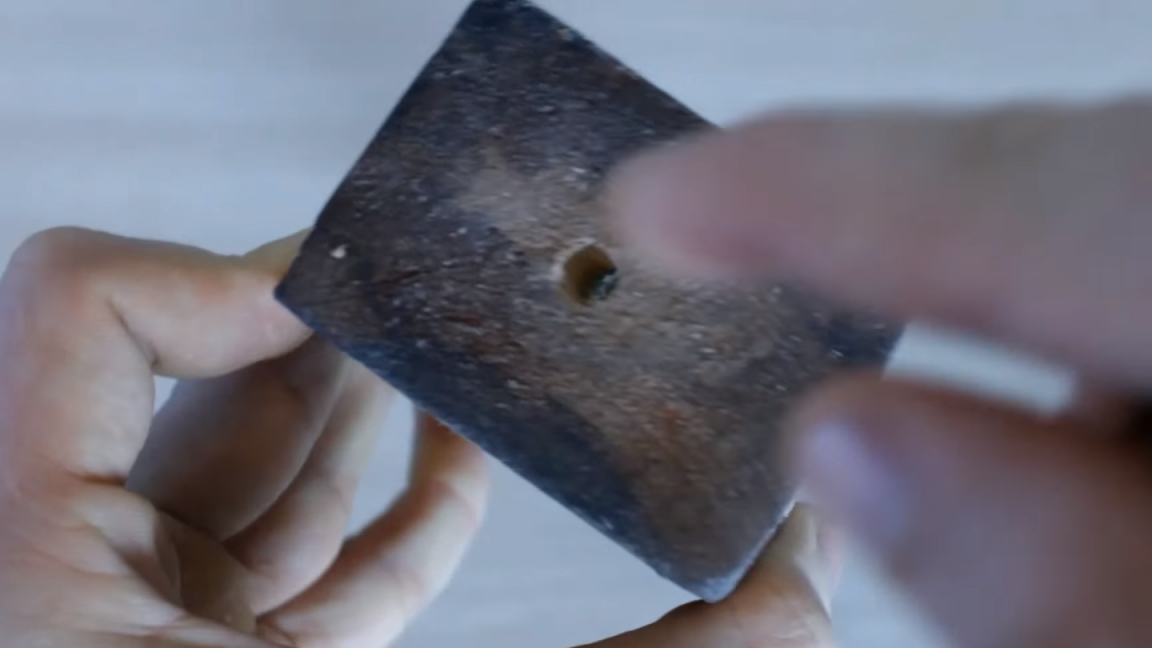
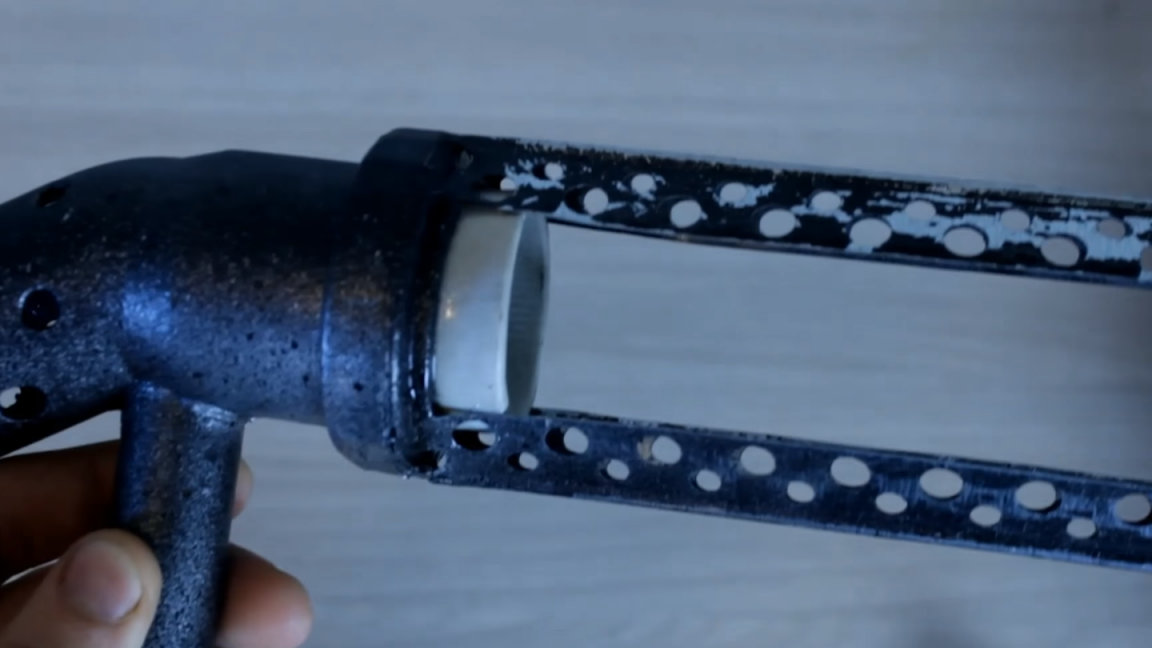
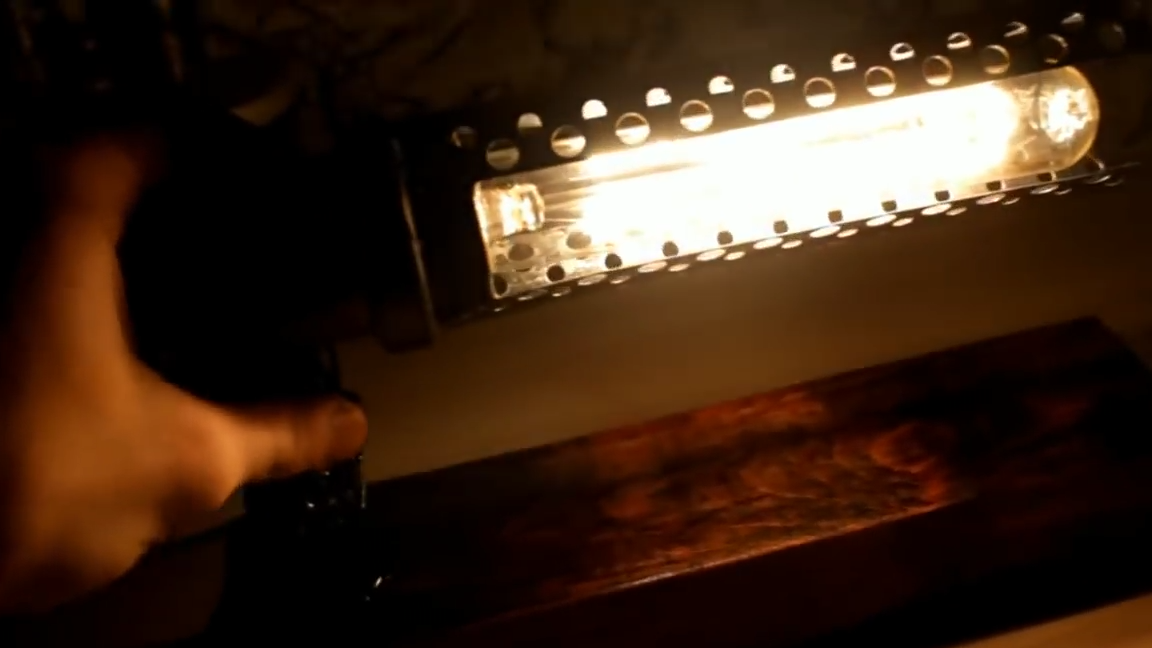
10 cm from a plastic pipe is cut off, then a sleeve is put on (the sleeve will be used as a foot for the housing). For the decor, holes are made on the sewer pipe (seen in the photo), with a drill or a hot nail. The next step is to make the answer a drill on the PVC pipe, for the wire. Then a hole is made on the sewer pipe (10 cm), a PVC pipe is inserted into this hole. Now the corners are attached to the sewer pipe, as shown in the photo.
Step 3: Painting
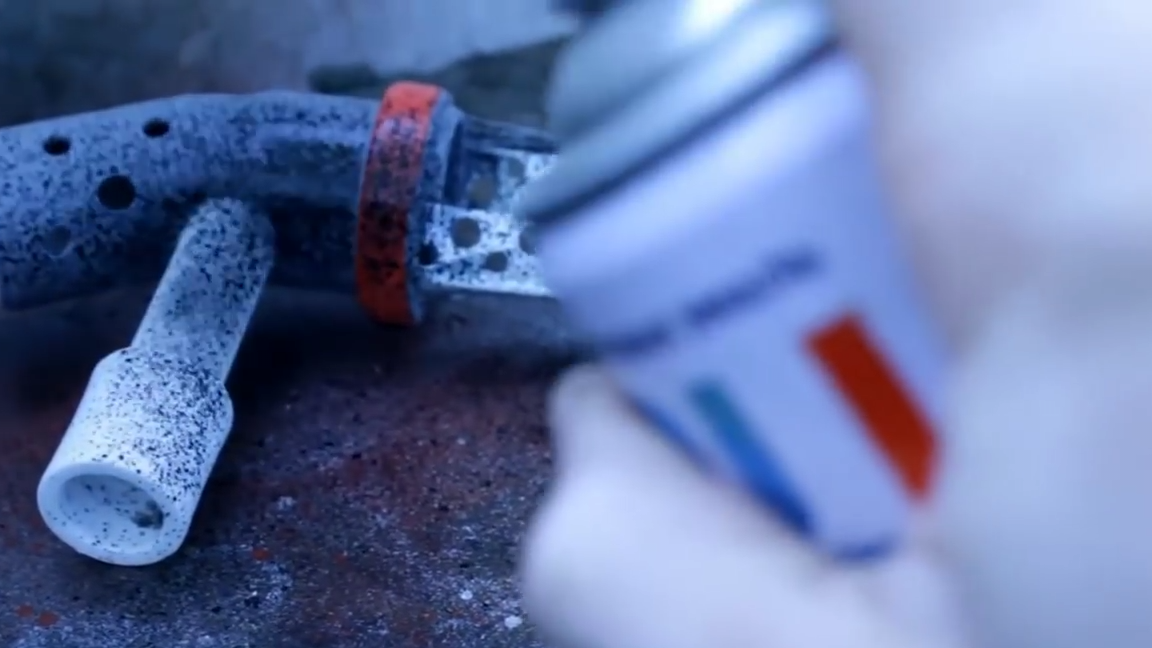
The case is painted first with black nitro paint, then slightly silver. Corners are sanded a little with sandpaper to give them a retro effect.
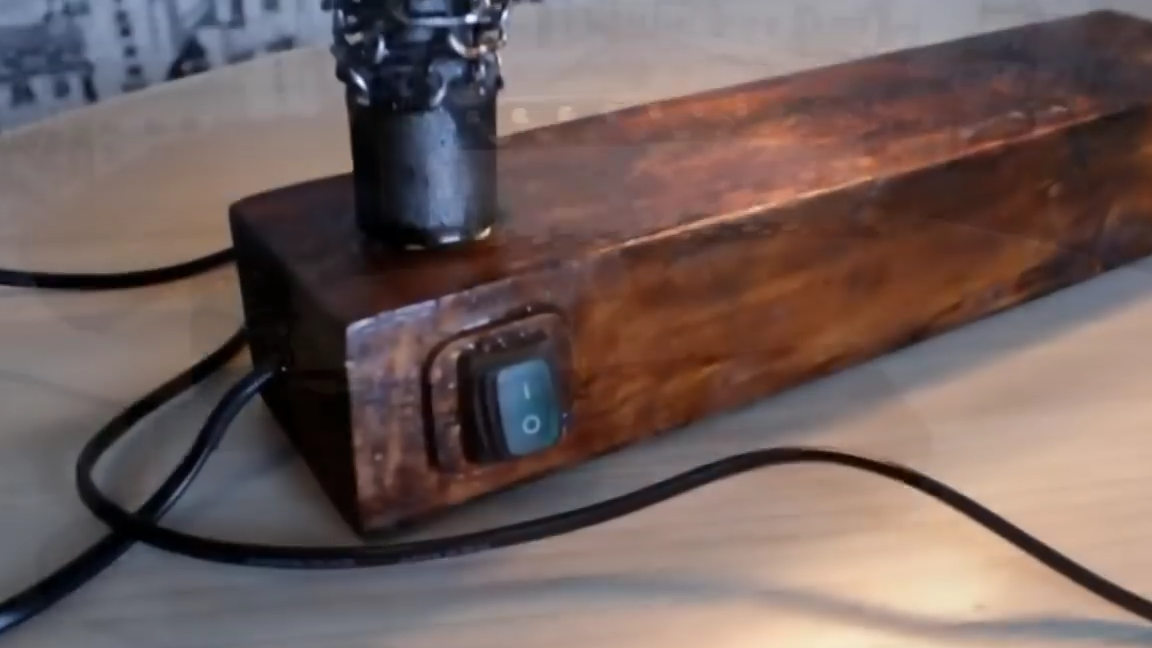
Step 4: Lamp Base
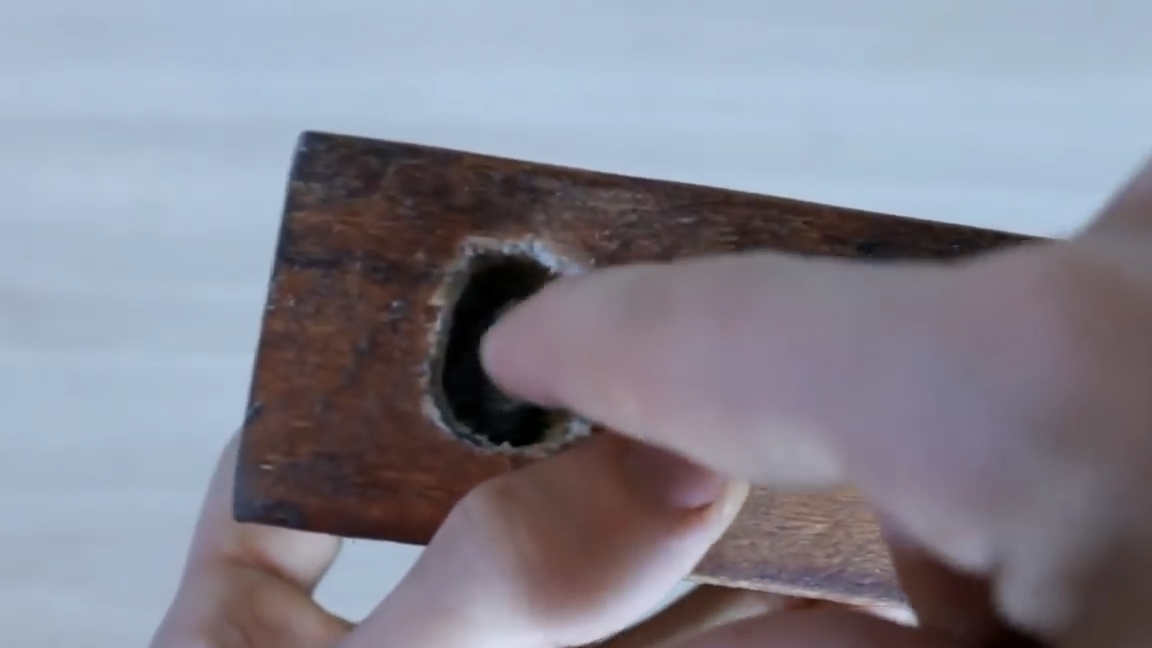
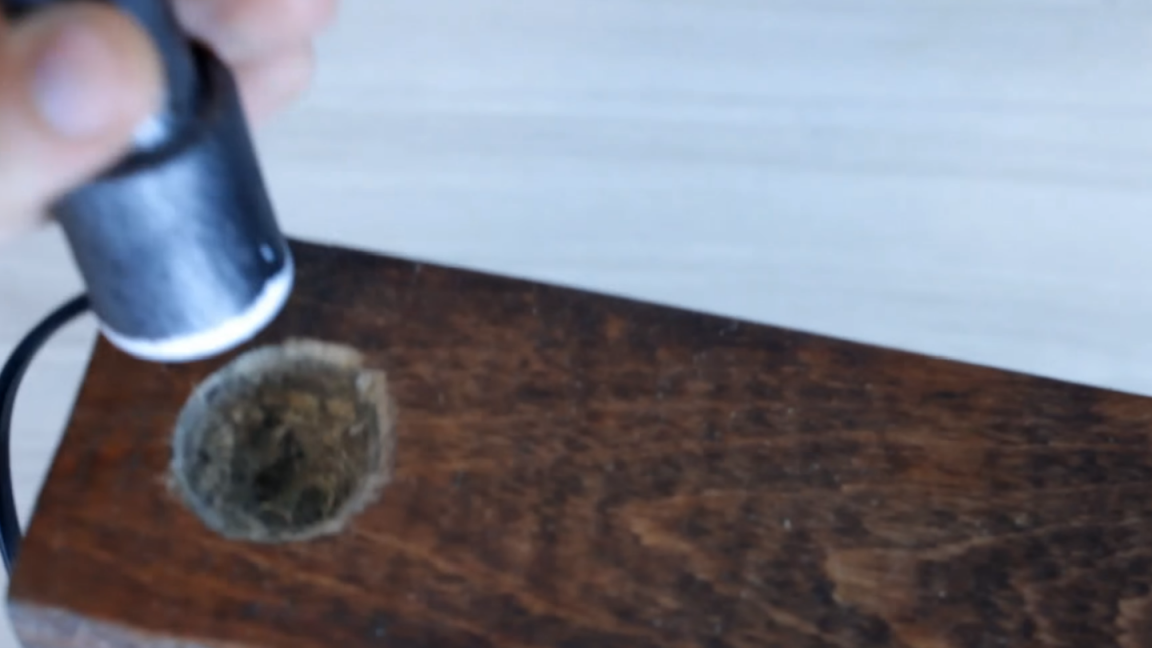
A stain is applied to the bar and three holes are made. Hole on the side for the switch, on top for inserting the case and in the middle of the cut for the power cord. All openings must be interconnected
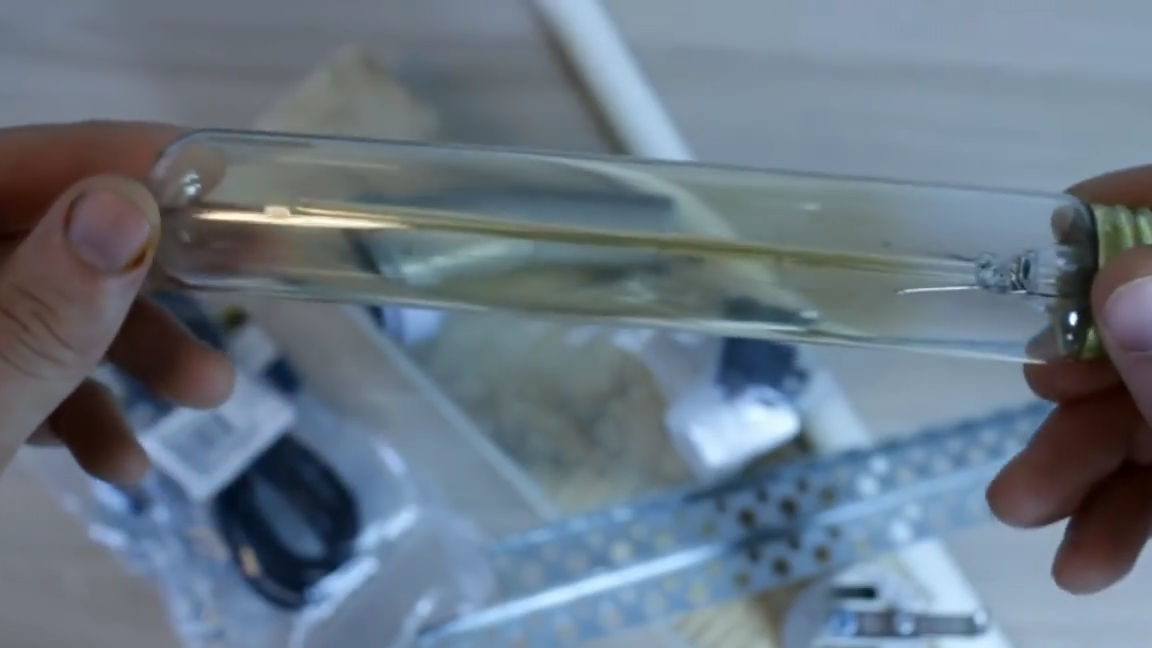
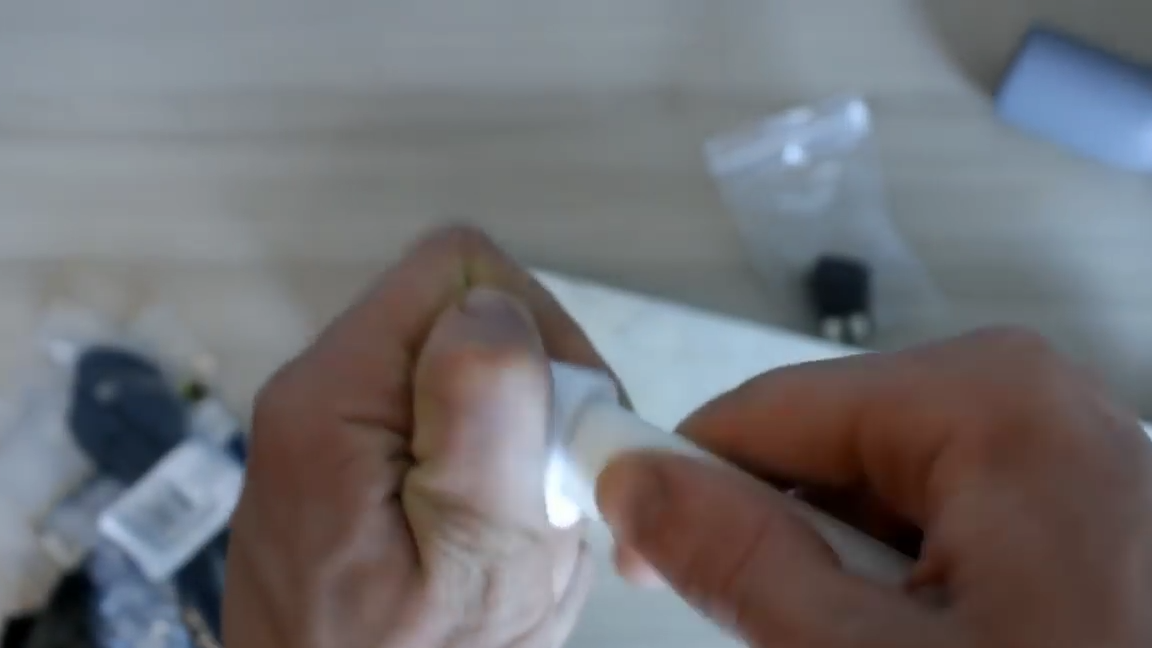
Step 4: Electronics
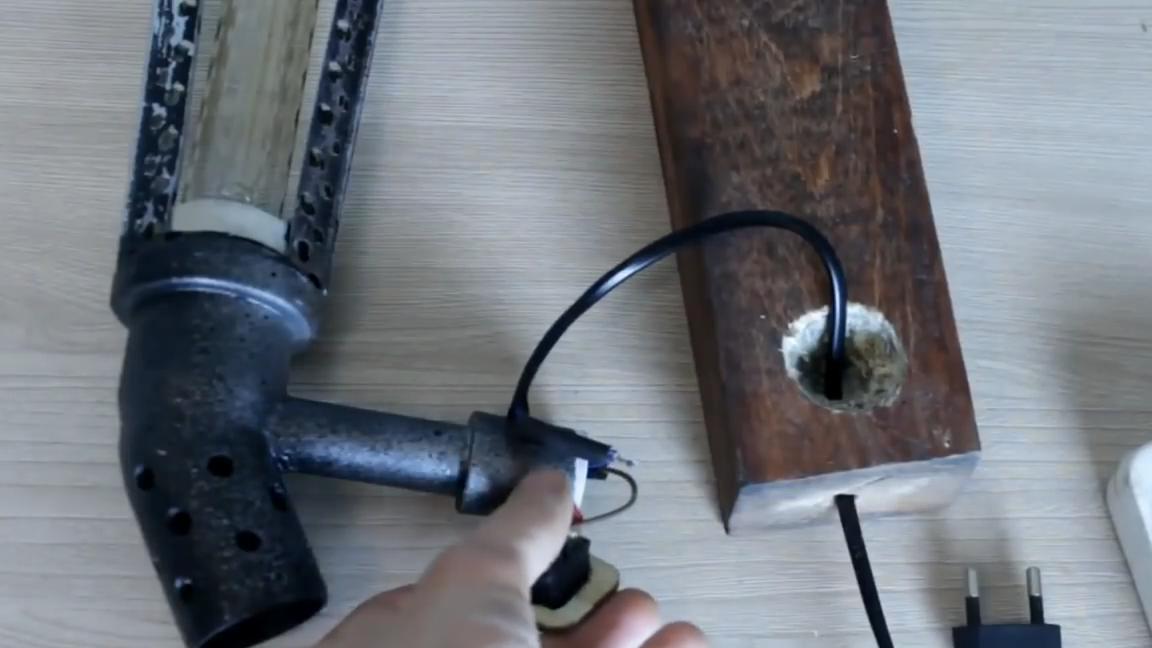
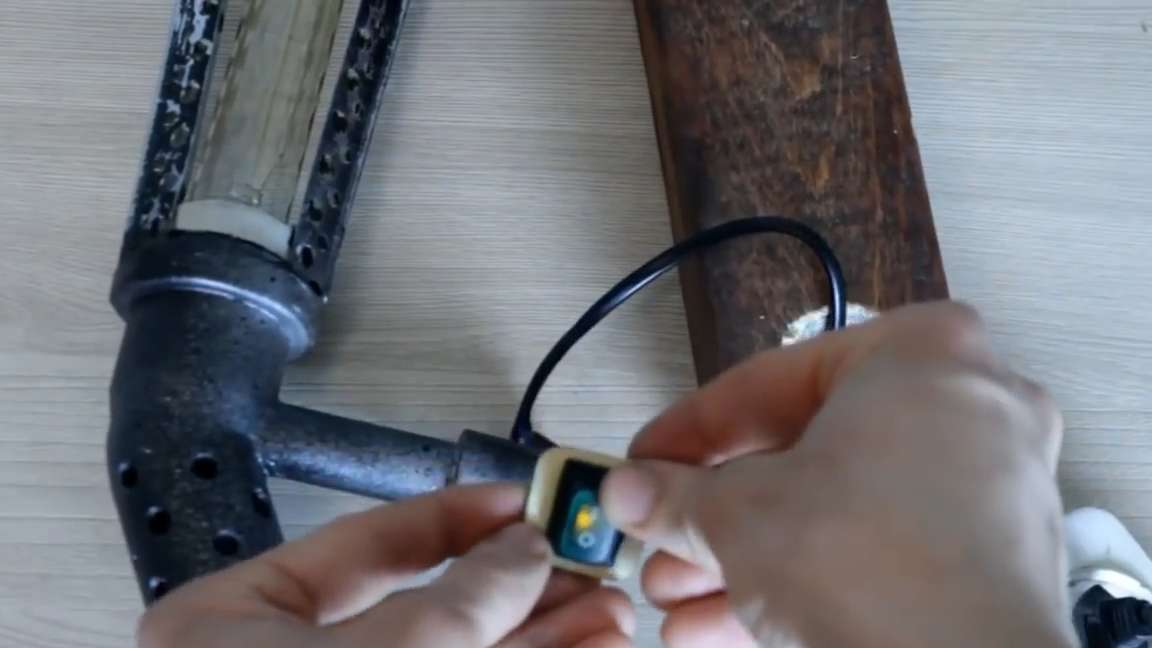
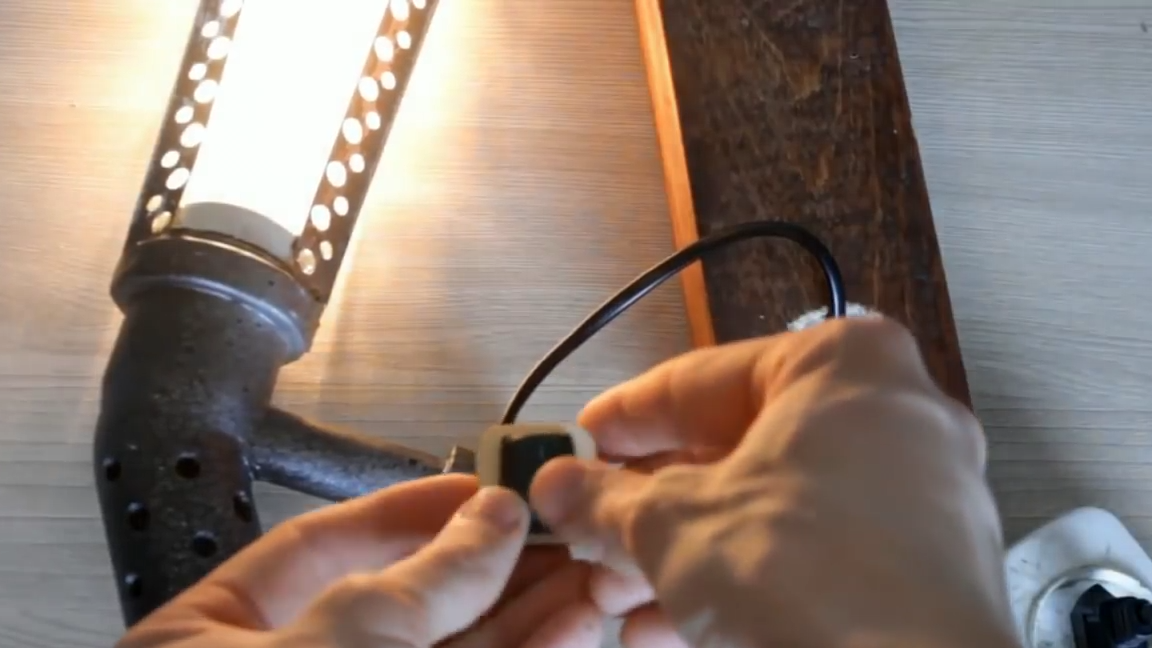

The cartridge is inserted into the pipe (as shown in the photo). But first, the cartridge must be connected to the wire. Then the power wire connects to the switch and to the lamp. Two contacts are closed on the switch, this is done to highlight the button on the switch. Now everything is glued with hot glue. The PVC pipe is wrapped in a chain.
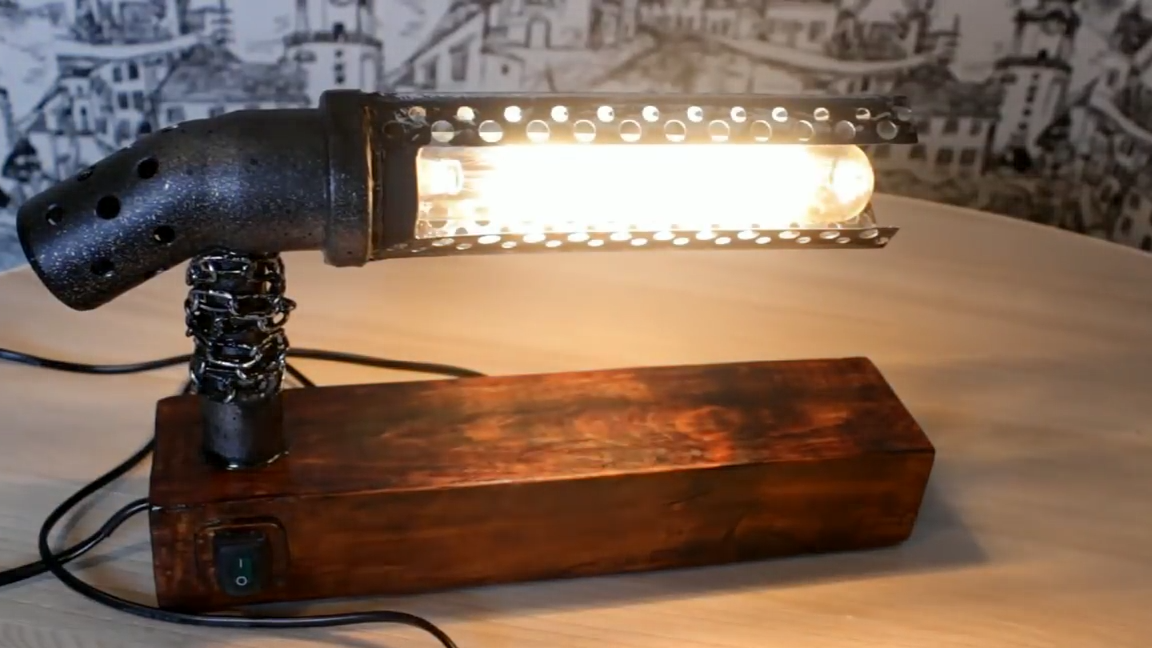
Step 5: Finishing Touches
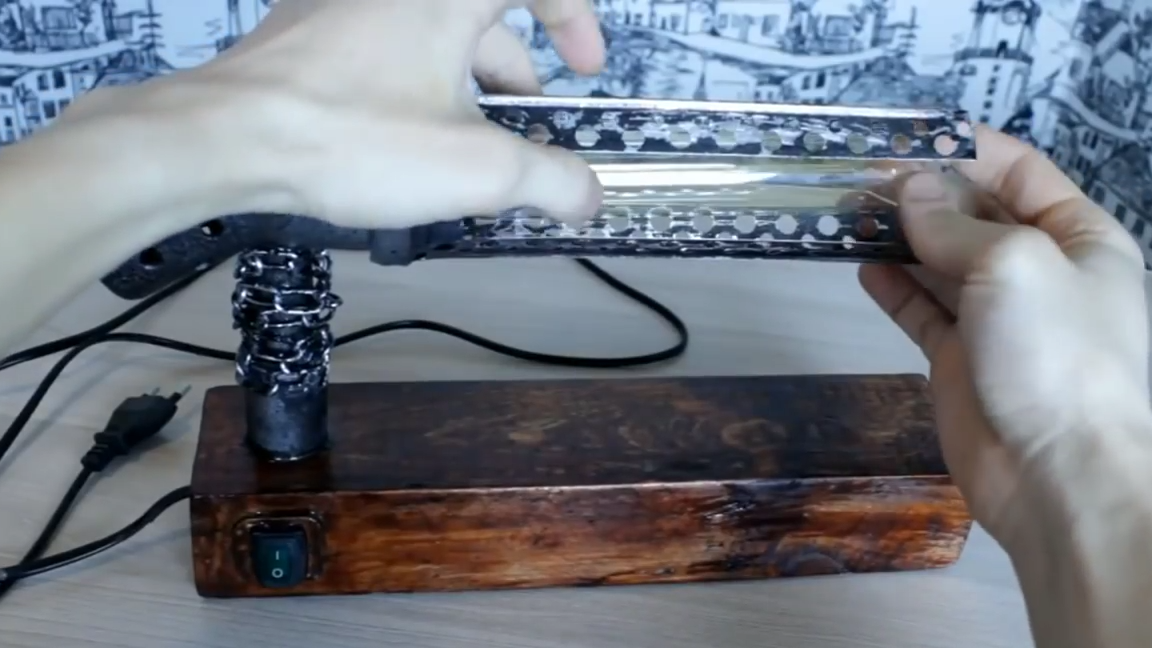
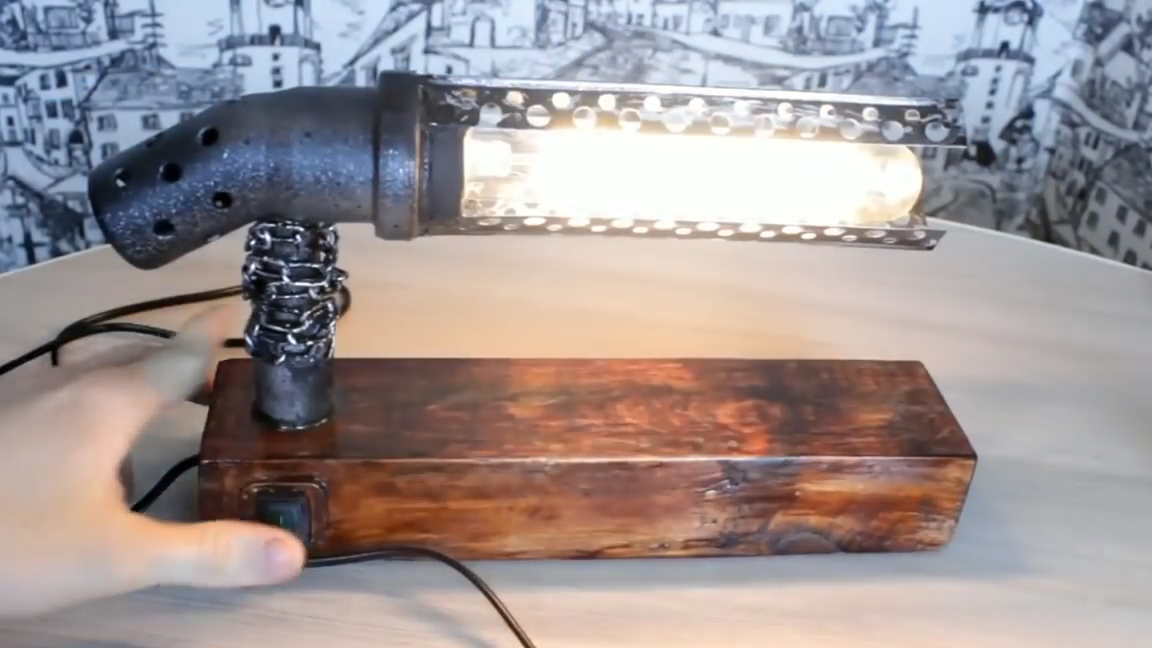
It remains to make only the legs. To do this, four holes are made at the bottom of the base and plugs are inserted. Then the bar is varnished for of furniture. When the varnish dries, the lamp is screwed in and the test shows that everything is working. Thanks for watching, I hope you enjoyed it and you were able to make this lamp without any problems. Put likes if not difficult.