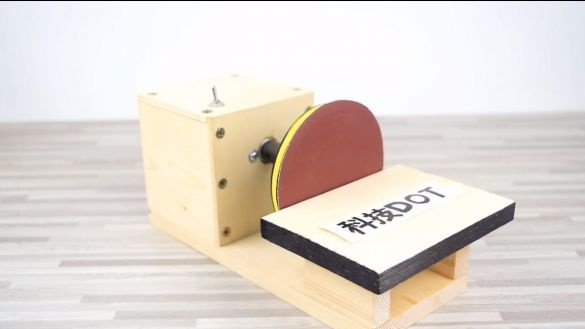
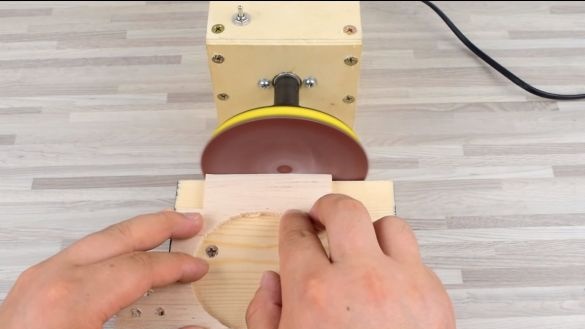
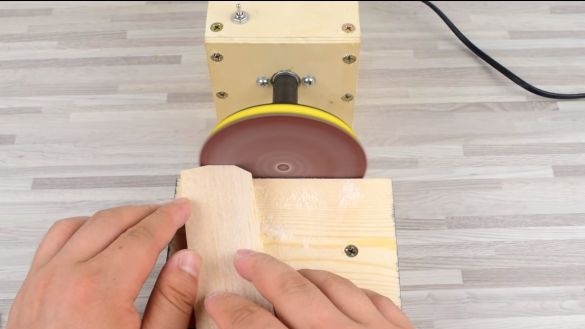
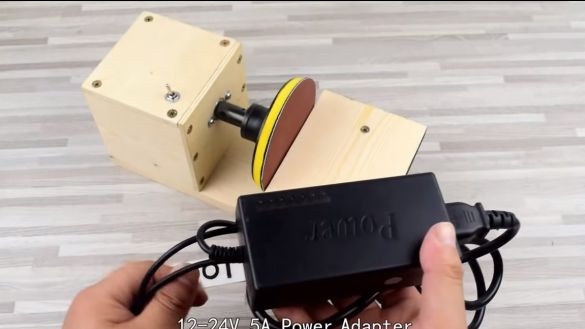
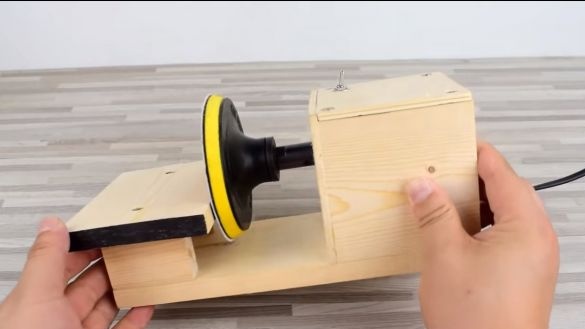
Hello everyone, I bring to your attention another miniature grinding machine. This homemade you will need a lot if you like to craft small details and so on. Despite the fact that a 24V engine is used here, its power is enough for confident revolutions and torque. In the video, the author demonstrates the work of home-made work, the grinding disc instantly “eats” plywood, finish and even polishes the metal.
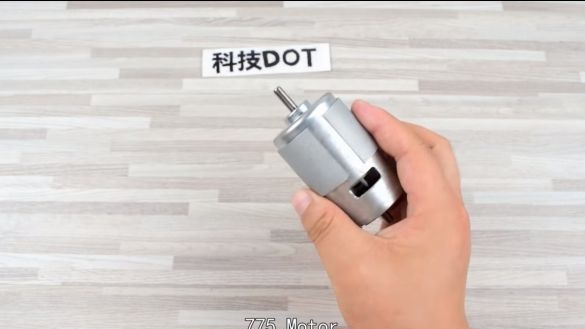
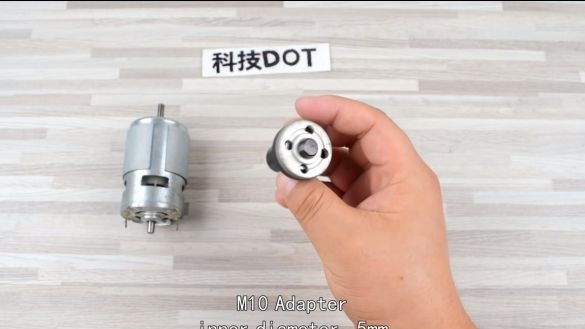
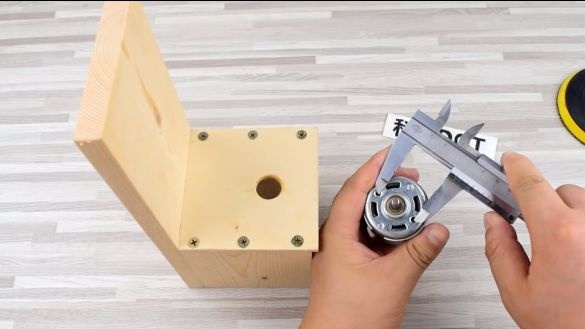
The author used the model 775 engine as a power unit. It is customary to use such motors for the manufacture of various small machines. Due to forced cooling, these motors almost never burn out, their main malfunction is the rapid wear of the bushings. In this regard, it is recommended to buy engines on ball bearings. Similar motors, as well as various adapters and brackets for them, can be ordered from China. So, we will consider in more detail how to assemble such a machine.
Materials and tools used by the author:
Material List:
- ;
- plywood, boards, etc. (to make the case);
- self-tapping screws;
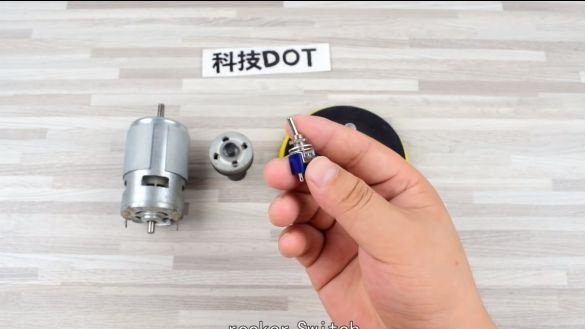
- switch;
- wires;
- ;
- .
Tool List:
- drill with drills;
- jigsaw or hacksaw;
- soldering iron;
- screwdriver;
- glue gun.
Machine manufacturing process:
Step one. Putting the case together
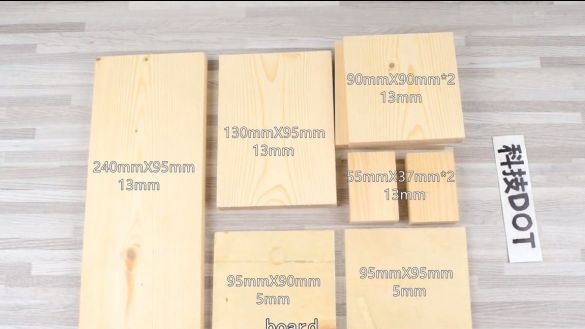
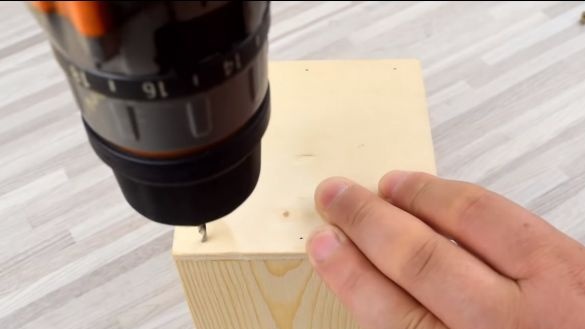
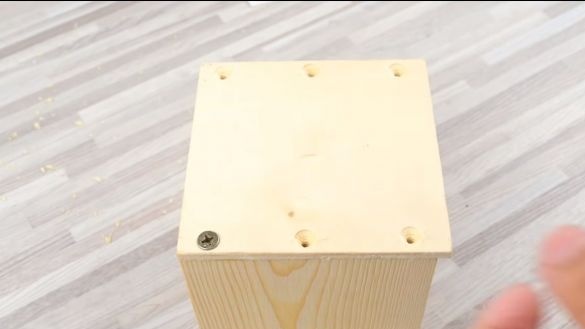
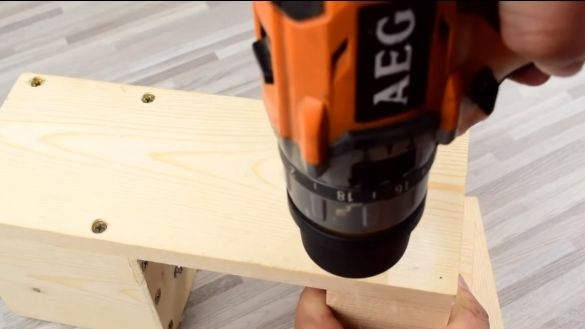
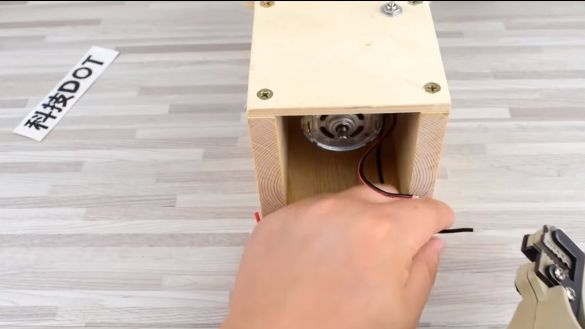
The author collects the case from wood. The dimensions of all the necessary details can be seen in the photo. You will need plywood and supplies. We assemble the frame using self-tapping screws. It would be nice to smear the joints with glue, so everything will be more reliable.
Step Two Install the engine
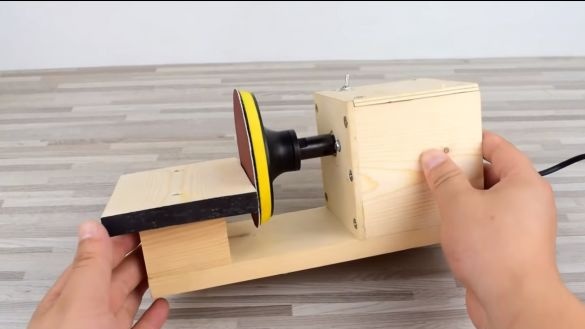
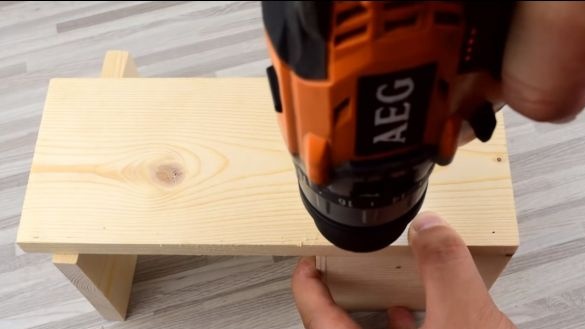
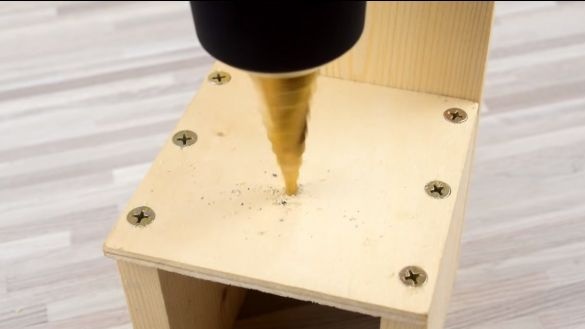
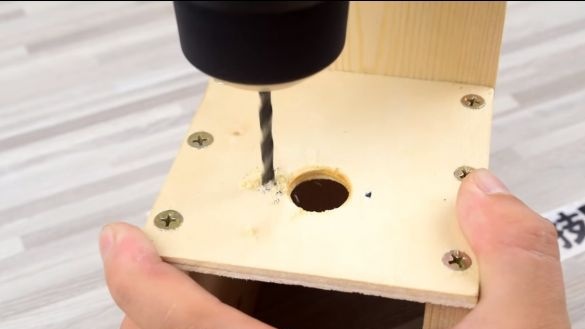
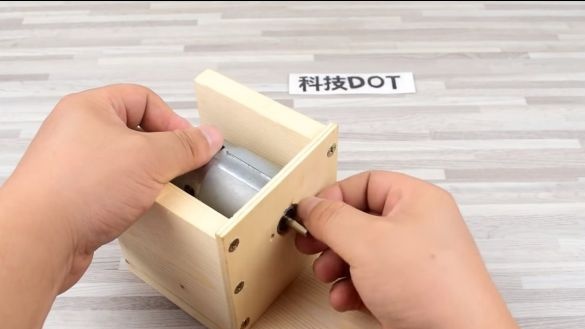
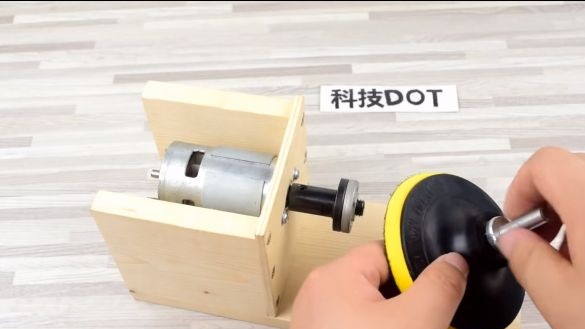
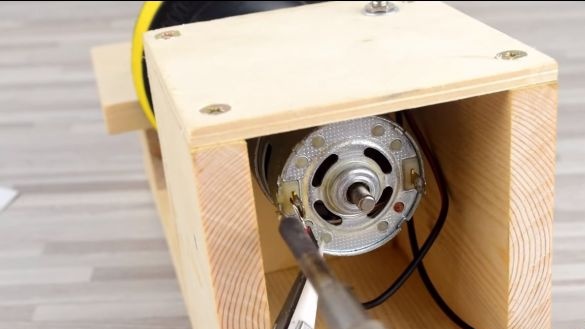
The grinding nozzle is mounted directly on the motor shaft. To fix the shaft, drill a hole under the protrusion on the housing, and also drill two holes for the screws. That's all, now just fasten the engine with two screws.
Step Three Install the grinding nozzle
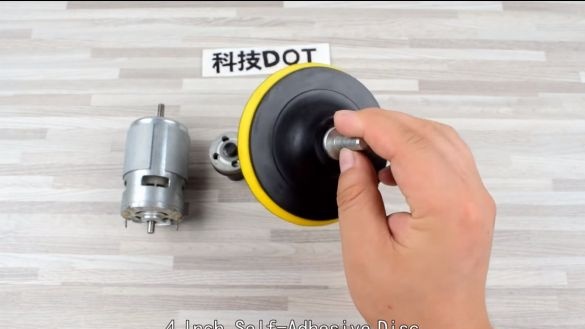
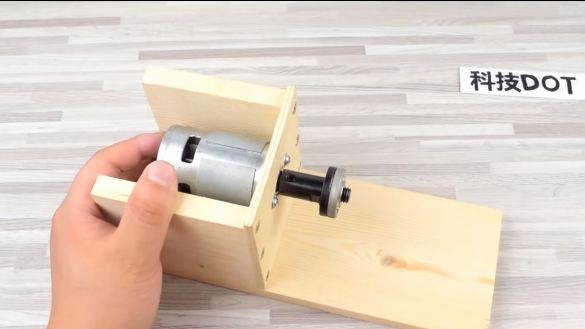
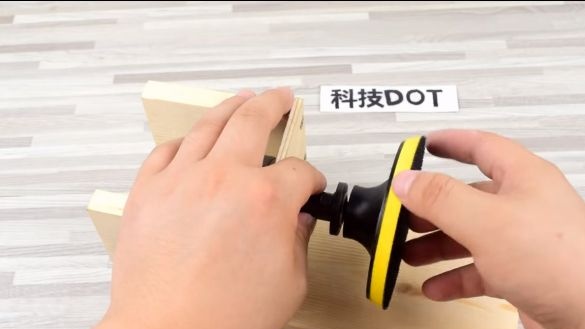
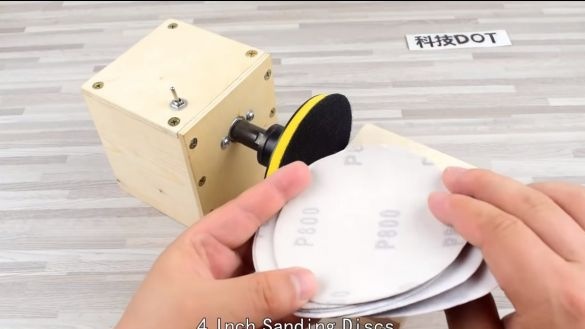
First of all, we need to install the M10 adapter. This adapter is used to mount discs from the grinder. Fasten it to the shaft, tightening the screws with a hex wrench.Next, we need to unscrew the nut, it will not be needed. As for the grinding nozzle, then you need to unscrew the axis, and then just wind the nozzle onto the axis of our engine.
Step Four Thrust pad
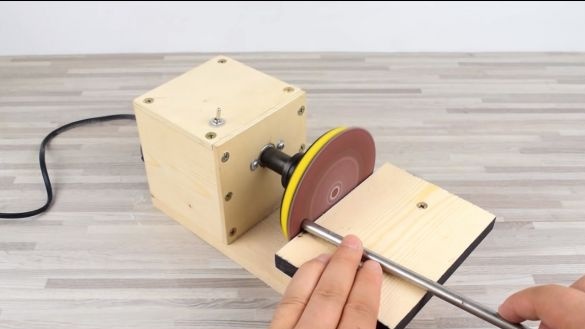
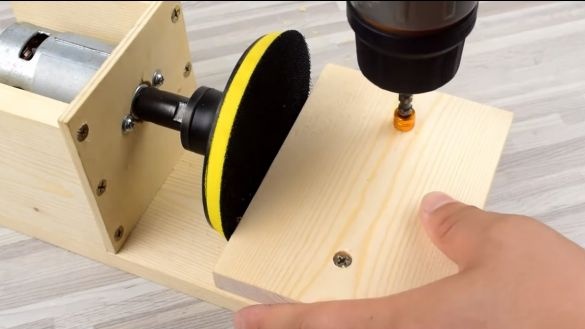
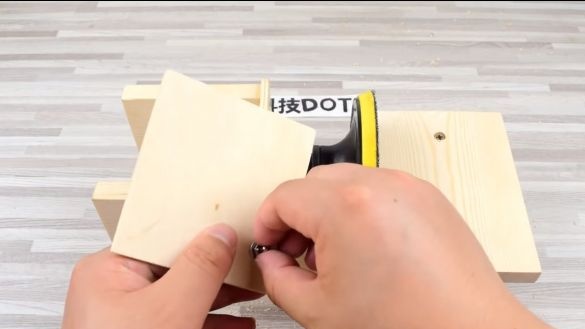
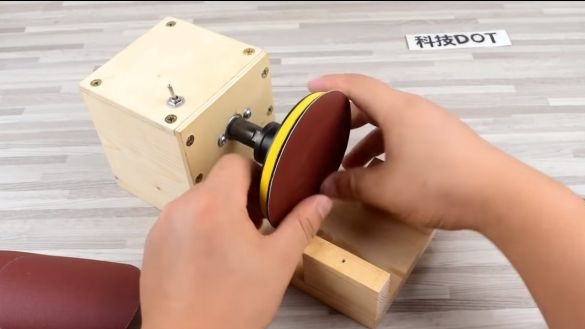
Opposite the grinding disk, we establish a thrust pad to simplify the work process. Its author, too, made of the board. The surface must be well sanded to be smooth.
Step Five Final assembly
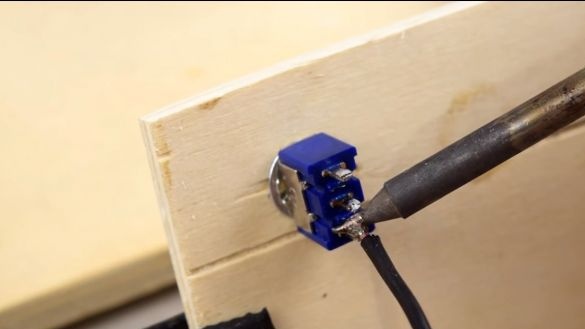
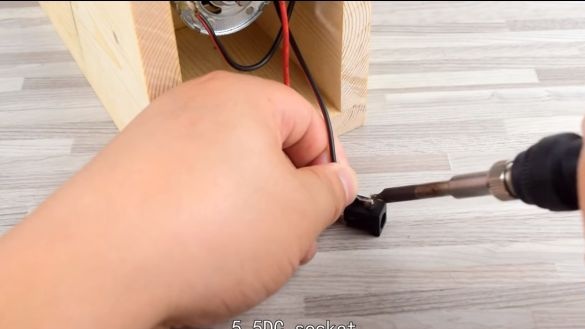
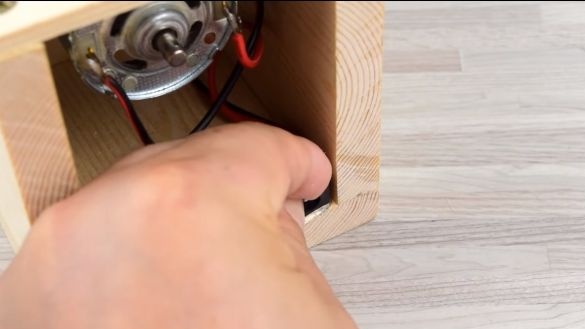
As a completion, solder the wires to the motor contacts and solder the socket for connecting the power supply through the switch. We fix the nest on hot glue. As a power source, the author used a 12-24V power supply with a current of 5A. That's all, now you just have to install the sanding disc from the sandpaper.
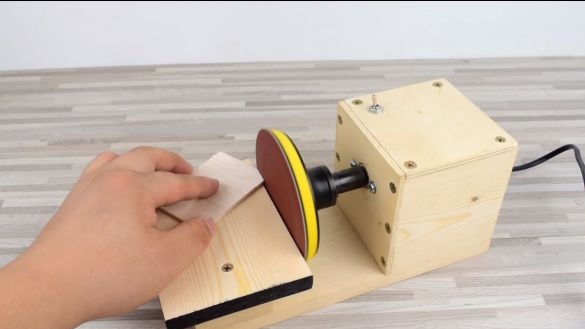
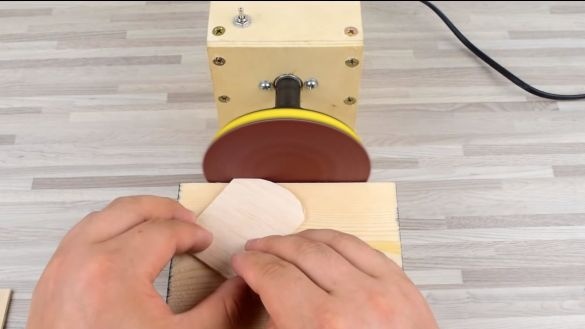
The machine is ready, you can test. For the author, the machine works quite efficiently. Wood is processed quickly and easily. Of course, if you use large sandpaper, you need a higher torque, the motor can stop. Fine emery can easily process even metal.
That's all, the project is over. Good luck and creative inspiration, if you want to repeat it. Do not forget to share your homemade products with us!

