

A small loom was designed and manufactured by the Master. True, for its manufacture you need access to a laser cutter, but in our time this is no longer a problem. So, for the manufacture of a loom, the master needed the following
Tools and materials:
-6 mm MDF - 600 mm x 400 mm;
-3 mm plexiglass or MDF - 300 mm x 150 mm;
-1 mm MDF - 50 mm x 170 mm;
-4 pcs 25 x 300 mm - wooden dowel;
-2 pcs 9 x 280 mm - plastic rod;
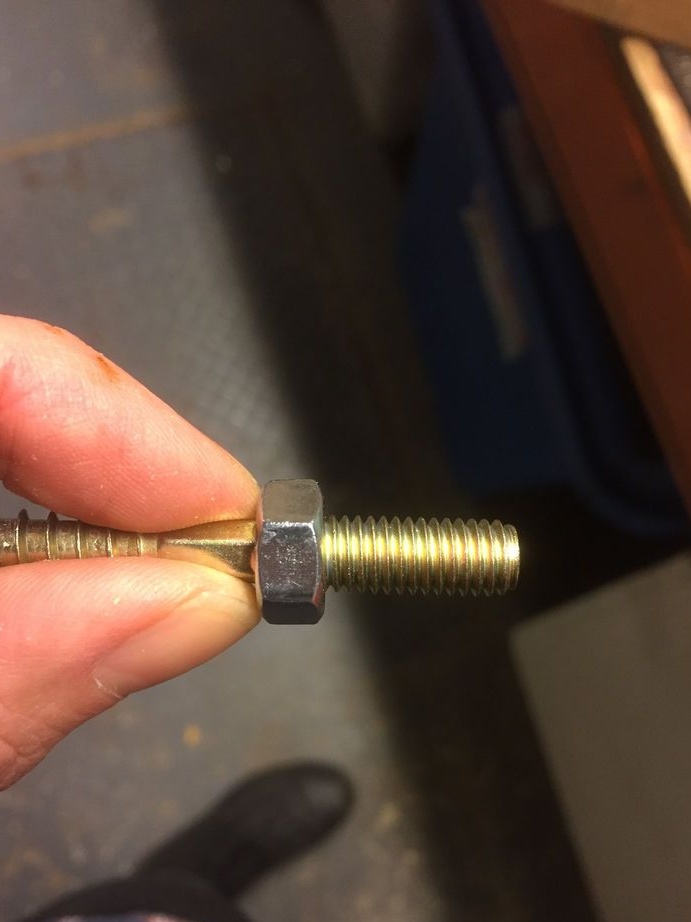
-8 furniture bolts M8 x 75 mm
-4 pcs. M8 wing nuts;
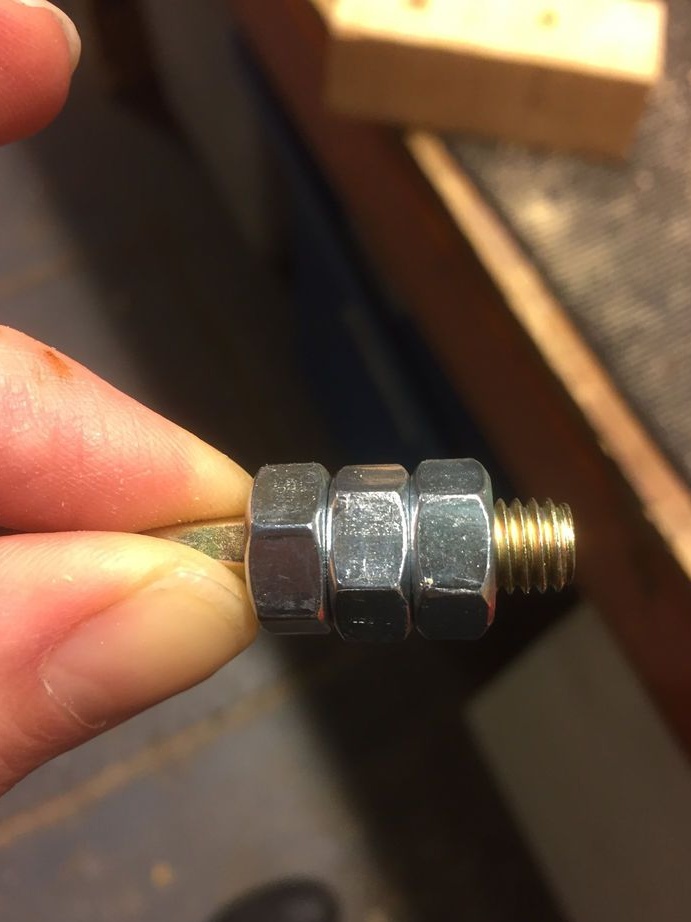
-4 pcs nuts M8;
-8 pcs of washers M8;
- M6 bolts 40 mm - 4 pcs:
-4 pcs nuts M6
-4pcs 20mm bolts M4
-4 pcs nuts M4;
-2 mm nylon cord;
-6 pcs of push pins with a flat head;
-Laser cutter;
-Drill;
- Drill 25 mm;
- Drill 8 mm;
- Keys are metalwork;
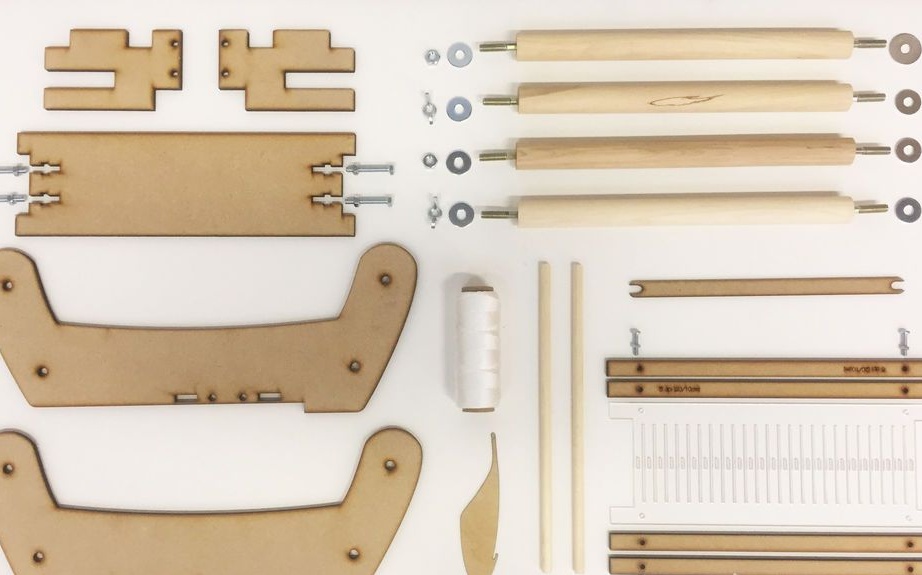
Step One: Laser Cutting
First, the master cuts out the necessary details. Below are the links for laser cutting with the dimensions of the machine 600 * 400 mm.
RigidHeddleLoom_CUTx1_6mmMDF.dxf
RigidHeddleLoom_CUTx1_6mmMDF.svg
HeddleAndShuttles_CUTx1_3mmMDF_orPerspex.dxf
HeddleAndShuttles_CUTx1_3mmMDF_orPerspex.svg
HeddleHook_CUTx1_1mmMDF_Perspex_orCard.dxf
HeddleHook_CUTx1_1mmMDF_Perspex_orCard.svg
DIY_Laser_Cut_Rigid_Heddle_Loom.zip
Step Two: Dowels
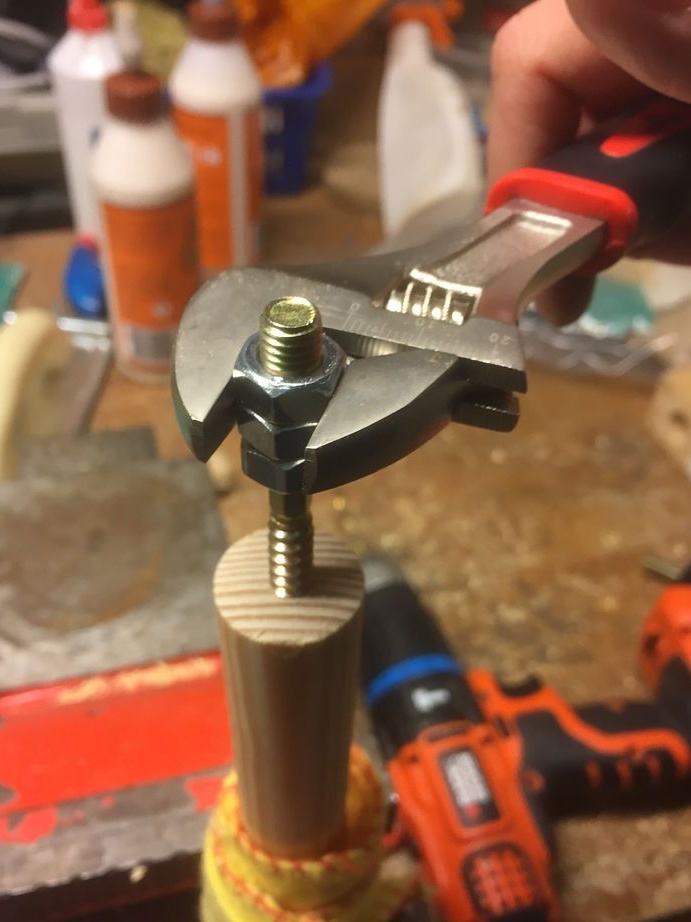
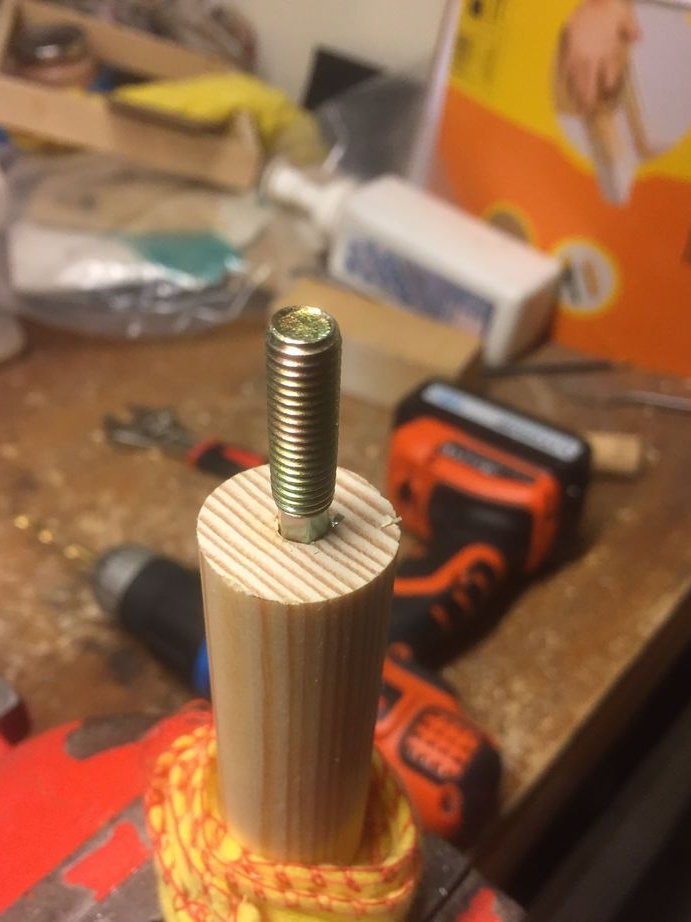
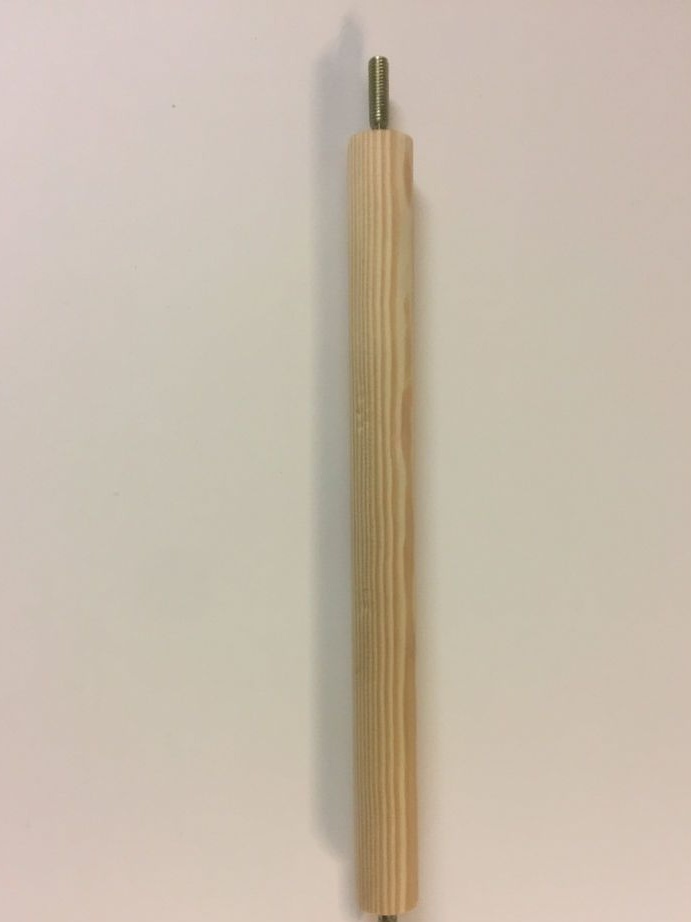
While the details are cut you need to prepare wooden dowels. In the center of the dowels you need to drill a hole of 8 mm. In order that the drill would not go aside, the master makes a template from a wooden bar. Drills a 25 mm recess in the bar. A center hole of 8 mm is drilled through its center. Further, each side of all four dowels is inserted into a recess in the template and a hole is drilled.
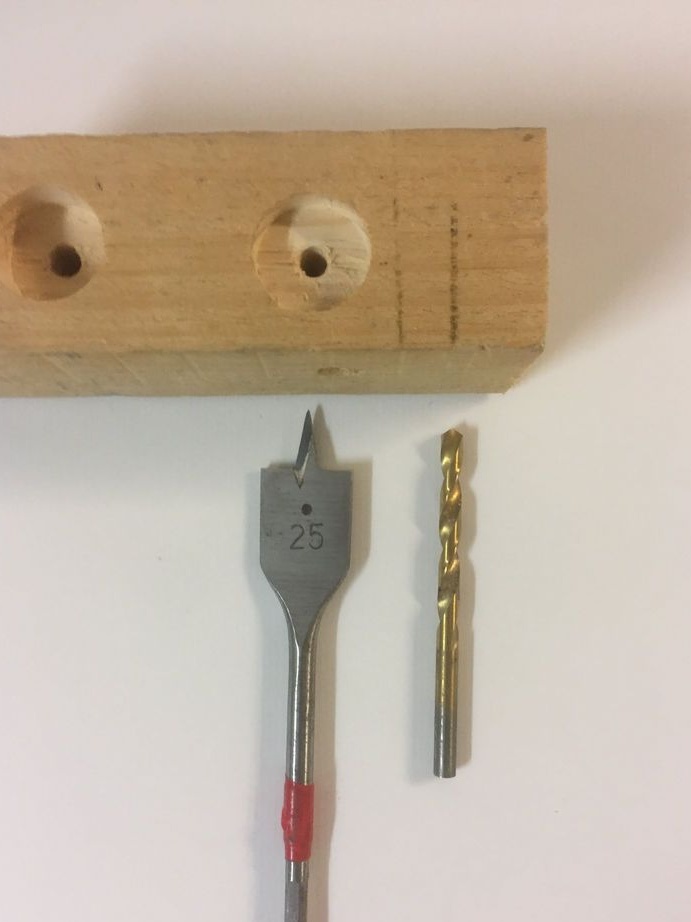
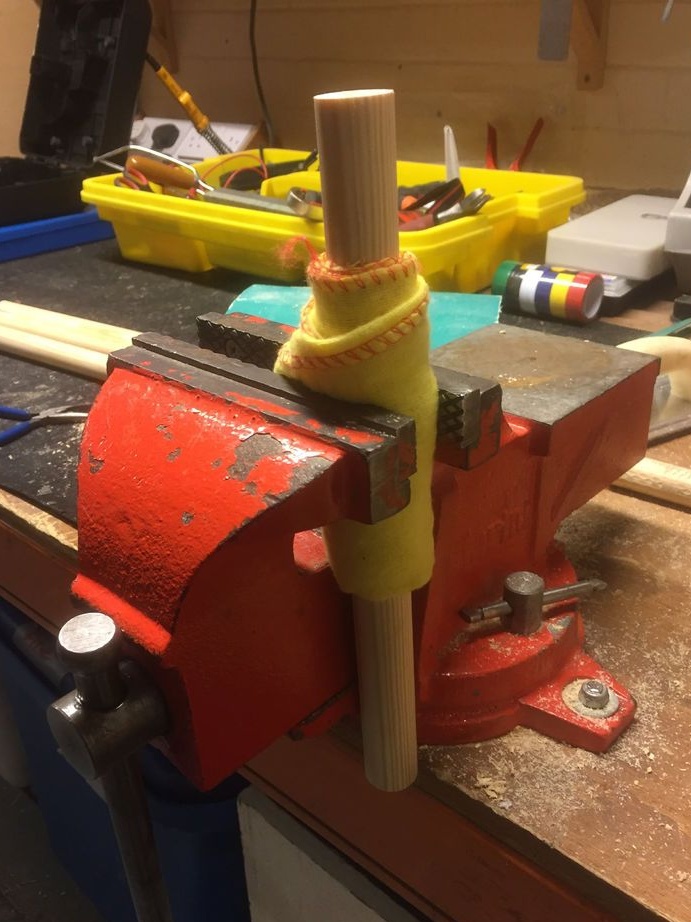
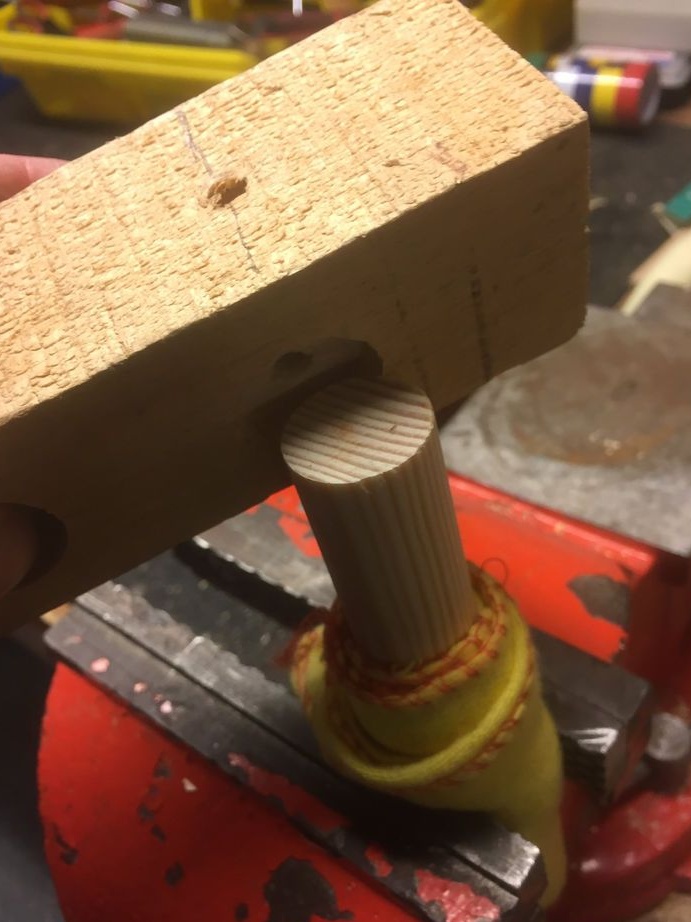
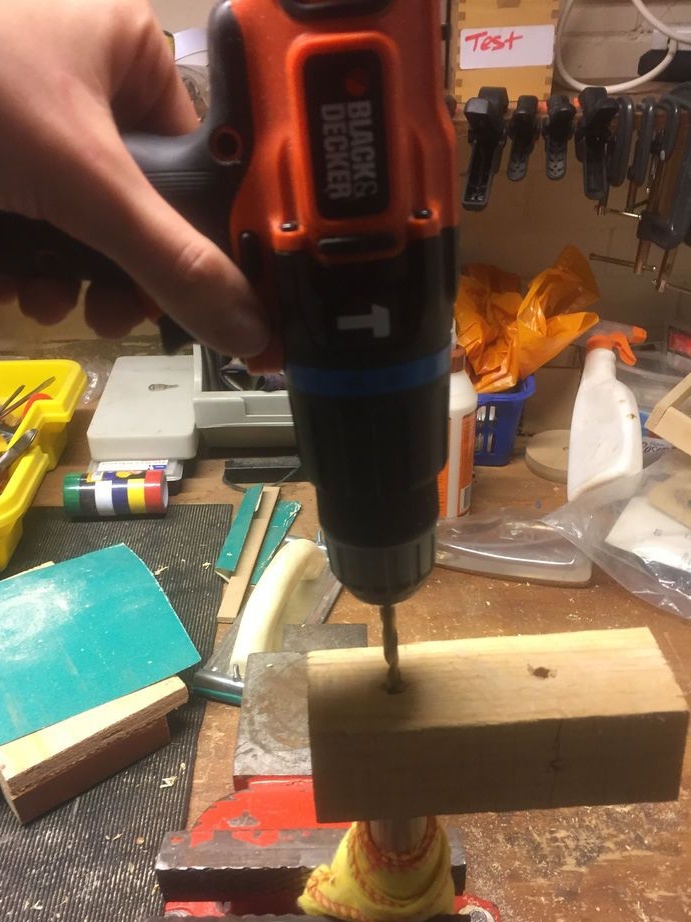
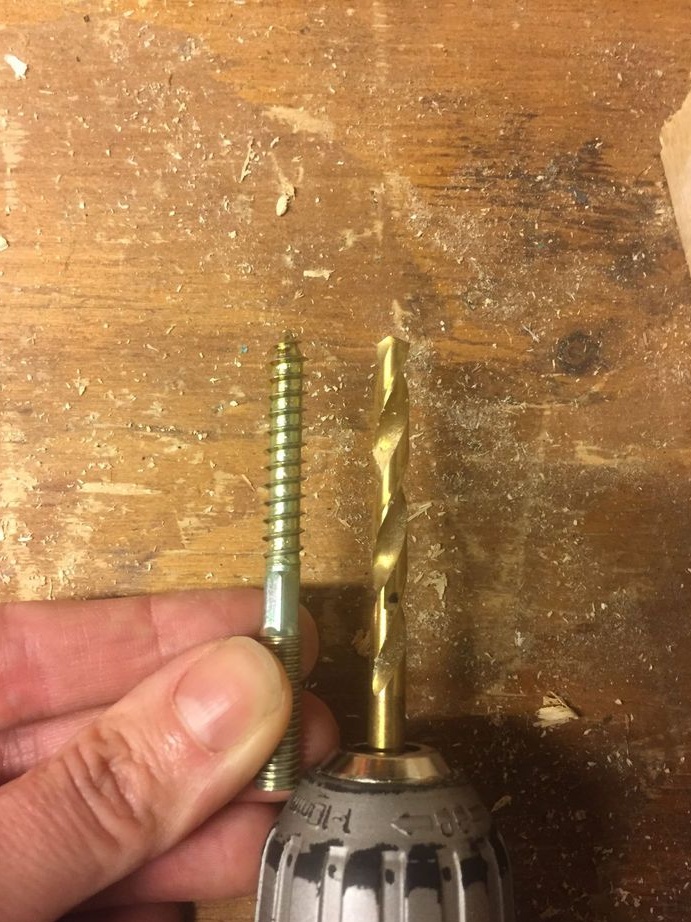
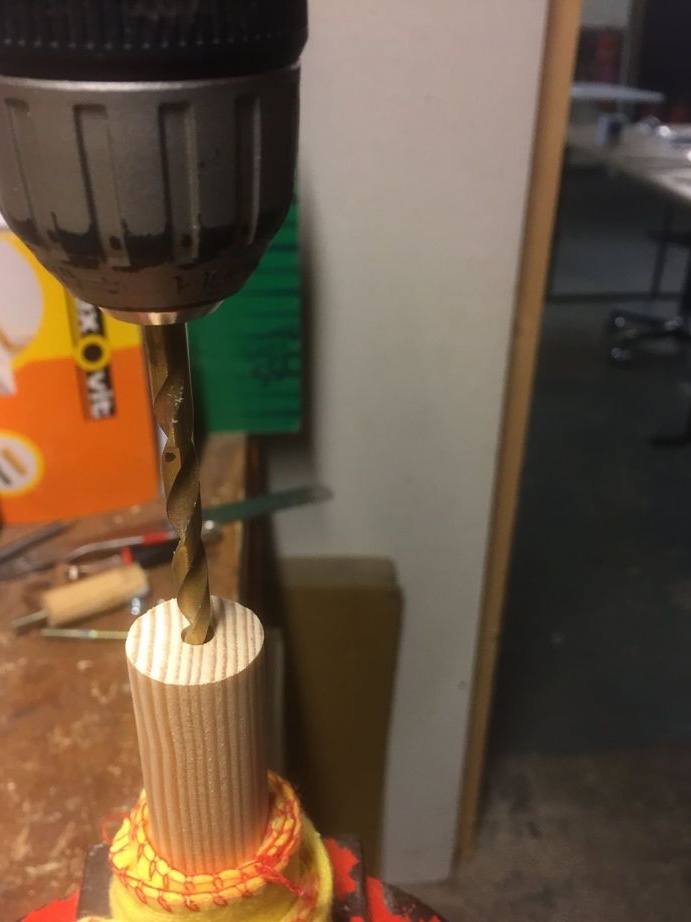
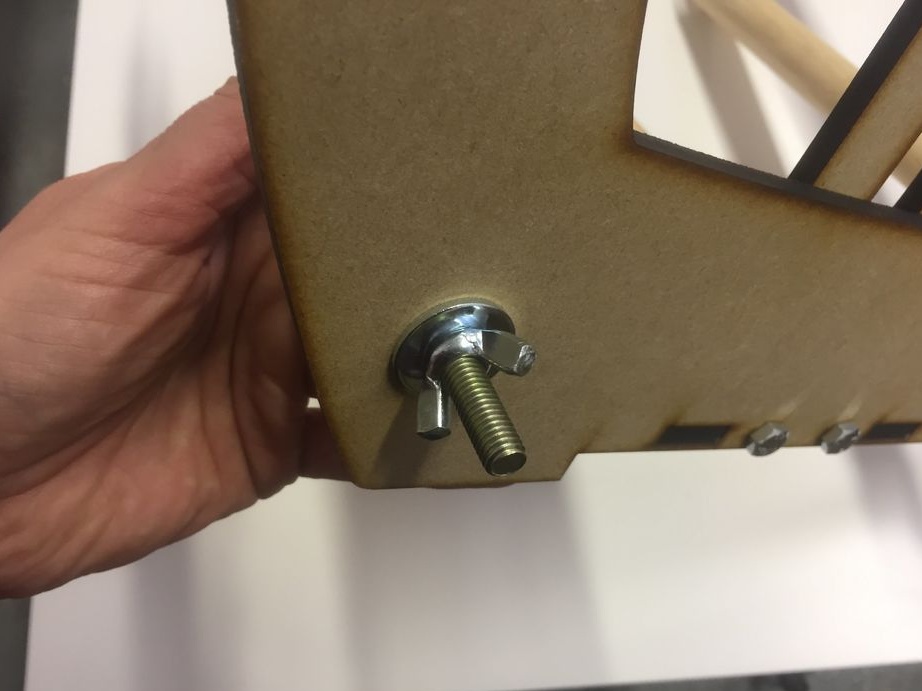
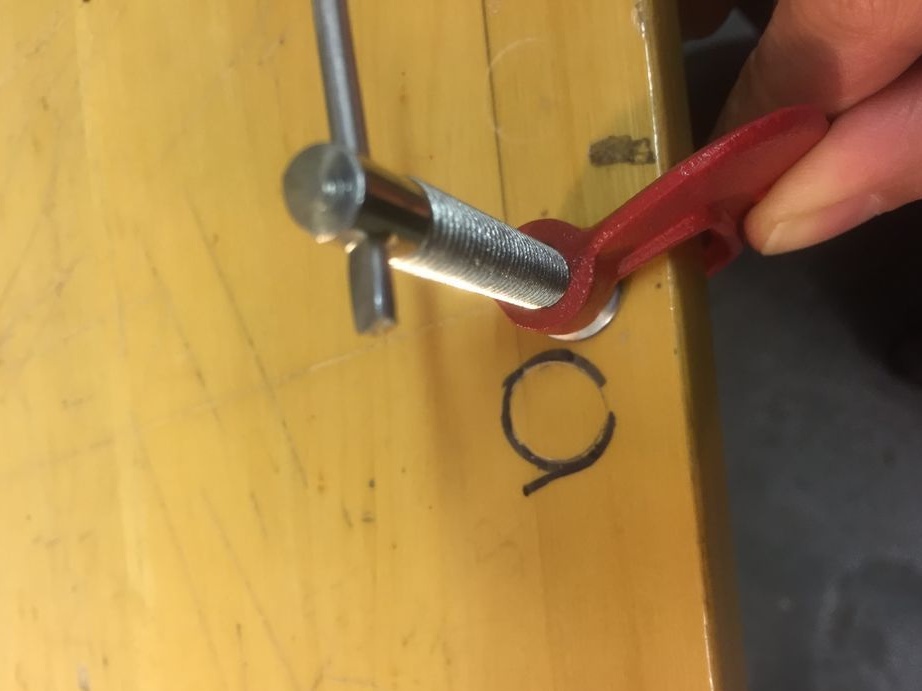
Then a furniture bolt is screwed into the hole.
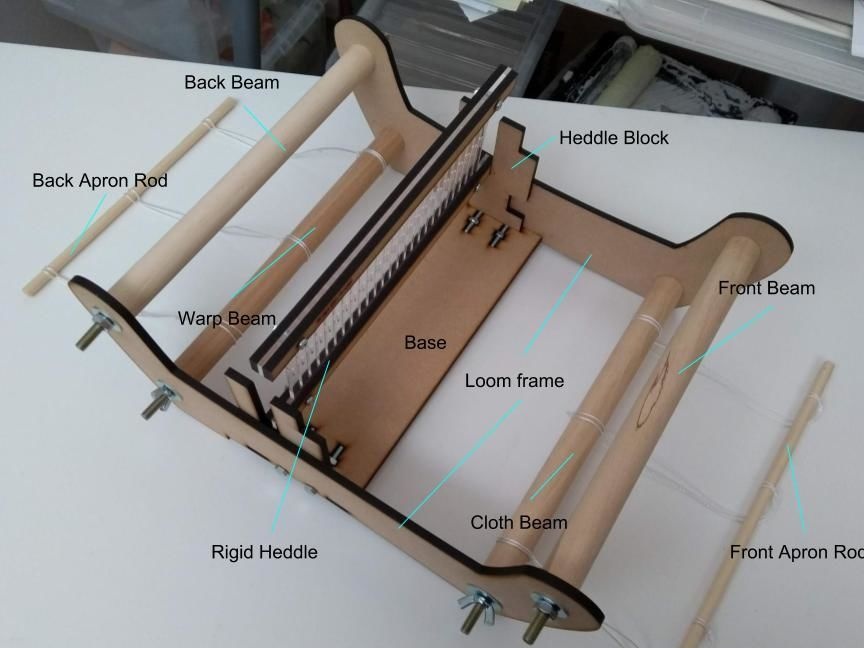
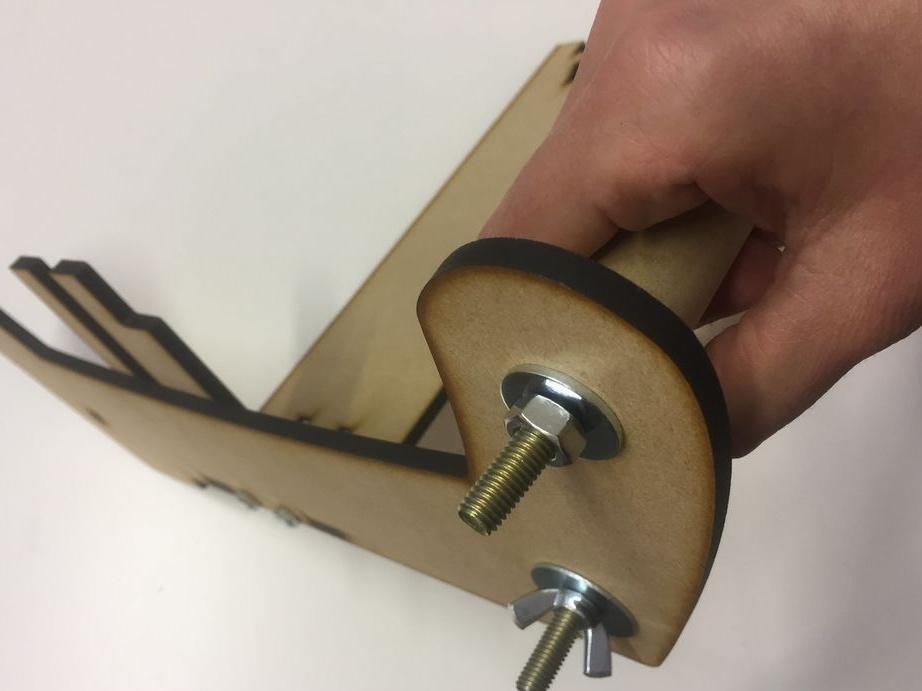
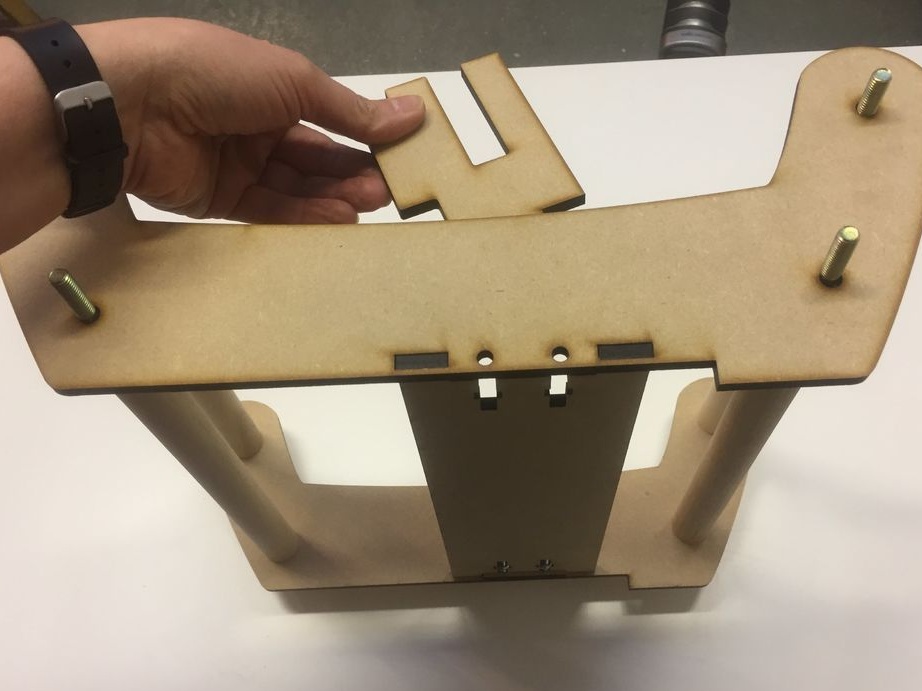
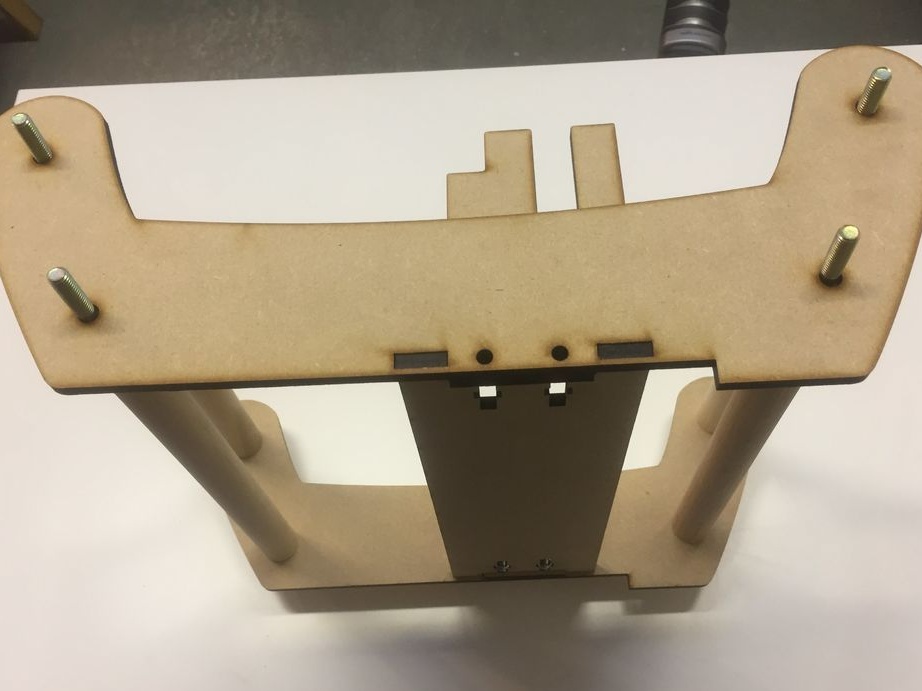
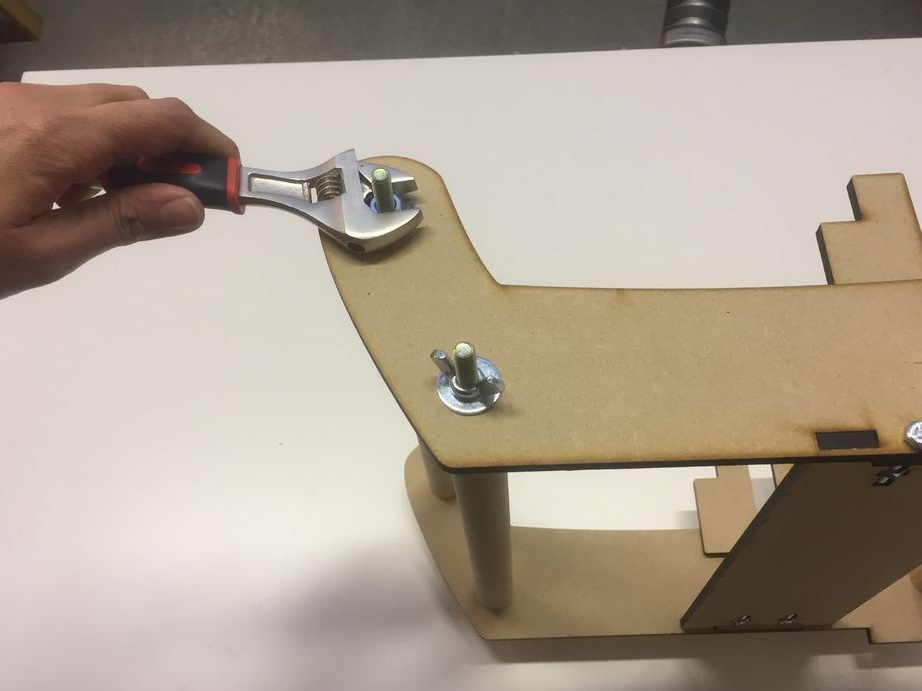
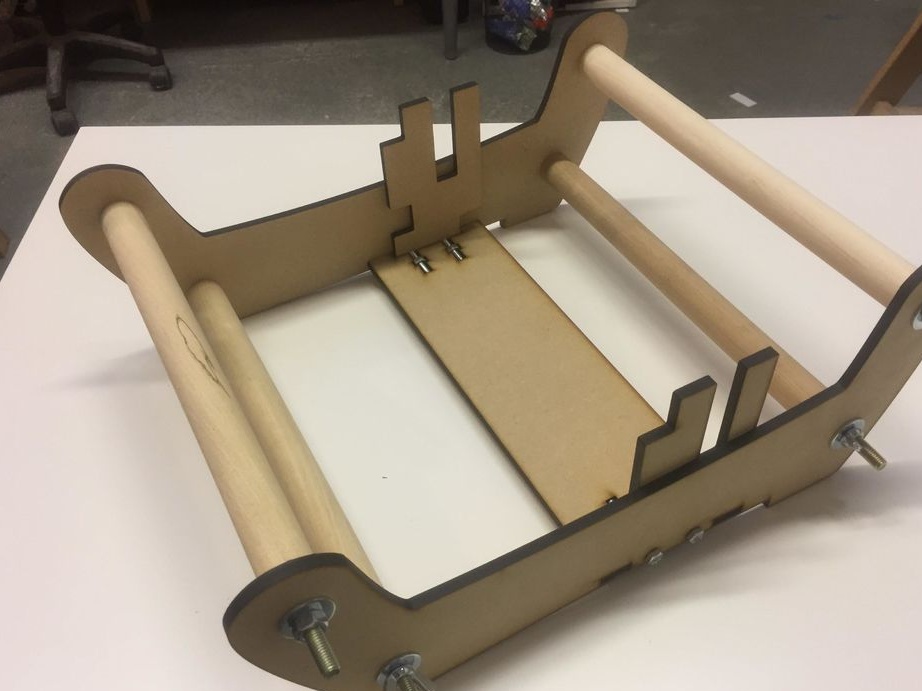
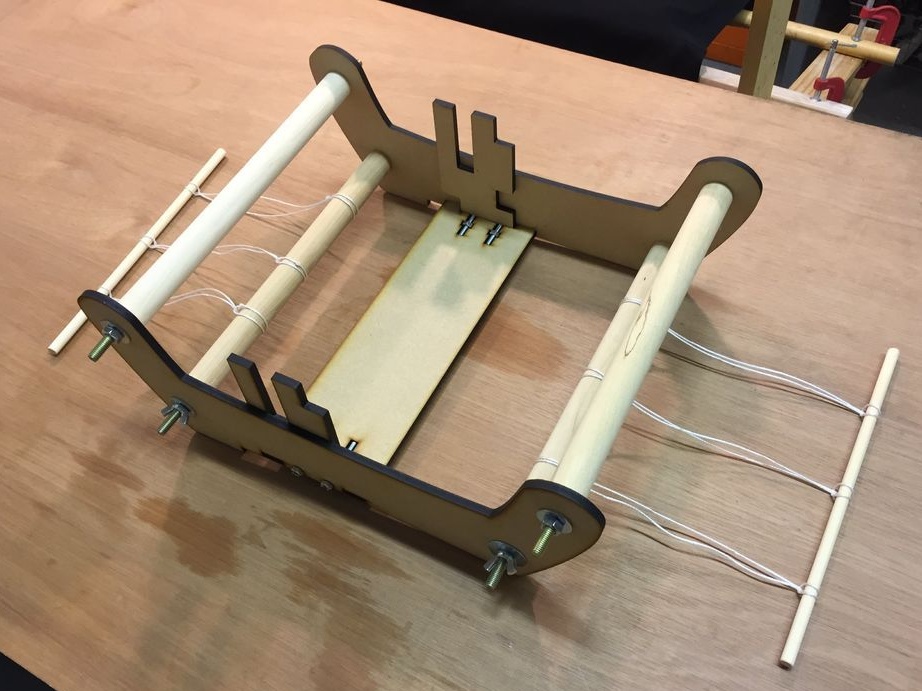
Step Three: Build
Places the details as in the photo. Inserts bolts into the hole. Tightens the nuts.
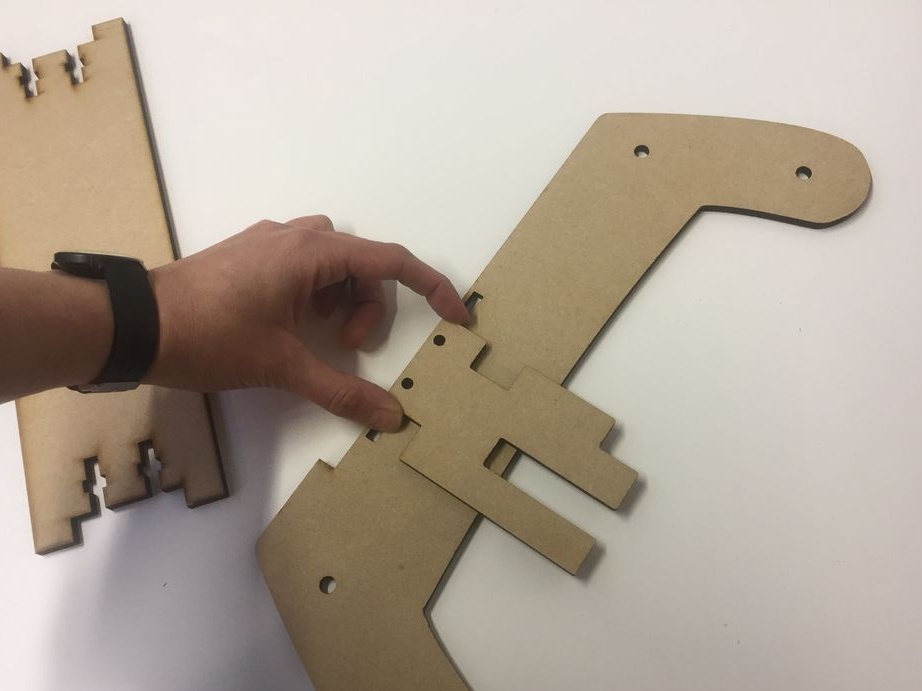
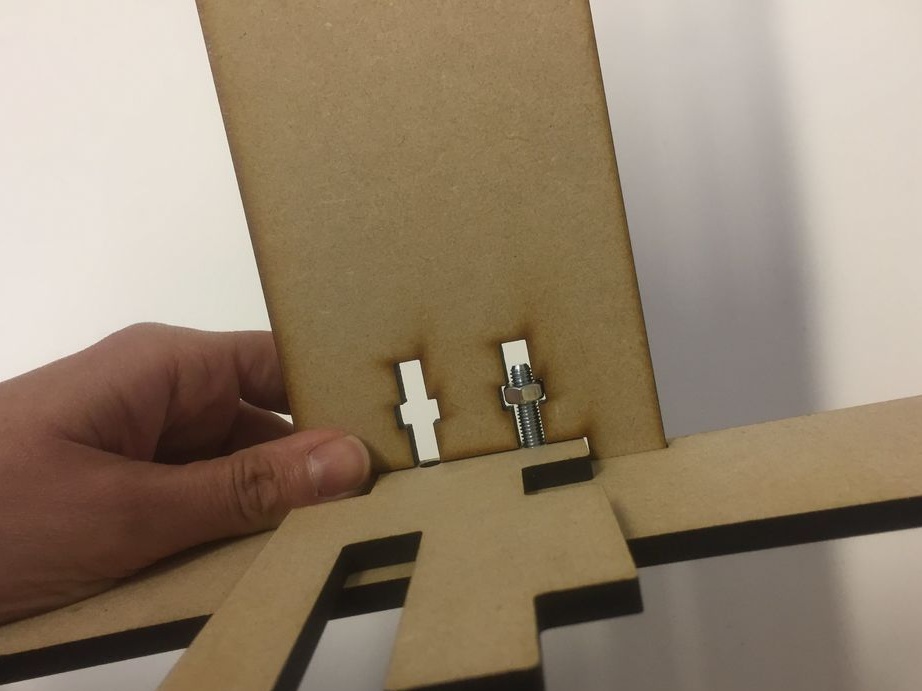
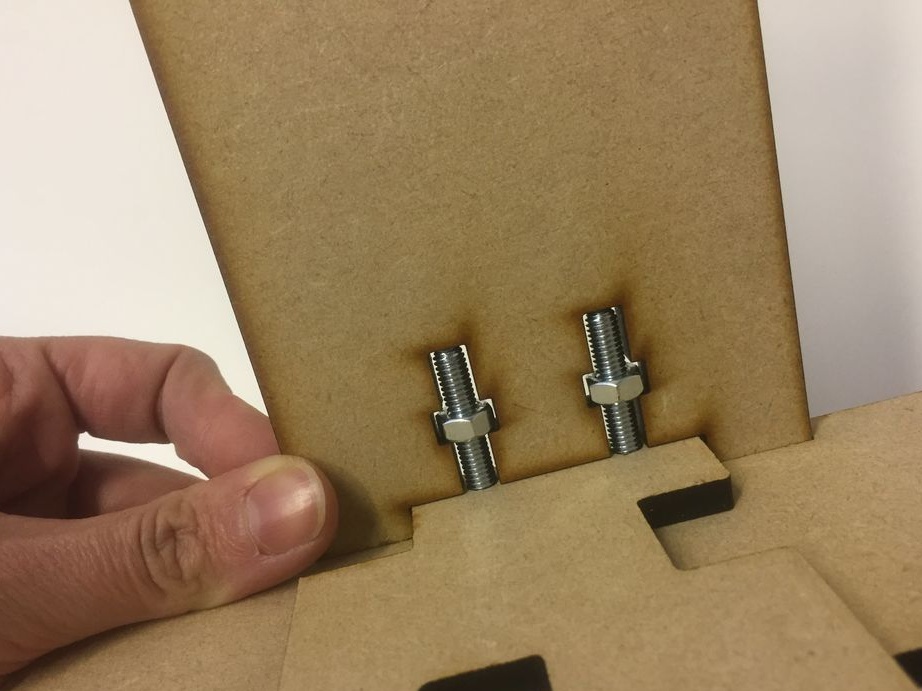
Installs dowels.
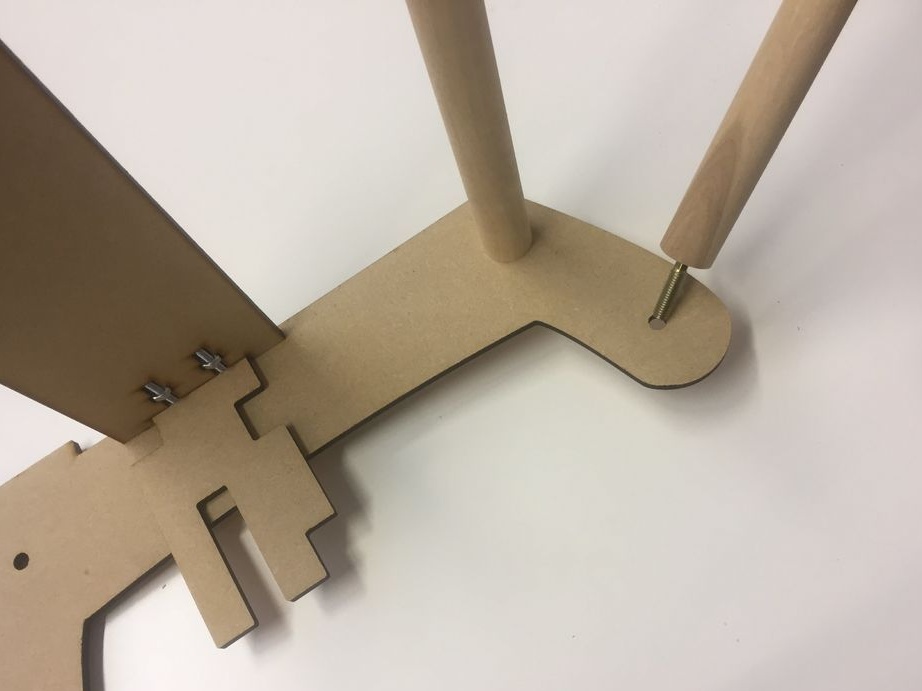
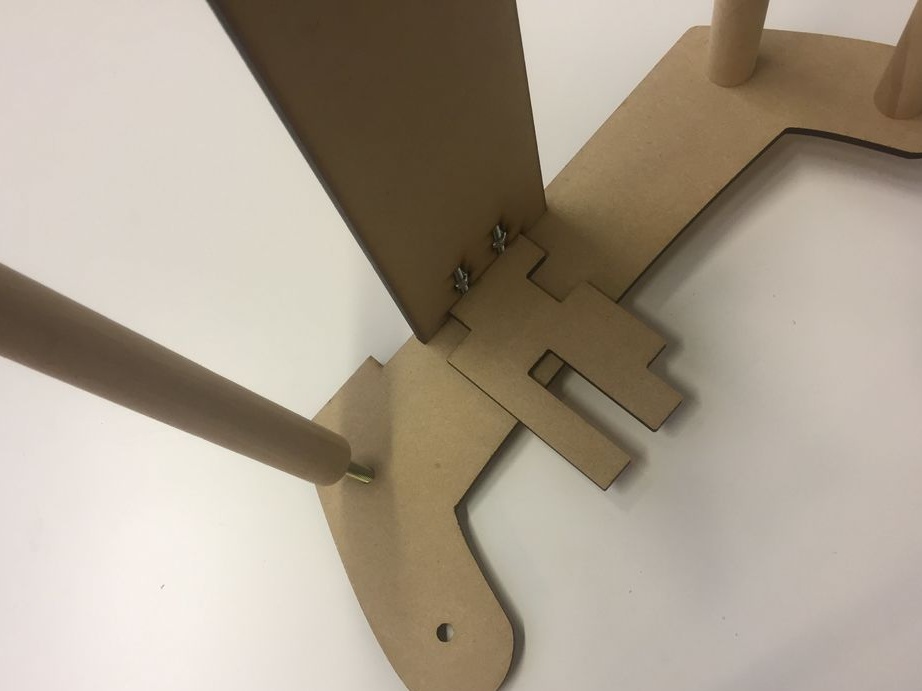
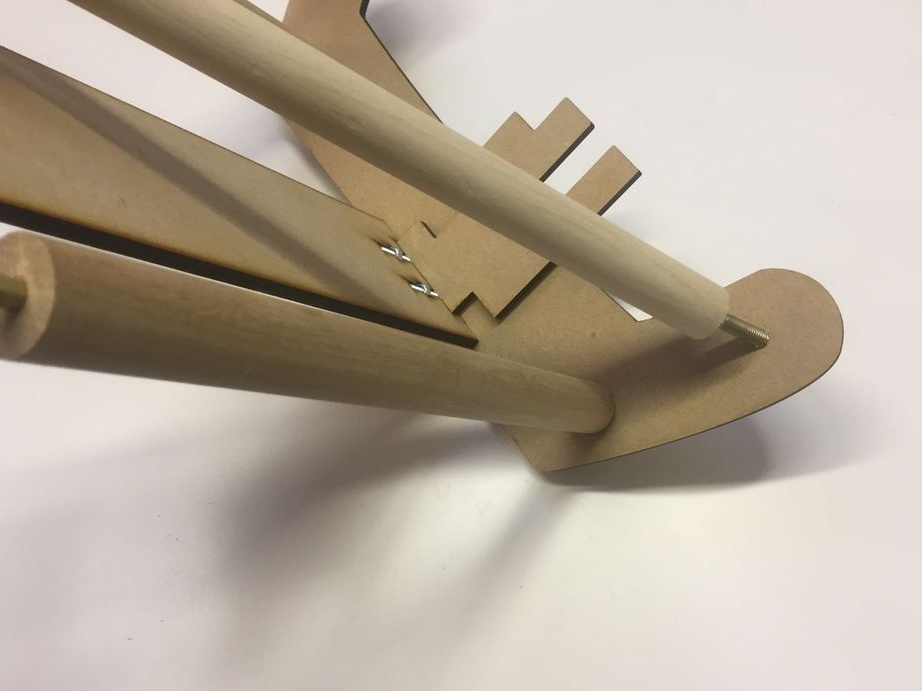

Screws the opposite side of the machine.
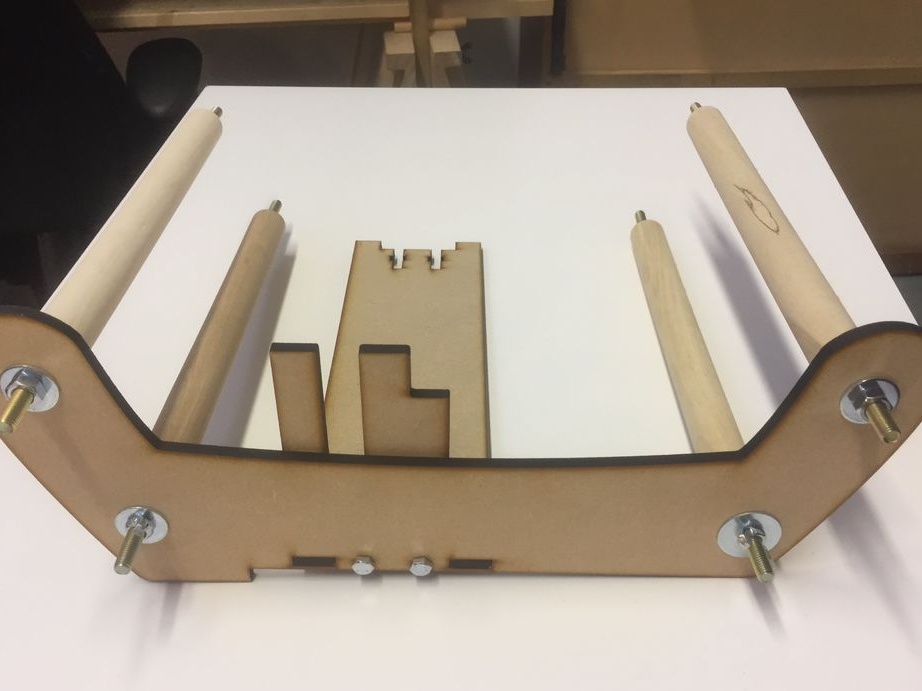
Finally tightens the connection.

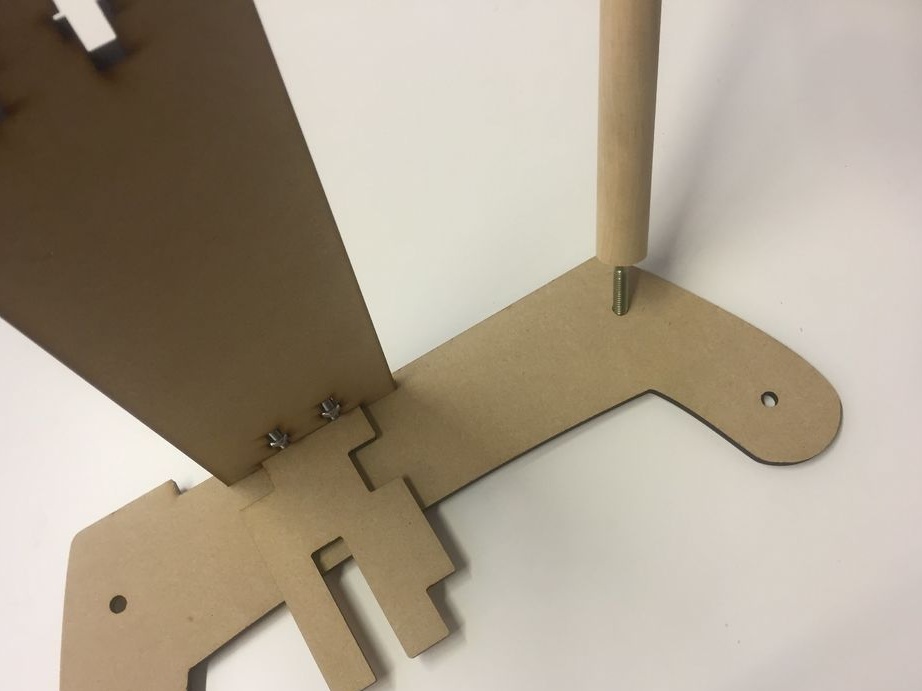
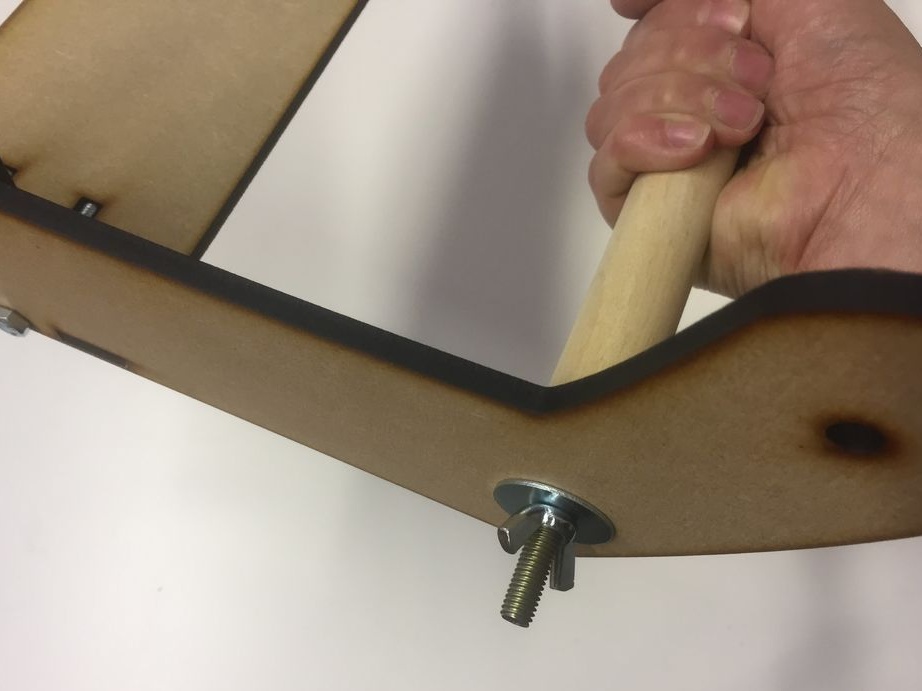
Step Four: Rods
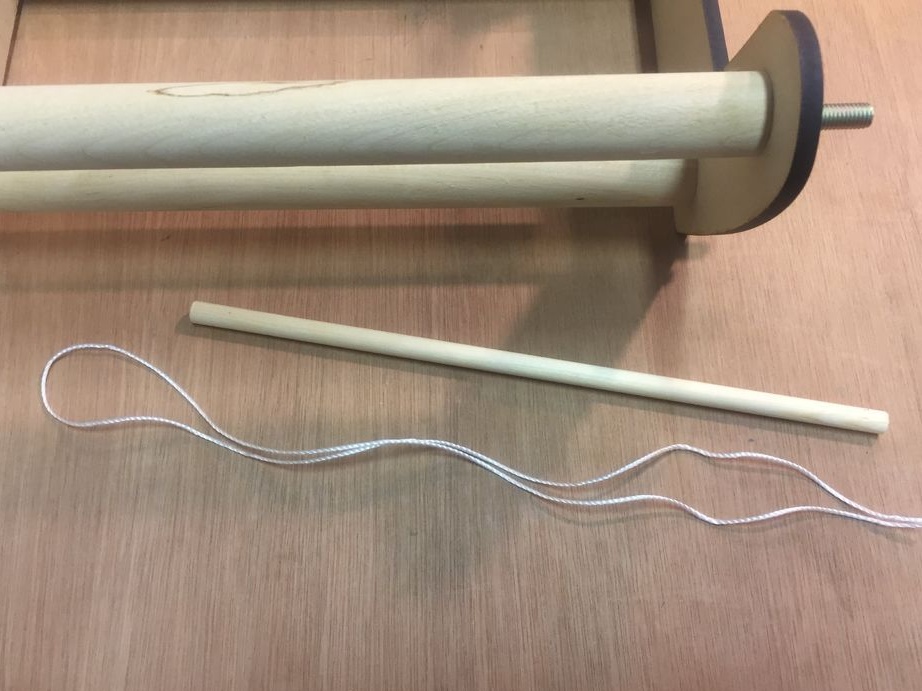
In order to start spinning, you need to fix the thread on the rod. In this case, the master uses plastic rods. Let's look at how to prepare them.
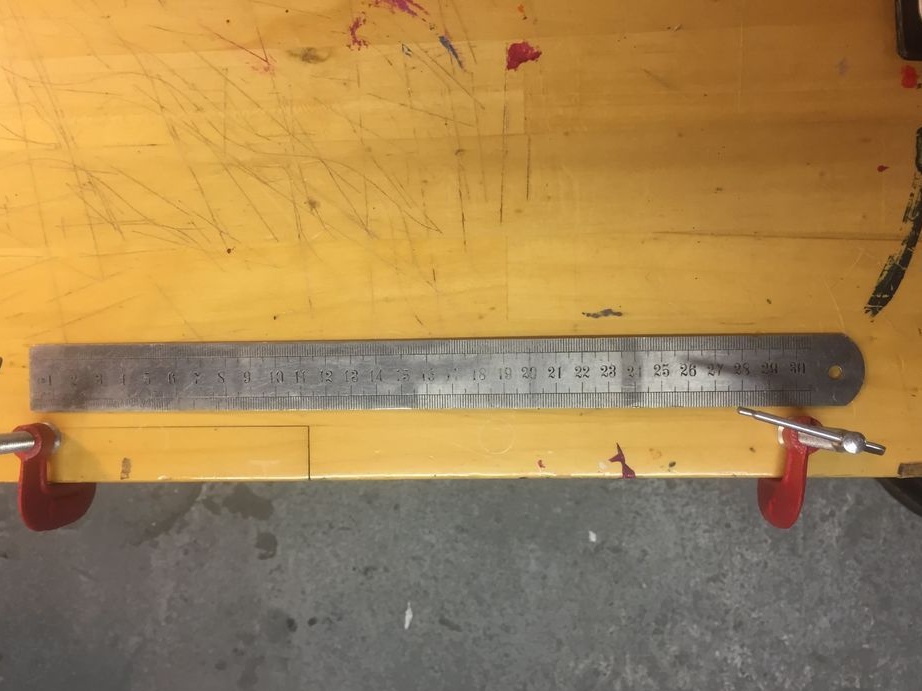
At a distance of 30 cm from each other, two clamps are fixed.
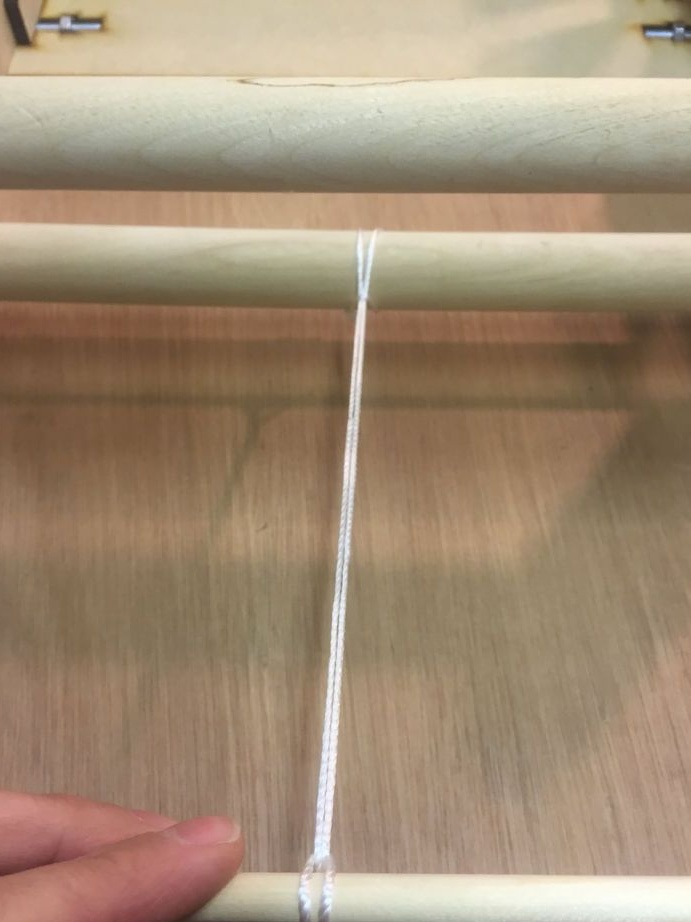
Cut off a 65 cm long nylon cord and tie it around the clamps.
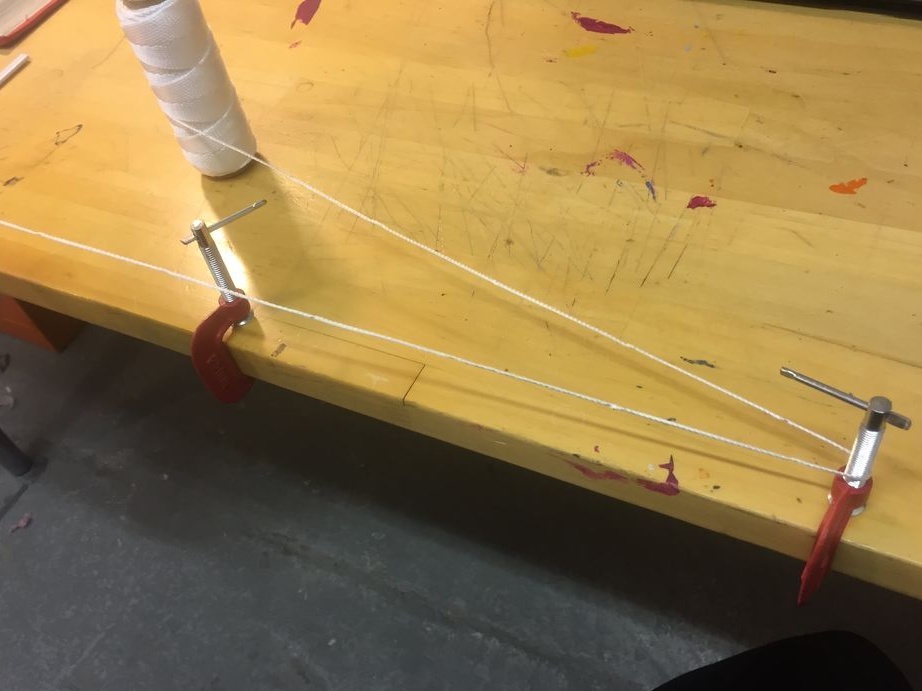
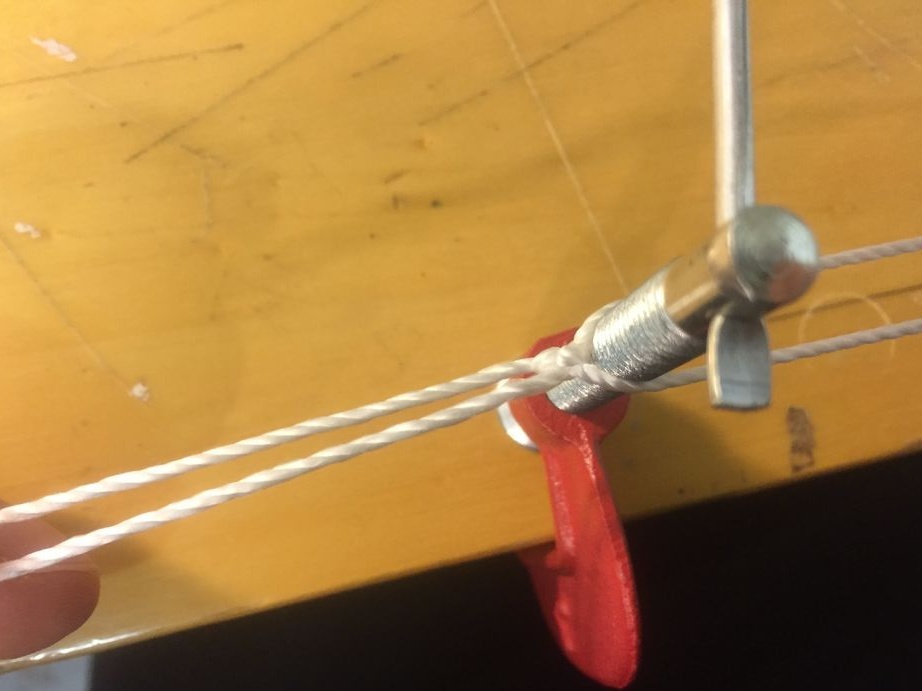
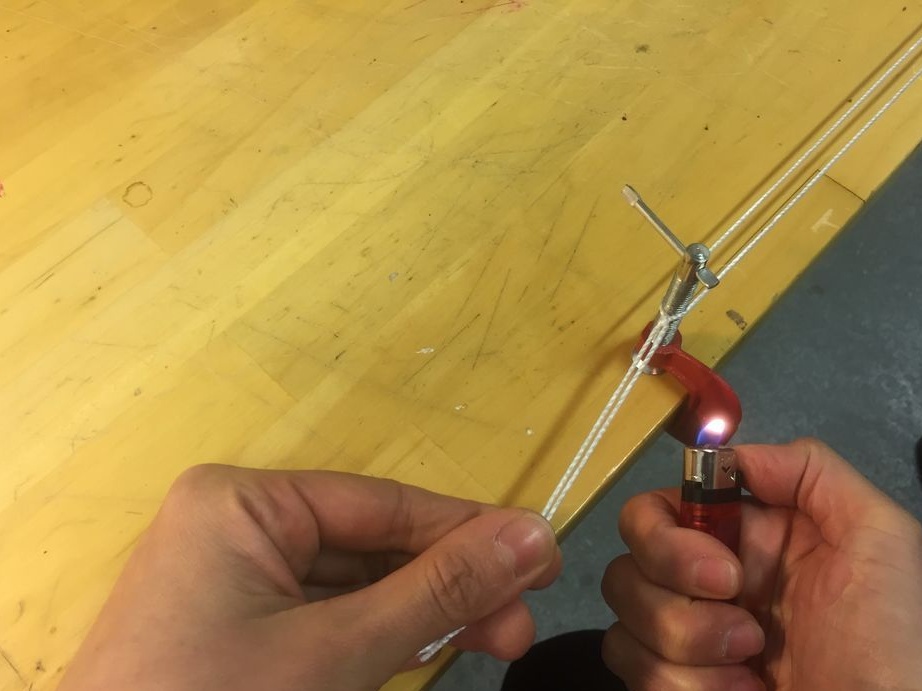
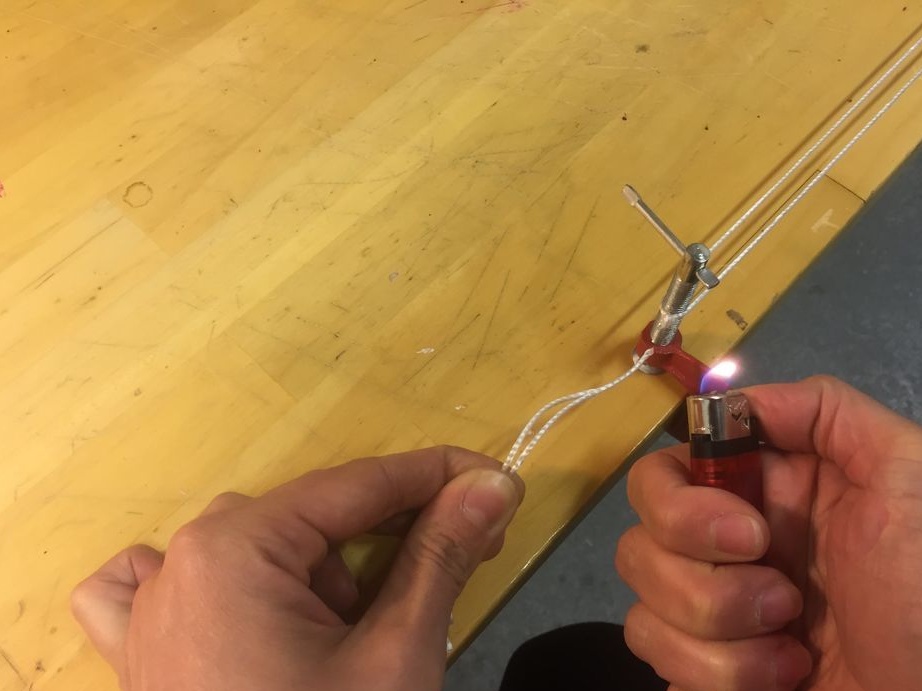
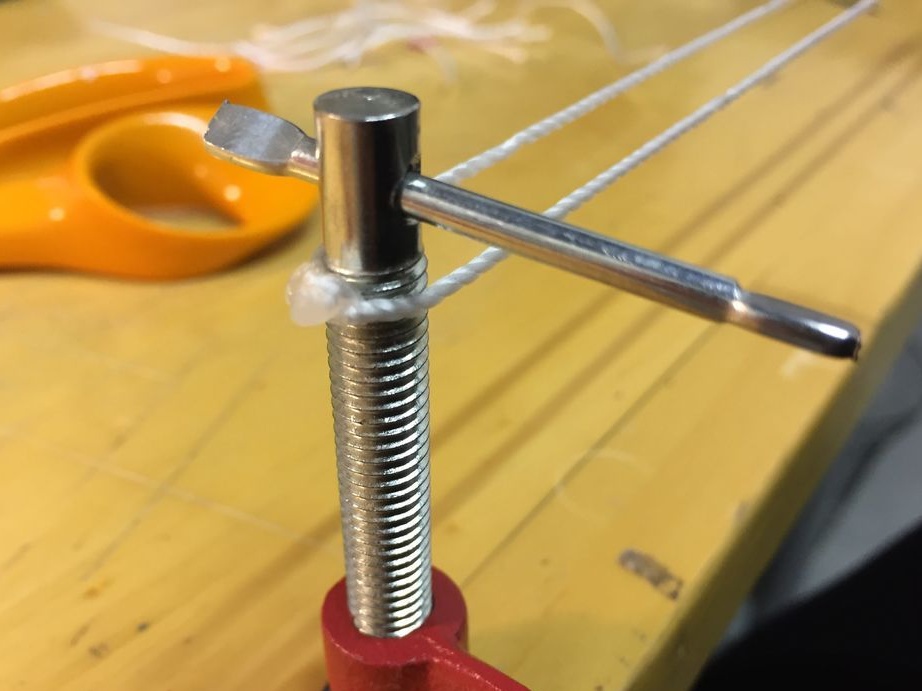
Marks the location of the clamp on the table, and then shifts it by loosening the loop Or six loops can be made right away)
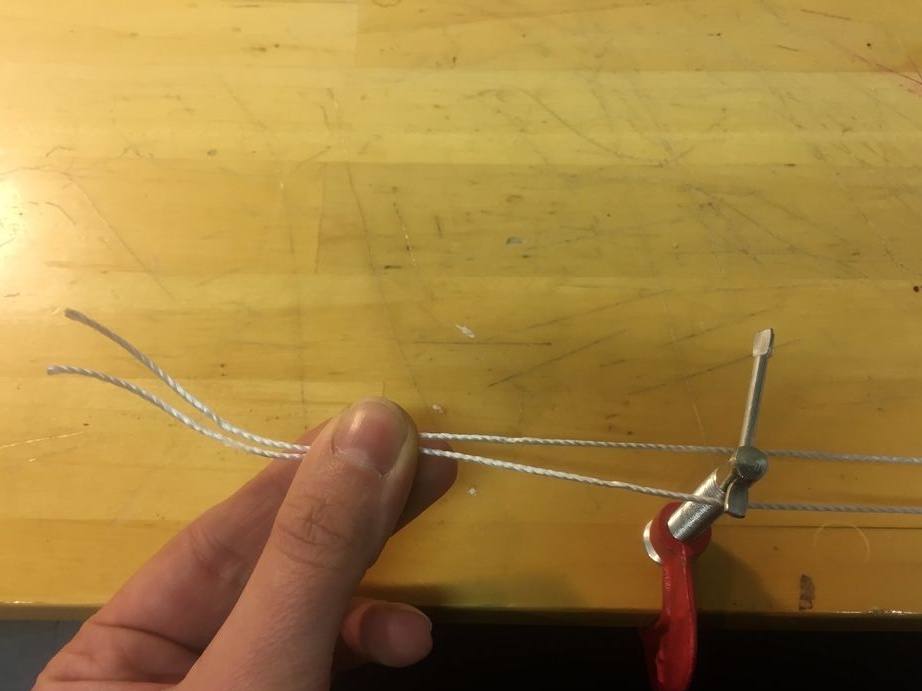
To the lower dowel, on both sides, the master ties loops (edge-mid-edge). I don’t know what this node is called correctly; in our country it is called "collective farm". The master fixes the other end of the loop to the plastic rods.
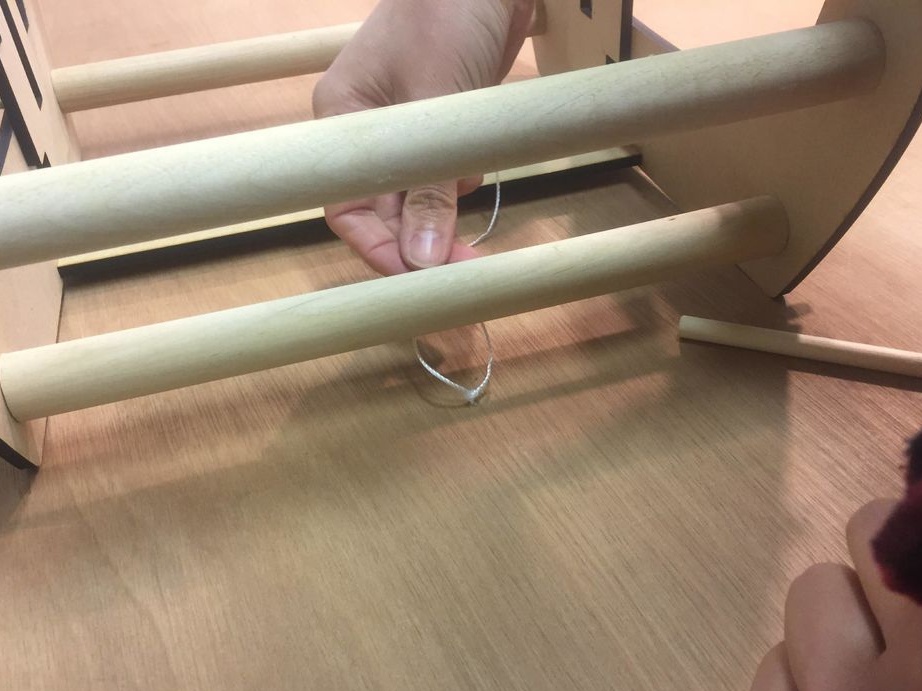

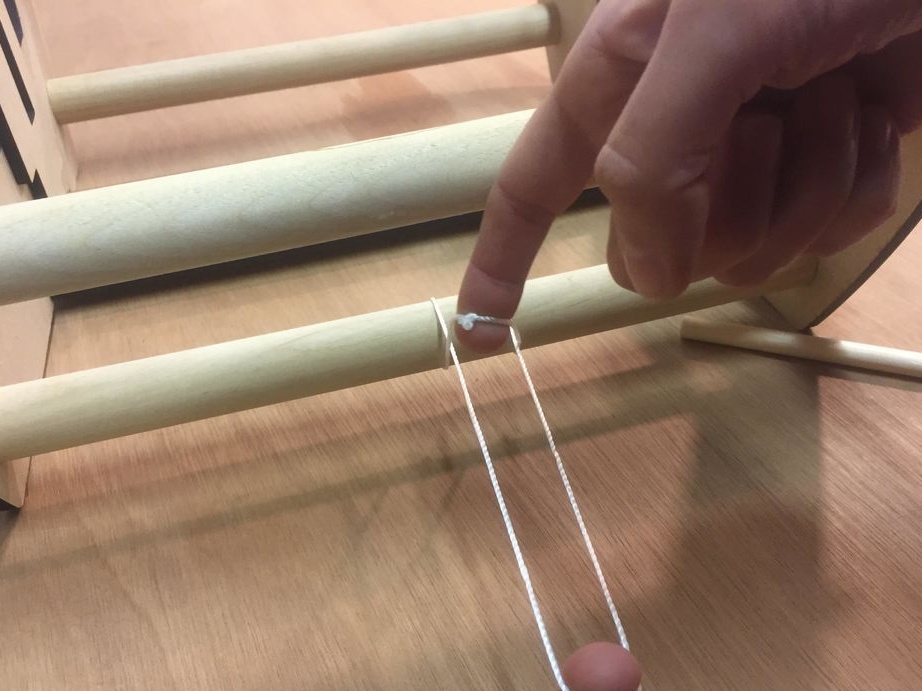
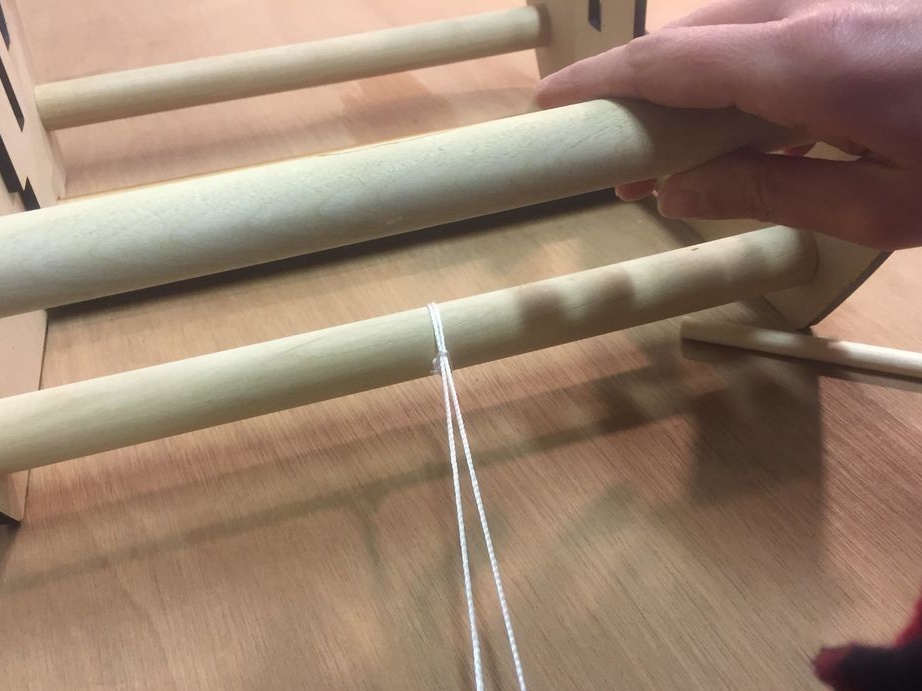
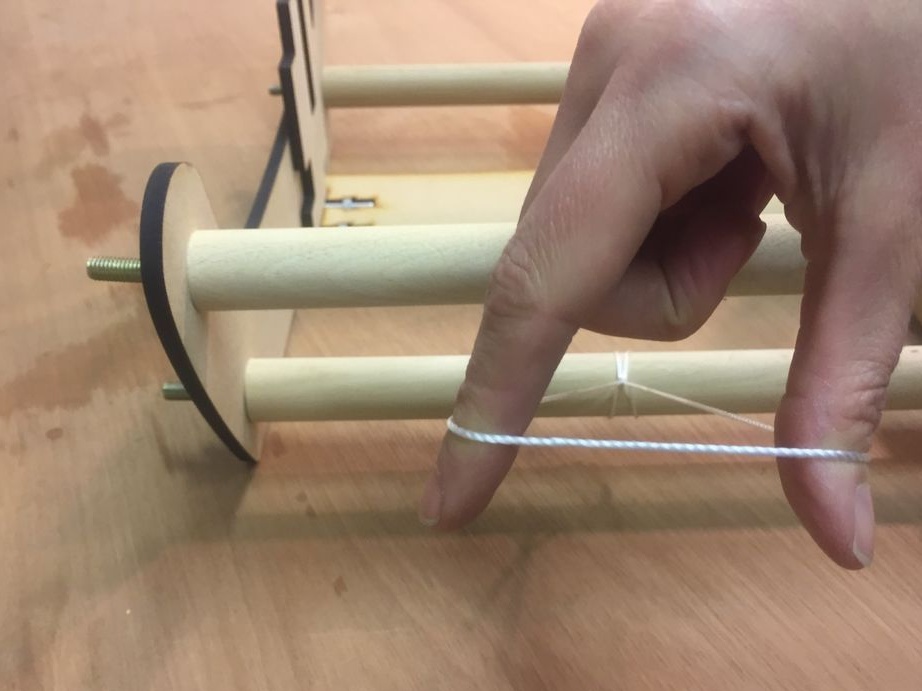
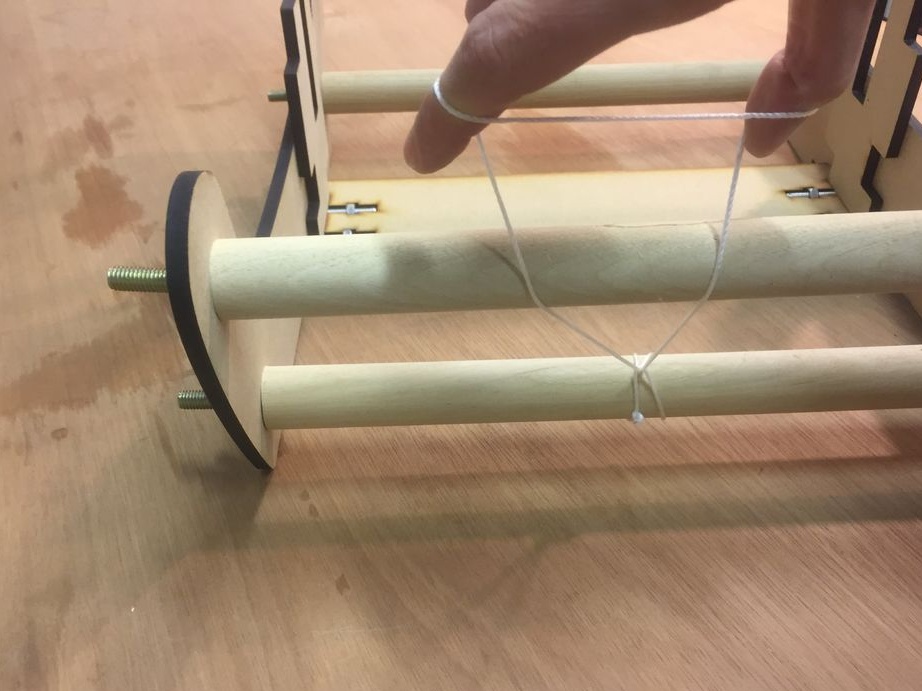
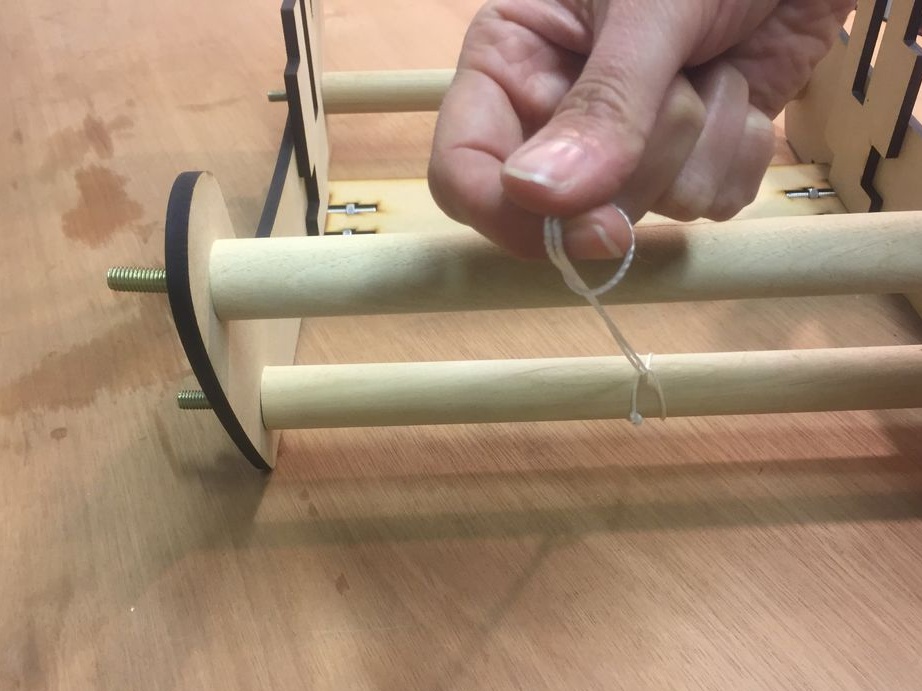
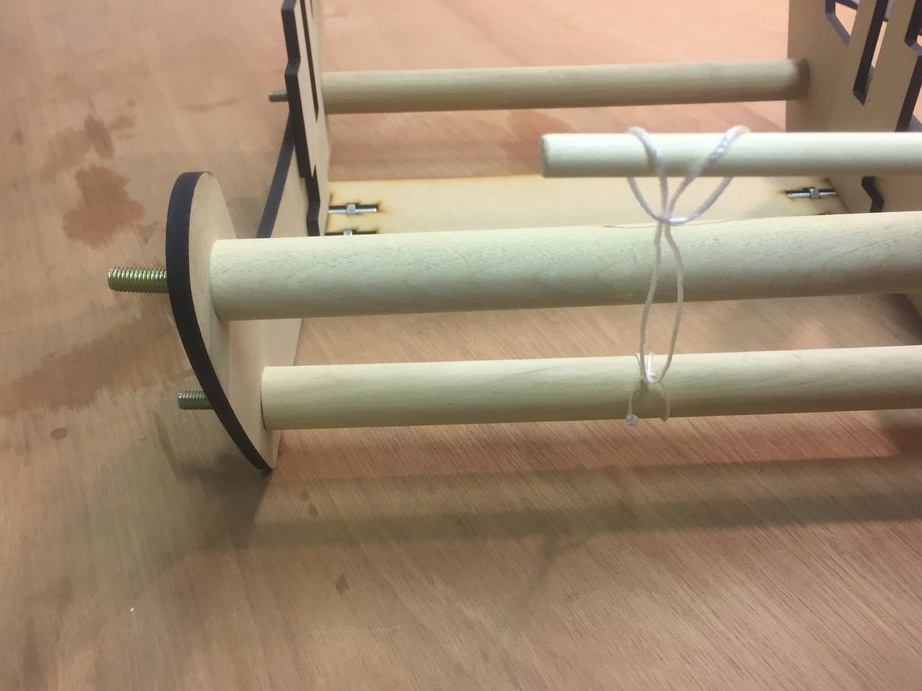
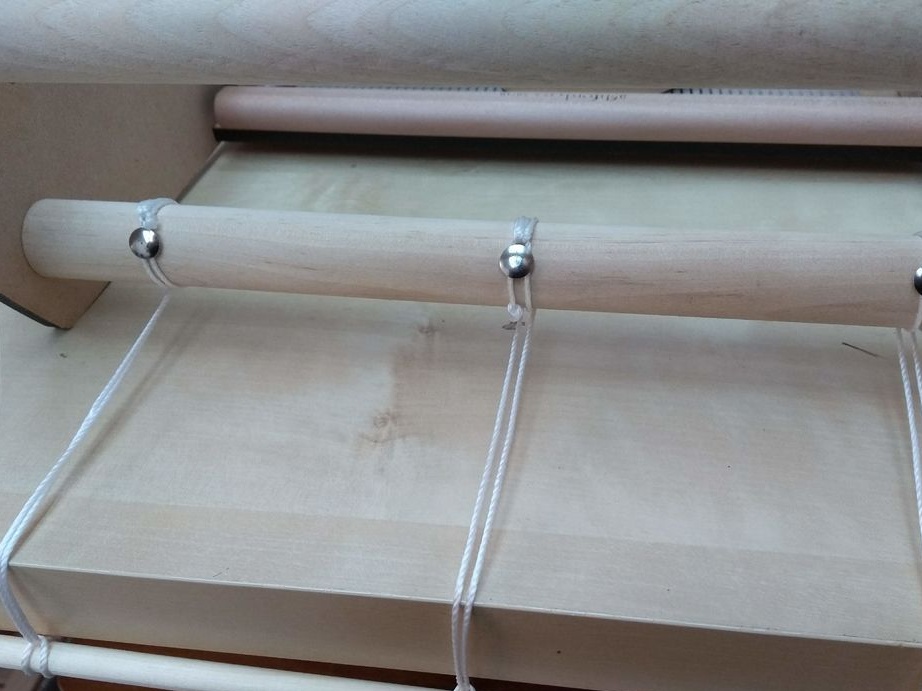
So that the nodes do not move around the dowels, the master fixes them with clerical buttons.

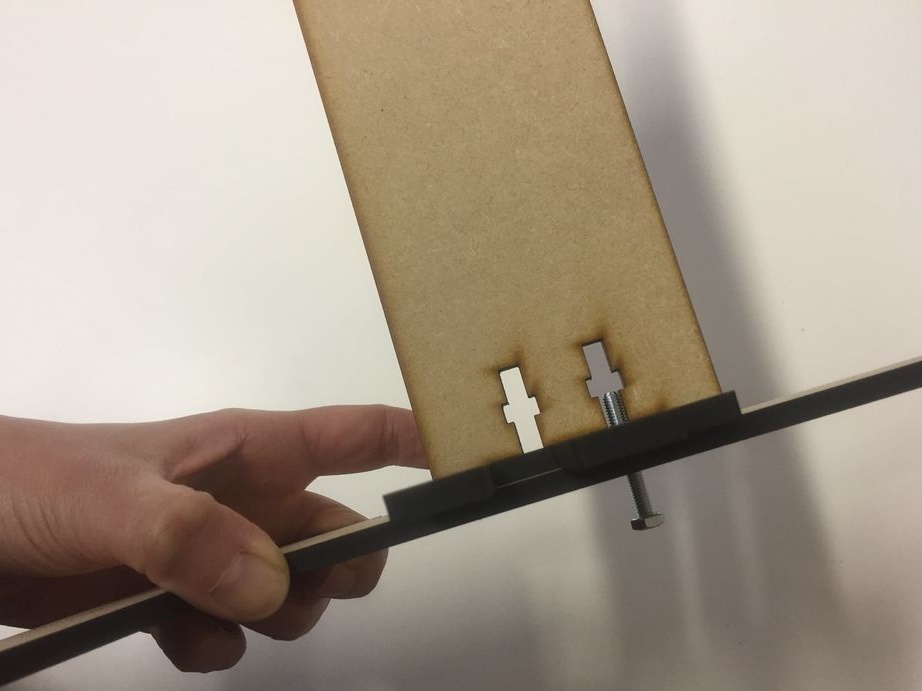
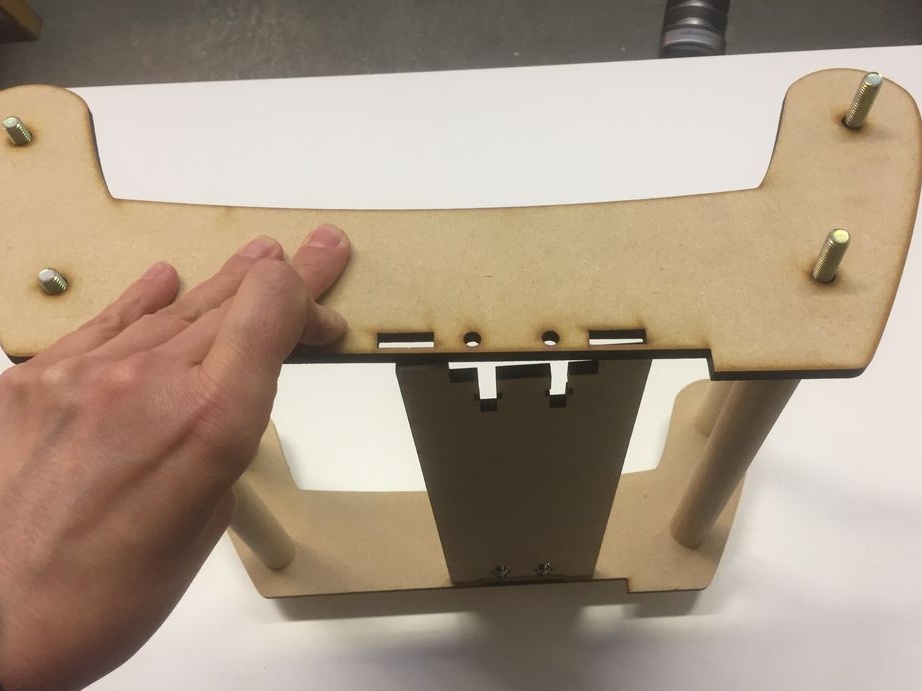
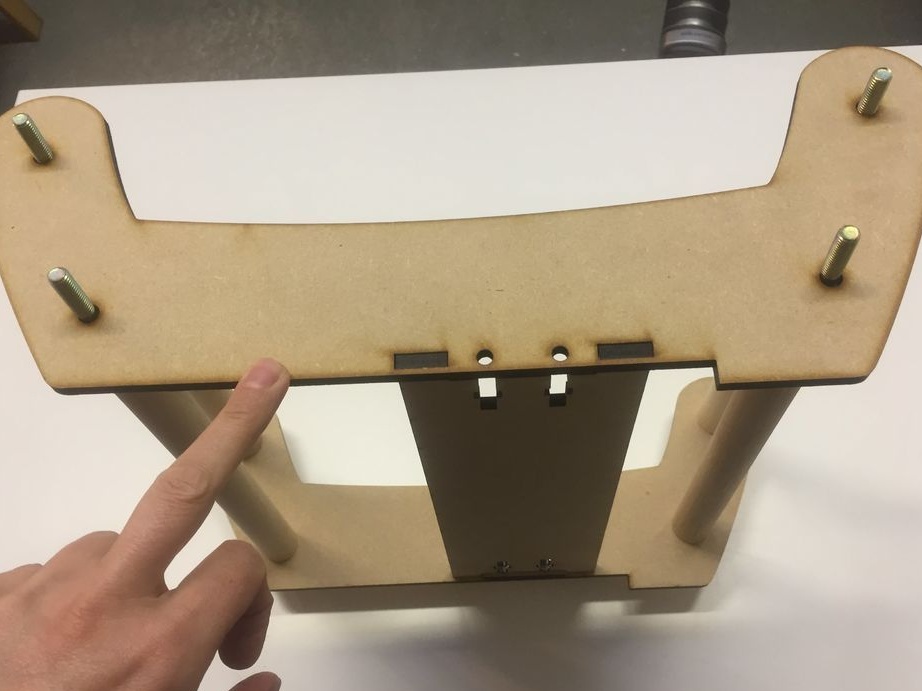
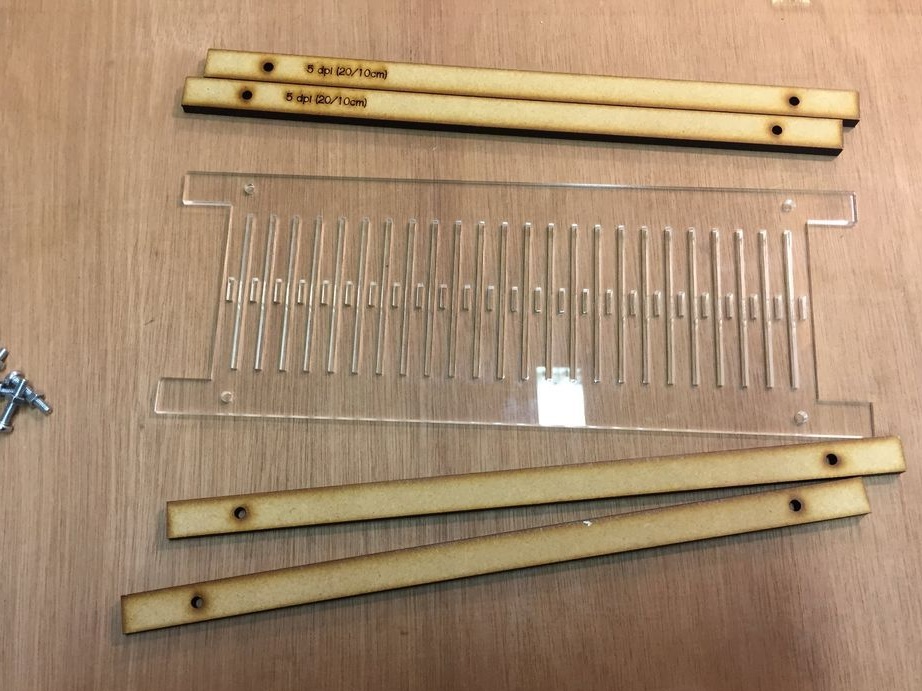
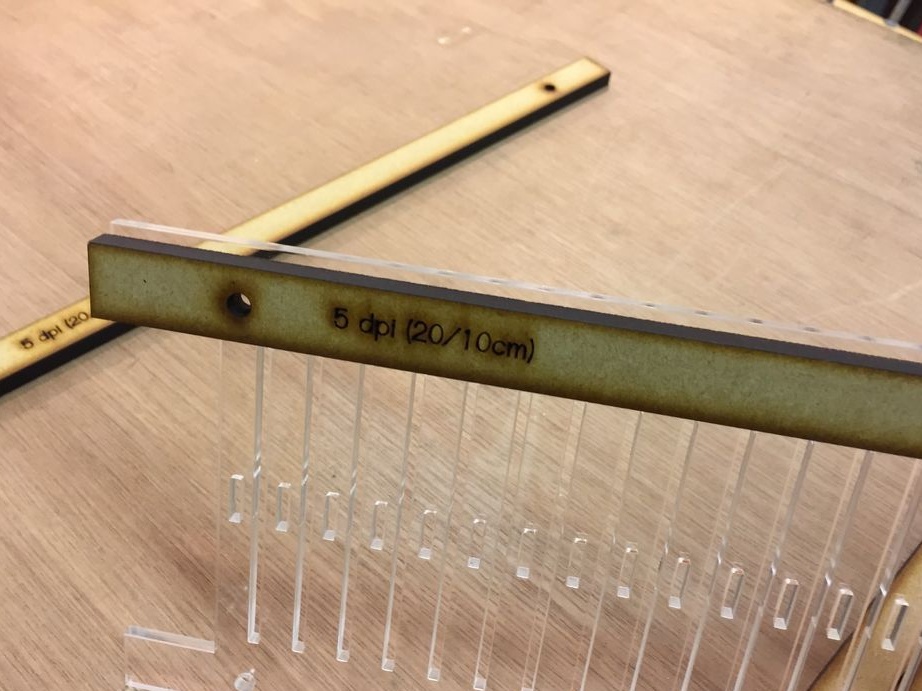
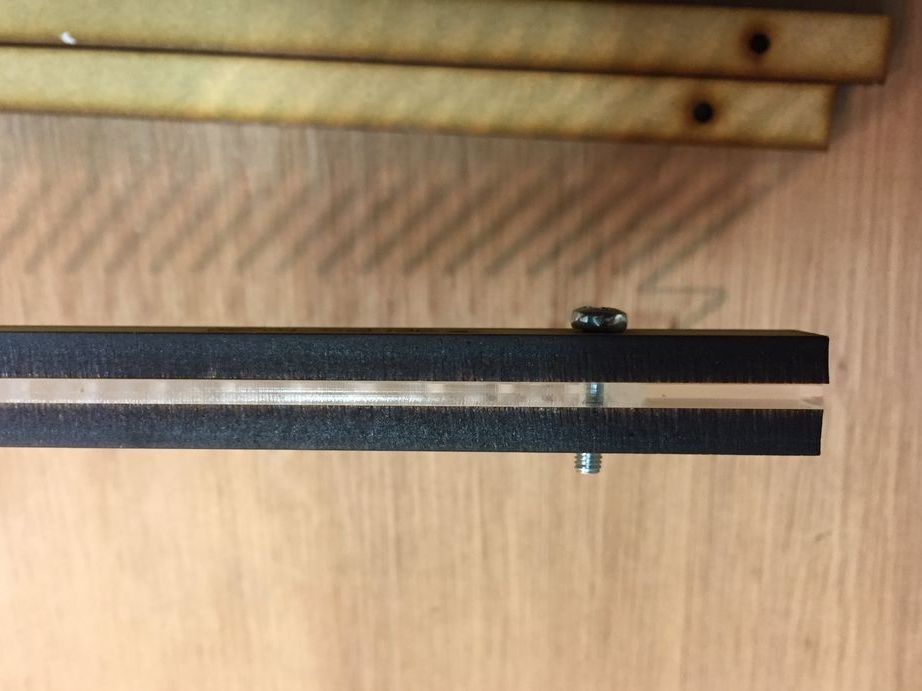
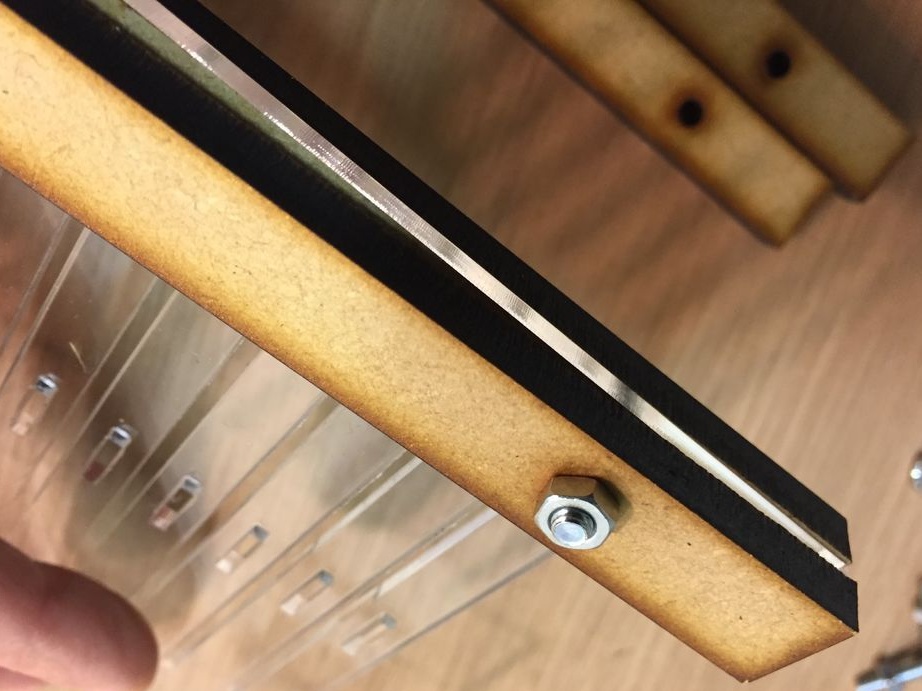
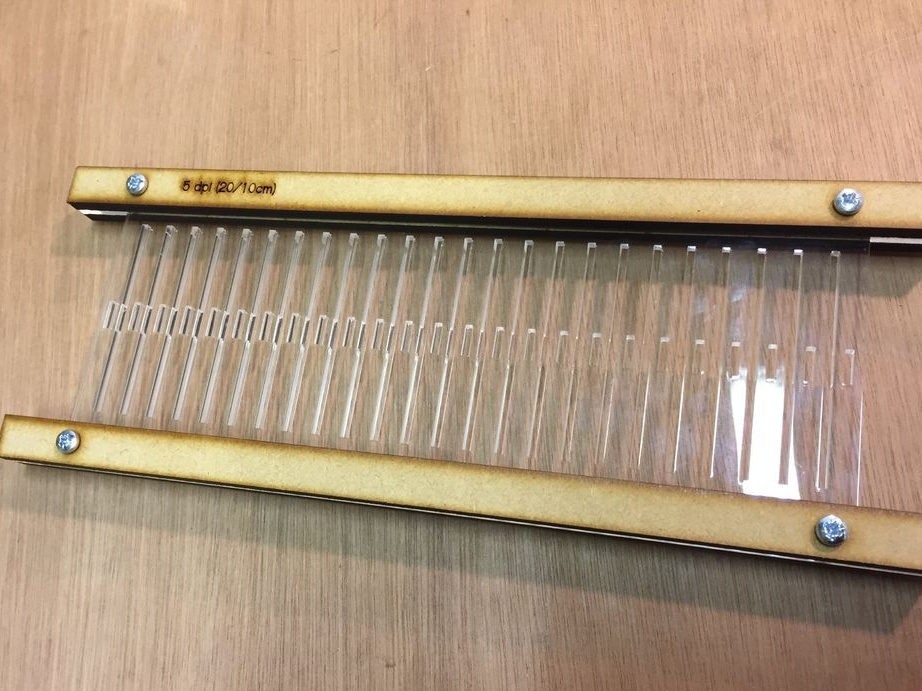
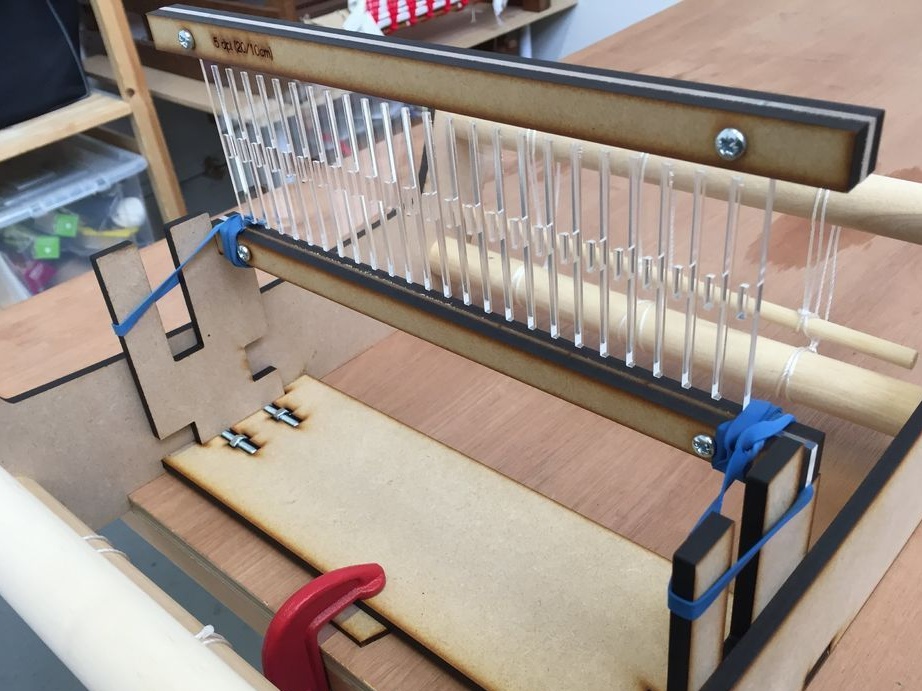
Step Five: Thread Separator
Now you need to collect the thread separator and fix it on the machine.
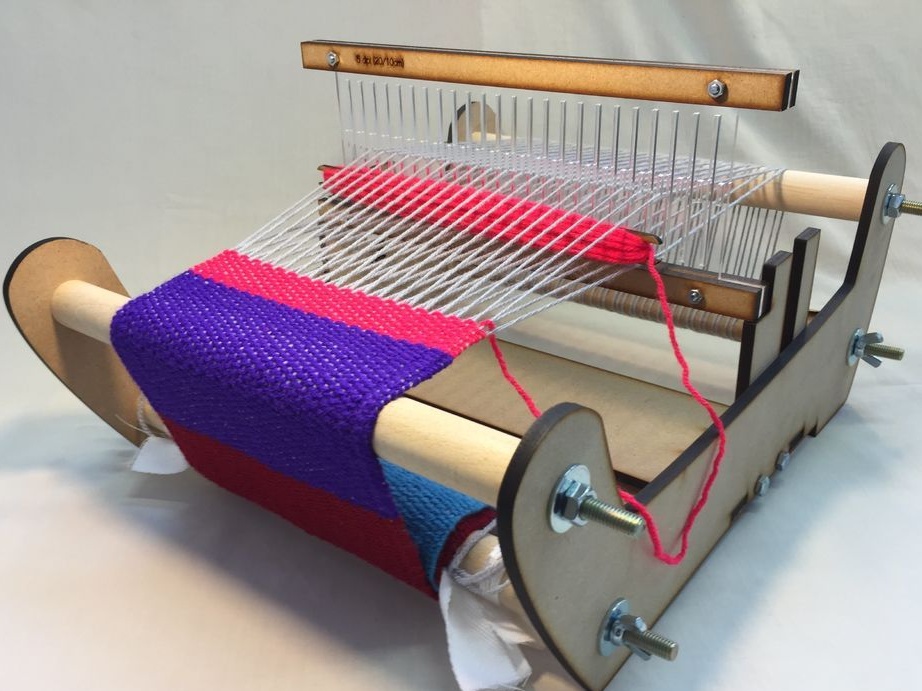
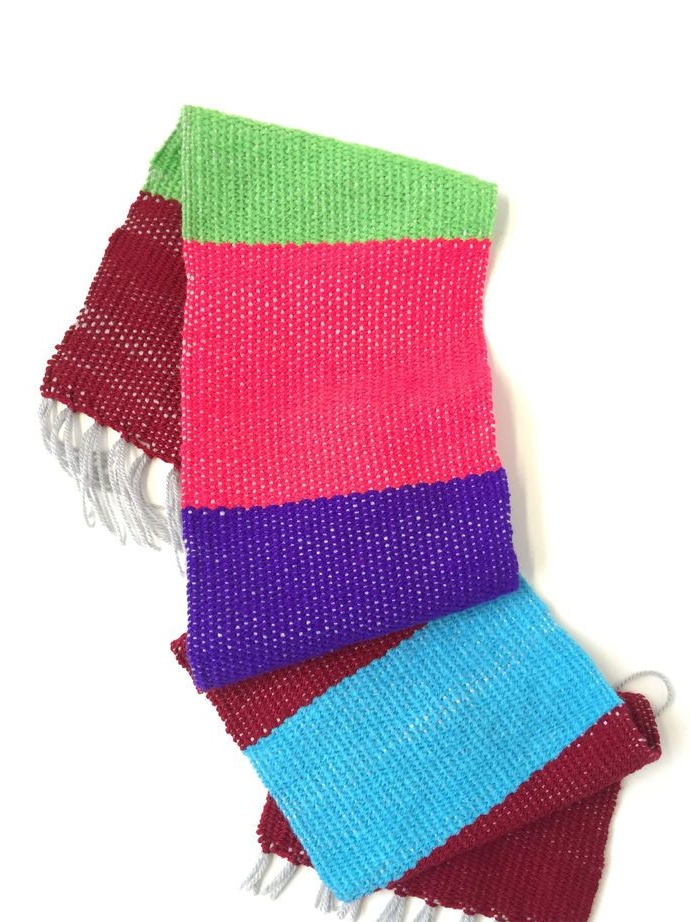
What can be done with such a machine? Well, for example, here's a scarf.
I think who has children, such a gift for a girl (I mean a machine) will be very interesting. Below you will find links to two articles of the same wizard.
In the first link the master tells in detail how to work on such a machine.
In the second link another work of the author is given, with a simpler machine and instructions on how to work on it.