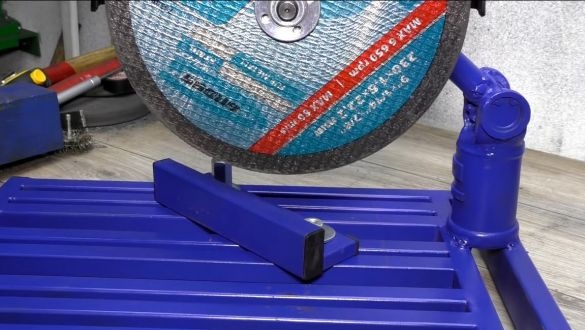
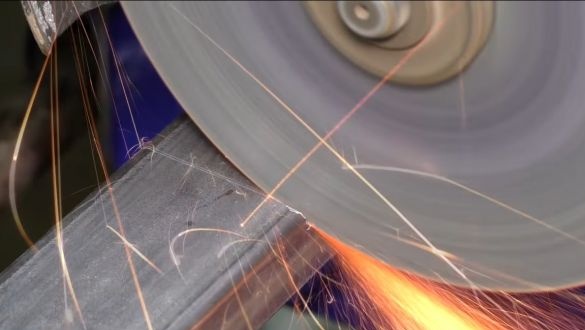
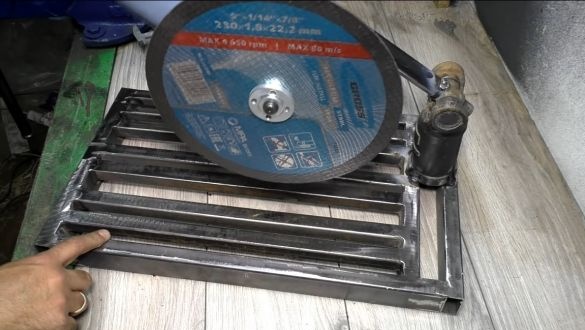
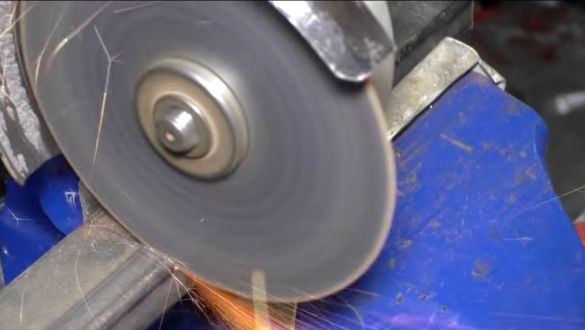
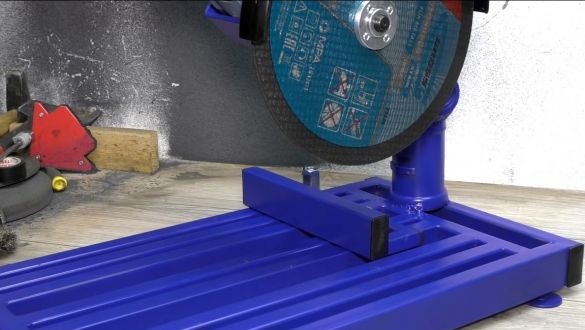
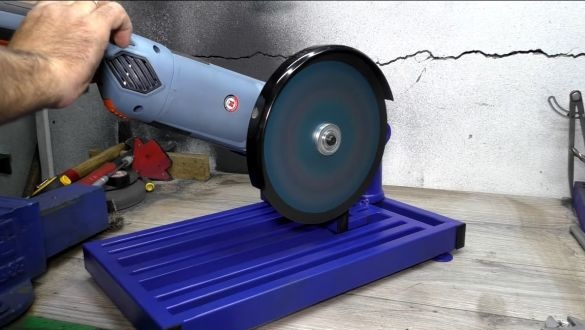
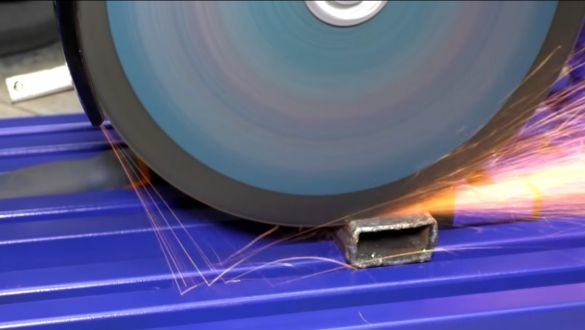
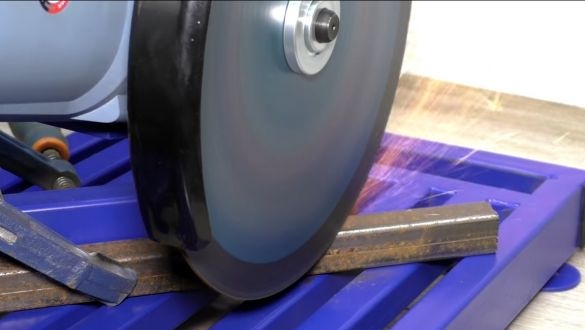
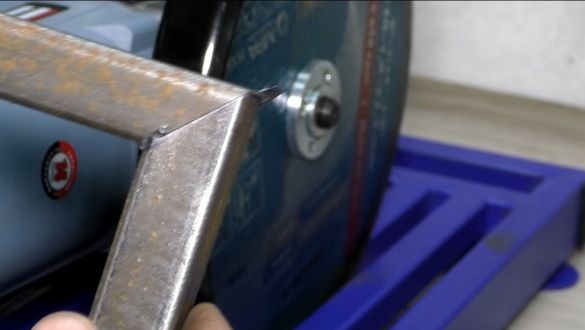
Hi everyone, this homemade for those who often have to work with a grinder. It's about a pendulum saw you can make do it yourself based on grinder. Now it will not be a problem for you to cut the material at a clearly defined angle. In addition to convenience, homemade products will also make this process much safer.
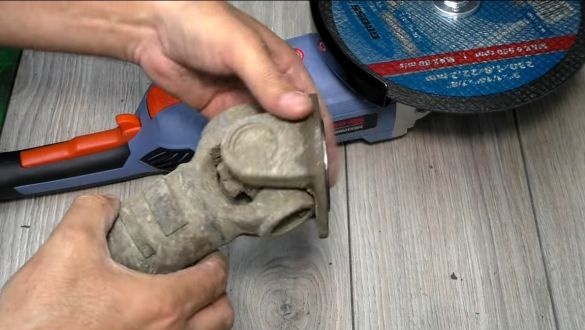
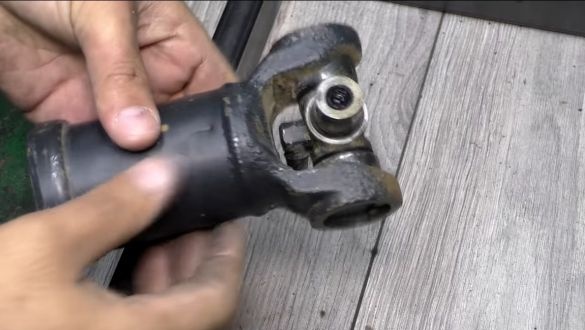
The author’s machine turned out to be quite high quality and accurate, when compared with others modelsthat can be found on the Internet. The frame is made of such an affordable and durable material as square steel pipes. It is convenient to cut and weld them, and you can find them in metal rolling stores and even in construction. As for the most important unit of the machine, then the author used part of the driveshaft with a cross. This is a very good solution, since this unit is very wear-resistant, and also, as a rule, there are almost no backlashes here if the unit is new. Such a machine is very simple to manufacture, and it will serve you faithfully for a long time. Of course, you can still add a spring to the design, which will return the grinder to its original position, but the author did not consider it necessary to do this. So, we will understand in more detail how to make such a machine!
Materials and tools used by the author:
Material List:
- square steel pipes;
- Sheet steel;
- bolts (for mounting the grinder);
- 4 bolts with nuts and washers (to make legs);
- grinder;
- caps for pipes;
- a piece of pipe (for connecting the cross with the grinder);
- part of the driveshaft with a cross;
- paint.
Tool List:
- grinder;
- drill;
- ;
- hammer;
- roulette.
Machine manufacturing process:
Step one. We make a frame
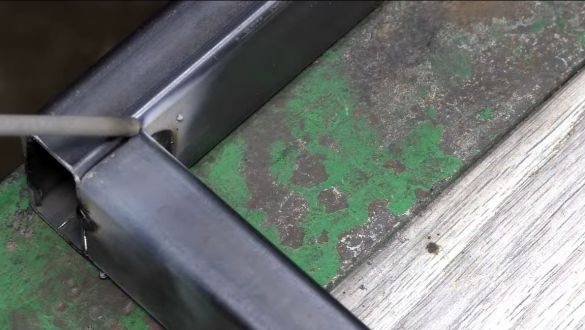
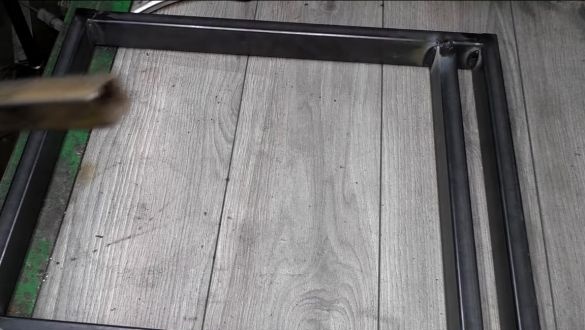
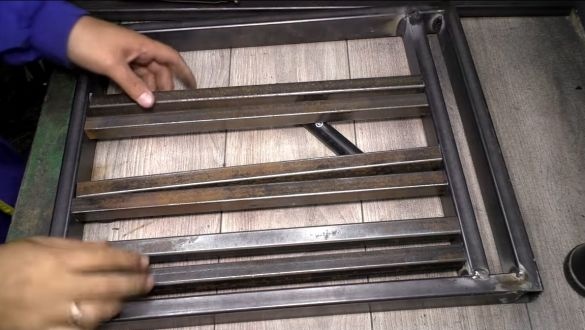
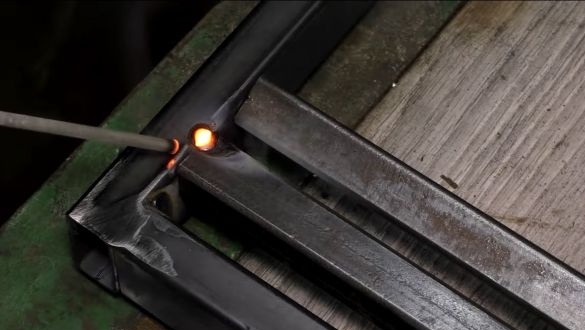
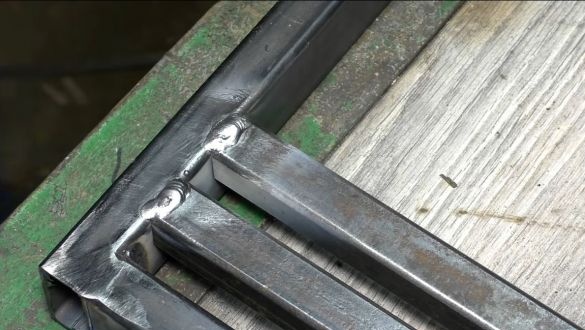
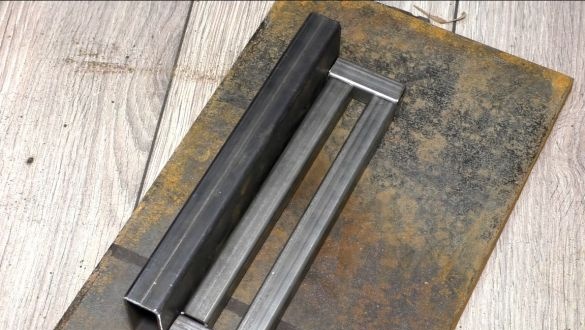
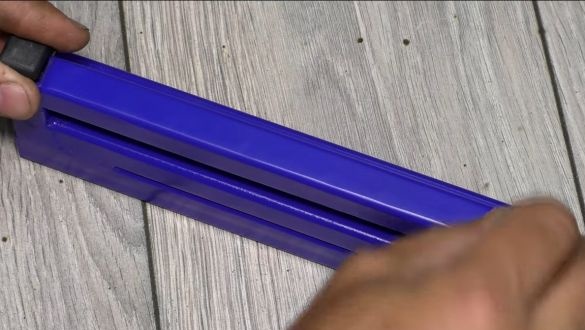
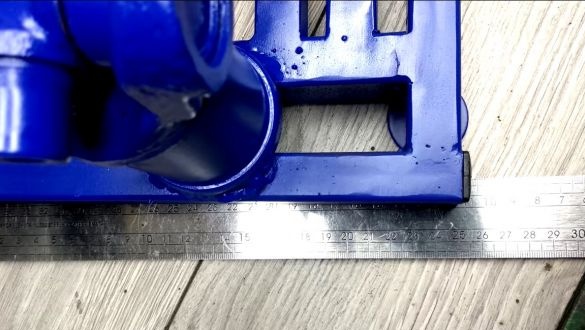
We assemble the frame from square pipes. We cut into the necessary pieces and carefully weld. If you want everything to look beautiful, we clean the welds. The frame should be strong and preferably as heavy as possible, so the machine will be more stable. More accurate dimensions of the structure can be seen in the photo at the end of the article.
Step Two Make the legs
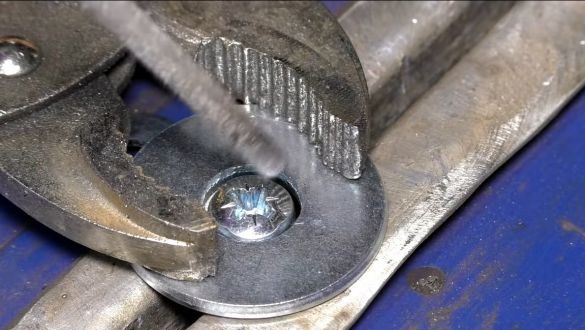
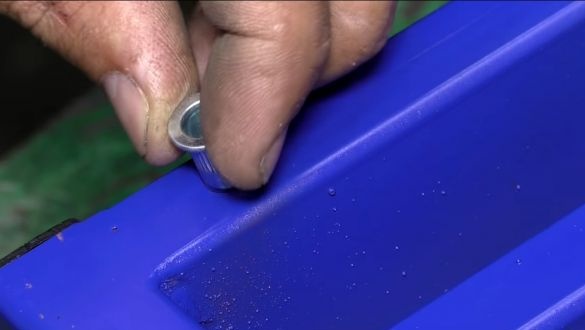
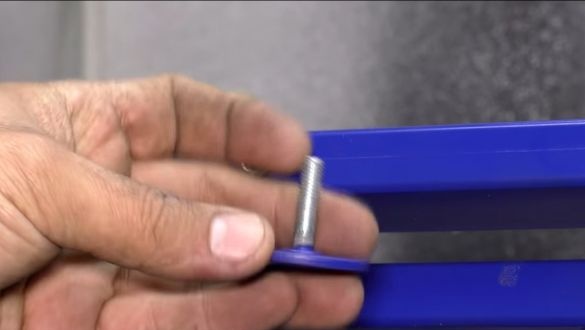
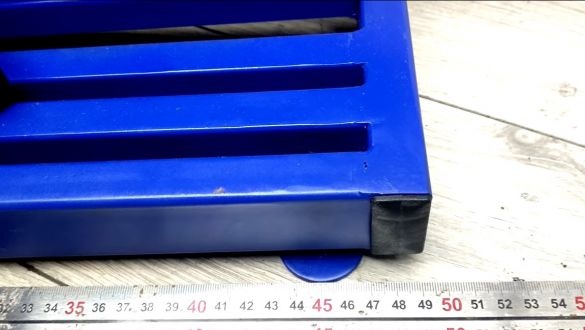
For the machine you need to make legs so that it can be installed securely. For this we need screws and washers. Washers are welded to the screw heads, resulting in support. Well, then nuts are installed in the frame and legs are wrapped. They can be adjusted in height, so the machine will not stagger.
Step Three Making a bracket for the grinder
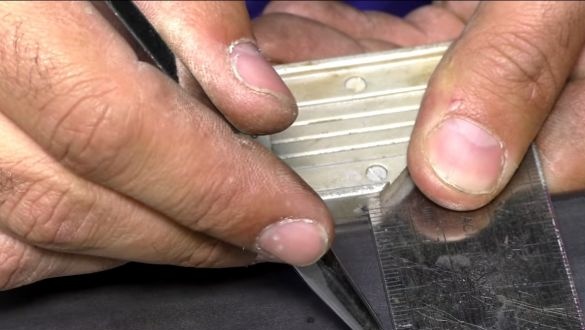
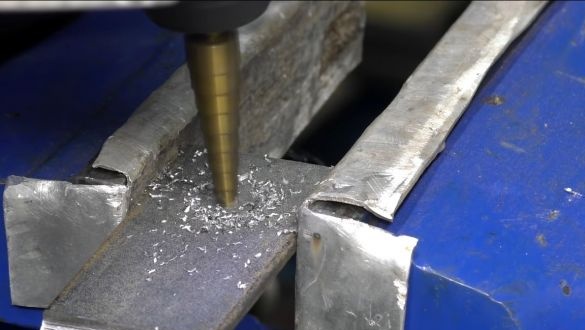
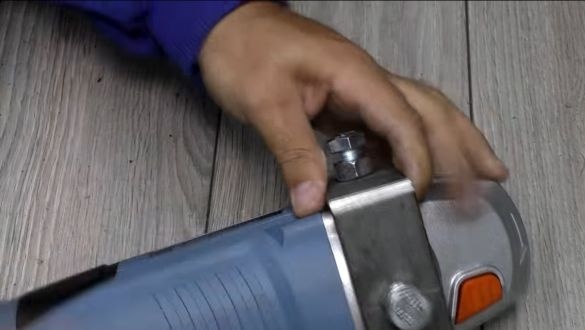
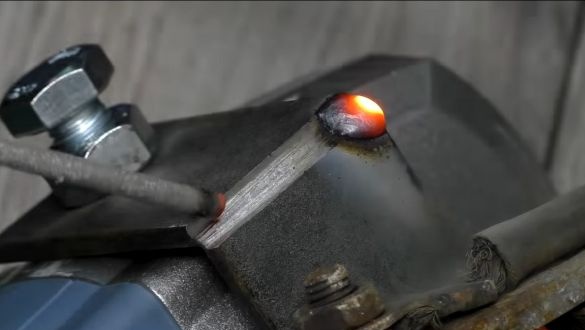
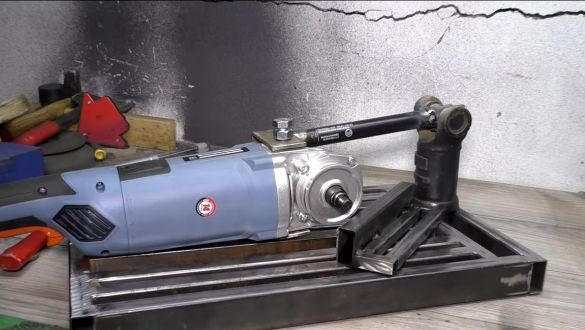
The Bulgarian should be easy to remove. We will fasten it with the help of those holes, thanks to which the handle is fixed. The author has three of them. The bracket is made of sheet steel. We make files, bend, and then weld in the area of files. Everything turns out quickly, firmly and efficiently. As a result, it remains only to drill holes for the bolts.
Step Four Install the swivel assembly
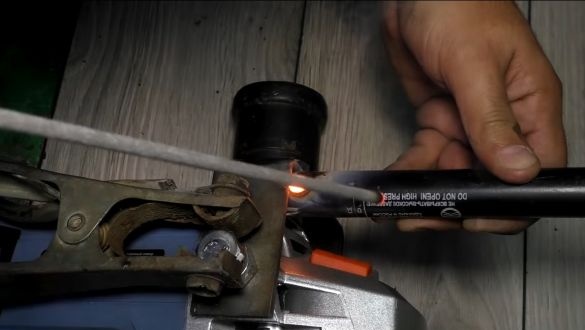
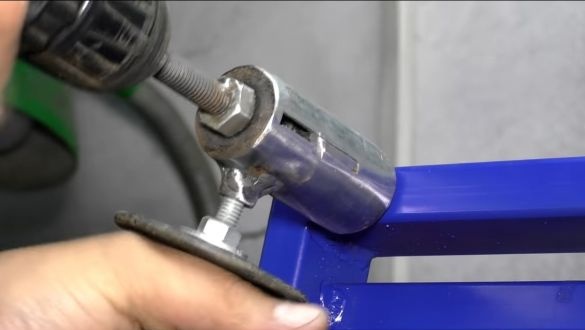
The swivel assembly with us is the universal joint cross. We weld the cardan to the base at a right angle. Then it remains only to connect the crosspiece to the bracket on which the grinder is fixed. For this purpose, we need a piece of round pipe of suitable diameter. We weld this whole thing and now our machine is almost ready.
Step Five Thrust unit
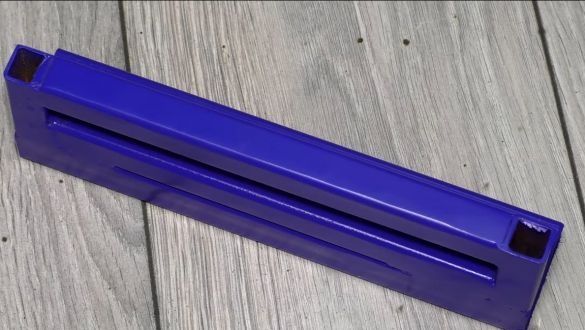
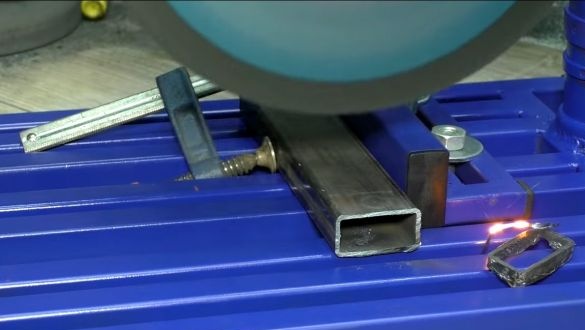
The thrust unit is needed to fix the material being cut. The emphasis of the author can be rotated, and it can be fixed in any convenient place thanks to the bolt with nut. How it should look can be seen in the photo. We also weld the product from steel pipes.
Step Six Finishing touches
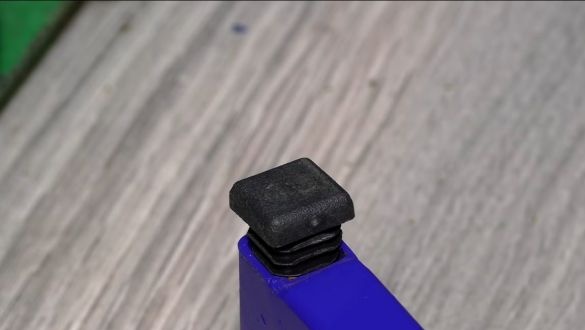
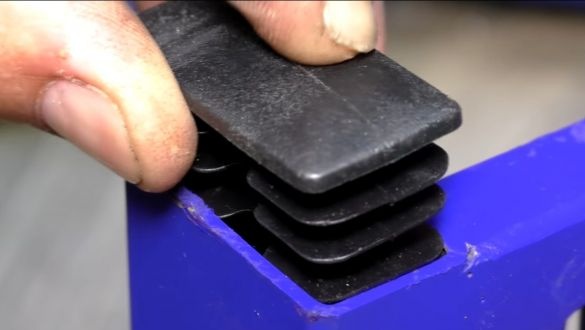
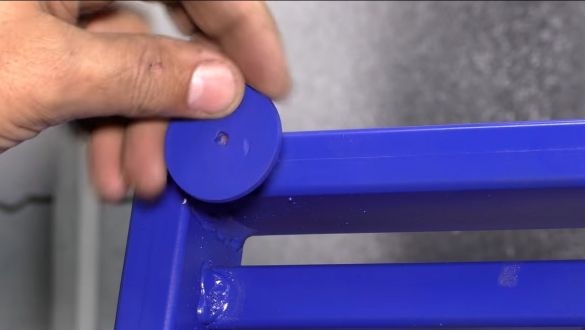
As a completion, we paint everything so that the metal does not rust. It is advisable to use heat-resistant paint so that it burns out less from sparks. The author also installs plastic plugs on the pipes, everything looks neat and beautiful. As a result, we only need to install the legs.
That's all, the project is over. I hope you liked the homemade. Good luck and creative inspiration, if you decide to repeat it. Do not forget to share your homemade products with us.

