
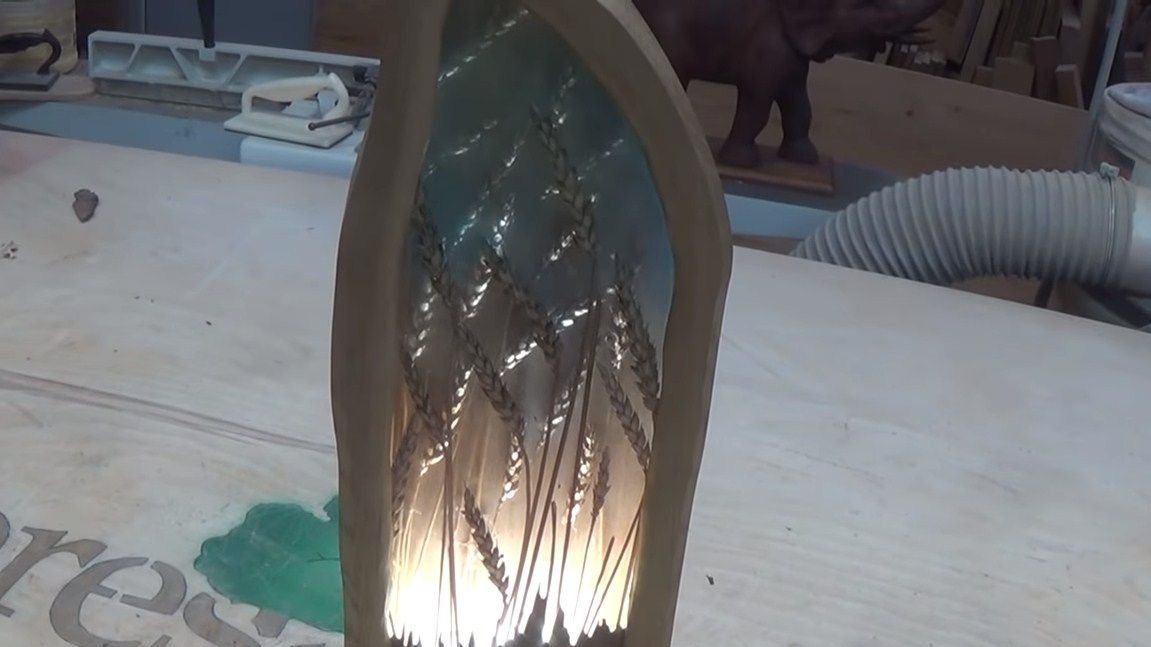


Hello everyone, I propose to consider instructions for the manufacture of an amazing lamp. Such homemade You can give as a valuable and unique gift, you can sell, and even the lamp will not go unnoticed by guests. Everything is made of wood and epoxy glue. Thanks to epoxy we fix all the components, and also it scatters the light perfectly. The author decided to use wheat spikelets as a decor, everything looks pretty impressive, and is made very simply from available materials. So, we will consider in more detail how to make such a lamp!
Materials and tools used by the author:
Material List:
- spikelets of wheat;
- dark wood (for the basis, imitates the earth);
- boards for the manufacture of the body;
- epoxy resin for pouring;
- dye yellow and blue for epoxy;
- LED Strip Light;
- wax for wood (golden, under spikelets);
- acrylic, glue gun, masking tape (for pouring);
- sealant.
Tool List:
- clamps;
- milling cutter;
- a grinder with a disk nozzle for grinding;
- tape cutting saw;
- gas burner or building hair dryer;
- a circular saw;
- electronic Libra.
The manufacturing process of the lamp:
Step one. Preparing the base for pouring
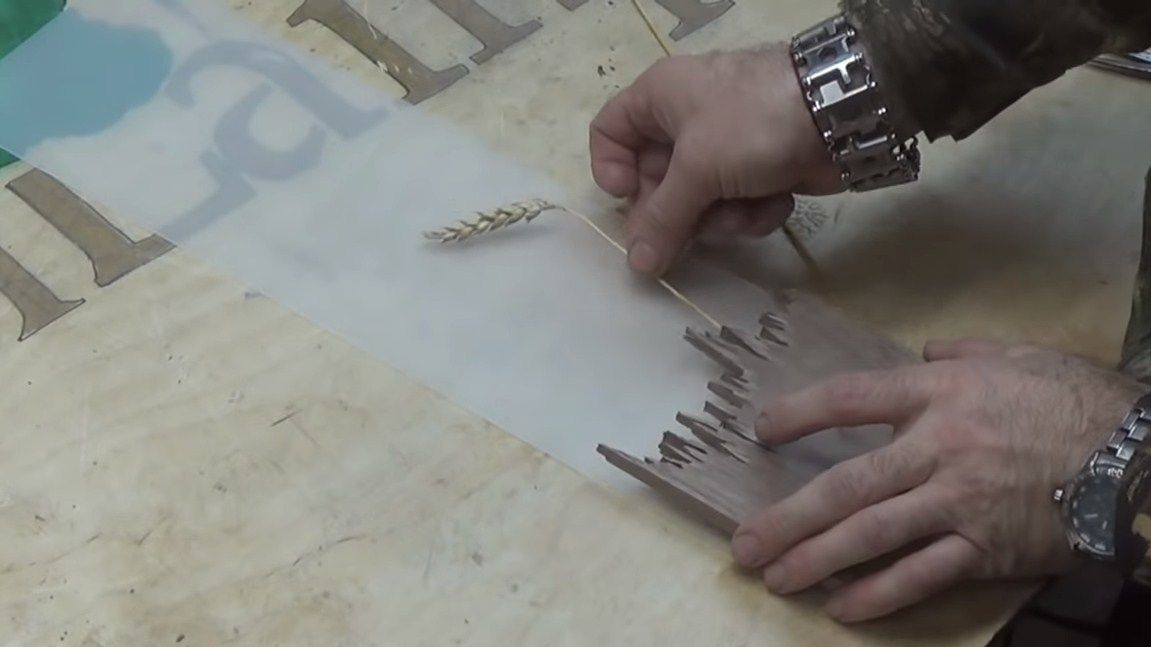
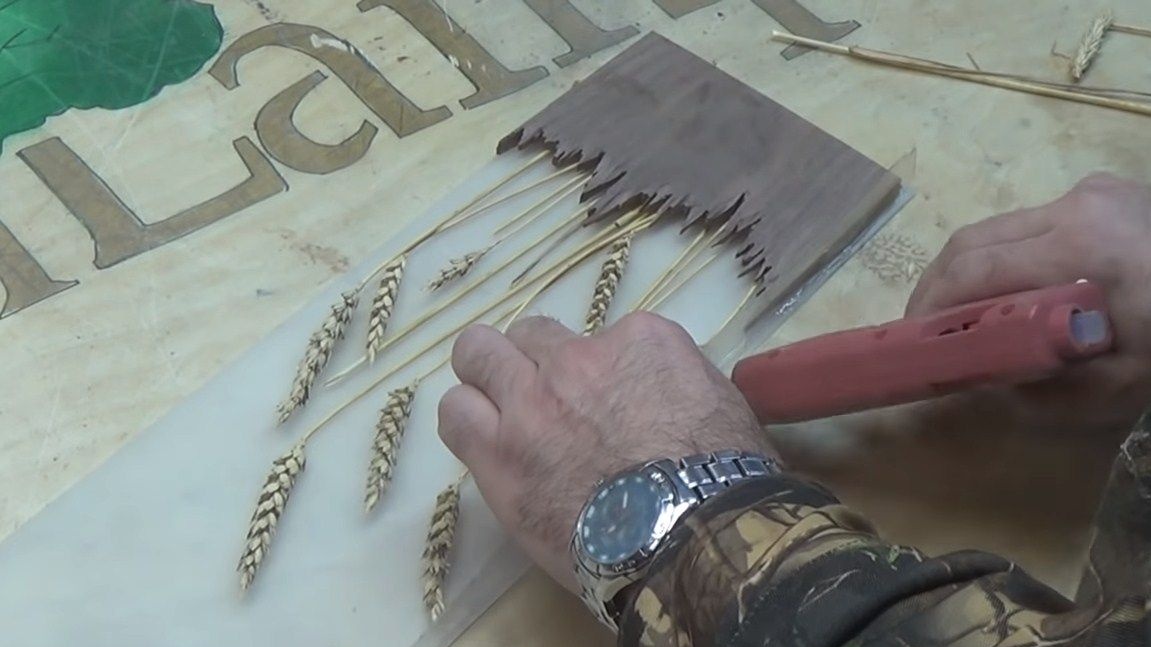
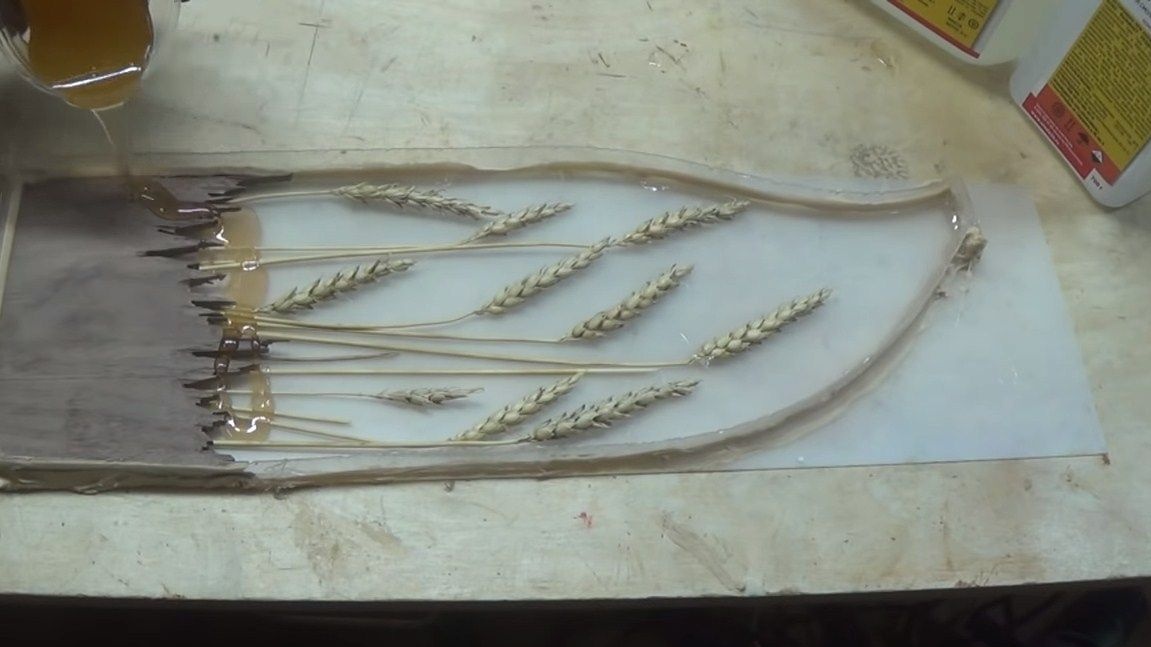
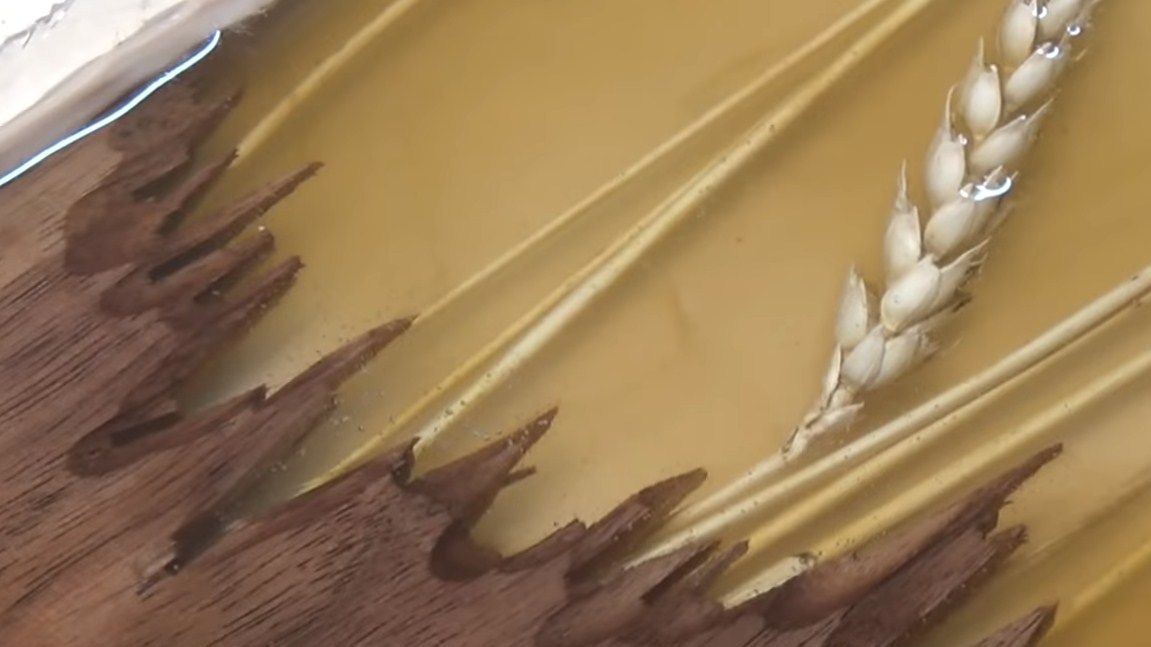
Let's start with the basics. It is important to understand that all parts that will be filled with epoxy must be perfectly dry. Otherwise, the resin will become cloudy or even white. As a basis, the author used a piece of blackboard. Wood can be used rotten, rotten, but dry. Using a tree, we will imitate the earth. Next we need spikelets of wheat. You can also use other cereal or even flowers. Set the spikelets as you like.
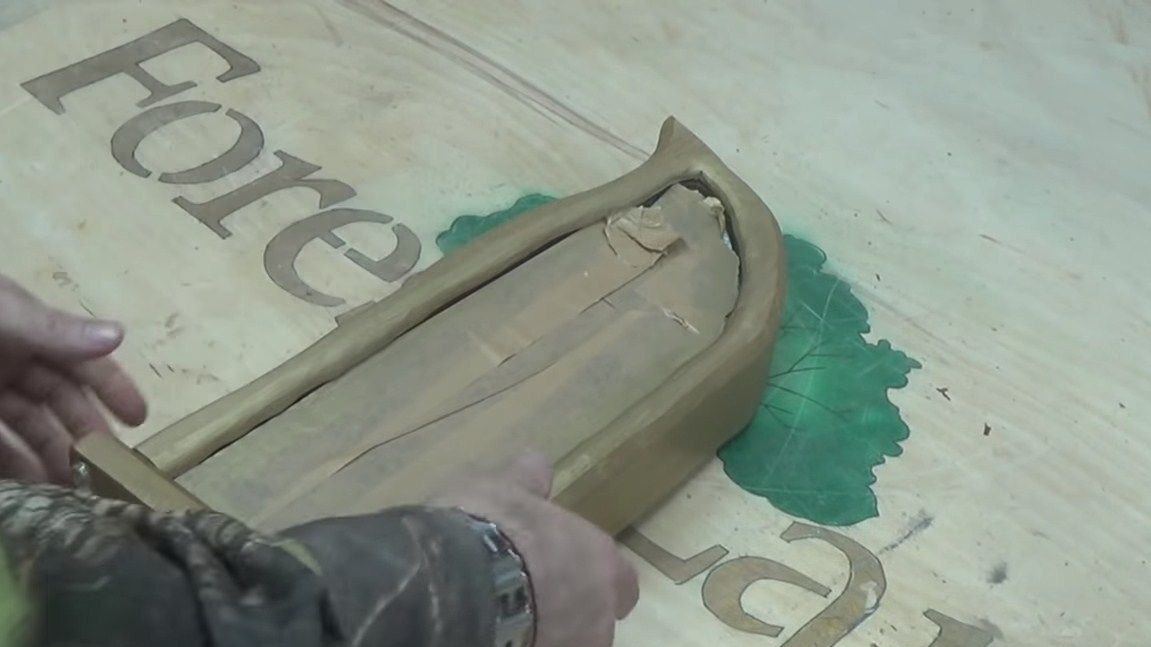
It remains to make a form for filling. Here we need sheet acrylic. We collect around the box, the author glues everything with a glue gun. This is quite a good way to make a sealed mold for pouring.So that the epoxy does not stick to acrylic, it can be glued with masking tape and so on. By the way, for such purposes, there are special lubricants that do not allow bonding. Conventional lubricants are best avoided; most of them result in a cloudy resin. Silicone greases go well with epoxy.
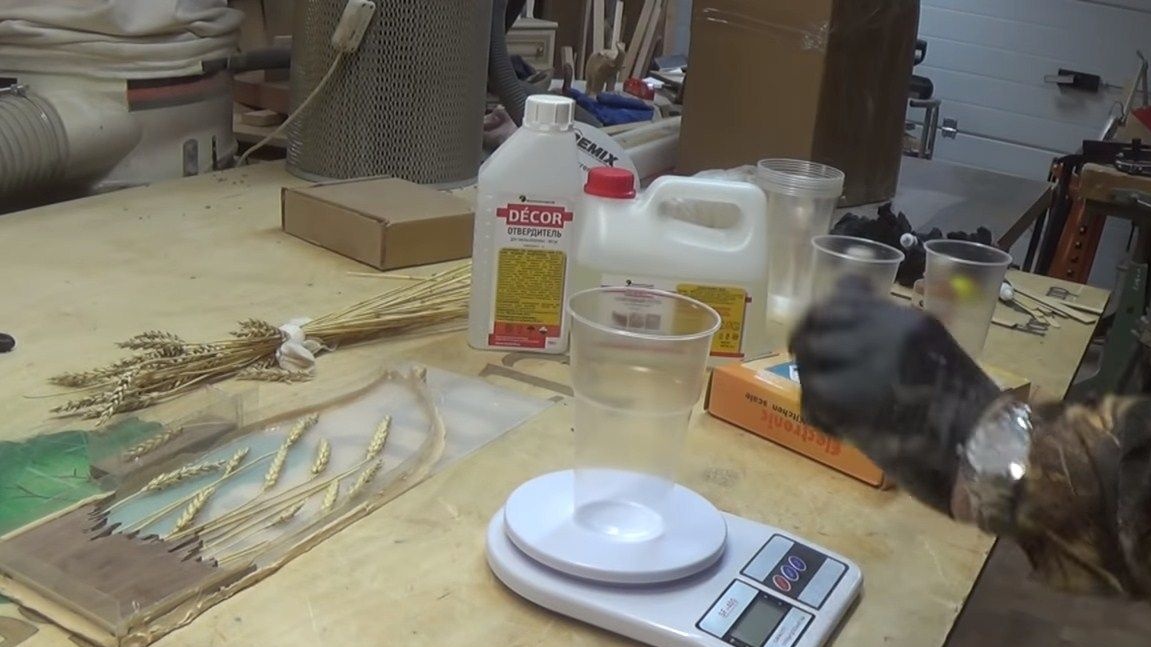
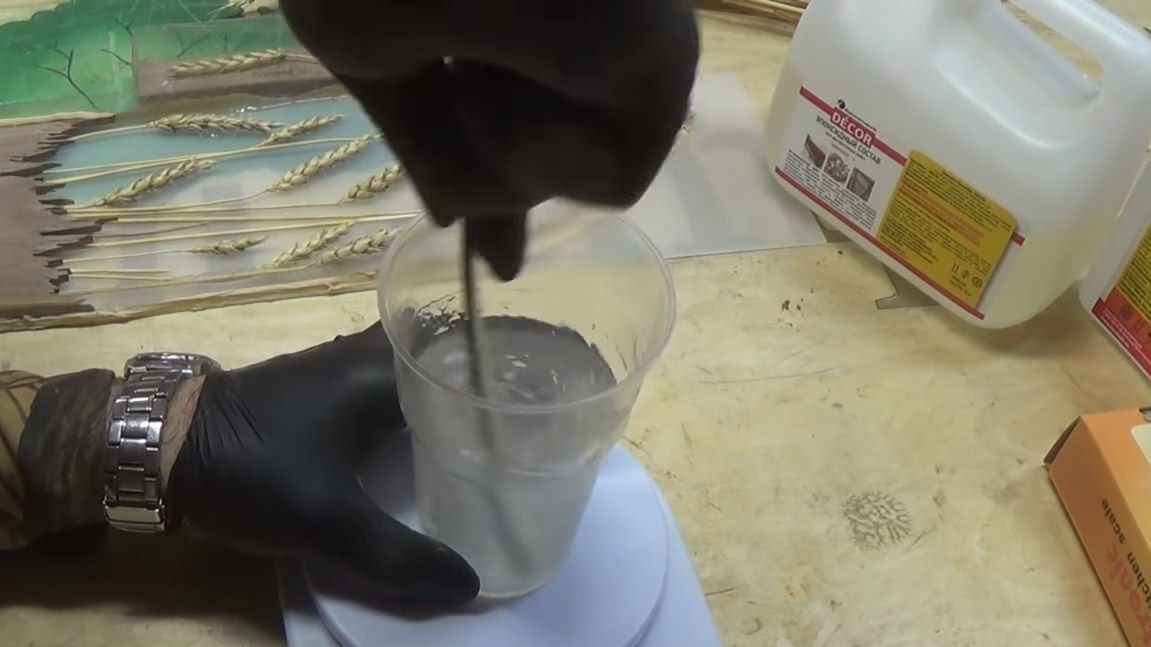
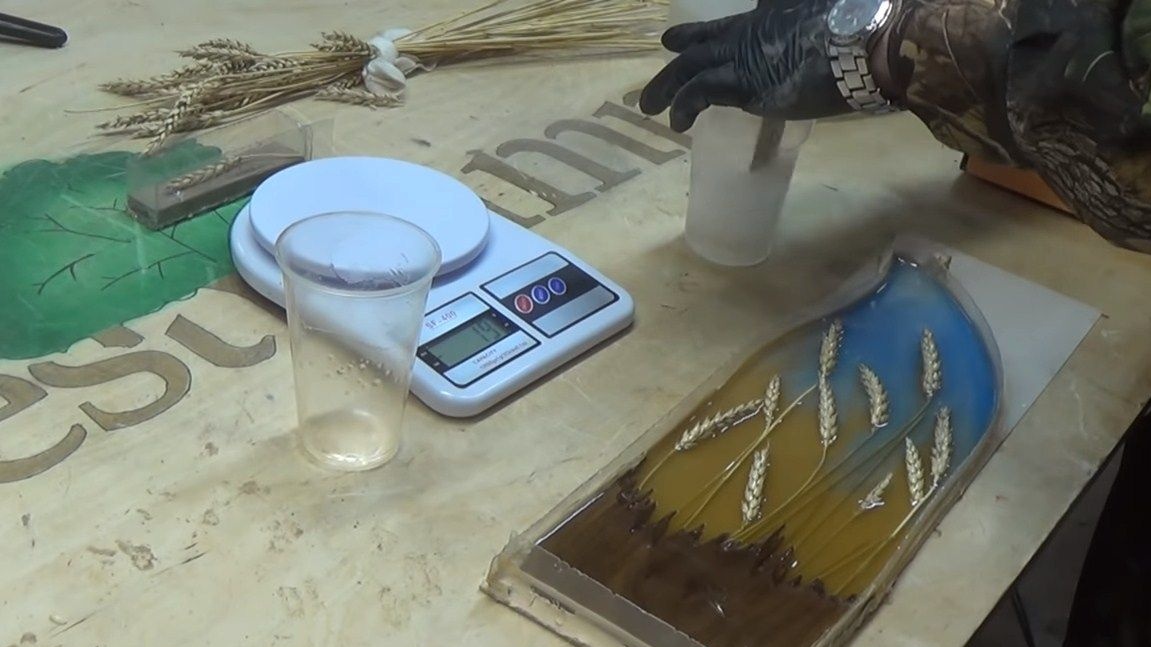
Step Two Pouring
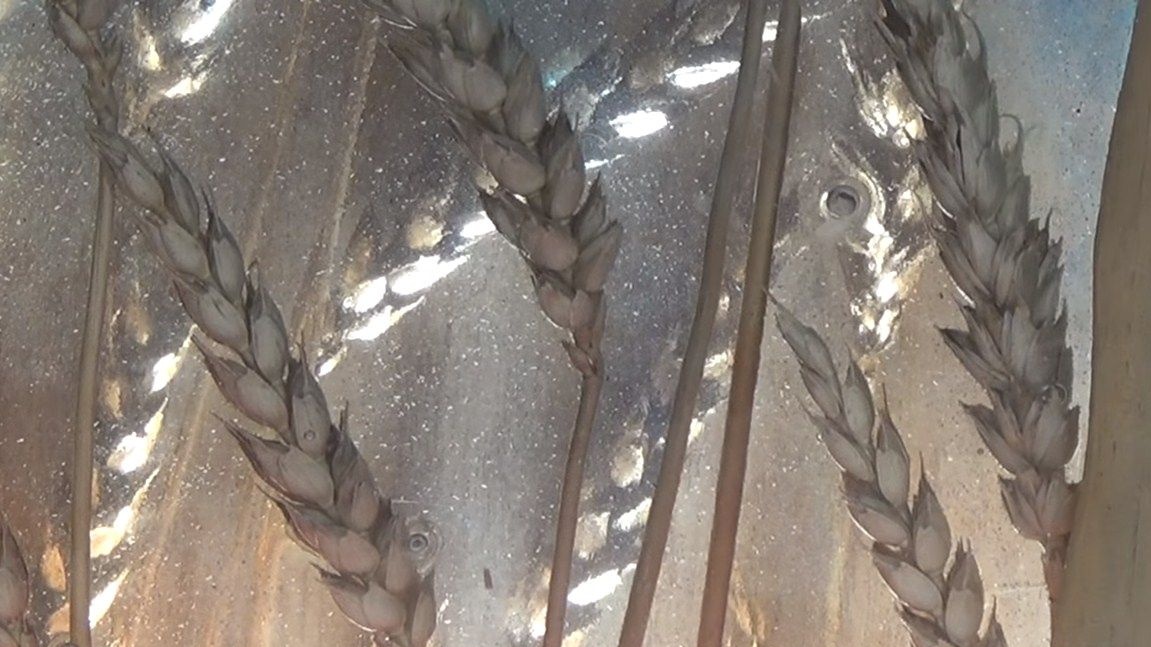
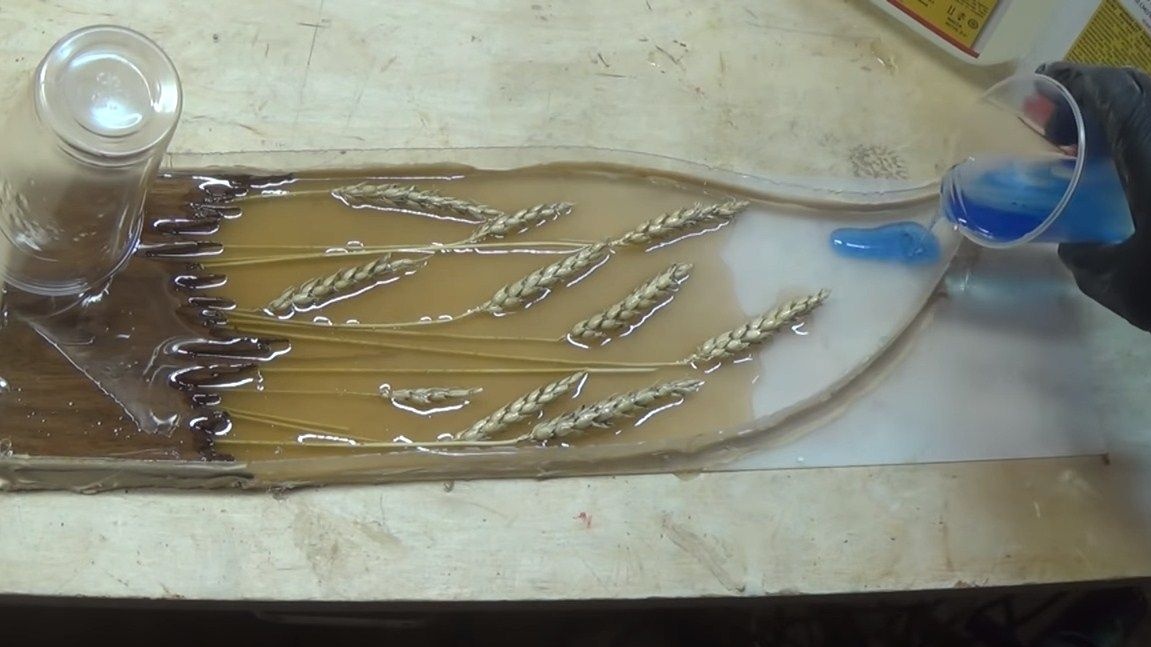
It is time to fill the mold. Stir epoxy with hardener. Here the author comes to the aid of an accurate digital clock. The author also uses dyes. The lower part of the product is filled with resin with a yellow tint, and we begin with it. And then separately stir the resin with a blue dye, fill it in the upper part, thereby simulating the sky. We give the whole thing to dry completely, otherwise the product may be damaged during operation. If you want to expel air bubbles, use a building hair dryer. But the bubbles here will not interfere, thanks to them, light will be better scattered.
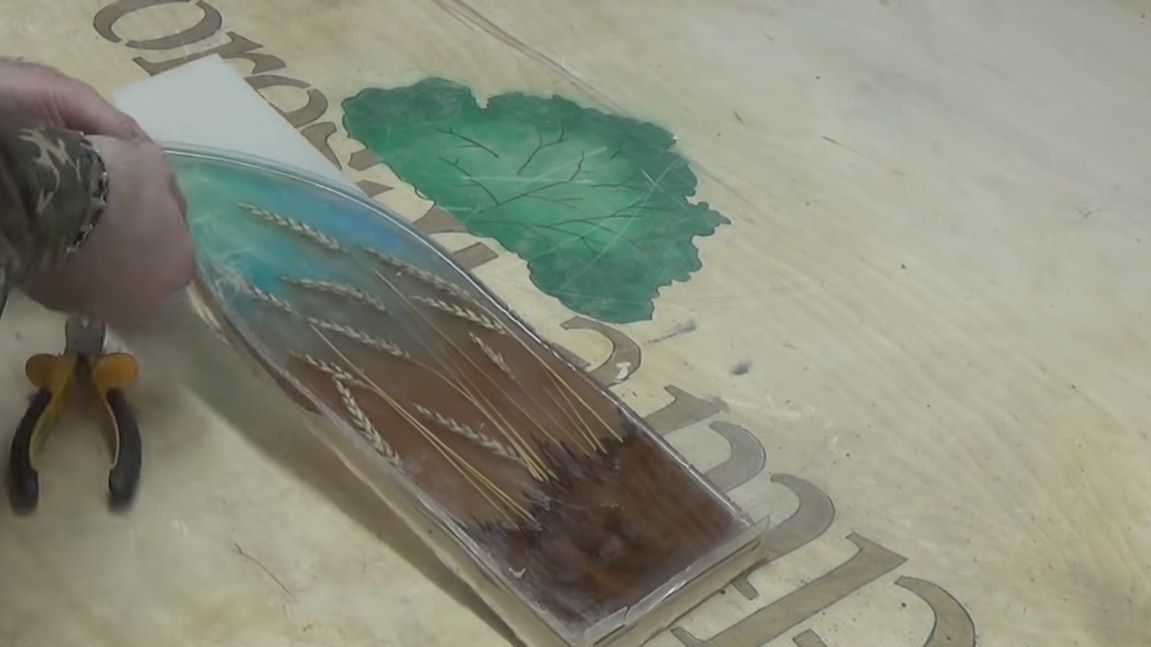
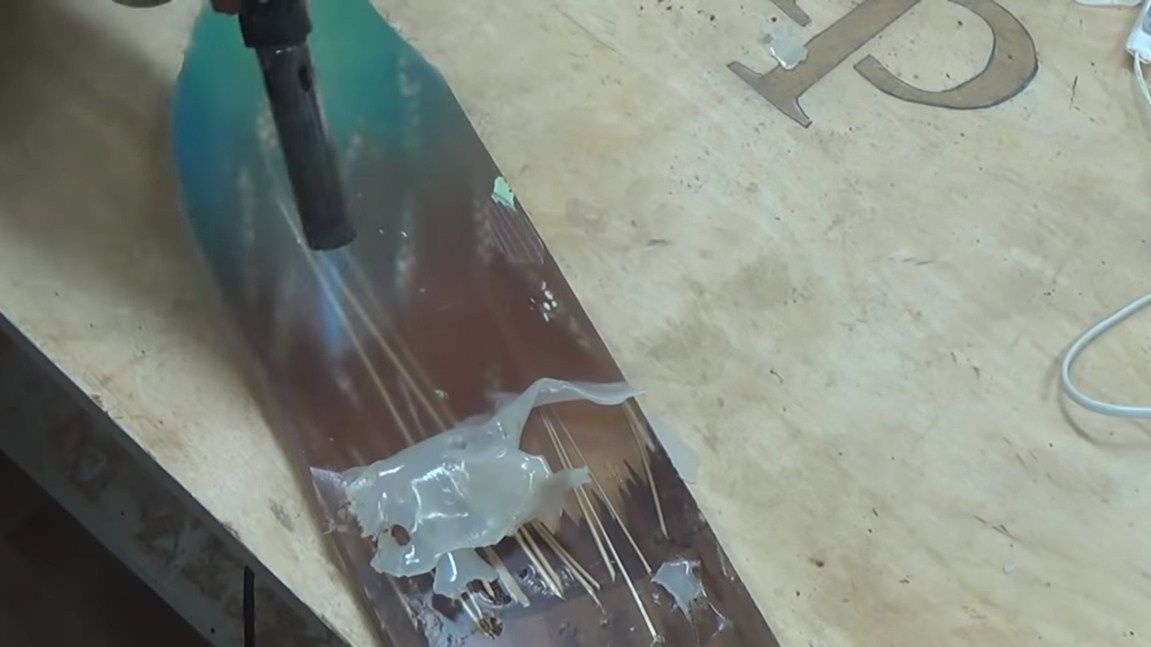
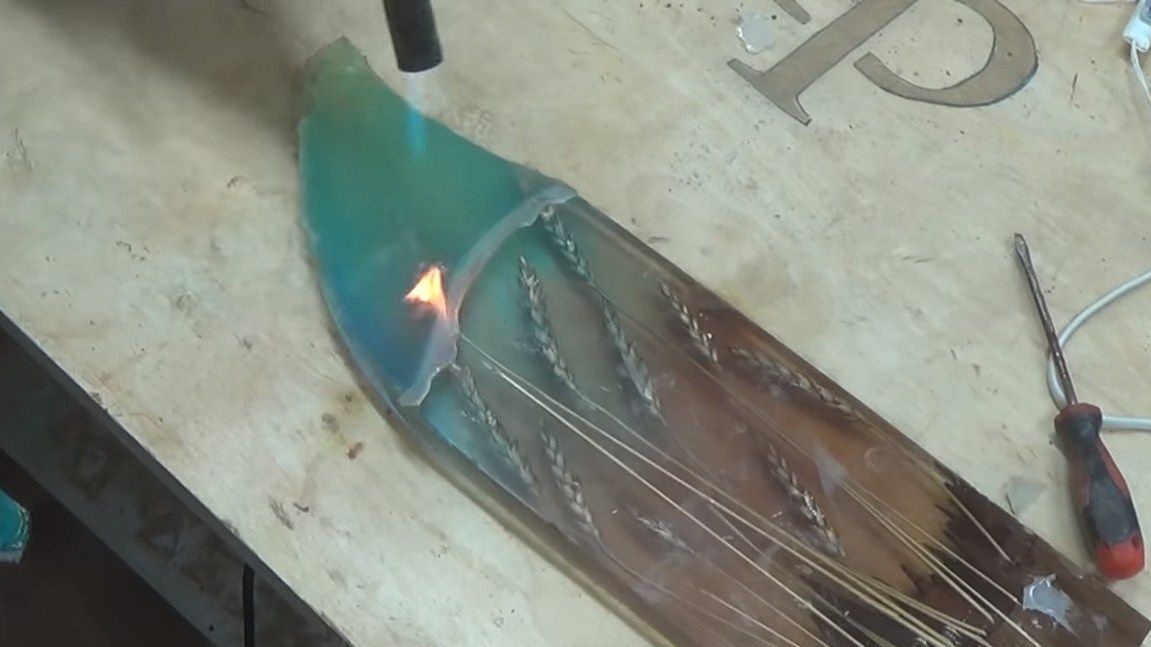
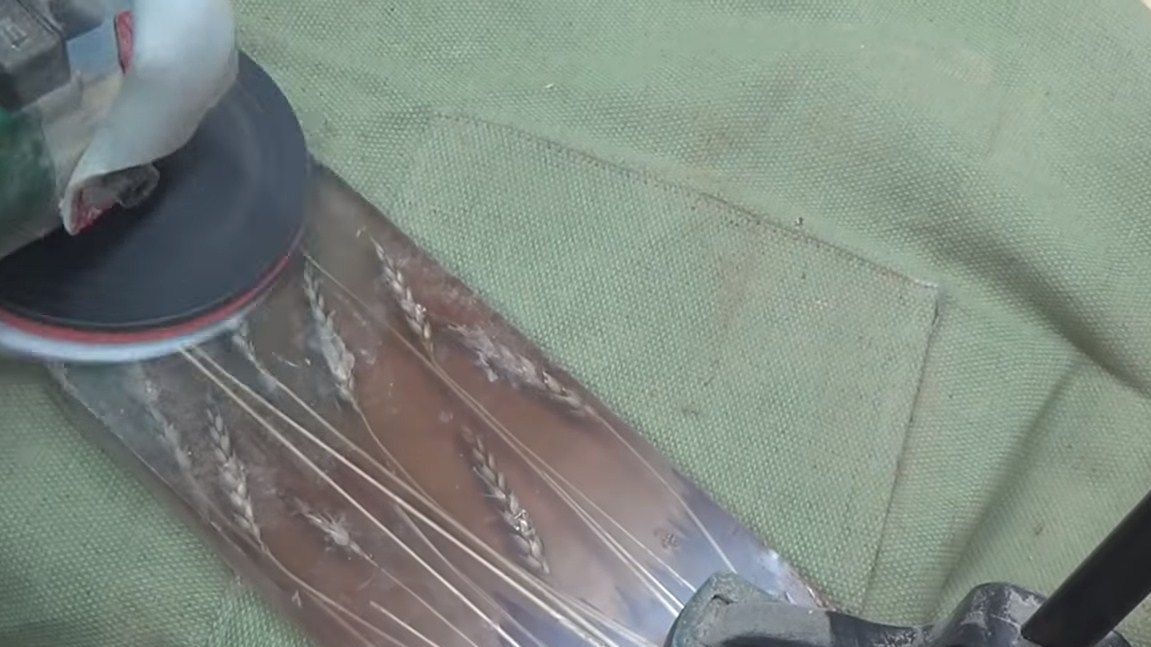
Step Three Treatment
When the resin hardens, disassemble the form. Here we need a gas burner or a building hair dryer. We heat acrylic and remove. Trim the excess parts using a circular saw. We carefully grind the front side of the product using a grinder with a disk nozzle. Then the surface can be covered again with a layer of epoxy and polished.

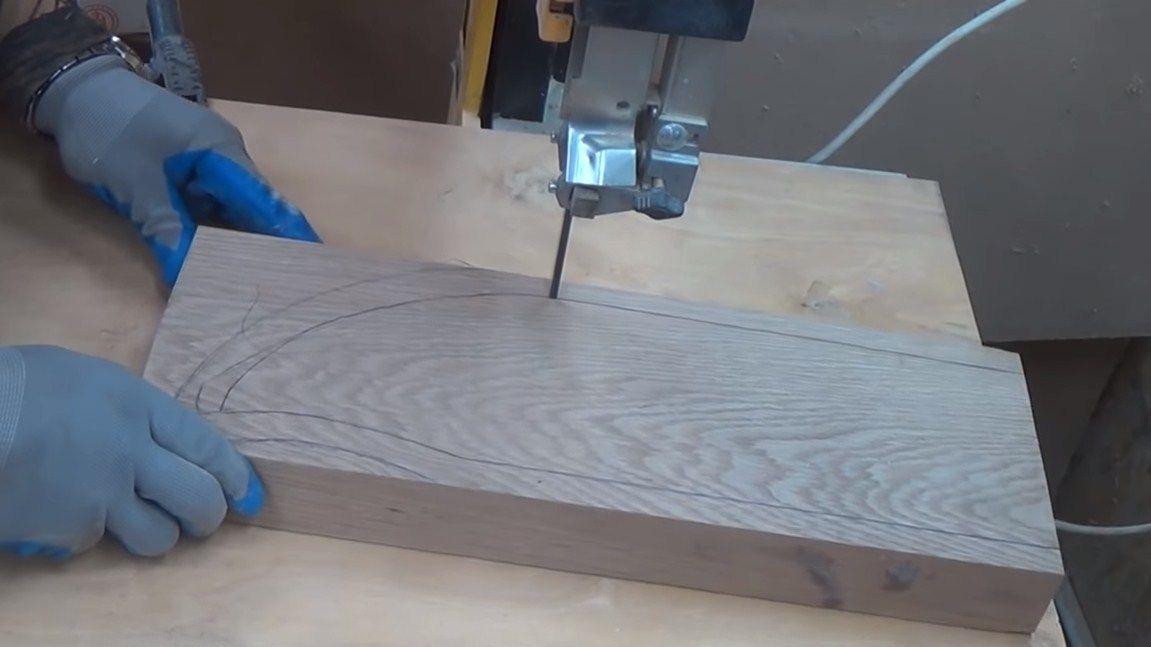
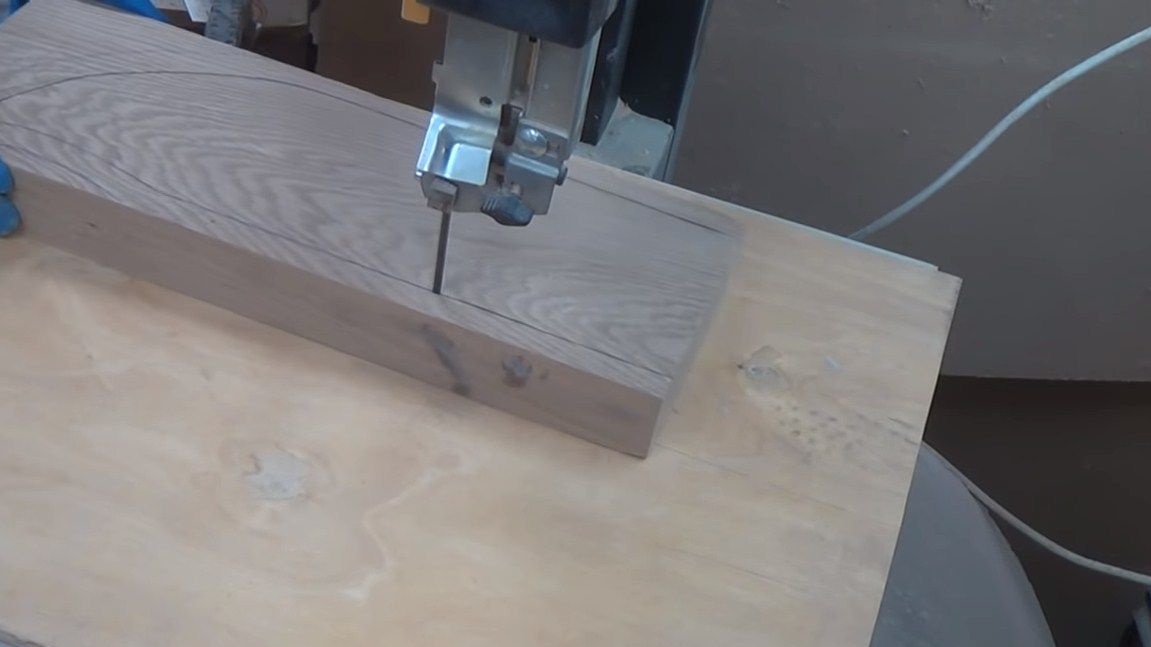
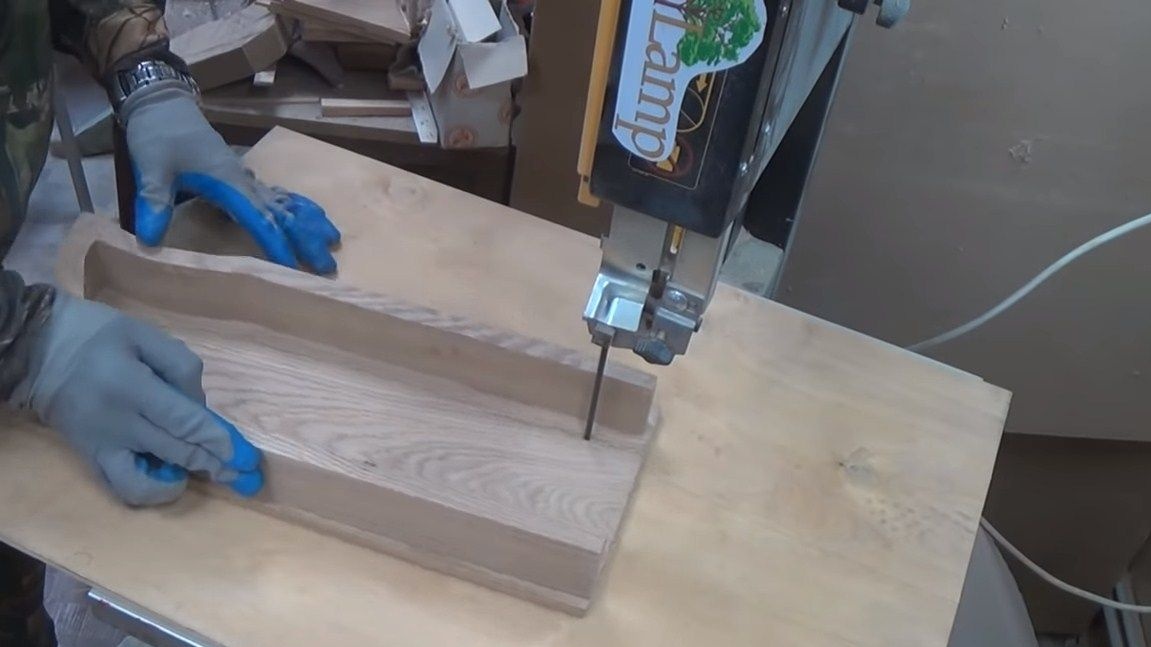
Step Four Body manufacture
We need to make a housing for the lamp, thanks to which we will have where to place the light source. To do this, you need a piece of timber of suitable thickness. In it, we cut out the inner part in the form of a cast part from epoxy.
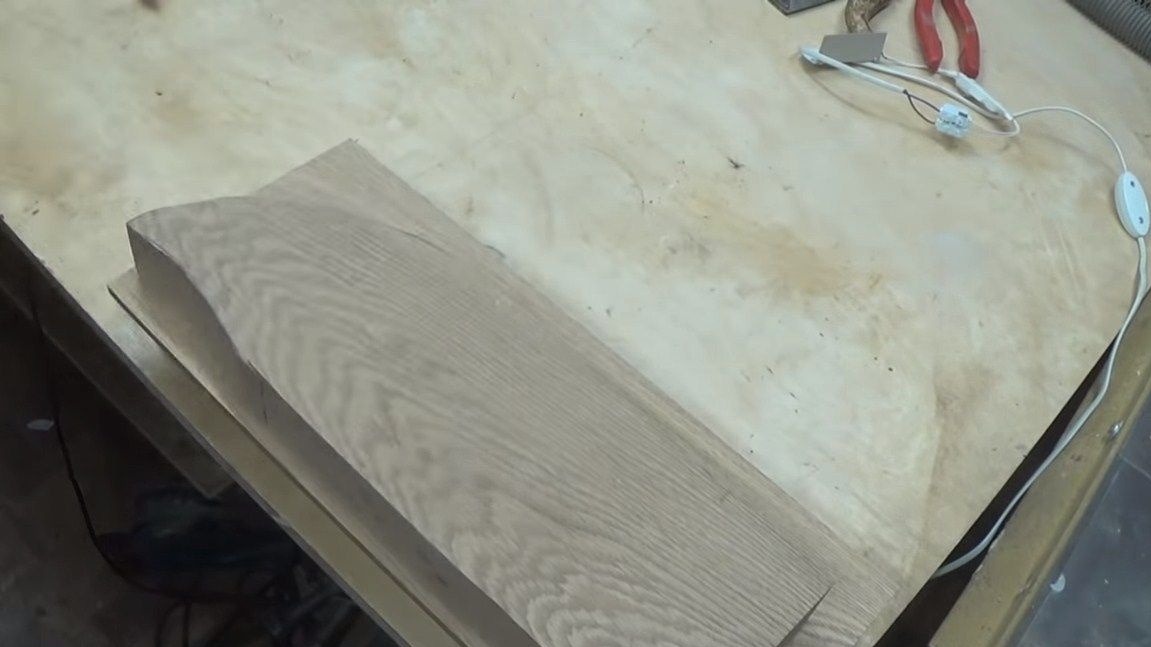
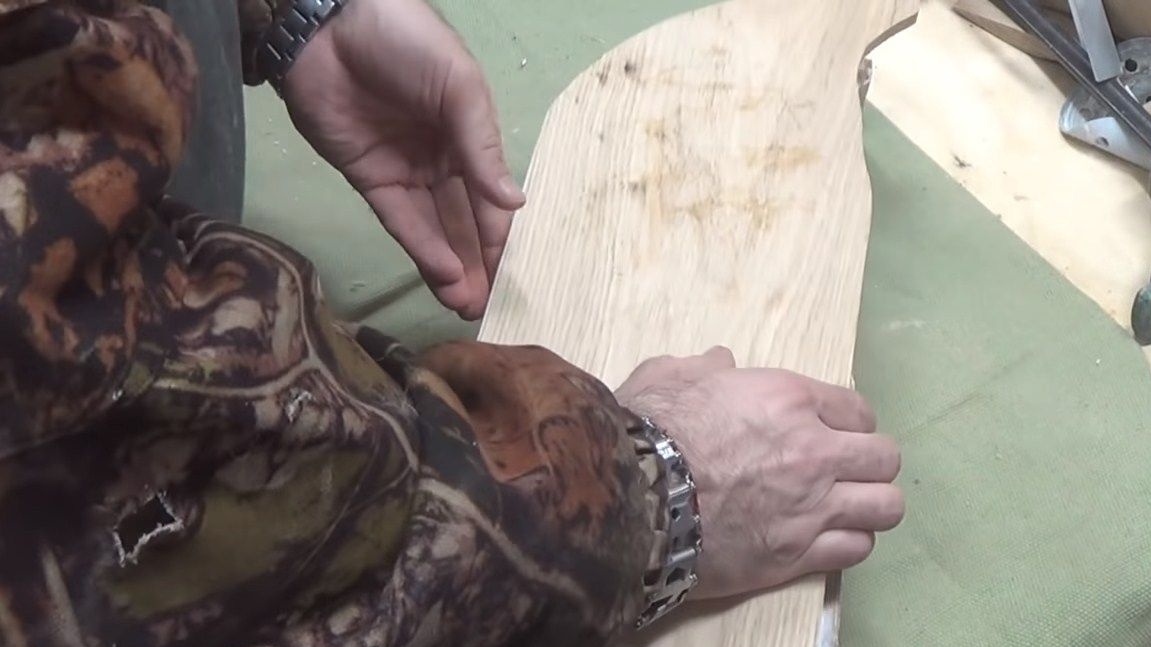
Next, you need two boards, from one we cut out the back wall. And from one of the cut out the edging, which will be located on the front side. We glue all the wooden parts with wood glue.
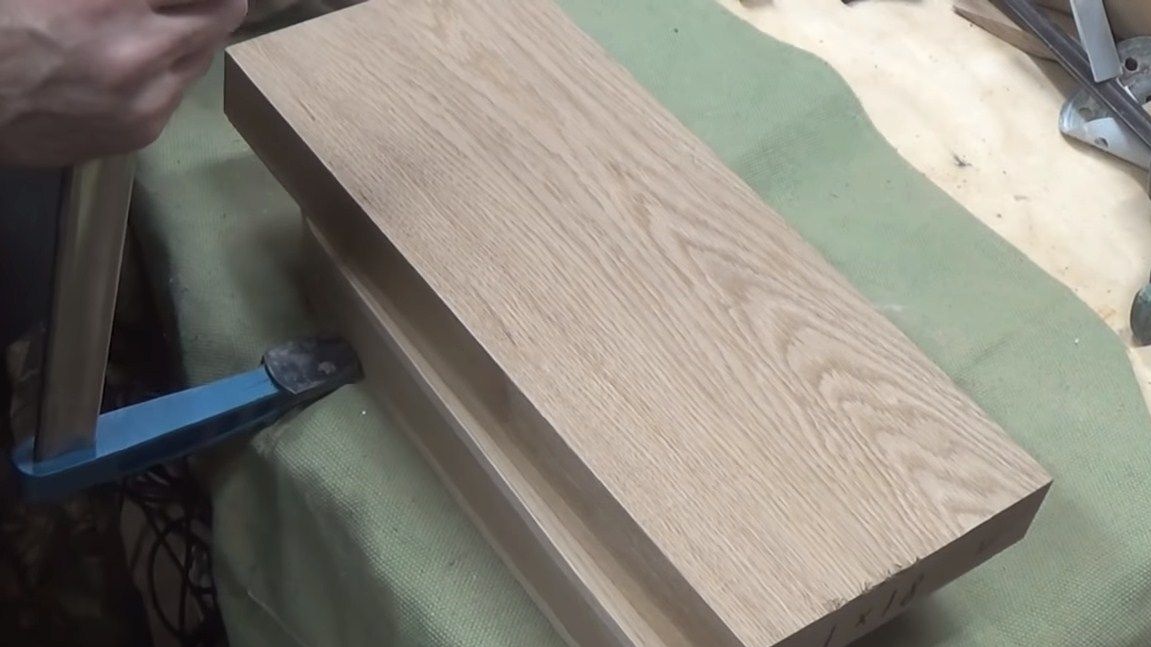
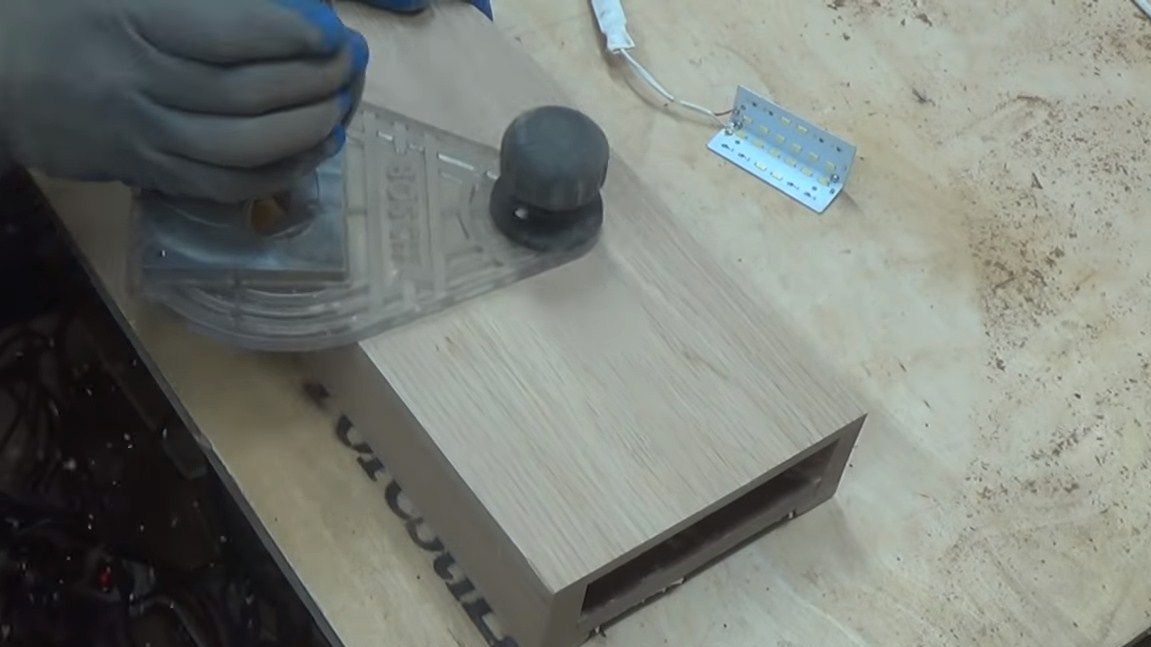
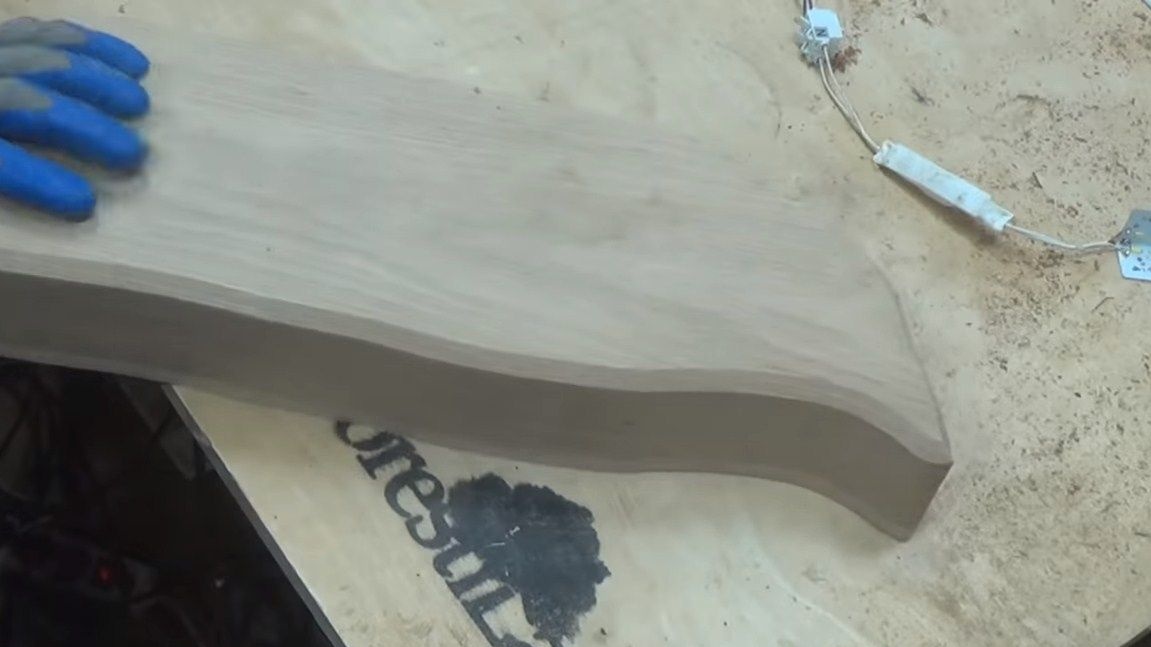
The housing must be well sanded. And to smooth the corners, we need a hand milling cutter. Do not forget to also make the bottom cover for the lamp on which the LED strip is mounted. At the end, we glue the cast part into the body.


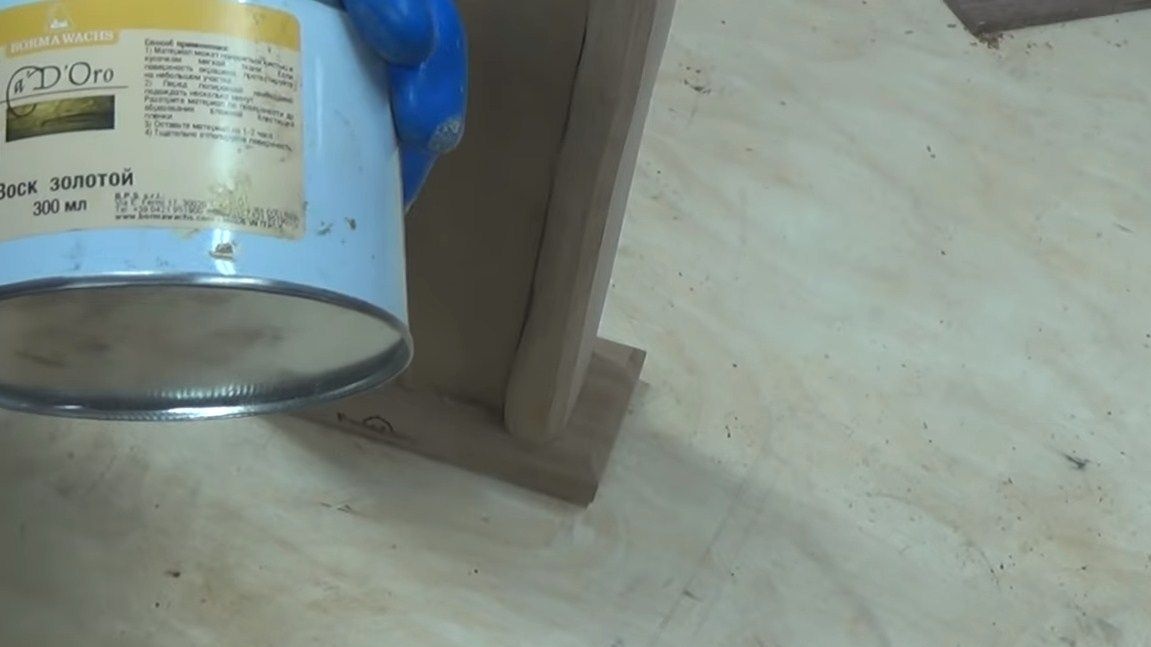
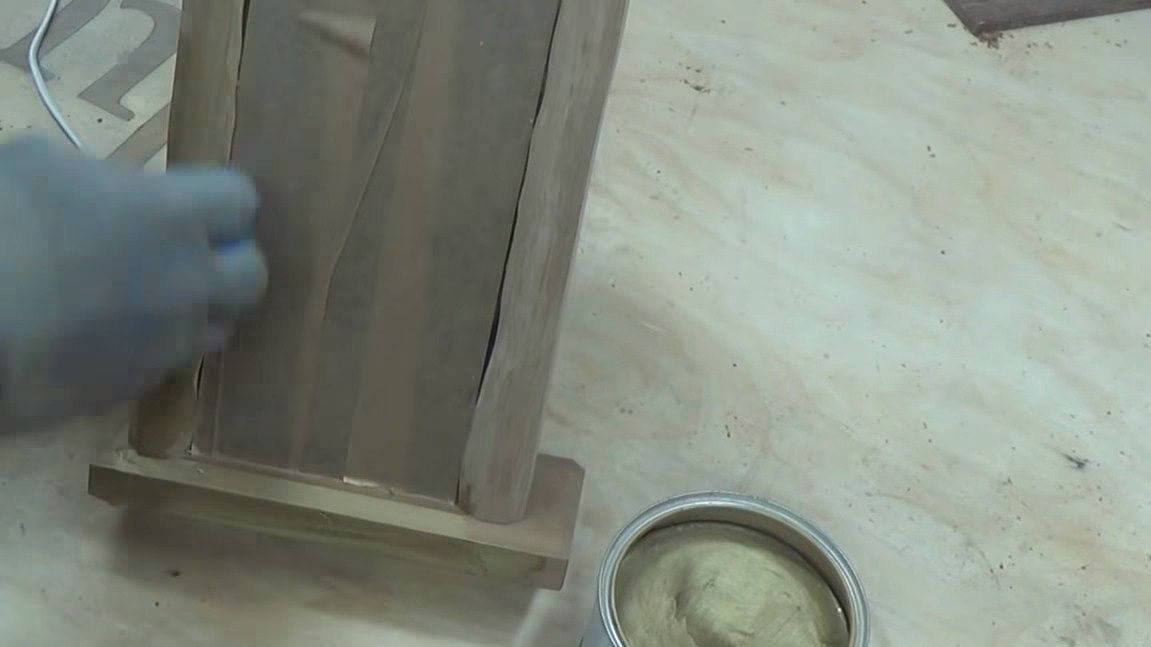
Step Five Putting the lamp
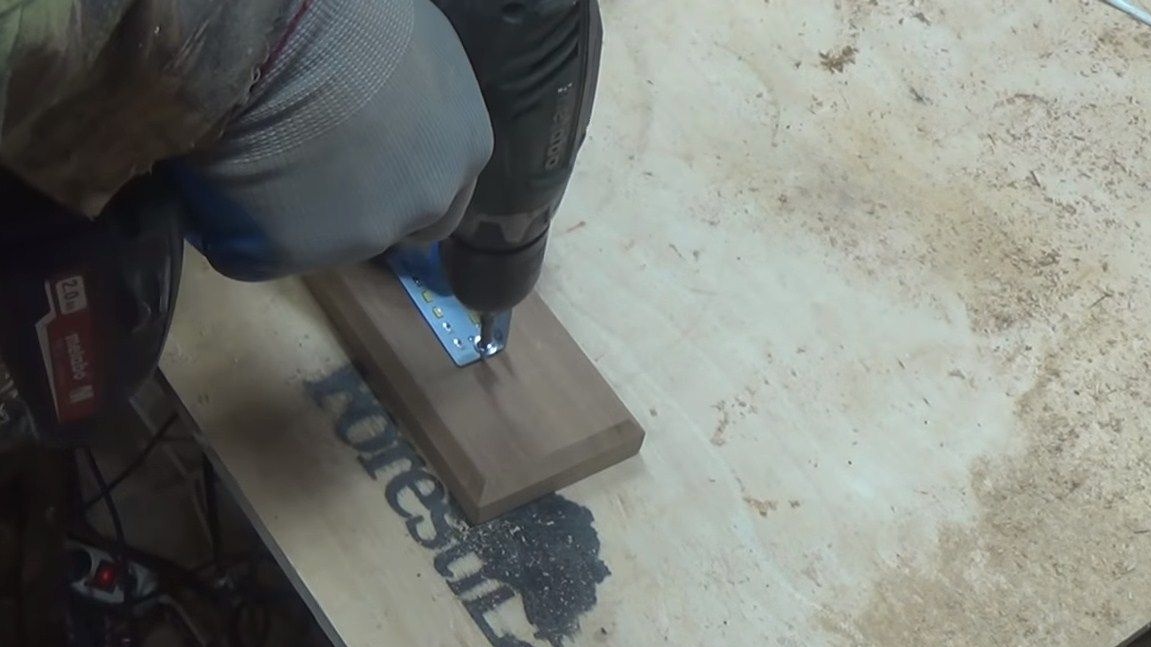
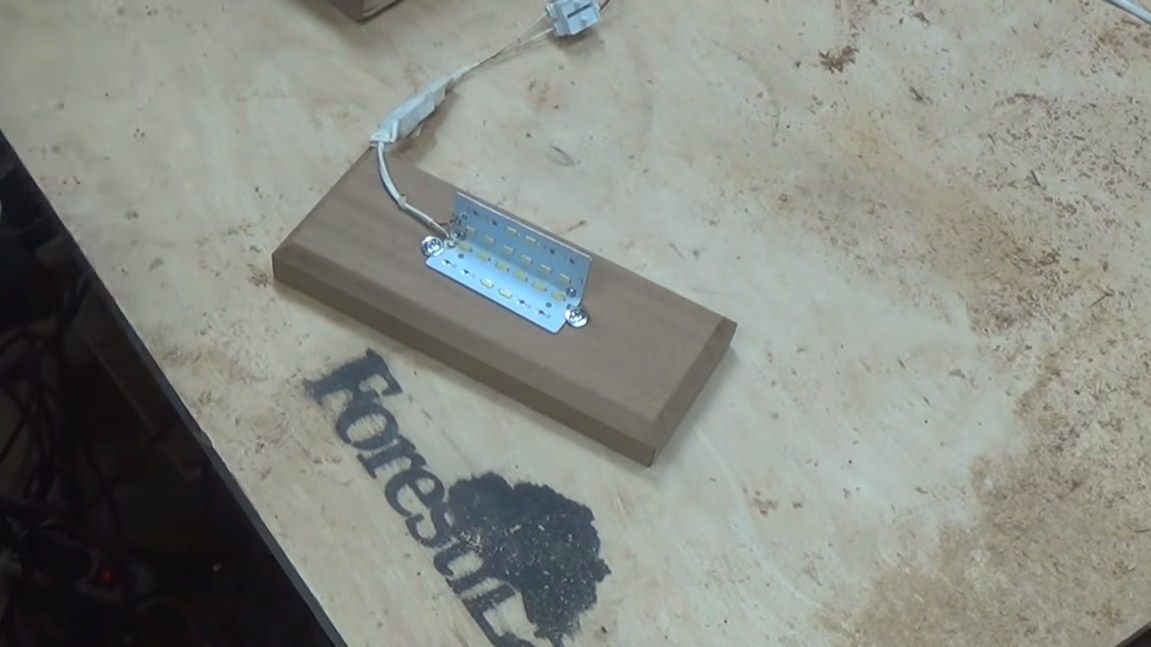
The author processes the lamp body with golden wax. All this is done in order to combine with the color of wheat. We install an LED strip on the base and assemble the lamp.

That's all, the homemade product is ready. Everything looks pretty pretty and unique. That's all, the project is over, I hope you liked it. Good luck and creative inspiration, if you decide to repeat it. Do not forget to share your homemade products with us!