
I welcome all fans to craft, I propose to consider instructions for making an interesting lighter do it yourself. Most parts are made using a lathe, so you can not do without it. The main material for homemade is copper and brass. This lighter is reliable, durable, it can be a great gift and souvenir. If the project interests you, I propose to study it in more detail!
Materials and tools used by the author:
Material List:
- brass tube (body);
- round brass for turning;
- copper wire;
- a beautiful coin (for decoration);
- silicon for lighters and a wheel;
- wick;
- cotton wool;
- cogs;
- rubber seals.
Tool List:
- lathe;
- burner, flux, solder;
- drilling machine and drill;
- files;
- reagents for cleaning and etching brass.
Homemade manufacturing process:
Step one. Housing
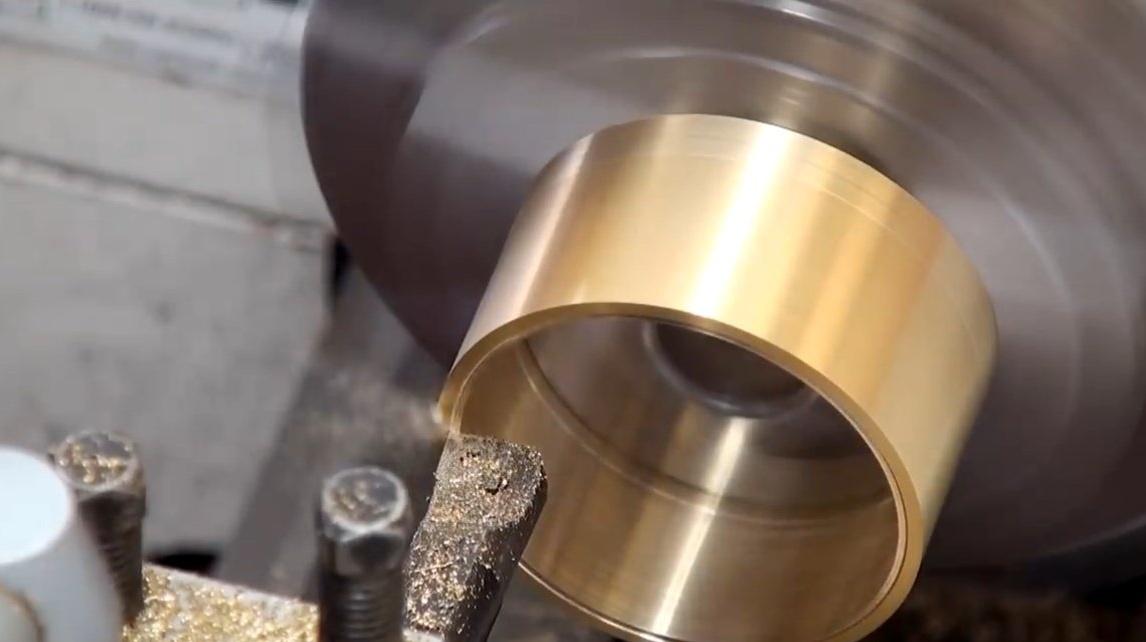
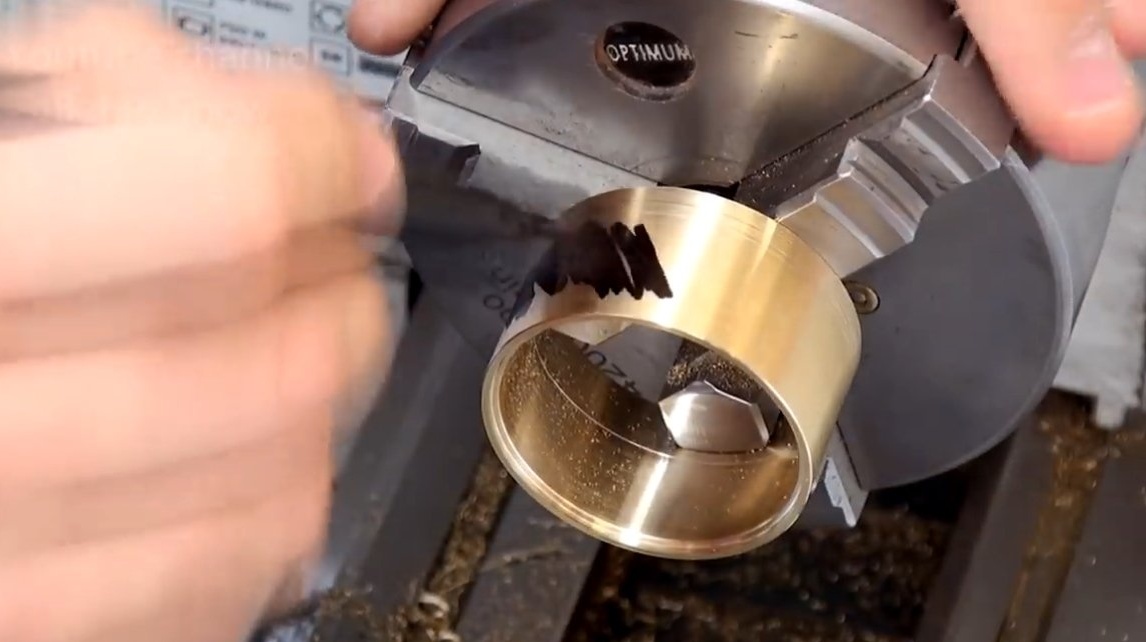
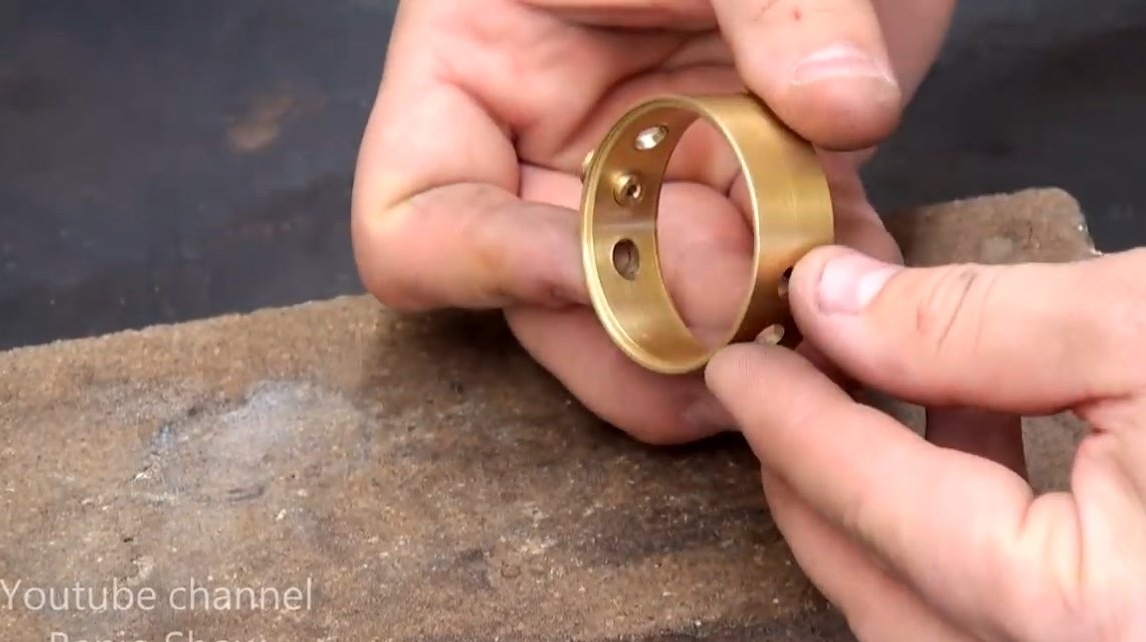
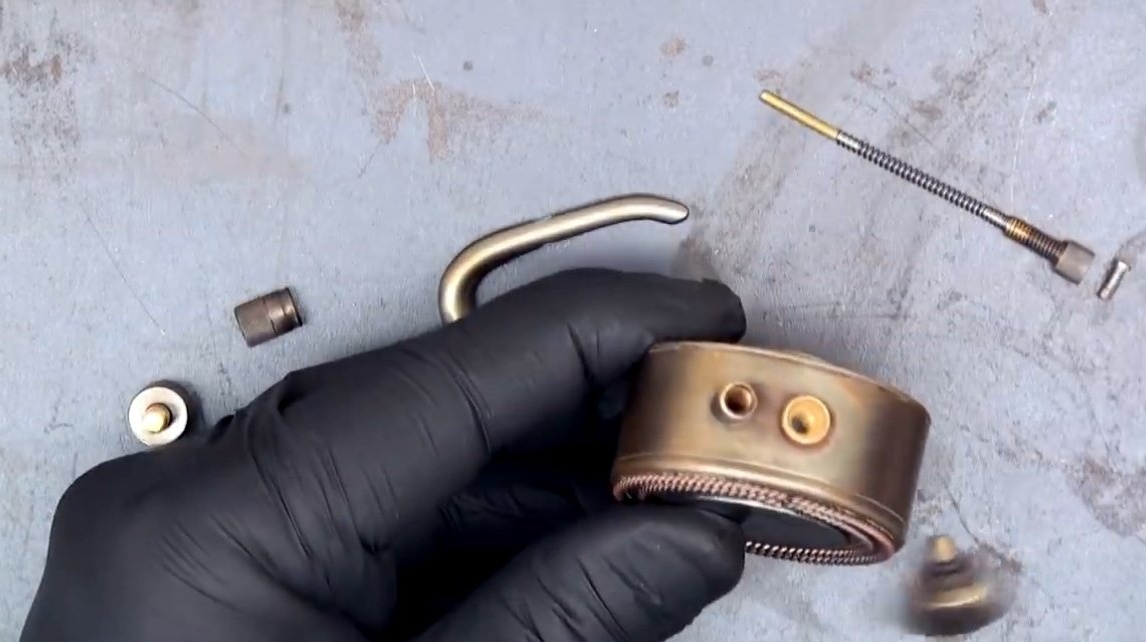
First of all, we will prepare the body, as a material we use a piece of brass pipe of suitable diameter. The author makes grooves on both sides of the pipe into which the side covers will go.
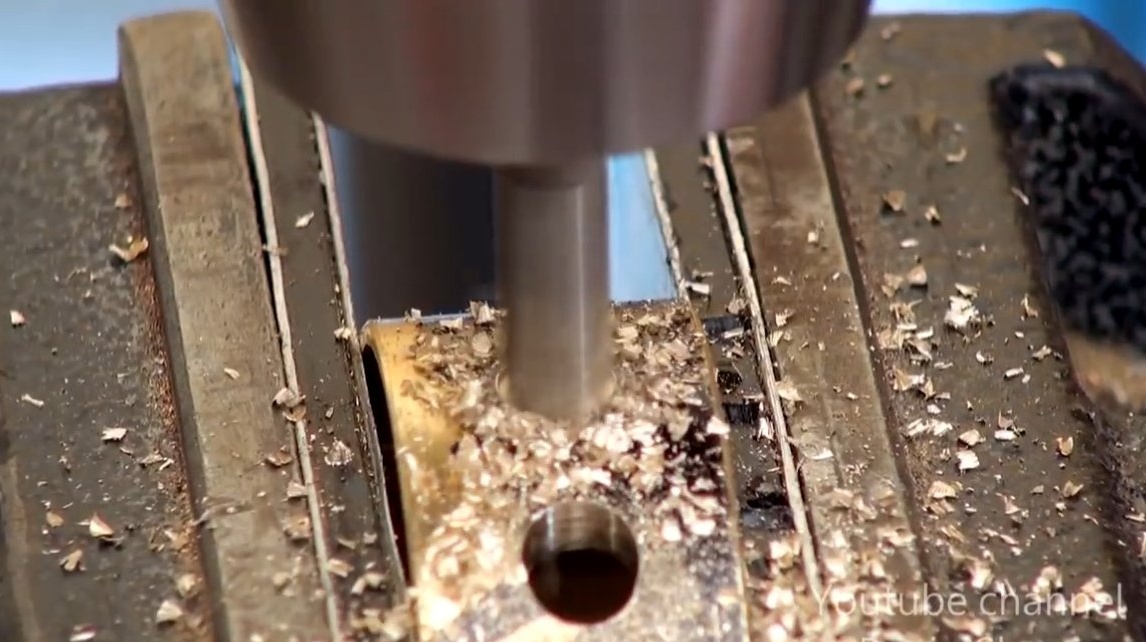
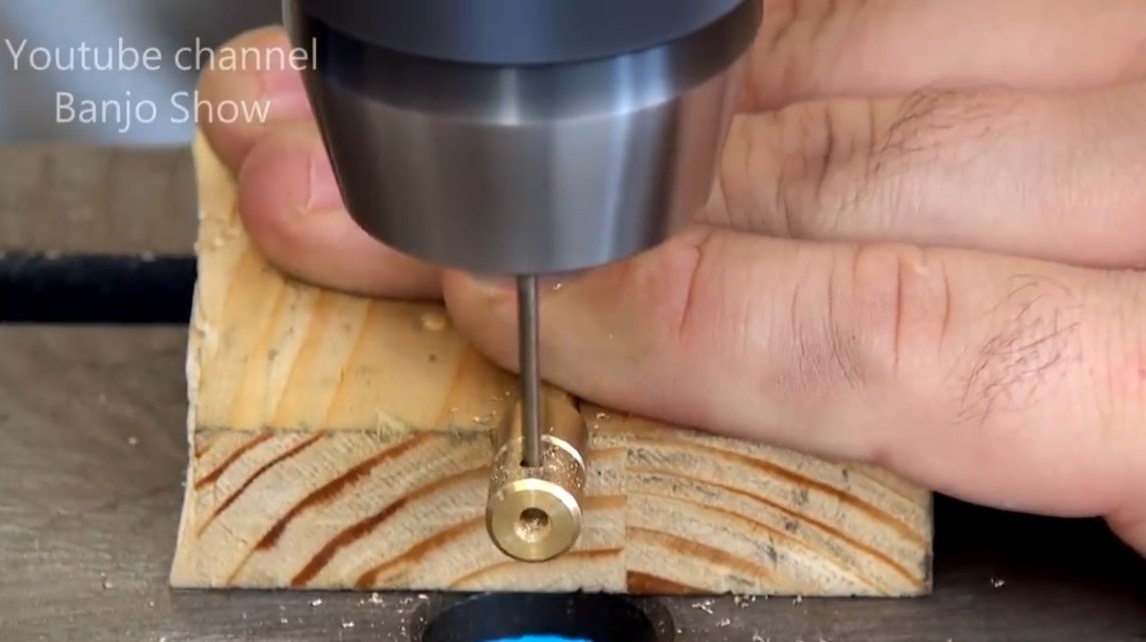
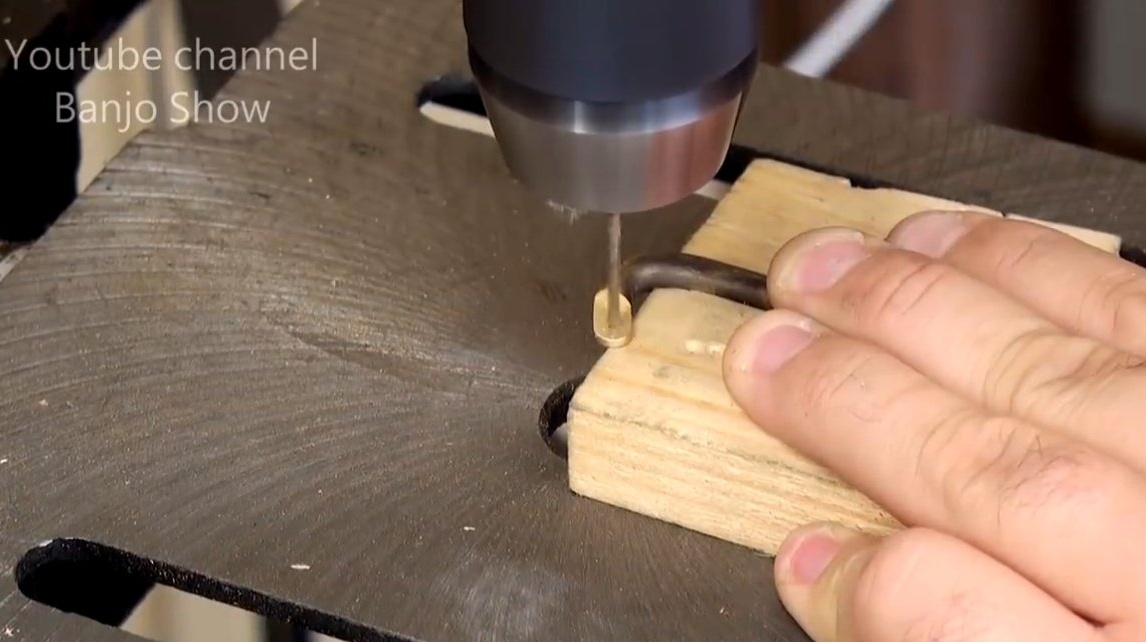
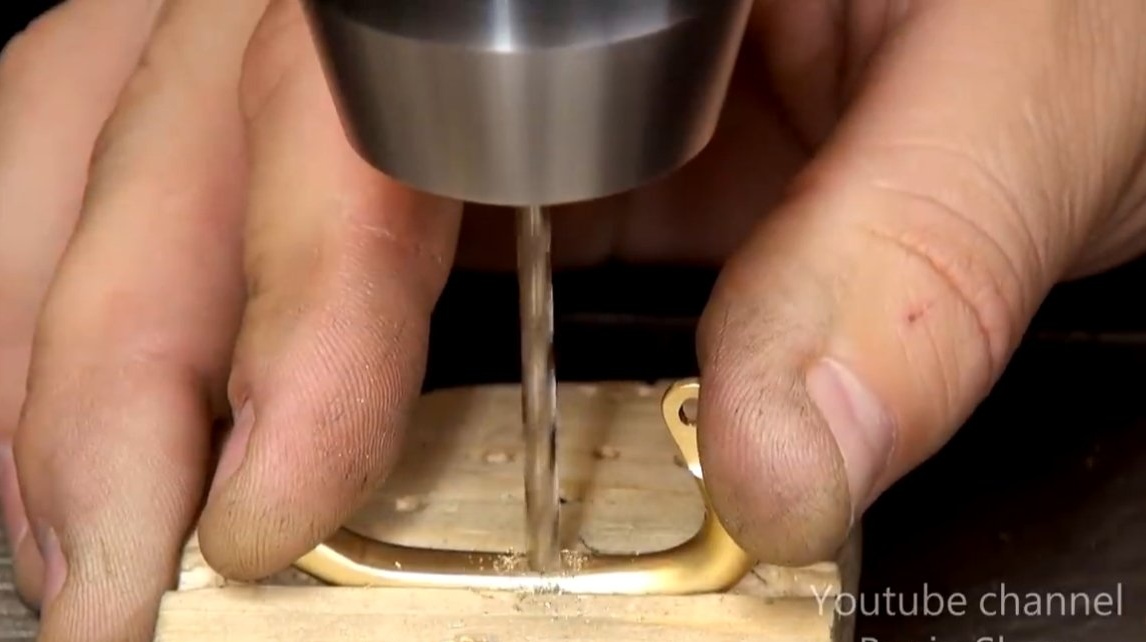
In addition, we drill holes in the housing for installing various parts.

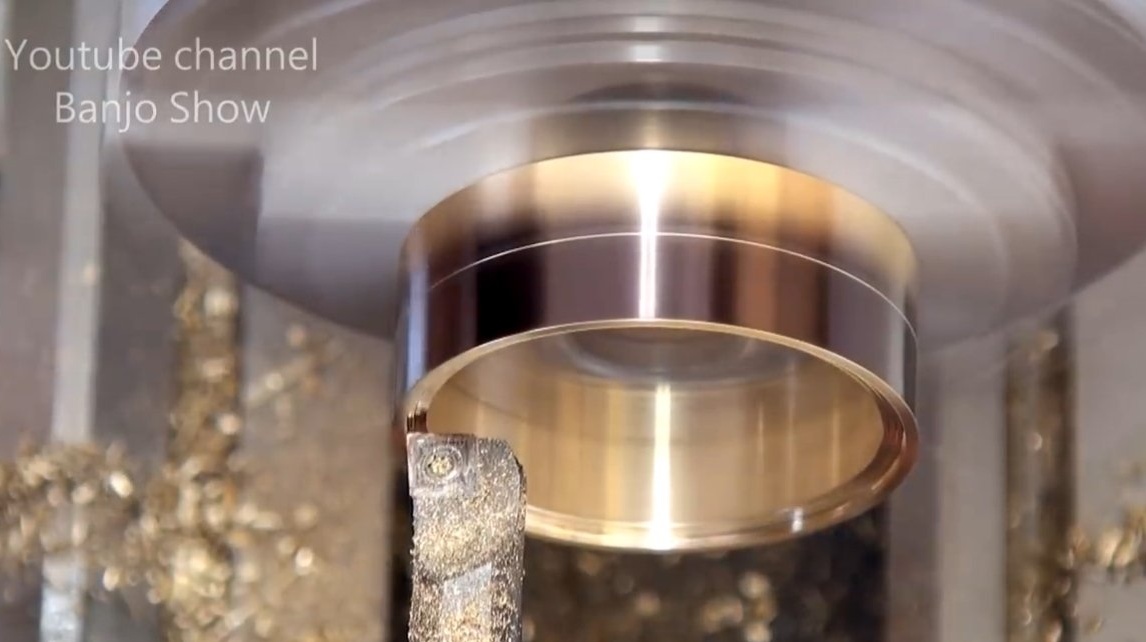

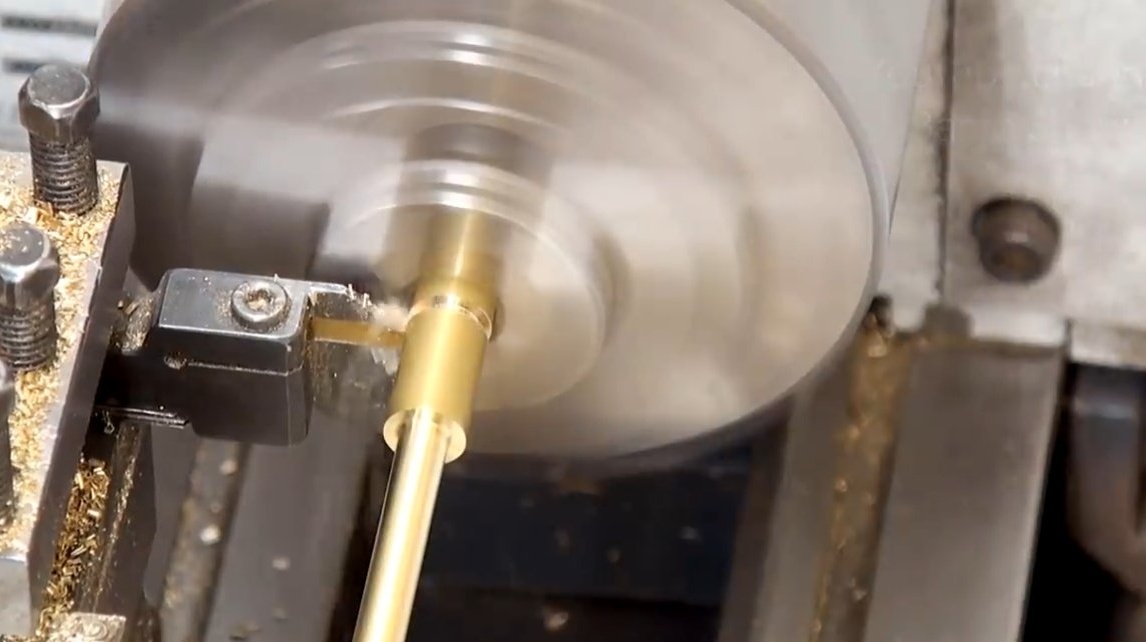
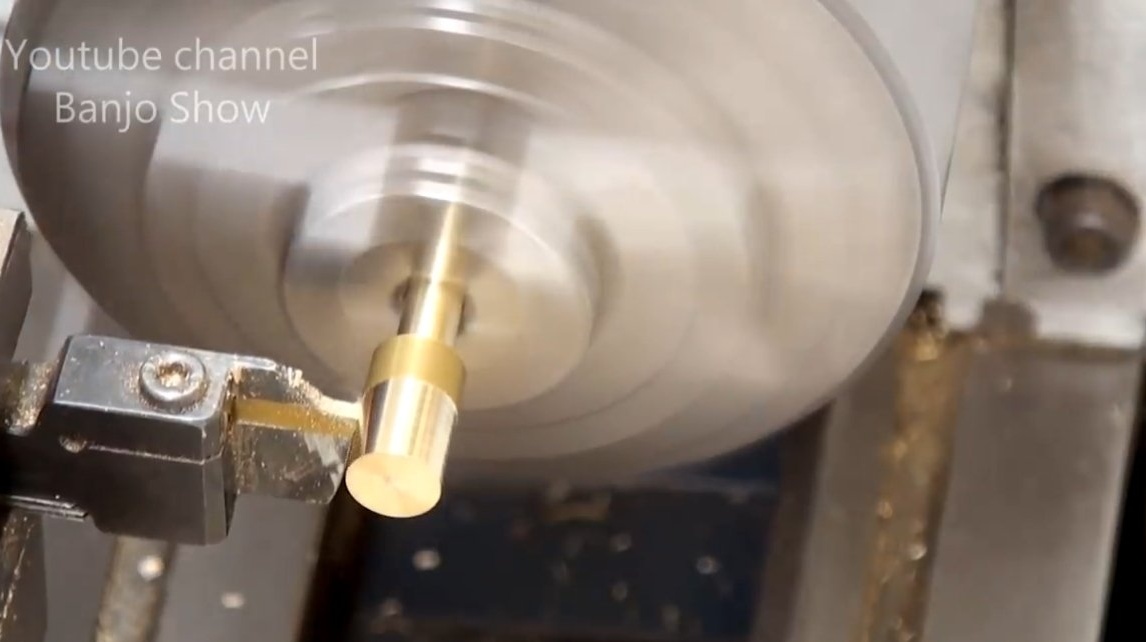
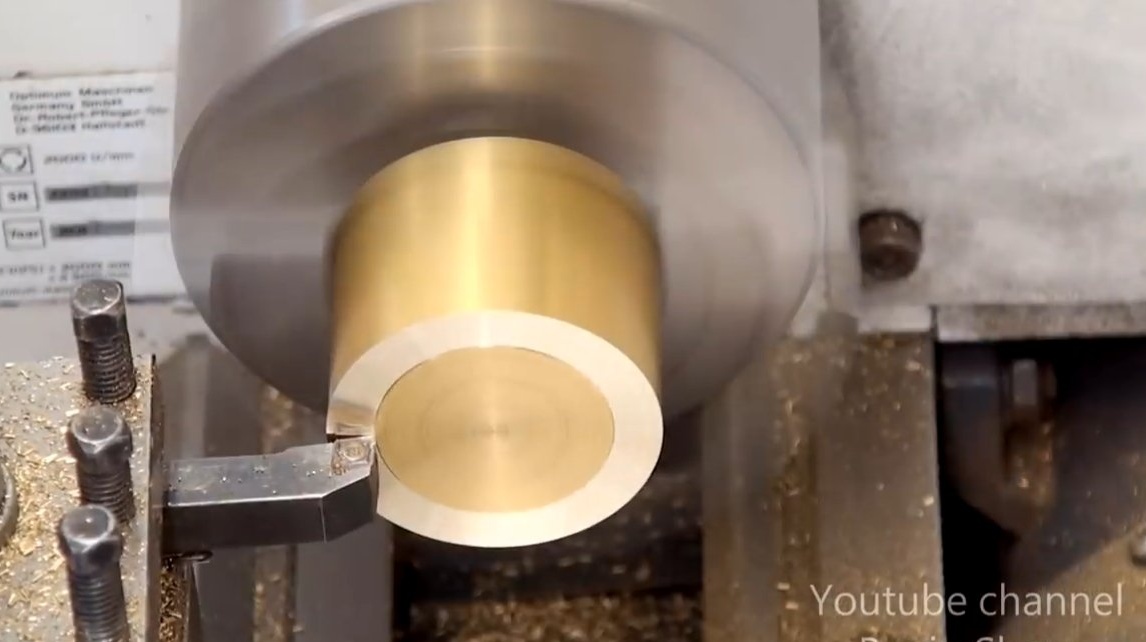
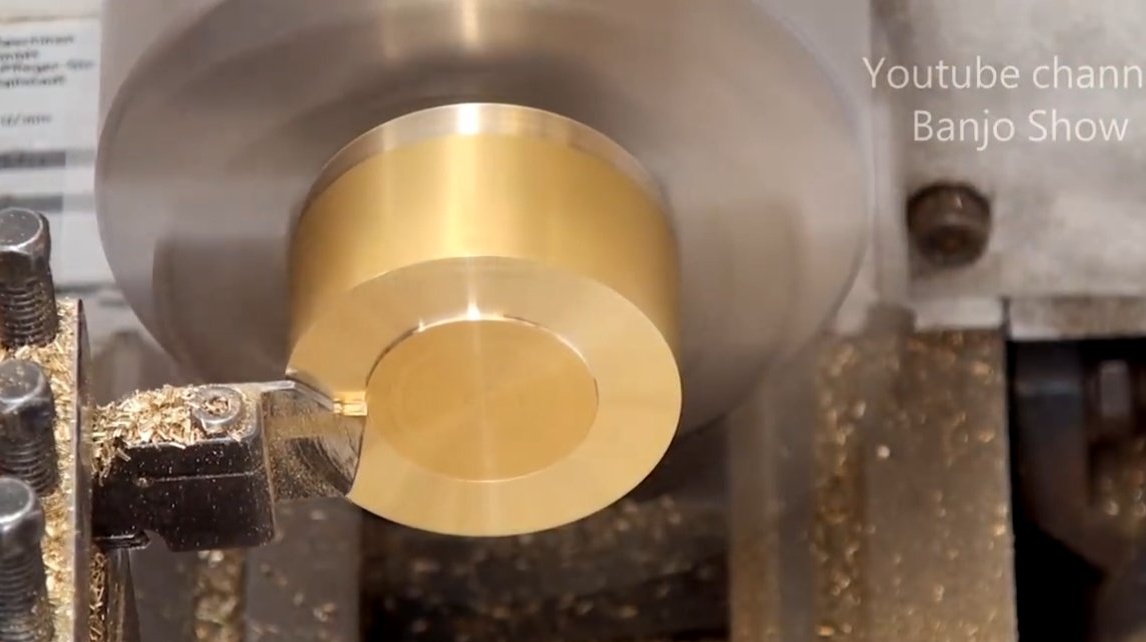
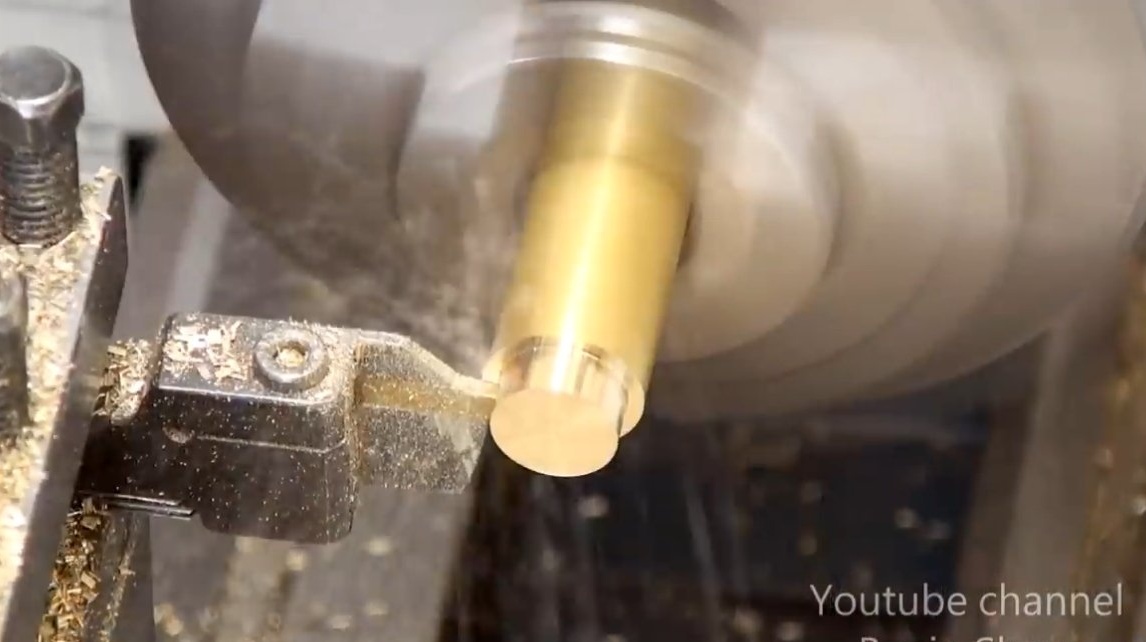
Step Two Turn the parts and solder to the body
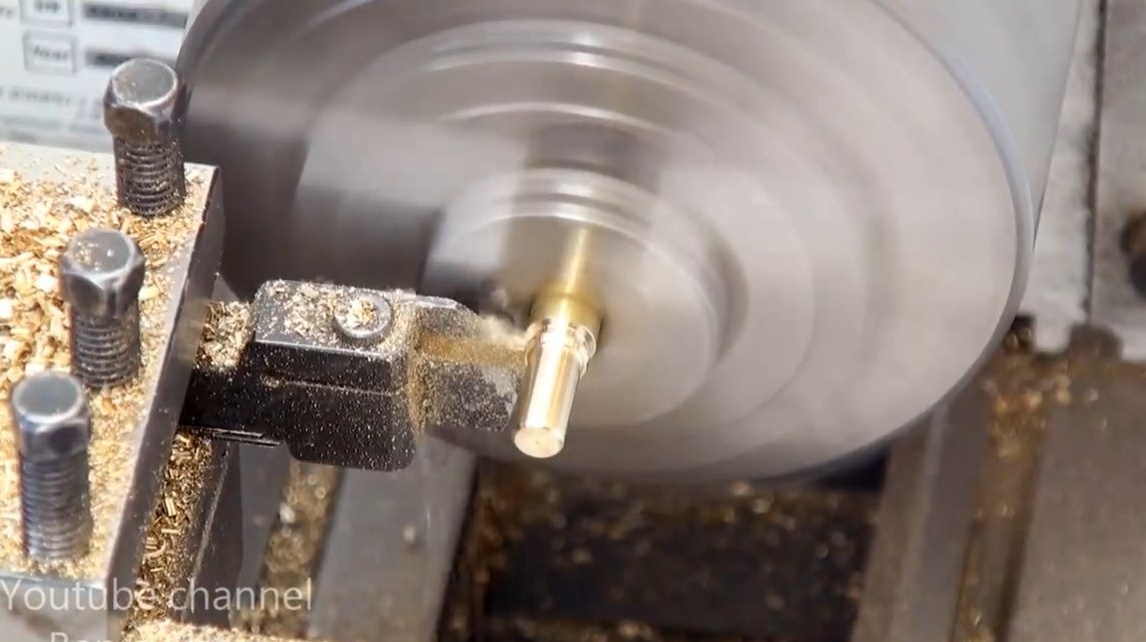
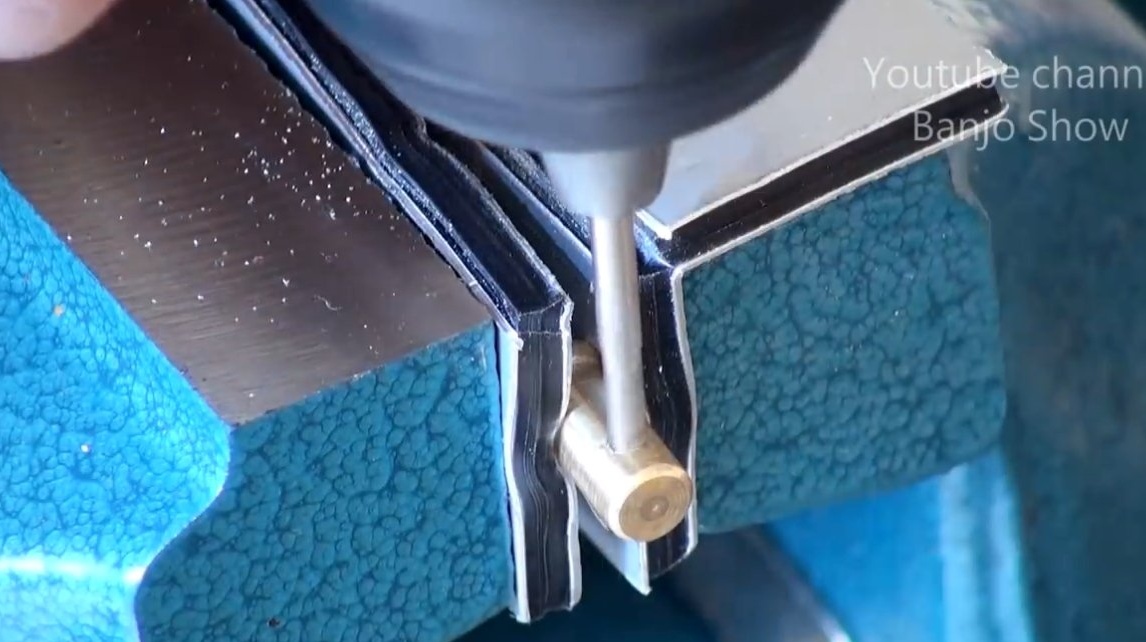
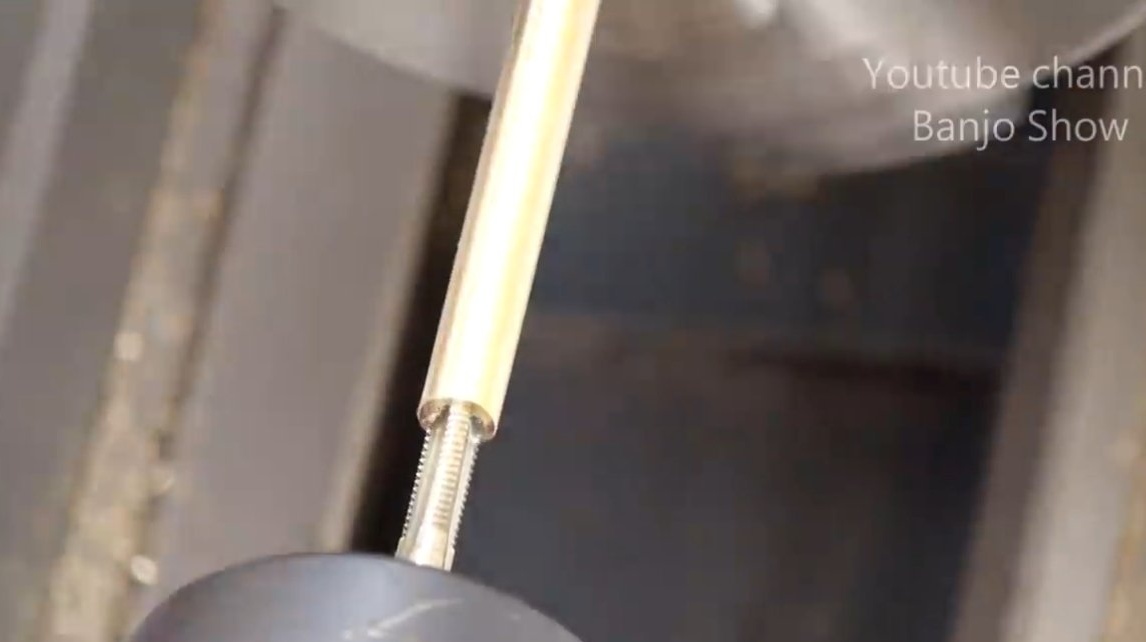
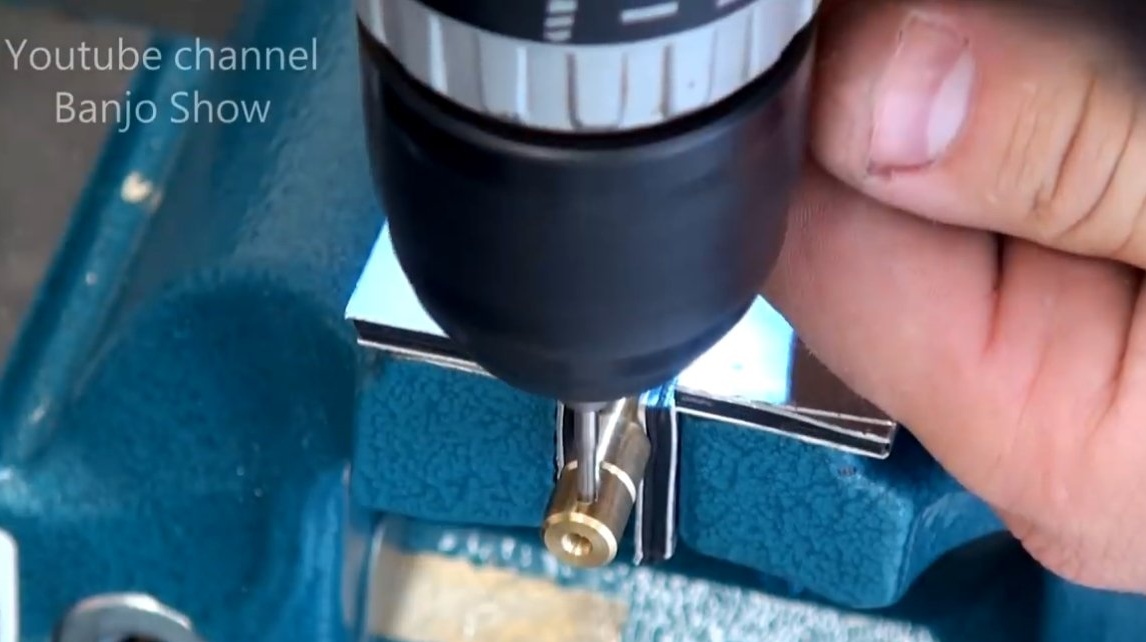
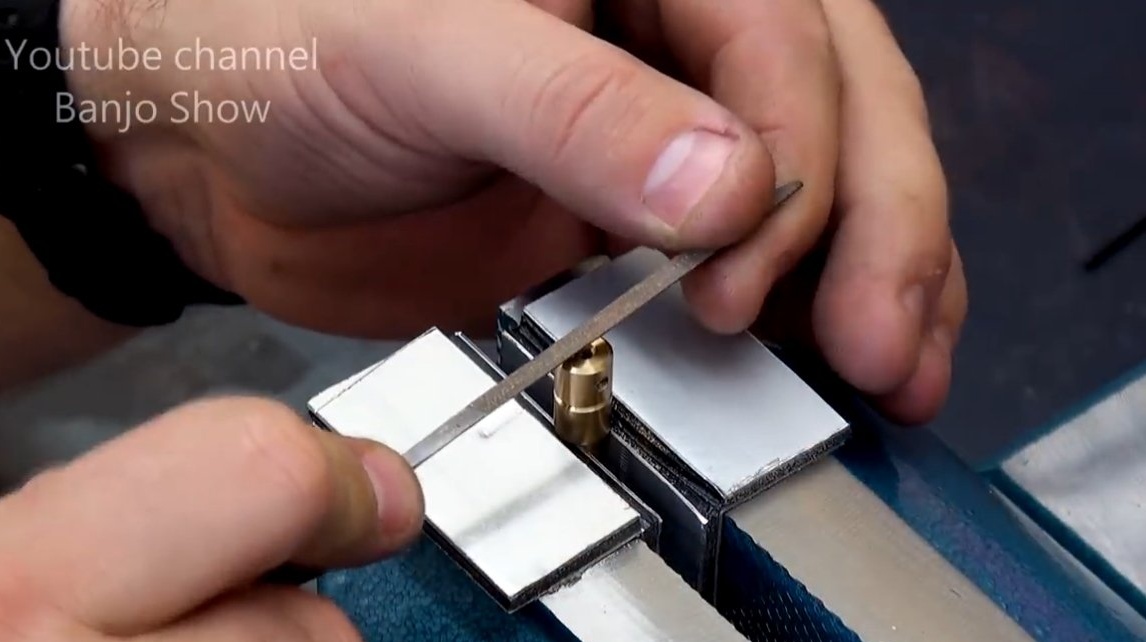
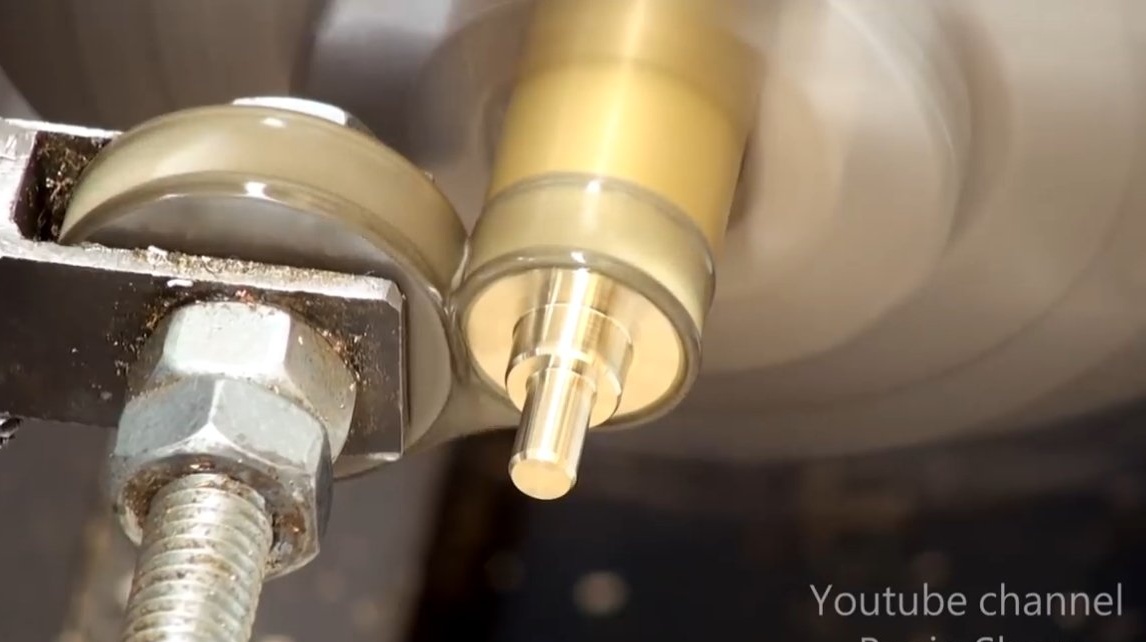
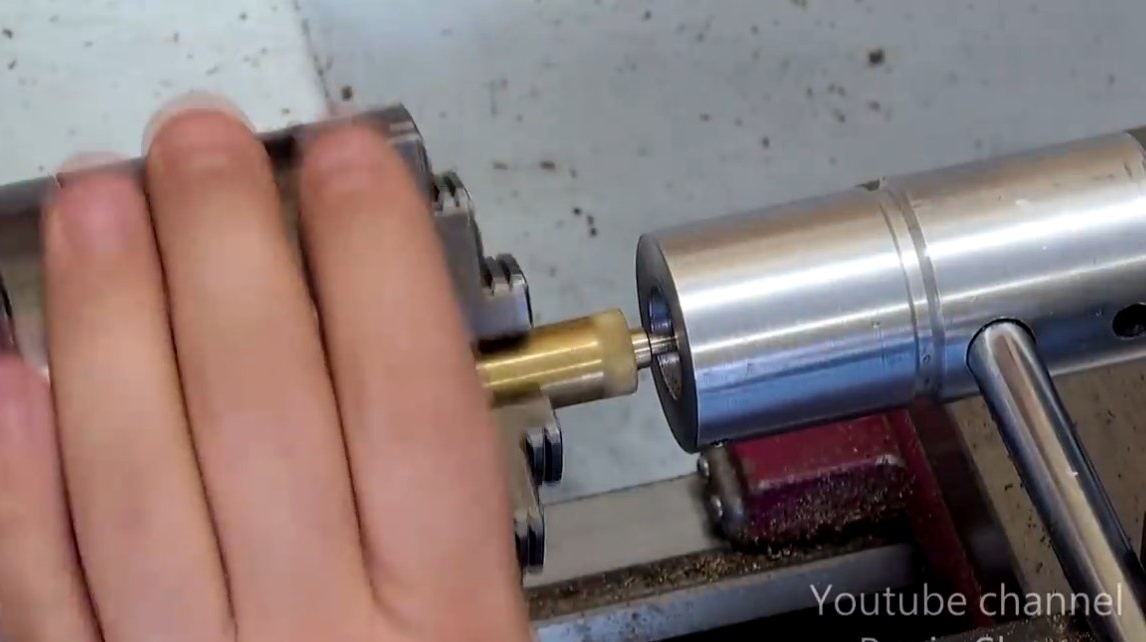
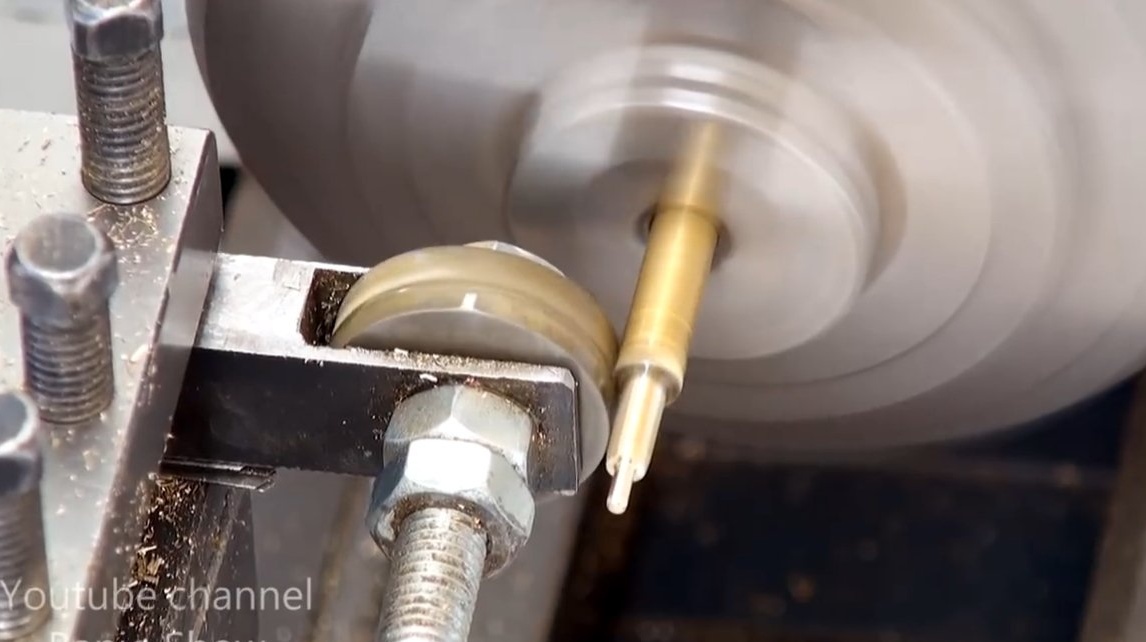
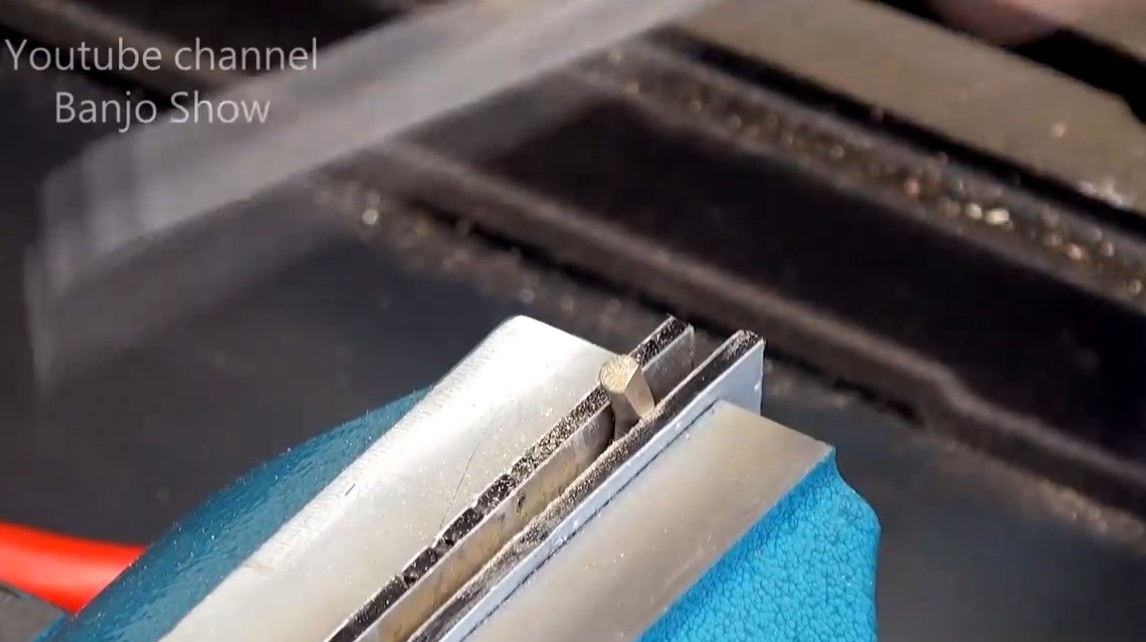
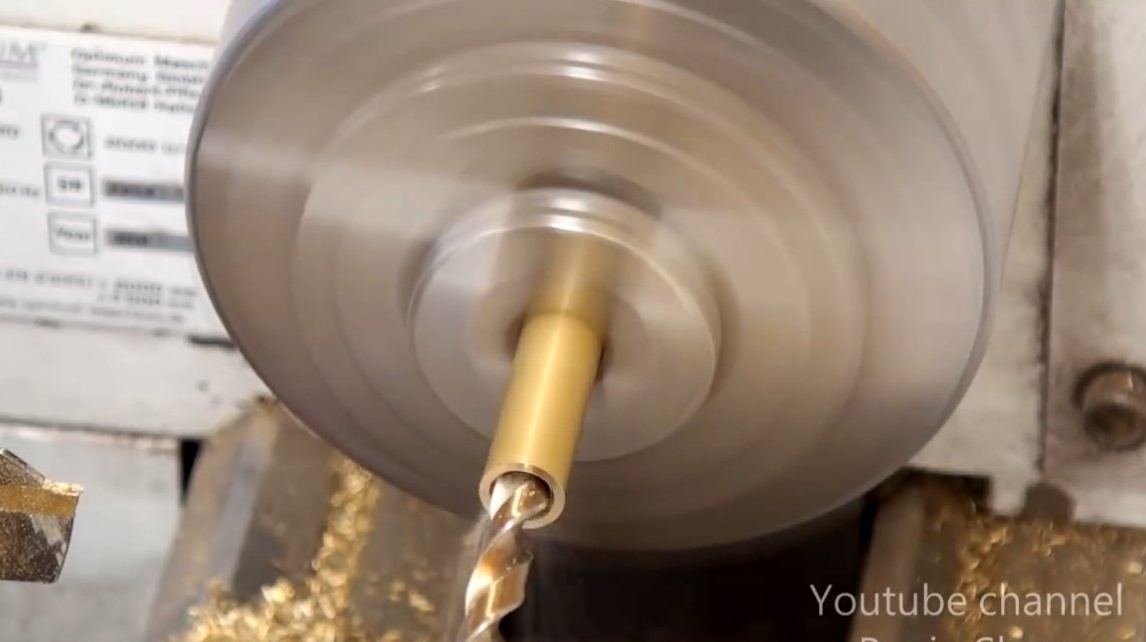
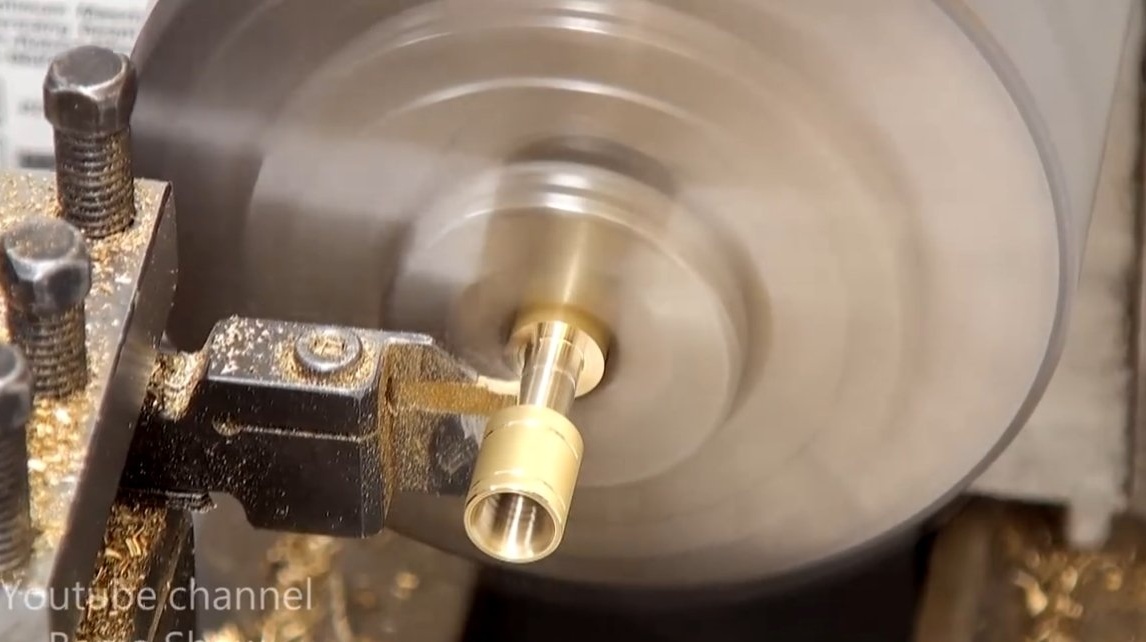
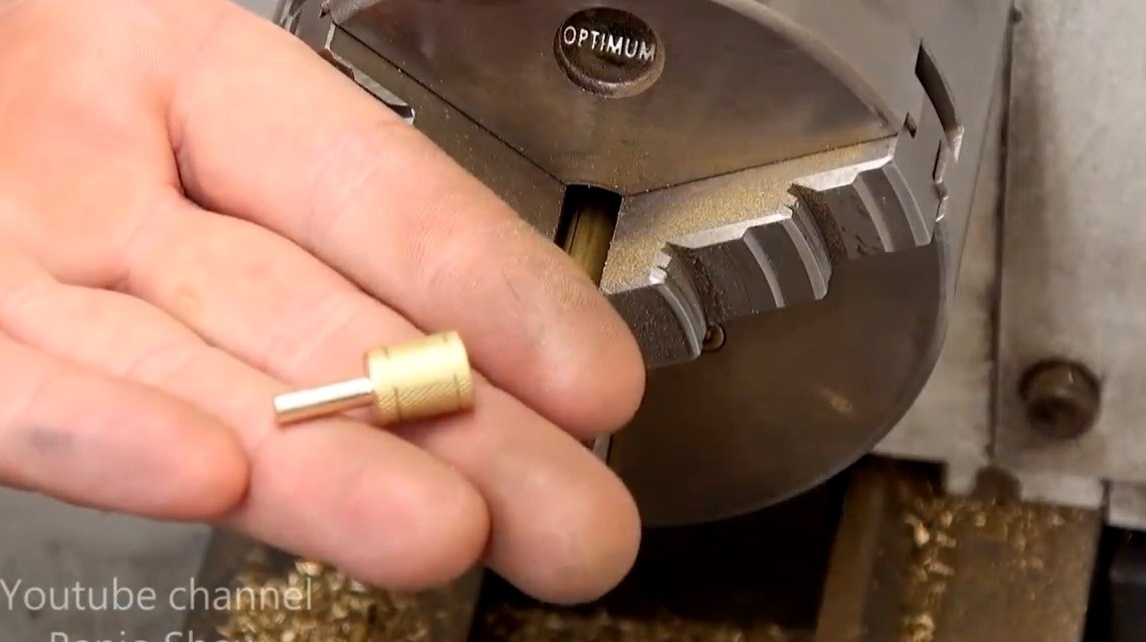
Using a lathe, we grind all the necessary details for the functioning of the lighter.
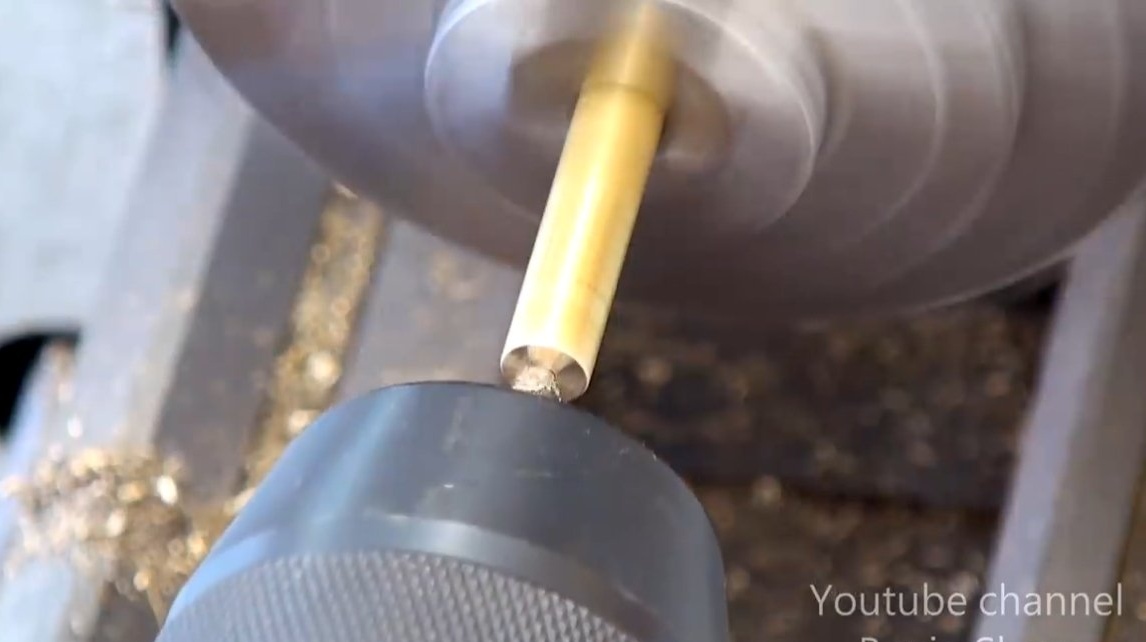
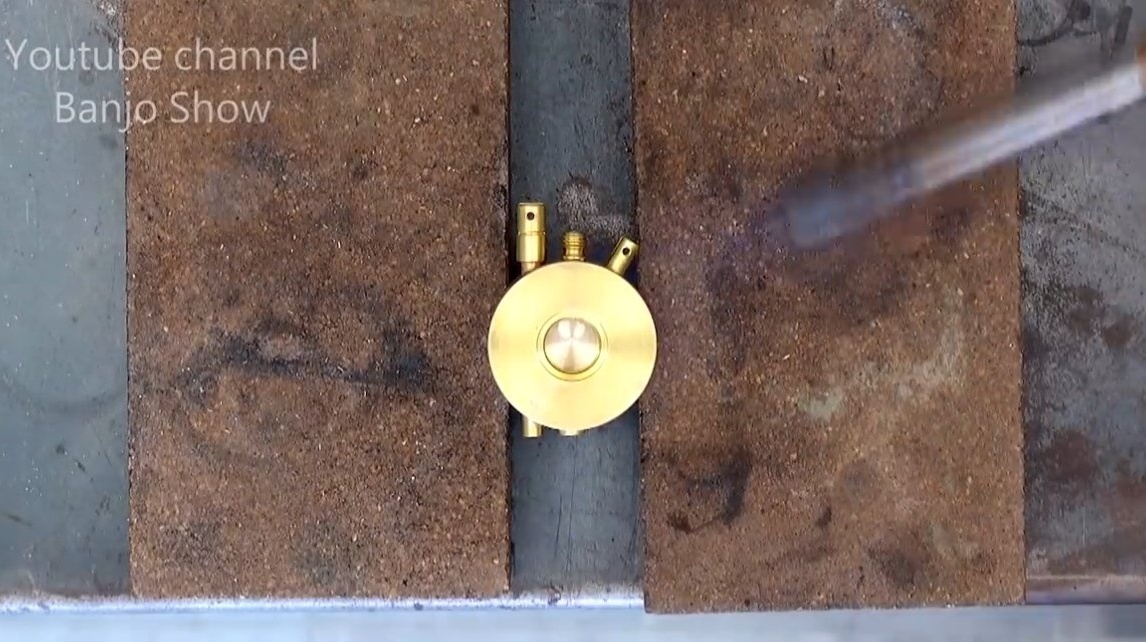
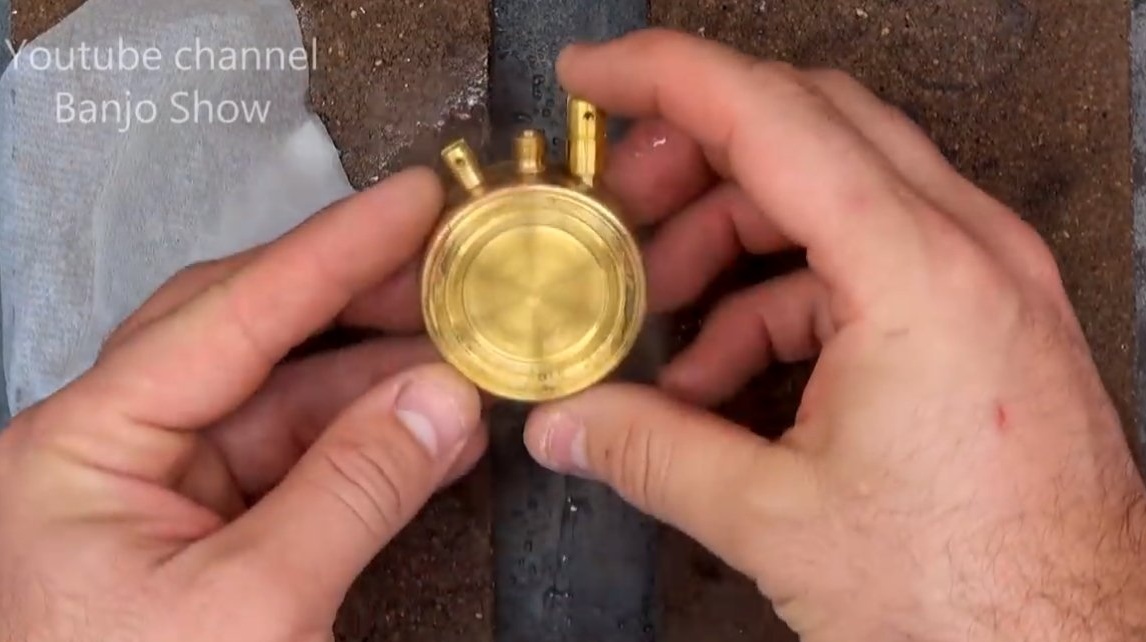
First of all, you need to make a holder for silicon, on it the wheel will be placed, which will form sparks. The part consists of a tube that passes through the entire lighter and exits at the bottom, and a holder for the wheel is mounted on top.
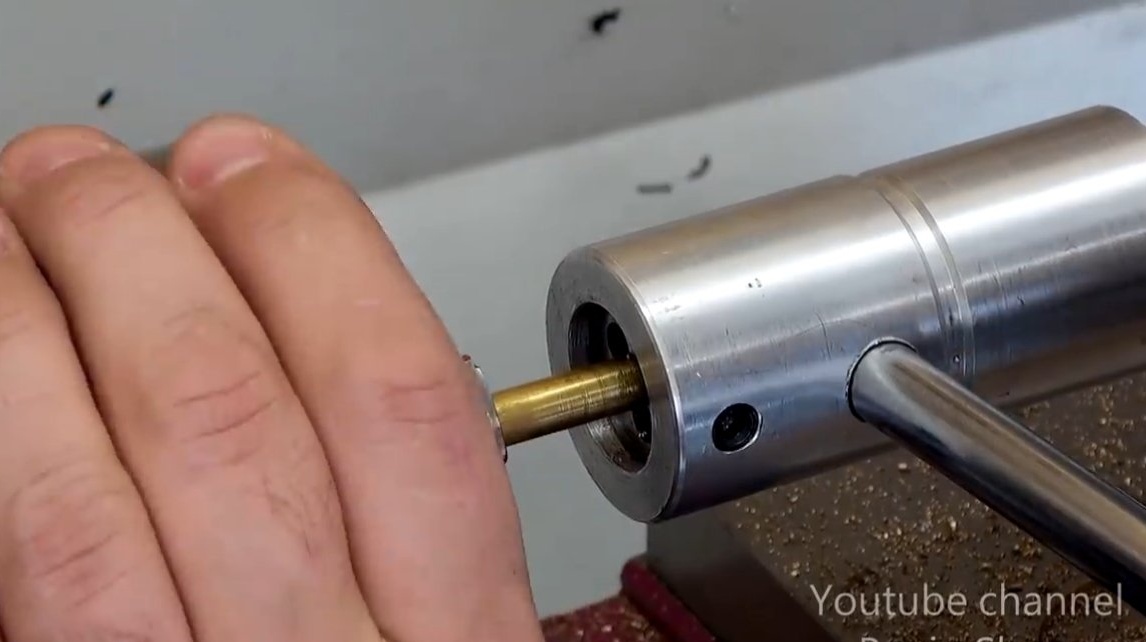
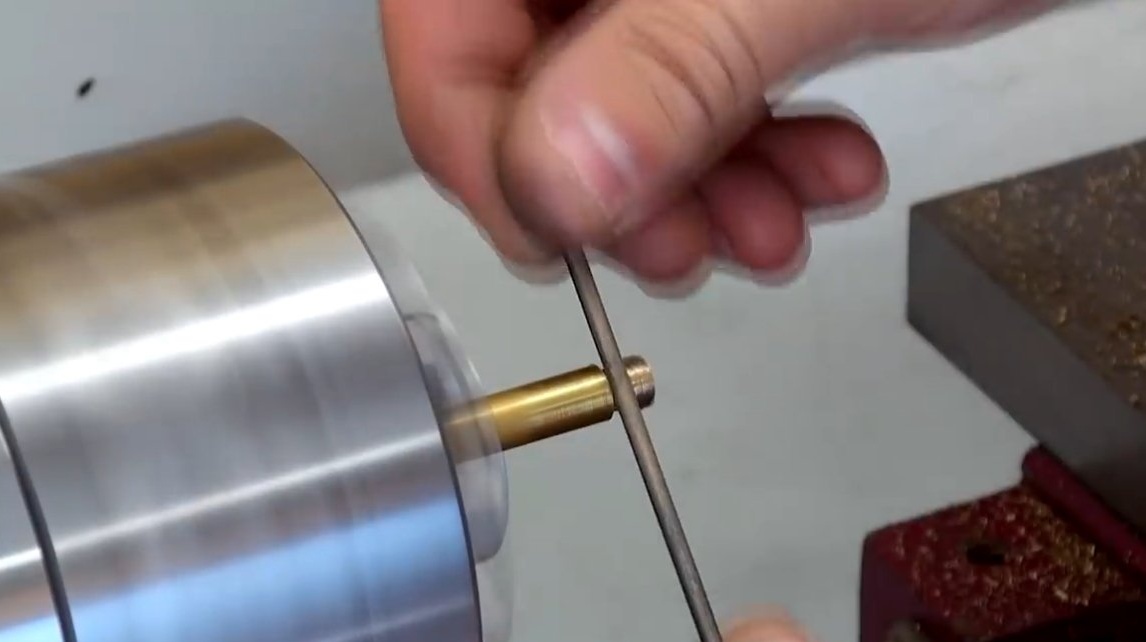


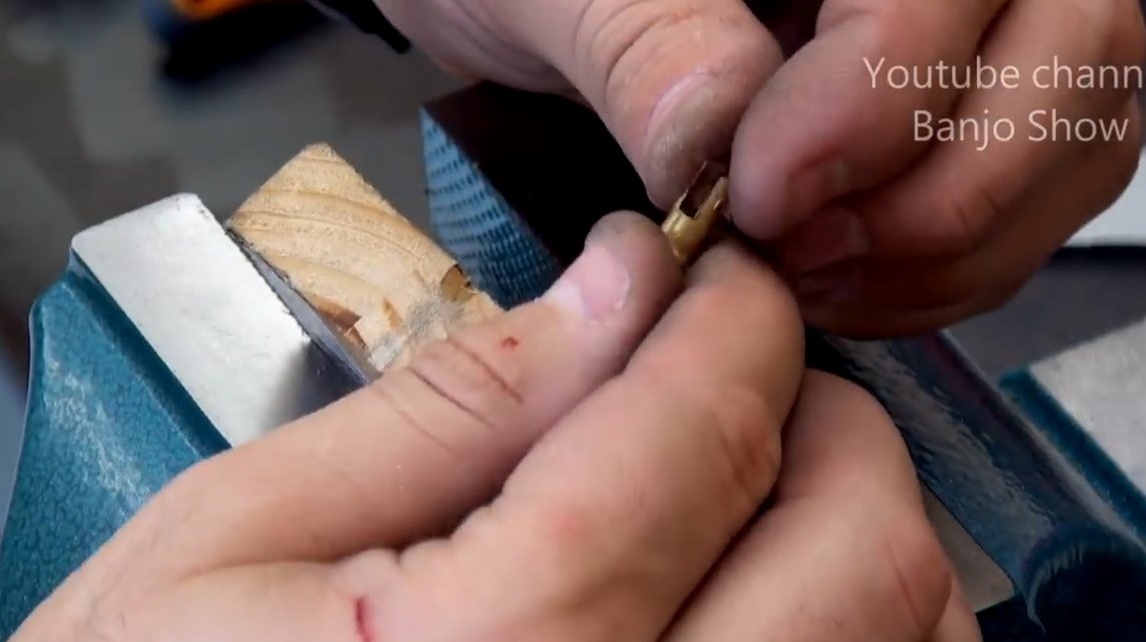
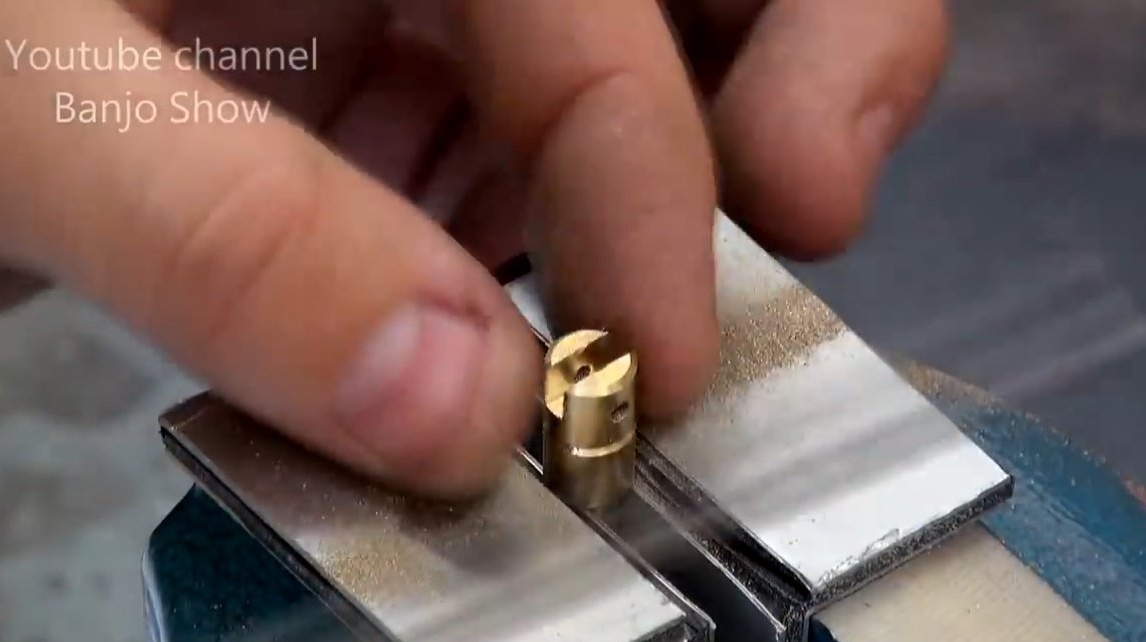
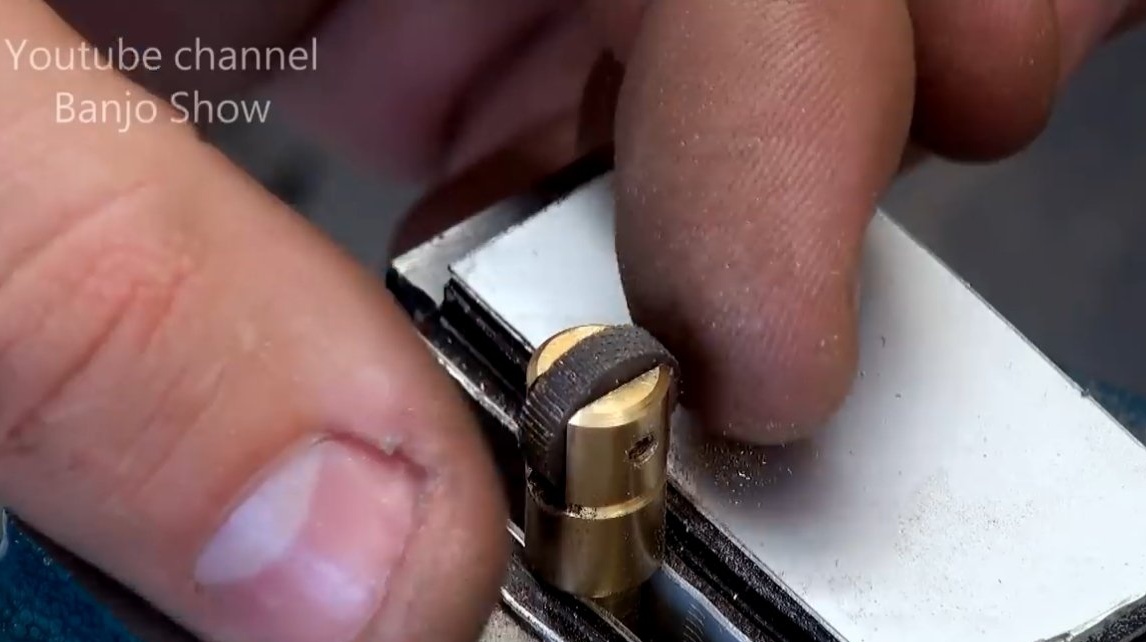

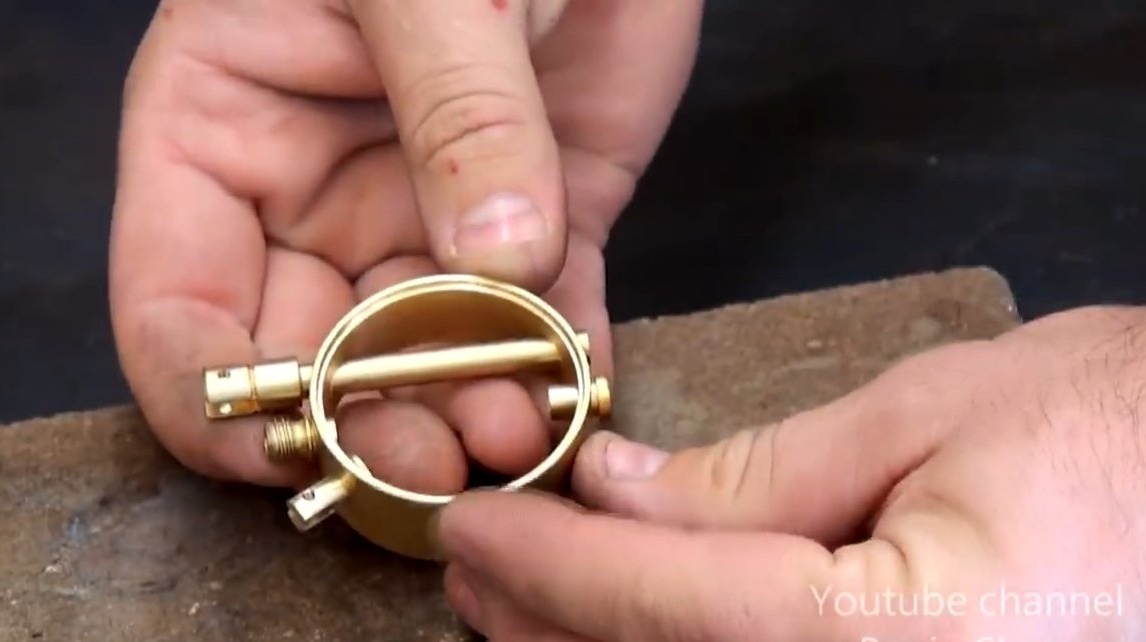
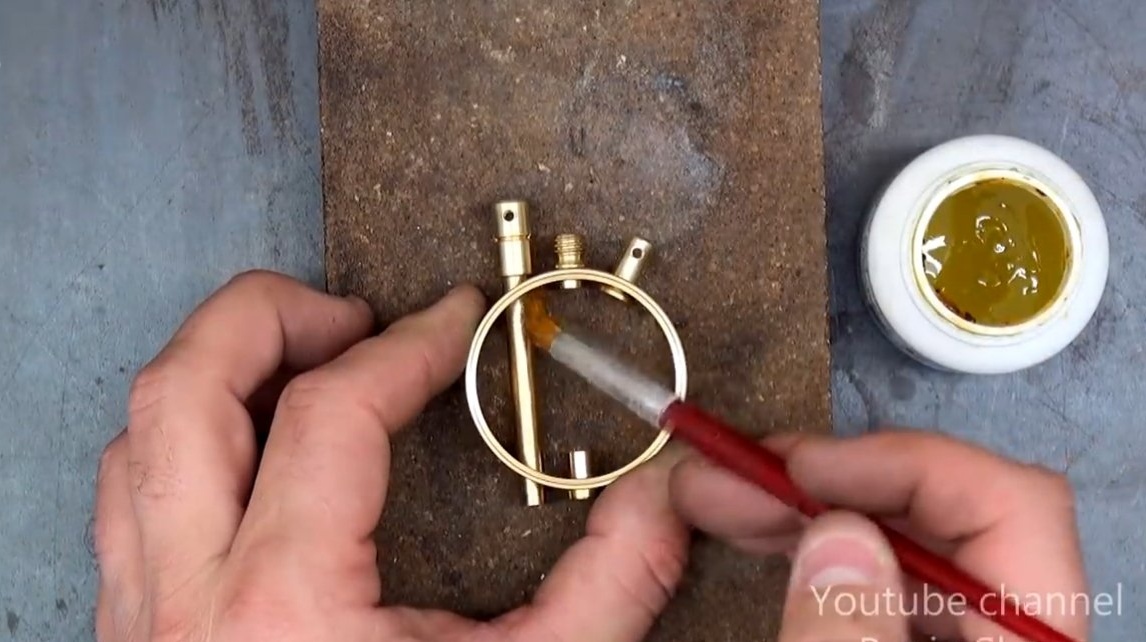
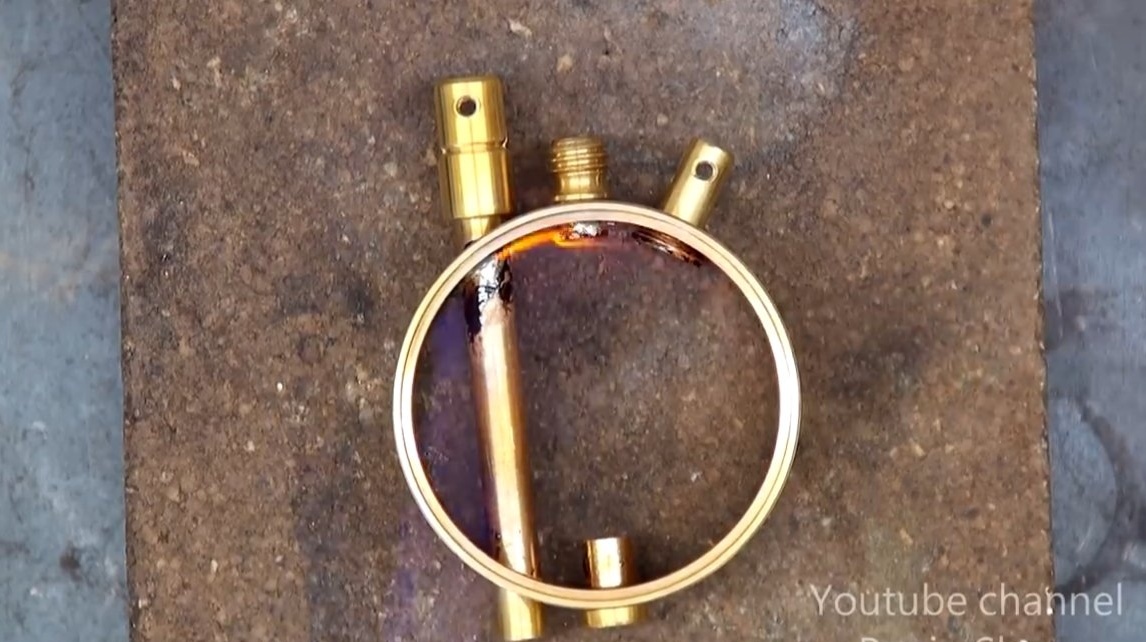
Still at the top of the lighter is a fitting for the wick and a pen holder. Having made all the details, the author carefully solders them from the inside, everything must be done hermetically, otherwise fuel will leak out.
Step Three Back cover
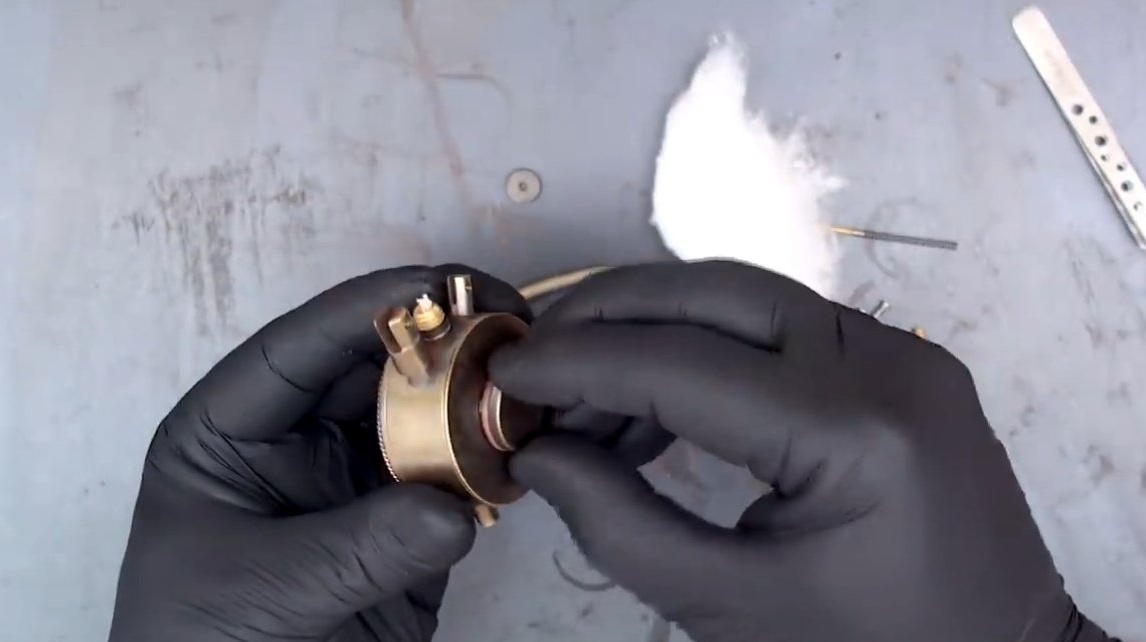
We grind the back cover from the round timber, in the center of it there is a large diameter hole with a thread. This hole is necessary for servicing the lighter, stuffing it with cotton, replacing the wick and refueling.After turning the part, you can solder it to the body.
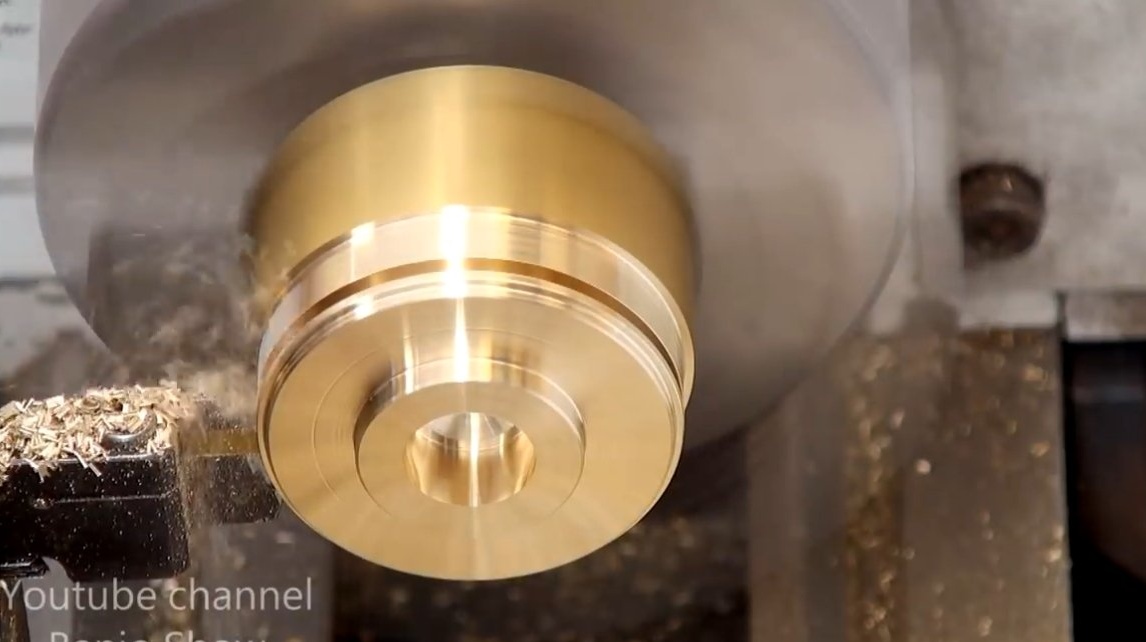
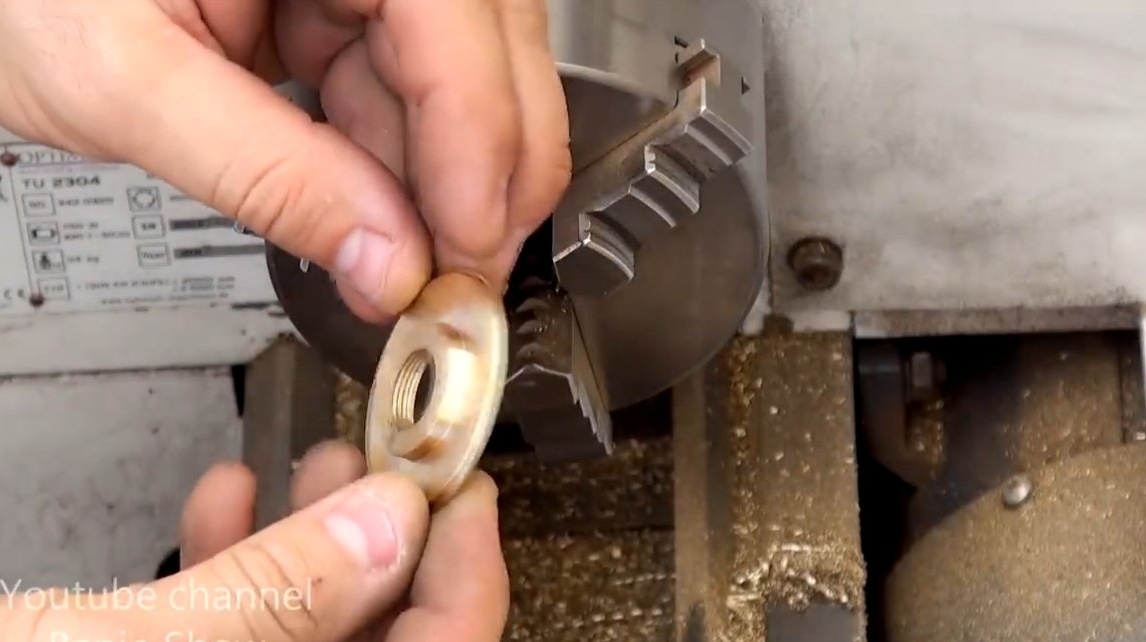


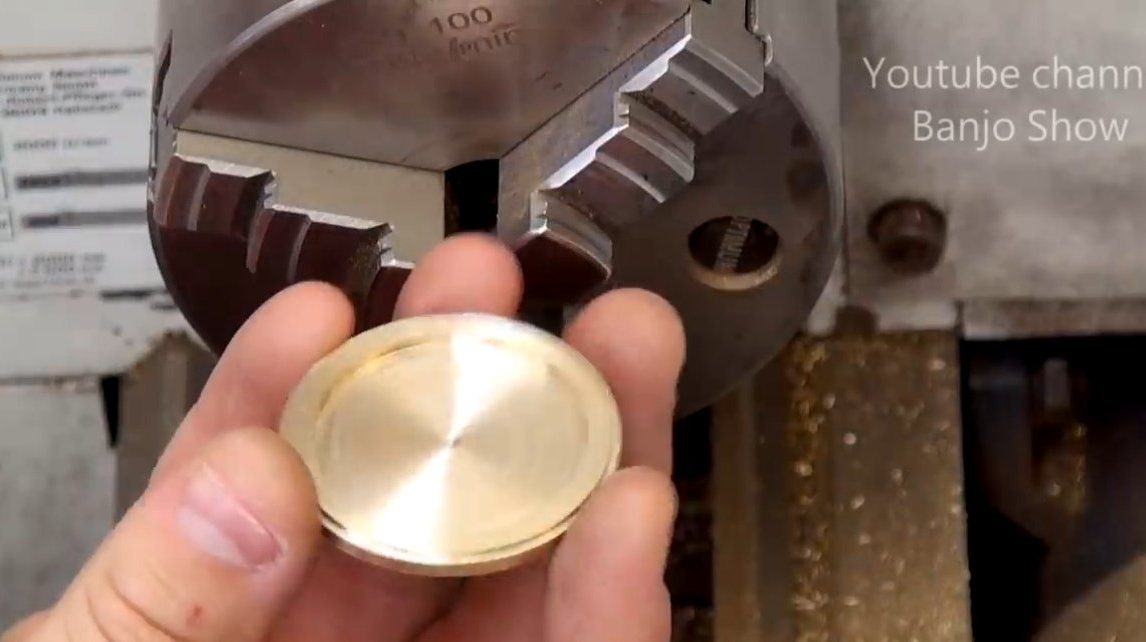
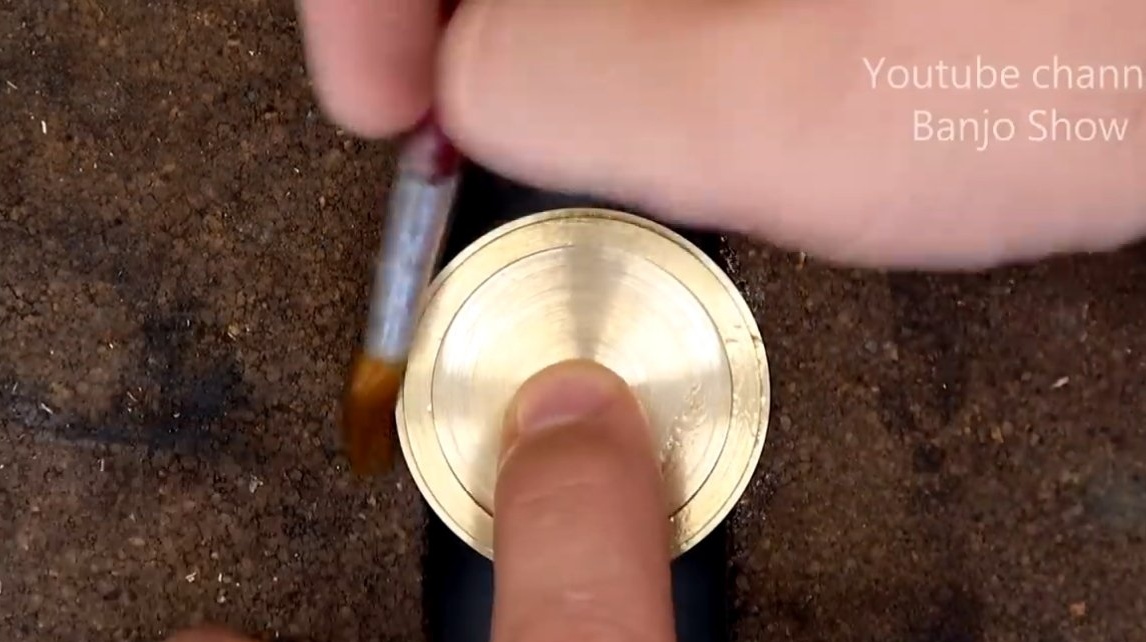
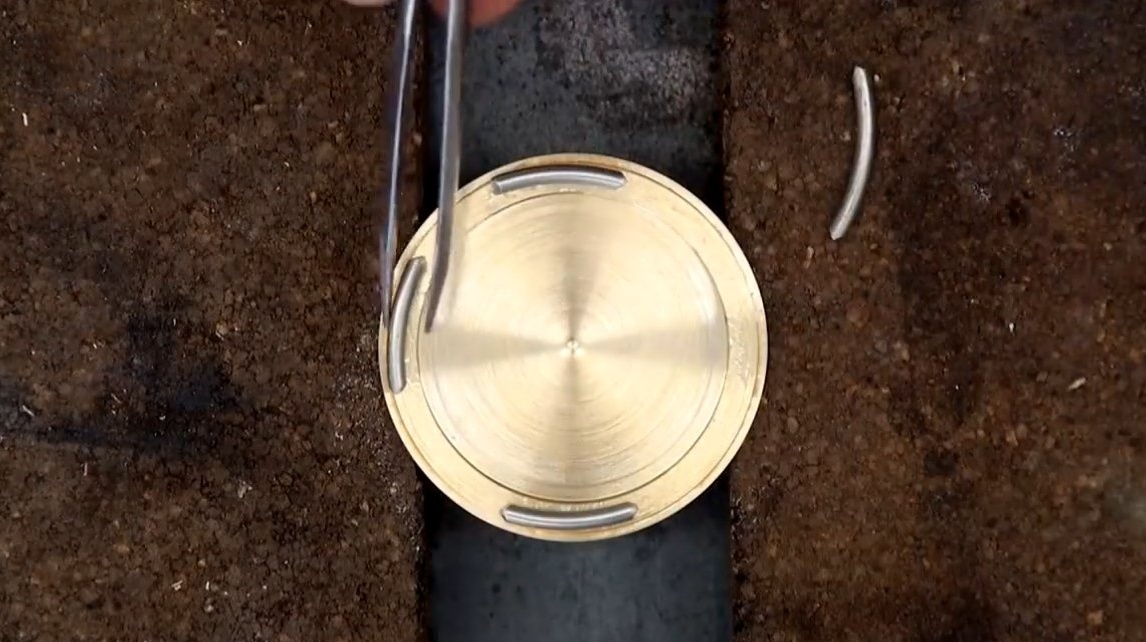
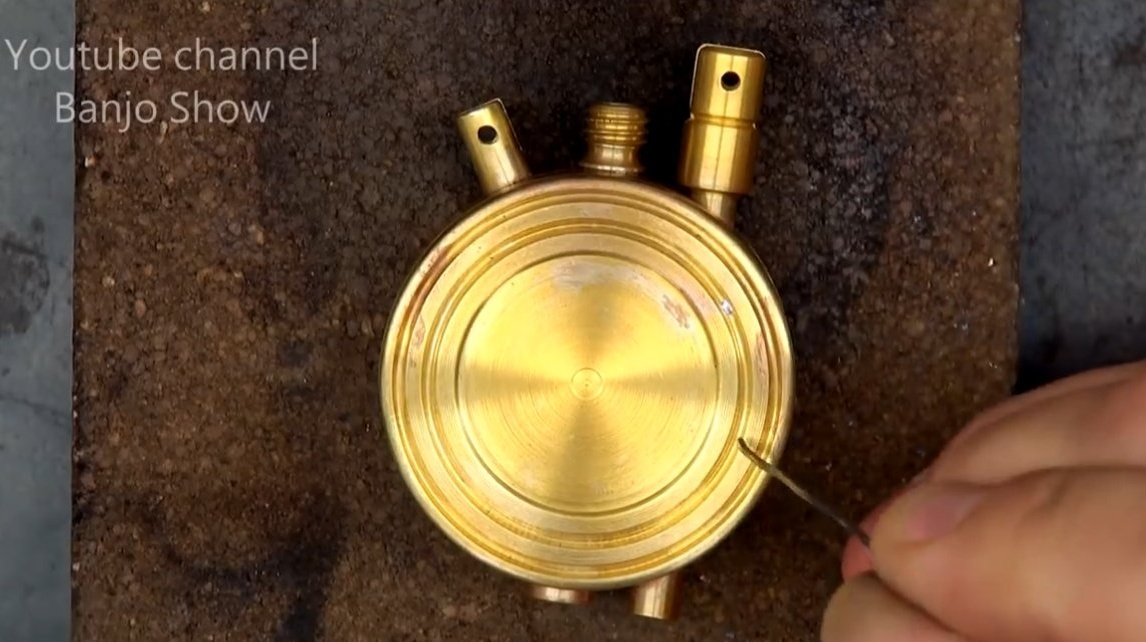
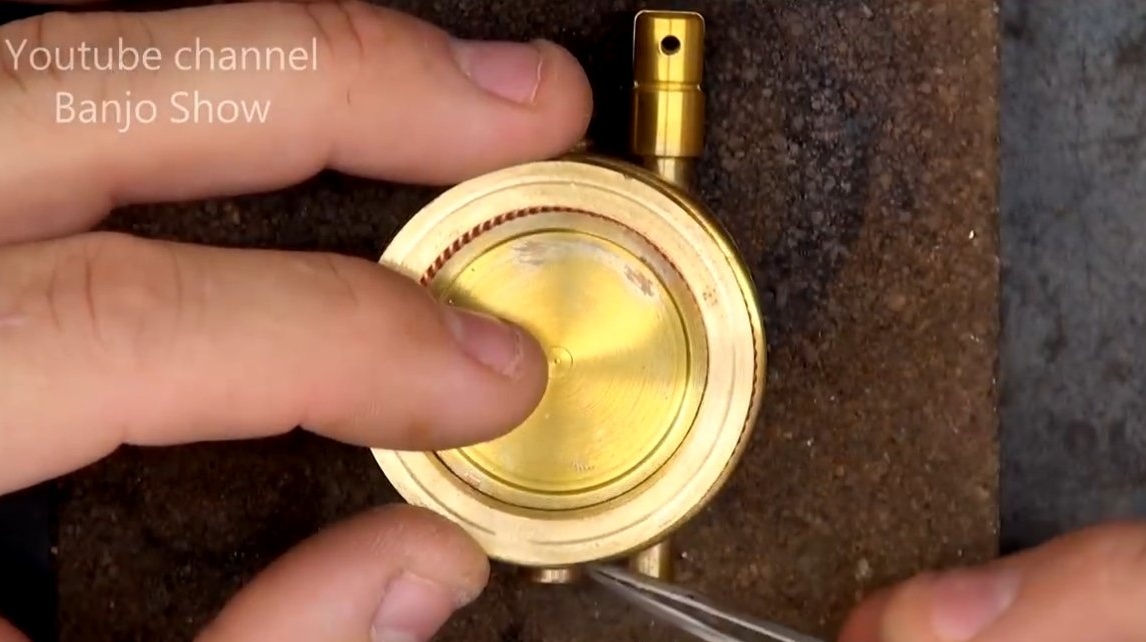
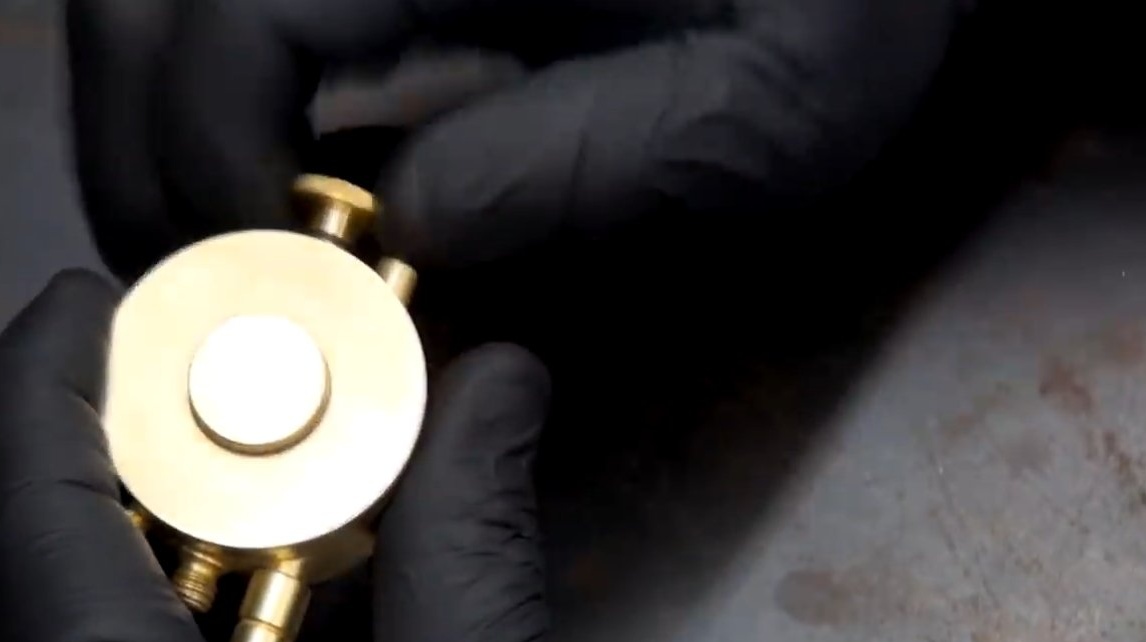
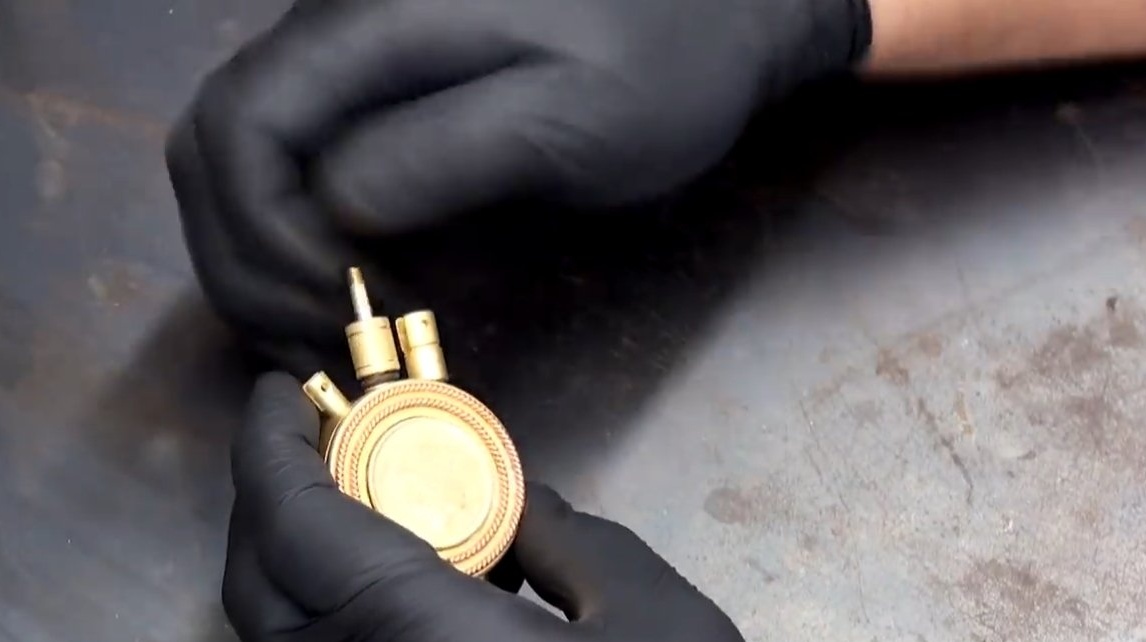
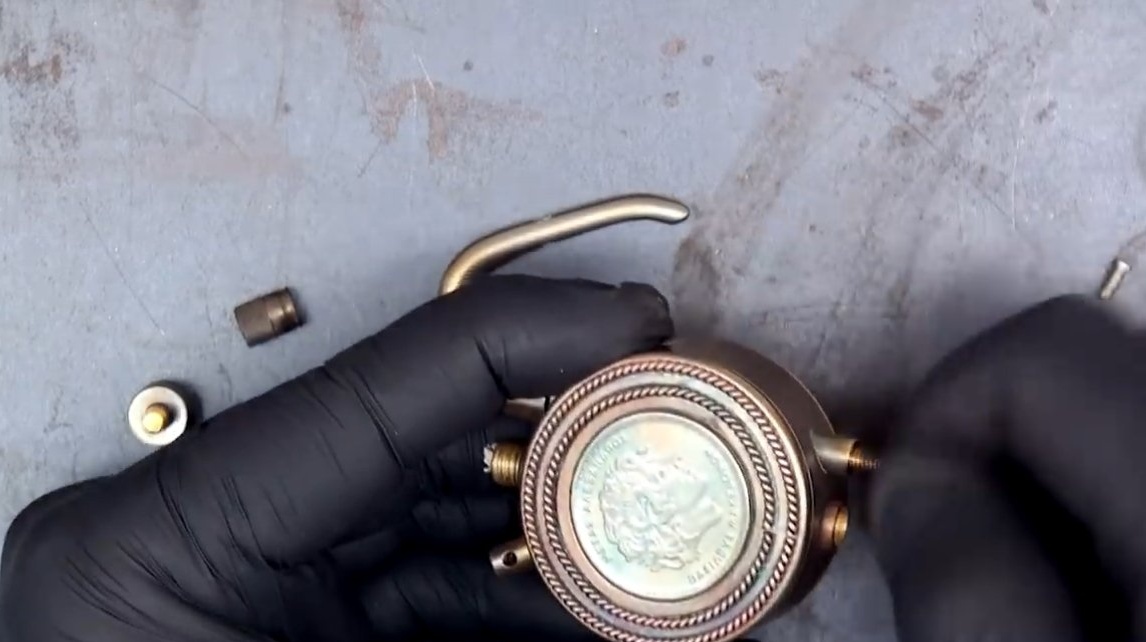
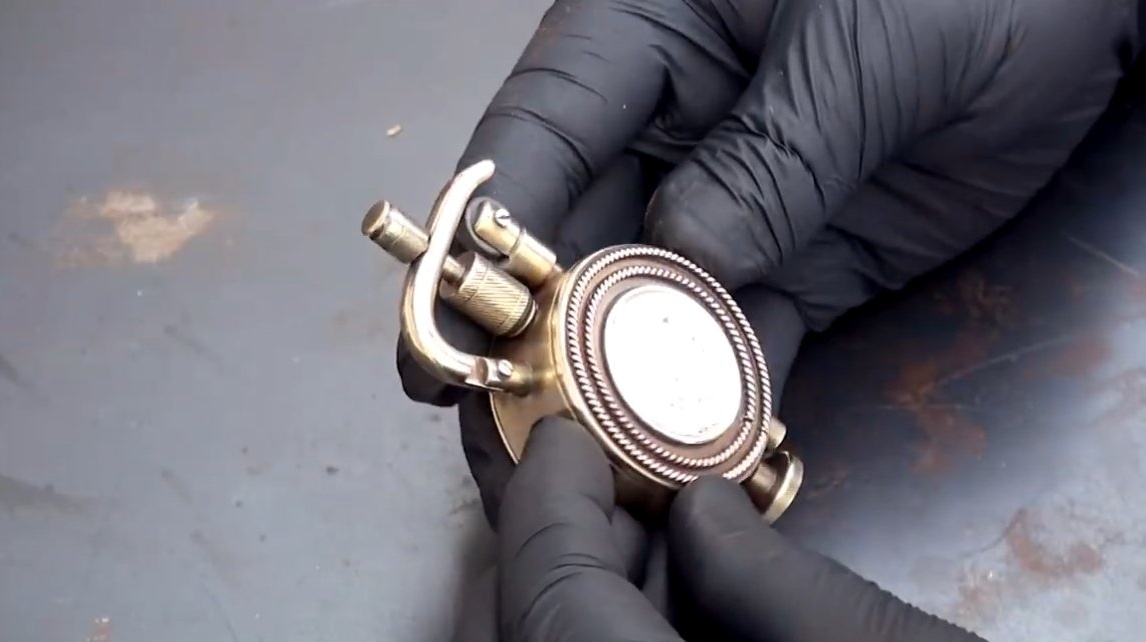
Step Four Front cover
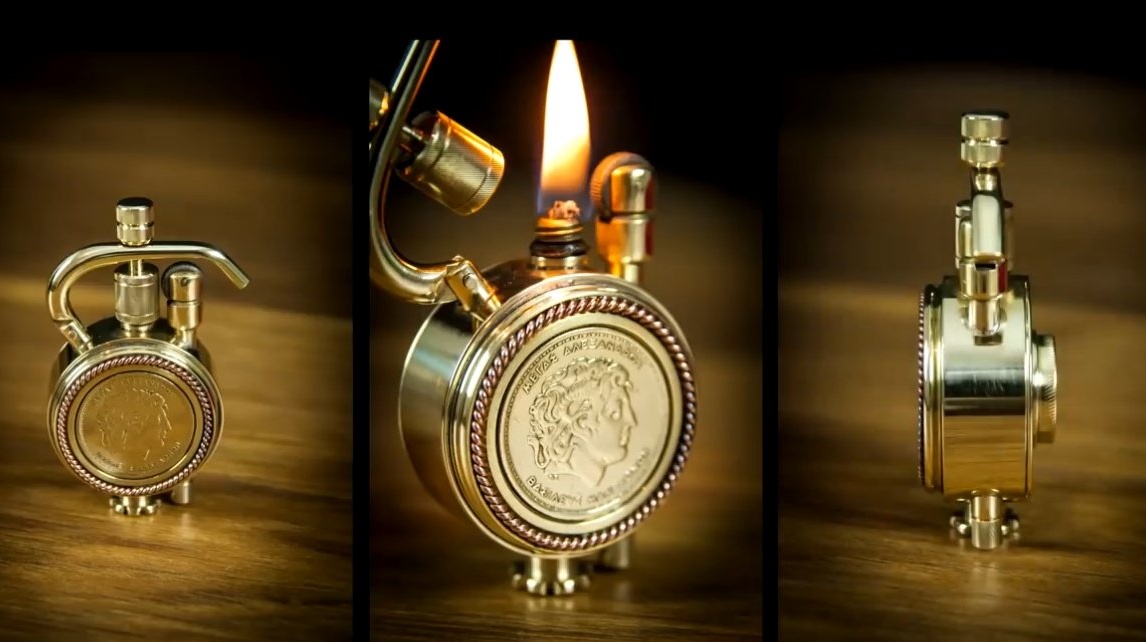
We also grind the front cover from the round timber, it has grooves for installing decorative elements. One such element is a spirally twisted copper wire. And also a beautiful coin flaunts on a lighter. All these parts are reliably soldered to the lighter.


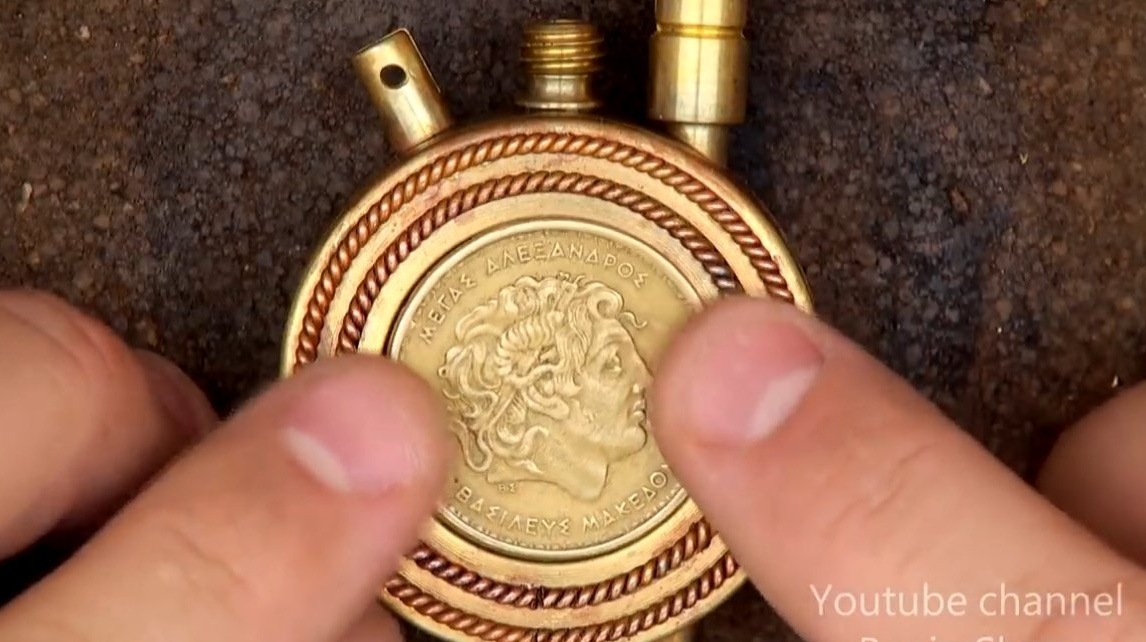
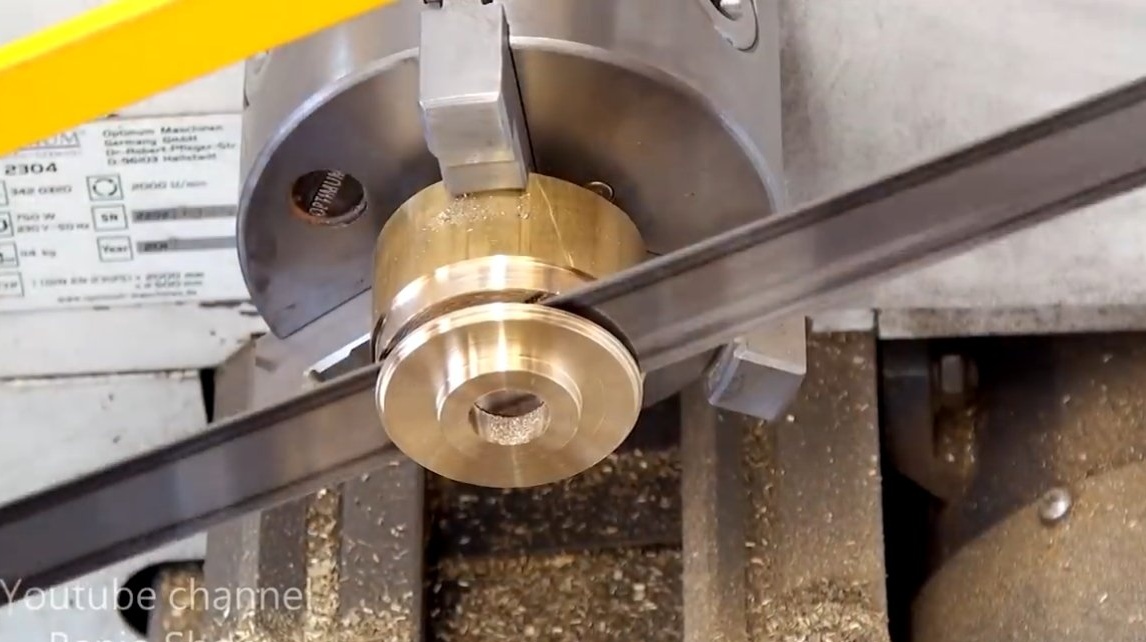
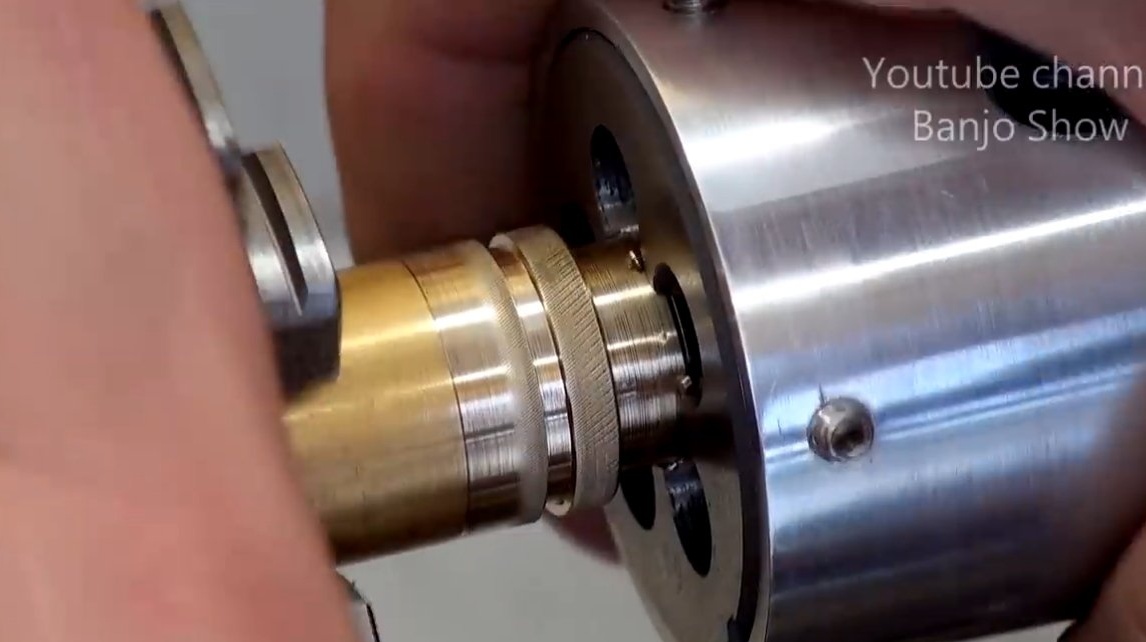
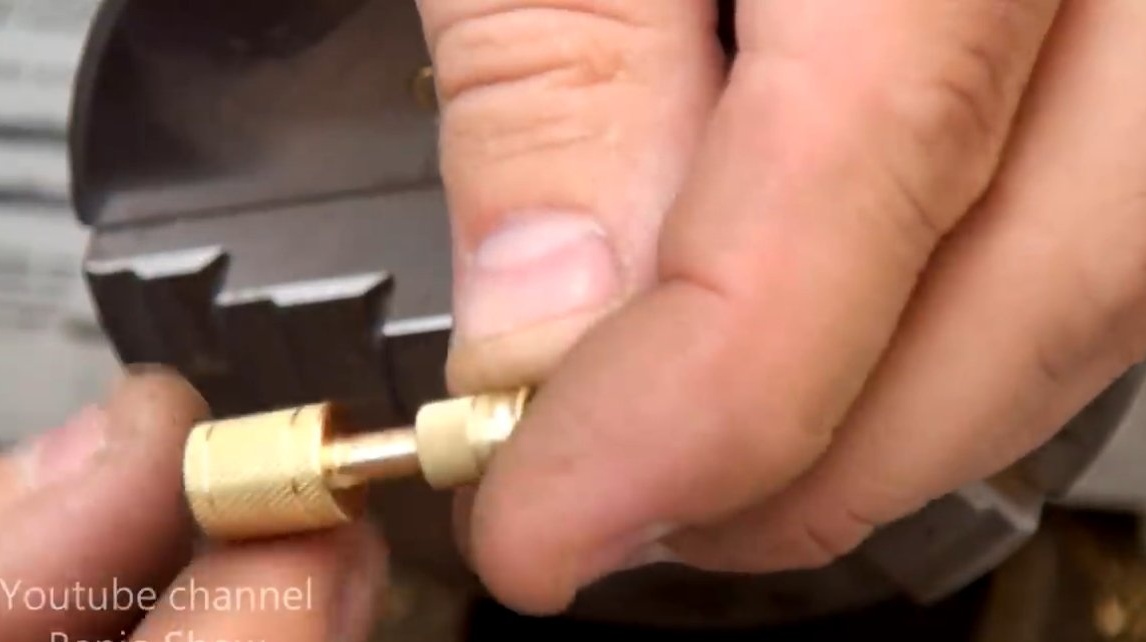
Step Five Stubs
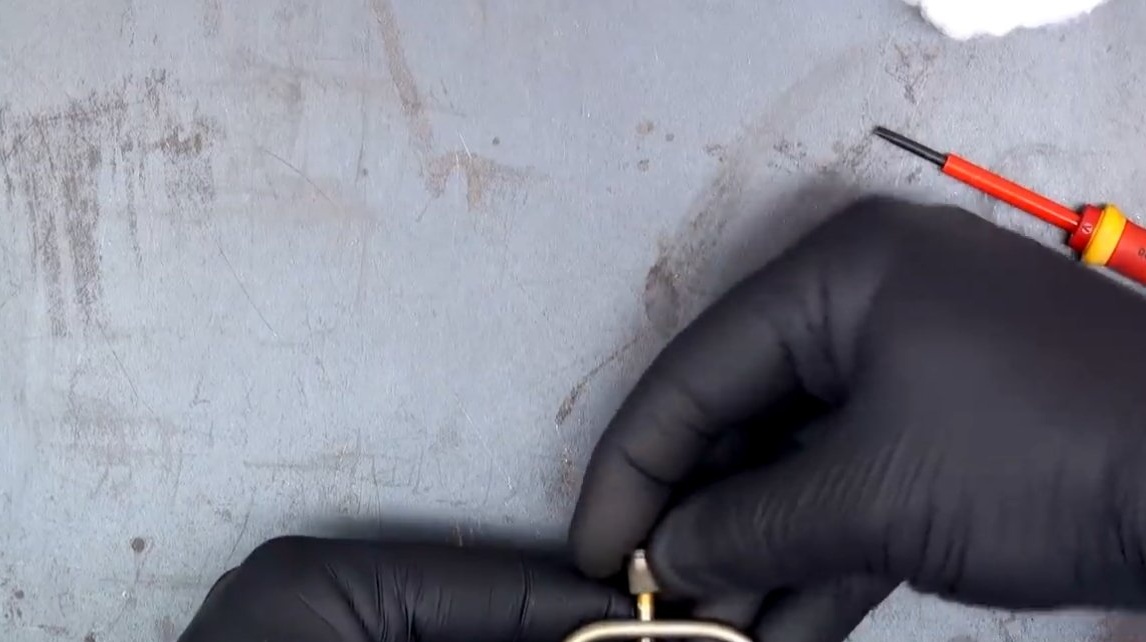
We make caps for the upper and lower parts. Through the lower nozzle, the lighter can be refilled; there is a thread inside the nozzle into which the shut-off valve is turned.
The top cap is needed to extinguish the lighter, as well as to seal the lighter. The thread here is already cut over the nozzle, and a lid with a thread is used for locking.


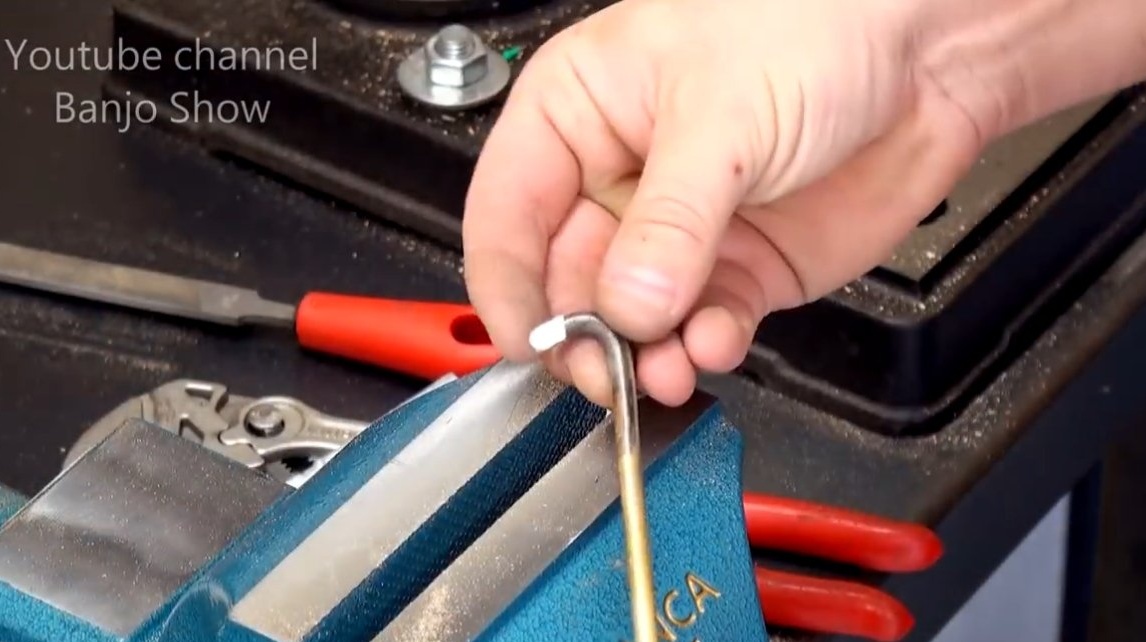
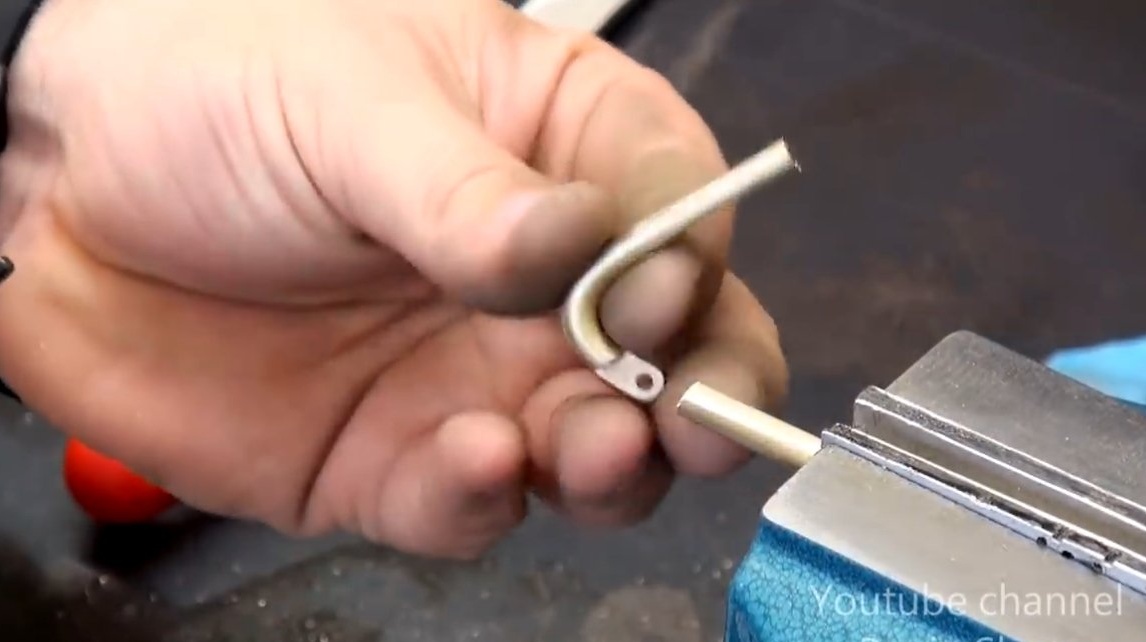
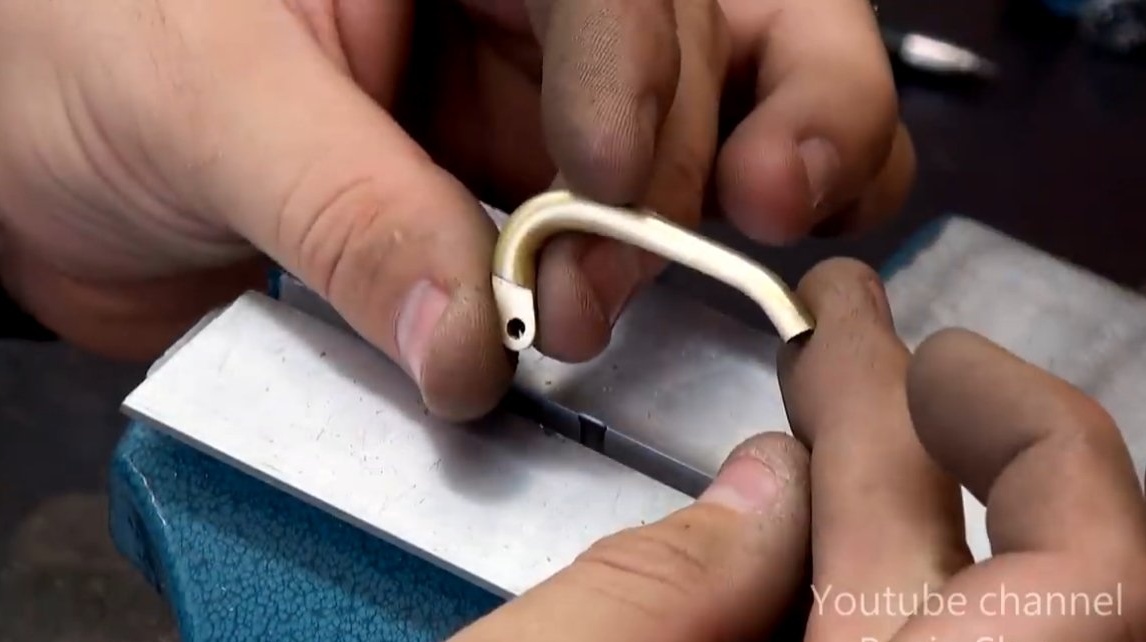
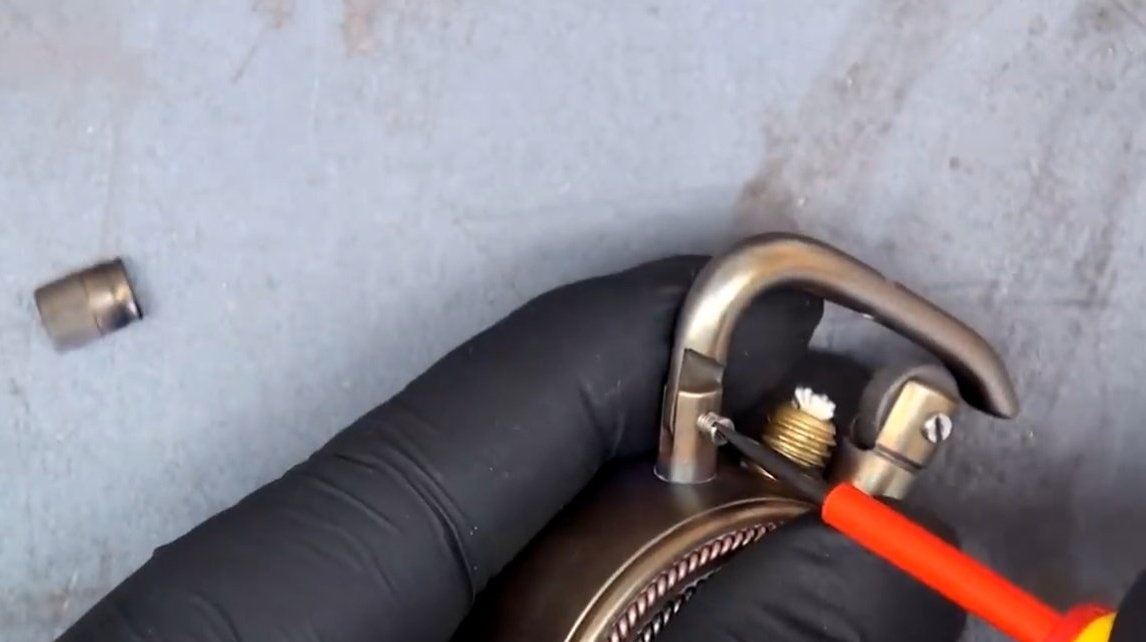
The top cover is placed on the bow, which is pivotally attached to the lighter. We unscrew the cover, raise the handle and the lighter is ready for use. The handle can be made from a brass bar.

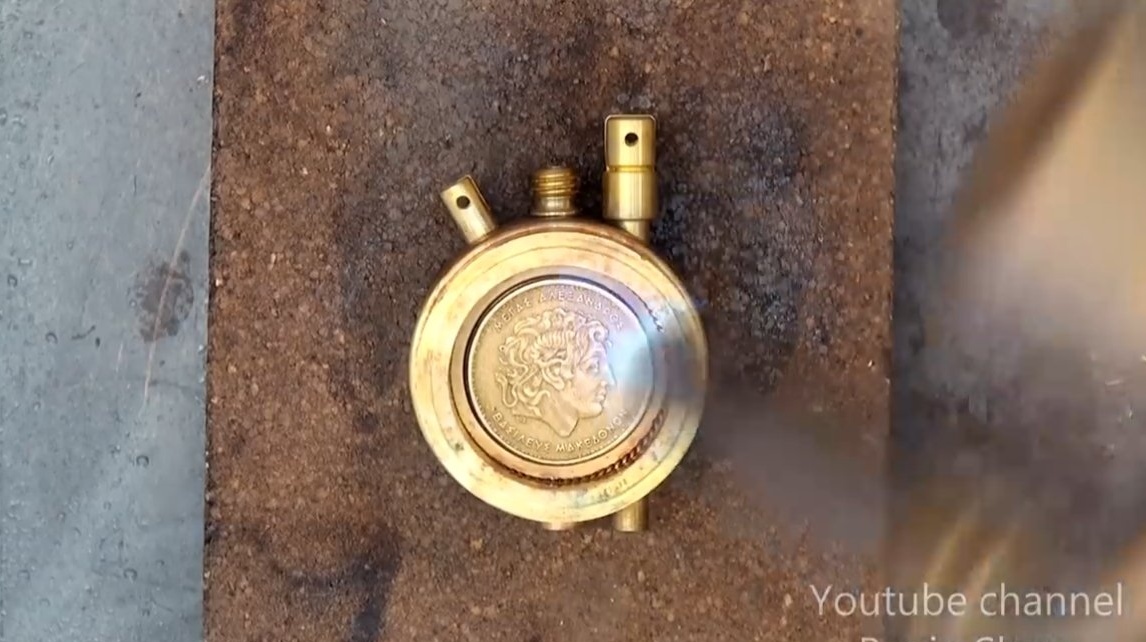
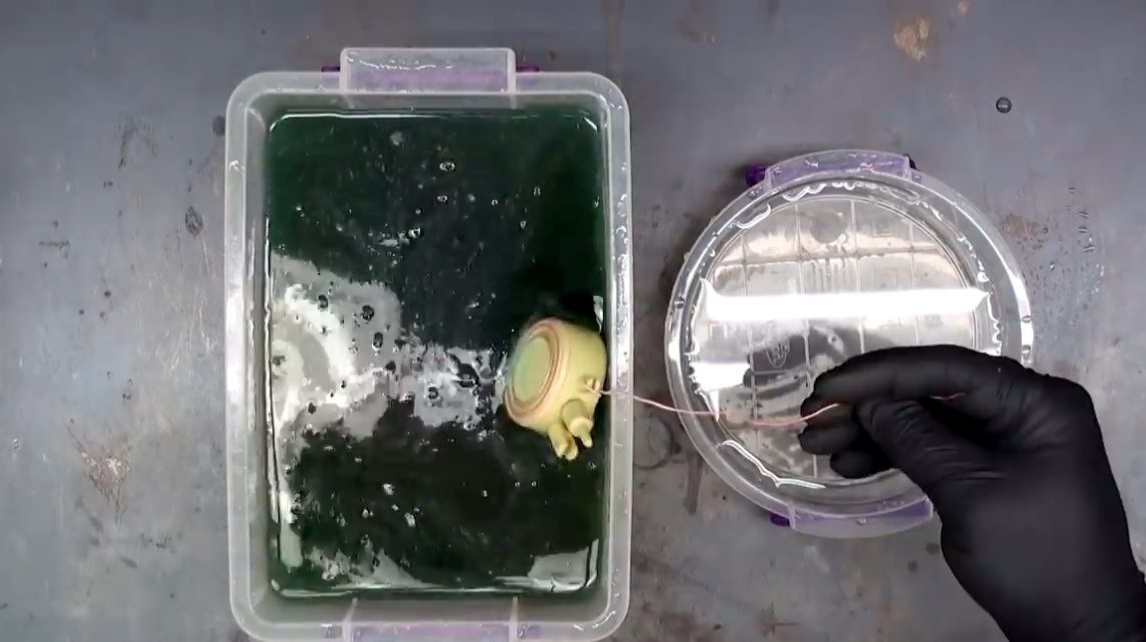
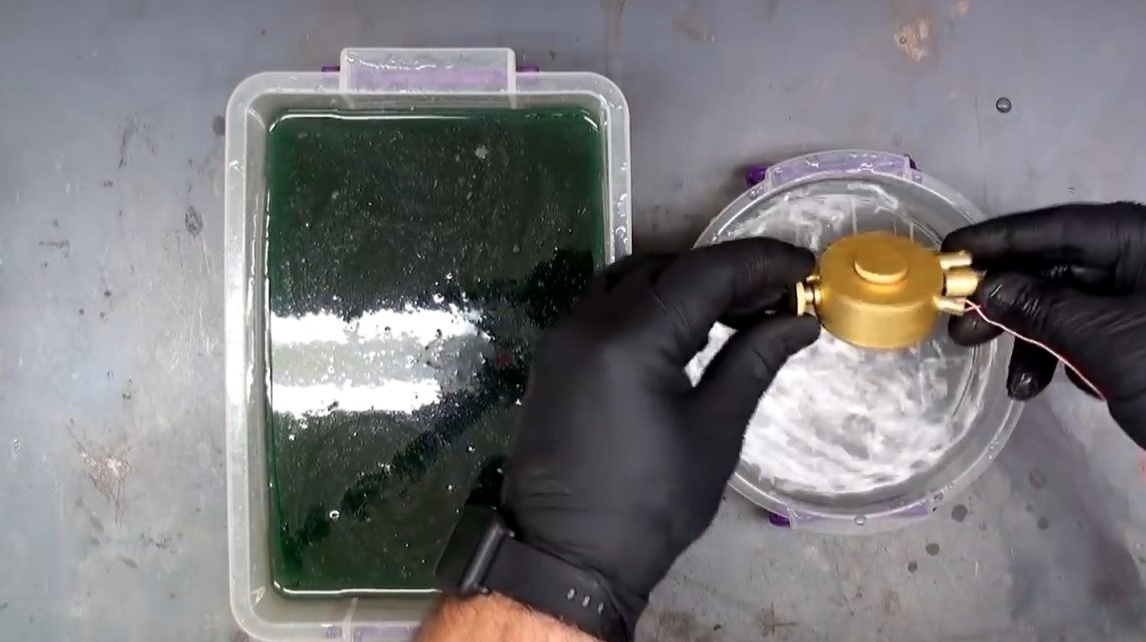
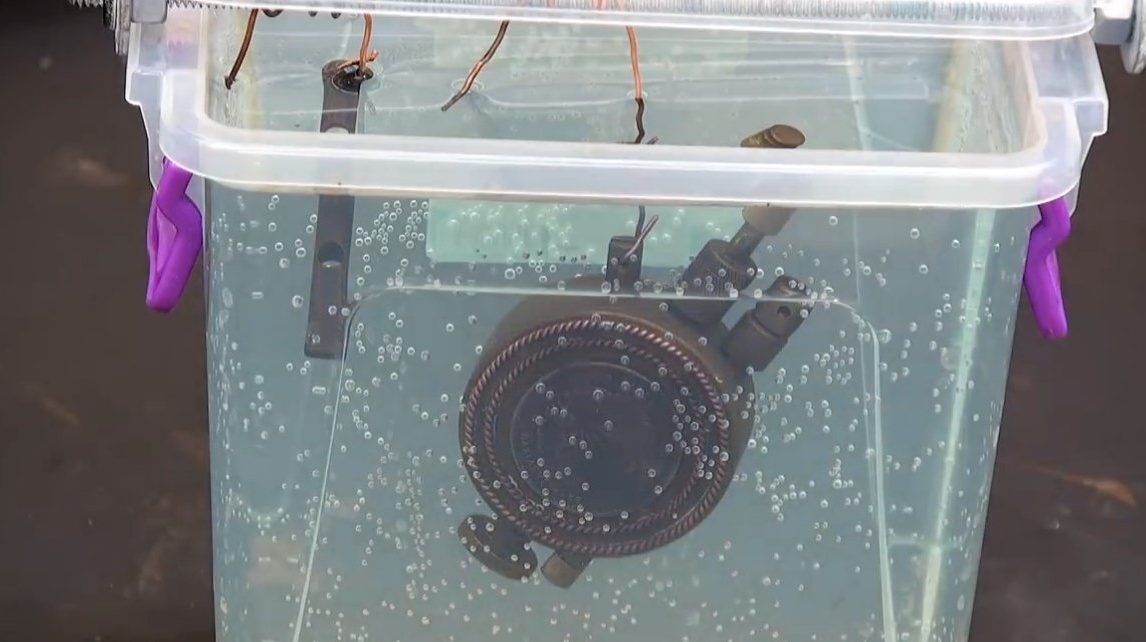
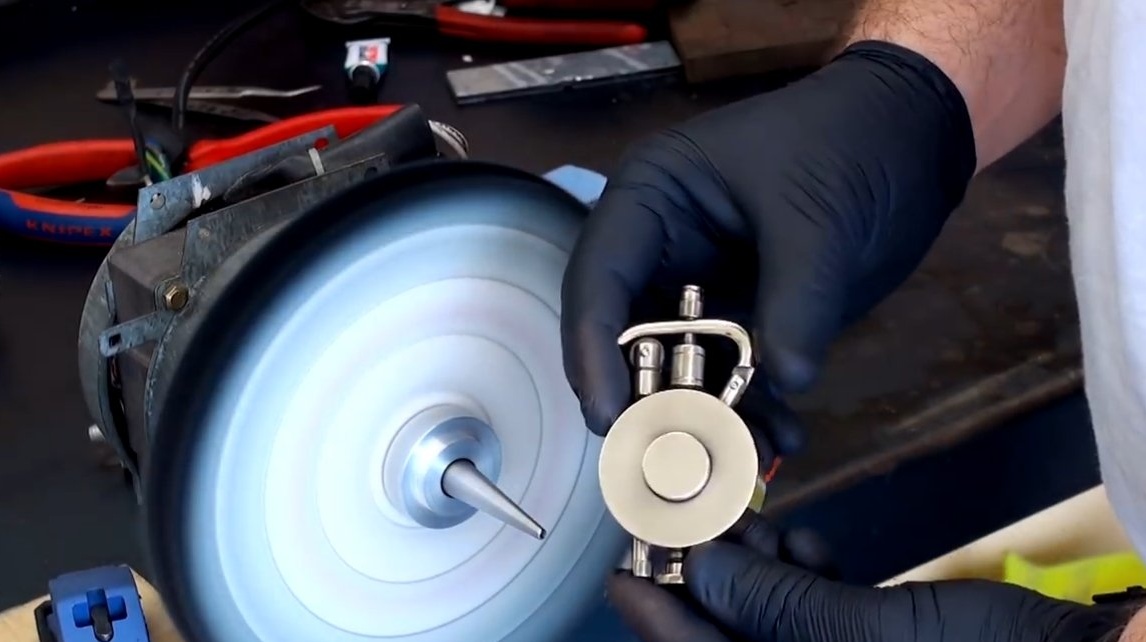
Step Six Patination
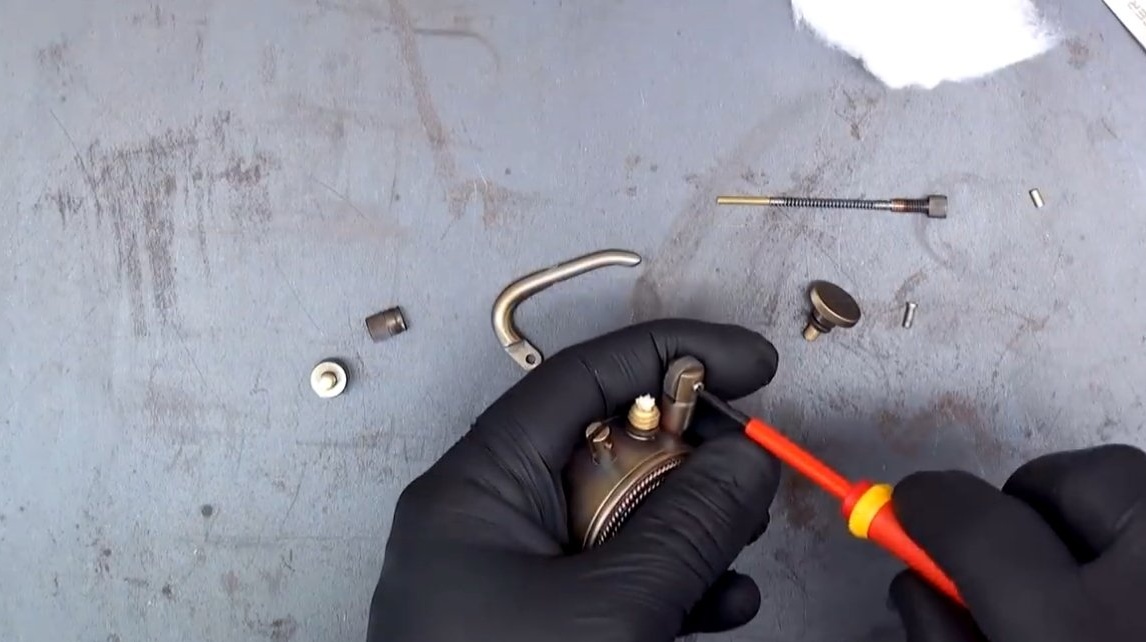
The author cleaned the lighter body with a chemical reagent and then immersed in a solution to form a patina. Brass oxidized and turned dark. After thorough washing and drying, the lighter can be reassembled. We put a silicon rod, back it with a spring and close the bottom cap. As a result, the rod will abut, and move toward the wheel as it wears.
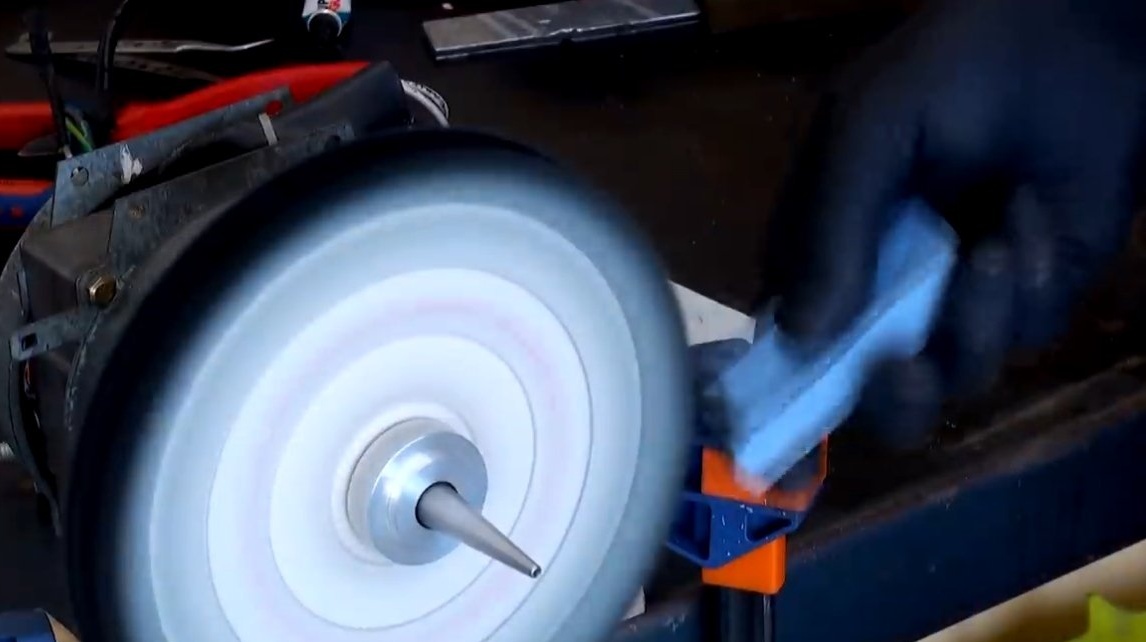
The handle and wheel are attached using small screws. At the end, the lighter expects polishing, as a result, the protruding parts will become lighter, the homemade look looks gorgeous.


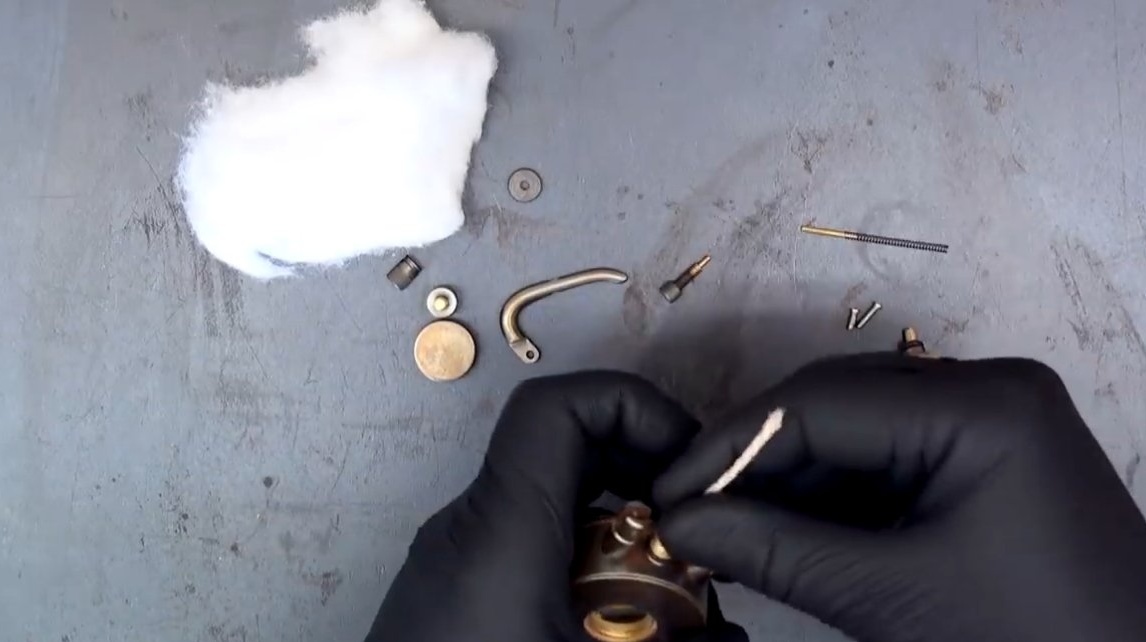
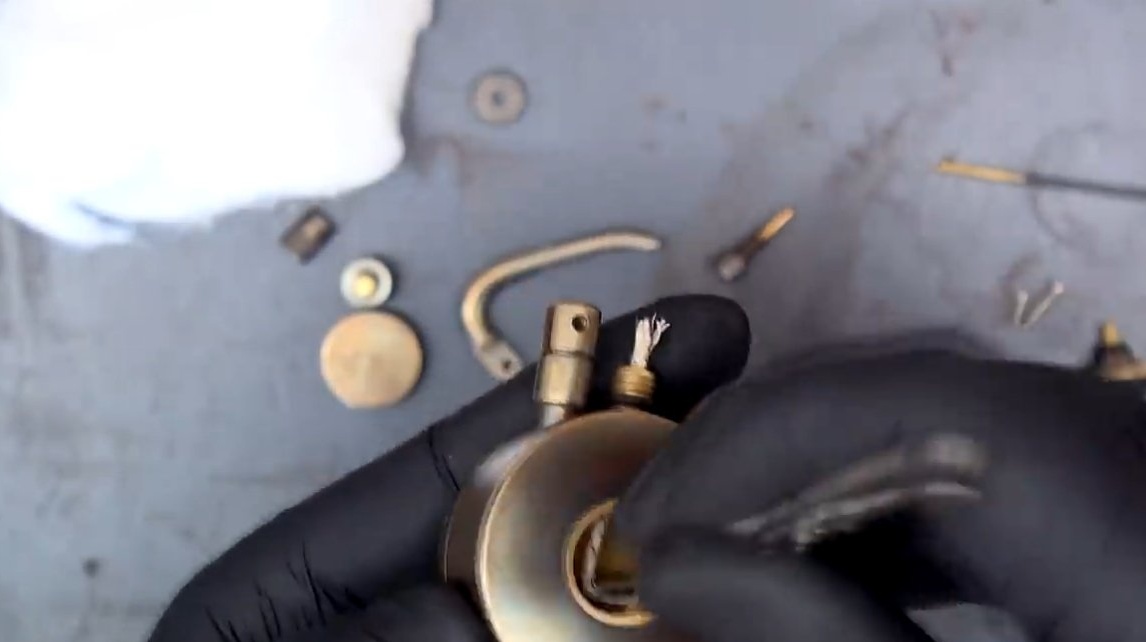
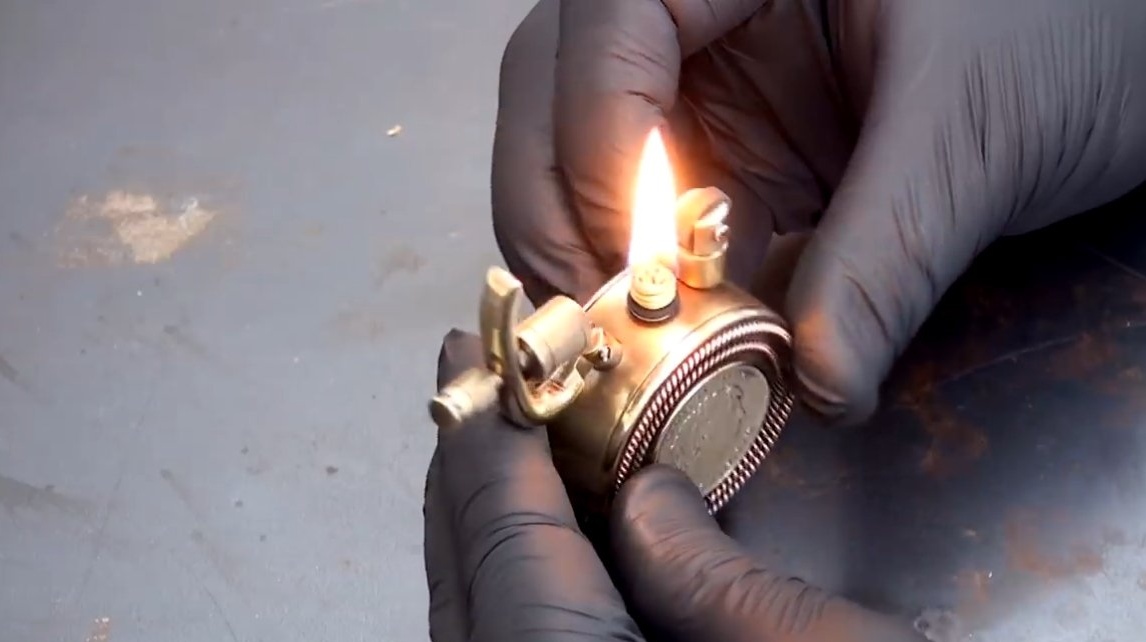
Seventh step. Assembly, refueling and testing
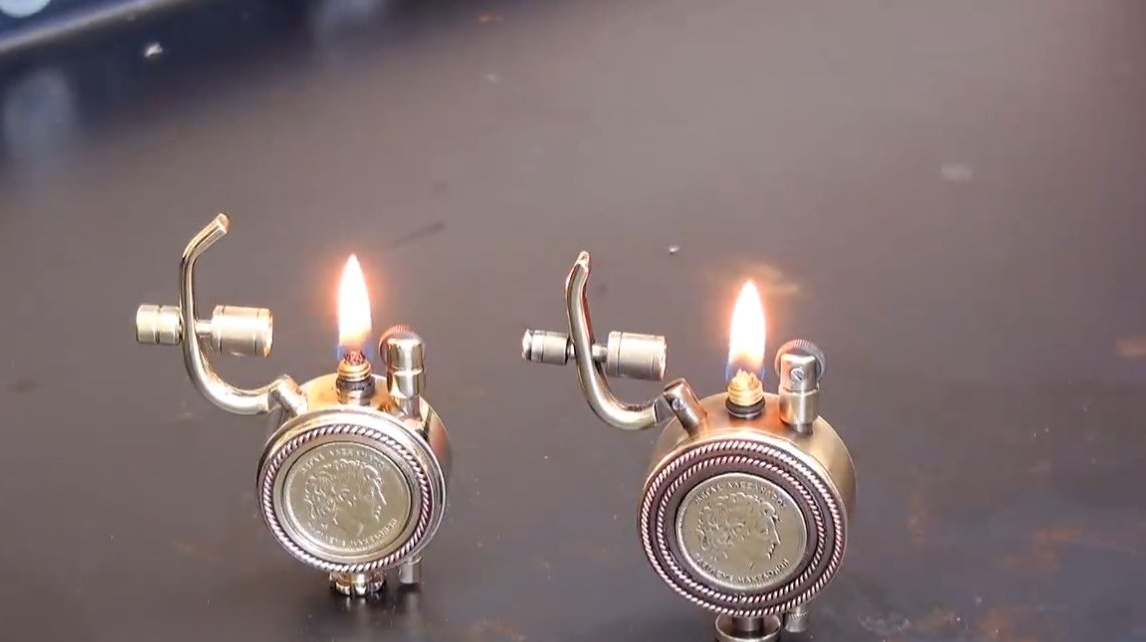
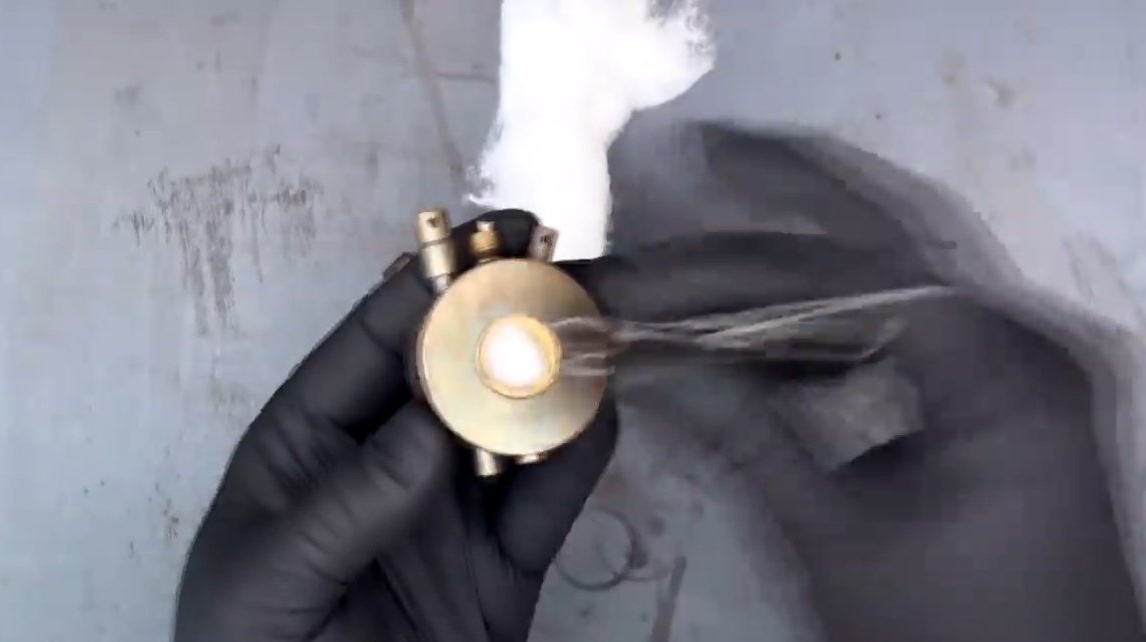
Before refueling, a cavity in the lighter is stuffed with cotton, and a wick is also installed. After that, the author evenly pours cotton wool with gasoline for lighters and tightens the lid. The lighter is ready, it lights up the first time. The homemade product looks great, along with similar style brass cigarette case you will not be left without attention.


The project is completed on this, I hope you liked the homemade work, and you found useful thoughts for yourself. Good luck and creative inspiration, if you decide to repeat this. Do not forget to share your ideas and homemade things with us!