
The author of the TeraFox YouTube channel set out to make the machine out of completely ordinary parts found in every market.

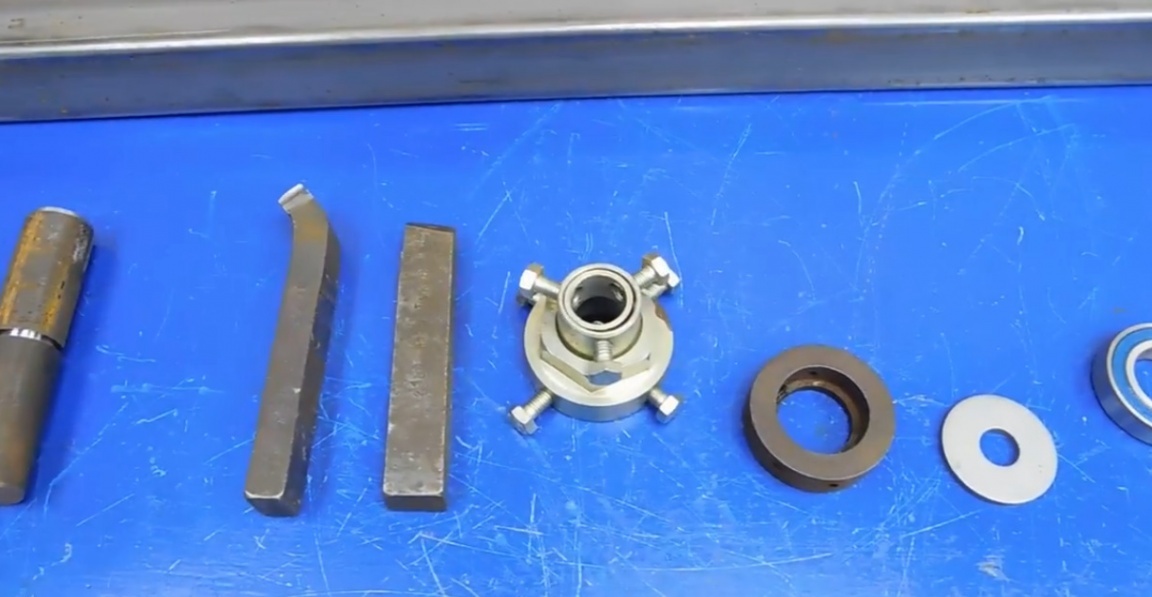
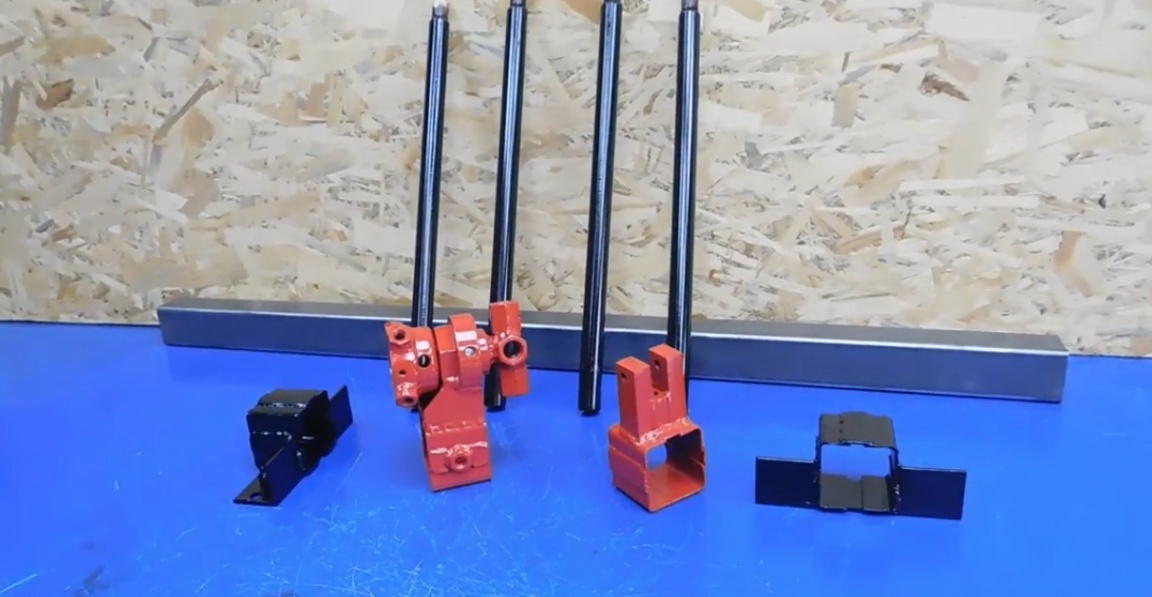
Necessary materials:
1) Loop;
2) Incisors;
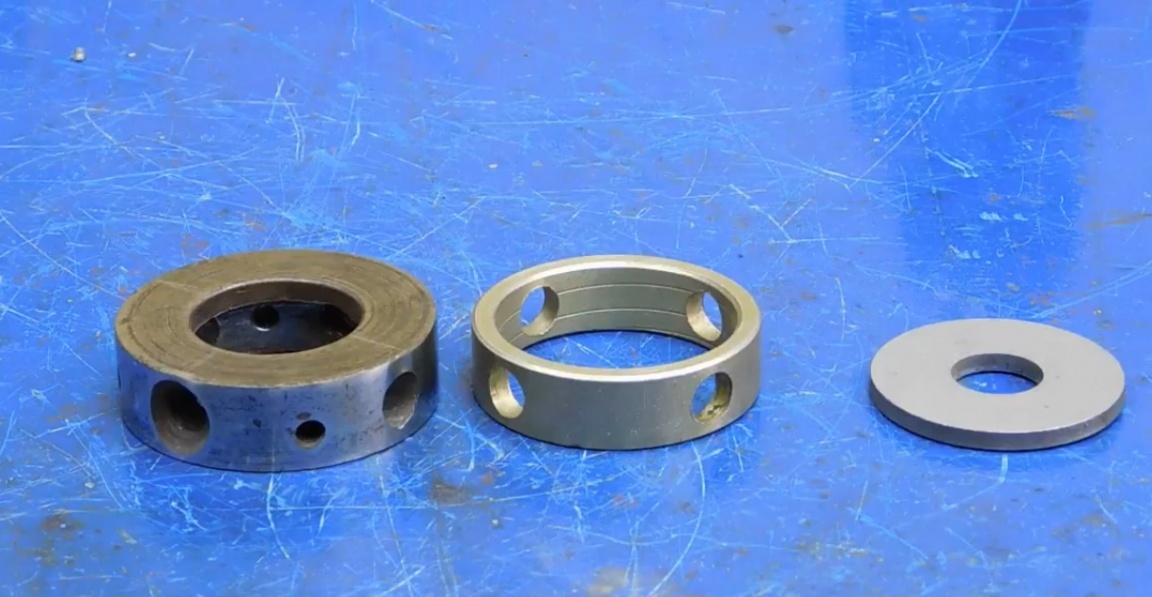
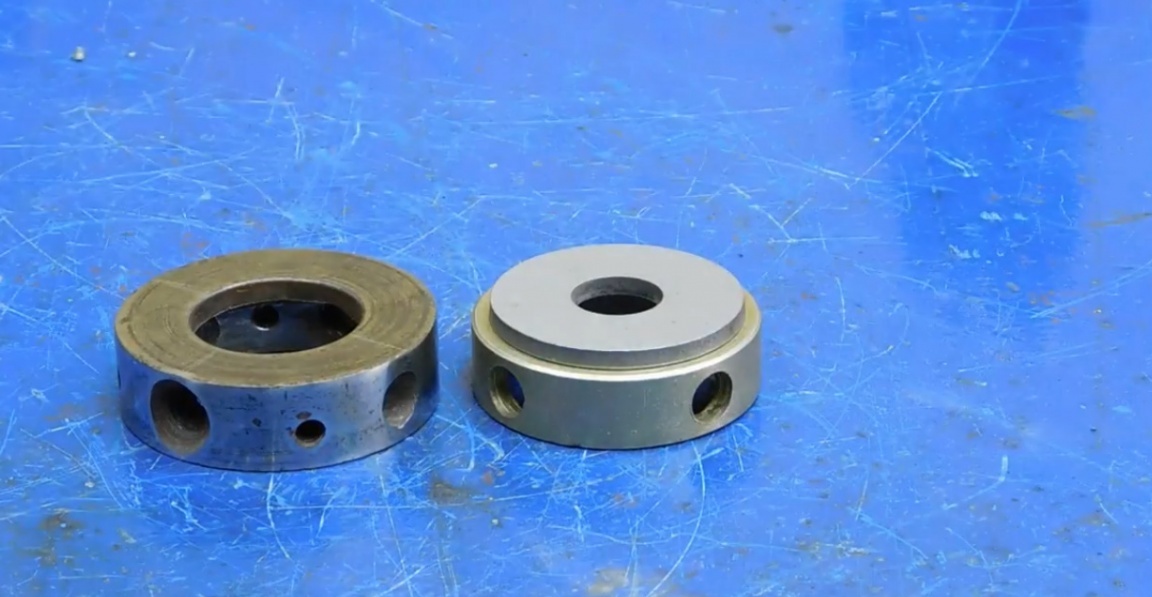
3) die holders;
4) washer;
5) Bearing;
6) Profile pipe.
These details will form the basis of today's homemade products. And start with the fact that we will make several segments of the profile pipe.
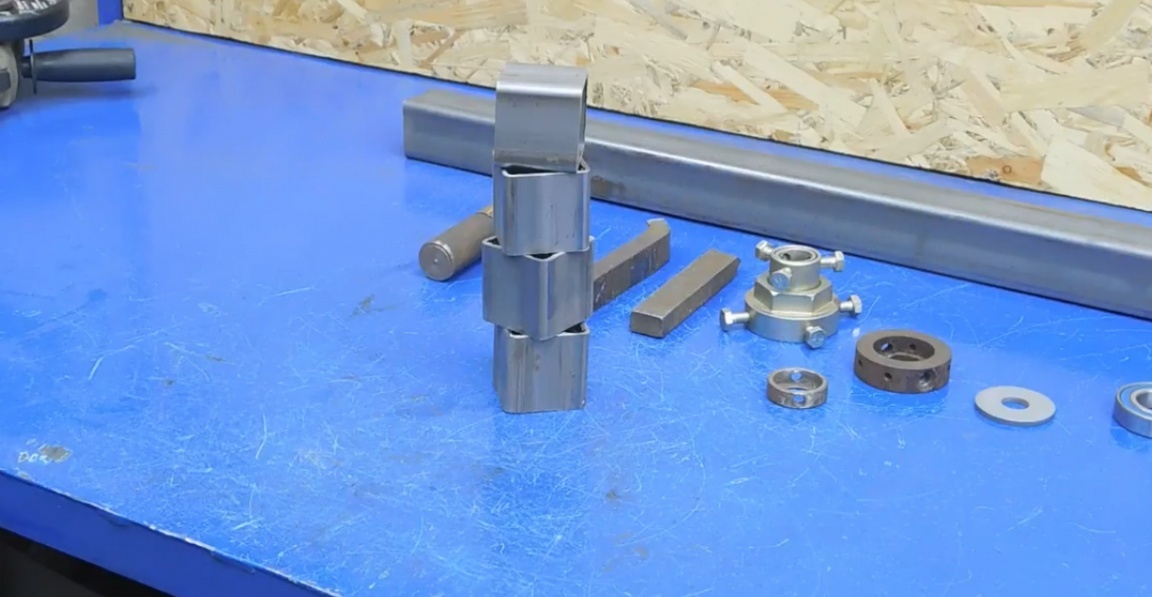
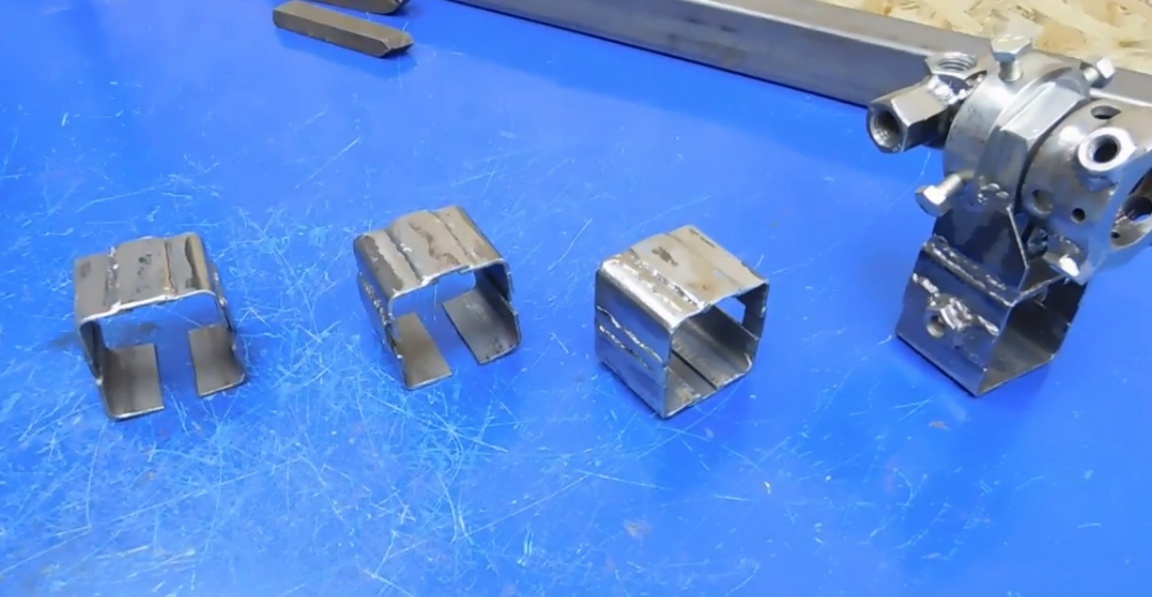
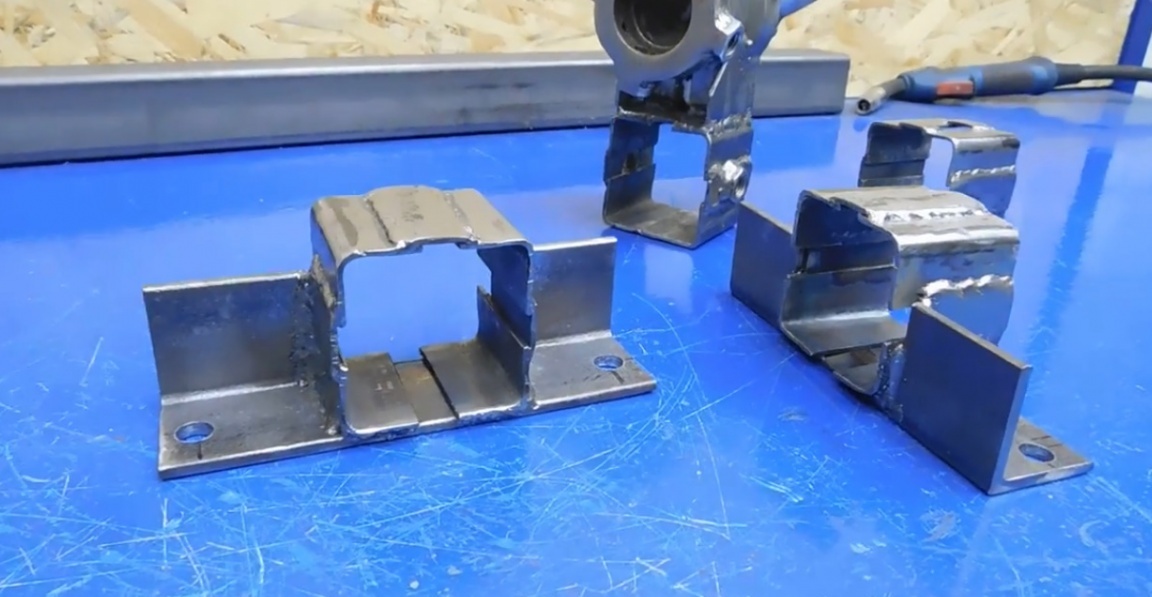
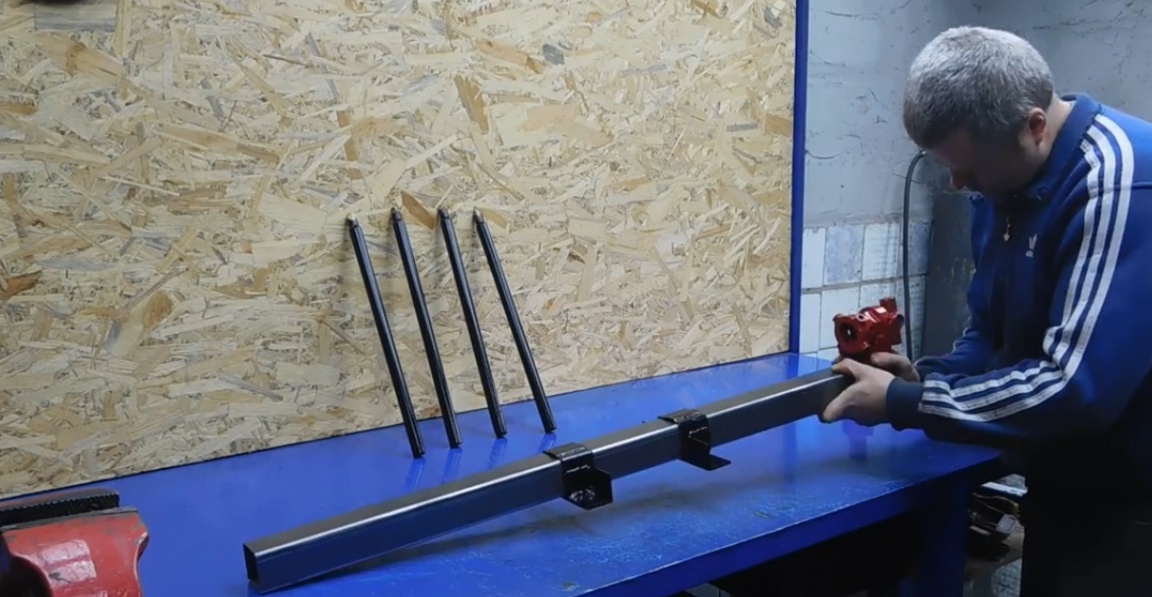
After that, there is a need to mark and cut a piece of pipe into 4 such corners:
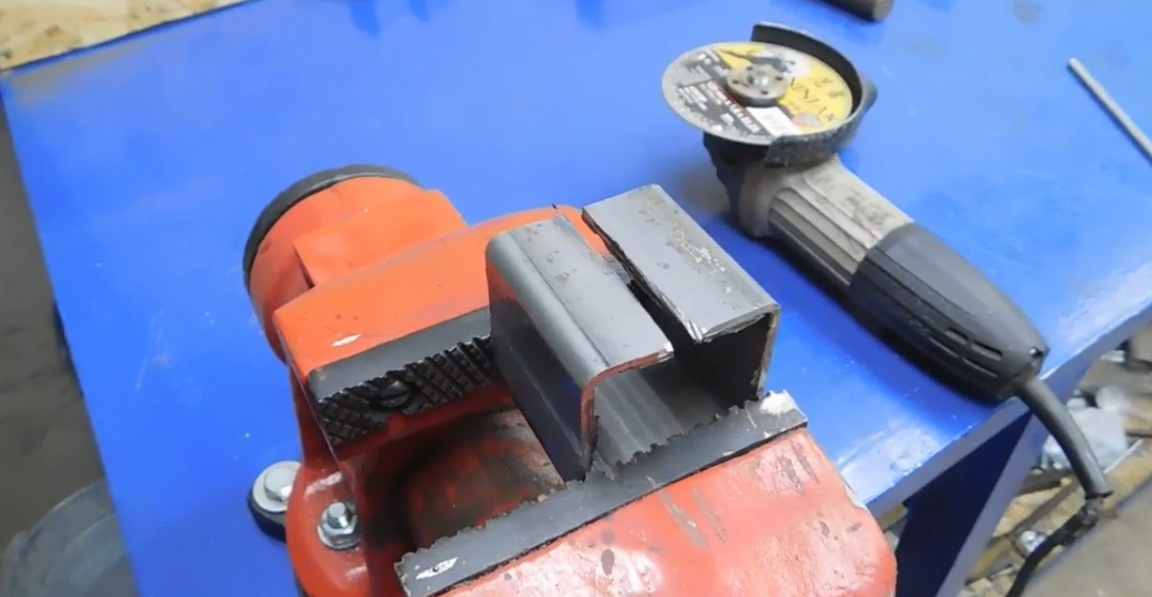
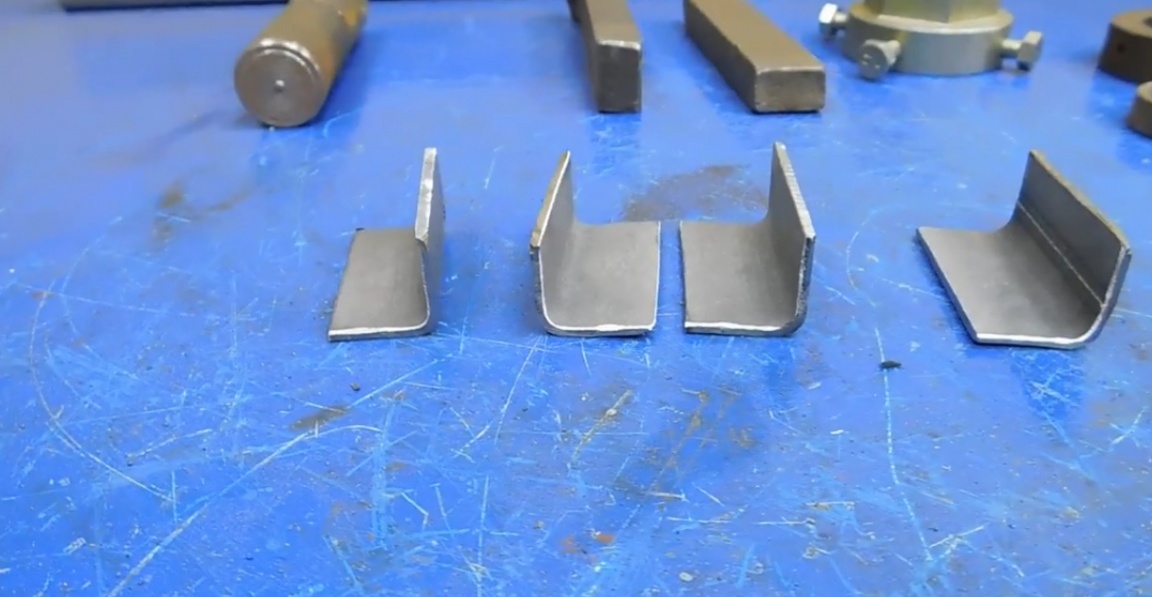
Next, we use one of the segments as a form on which we place the corners and connect them using small plates and welding to each other while keeping a certain distance.
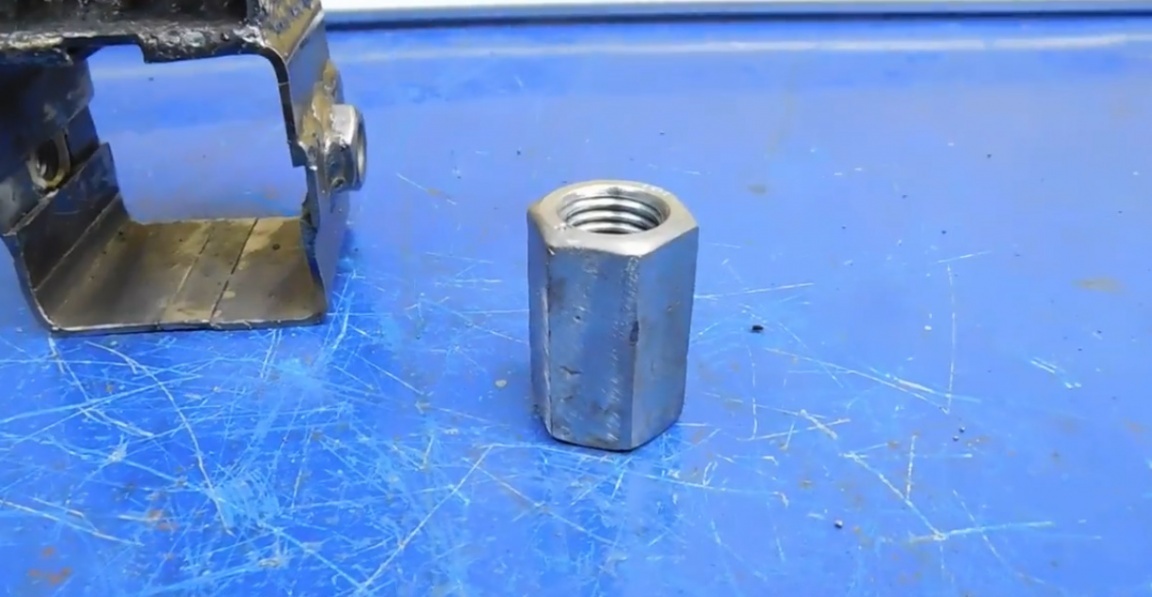
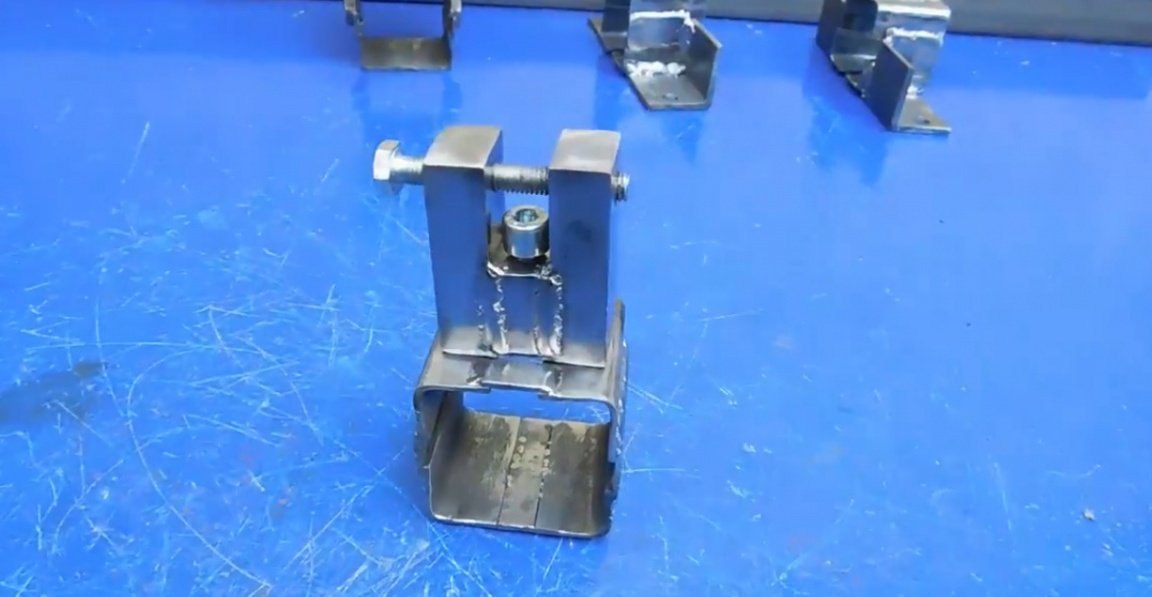
The first square is ready. On the sides of the nut for fixing.

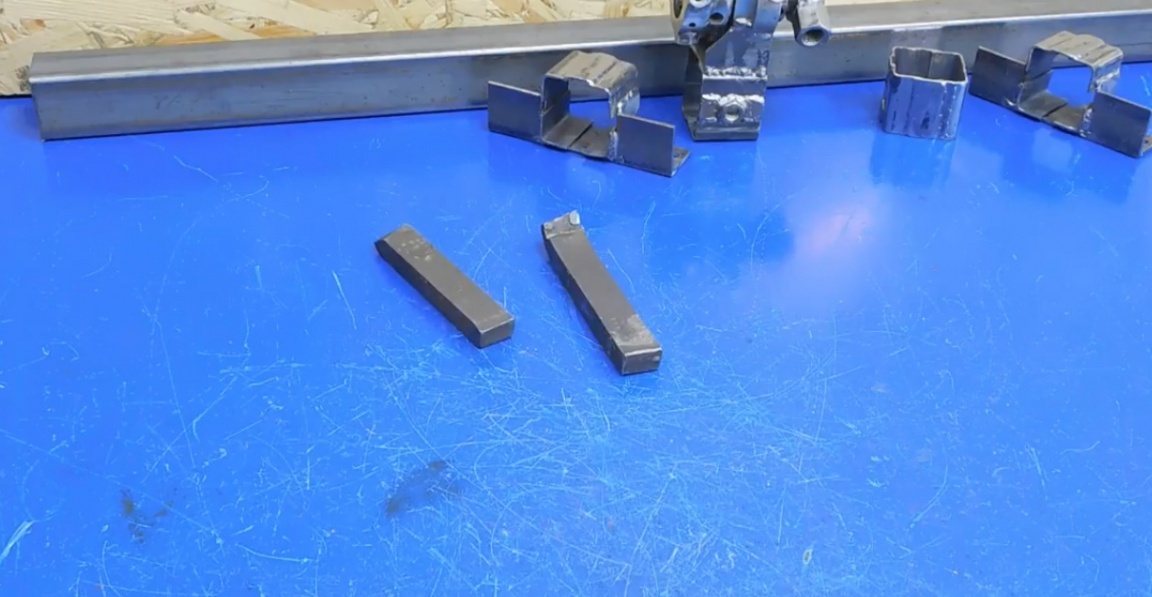
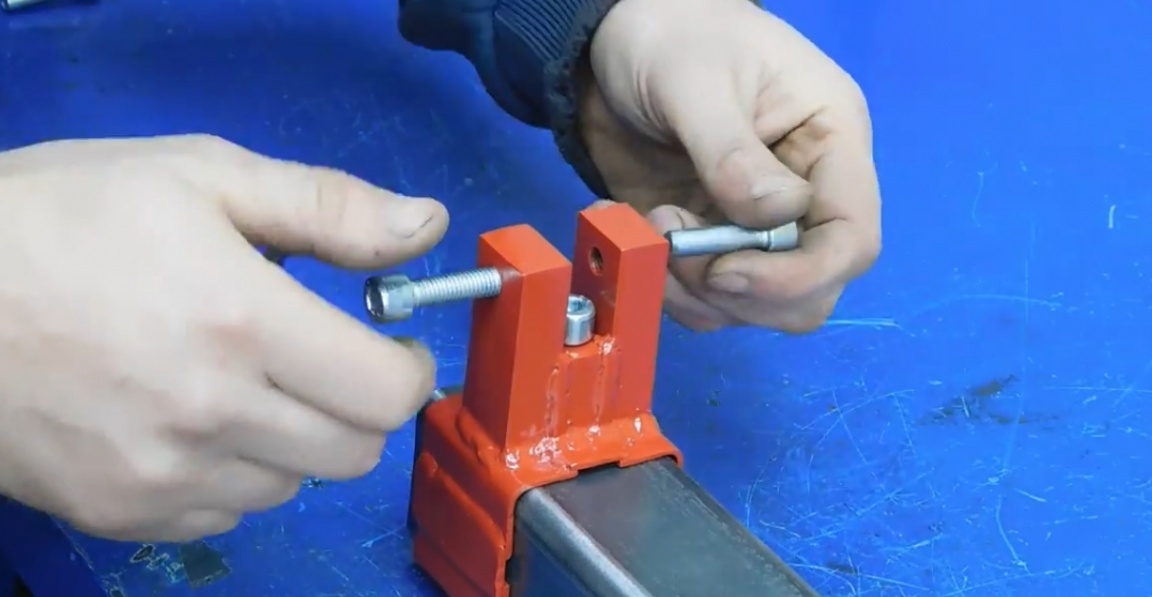
The author did not focus, but simply prepared another detail that will carry the function of support for the die holder. And another thing that at first was not included in the plans, but having estimated on the spot the author decided to play it safe and made 2 cutter amplifiers for a ram holder in a support.
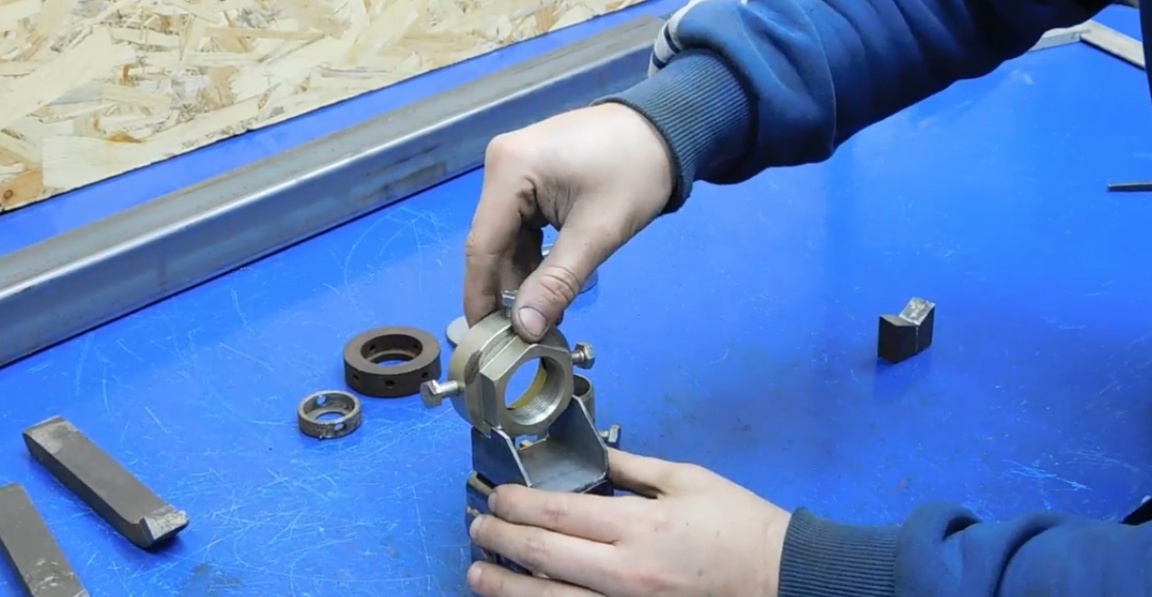
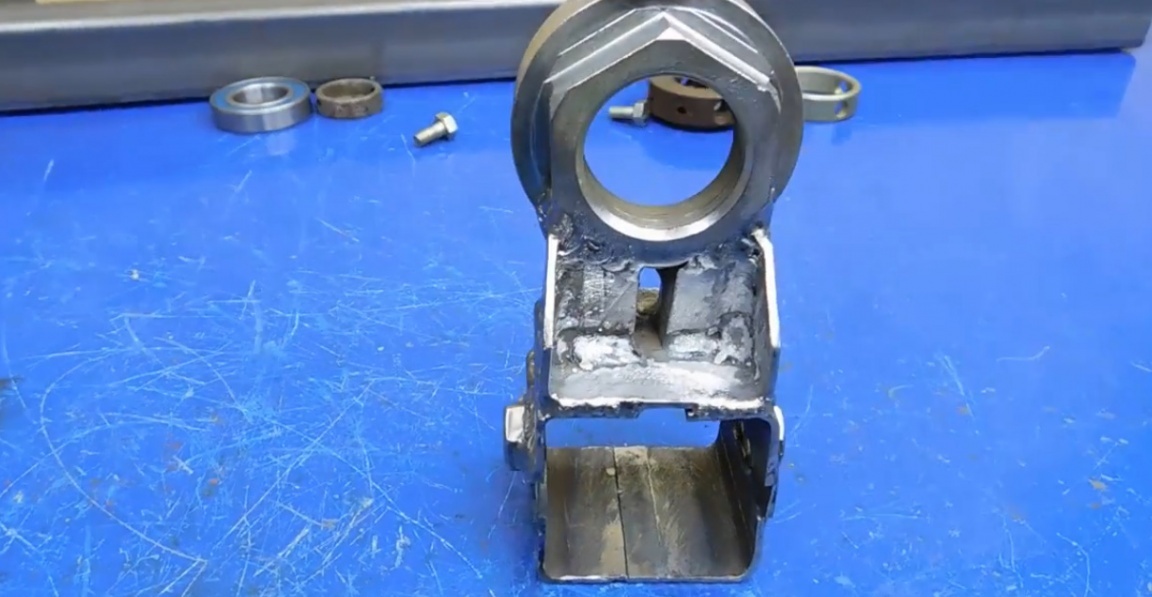
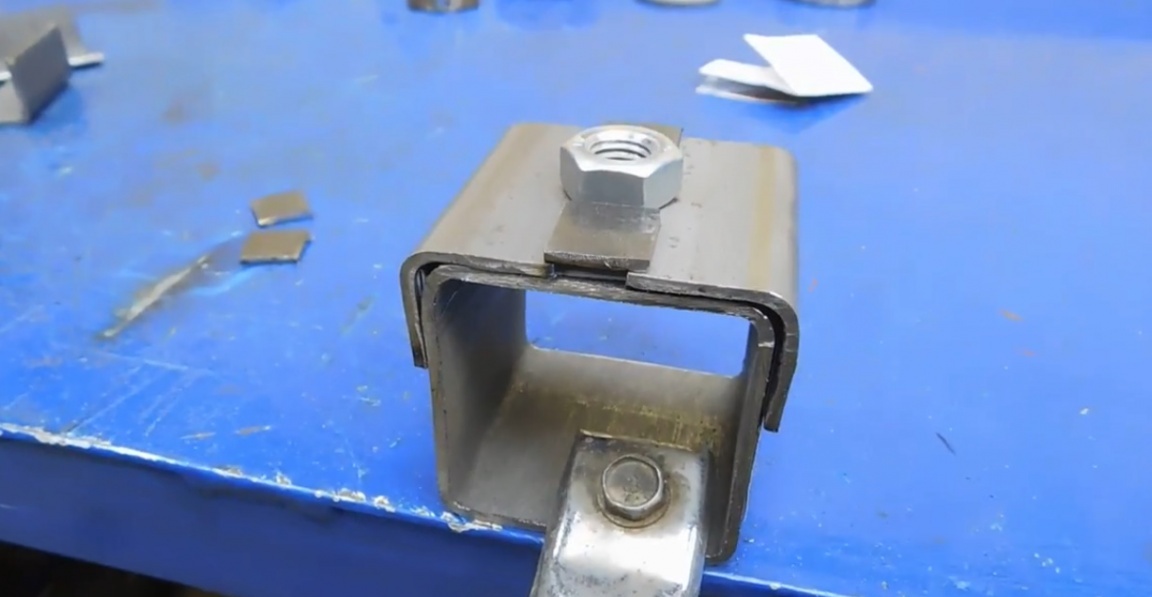
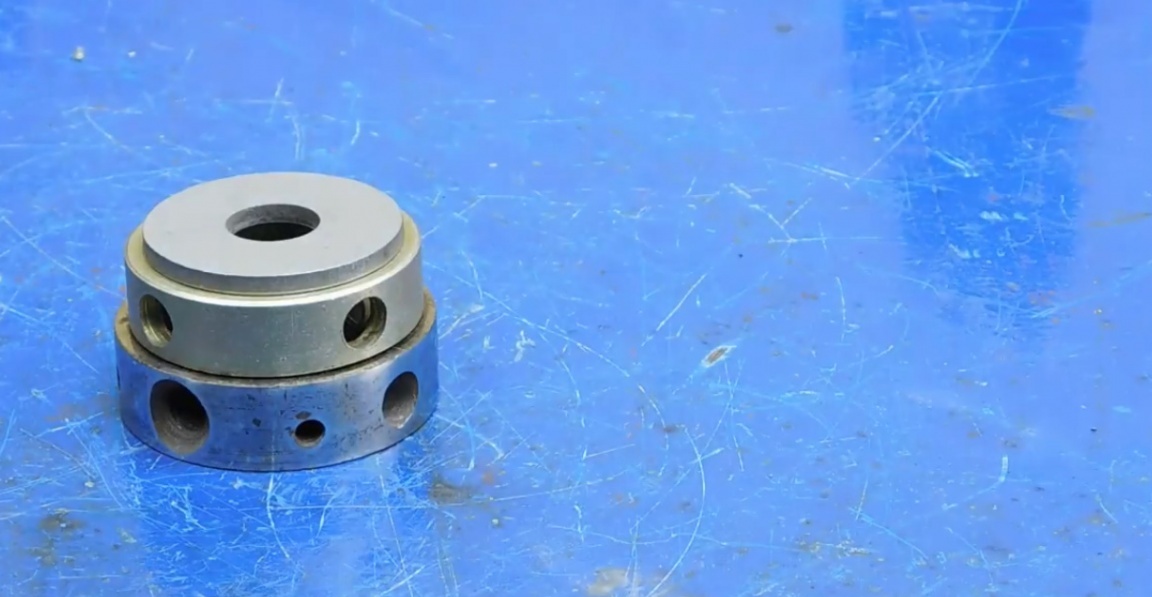
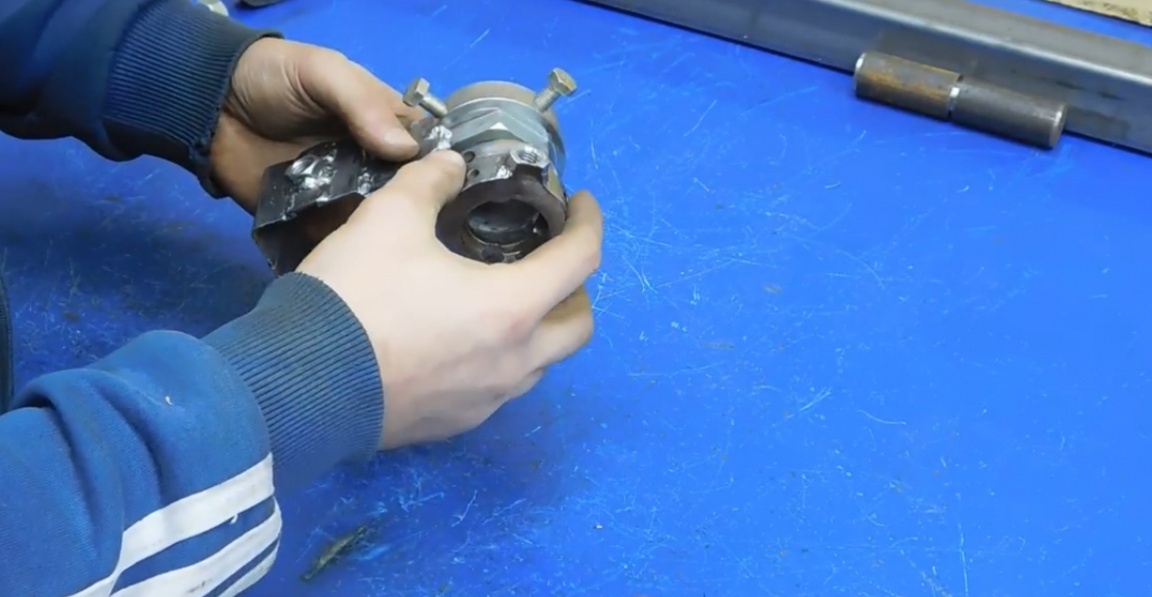
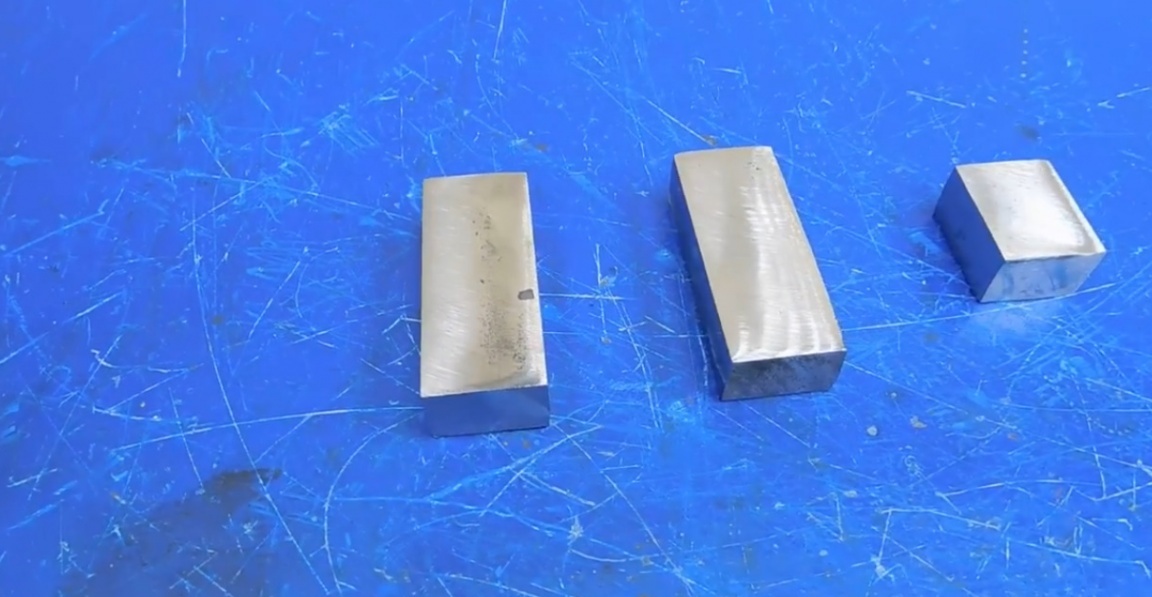
Then the master welded and cleaned the resulting part, but this is far from all. We take another die holder and make a couple of holes in the end.

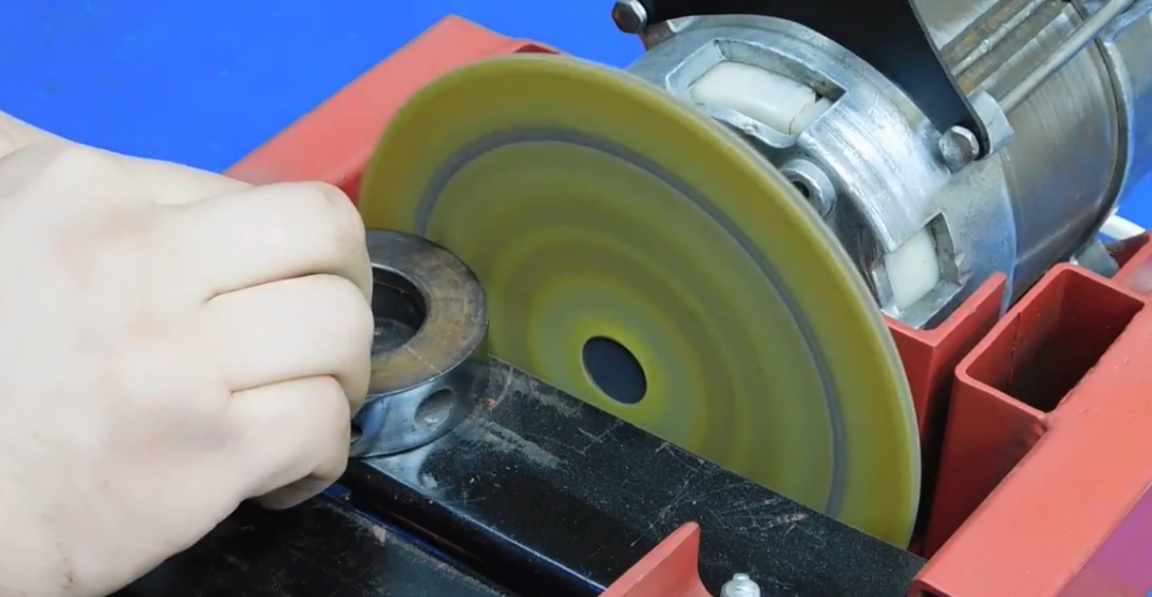
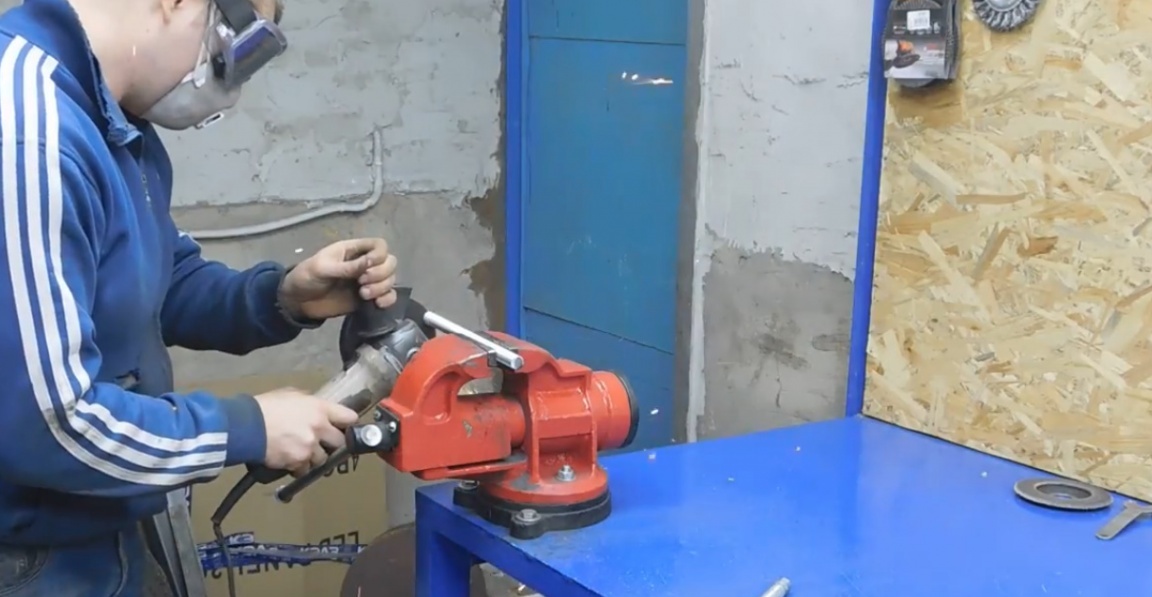
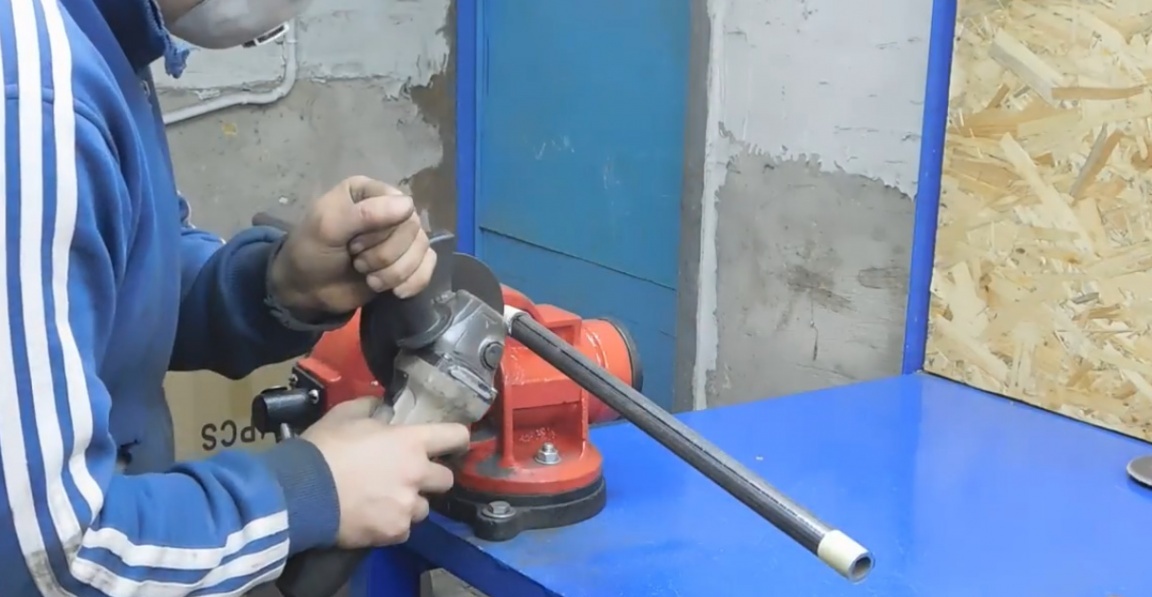
Now is the time to use a grinding machine to bring this part into an aesthetic condition.
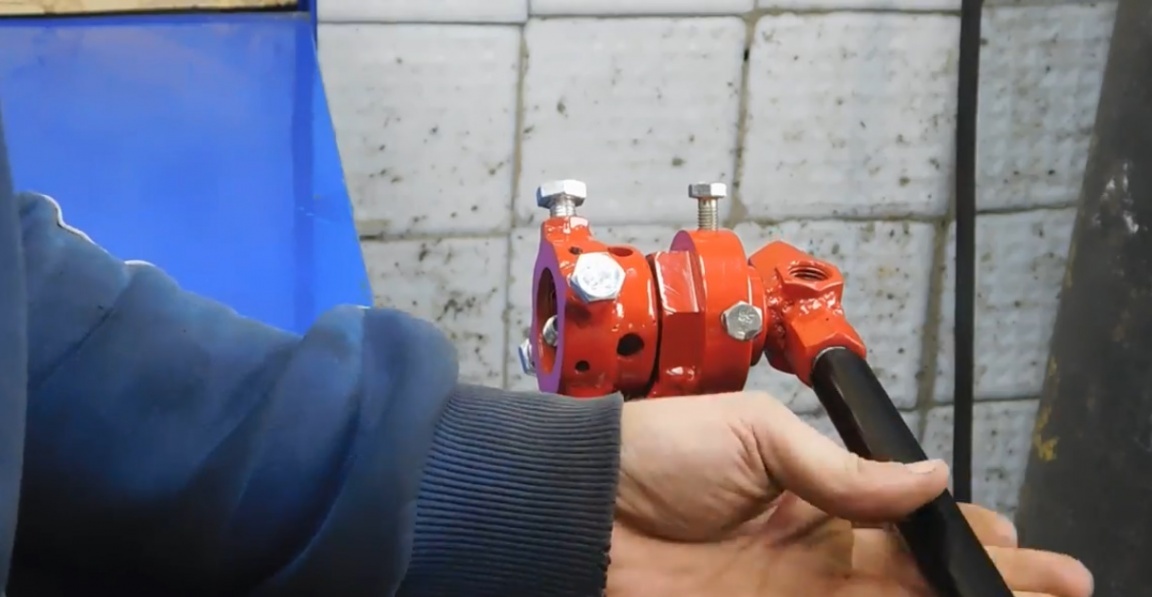
Now in the following sequence we weld the parts and, additionally, with a nut into pre-drilled and already existing holes.
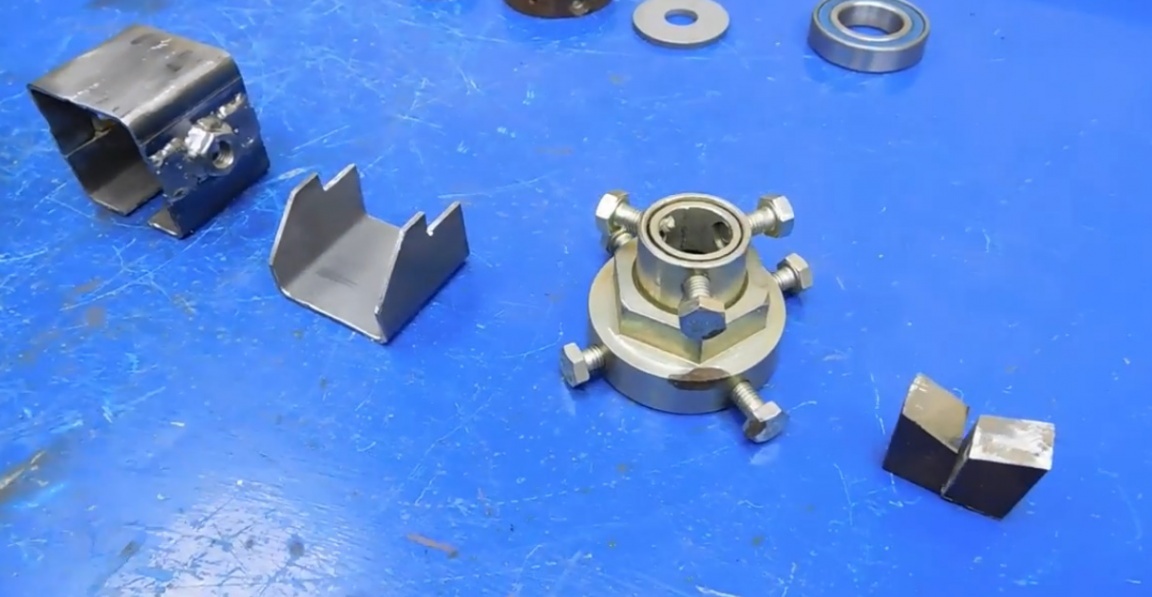
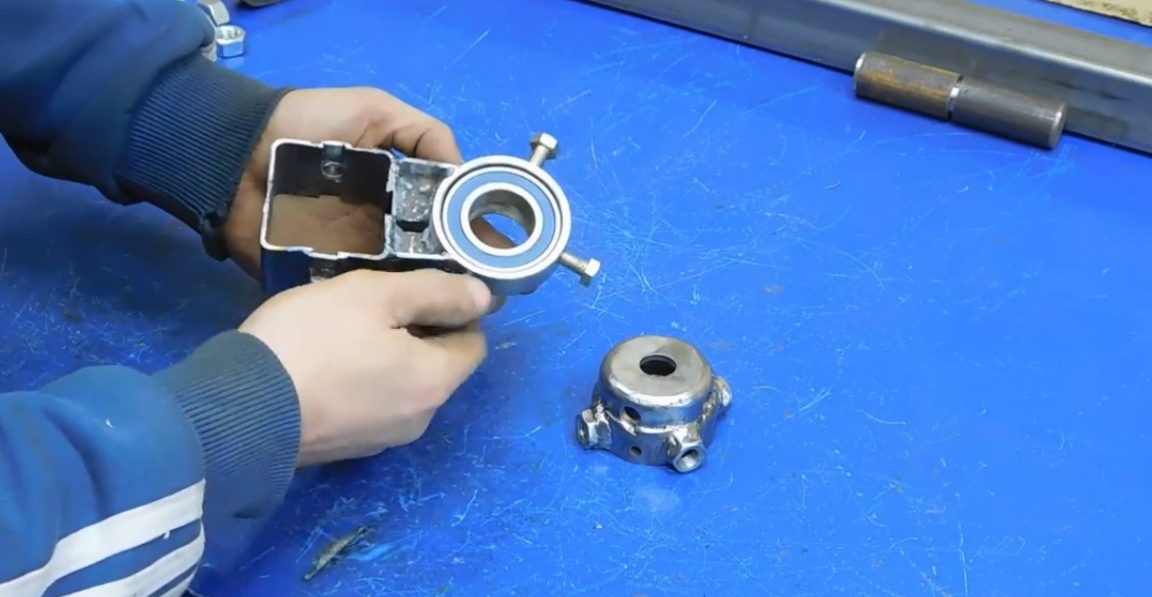
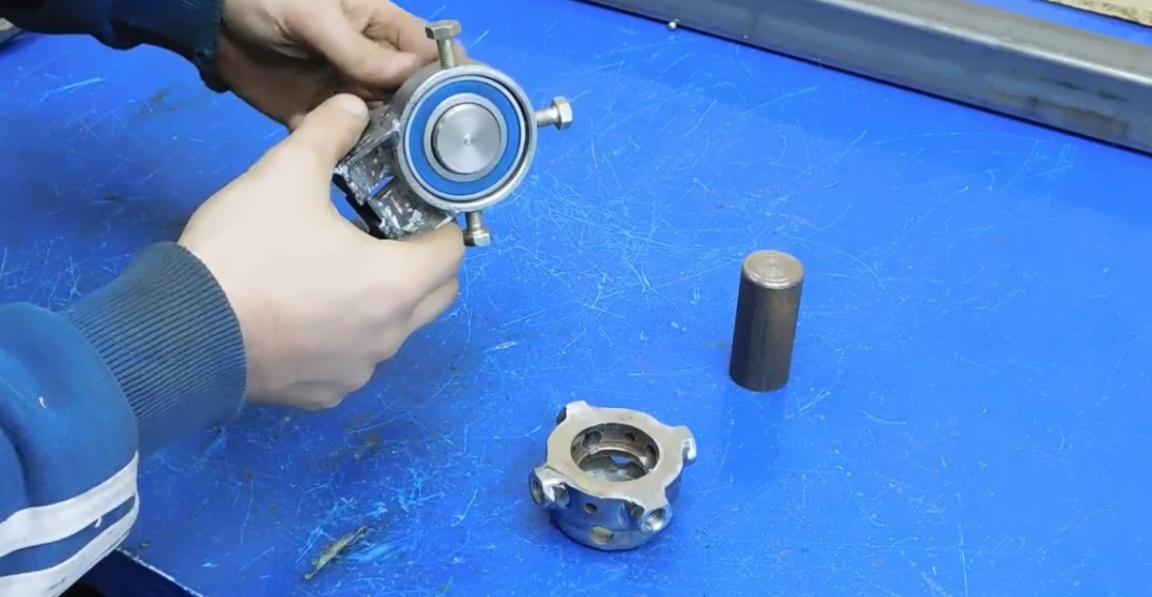
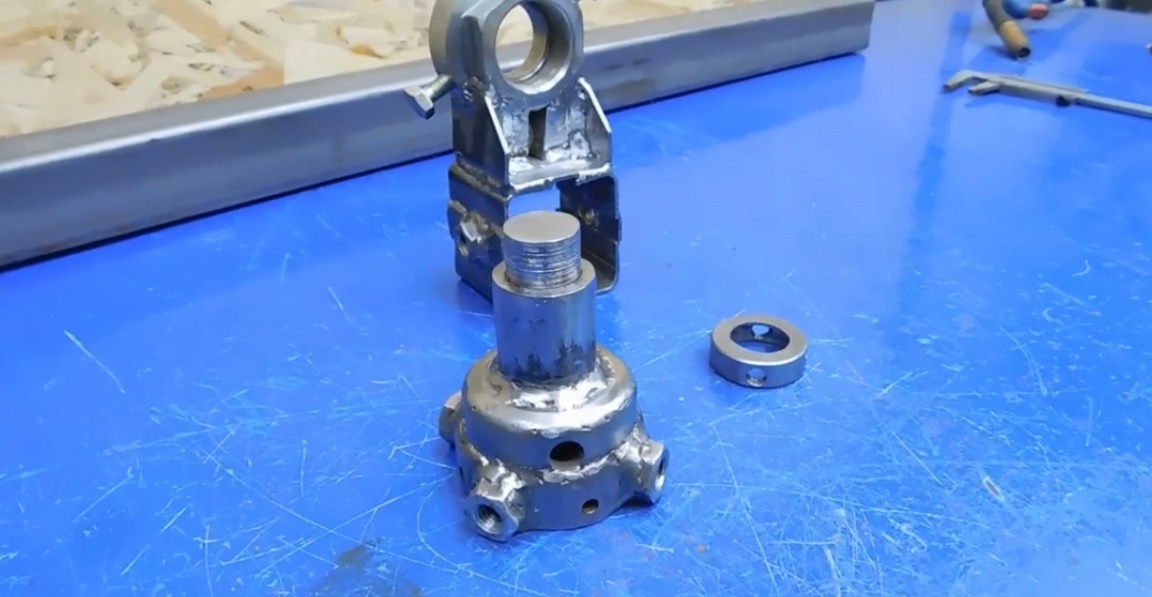
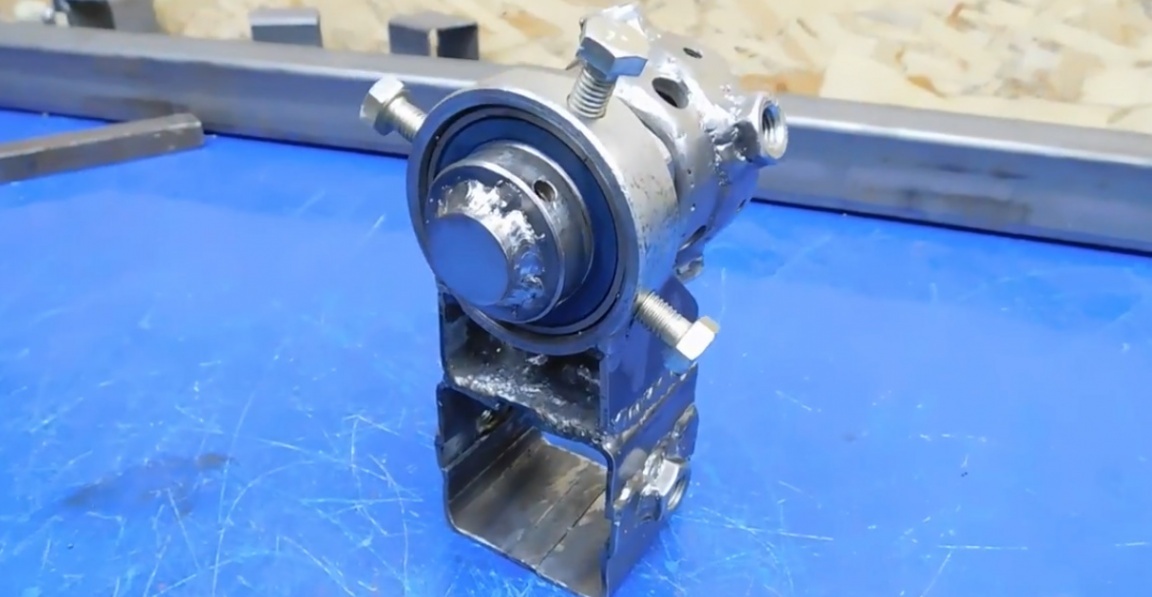
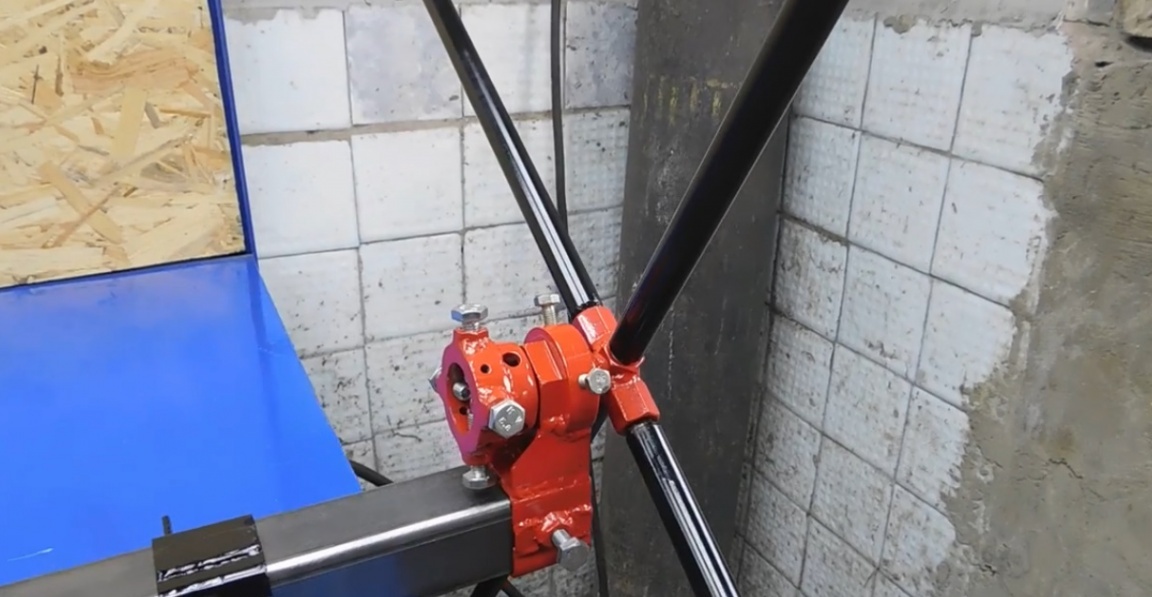
The sequence of further actions: the bearing of the ram holder, then the second part, which should rotate in work and will be helped by the usual loop, or rather, only its part, which will pass through the bearing and weld to the second part.
The main thing is to immediately understand what you are doing, and I think the majority will succeed. For example, the author knew what he was going to, but this project still took him a little time because of all these details that needed to be put together.
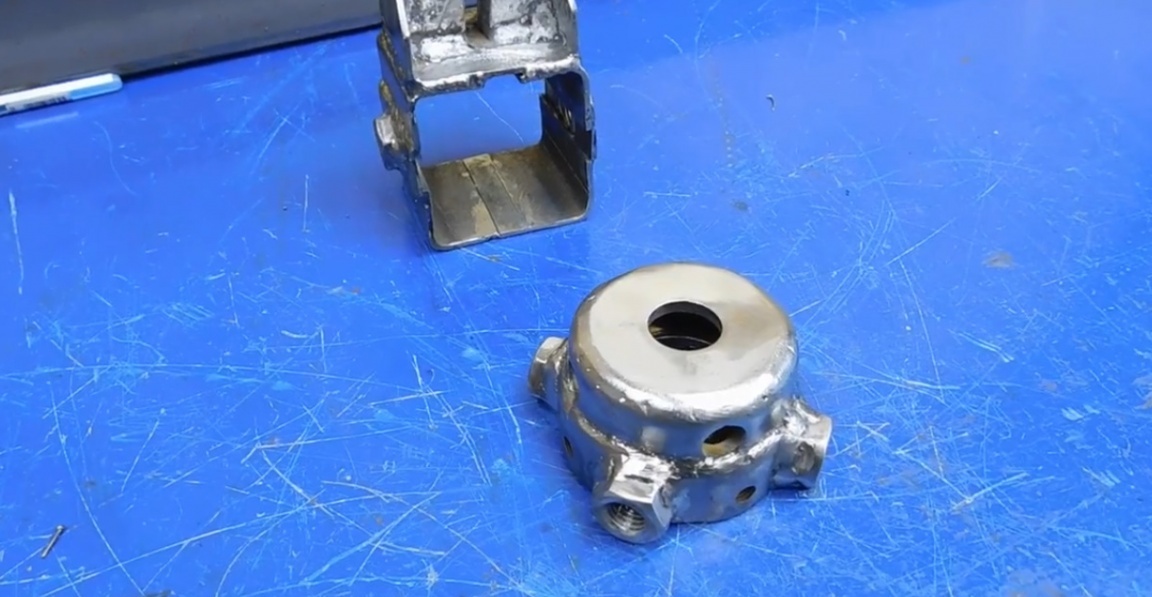
Well, there is very little left and the most time-consuming machine assembly will be ready. The next part is again a die holder, which the master decided to weld and thereby thoroughly fix the movable element. Since the bearing is in the immediate vicinity of the welding site, it is necessary to cool the heated surface with compressed air.

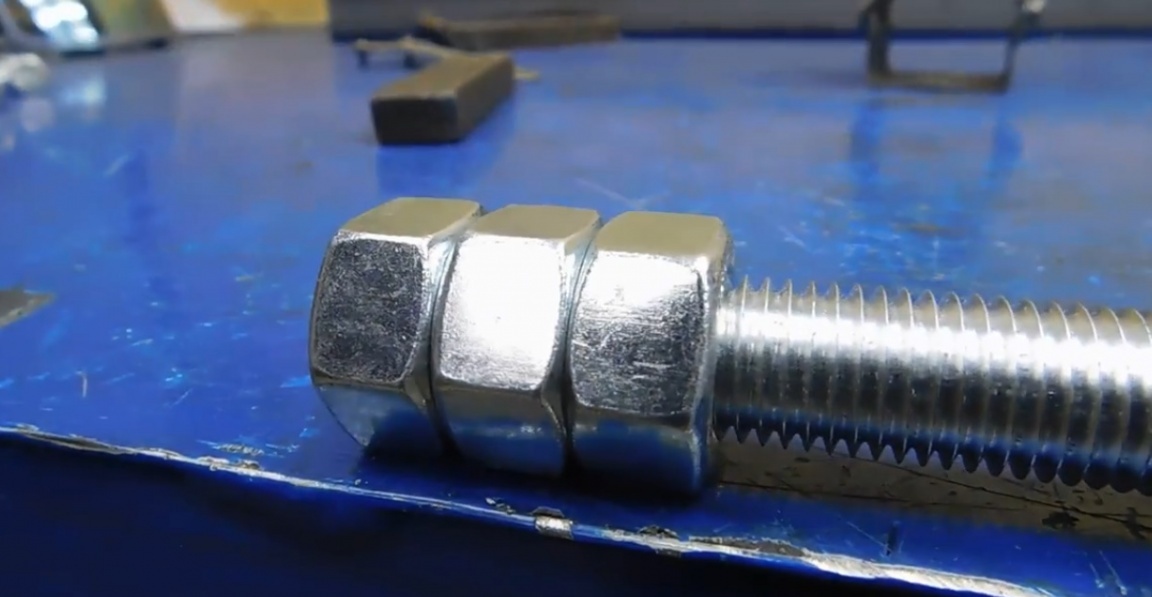
It turned out pretty well, now a little more and with this mechanism everything is for sure. And now we need to make one of the 16th nuts one elongated, which we will do now by welding them together.3 nuts in the middle and a pair of nuts on the sides.

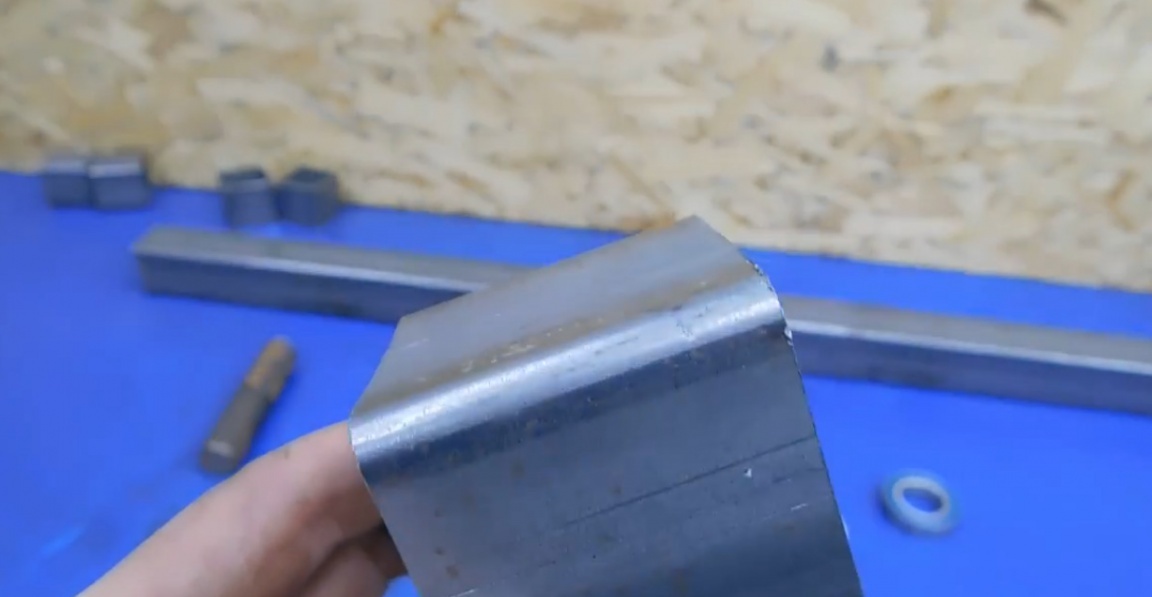
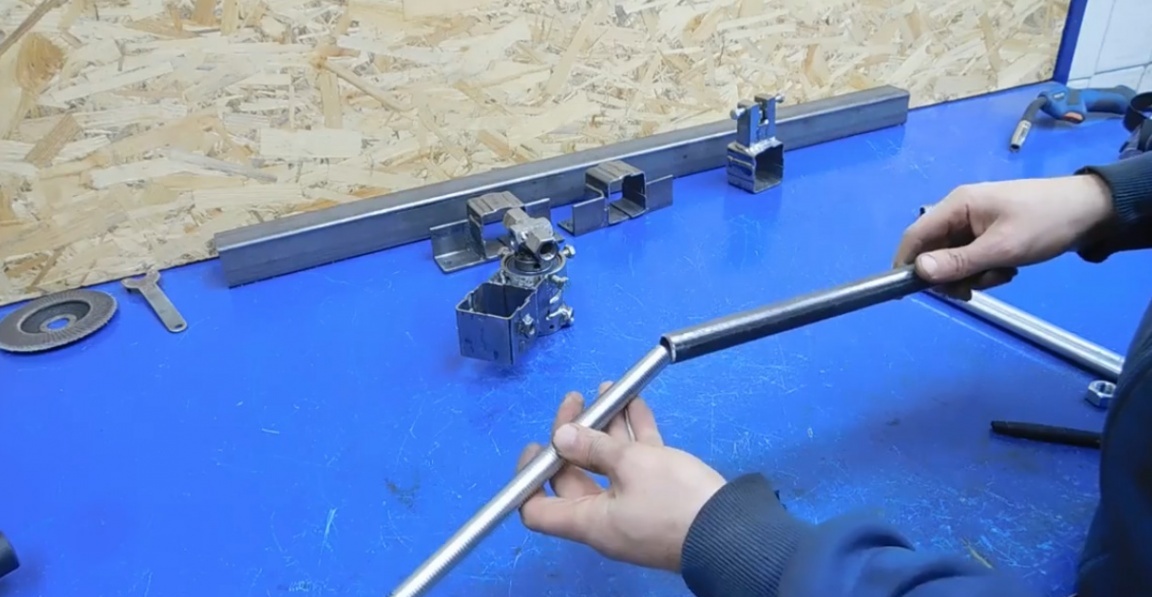
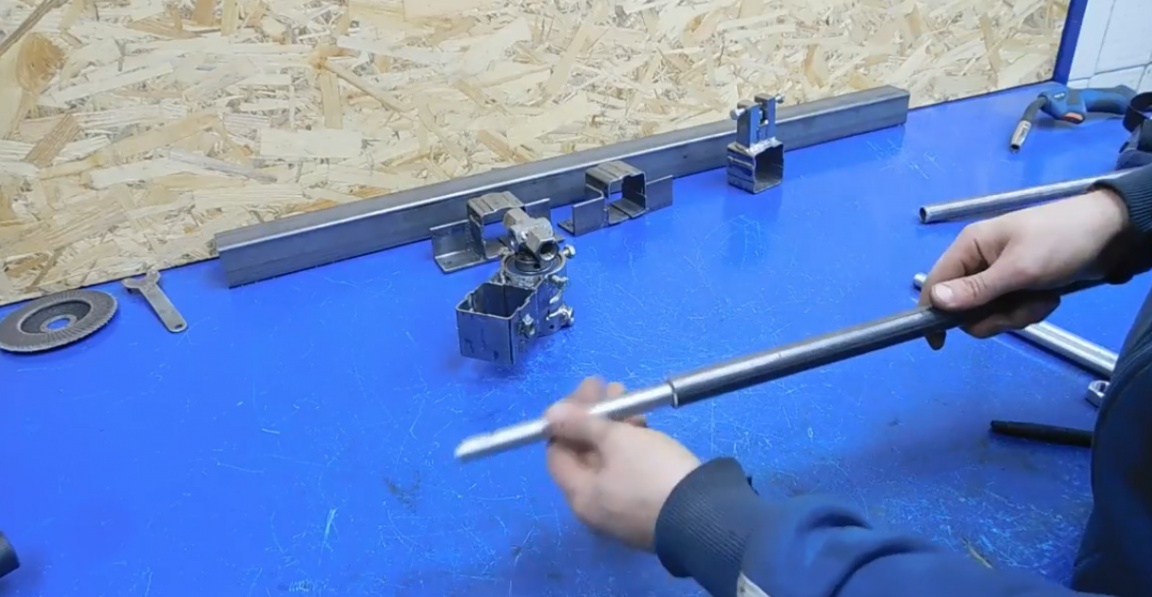
We thoroughly boil everything there, because the load in this place is not expected to be weak. After that, the author made a few more squares and began to try on the main pipe. The main thing is that they have free movement.
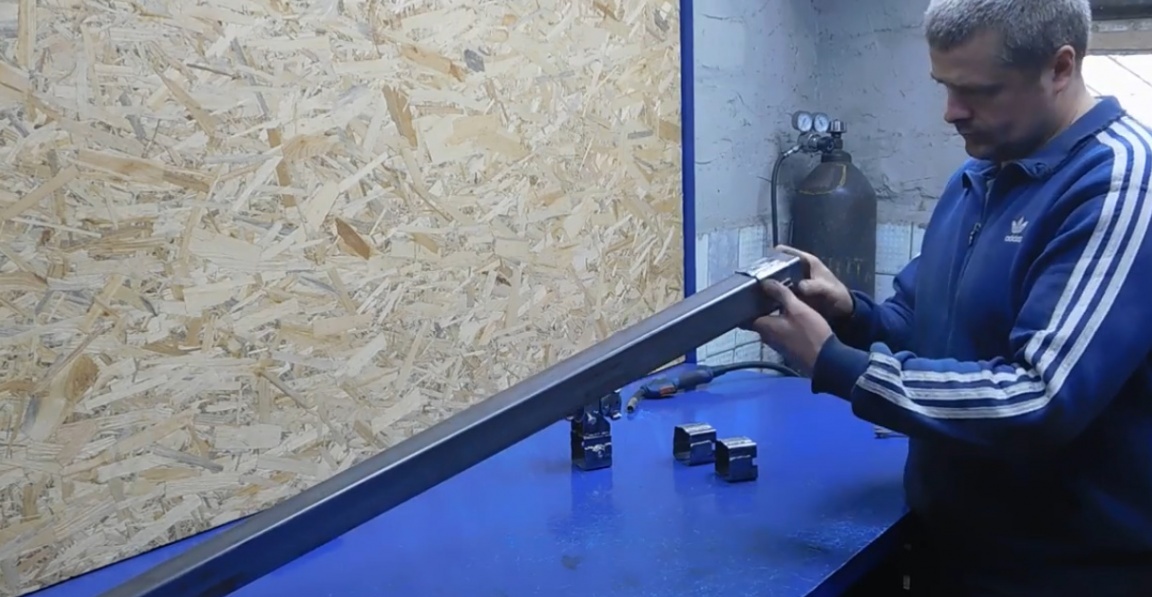
From the corner in which it is necessary to cut out part of the wall and weld the squares, we make fastenings under the working surface of the table.
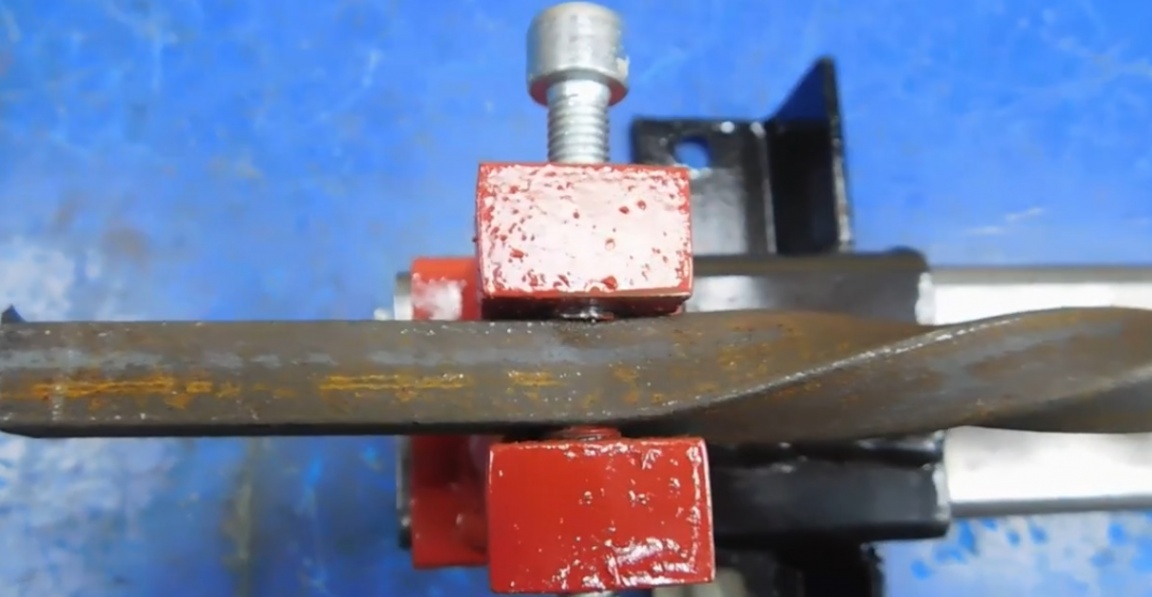
And now it's time for a pair of incisors.
In terms of parameters, they perfectly fit one of the machine stops. We make 3 segments, 2 of which are exactly the same.
They will need to be welded in place, but first in each of them we drill a hole and cut the threads for the bolts.
Well, then, as planned, we weld together.
We process the seams with a petal circle and the part itself can only be welded to the square.

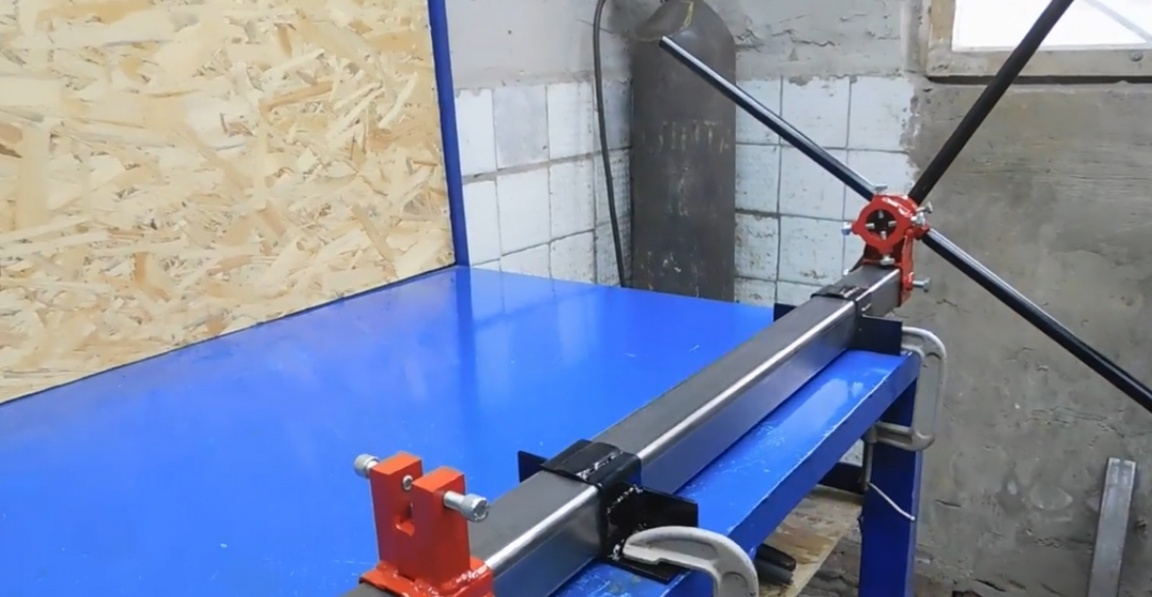
Now this is a full emphasis on the rear of the machine. The 16th stud, under which we previously welded the nuts, is cut into 4 segments of equal length.
Also, in 4 equal lengths, only a little longer, a ½ inch pipe is cut.
The 16th hairpin fits perfectly into the pipe, almost tightly, exactly what the doctor ordered.
Then, leaving a small tip, weld it all together, getting 4 handles.

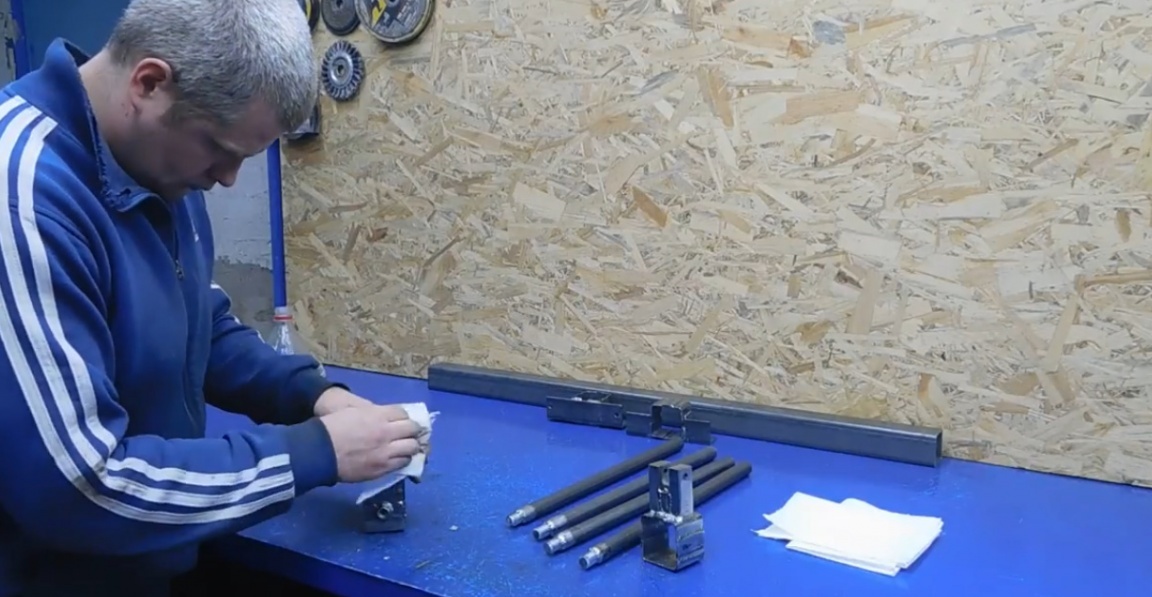
The next stage is painting. Before painting, all parts must be degreased with anti-silicone. Do not neglect this process.
This is followed by a primer and painting.
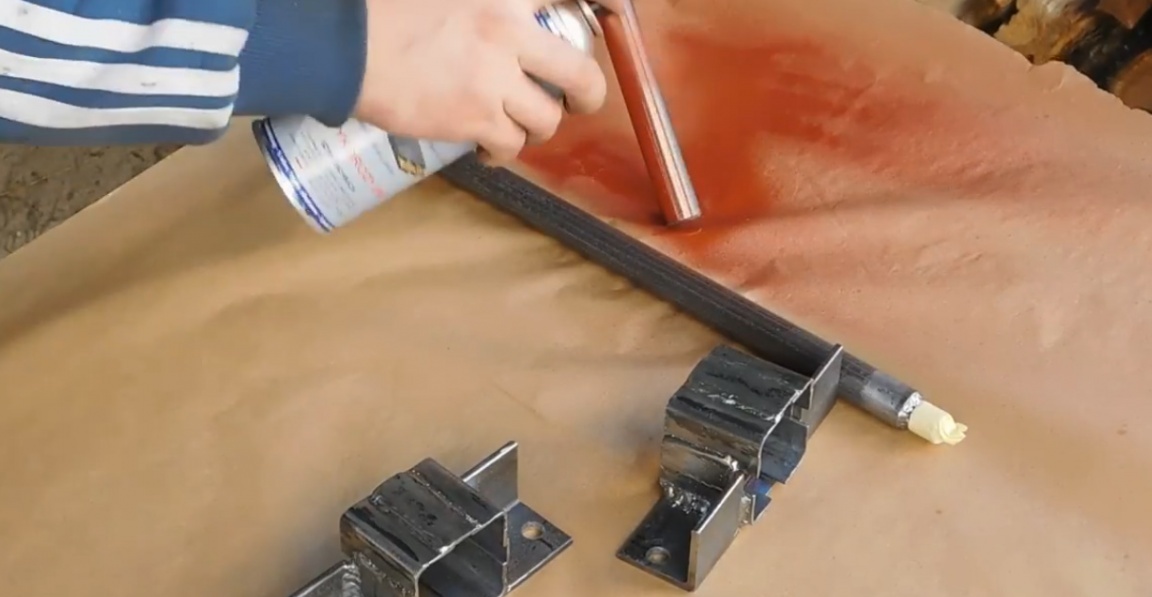
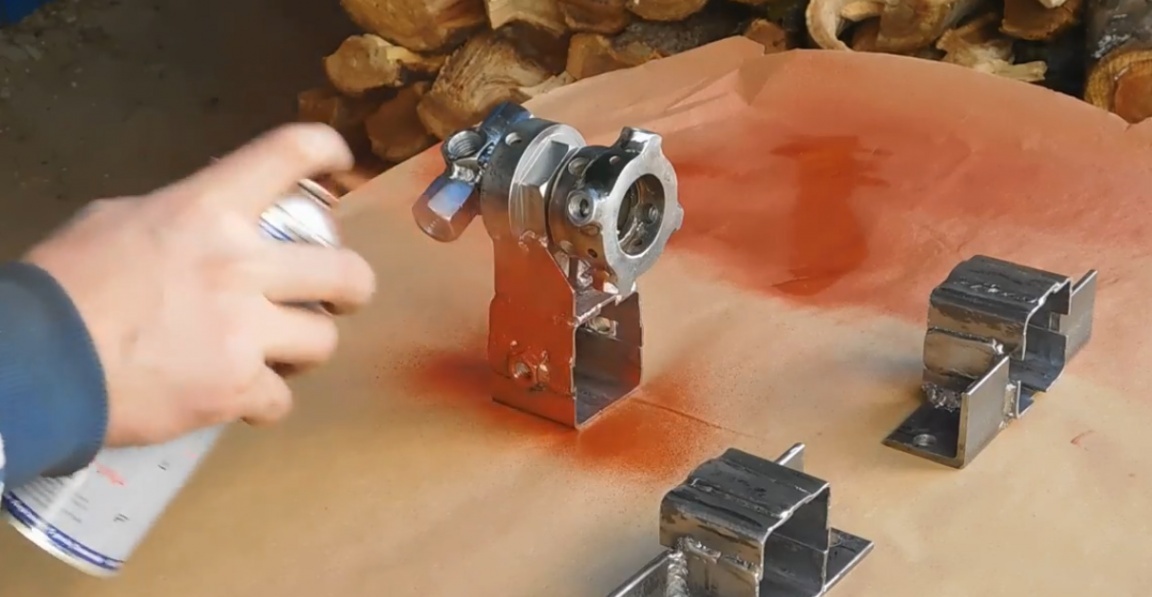
So, we painted everything except the professional pipe, since all the parts are moving, the surface of the pipe will immediately come into a deplorable scratched appearance.
This is followed by a simple assembly and the machine is ready.
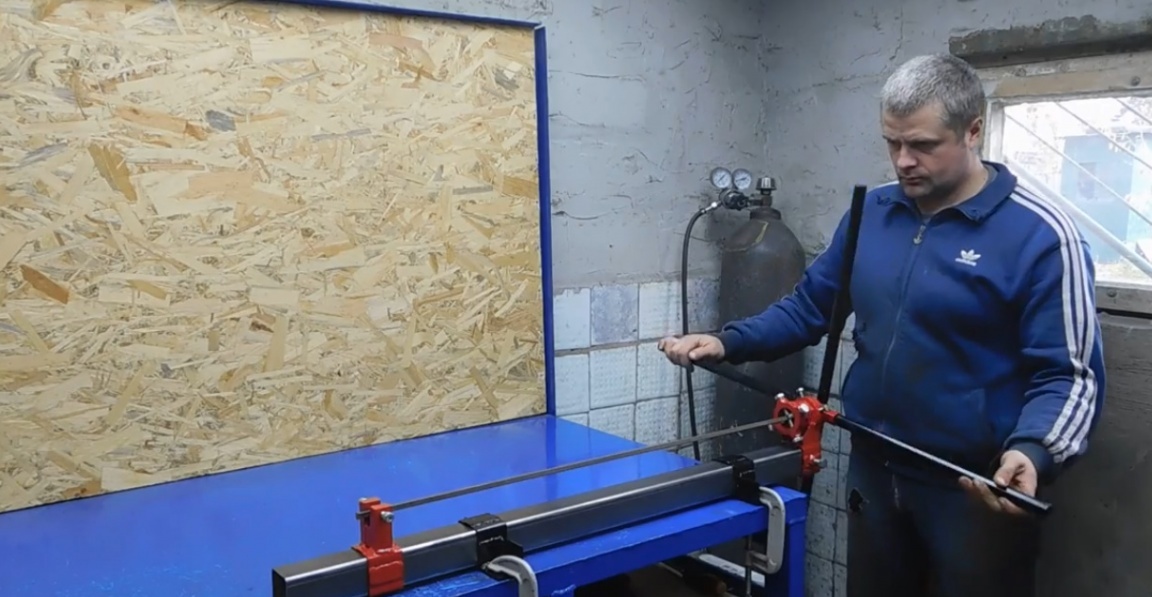
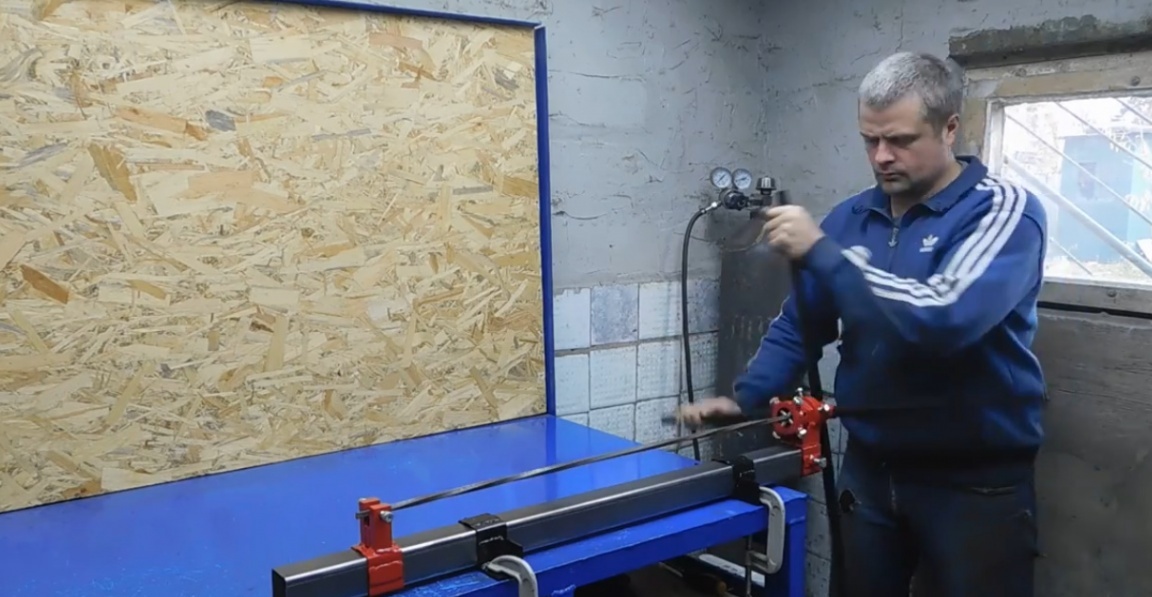
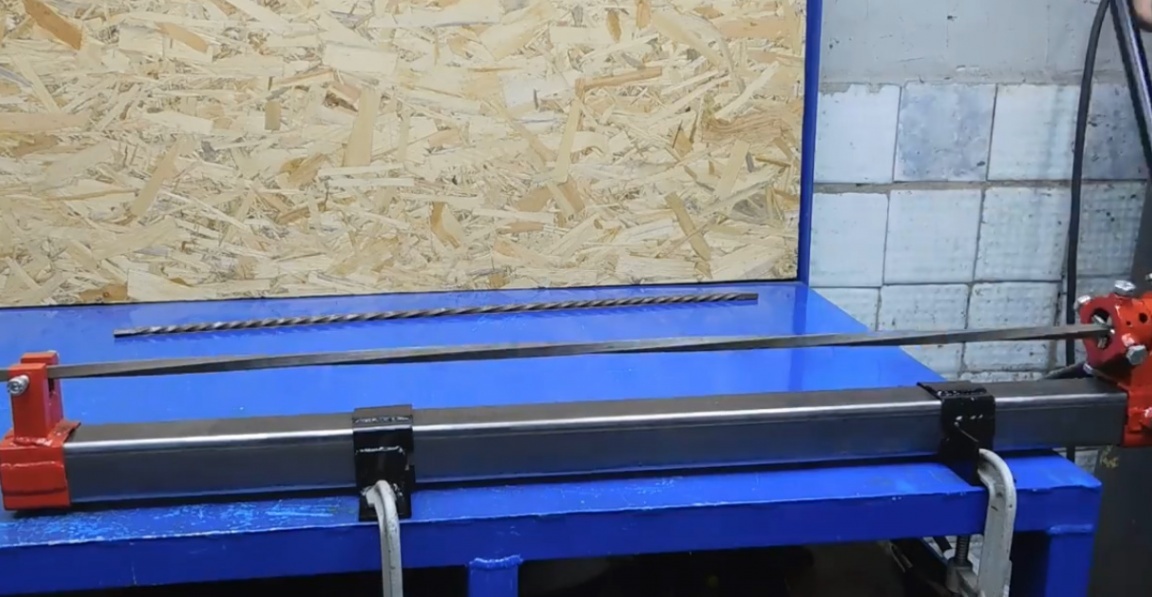
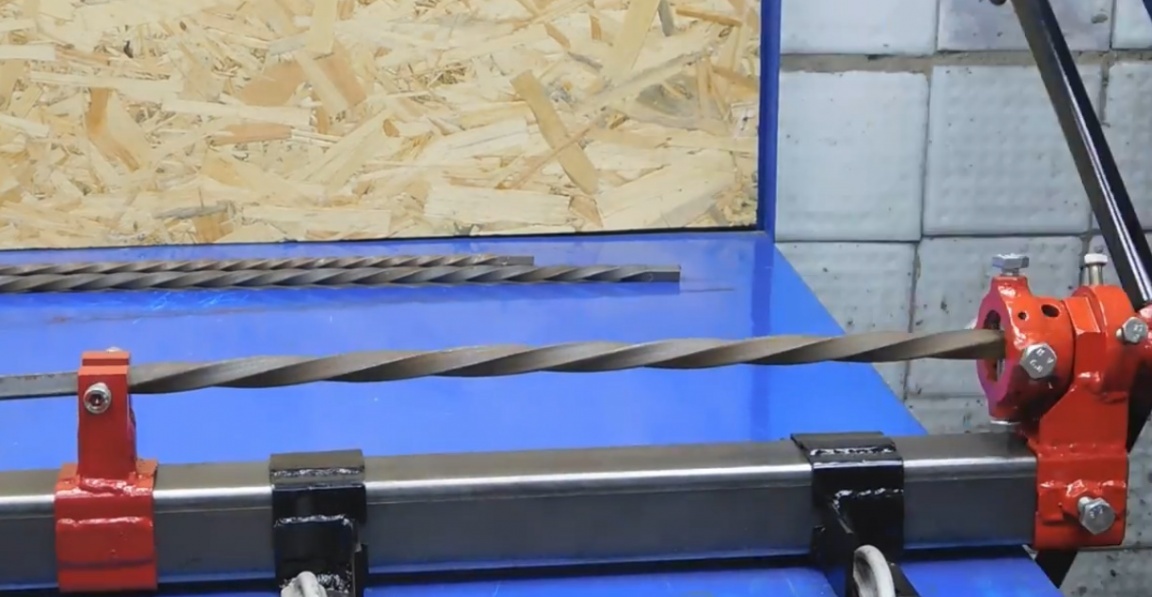
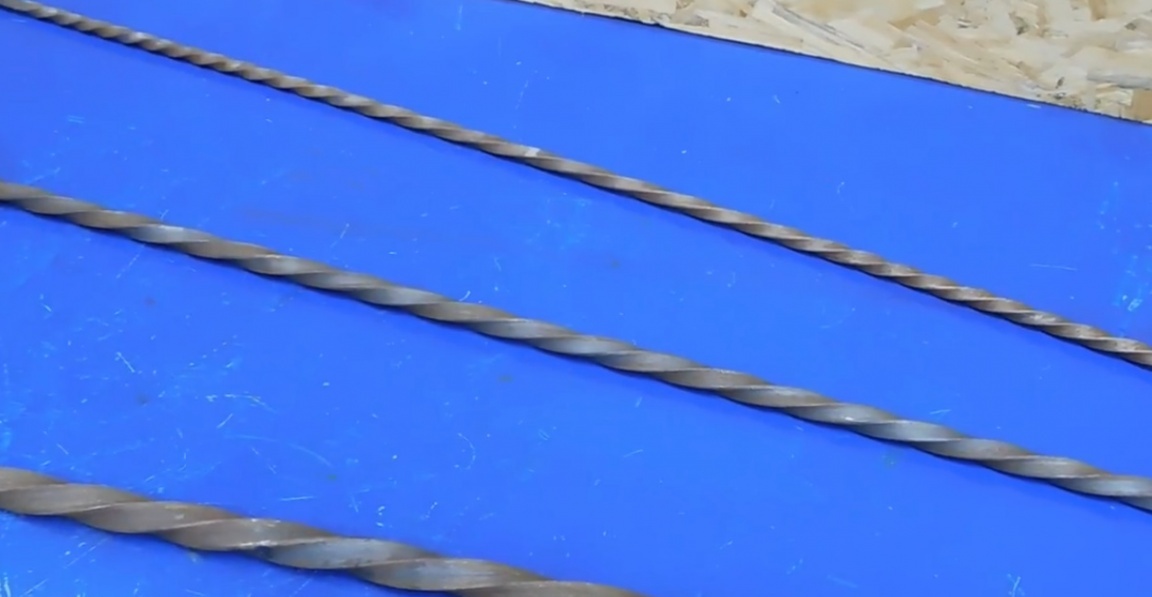
You can start the test. This is another example of how in your workshop without turning and milling you can assemble an excellent machine for longitudinal twisting of a square from parts from the market.
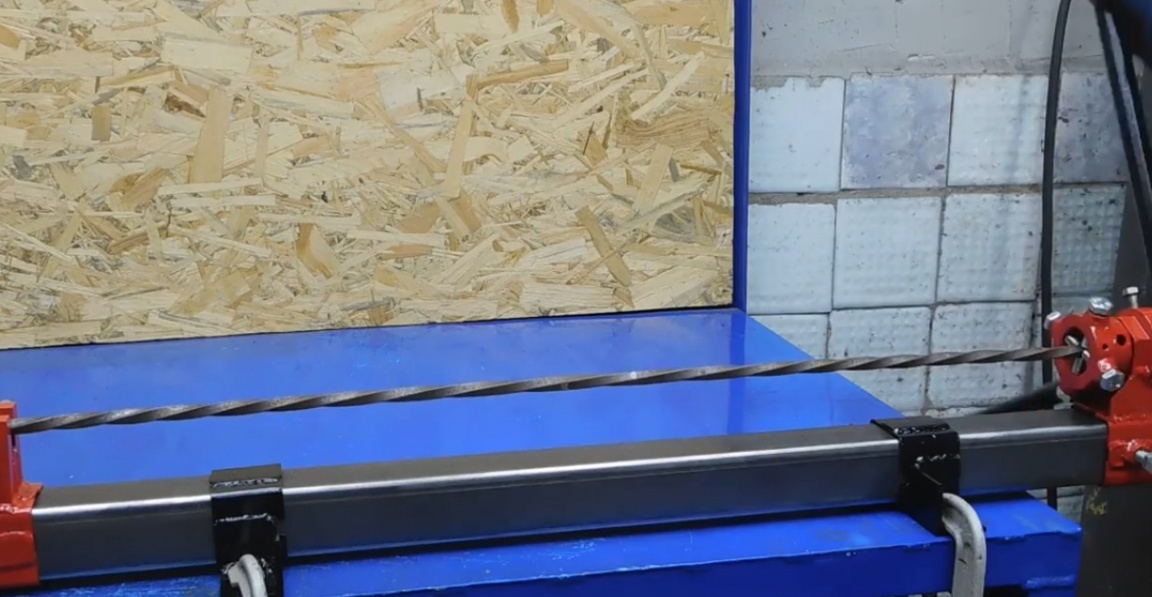
We charge the 8th square and see what’s going to get there now.
The effort is small. The handle lever is enough. The author was convinced of the correctness of the choice of the helm 4, and not with 2 handles, it is very convenient to intercept.

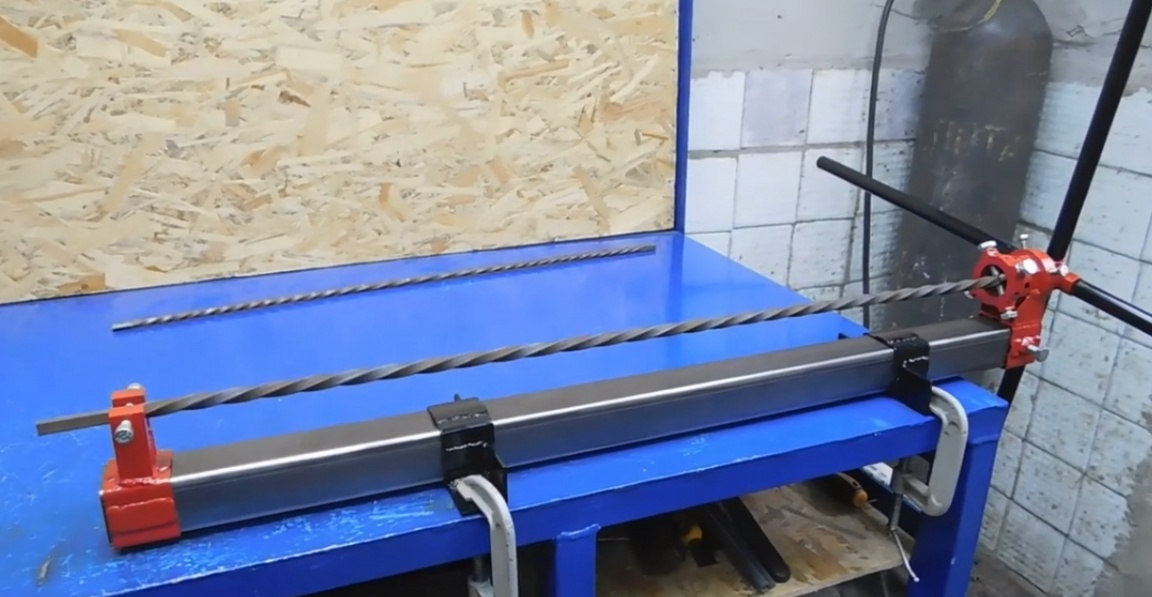
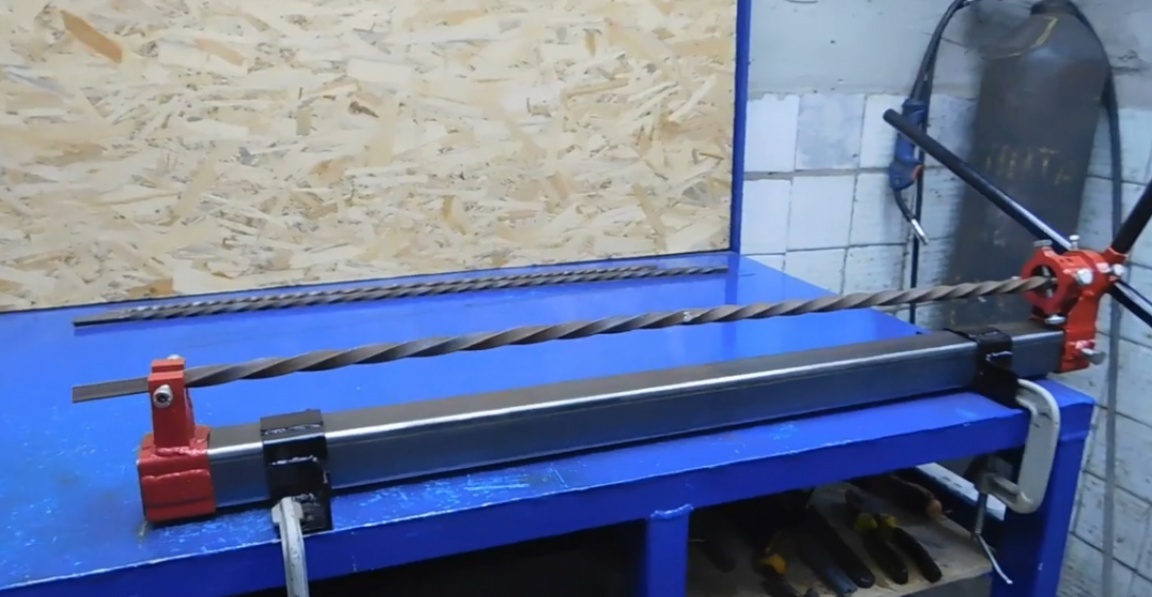
Well, the result is quite good, although the author certainly did not doubt it much. Well, figure eight, okay, we will go to square number 10.
A dozen heavier of course, but you can twist. The length of the square can be used depending on the need. All hinged parts can easily be placed even on a six-meter profile pipe and this is a definite plus of today fixtures. As a result, a dozen succumbed.
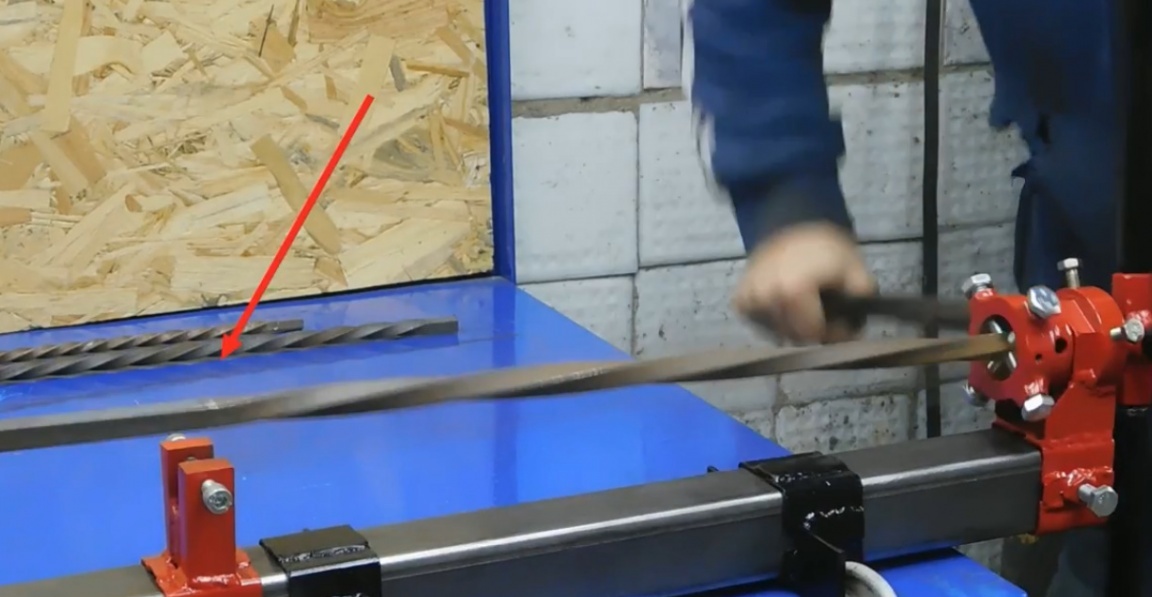
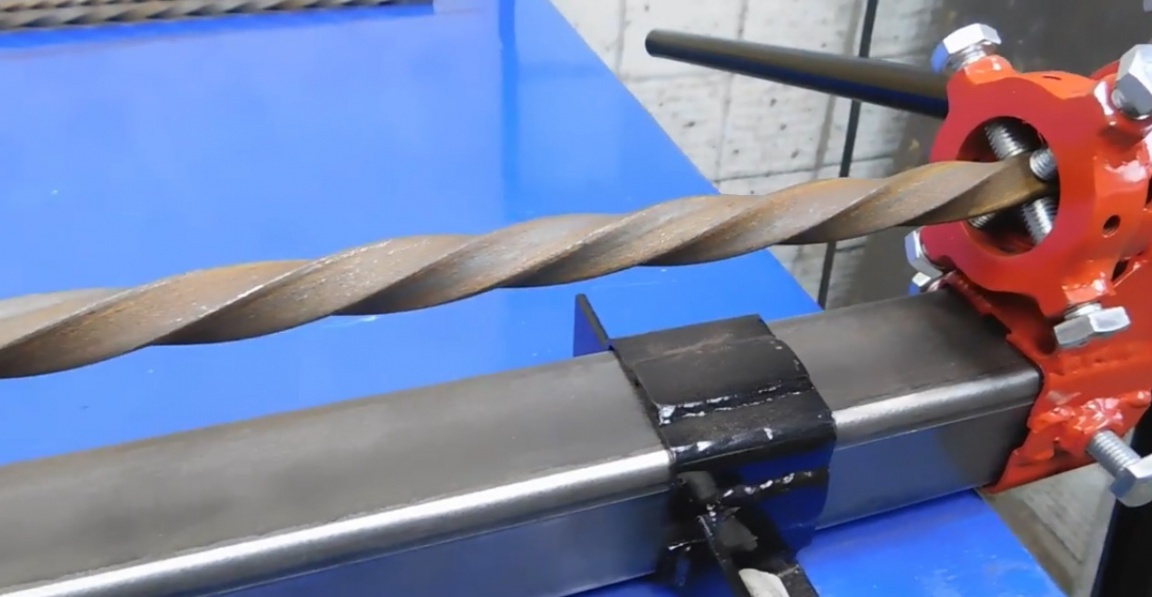
Next in line is square number 12, not weak even visually.

It turns, but you have to push it. Definitely not enough leverage, with a union pipe this problem should be solved. During the test, it turned out that when the author cooked the details between himself, a narrow seam was laid, plus everything else was cleaned not weak, thereby weakening it under load.
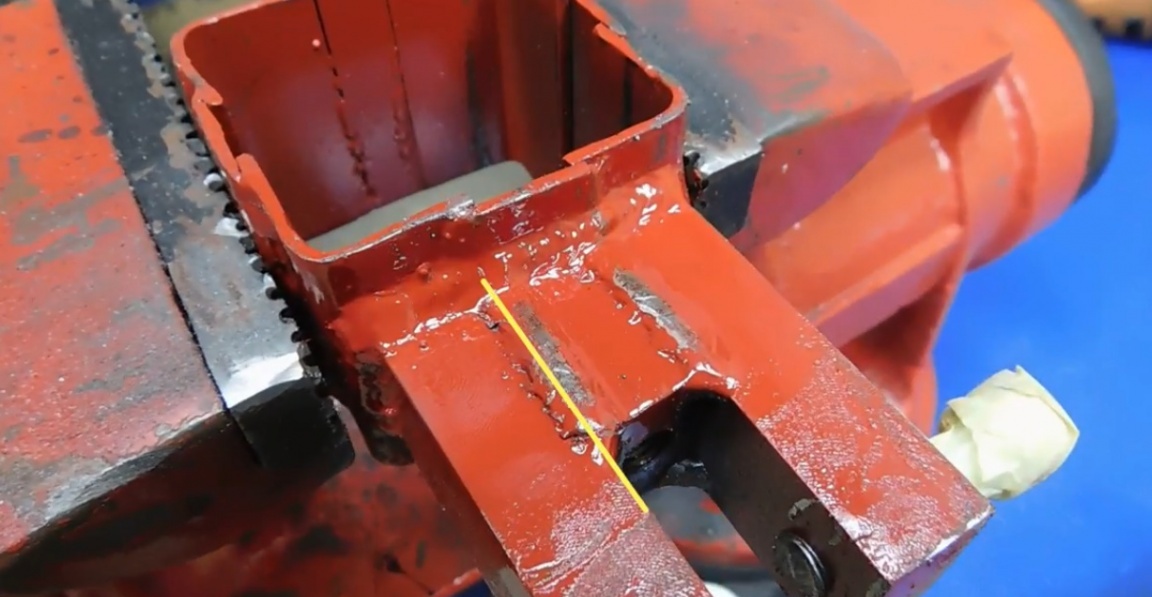
He fixed this whole thing with a good wide seam and only after that realized that it would not hurt to weld another plate across, fastening 3 segments tightly.


Well, we continue to fight with a 12-millimeter square.
In the end, everything turned out, no more surprises. Torsion is quite decent and most importantly in an ordinary workshop.
Next, the master decides to finish the square along the entire length and the tests can be considered completed.

Well, the result, as they say on the face. And that’s all. Thank you for attention. See you soon!
Video: