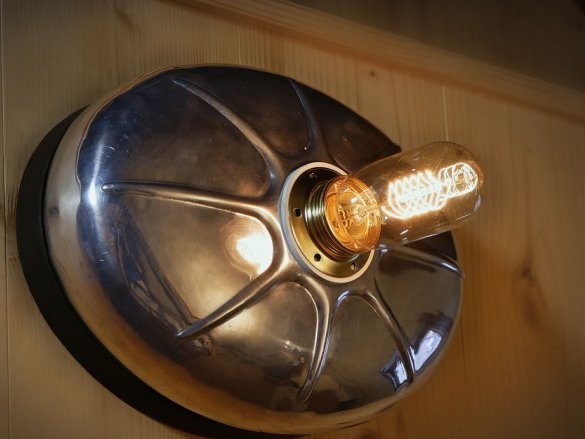
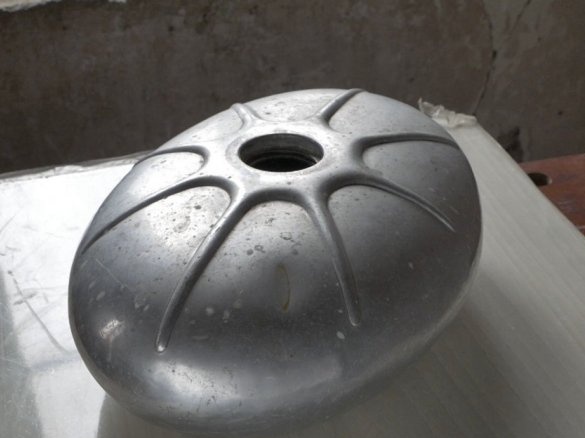
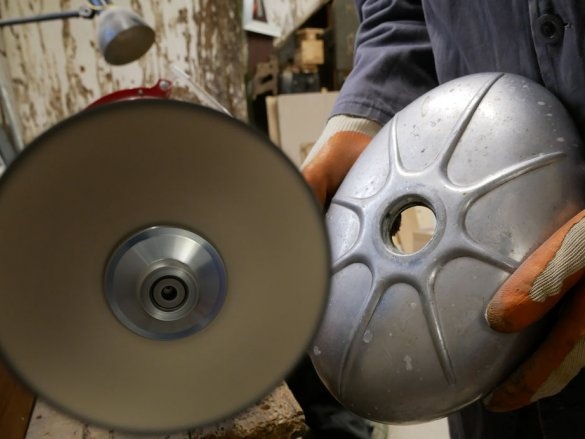
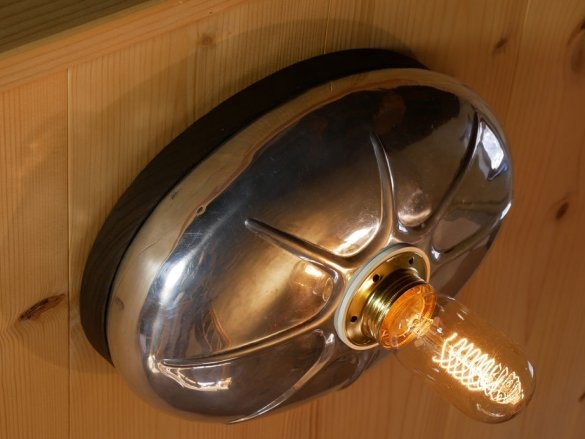
The author of Instructables under the nickname ItalianMile has always liked the design of aluminum water heaters. One of them survived several moves, but then got lost. At the flea market, the master managed to acquire several similar ones. The stiffening rib pattern on the heating pad reminded him of the sun, and he thought about remaking one of his purchases into a sconce.
In addition to the heating pad itself, he used in homemade a piece of chestnut wood board with a thickness of 20 mm and dimensions of at least 220x300 mm, a lamp holder, a rubber gasket, a 30 W decorative lamp, a 100 mm piece of plastic pipe with a diameter of 25 mm, and wood screws with a length of 20 and a diameter in 4 mm. He used tools both electric and manual.
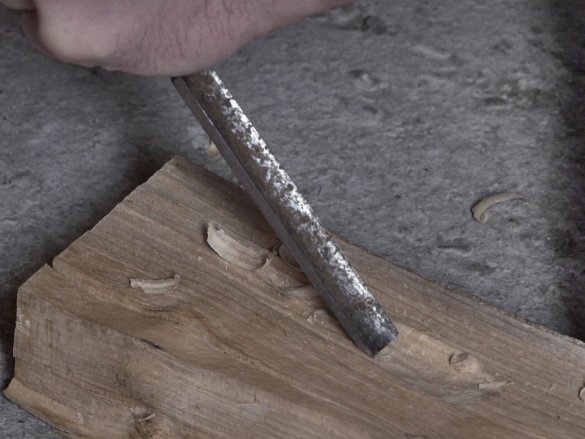
The heating pad can not be clamped in a vice, it will immediately compress, and no stiffening ribs will help. Since the problem is not solved directly, it must be solved indirectly. ItalianMile took a wooden pin, made cuts in it and placed the corresponding side in the neck of the heating pad. On the opposite side, he clamped the pin in a vise.
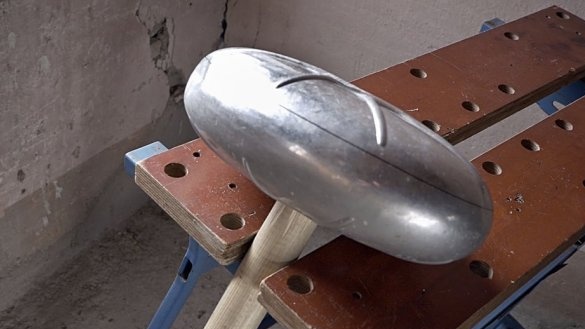
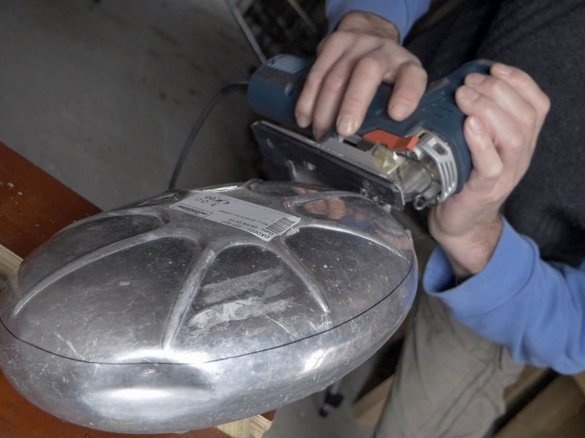
The heating pad was firmly fixed upside down. Marker master drew a line along which he was going to saw off the bottom. Having drilled a hole of sufficient diameter to allow the jigsaw blade to pass, ItalianMile walked them along this line and the bottom separated. He did not forget for a second that without a press, the jigsaw does not saw, and instead the power tool begins to shake violently.
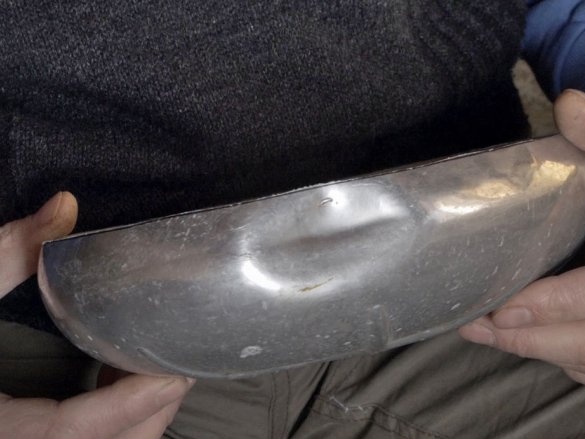
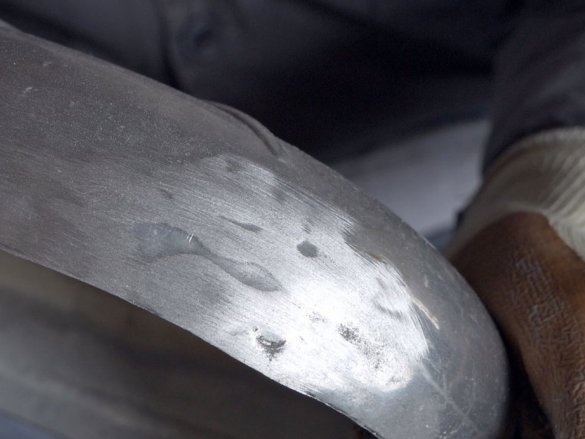
The warmer went to the master with a small dent on his side, where there are no stiffeners. Having made a notch on a piece of wood, he pressed the sawn part of the heating pad indented down to it and gently straightened the dent with steel and plastic hammers. Then he polished the surface where the dent was on the front side.
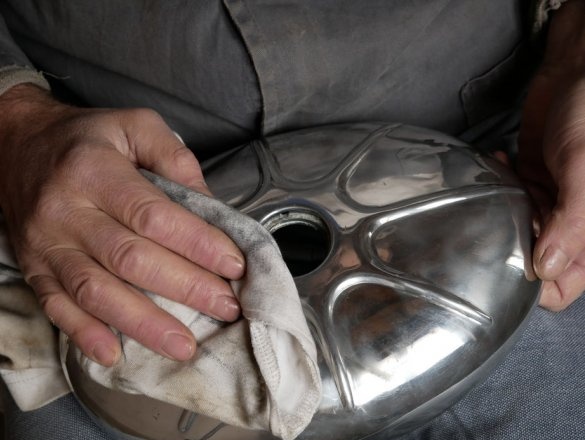
Sometimes the master likes the item to look a bit worn out, sometimes not. This time he decided that it would be better to look like new. After polishing the front surface of the heating pad, he then removed the remnants of the polishing paste with a cloth soaked in alcohol.
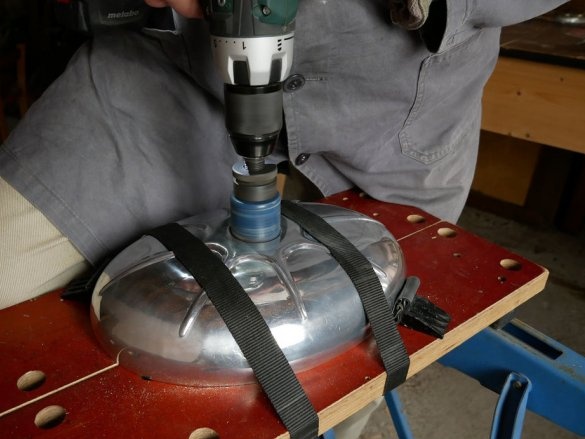
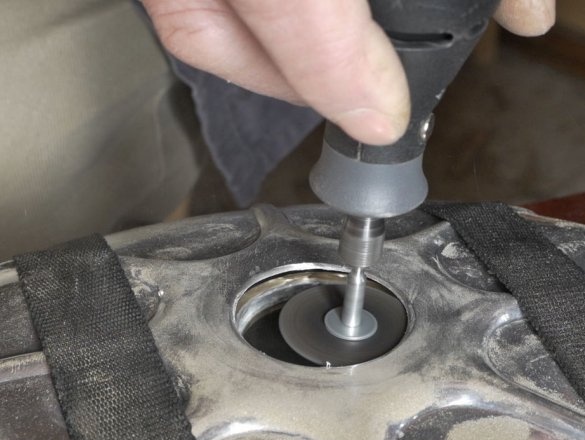
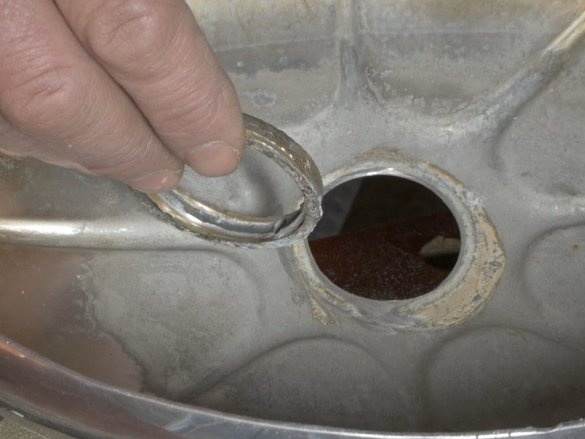
In that hole of the heating pad, where the thread for the cork used to be, the lamp holder did not fit. ItalianMile has drilled this hole and now the cartridge passes.Between him and the heating pad, the master placed a rubber gasket. Due to this, the fastening nut can be tightened, albeit strongly, but without overdoing it - the threaded connection will still not loosen.
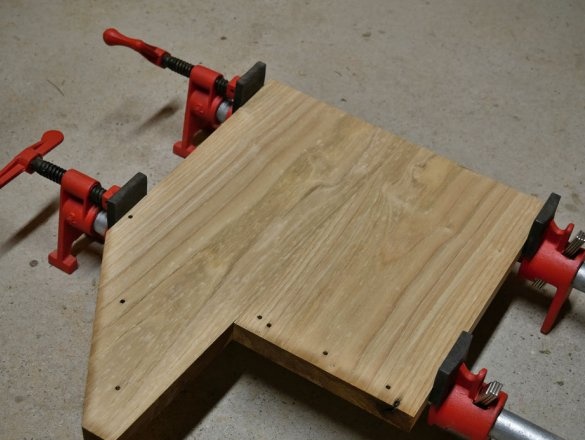
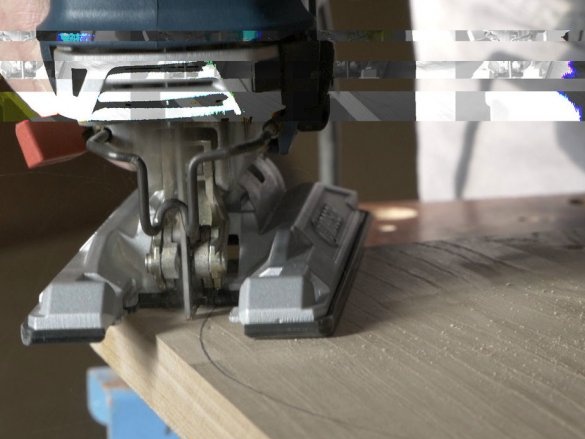
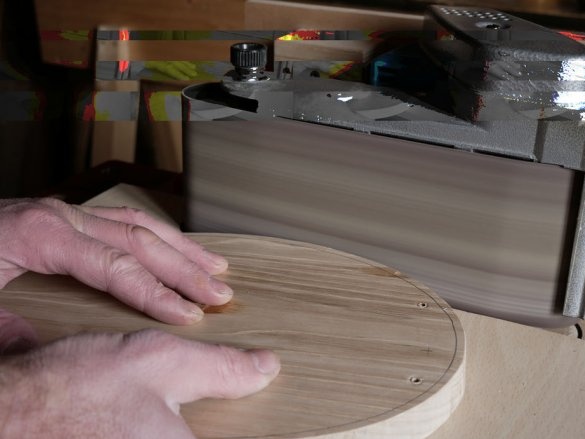
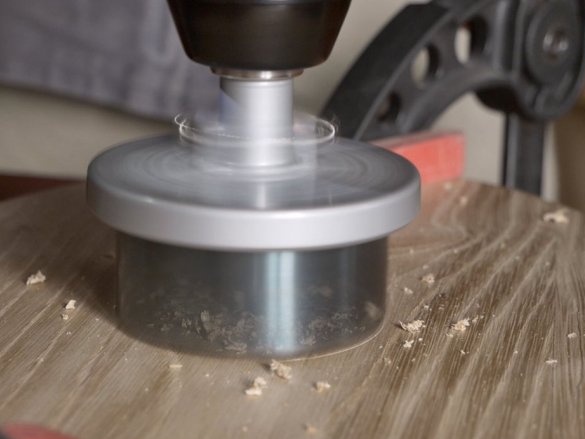
The craftsman takes a piece of a board 20 mm thick from chestnut wood. For the foundation it is not enough in width, ItalianMile cuts it in two and glues it together. It turned out shorter, but wider. Now you can cut the necessary oval in the shape of a heating pad. The base is ready, on it the master passes first with a grinder, then with sandpaper.
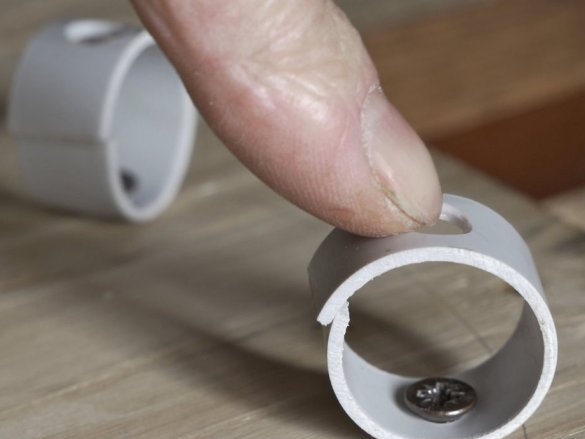
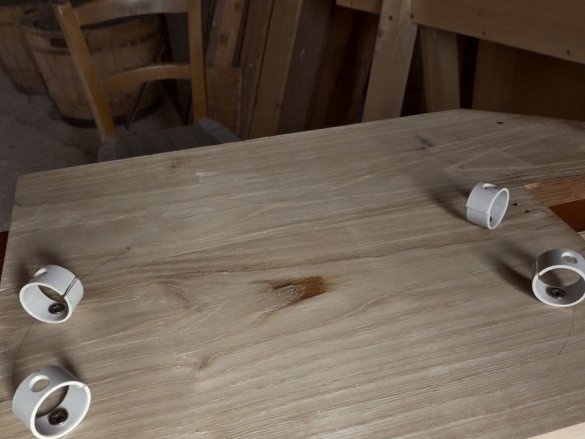
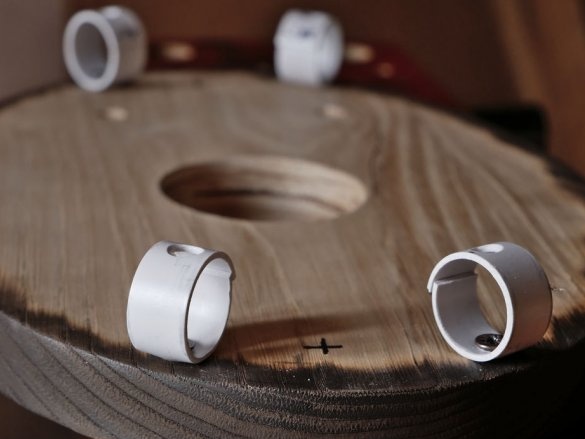
How to crawl to hardware when attaching a heating pad to the base? The master came up with this. I took a piece of plastic pipe with a diameter of 25 mm and sawed off four rings of 15 mm from it. In each he drilled two holes: one with a diameter of 4 mm for a self-tapping screw, the other with a diameter of 7 mm for a screwdriver. He sawed each of the rings so that it could be unbent. Even before cutting the oval from the workpiece, he checked whether such fasteners work well.
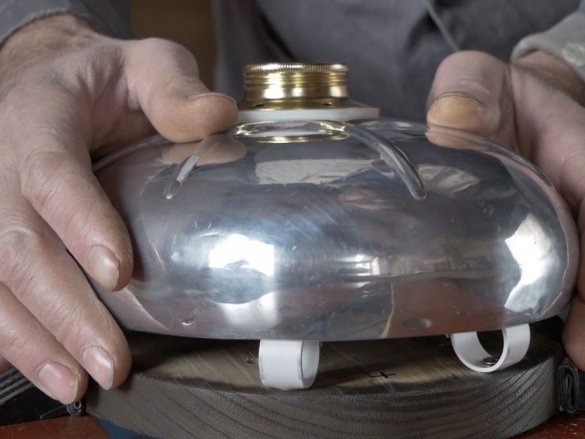
In the middle of the base, he cut a round hole of sufficient diameter to allow the cord to go along with the plug. A man hurried, pre-attached a fork. The base itself was treated with the Japanese method shou sugi ban (Yandex), then washed with Scotch-Brite. After that, he attached the original fastenings he had invented to the base, and it remained, after threading the cord through the hole, just click on the heating pad.
After checking how the mounts work, the master pulled the heating pad towards himself, and again it separated from the base. The chain rang for the absence of breaks, short circuits and phase contact to the case. I drilled a hole in the wall so that the cord was on the opposite side. He fixed the base on the wall, put the heating pad on the mounts again. I screwed the lamp. I went into the next room and plugged in the cord with the plug into the outlet. He came back and admires the result. On my own, I’ll add that it is better to fix the cord additionally so that it cannot be pulled out of the cartridge.
The lamp is also a musical instrument: if you knock on a heating pad with a wooden or plastic stick, you get a beautiful sound.

