

Hello to all lovers homemade. This article will be interesting to those who are interested in creating various things. do it yourself, in particular to those associated with carpentry. It will be about homemade locksmith's vise. The idea of making a vise with your own hands is not new, and the relevance is determined by the fact that assembling it yourself is much easier and cheaper than acquiring a ready-made tool. And having made a vise with your own hands, you know what material the tool consists of and how well it is made. Also, this article will help you save a lot of money, which is also very good.
Before reading the article, I propose to watch a video, which shows in detail the entire process of assembling a homemade vice and a little testing in the work of the finished tool.
In order to make a homemade vise, you will need:
* Angle grinder
* Cutting and grinding disc for angle grinder
* Personal protective equipment, glasses, gloves, respirator, welding mask, gaiters
* Profile pipe 40 mm
* Long stud with M16 thread
* A pair of nuts M16
* Drill for metal 3 mm, 10 mm and 18 mm
* Drilling machine or electric drill
* Thick-walled metal square
* Clamp
* Kern
* M8 tap
* Sawing machine for metal
* Four M8 screws with hexagon head
* Metal plate 5 mm and 10 mm thick
* Metal corners 4 pcs
* Thick-walled tube with M16 thread
That's all the materials and tools, move on to the assembly itself.
Step one.
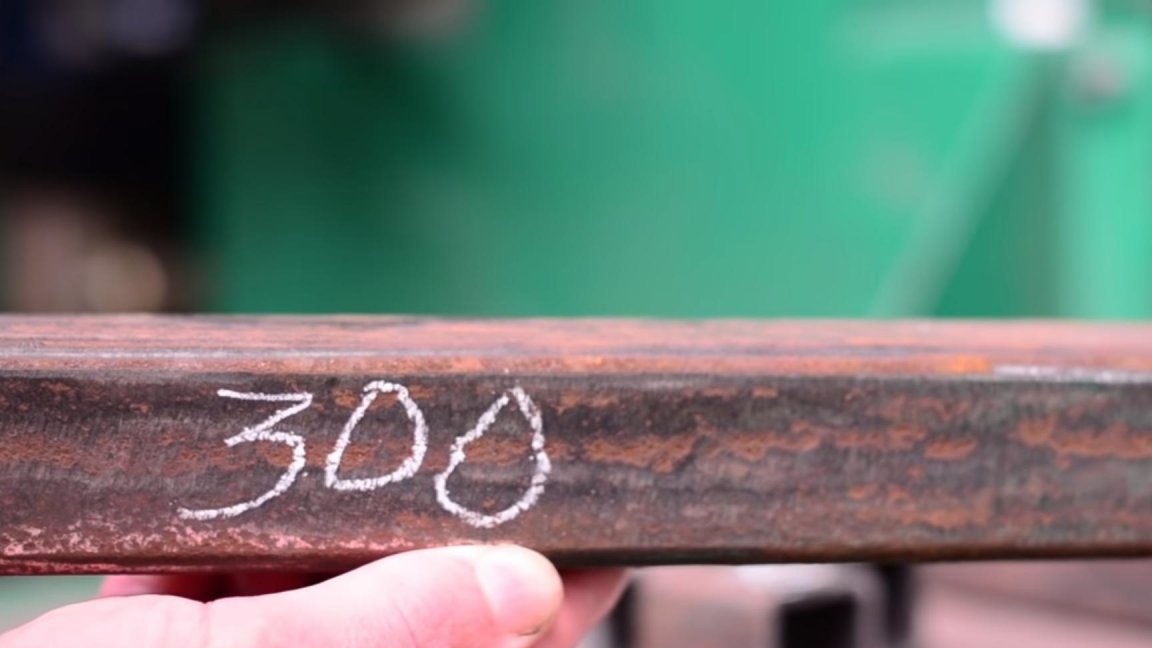
As with all purchased vices, ours will have a basis. The base is made of a profile pipe 40 mm with a wall thickness of 3 mm. First of all, you need to saw off the segments of the desired length, you will need two segments of 40 mm and two of 300 mm. We saw off the profile pipe using an angle grinder, observing safety precautions, and also using personal protective equipment, glasses and gloves, in this case we tightly fix the pipe on a workbench in a vice.
Step Two
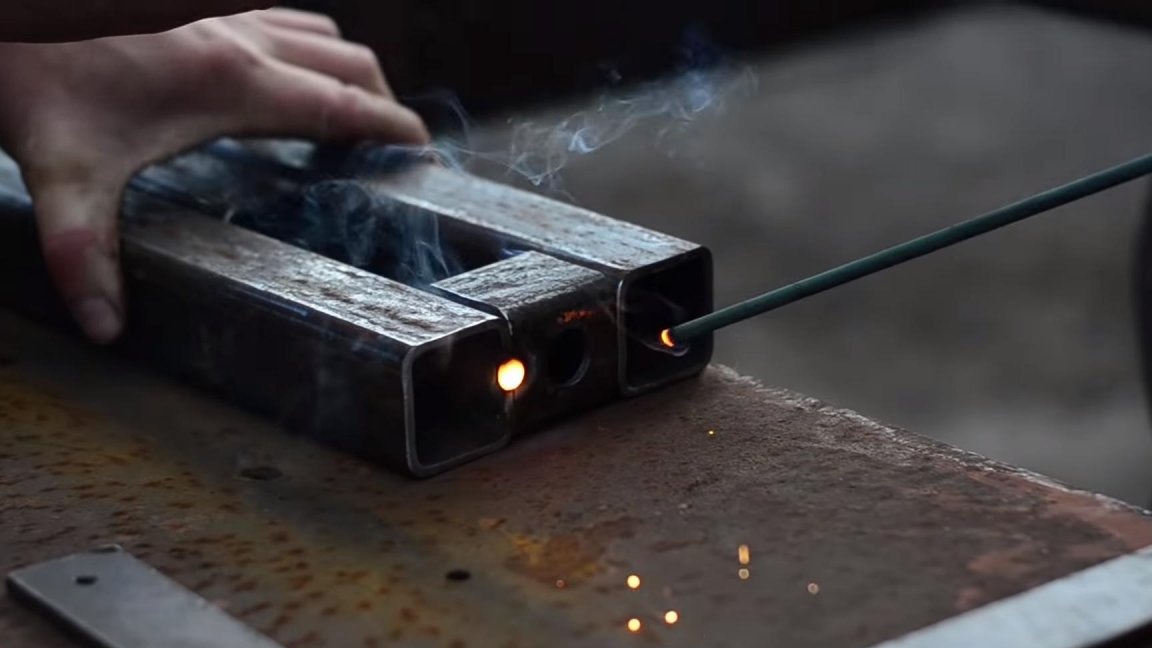
In two lengths of 40 mm, holes must be made. On a drilling machine with an 18 mm drill installed in the chuck, we make a pair of holes in the squares welded to the base, the stud in them should freely slip. Before drilling, make a couple of core punches in the right place.
When drilling holes, be careful to wear glasses and in no case do not use gloves. For better drilling and longer drill life, drip a couple of drops of technical oil on the cutting edge.
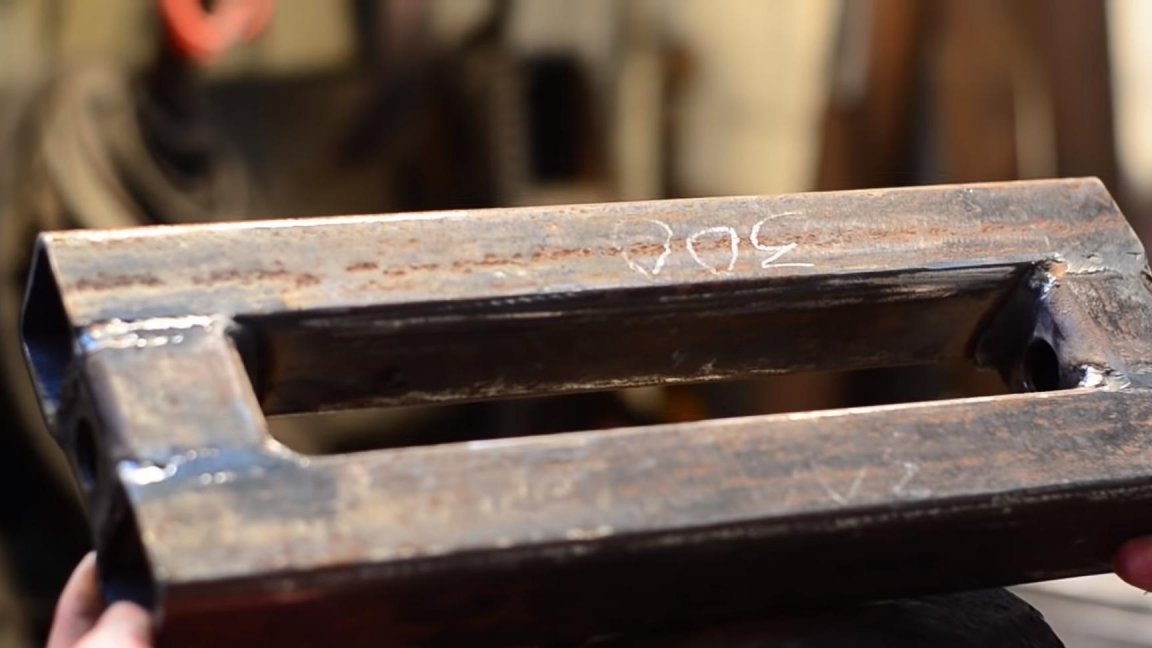
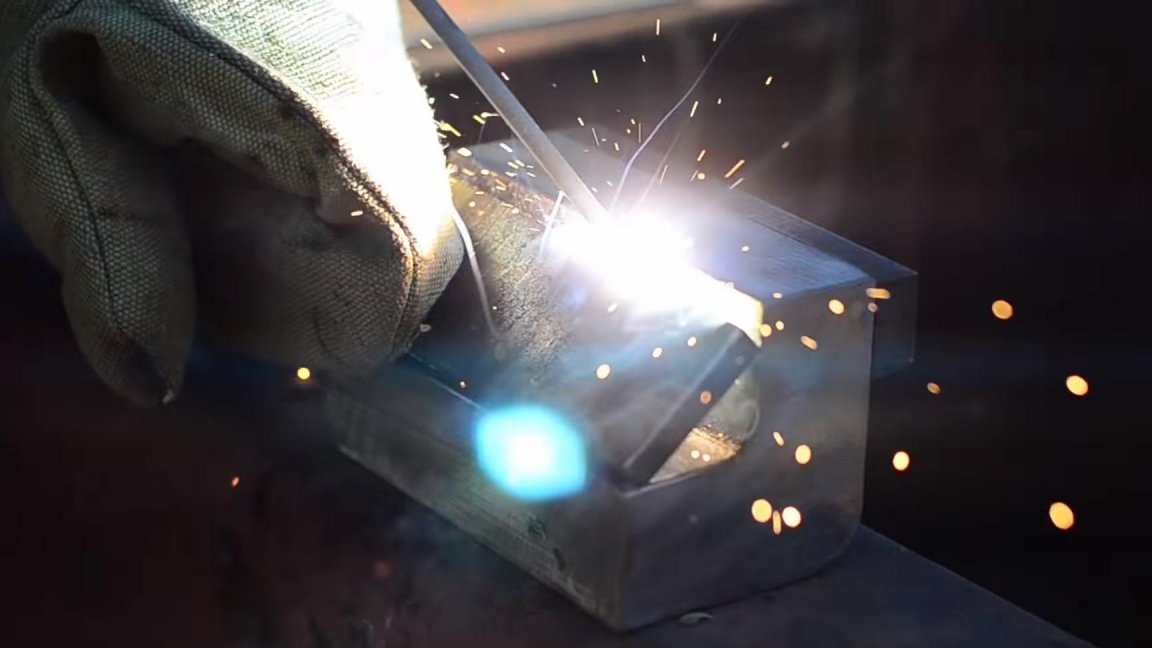
After such simple manipulations, we weld all the parts together using a welding machine. When welding, be careful and use a face shield and gaiters.
We grind the welding seams with an angle grinder and a grinding disc, and do not forget about protective equipment, such as gloves, goggles and a respirator.
Step Three
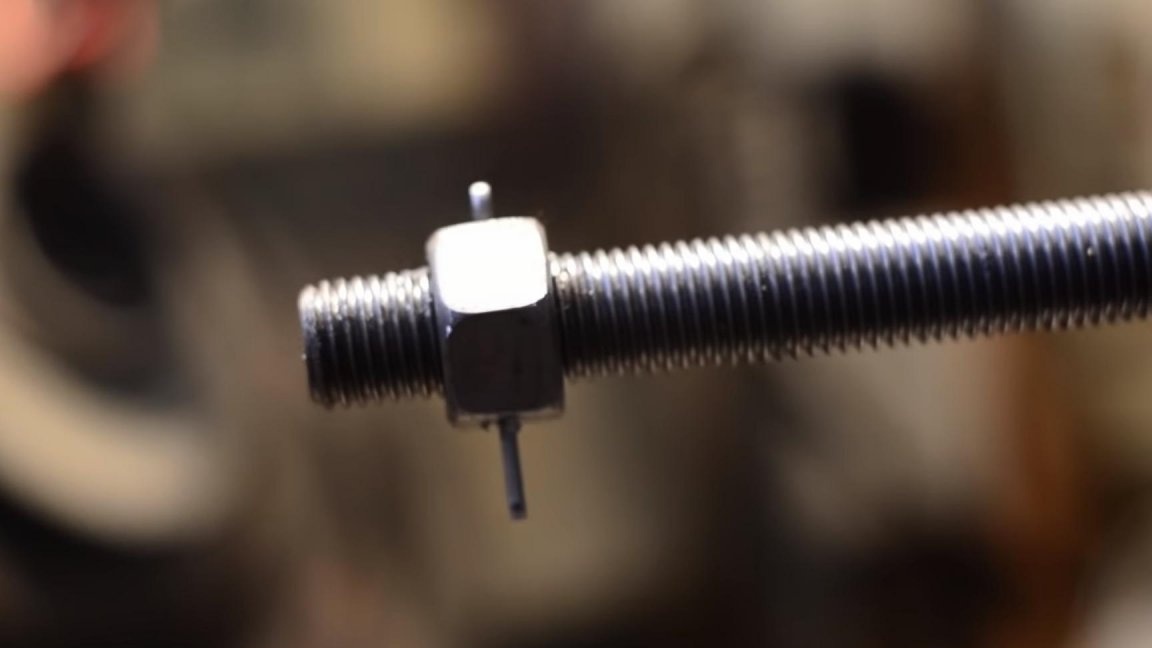
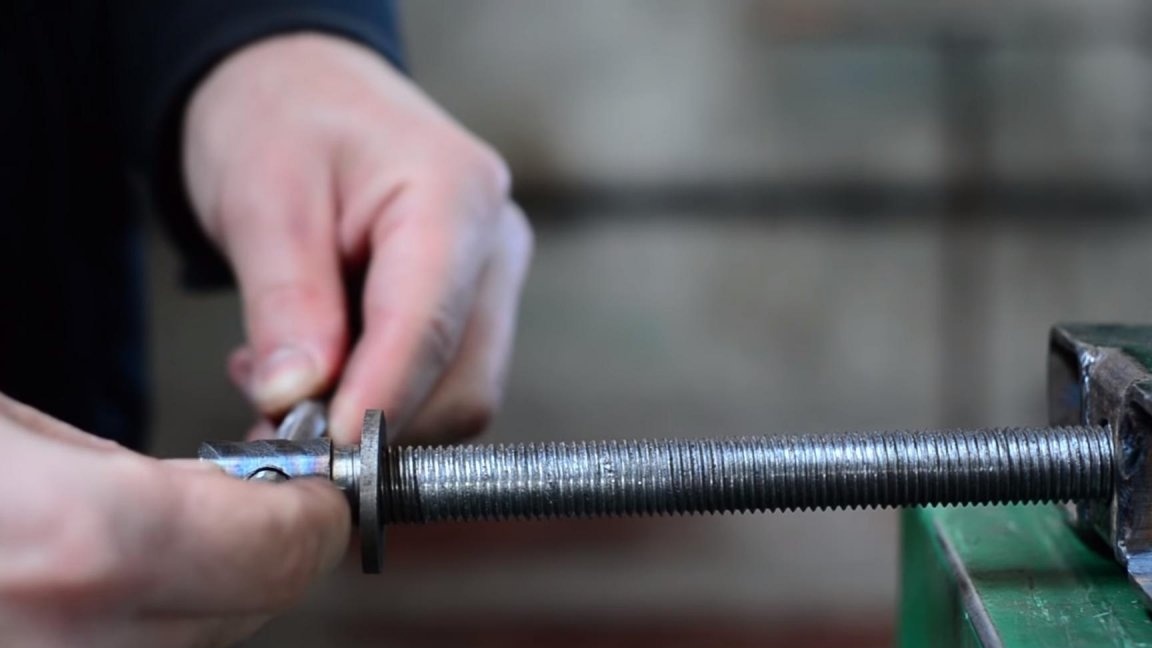
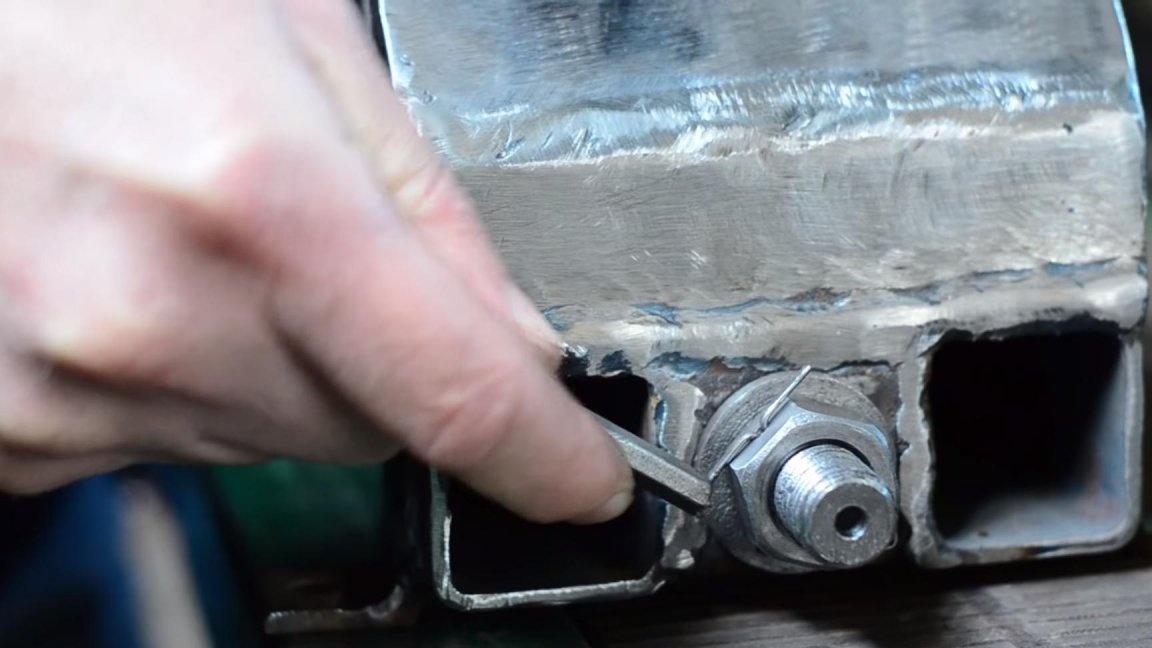
Then we throw the washer and screw the nut onto the hairpin.
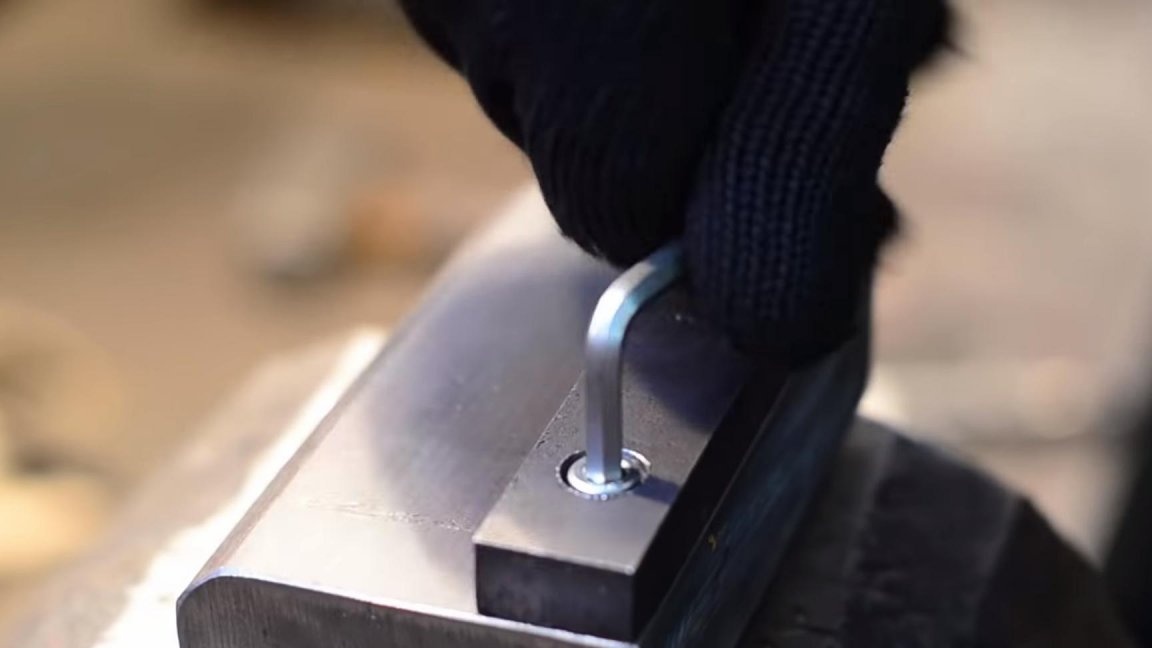
It is necessary to make a hole in the nut through with a diameter of 3 mm, we also do this with a drilling machine in full compliance with safety rules.
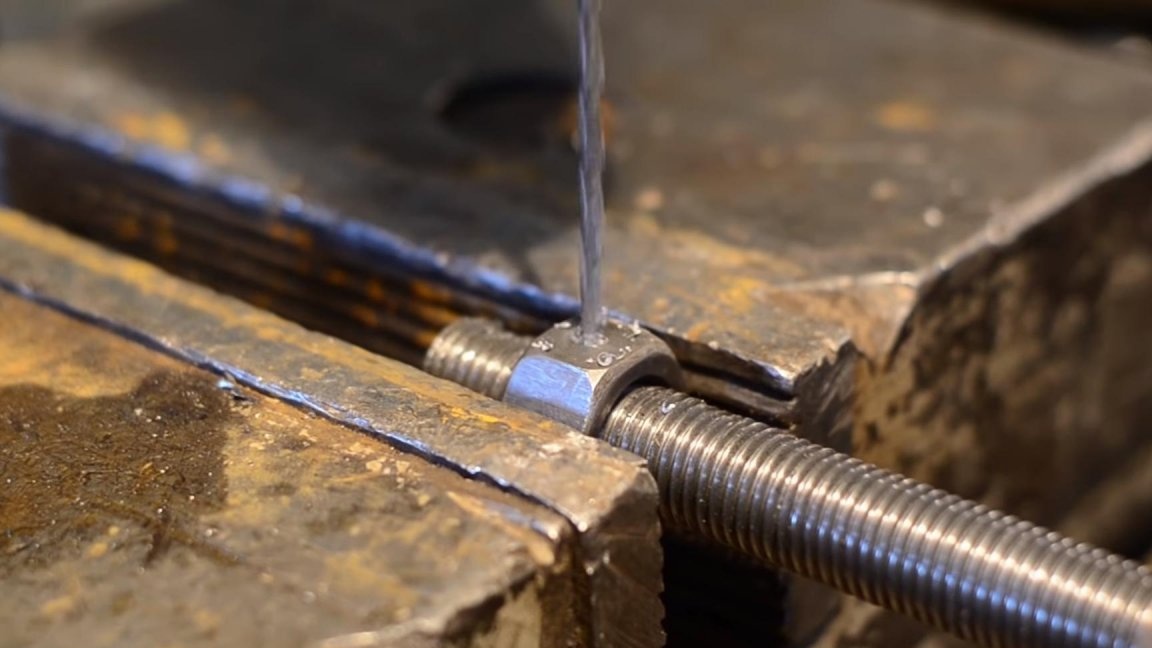
Pass the cotter pin into the finished hole, it will not allow the nut to turn on the stud.
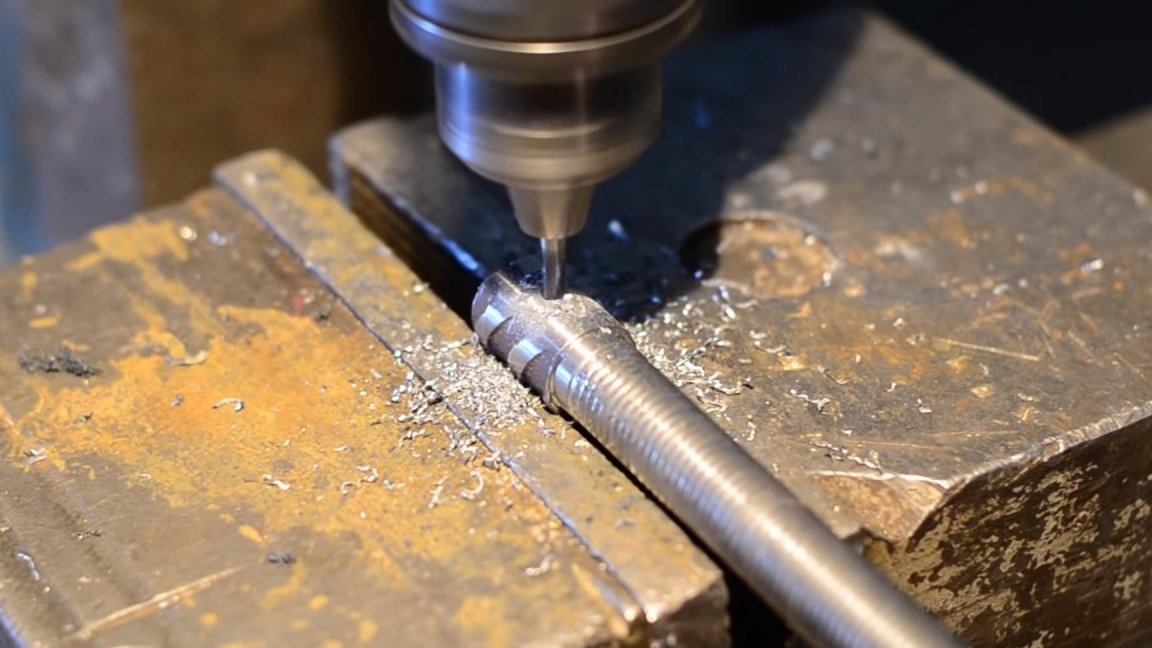
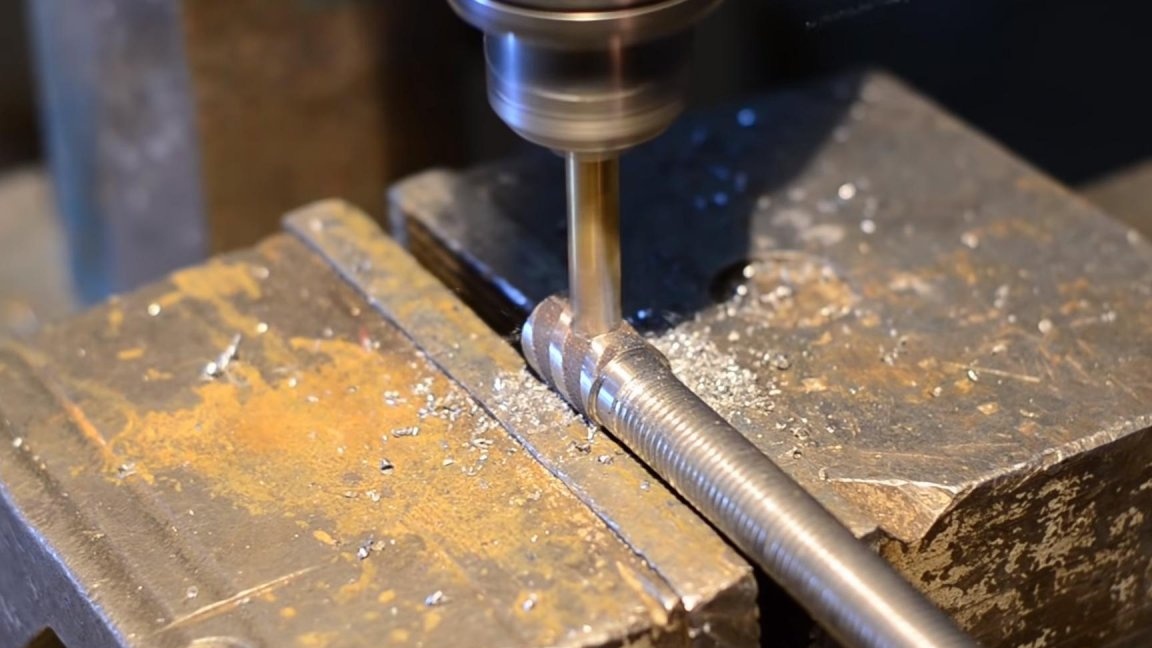
From the other end of the stud, drill a hole with a 3 mm drill, then 10 mm, in the future there will be a handle.
Step Four
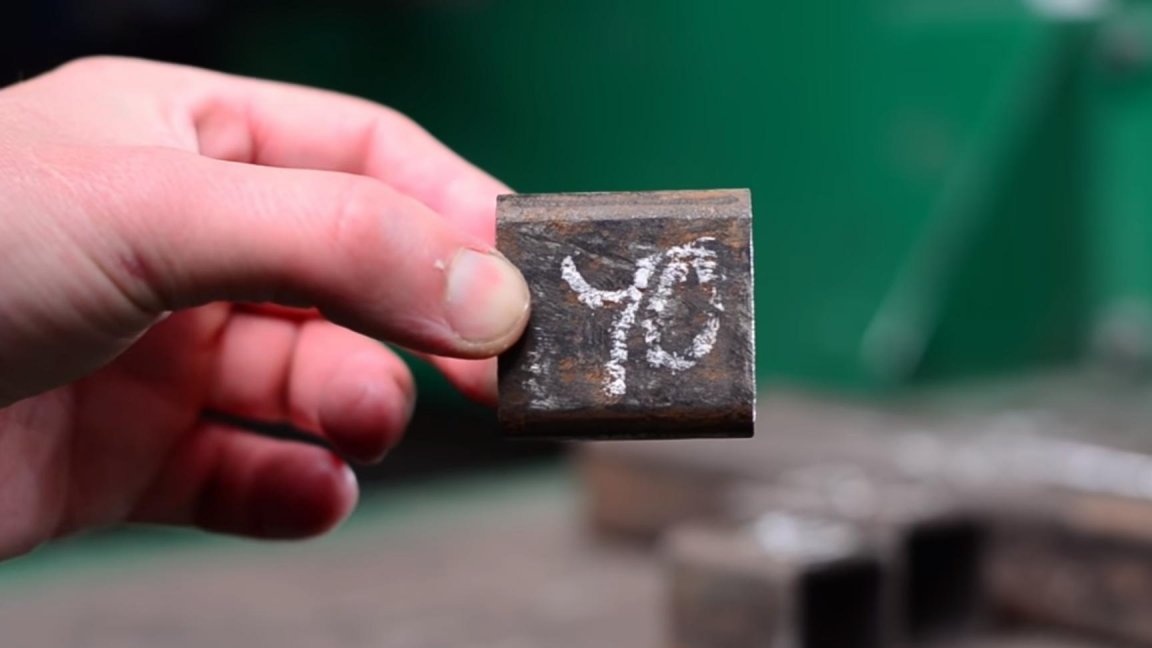
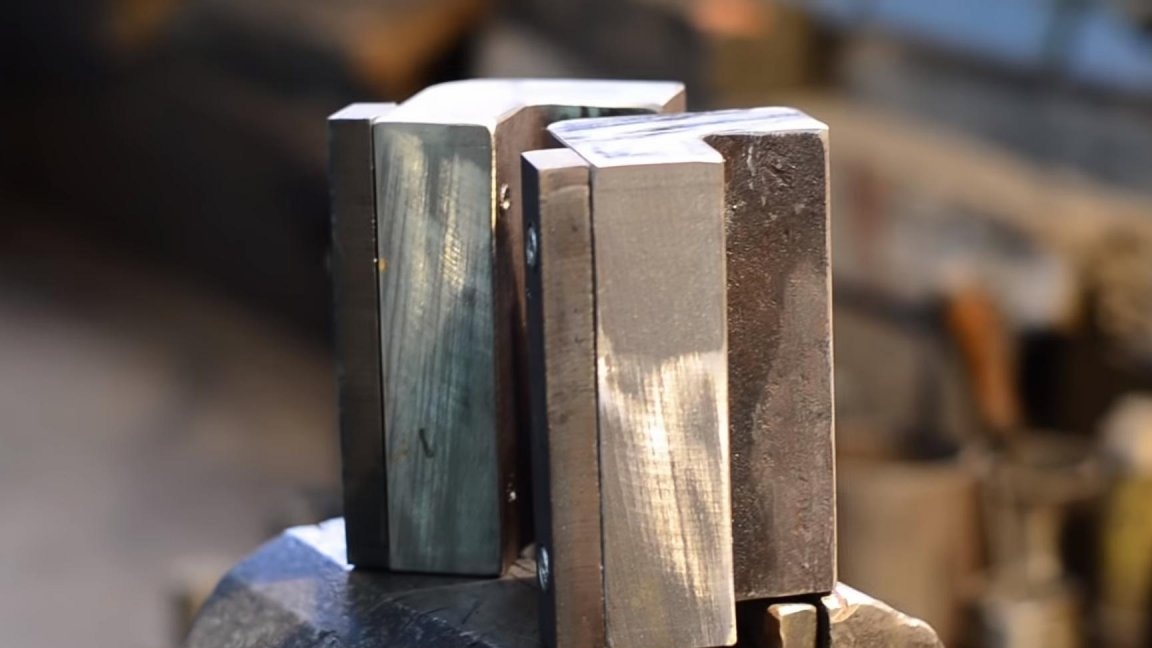
It's time to do what the jaws of the vise will be attached to. We saw a thick-walled square profile into two parts on a metal sawing machine. We follow safety precautions and use safety glasses, gloves.
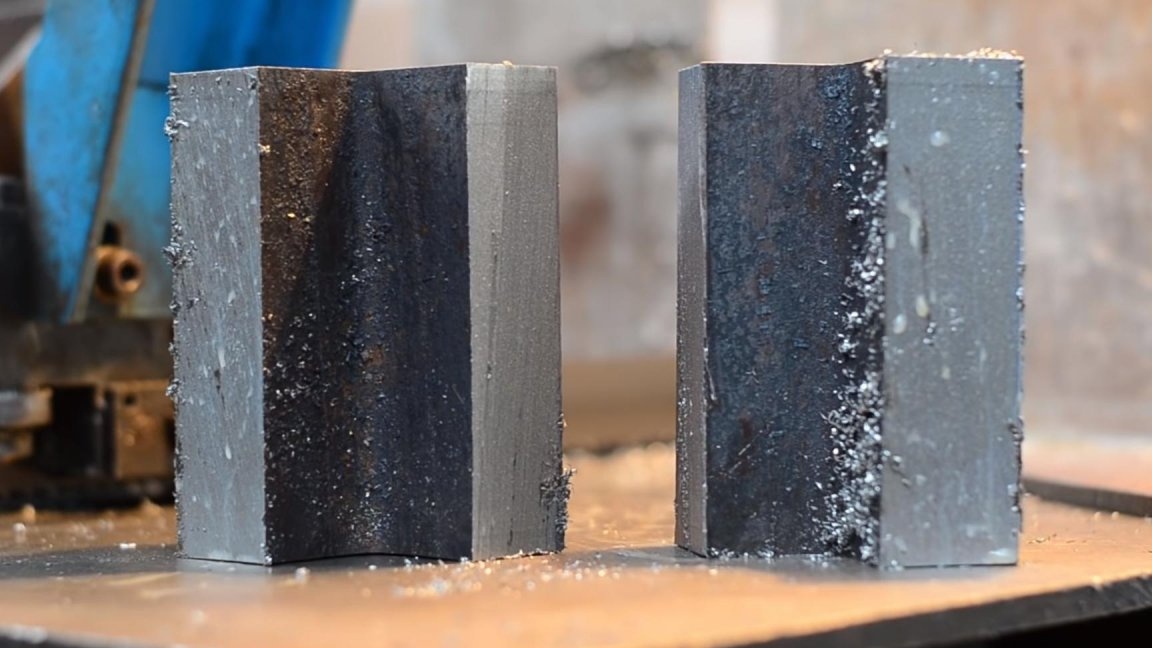
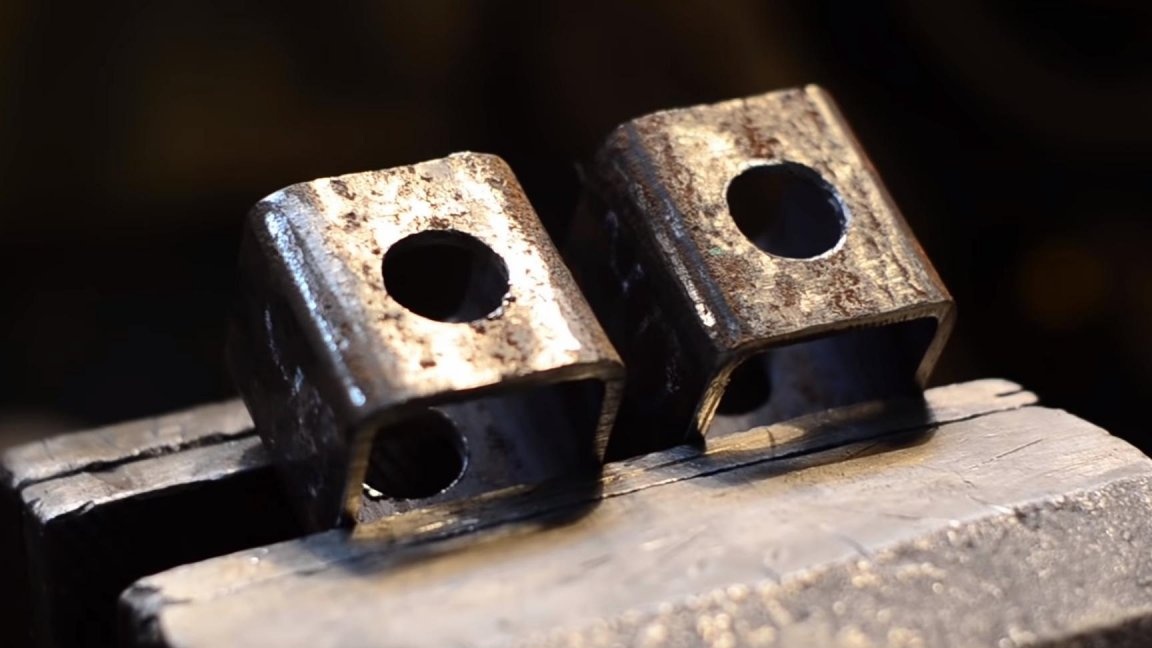
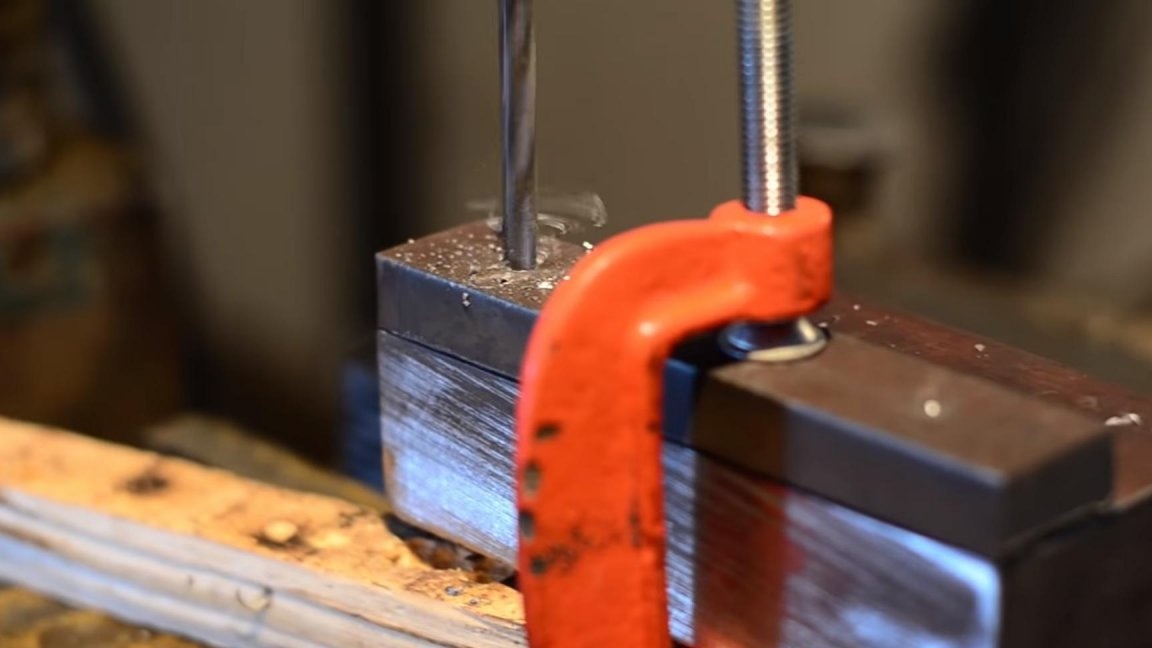
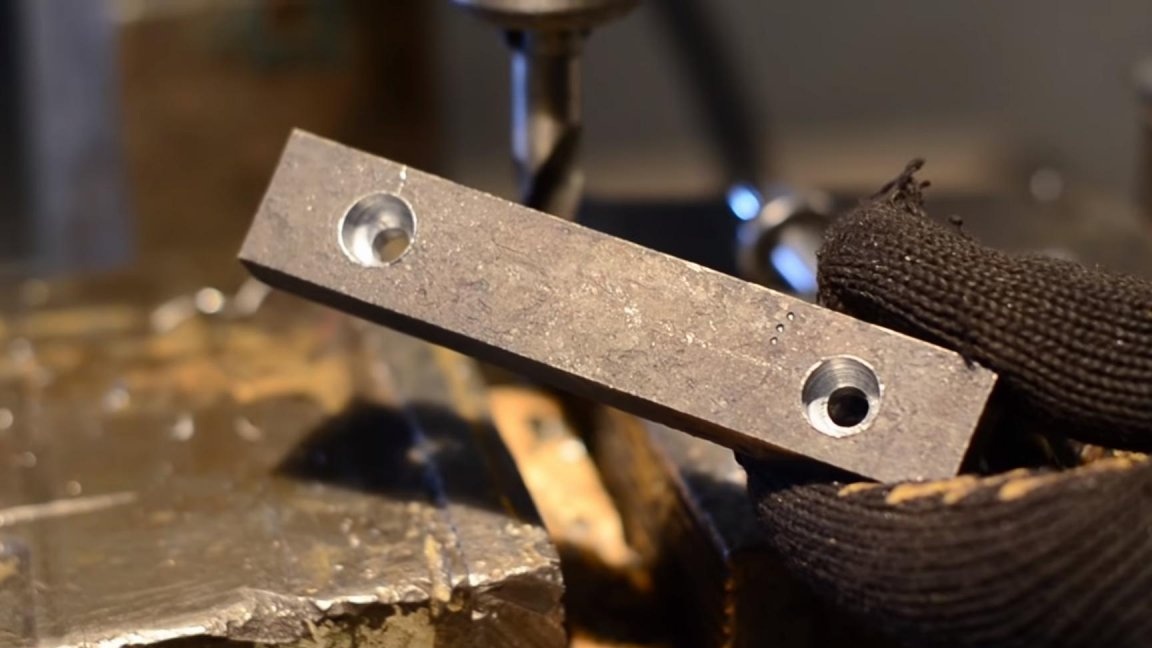
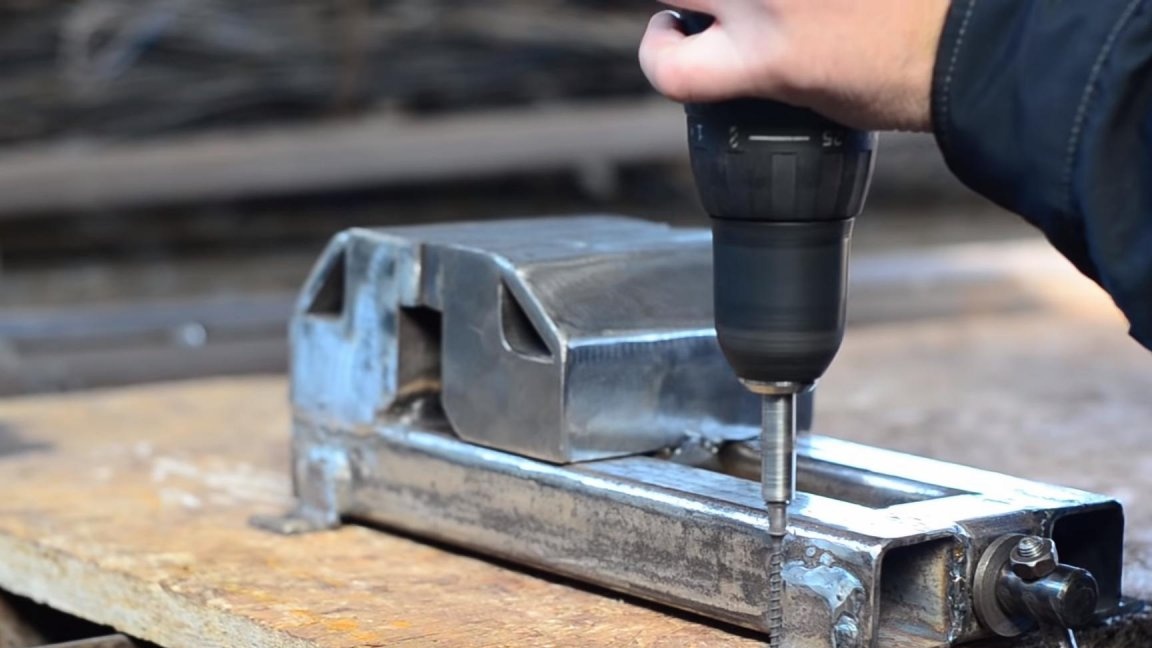
For each of the halves, it is necessary to make sponges, we cut them out of a sheet of metal 10 mm thick across the width of the part using an angle grinder, after which we press a segment with a clamp and drill two holes. First, we make a hole through with a diameter of 8 mm, and then with a diameter of 10 mm, but already to the height of the cap of the hex bolt.
In the finished holes, we cut the thread with an M8 tap, when cutting the thread, we drip a little technical oil, so the tool will last longer.
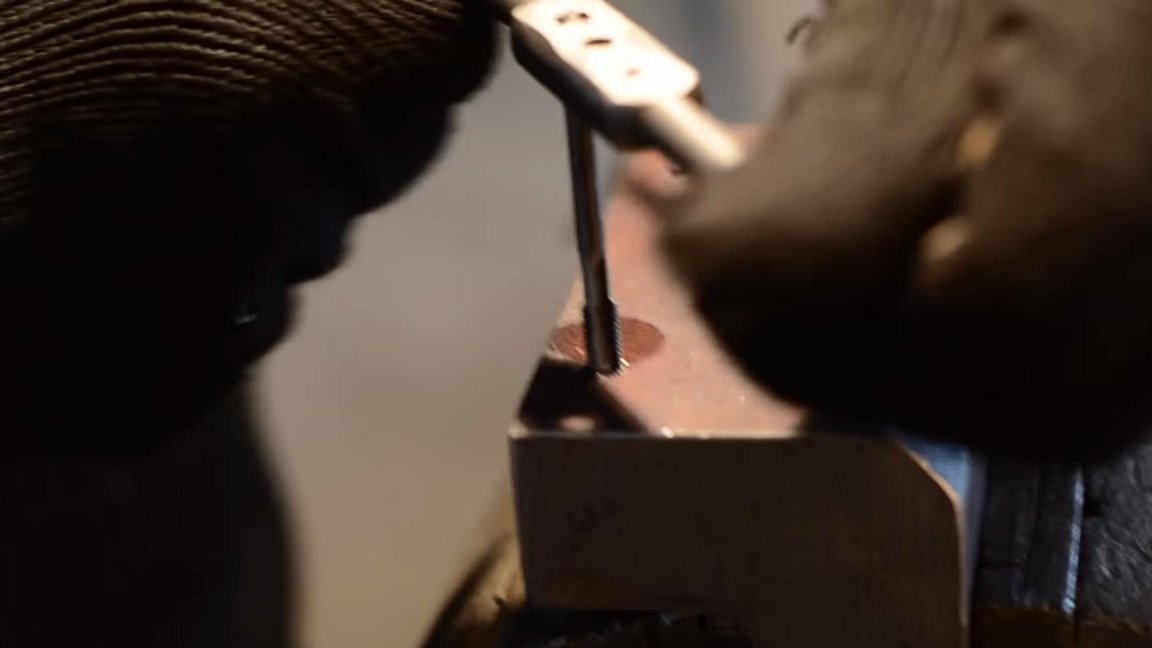
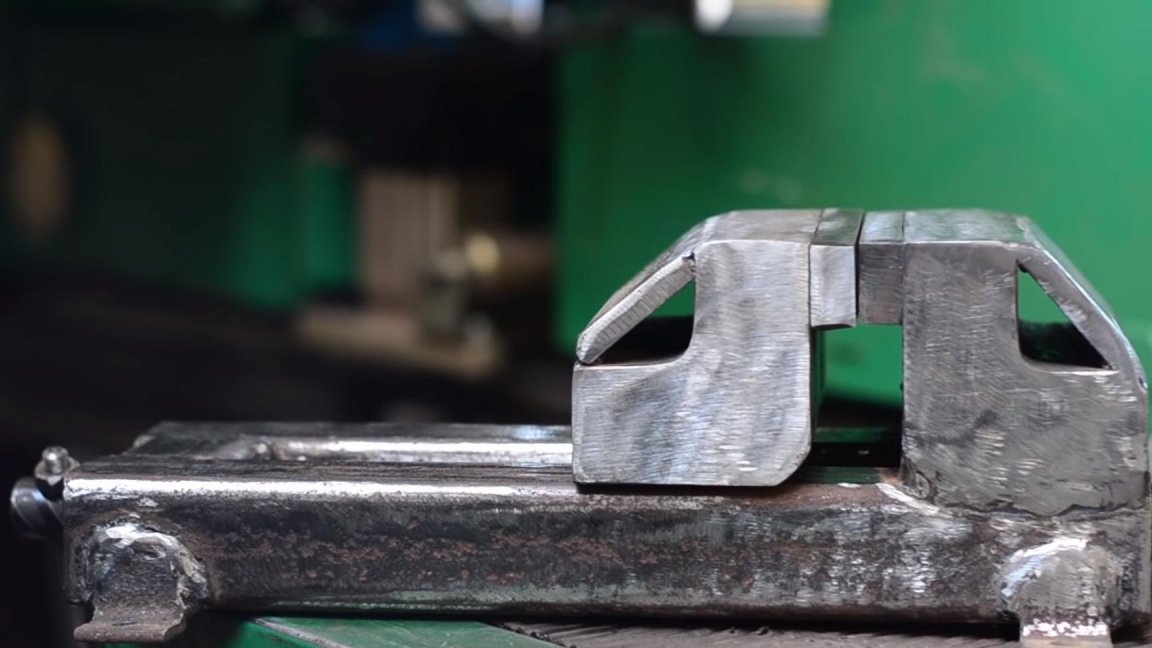
As the thread is ready, screw the bolts into the hexagon.
It looks something like this.
Step Five
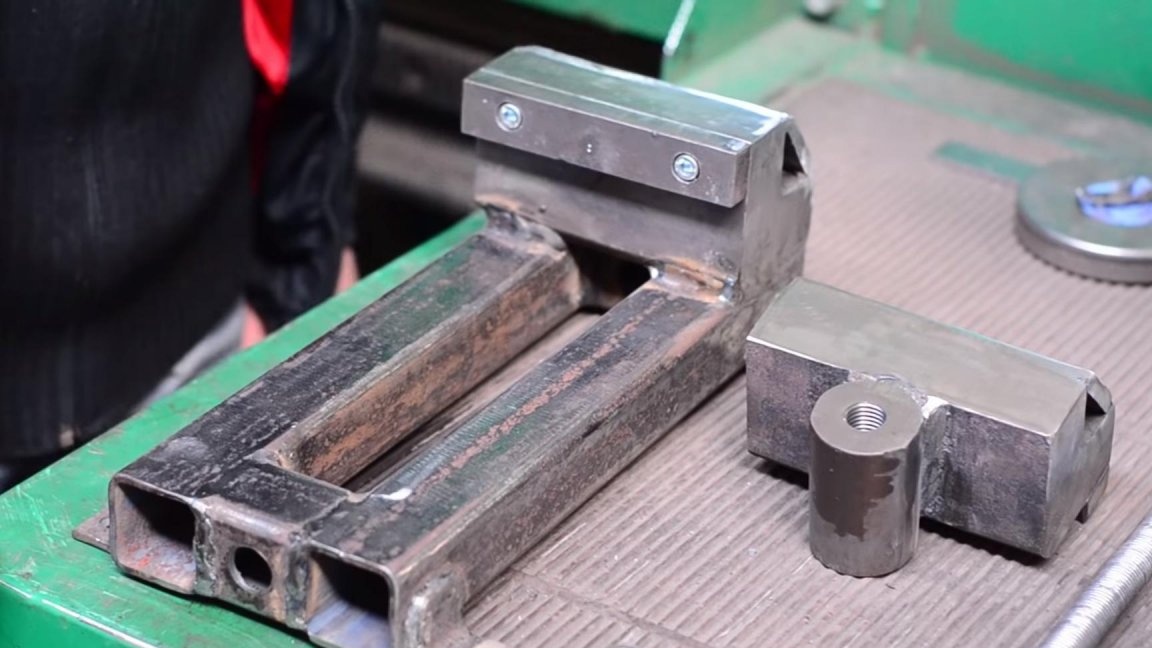
To increase strength, improve appearance, as well as give smoother differences in the design of a vice, we weld a metal plate 5 mm thick to two bases with jaws, as in the photo.
We grind all the irregularities of the welds using an angle grinder and a grinding disc.
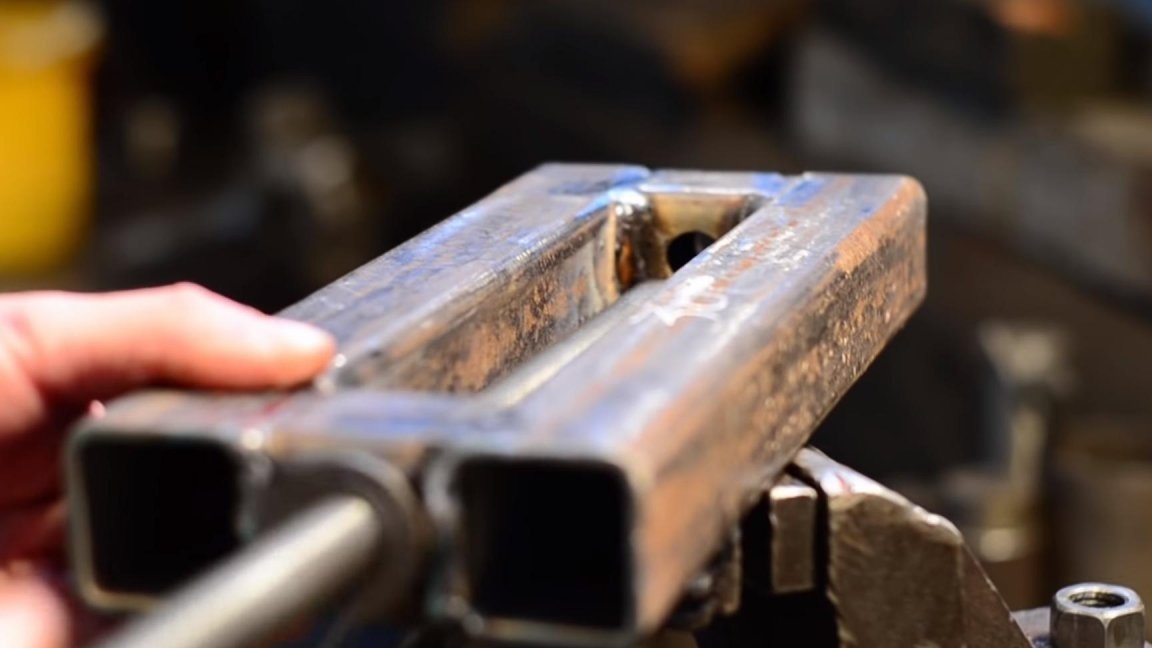
Next, we weld the corners to the base, with their help the vise will be attached to the workbench.
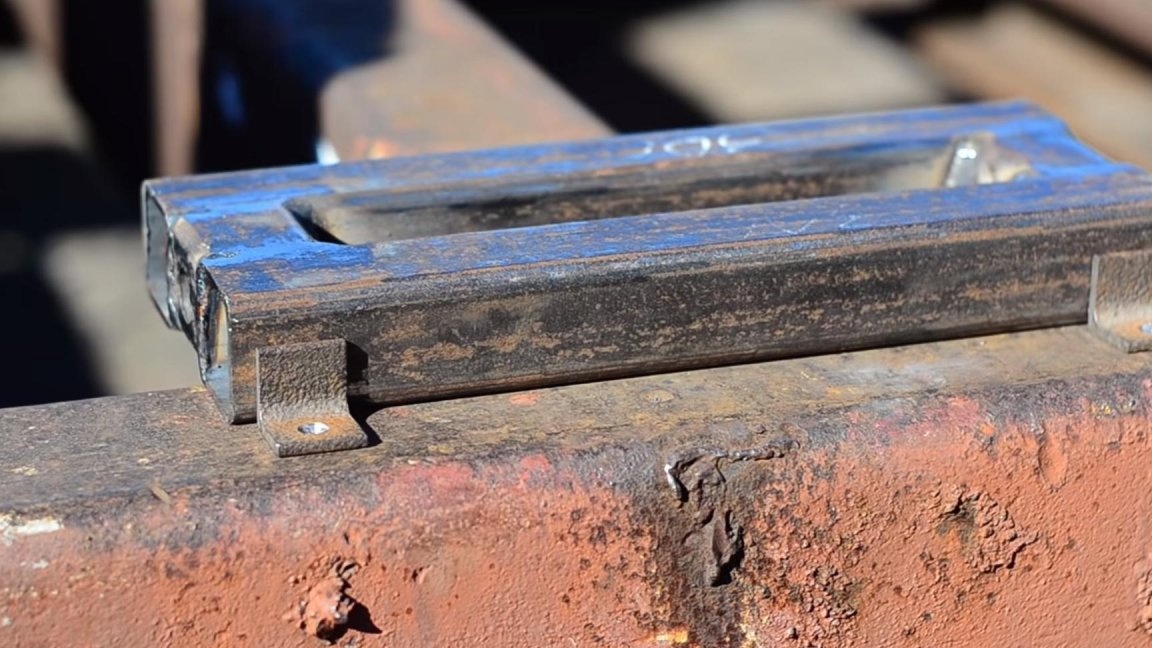
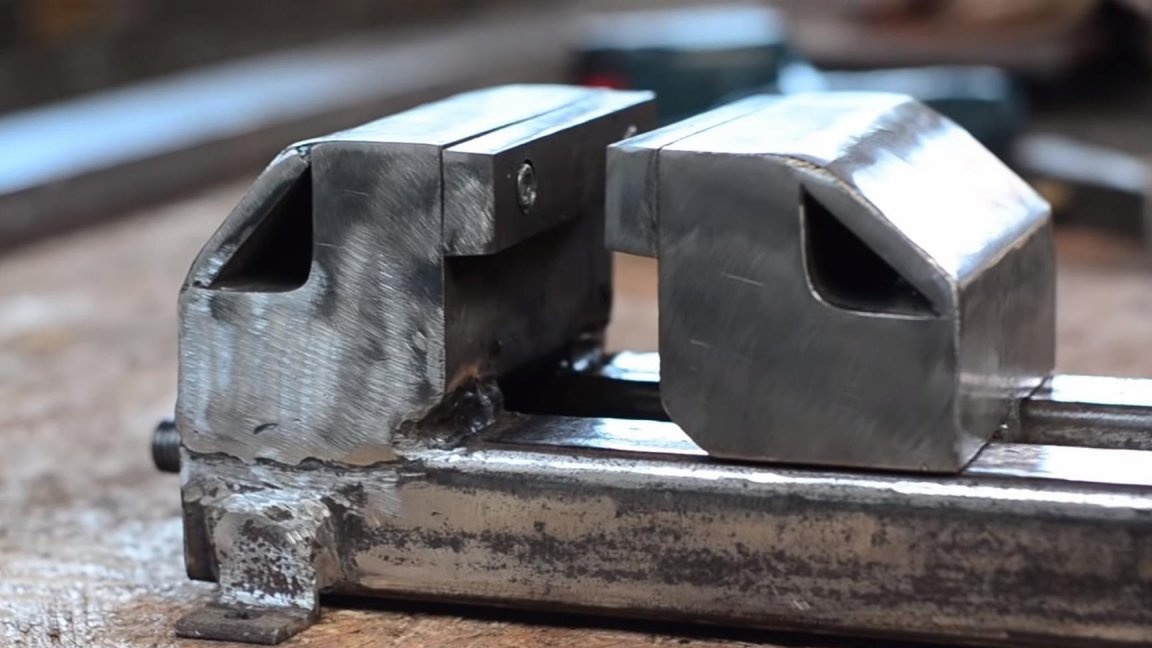
Then we put the movable part with the sponge on the base and weld to it a thick-walled pipe with M16 thread so as not to spoil it, we screw in the bolt.
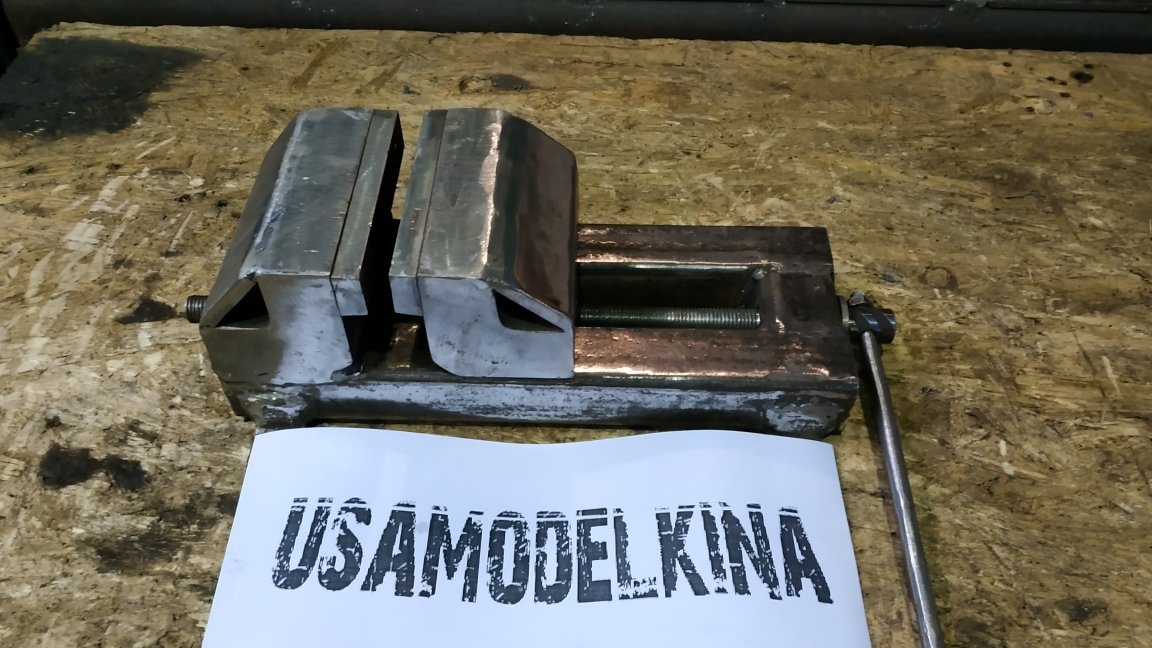
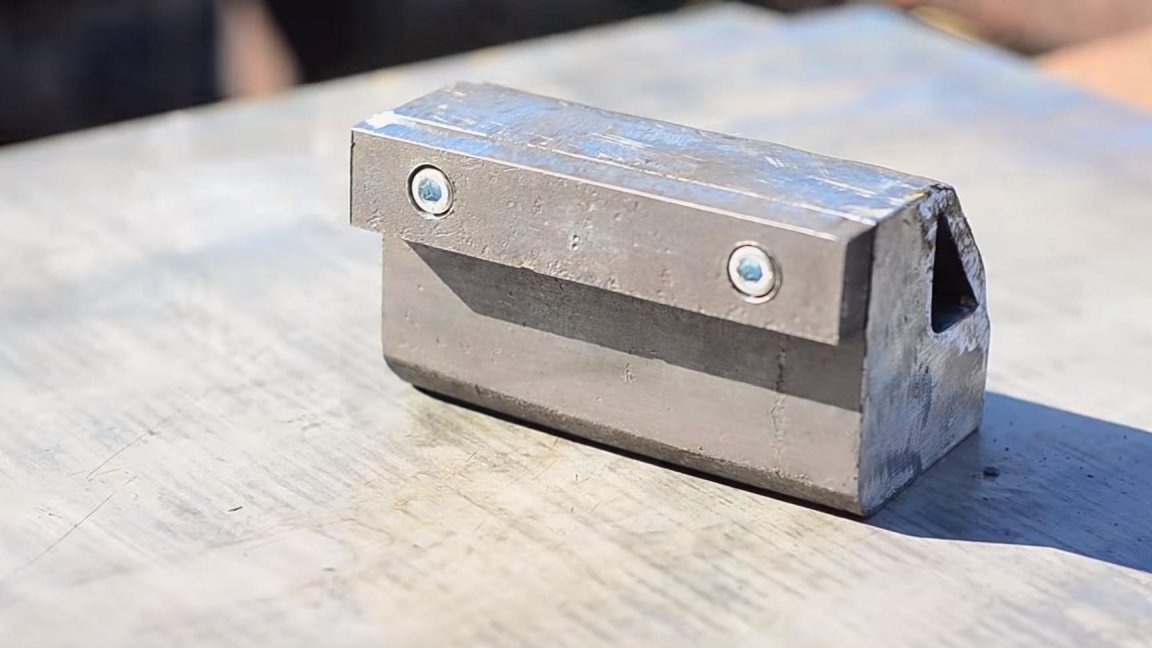
This is how the constituent parts of the vice look, only the handles are missing.
Step Six
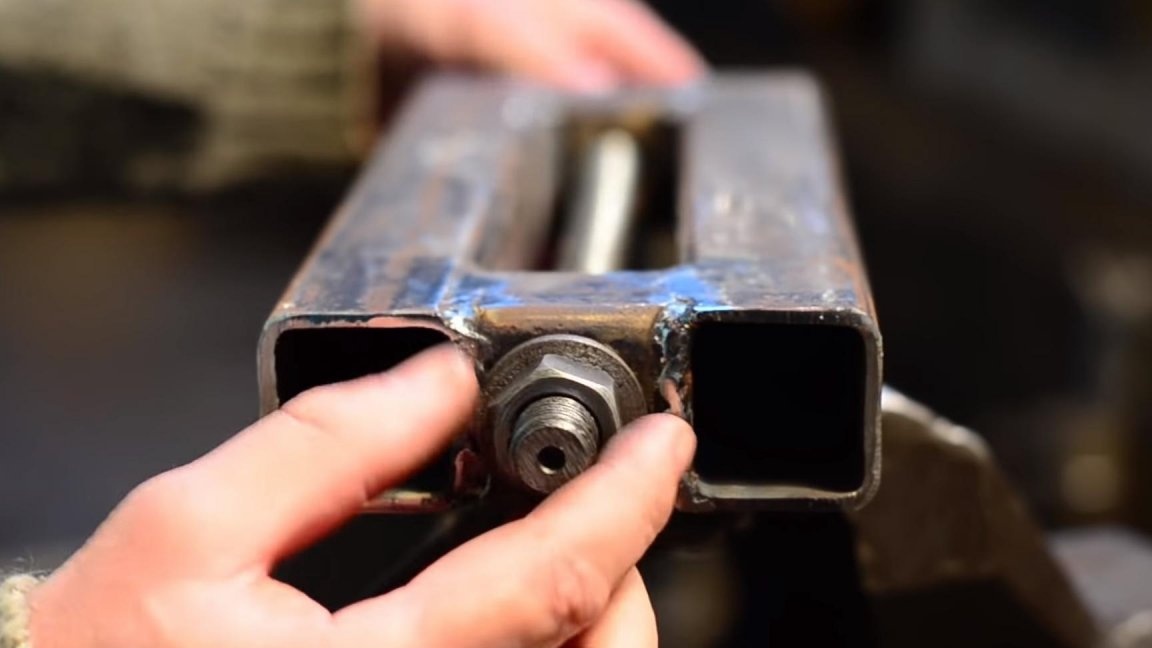
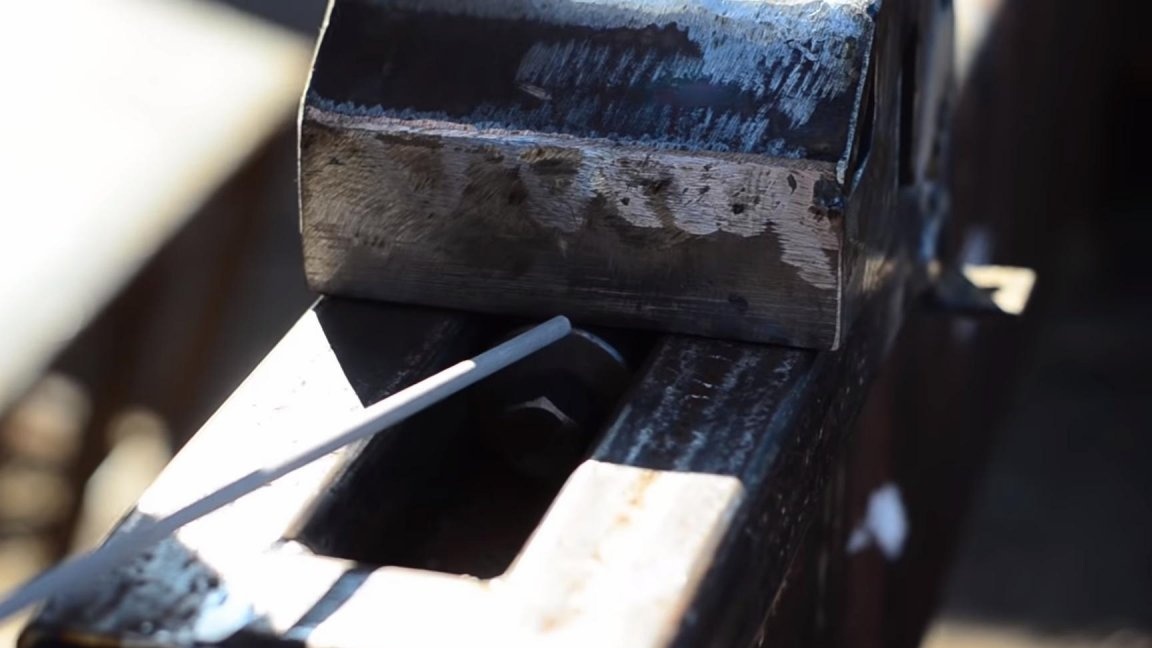
We thread a metal rod with a thread around the edges into the hole in the stud and screw nuts on them.
Then we screw the pin into a thick-walled threaded pipe, having thrown the washer in advance and splint the nut on the reverse side of the vise.
On this vise is ready.
We fasten them to the workbench and can be used as intended.
The advantage of such a vice is that they are made independently, the cost of their creation is minimal, and the service life depends on the quality of the assembly. So do such a vice, save and master.
Thank you all for your attention, creative successes and new ideas.