In my last publication, I talked about how I made a handle for saber saw blades.
The tool turned out to be very convenient.
A friend of mine advised to sharpen one of the canvases and make a knife out of it! Say, the shape of the handle "prompts" this idea directly .... I thought ... and decided that, indeed, the idea of making a knife based on this handle "has a place to be!" )))).
After all, I will not use canvases every day. And, if you install a blade on it, then all the time in the workshop there will be a solid sharp knife at hand.
Of course, I rejected the idea of making a knife blade by destroying one of the canvases right away ... First, these canvases are quite expensive - you can buy several knives for the price of one.
Secondly, if you already make a knife for such a powerful handle, then the blade must be powerful, and the canvases are all narrow.
But “a thought settled in my head” and I, in my free time, began to ponder what other tool I could do ...
Yesterday I had a free evening, and I "embodied all thoughts in metal")))).
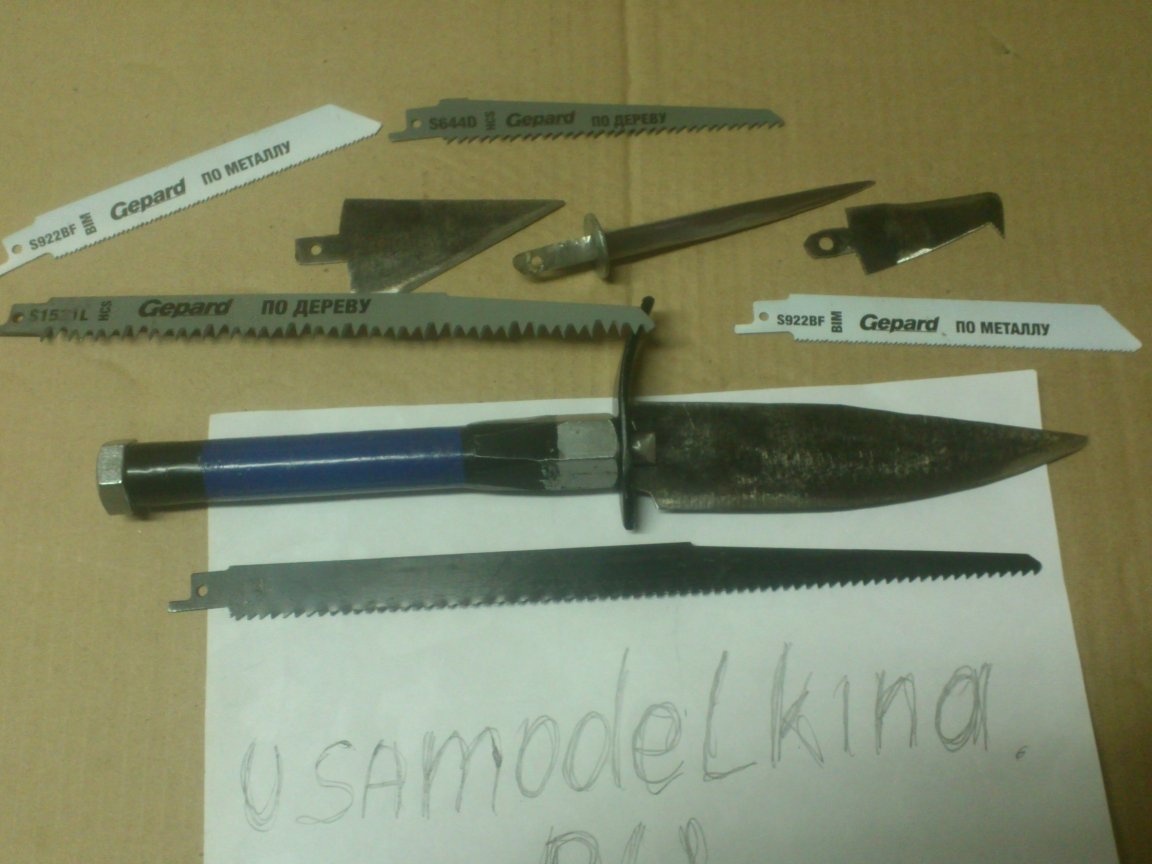
As a result, I got a set of tools with a fairly wide functionality.
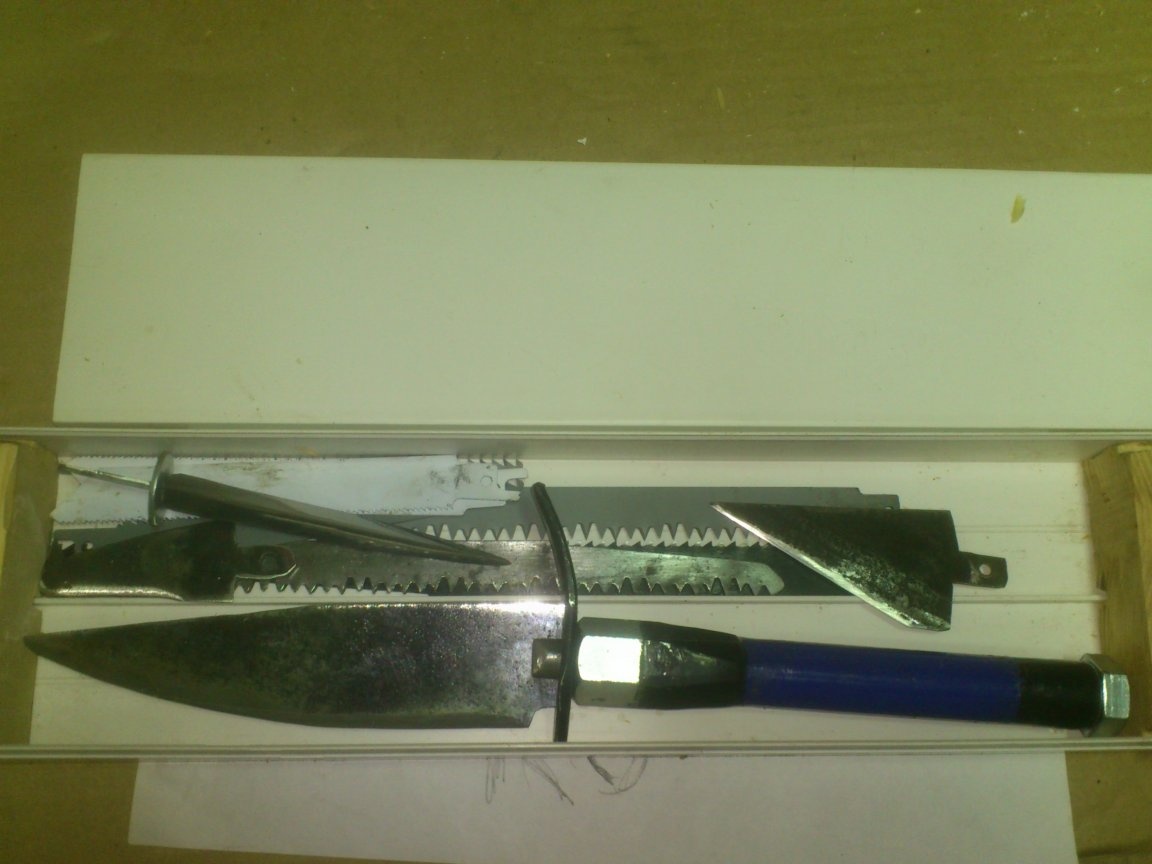
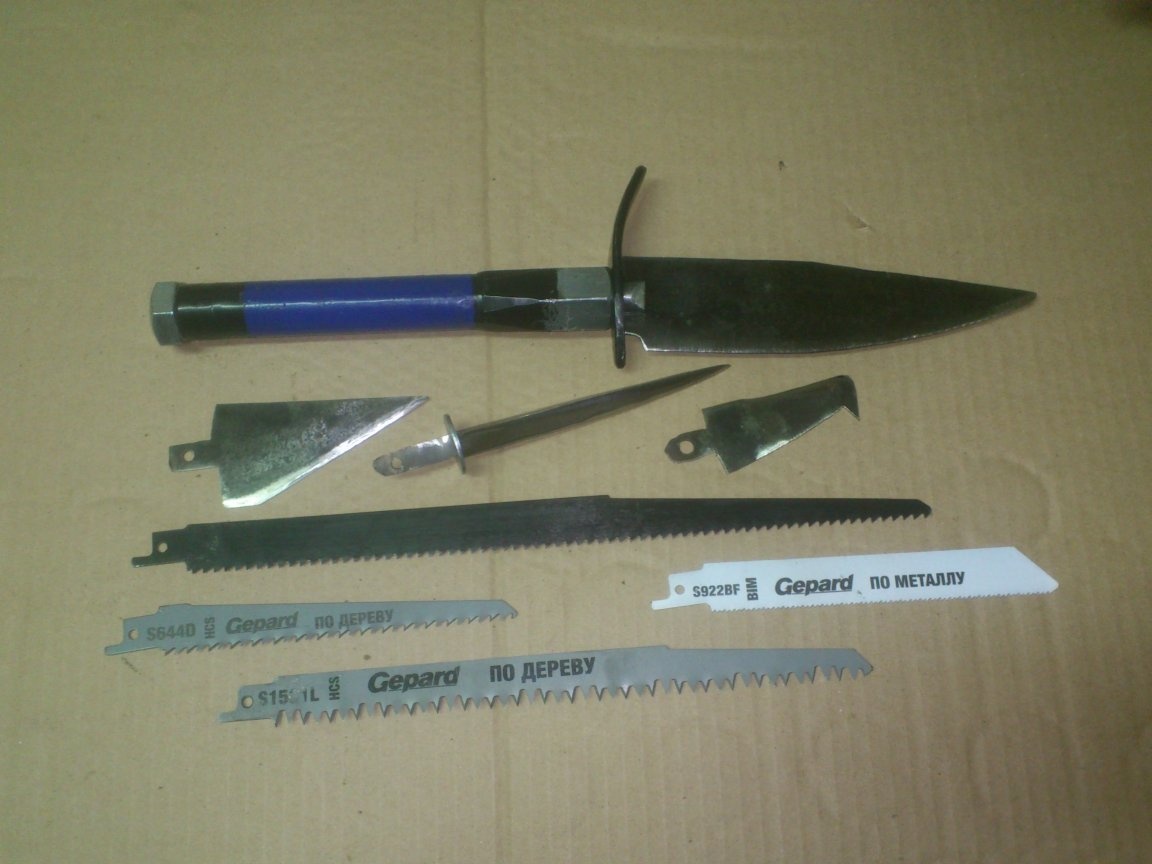
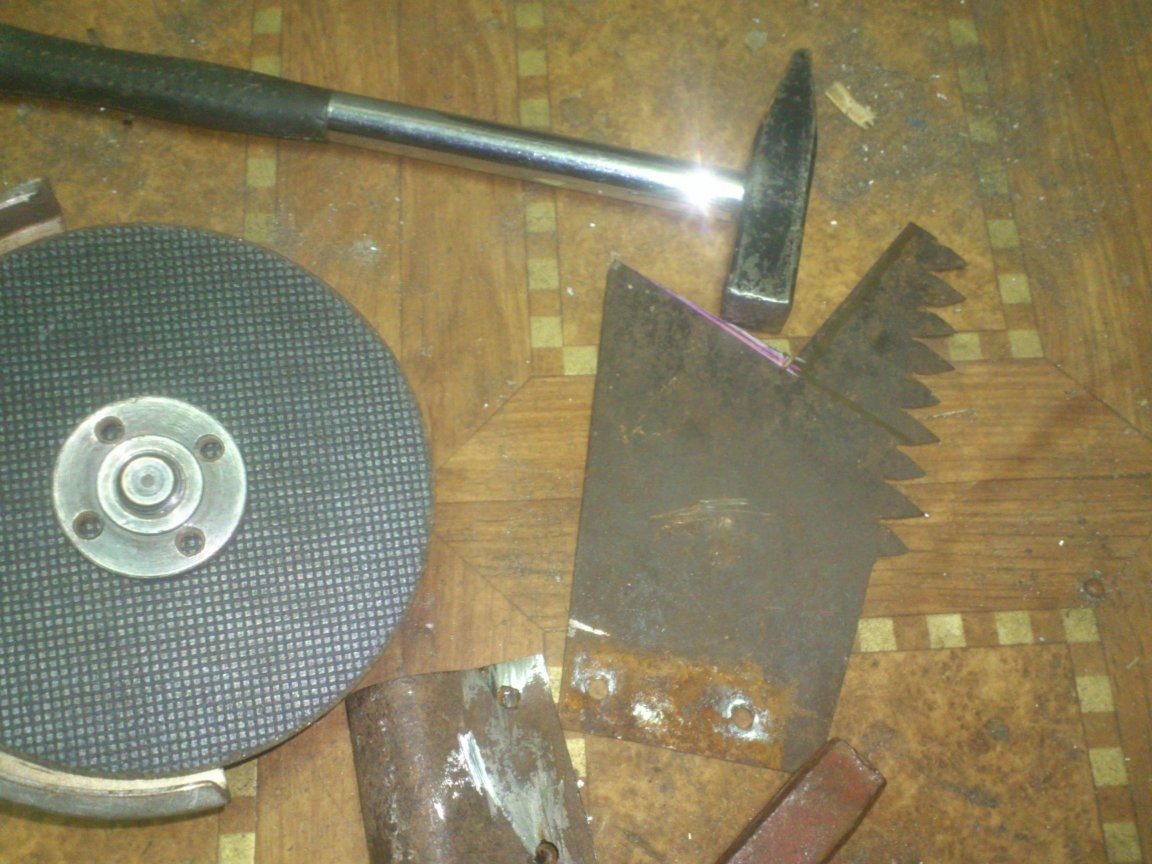
And here is what I needed for this:
1. mine past homemade ))))) (The handle for the blades from the saber saw).
2. The remainder of the blade of the old two-handed saw.
3. A rusty broken file.
4. The rest of the electrical box.
5. Cutting boards.
6. Screws with a press washer.
So, let's begin.
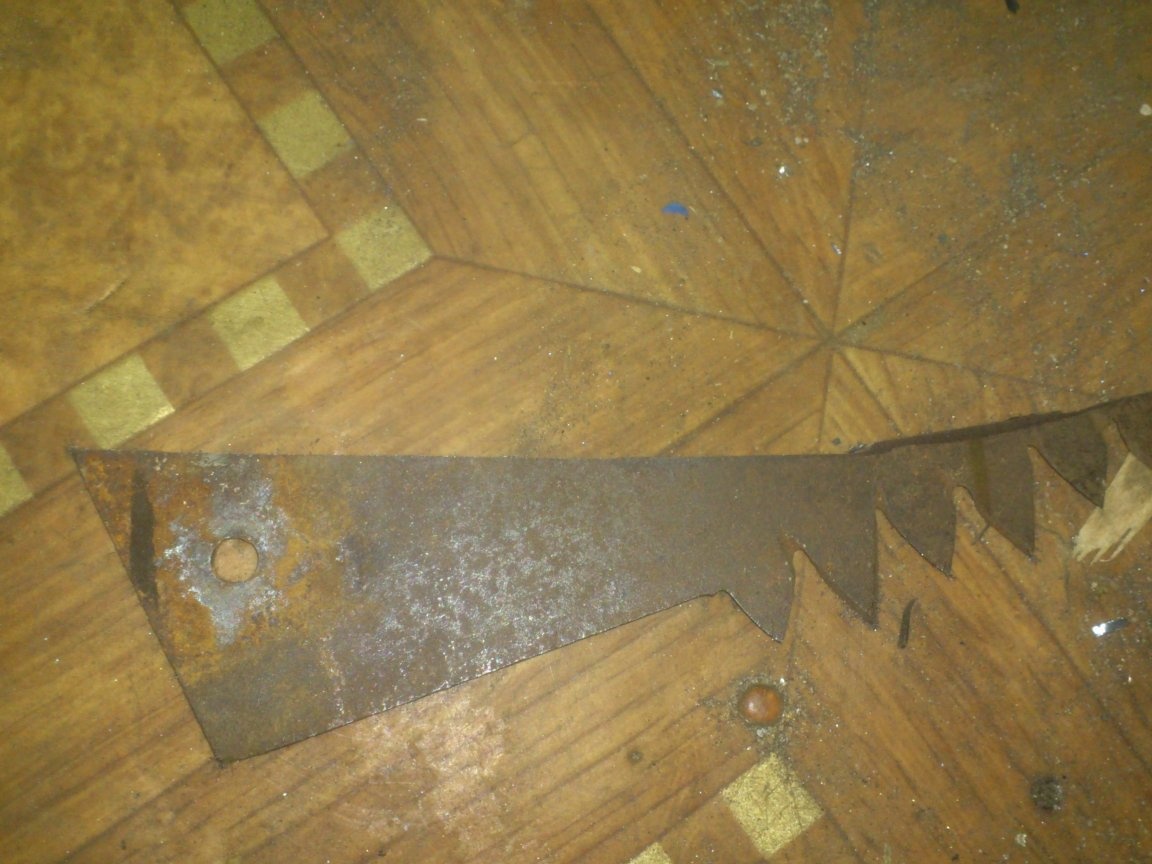
As a material for the blade, I decided to use the remains of the two-handed saw blade, of which I already made Saw for gas silicate blocks and minimotigu.
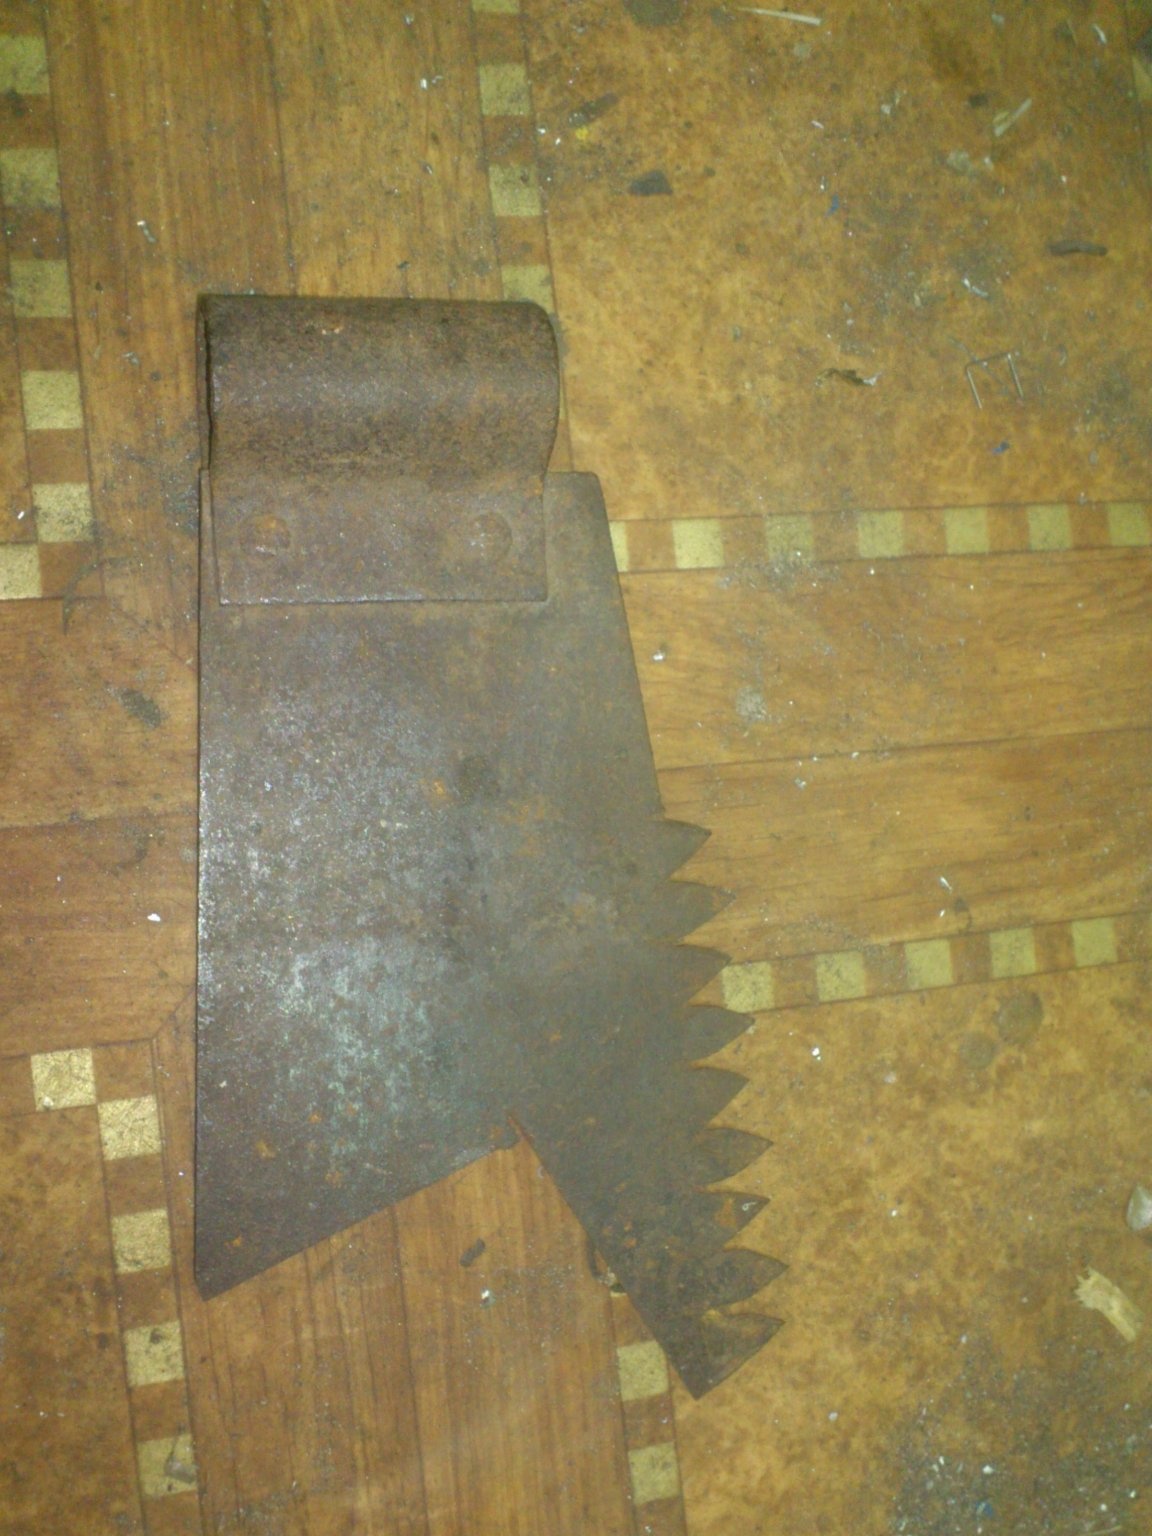
This steel is very strong ... Its only minus is that it is "rusted")))). Therefore, for kitchen knives is not suitable ......
But I want to make a technical knife ...
First of all, I cut down the rivets with a chisel and freed the rest of the canvas from the seat for the handle:
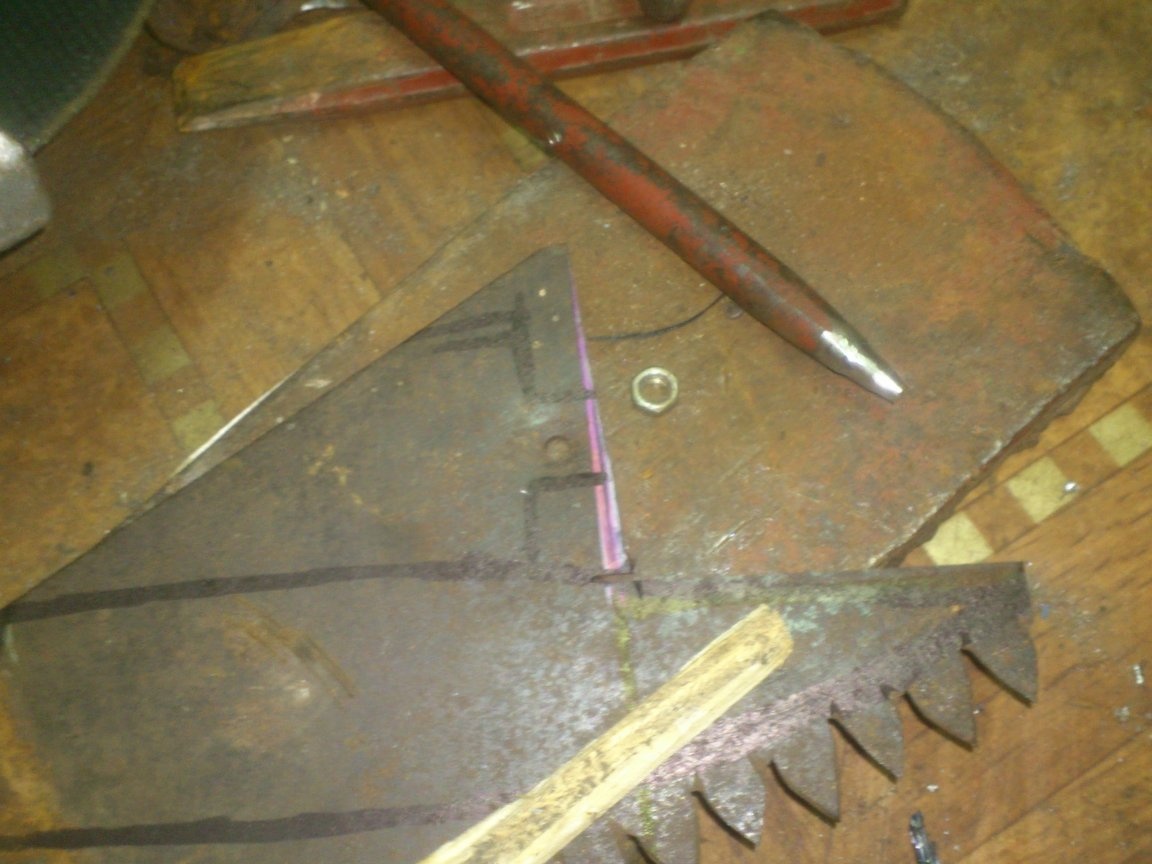
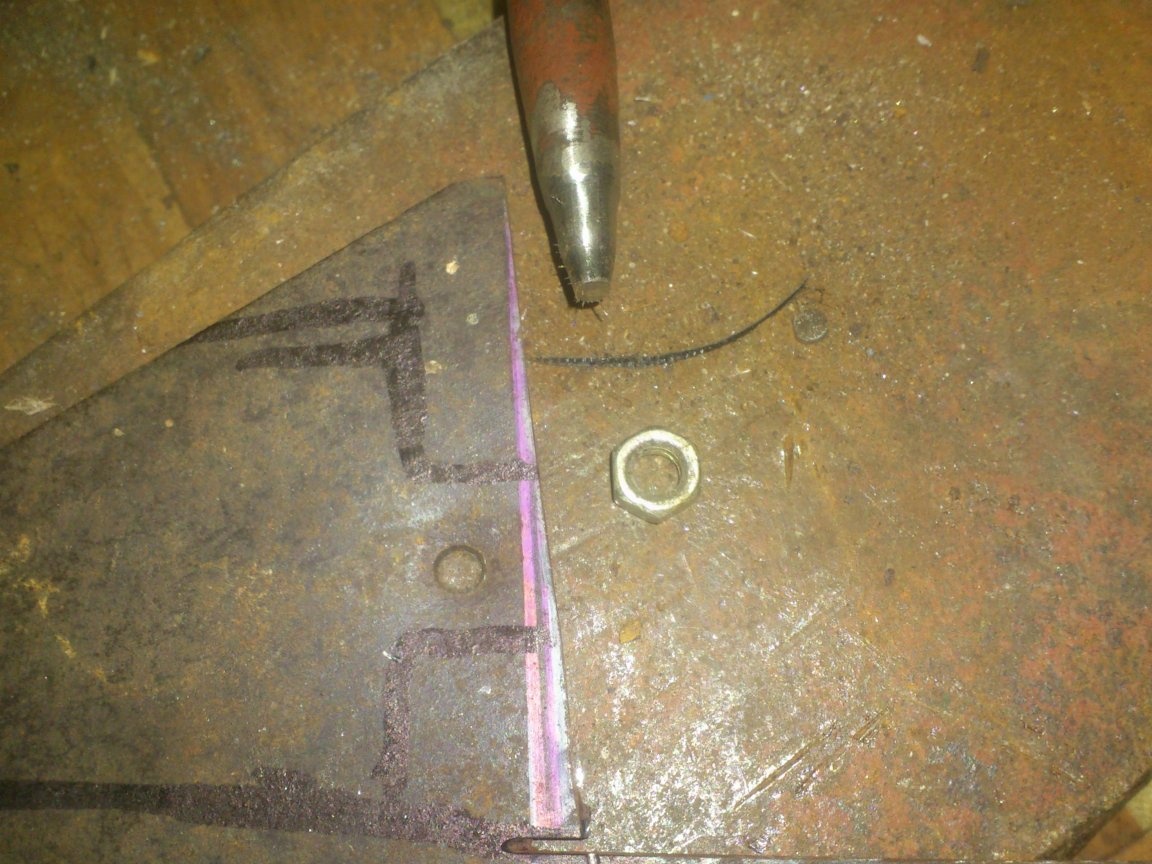
Then he drew future blades with a marker, trying as much as possible to use the entire usable area and at the same time use existing openings from under the cut down rivets. But one thing still had to be broken:
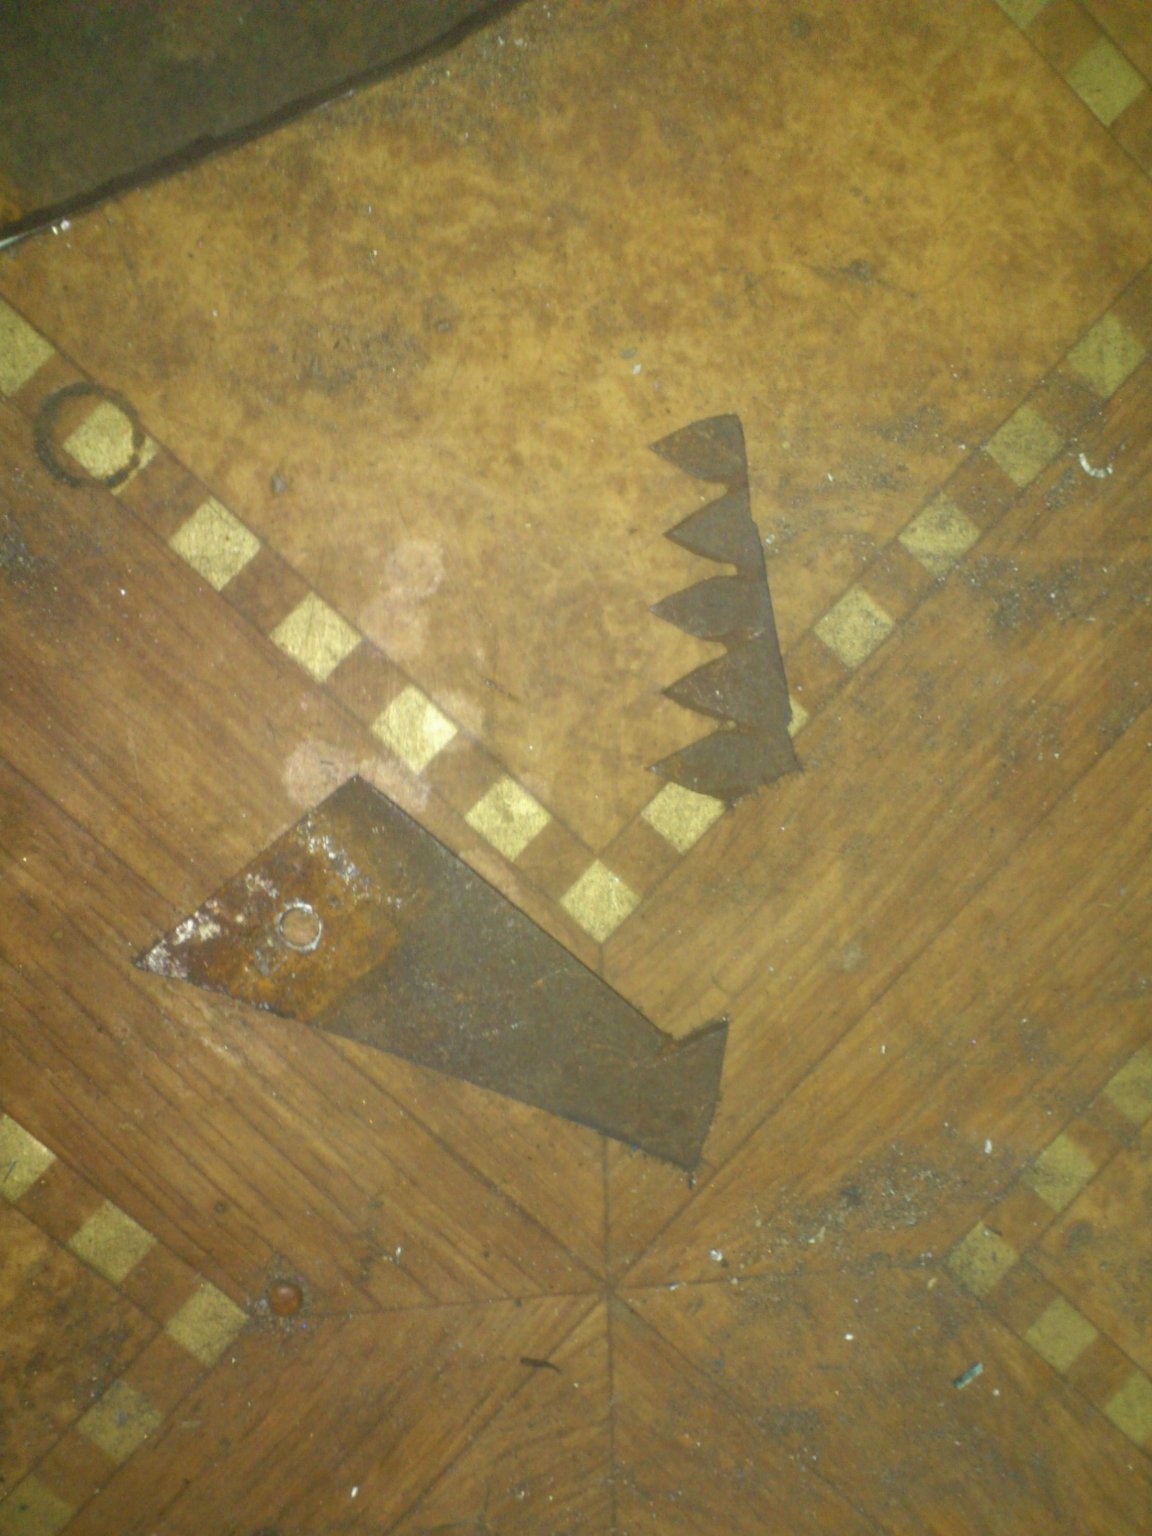
Having installed a cutting wheel on the angle grinder, I cut out my workpieces.
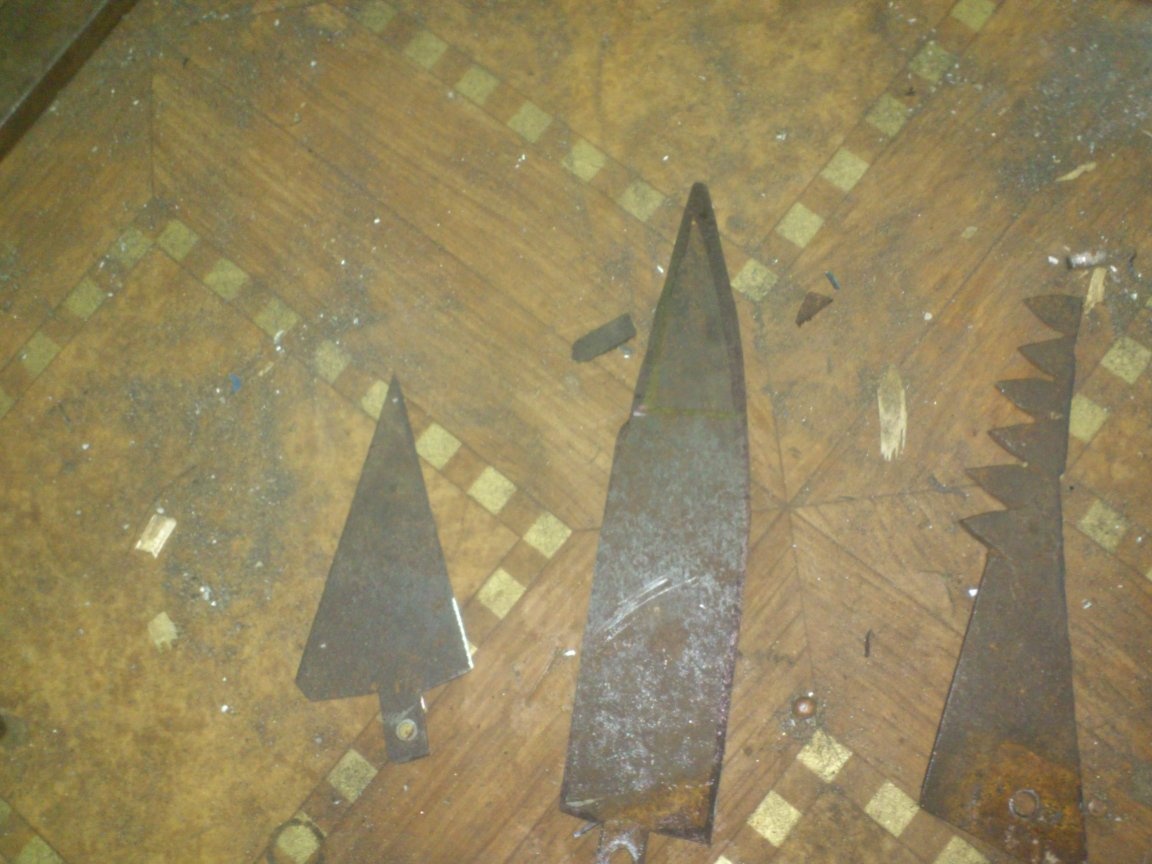
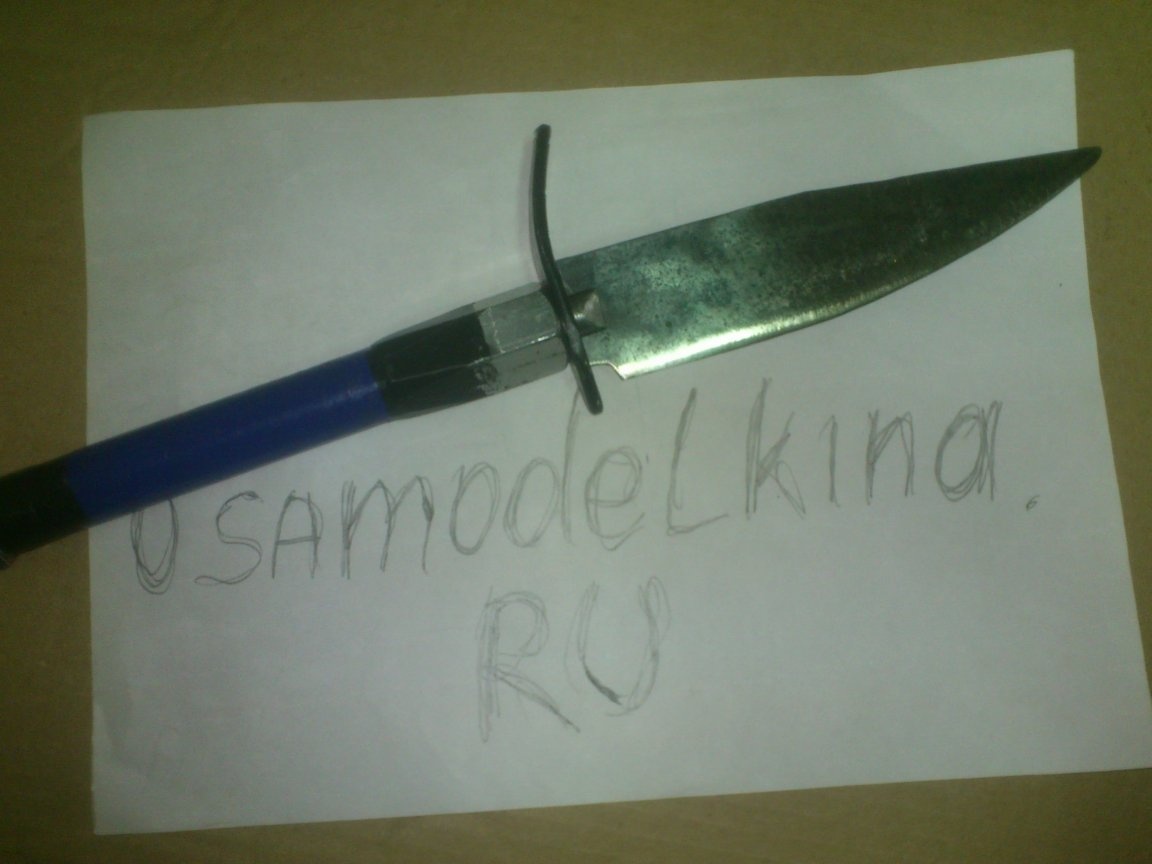
As you, I think, understood, I decided to make one blade of a wide "classic" knife, and one - technical, or "shoe", as it is also called. Such a tool is needed quite often.It is not always possible to replace it with the usual “clerical” with “break-off” blades ... Sometimes you need to carefully “attach” by cutting, for example, thick skin, fiberboard, or plastic ..
But from the remaining "stub" of the saw, I decided to make a knife for cutting sheet plastic:
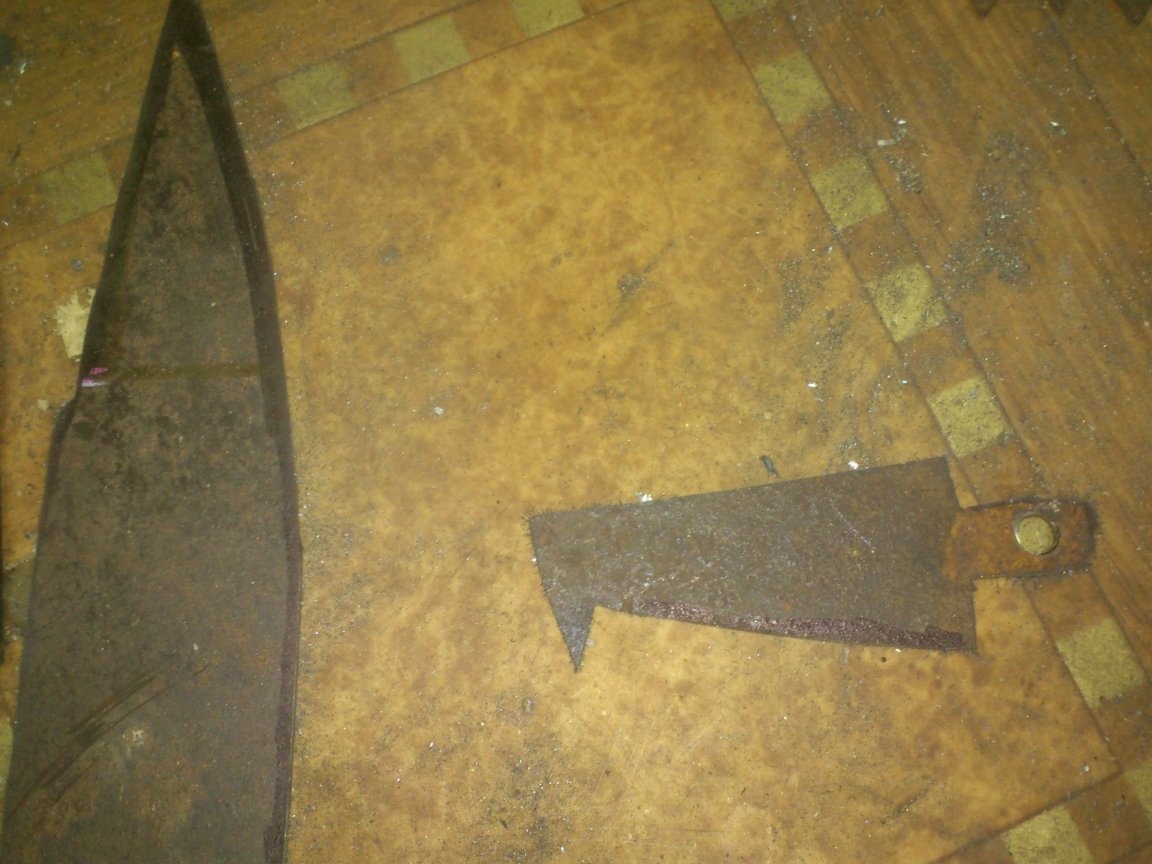
Many people know that before, it was precisely with such tools that they cut plastic sheets (including foil textolite and getinax for circuit boards). It is enough to draw a “tooth” several times with a strong clamp on the material along the metal ruler, and you're done! The tooth removes chips for each pass, making a groove.
So I decided that such an instrument would be useful to me on the farm. Moreover, such a need already existed, and I used a “tooth” made of a hacksaw blade for metal. But this one will be much more powerful and practical.
At this stage I made a “fitting” of the blanks, simultaneously adjusting the dimensions of the shanks:
After that, armed with a grinder, on which the emery-petal circle was mounted, I cleaned and sharpened the blades that I got.
Since I am making a tool for technical purposes, I did not particularly “smooth out” it. )))). The main thing is to be "razor sharp." And this steel allows it.
In addition to the cutting tool, I decided to equip my "multitool" with something "piercing-piercing")))
I do not mean awl, but something thicker and stronger ...
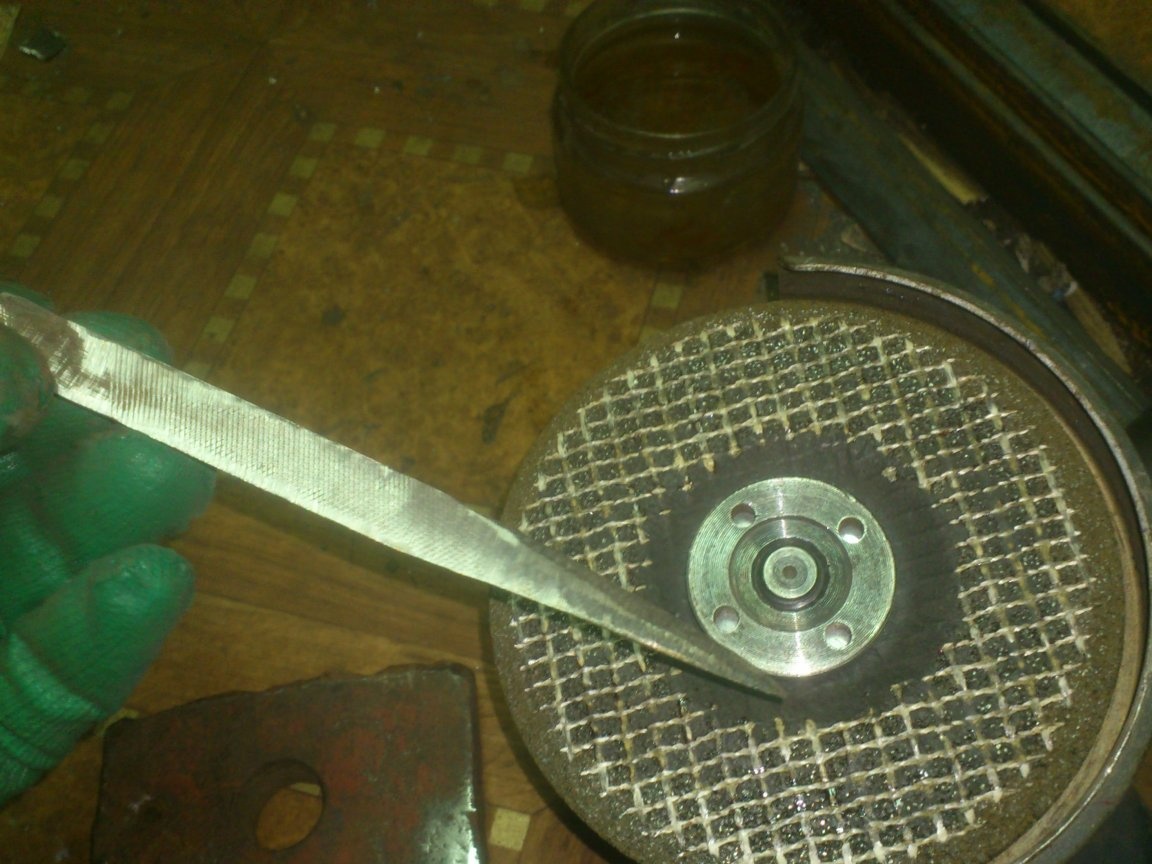
I decided to use a broken rusty trihedral file as a material:
Using a cleaning circle, I roughly brushed and sharpened it:
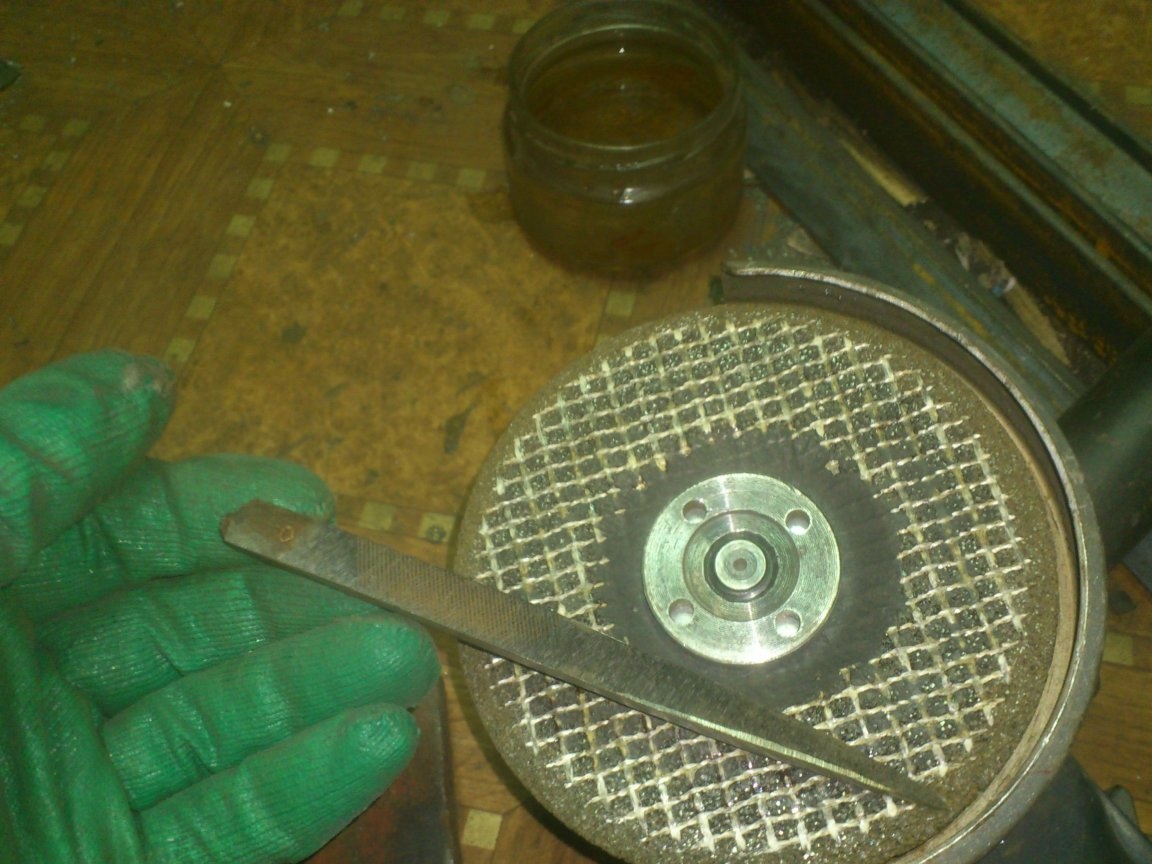
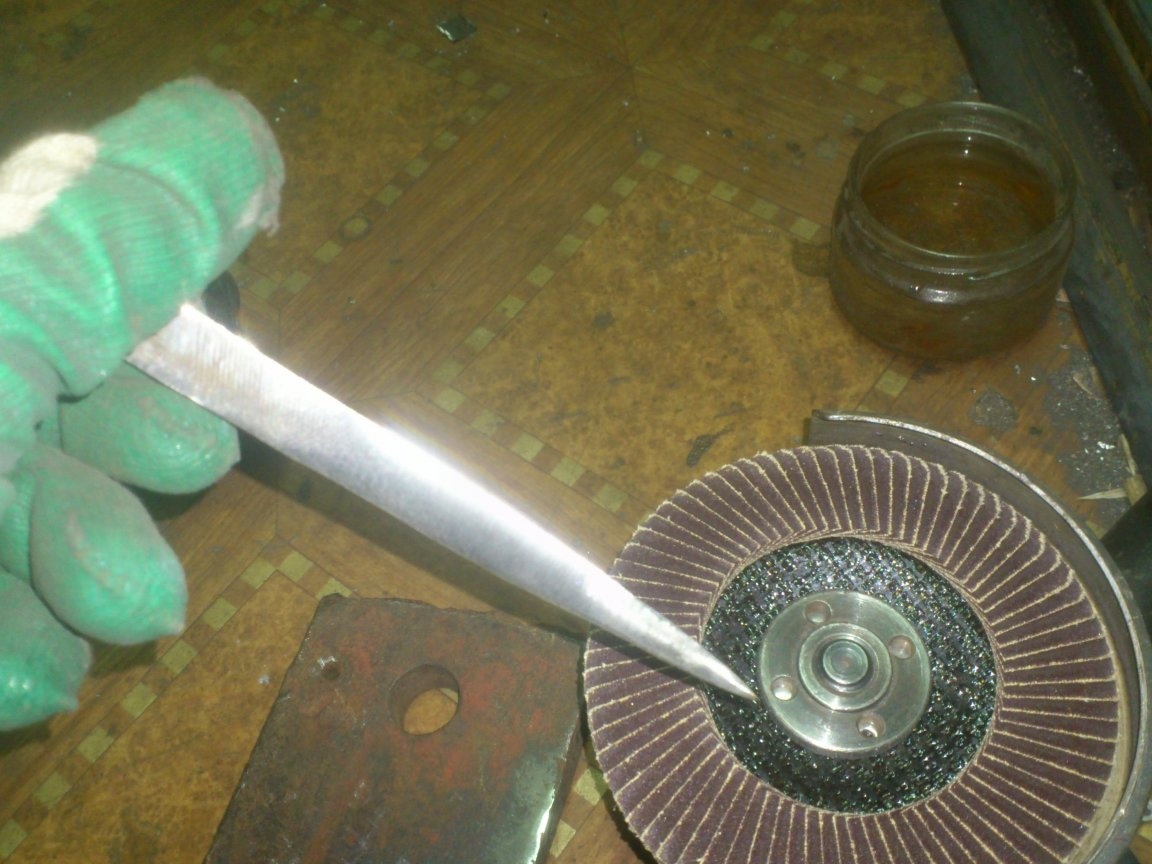
Then he “finished” the petal:
I cut the landing gear in a cutting circle, leaving only a thin plate that can enter the slot on the handle:
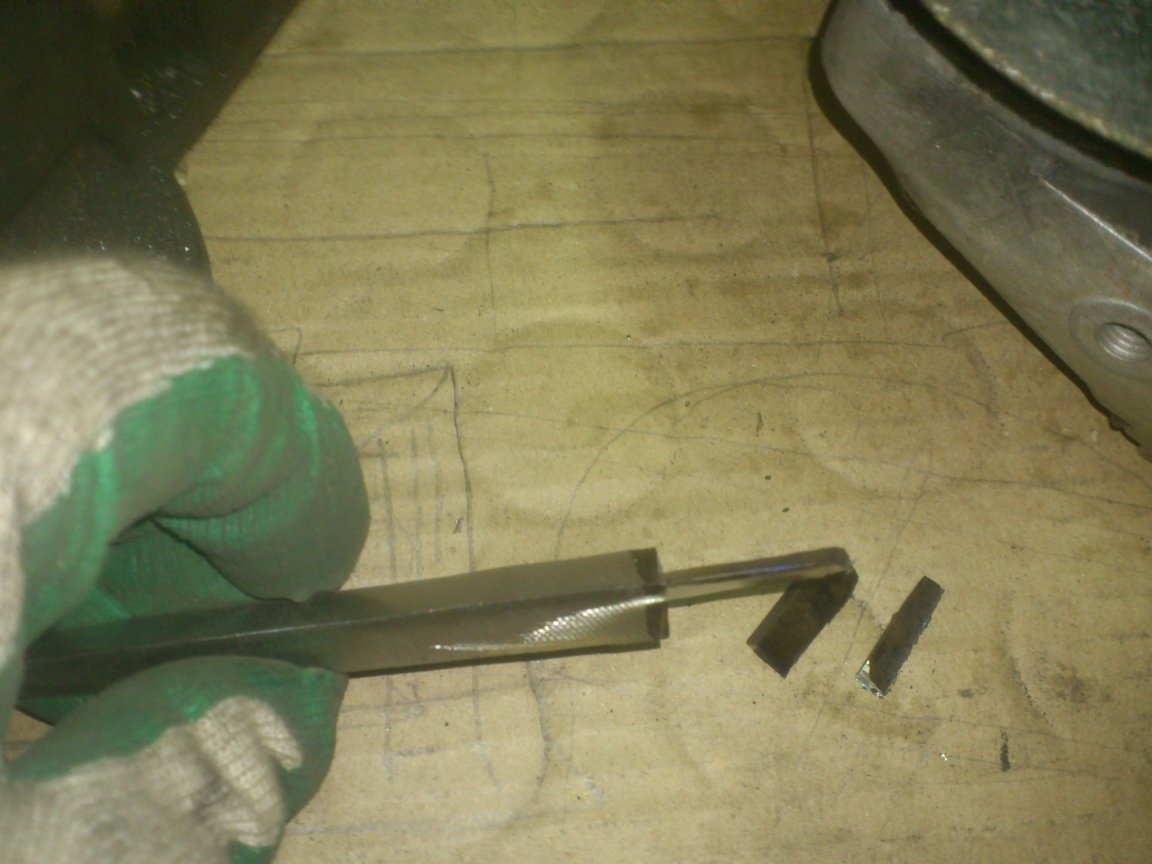

This time I was no longer afraid to overheat ... On the contrary, after I cut it out, I heated a thin shank with a gas burner and allowed it to cool, specially releasing the steel. Firstly, I need to drill a hole in it .. Secondly, I do not need a fragile shank for the tool, which may be subjected to shock loads ...
Having drilled a hole in it, I adjusted its width so that the enlarged M10 washer fits tightly there. It is with it that he will rest, since he passes through the "standard" guard from through.
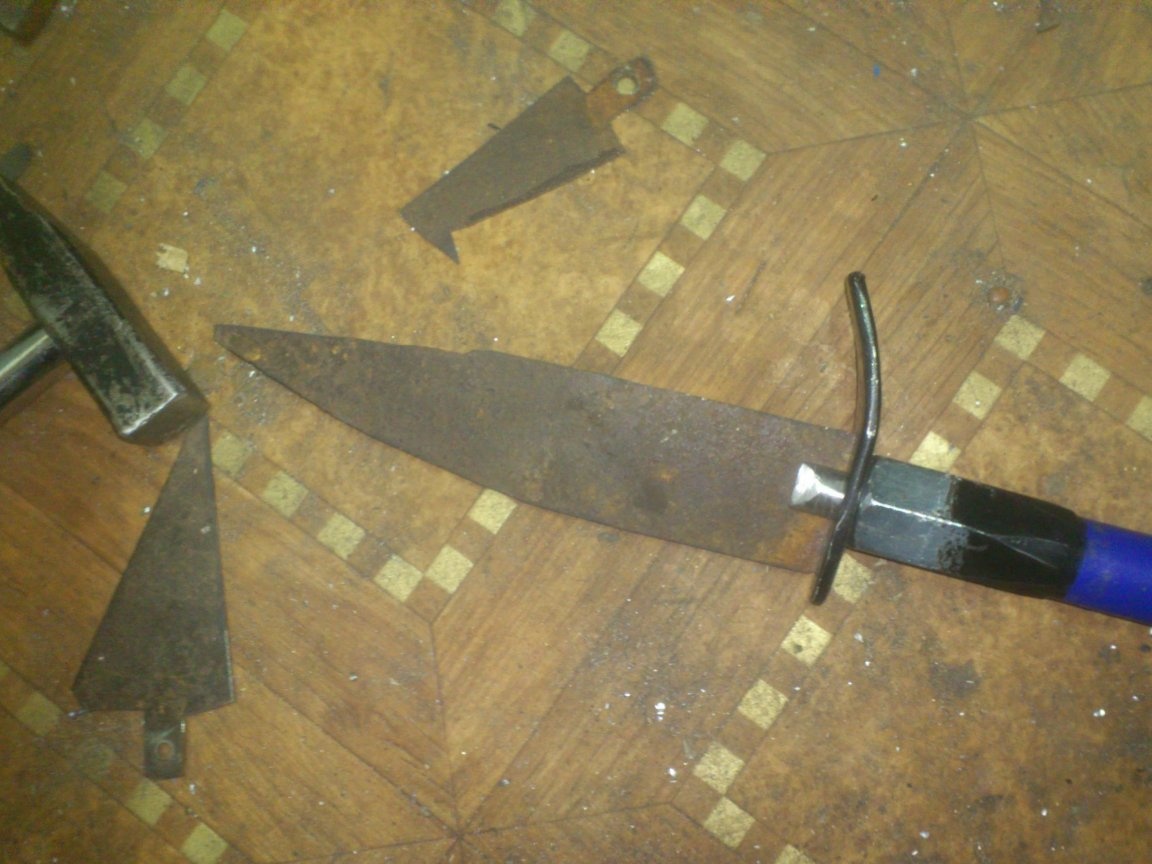
Here is such a trihedral "stylet" I did.
They can pierce holes in various materials, including galvanized roofing steel (tin), since, thanks to the fastening features and the handle design, it is possible to strike the tool with a hammer. And, thanks to the trihedral profile, the holes can be expanded using it as a scan.
Well, for now ... Maybe, then I’ll finish off some kind of tool for the same handle, but so far nothing comes to my mind.
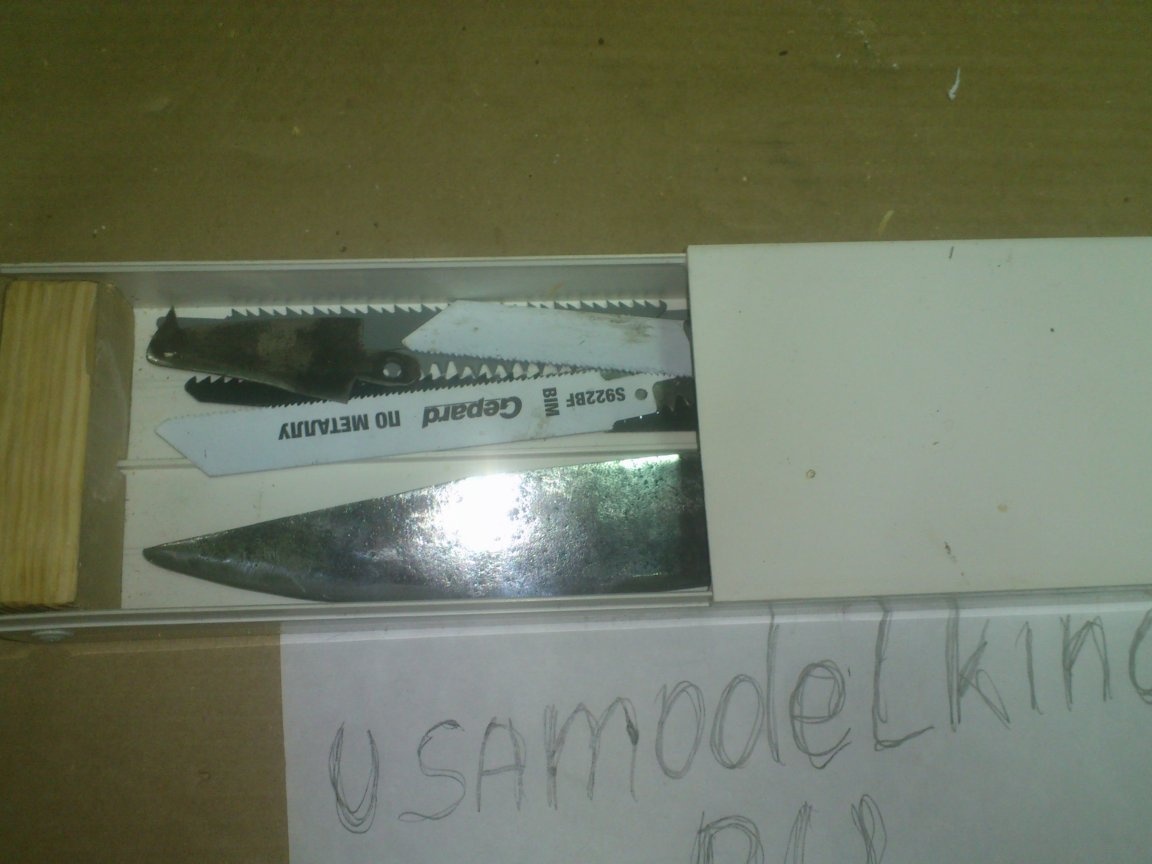
Now you need to determine the entire storage location for this set. After all, if all this is not collected in one box, then it will be very quickly lost somewhere!))) ... This is well known ..)))
Until now, the blades from the “saber” were stored in a box of mine (I don’t know why). Long ones didn’t fit in and stuck out, clinging to everything ... I had long wanted to pick up a bigger box, but somehow somehow ... Well ... you understand ...
And now, it is simply necessary to do this, because the existing set simply does not fit in that old box, just try not to ...
And I decided to make a box of suitable sizes. To determine these same sizes, I pushed myself away from the fact that the handle will be stored with the blade of a "normal knife" mounted on it.
On reflection, I came to the conclusion that the easiest way is to make a “pencil case” from the remains of a large section electrical wiring duct, the trimmings of which I once picked up.
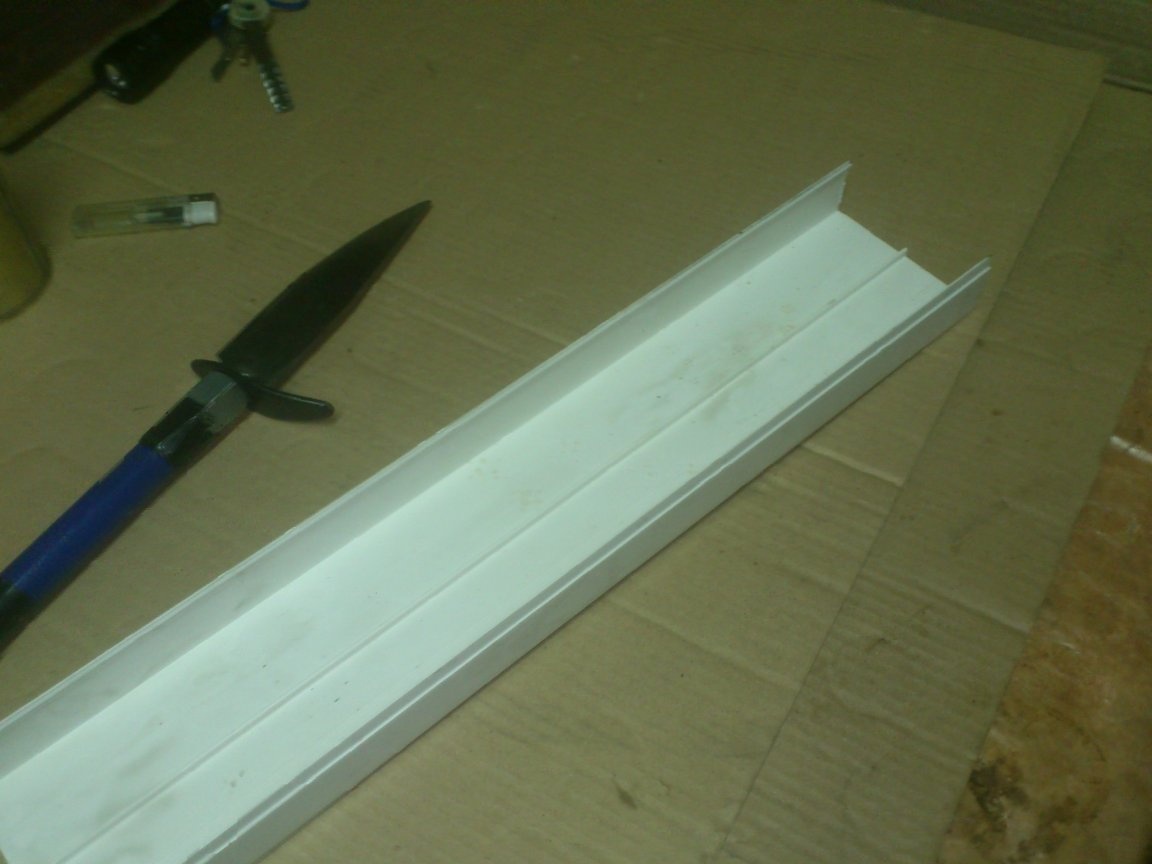

Since the instruments with very sharp ends will lie inside, and they will “hang freely back and forth, I decided to make the ends of the pencil case wooden. Looking at the“ necessary waste ”, I selected a piece of board 25 mm thick:
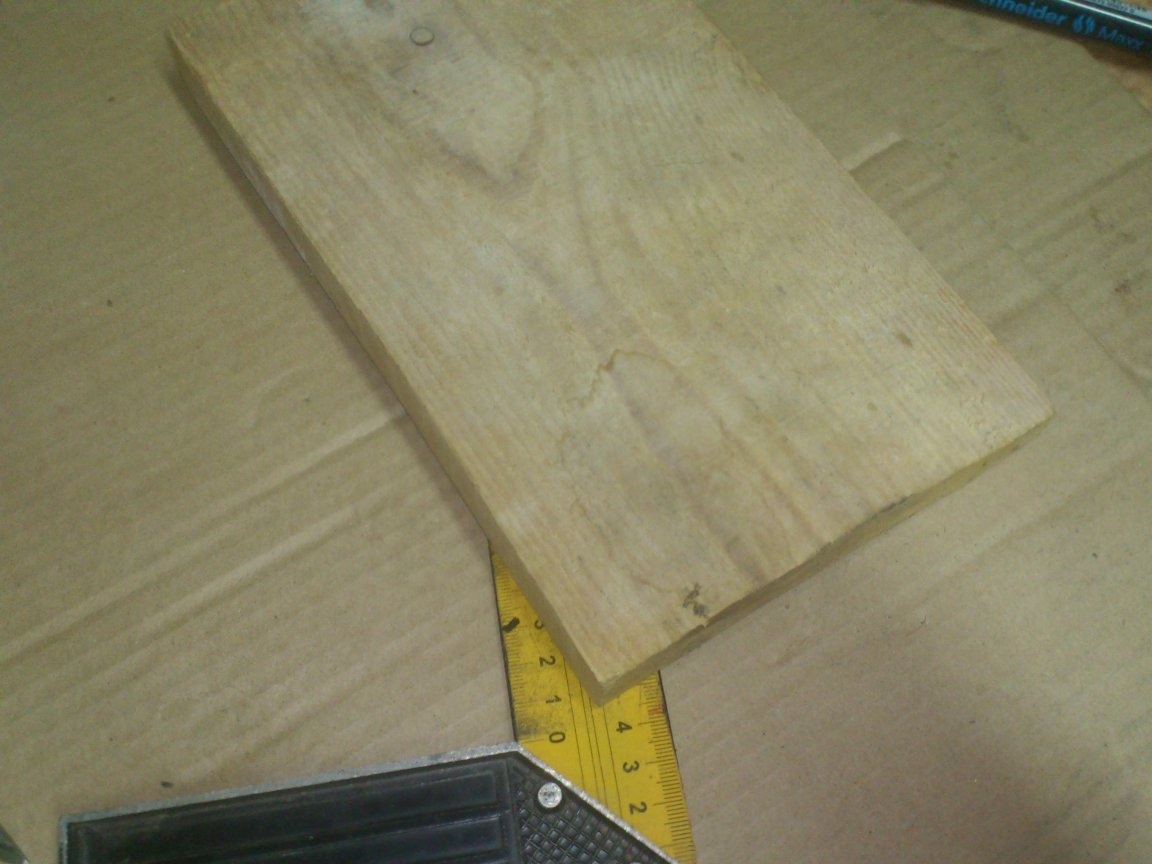
The length of the pencil case was defined as follows - it should be equal to the length of the "main" tool, plus two board thicknesses:
And here came the turn of the first use of my tool ... Having installed the right blade, I sawed off a section of the box, the length I needed:
He did the same with the lid:
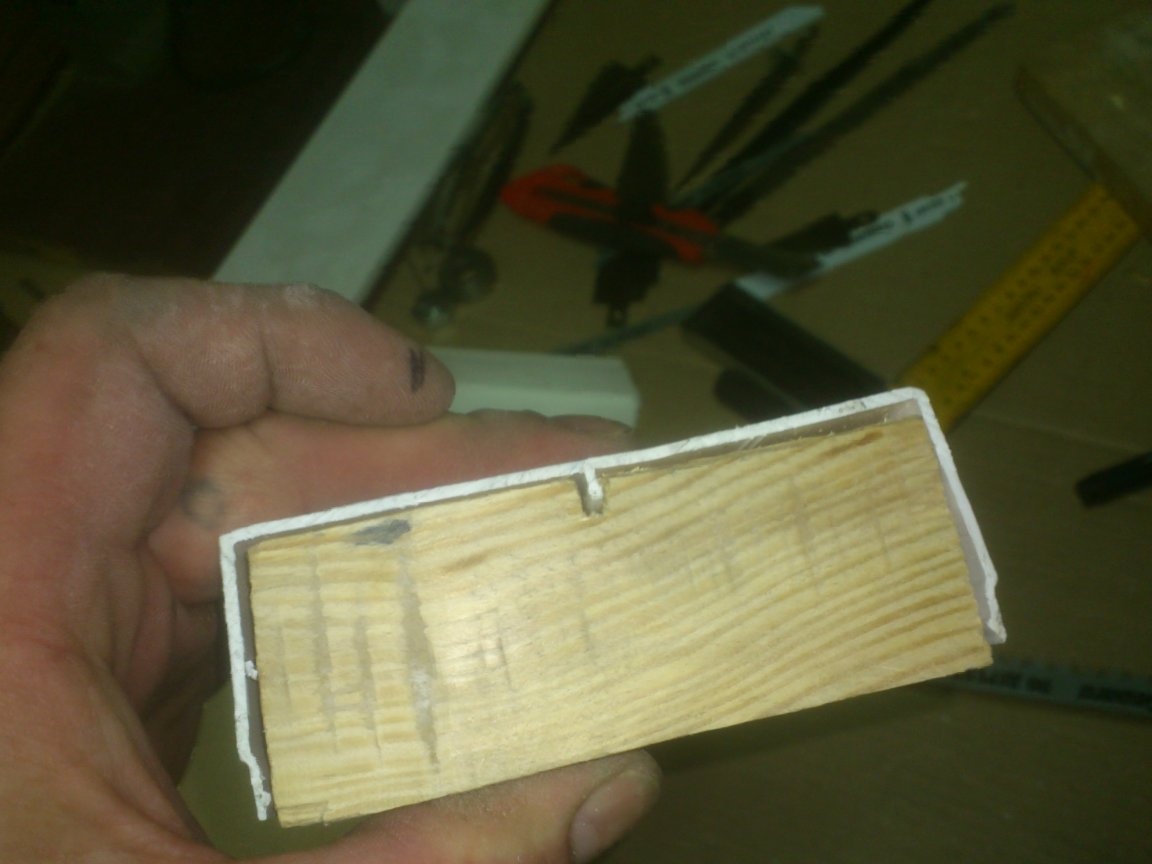
Now remove this canvas and set the canvas on a tree with a small tooth. Using it, I cut out two rectangles from the board, equal in size to the ends of the box:
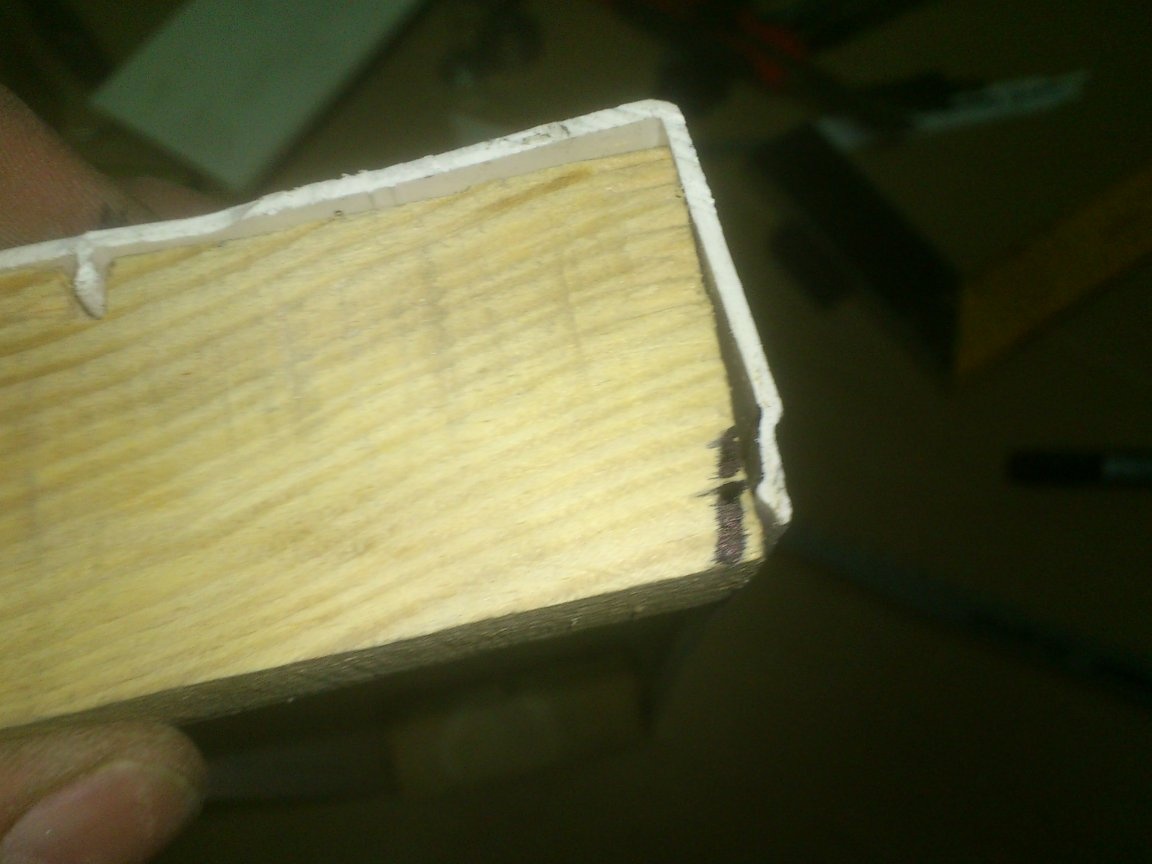
The box inside the middle of the bottom has a stiffener. In order for the plugs to fit into it, I made rather wide cuts with another woodwork (coarser), having previously marked their place with a marker.


In the upper edges it is necessary to make bevels. I just sharpened them on an emery, at the same time a little cleaning them and the plane (did not photograph, sorry ... Hands were busy)))):
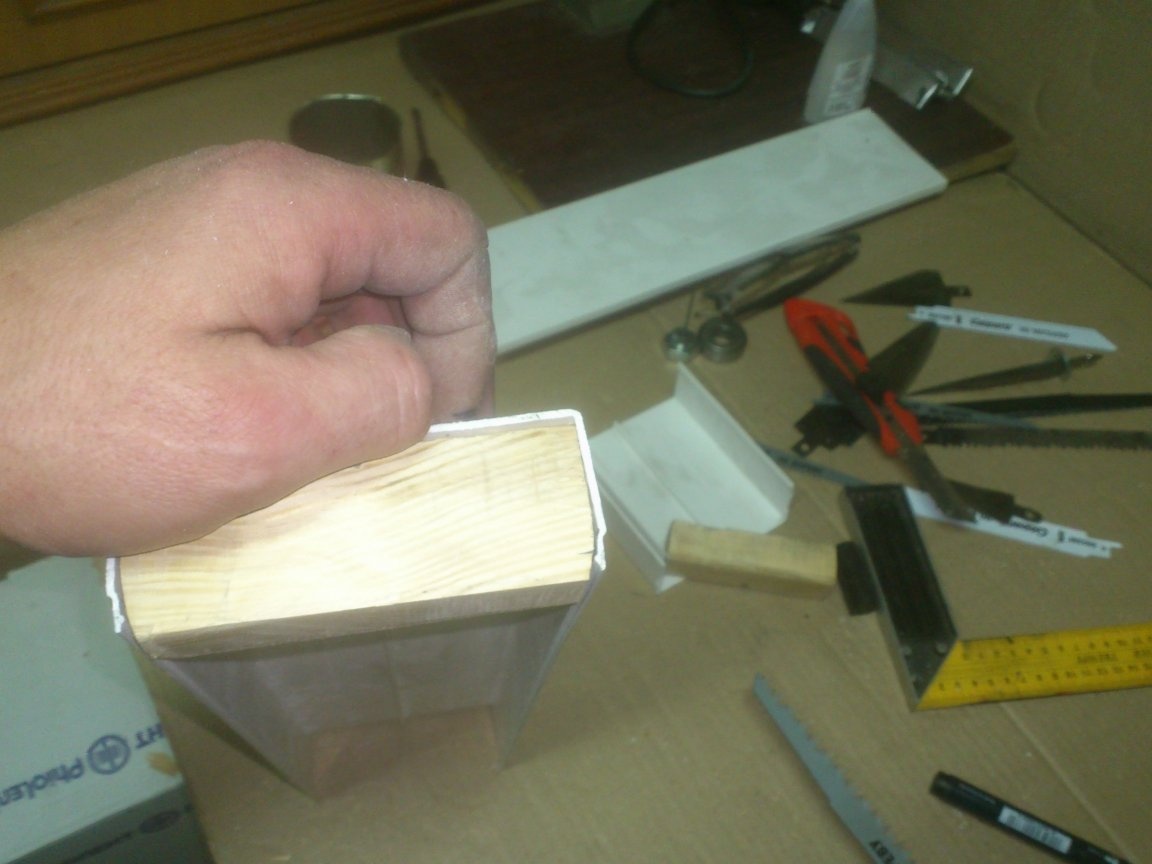
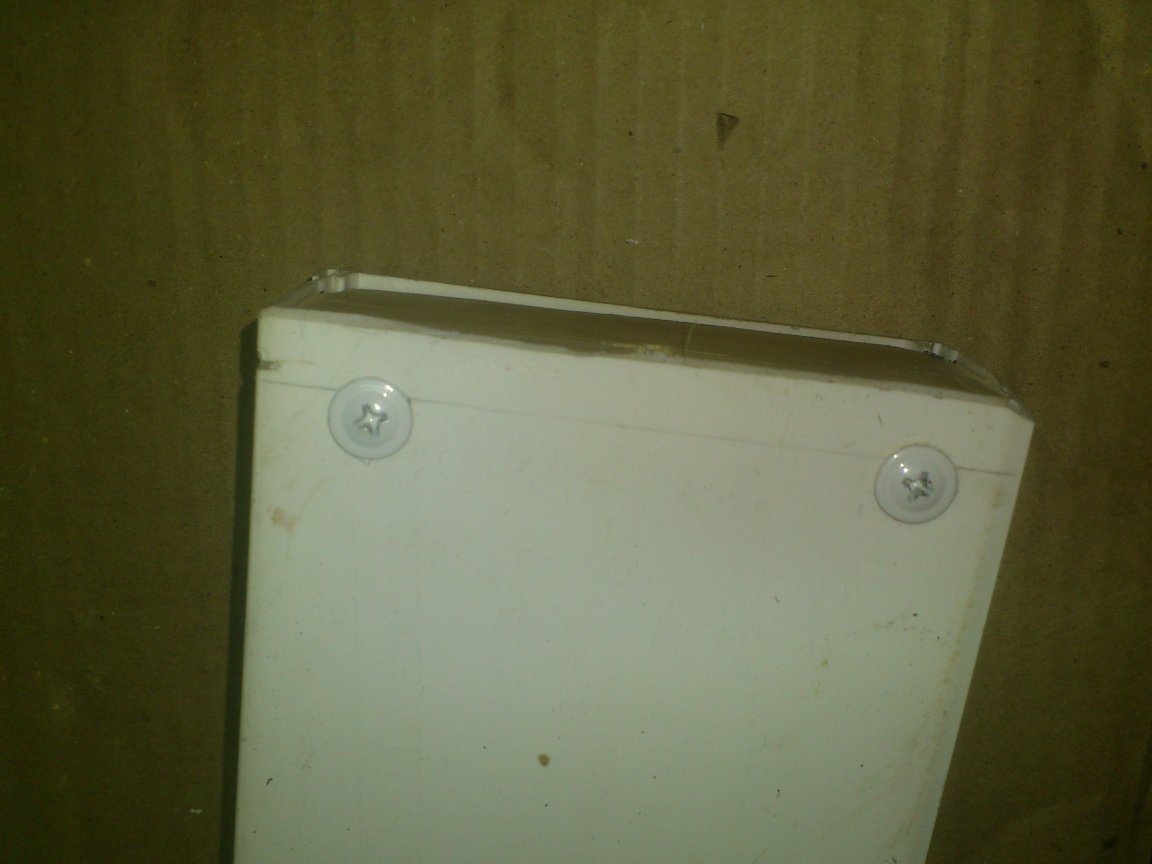
I inserted the plugs in the edges of the box and secured them with such screws with a pres washer that I had left after working with corrugated board. Even the color of the hats matched my item ...
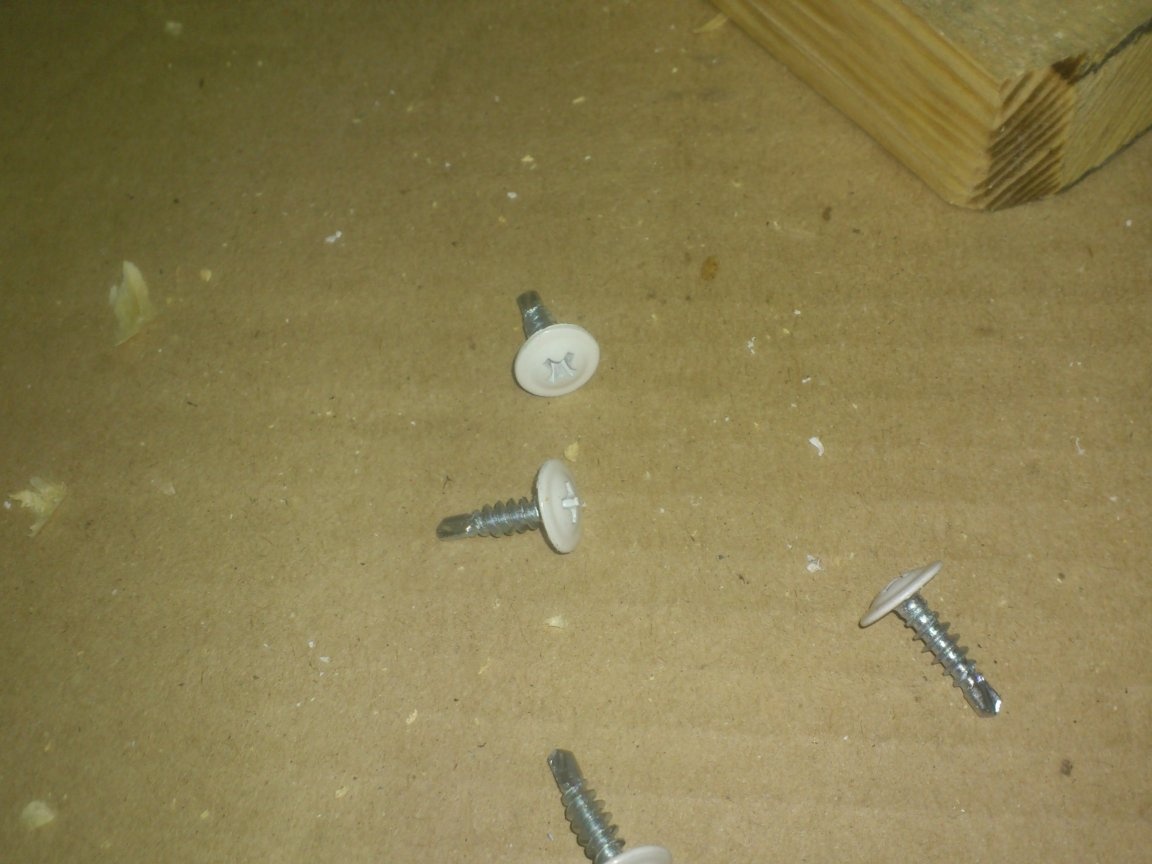
I simply screwed one screw into the side walls and two into the bottom.

Now the wooden ends are securely fixed. It would be necessary to paint them, but there was no time to arrange a technological break for drying. (Wood, painted with enamel, dries for a very long time ... Yes, and one layer can not do ...). So, let them remain unpainted ....
Well, the pencil case is ready, you can say. The box lid snaps into the grooves and, after that, easily moves horizontally, opening and closing. It remains to come up with a handle and a latch on the cover.
As a material, I decided to use the remains of a children's designer. I think for many masters such designers are a source of valuable material for creativity ...

Choosing a short bar, I expanded the hole in it to five millimeters with a drill, then slightly bent and riveted it to the edge of the lid with a rivet:
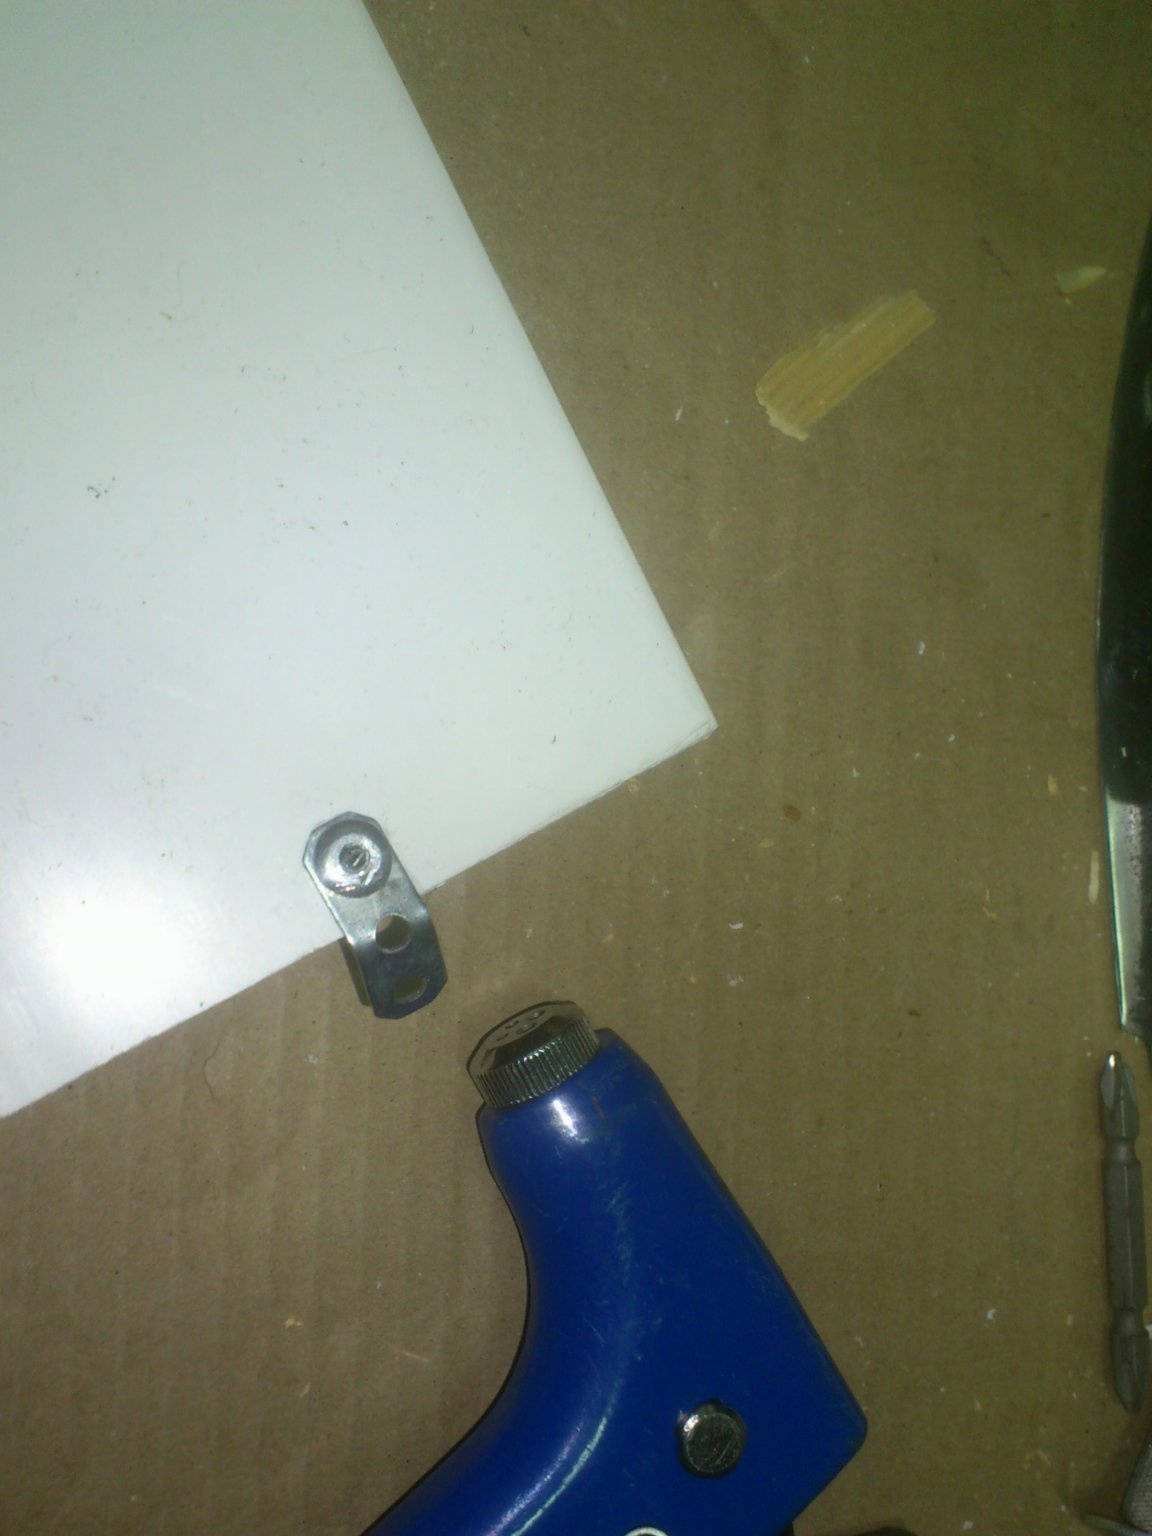
On the reverse side I put the M5 washer. This must be done when installing rivets in plastic:

Closing the pencil case (for which it was necessary to pull the lid up slightly at the end so that the “tail” of the rivet fits above the end of the board), I tapped the rivet with a hammer, opened the lid, and made a notch using the drill print:
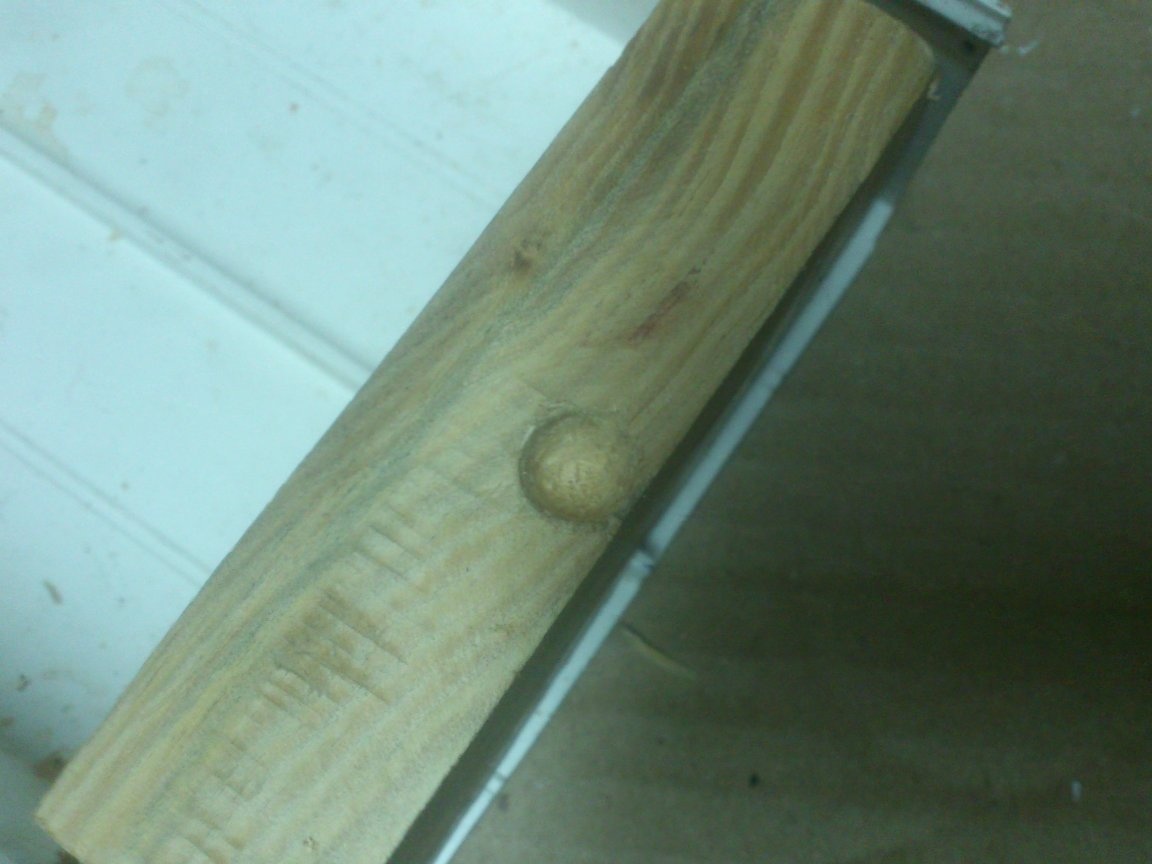
Now, when the cover of the pencil case is pushed in, it is enough to pull the handle up a little at the end, close it and release it. The “tail” of the rivet will lower into the recess and lock the cover against accidental opening.
All! The case is ready:
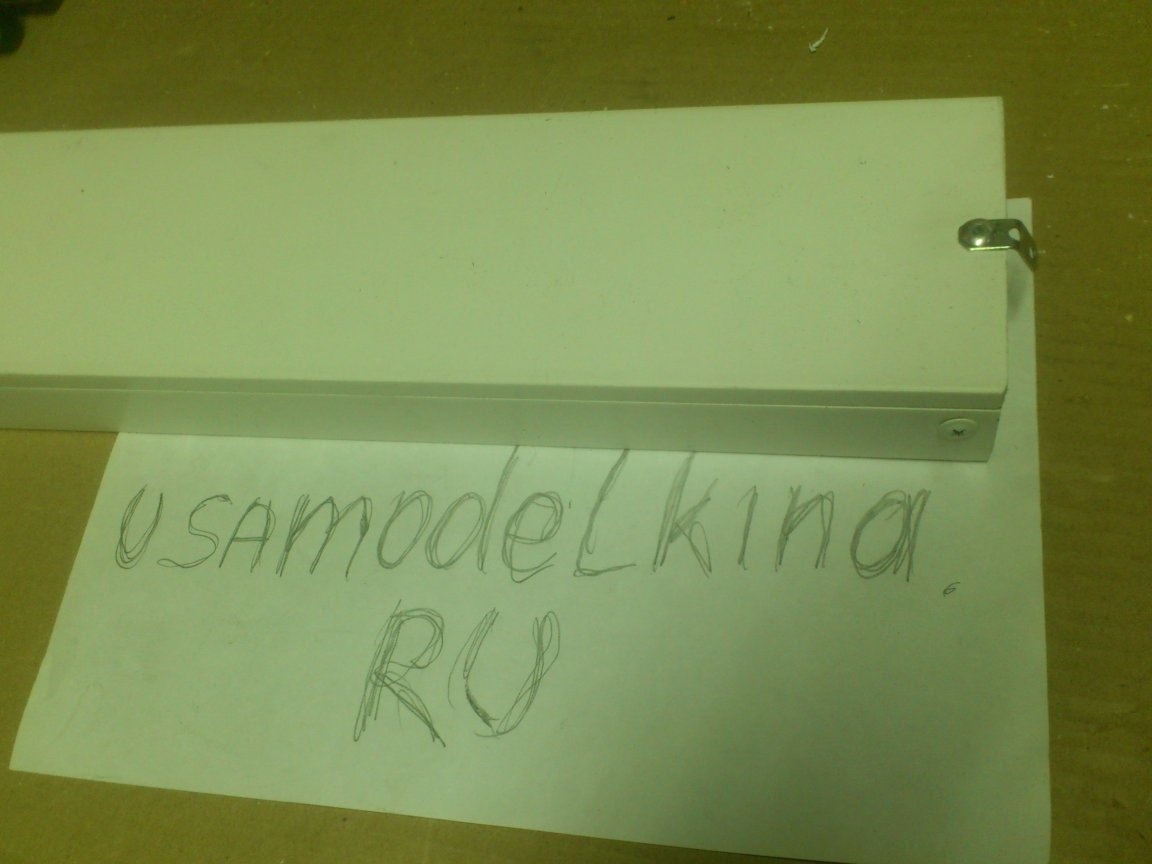
It remains to put the entire tool in it and put it on the shelf: