Hello everyone, in this instruction we will look at how to make a powerful budget muffle furnace. According to the author, the temperature in it can rise more than 1200 degrees Celsius, which will allow melt not only aluminum, but also brass and bronze. The power of the heating elements is 7 kW, so to start such a furnace you need a good electrical network.
The stove is going to be assembled quite simply, the case is made of sheet steel, and foam diatomite brick was used as insulation material. If the project interests you, I propose to familiarize yourself with it in more detail.
Materials and tools used by the author:
Material List:
- foam diatomite brick;
- sheet steel for the case;
- heating elements;
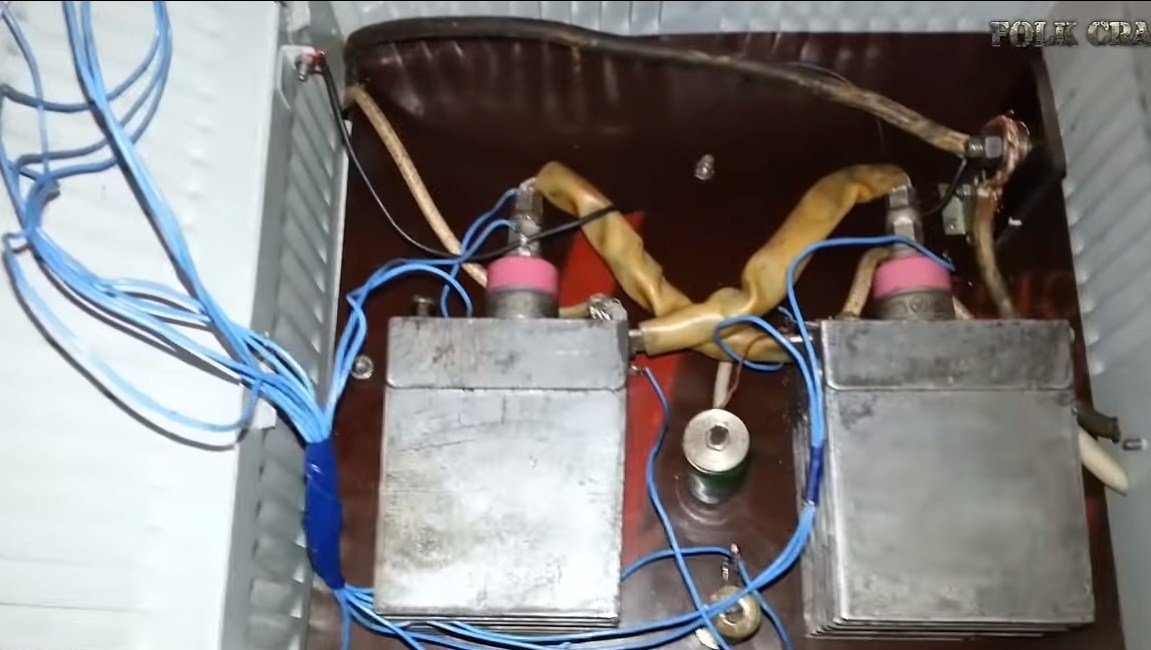
- electrical components for power control unit;
- asbestos plates;
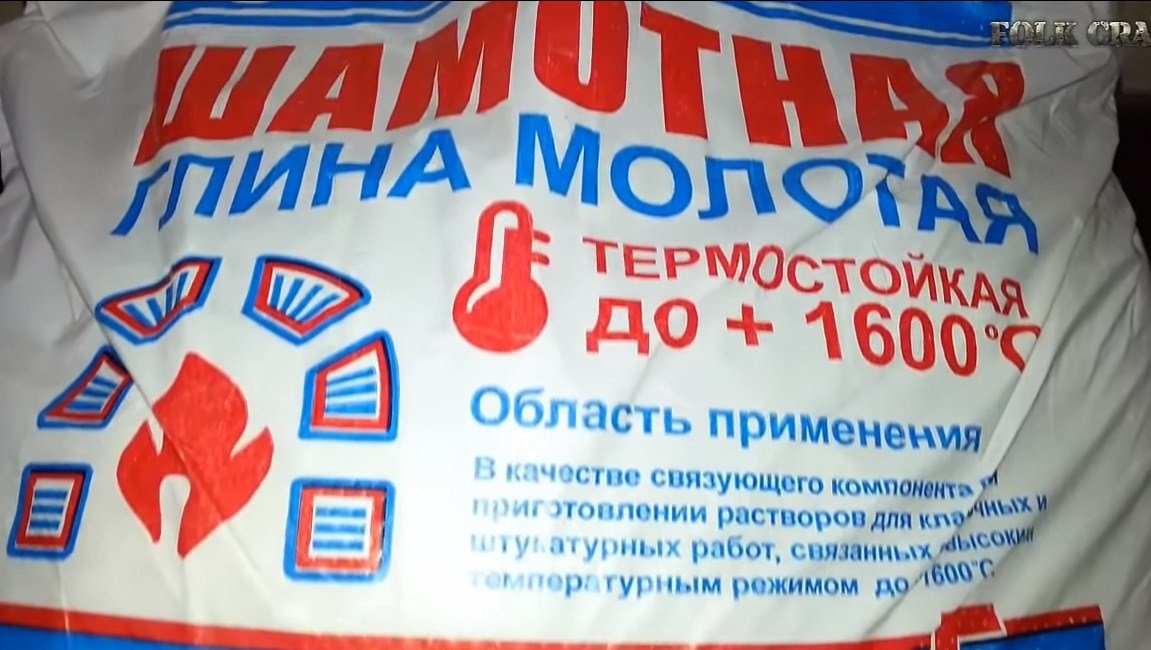
- heat-resistant clay (stove);
- ceramic tubes;
- bolts, nuts, washers and more;
- asbestos or furnace sealant.
Tool List:
- grinder;
- welding machine;
- drill;
- a hacksaw for metal;
- marker, ruler.
Manufacturing process homemade:
Step one. Housing blanks
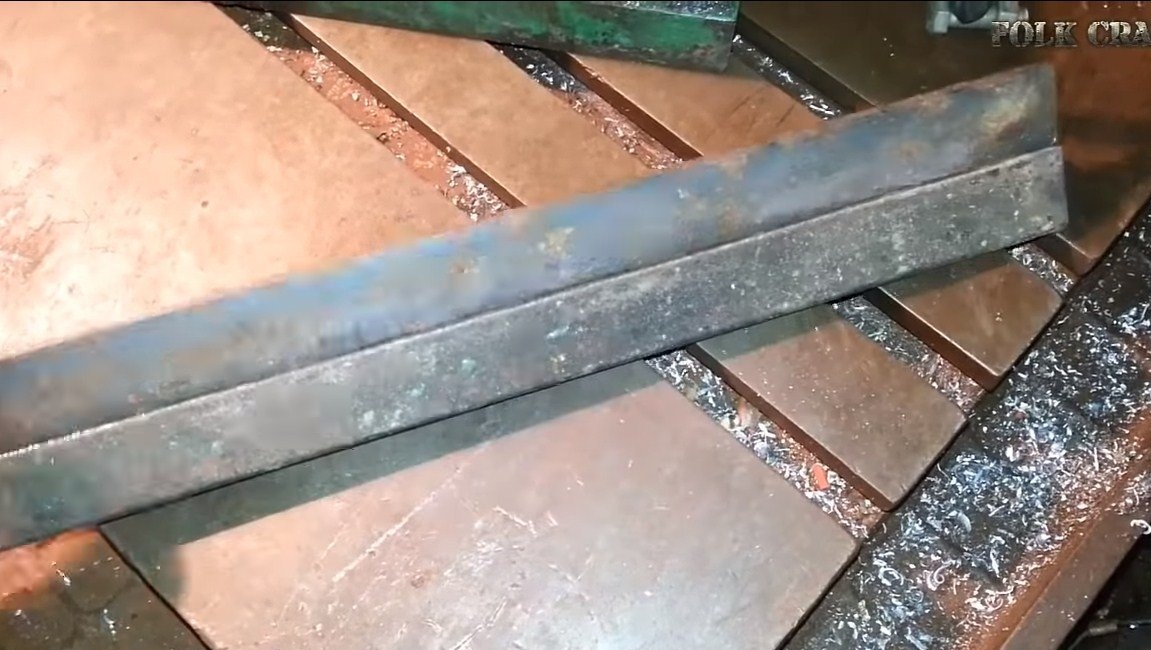
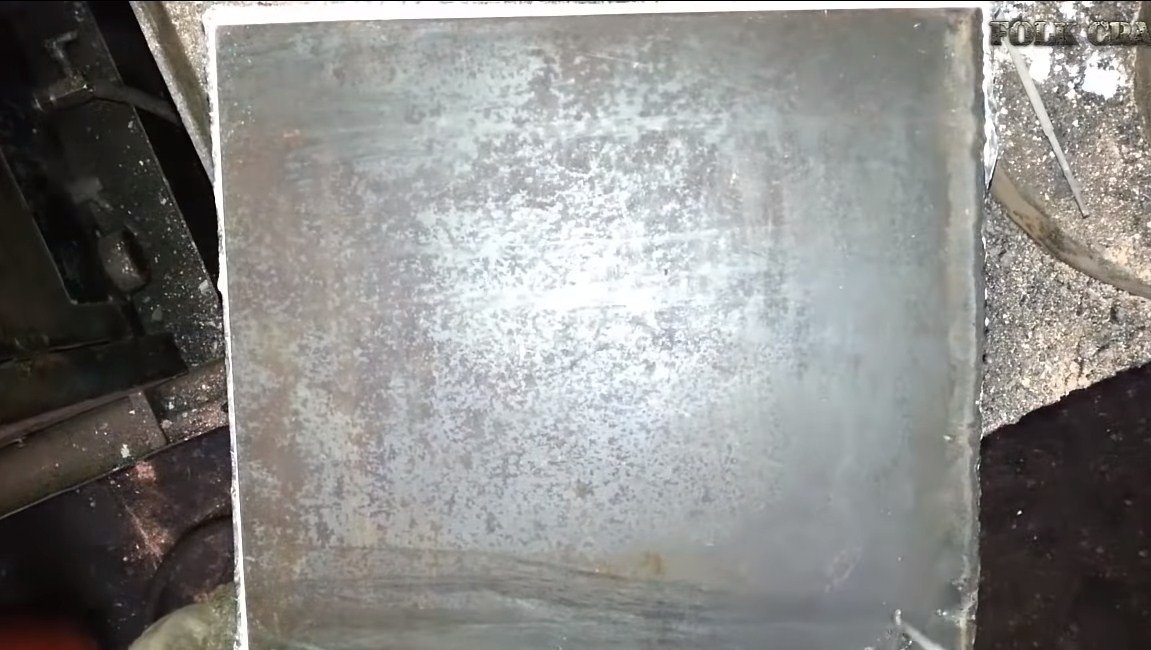
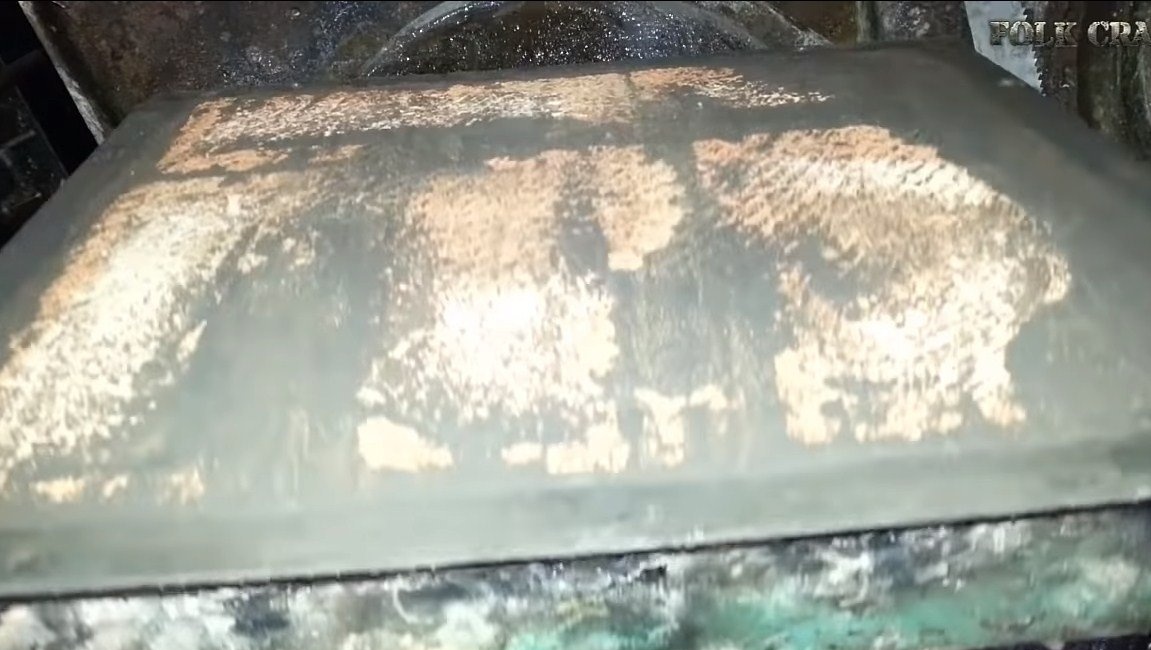
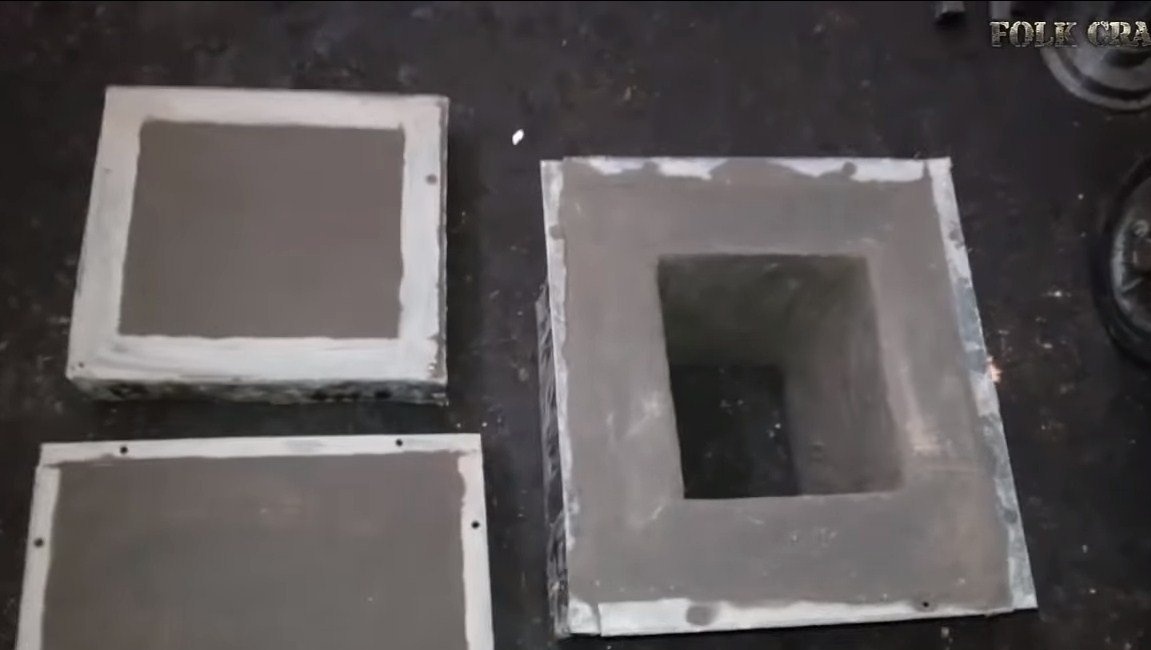
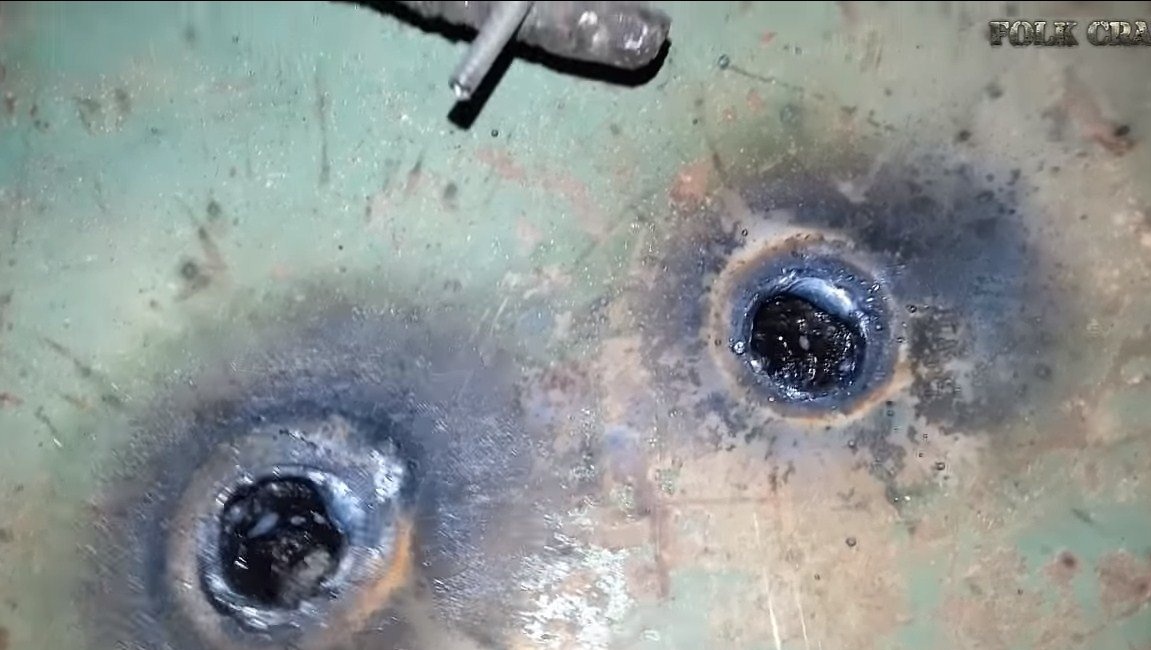
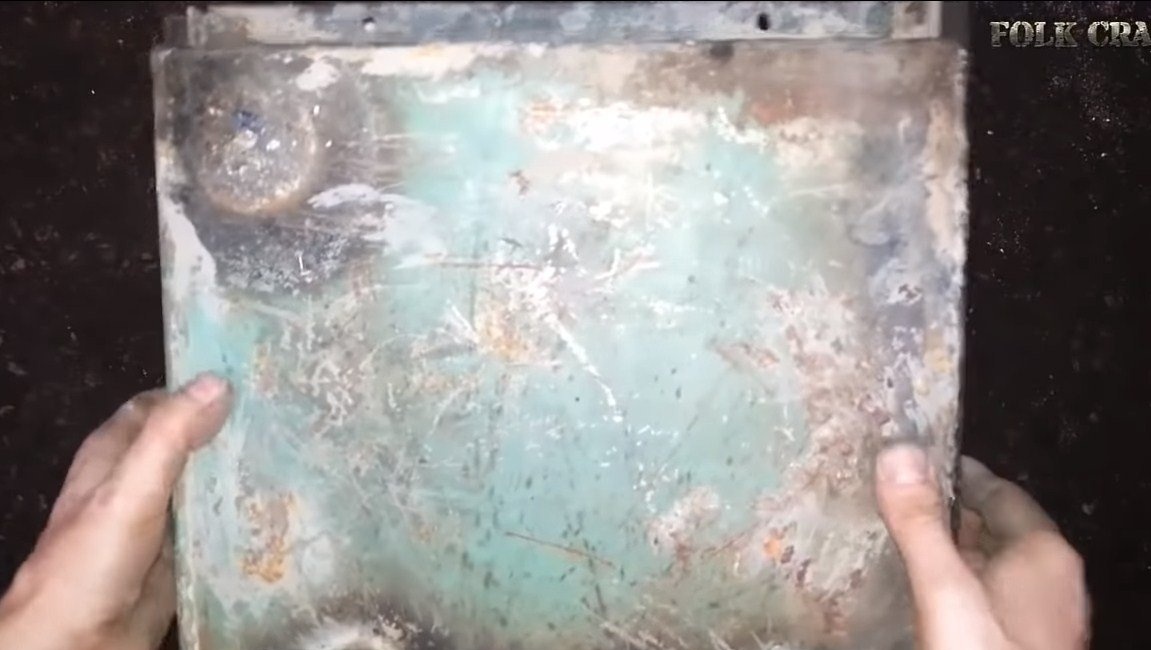
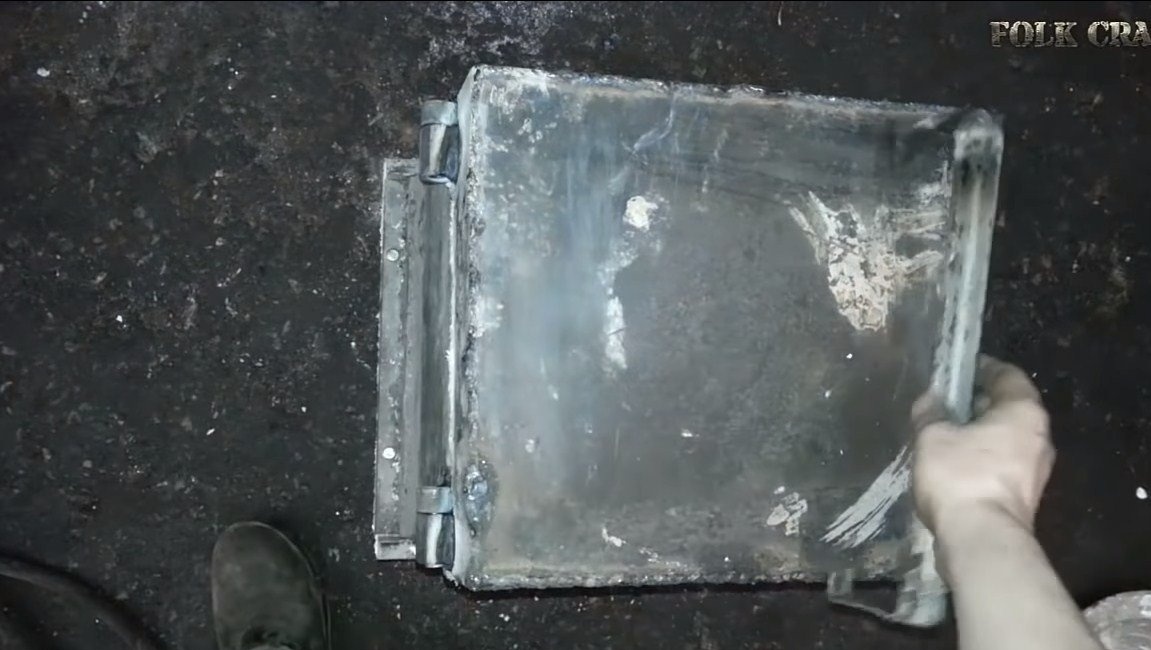
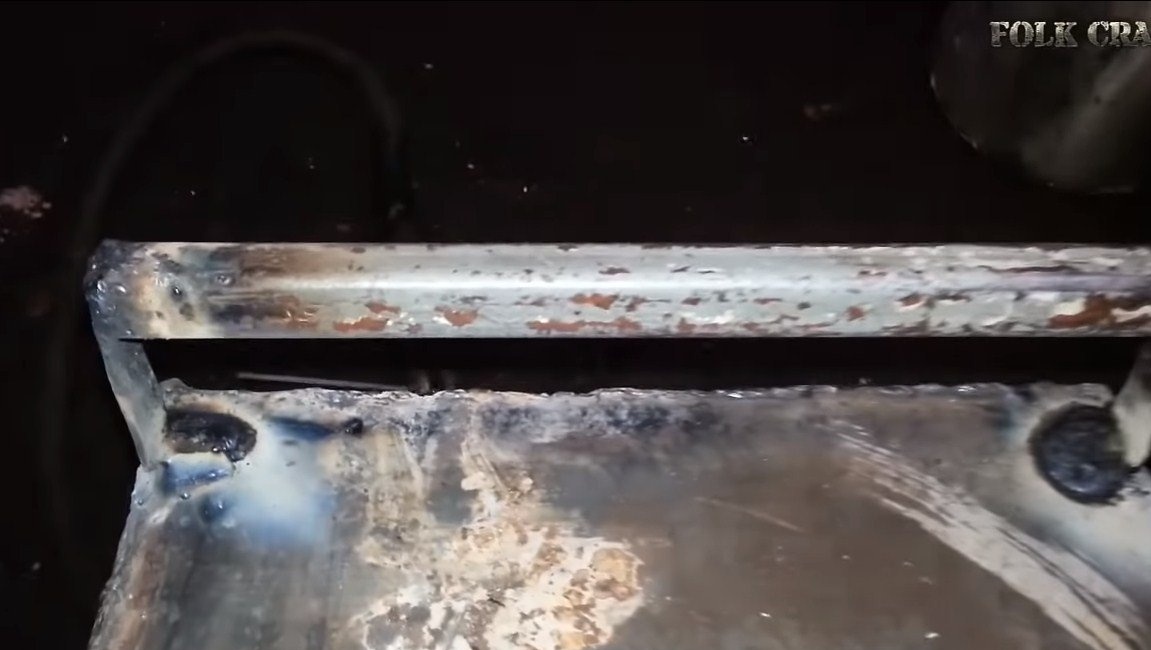
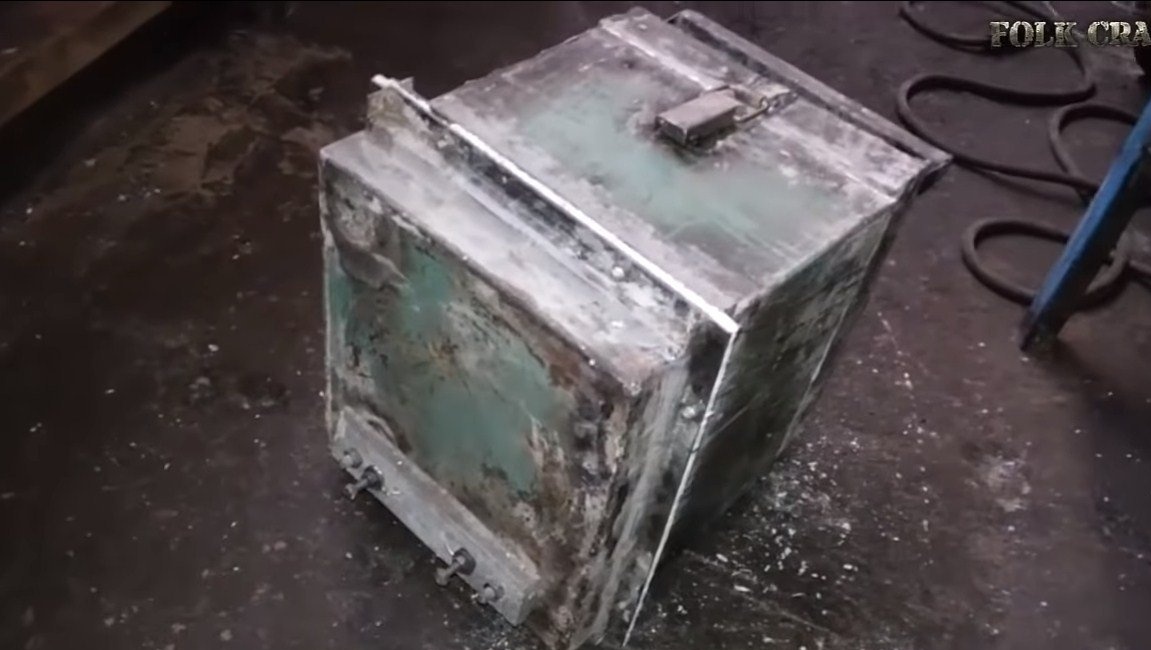
First of all, we will find materials for making the case. The author used a metal container for water for these purposes. We cut the material, and then collect the three components. We will need to make the back wall, door, and also the main body of the furnace. Here, more steel corners will be needed.
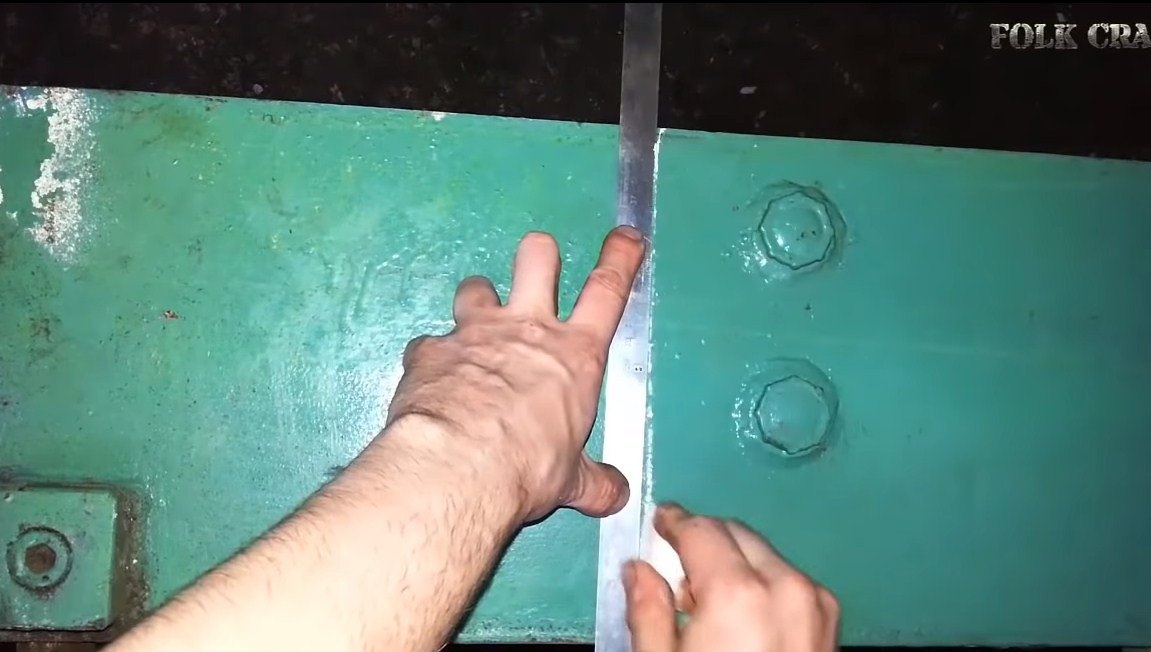
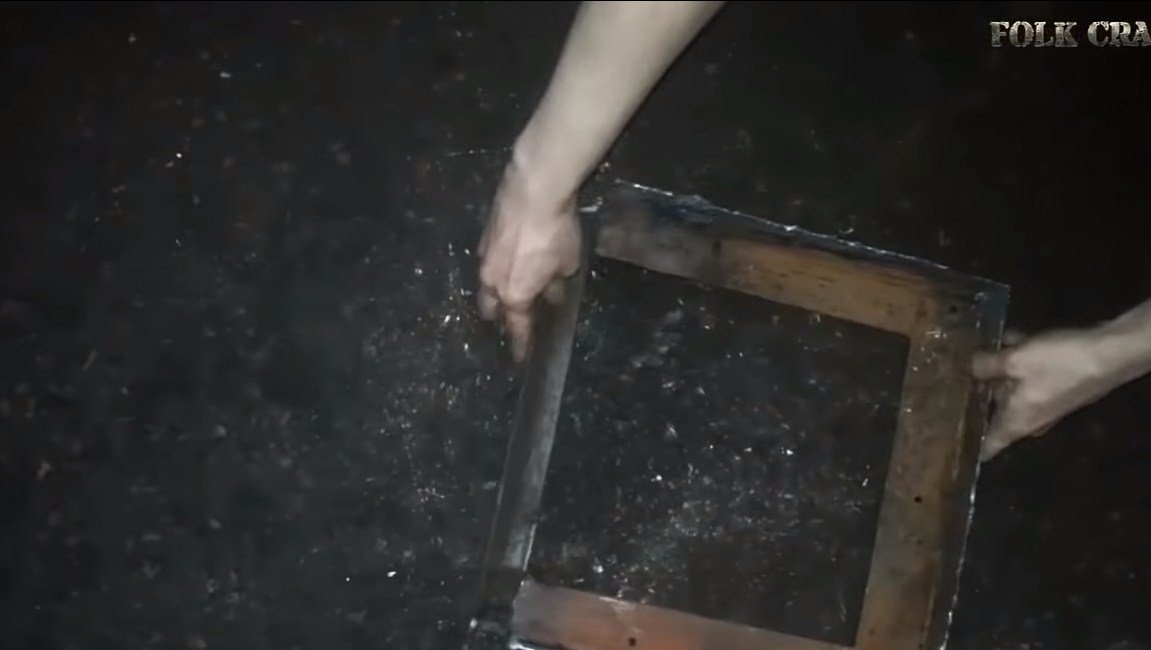
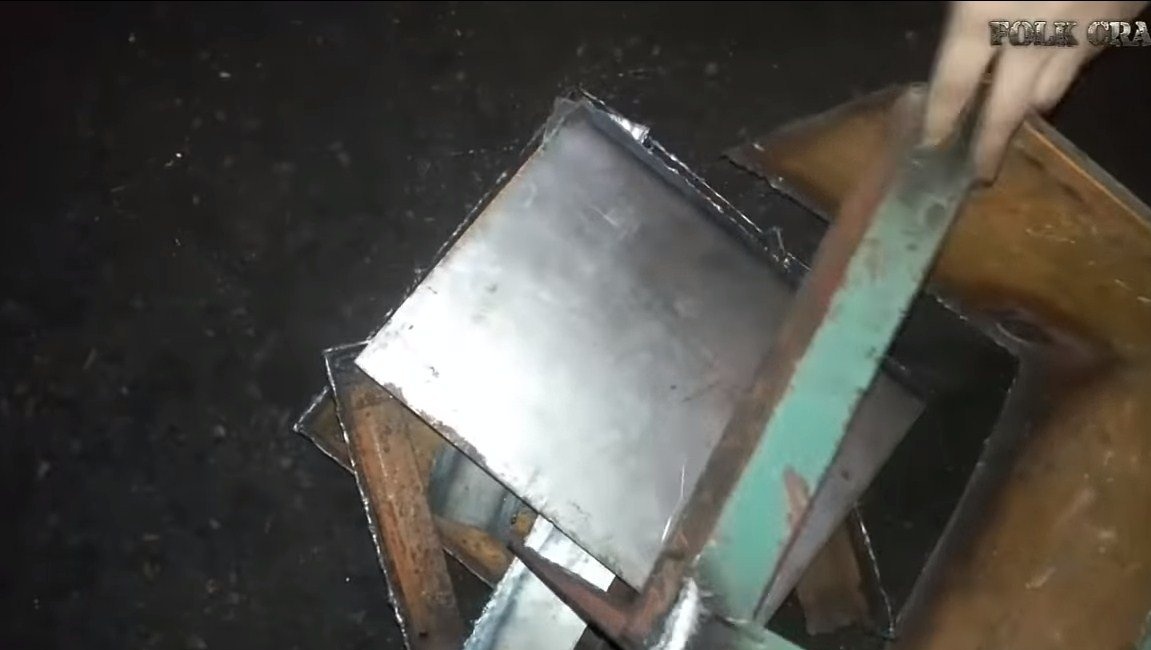
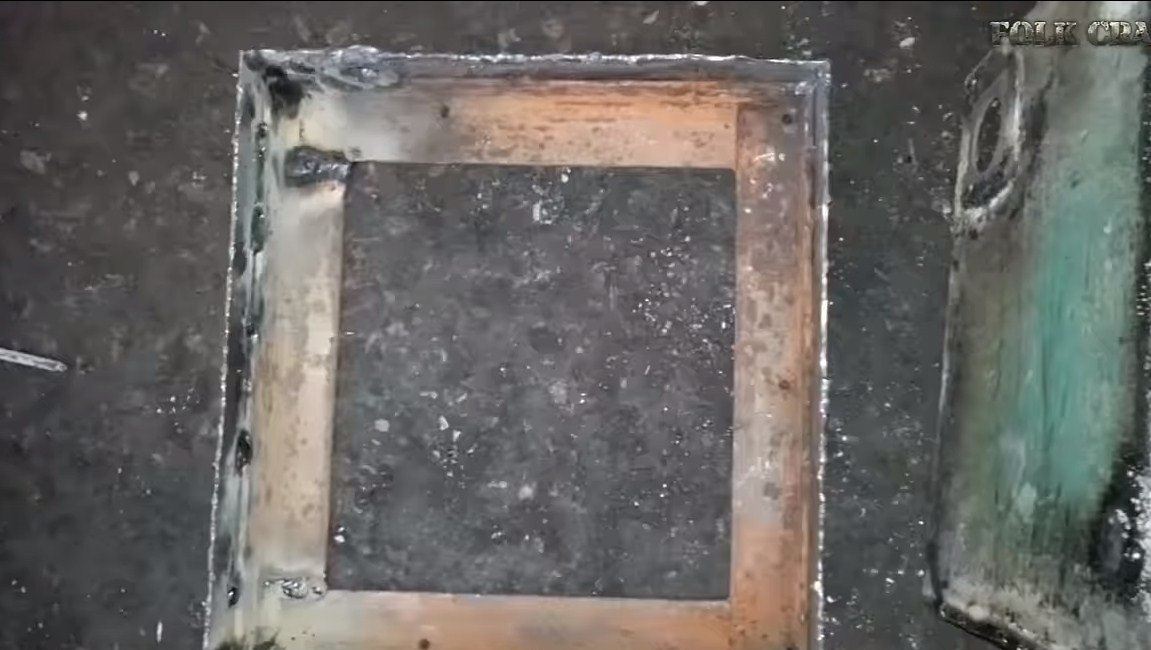
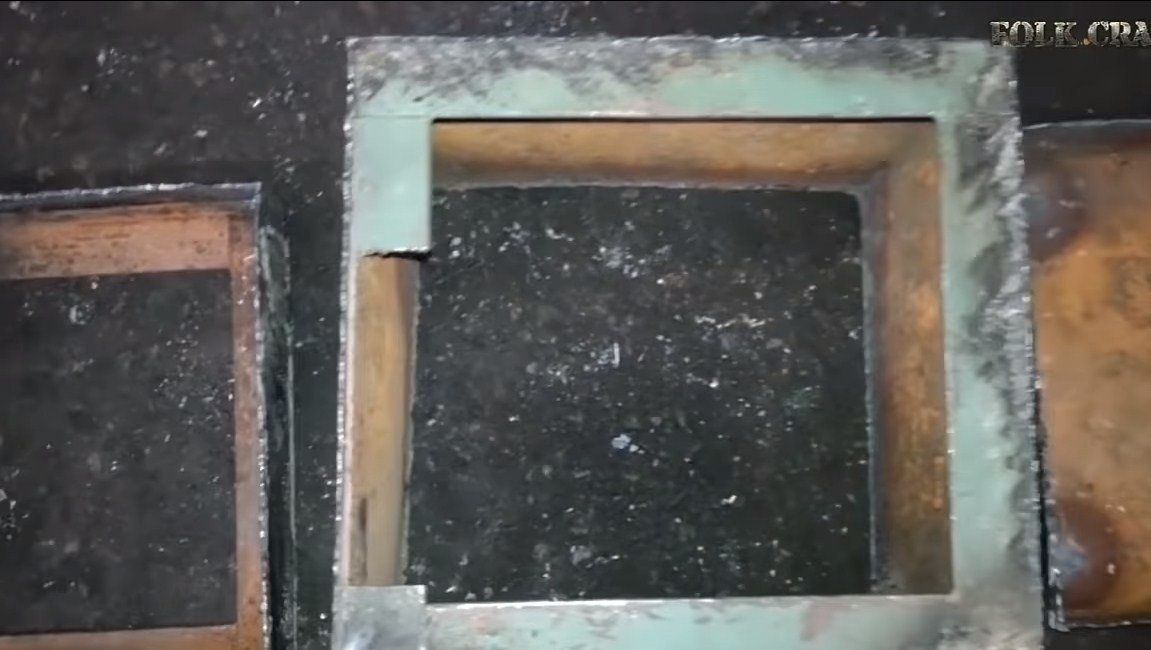
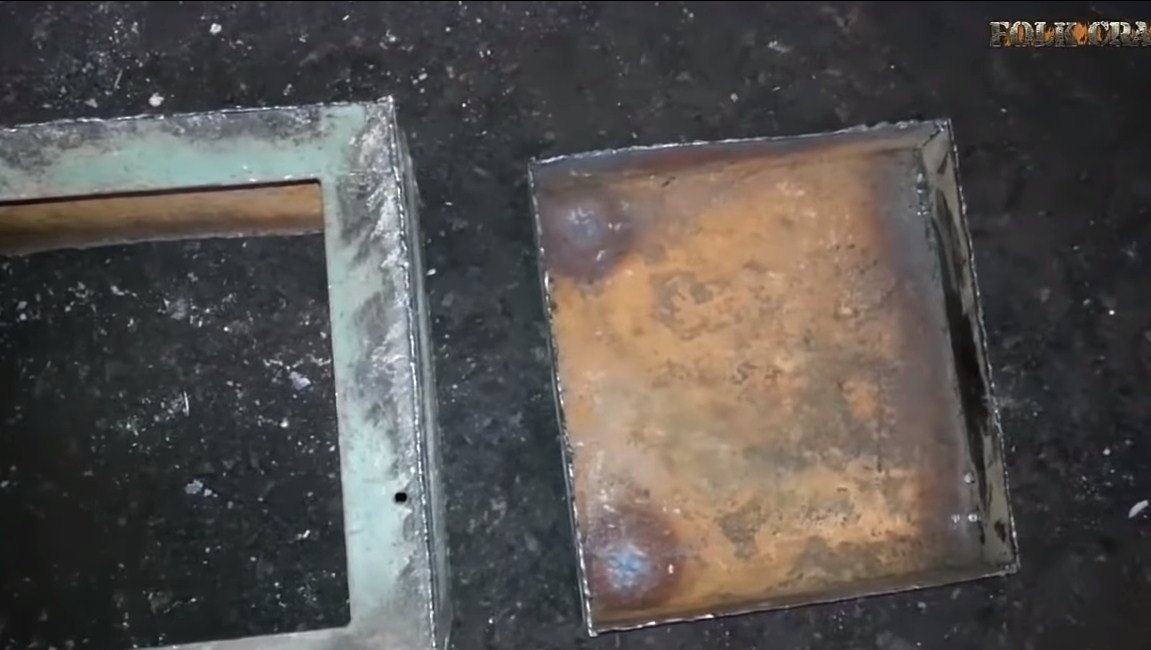

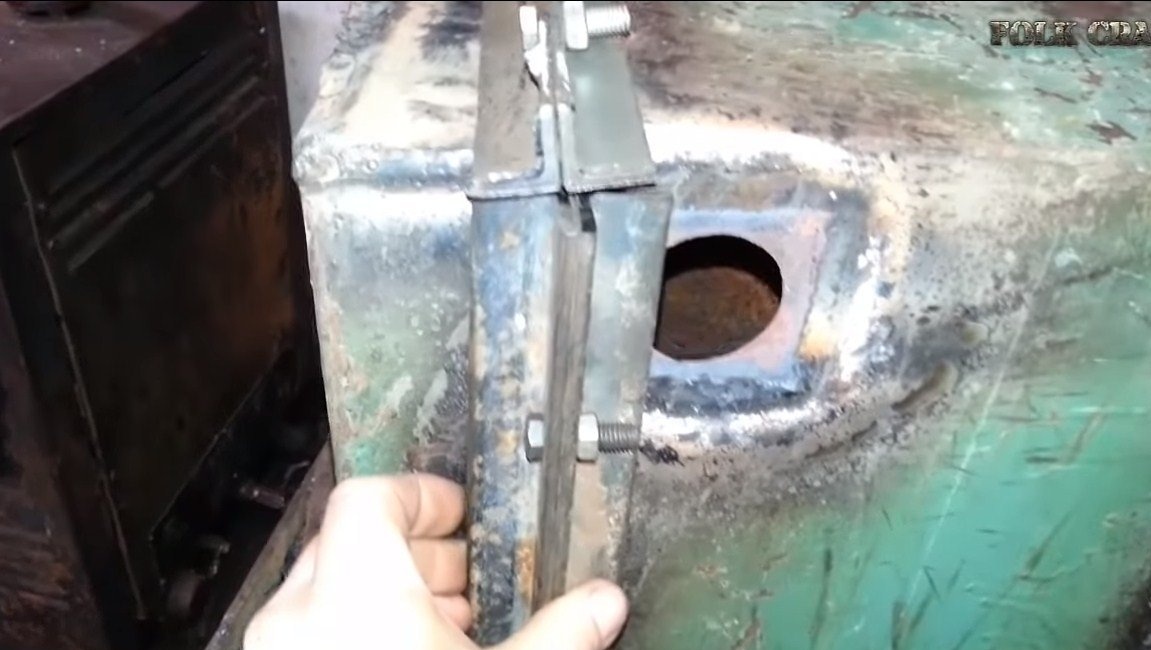
The back wall, according to the author’s idea, is removable; it is fastened with bolts and nuts. Corners are welded to the furnace body and to the rear wall, in which holes for bolts are drilled.
Step Two Insulation
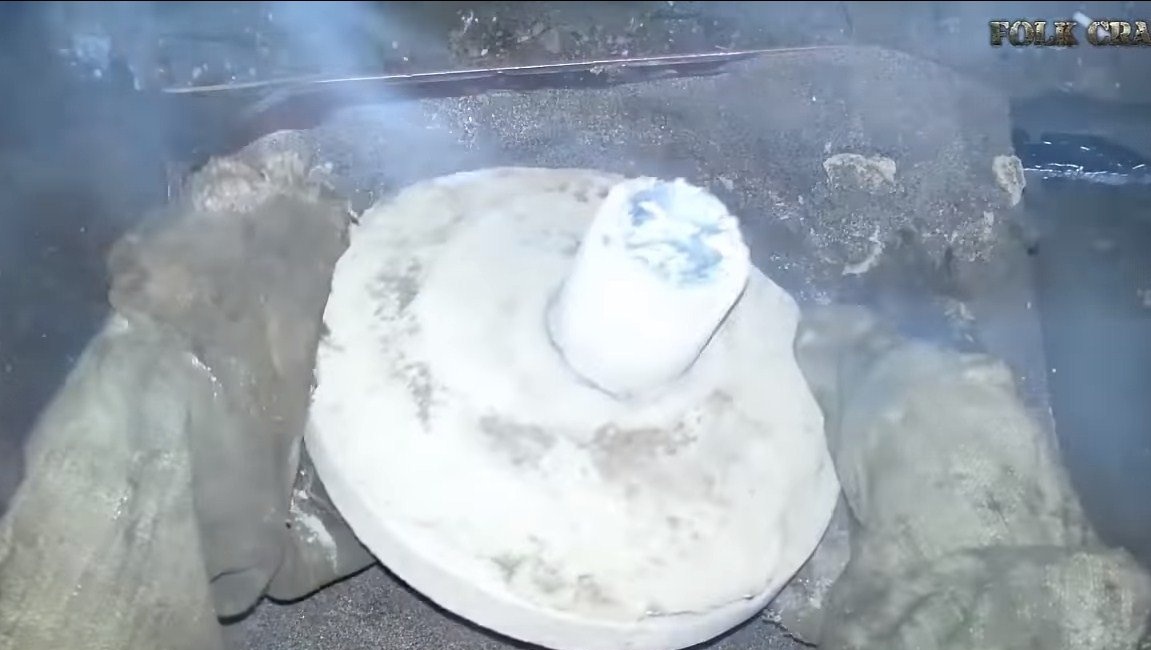
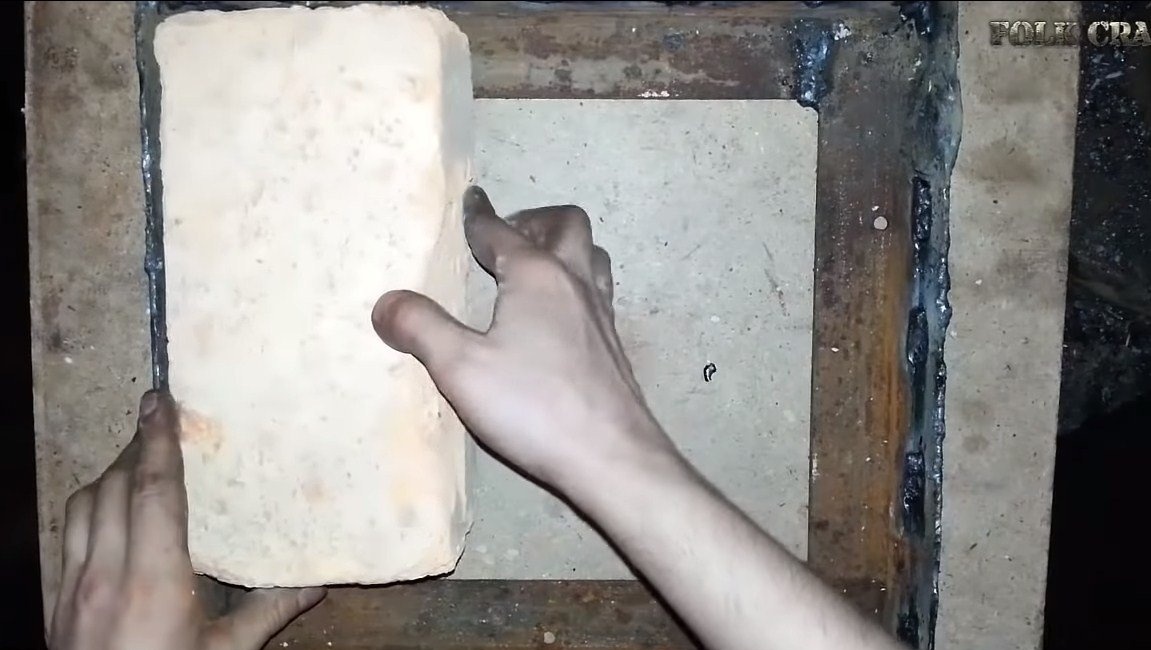
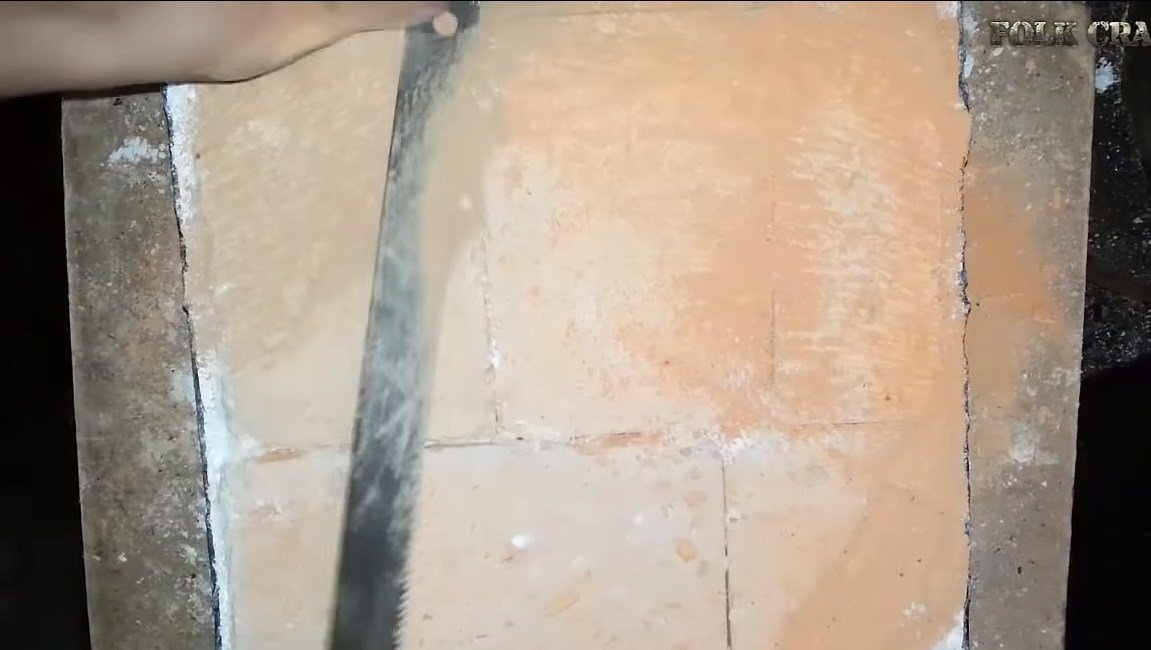
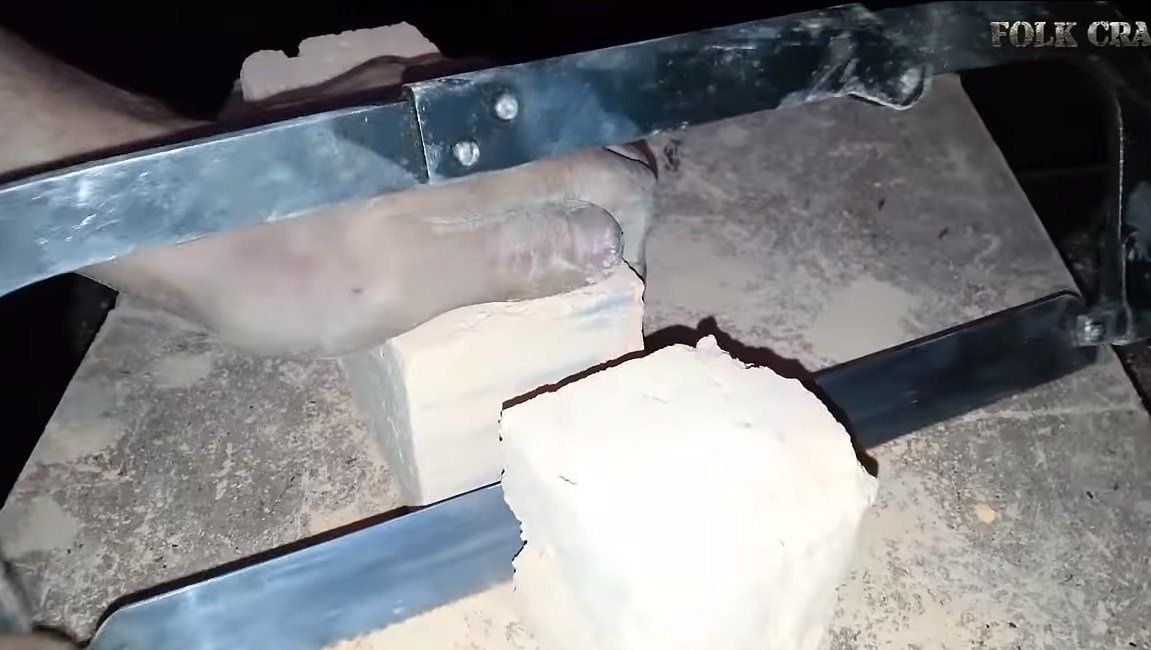
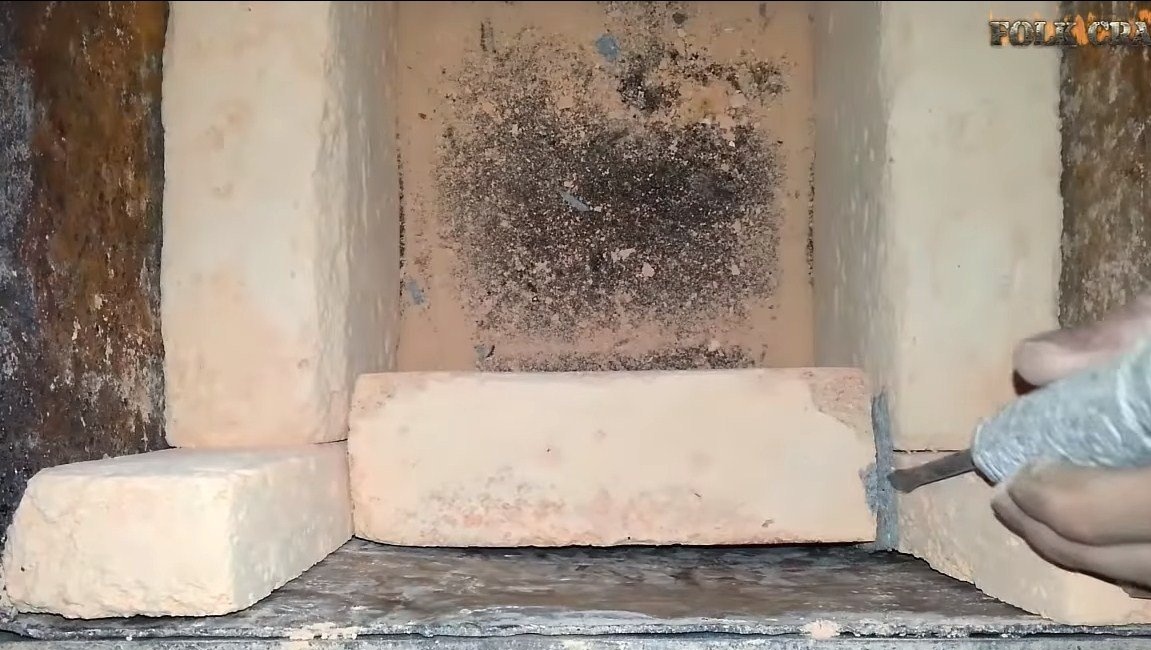
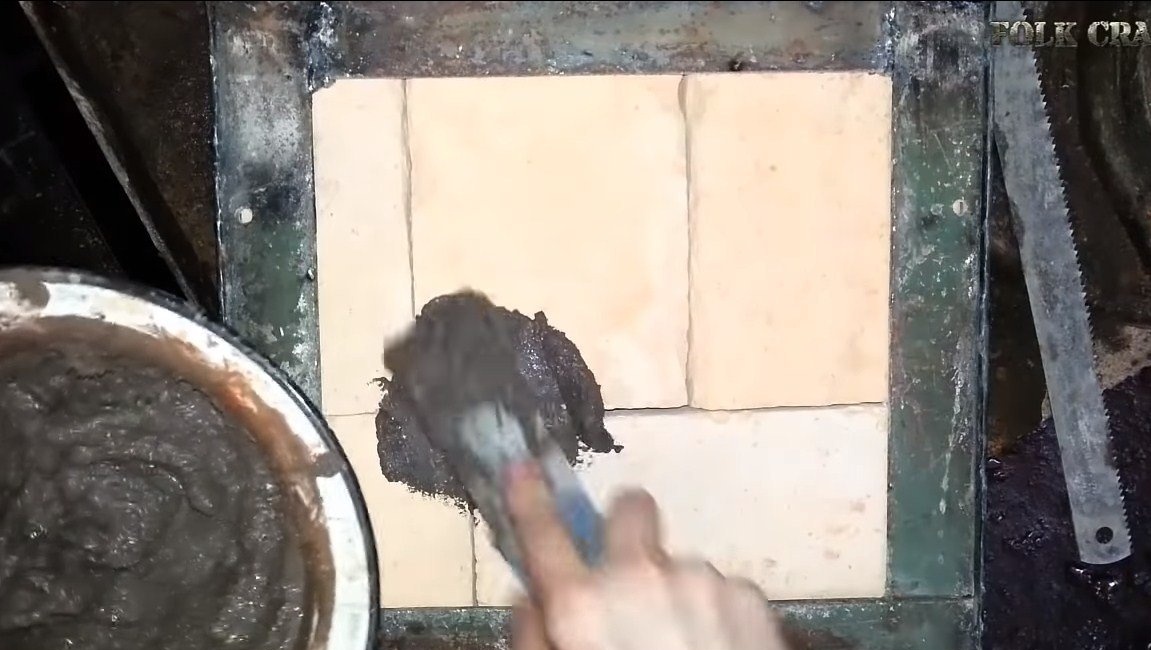
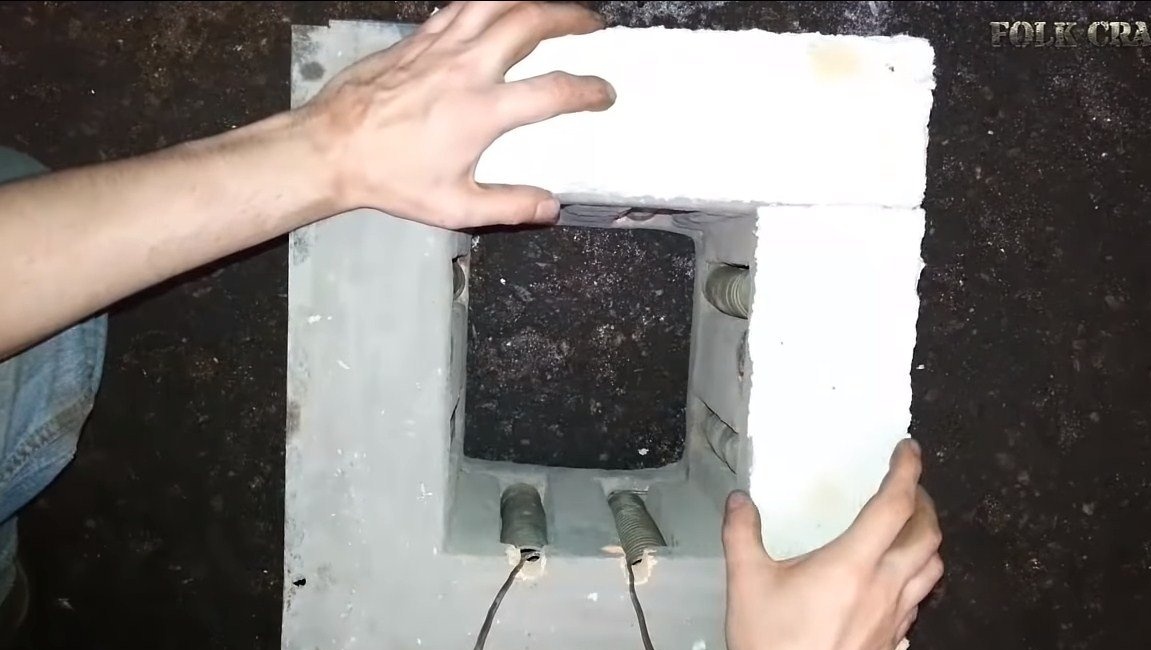
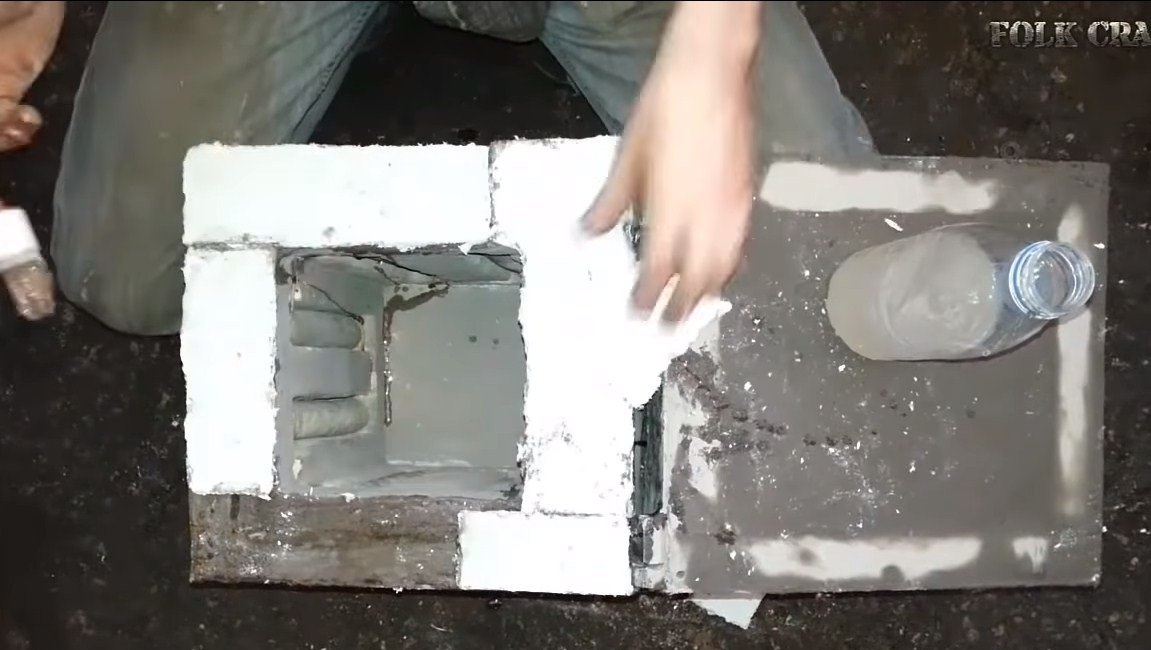
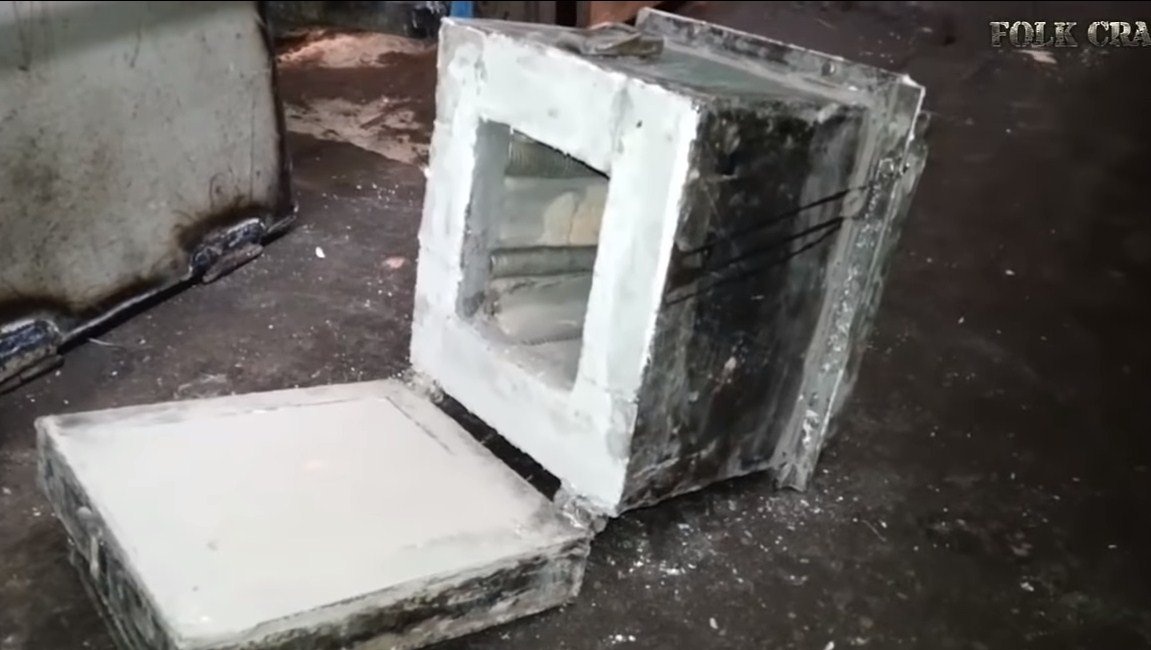
The main insulating material is foam diatomite brick, it is very easy to work with it, because it is very soft and easily cut with a hacksaw for metal. The author used a brick that was already in use.
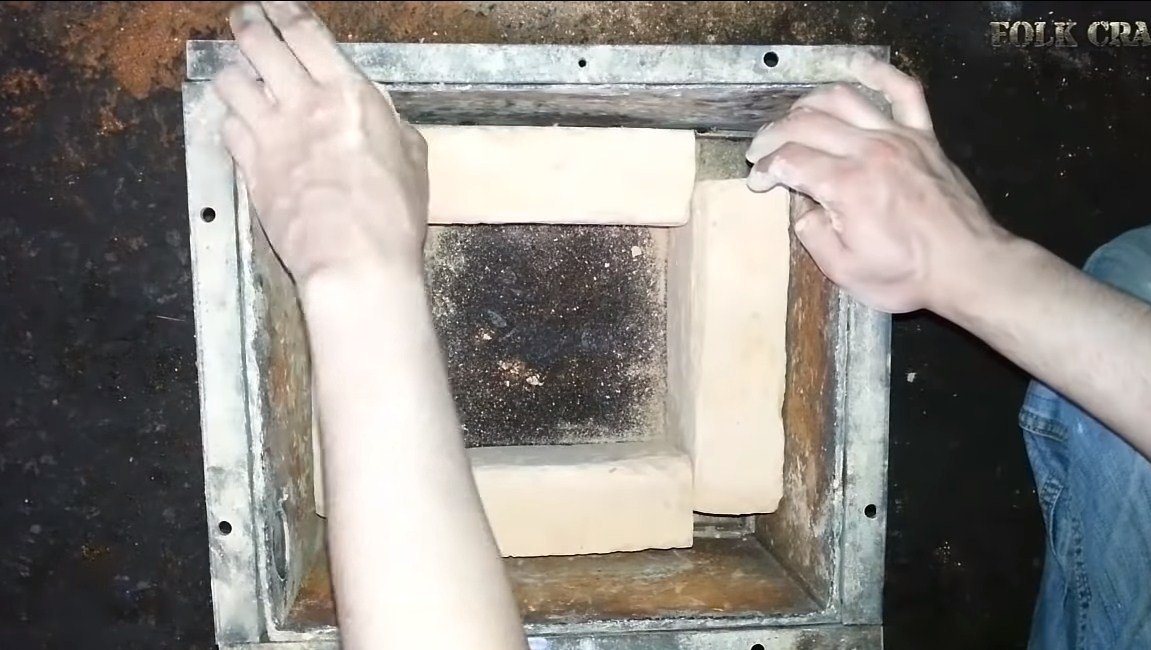
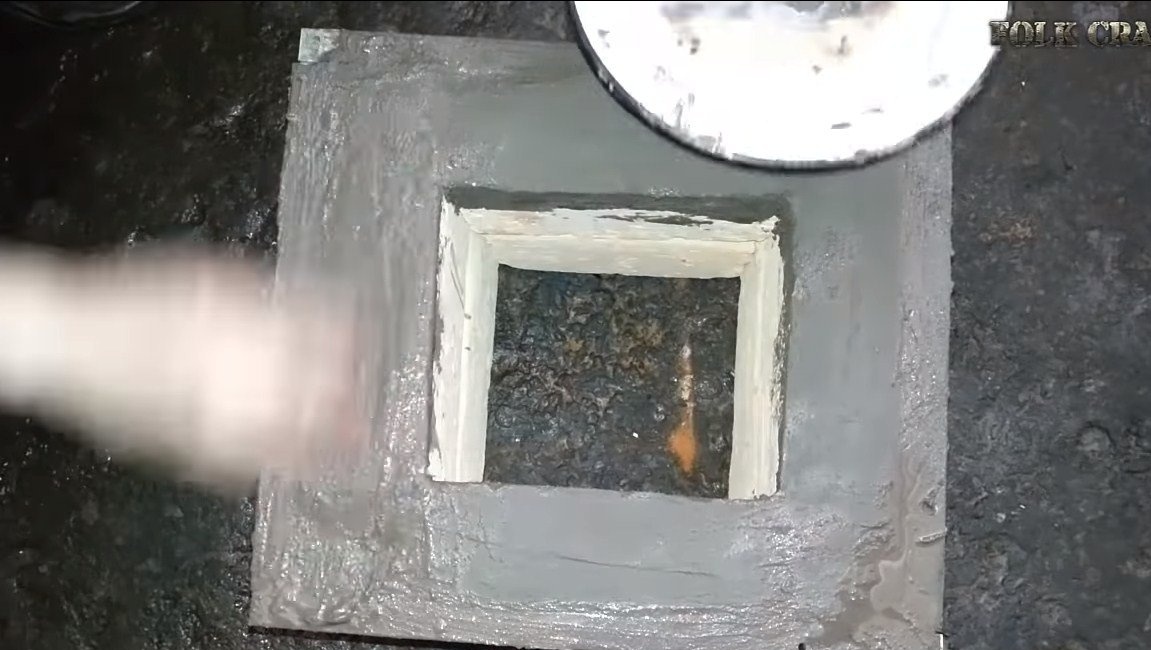
We cut the brick and put it in that part, which will be the back wall, and also isolate the door in the same way.
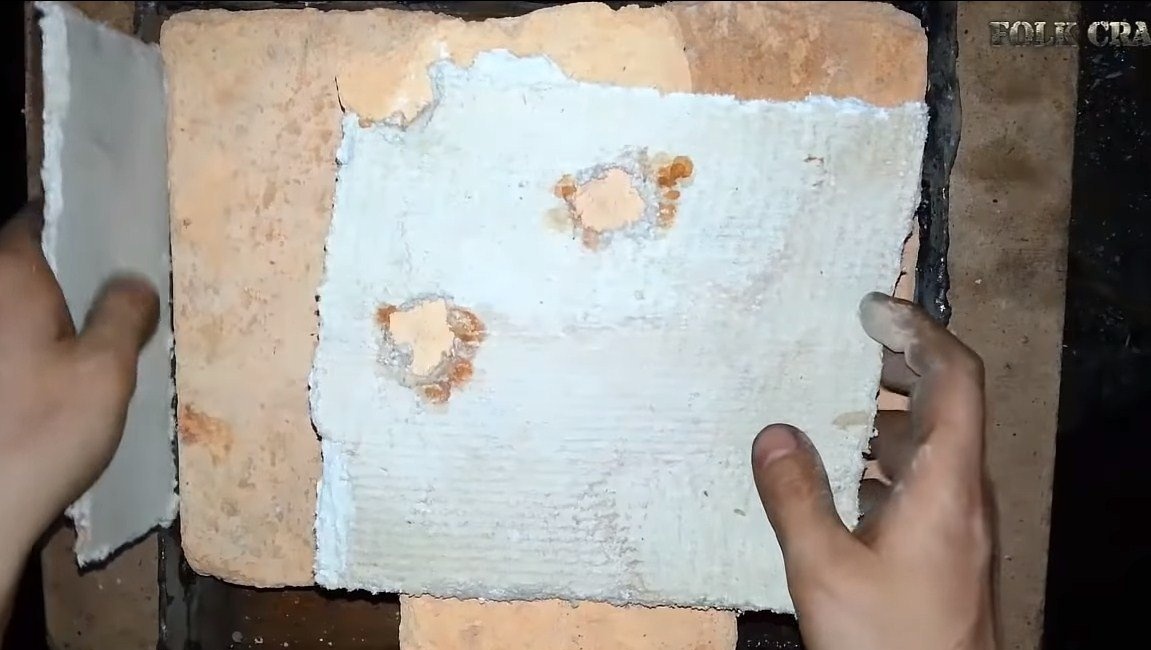
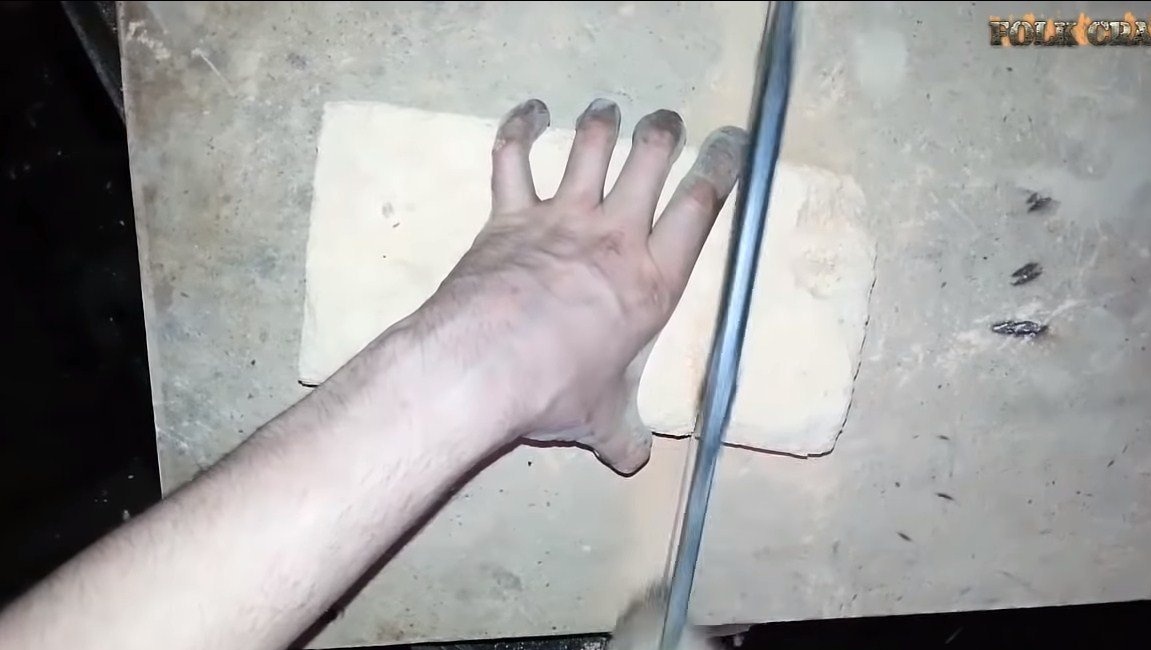
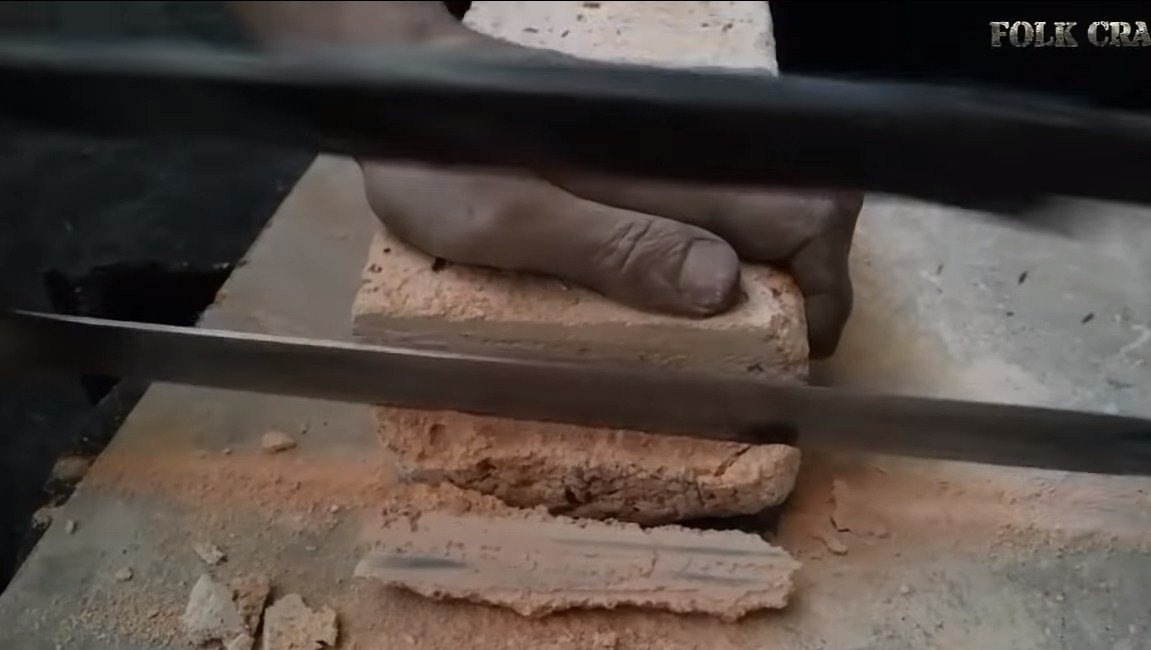
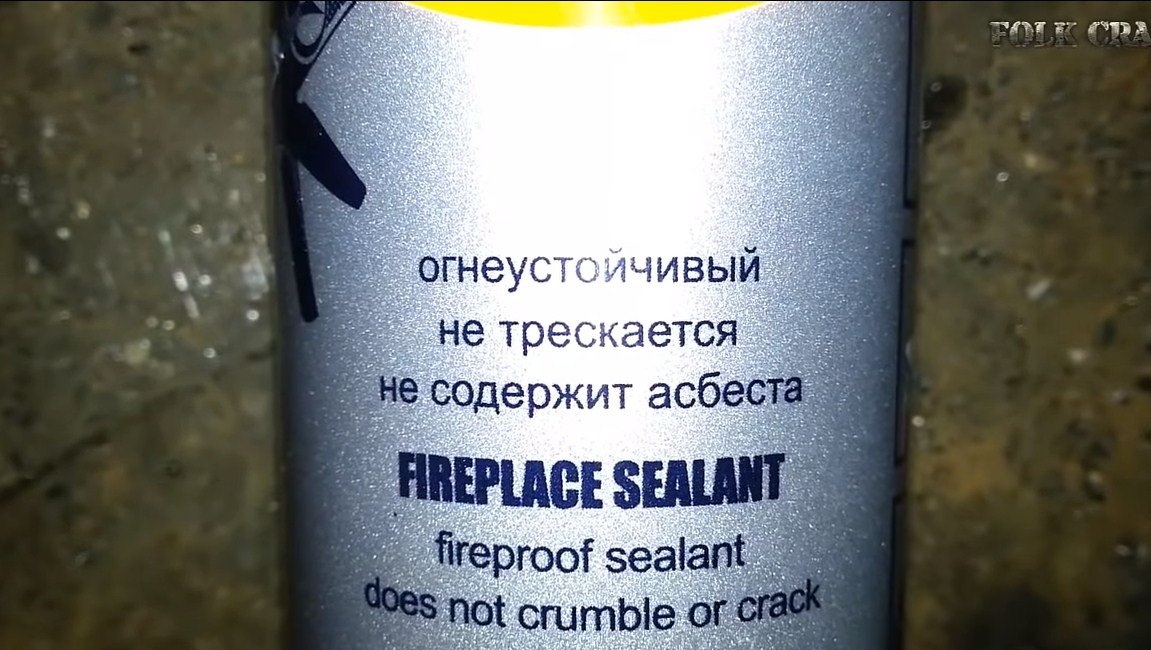
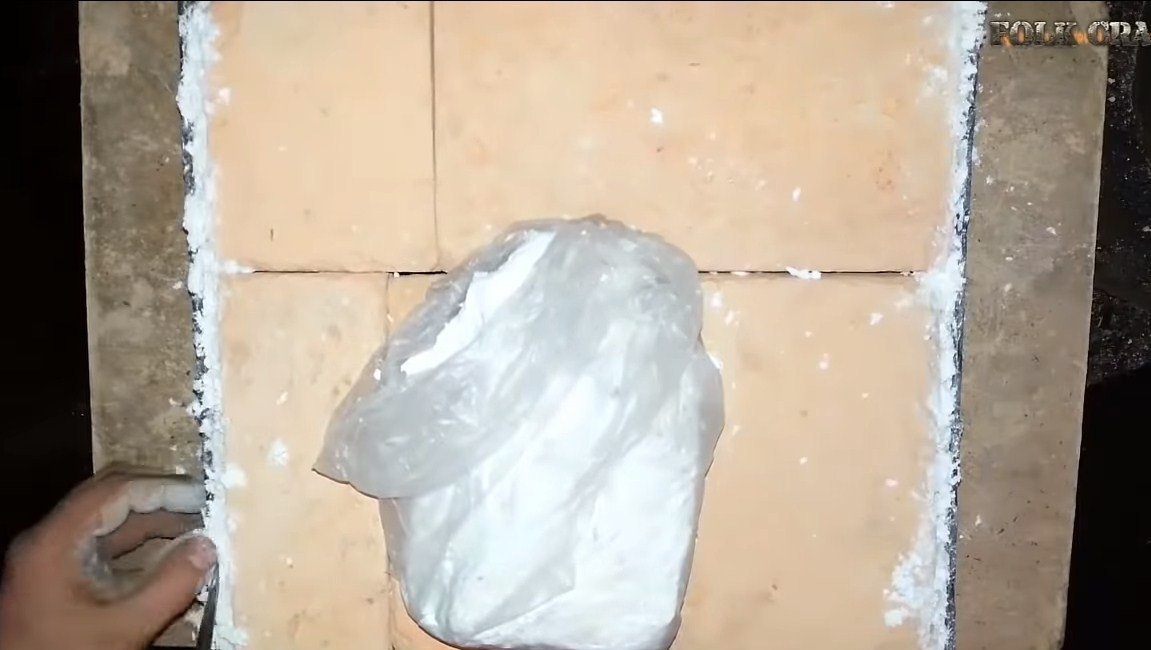
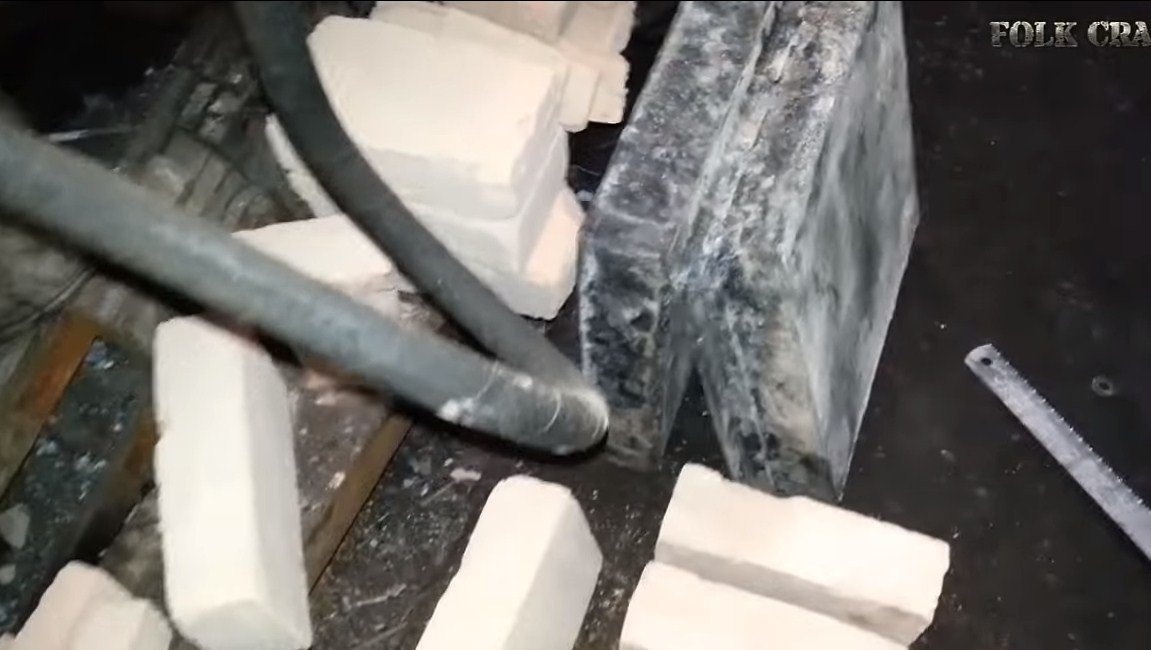
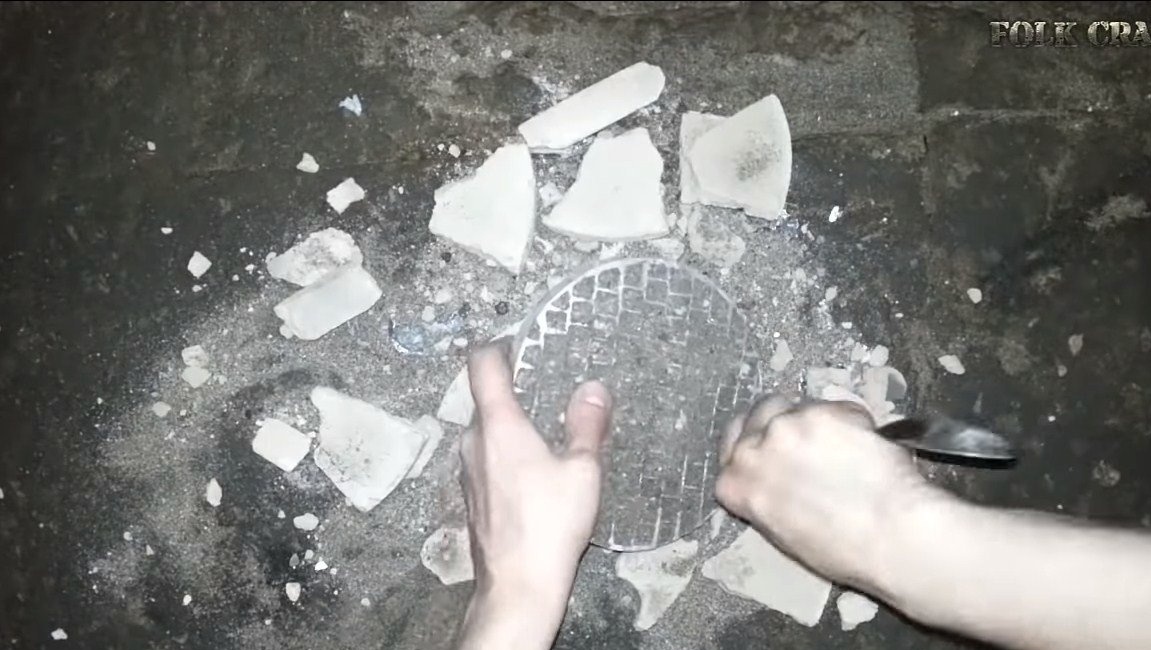
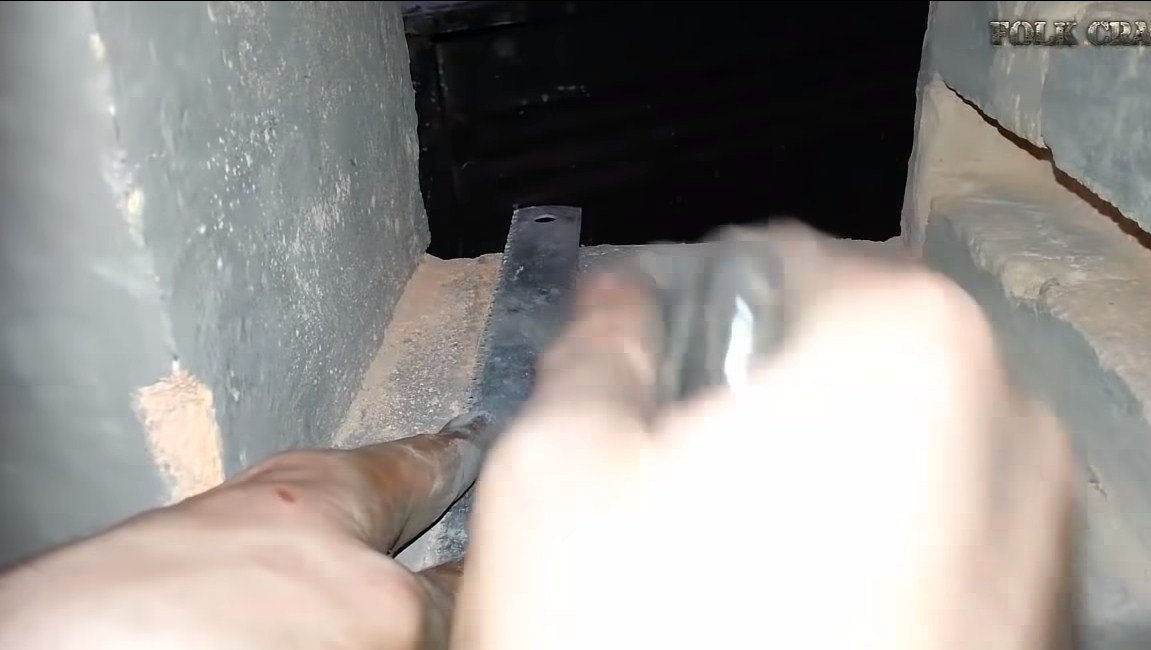
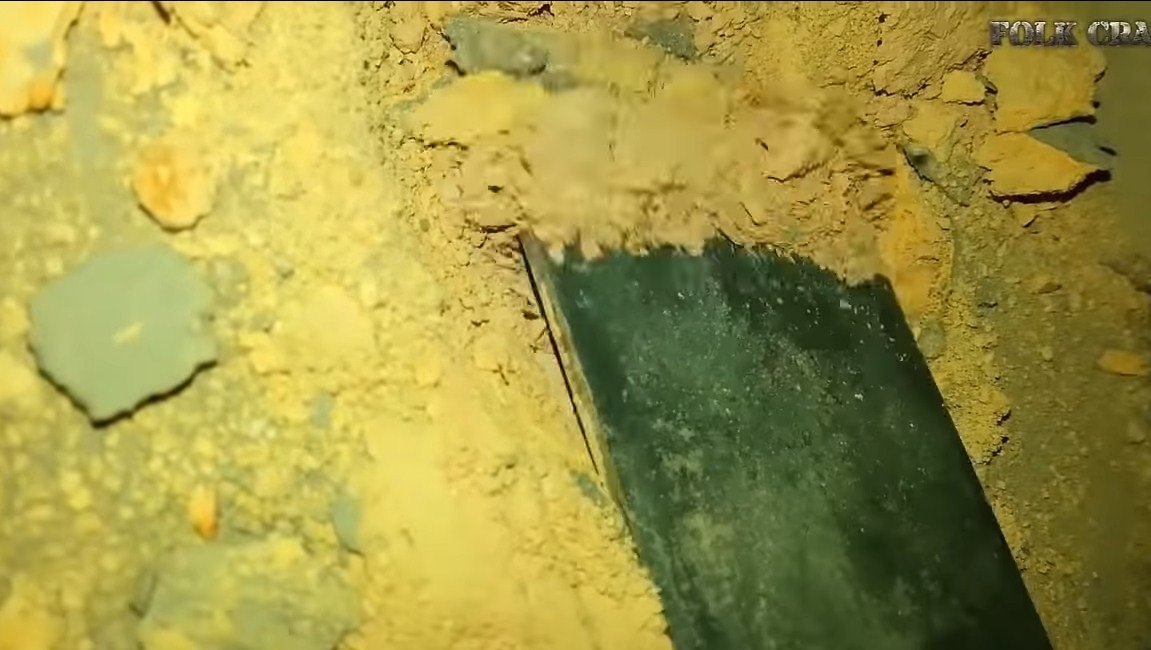
We isolate the joints with asbestos, and if you are afraid of its harmful effects, you can use special furnace sealants. The plane can conveniently be leveled with a saw blade.
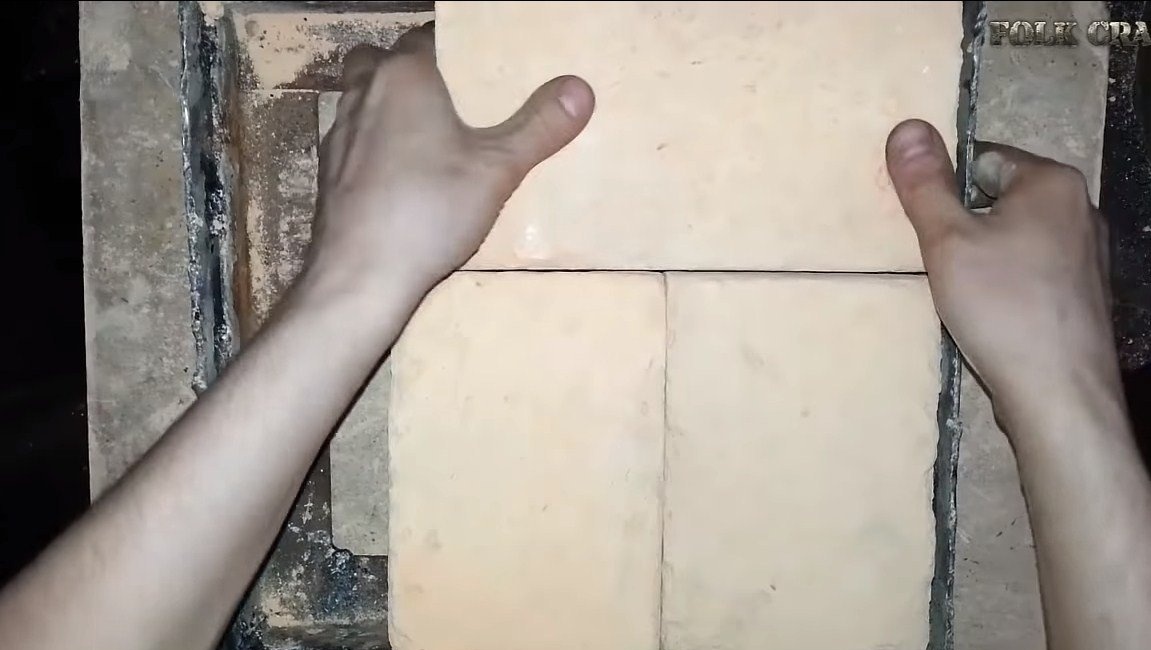
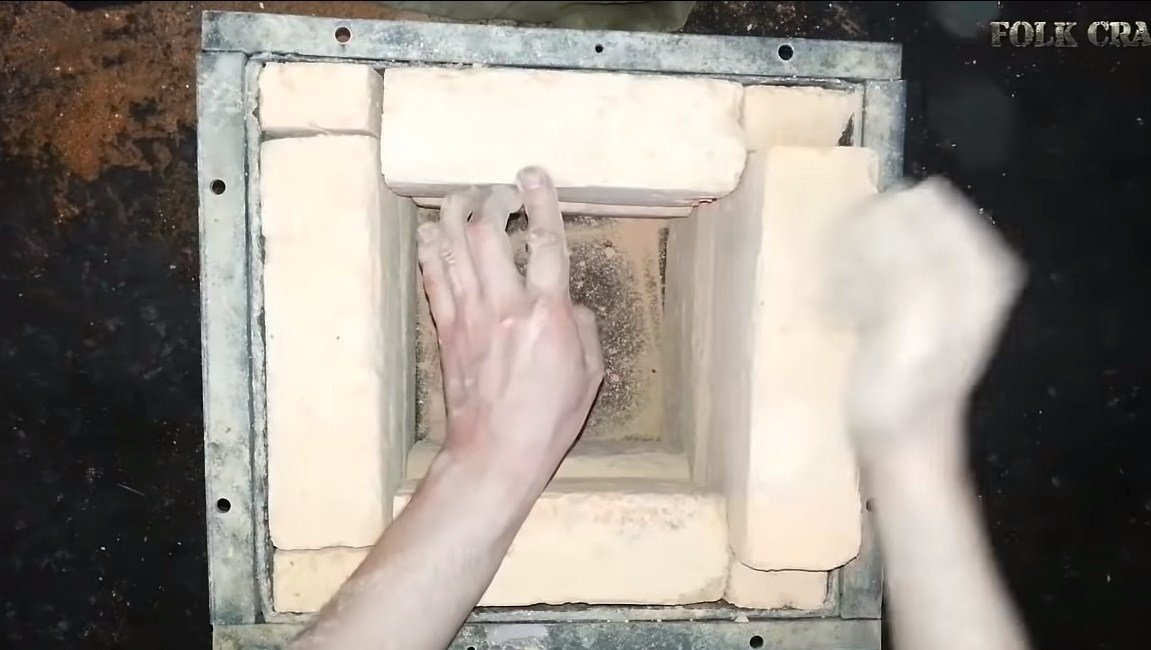
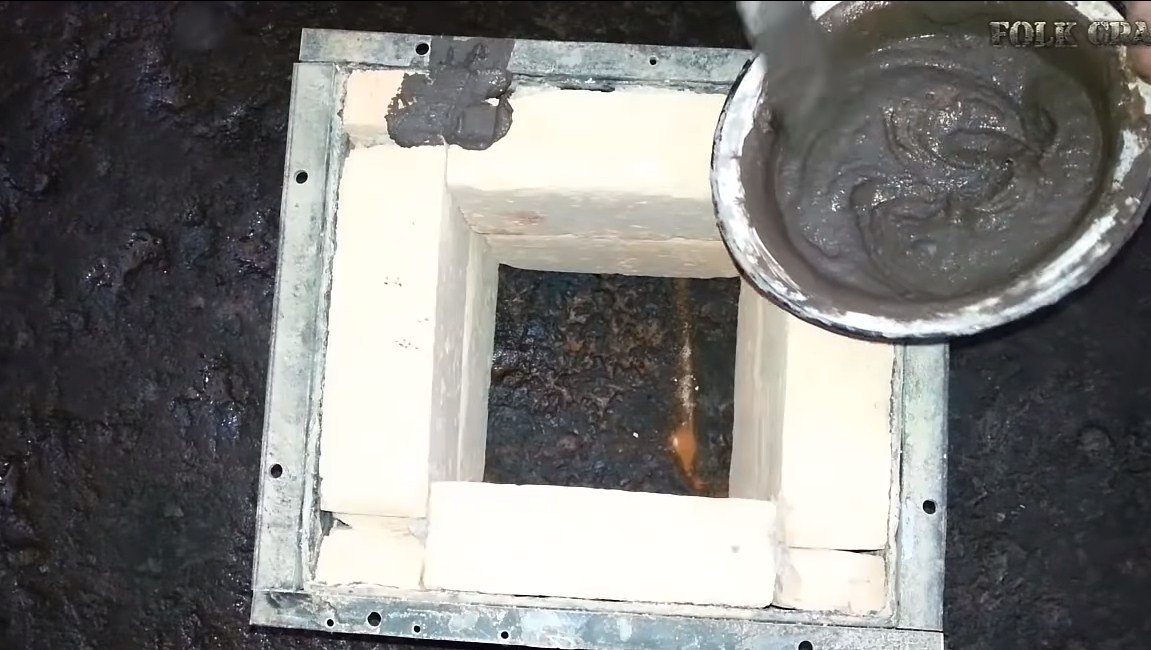
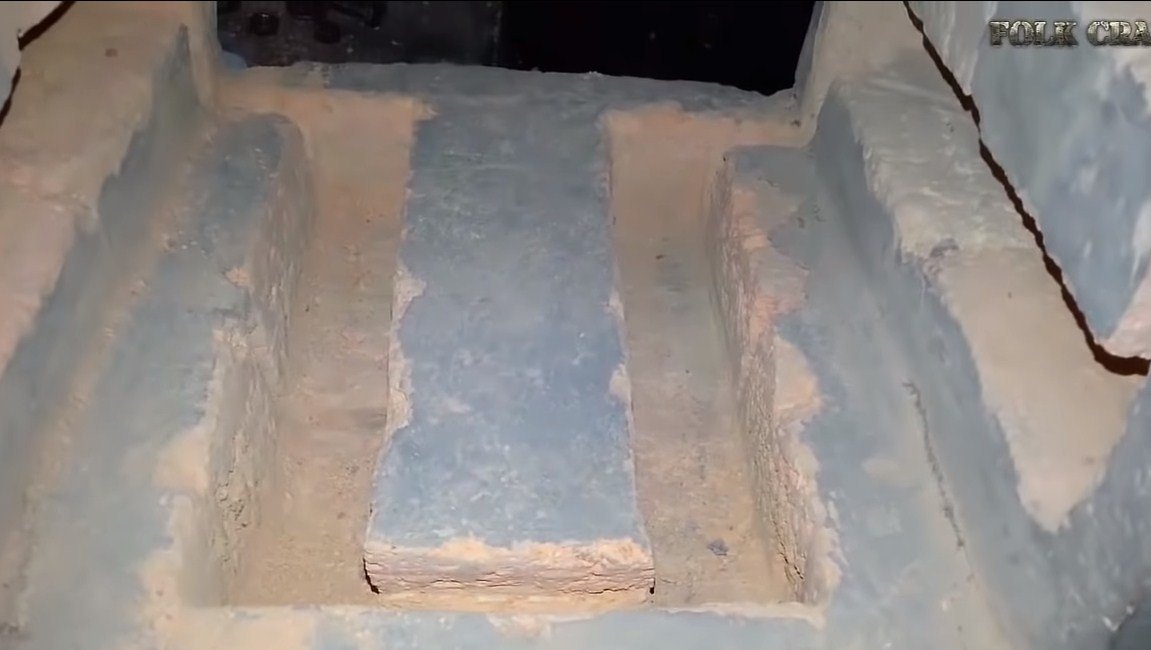
Similarly, we lay the brick in the inside of the furnace, and to keep the brick, it needs to be wedged. For these purposes, you can use pieces of asbestos boards.
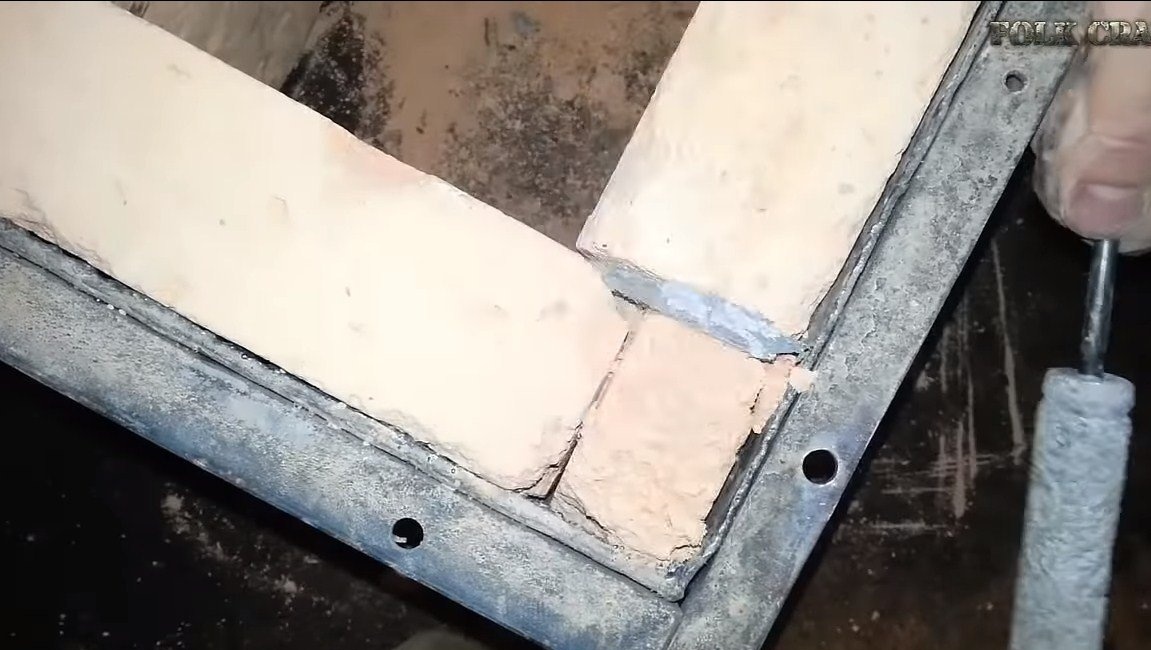
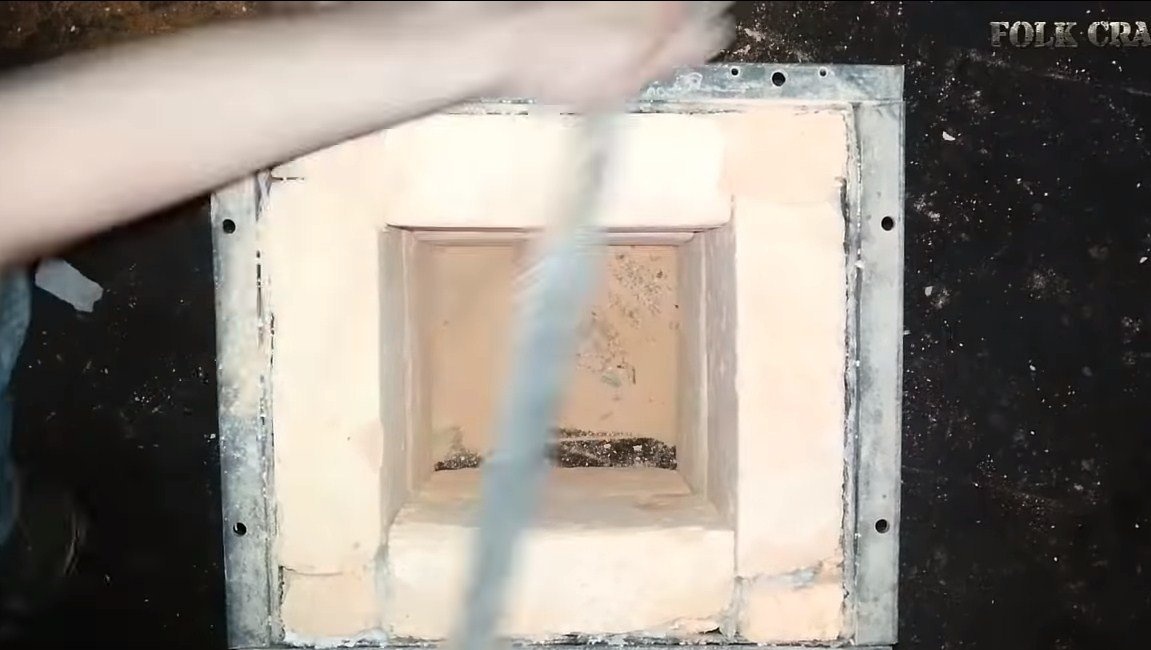
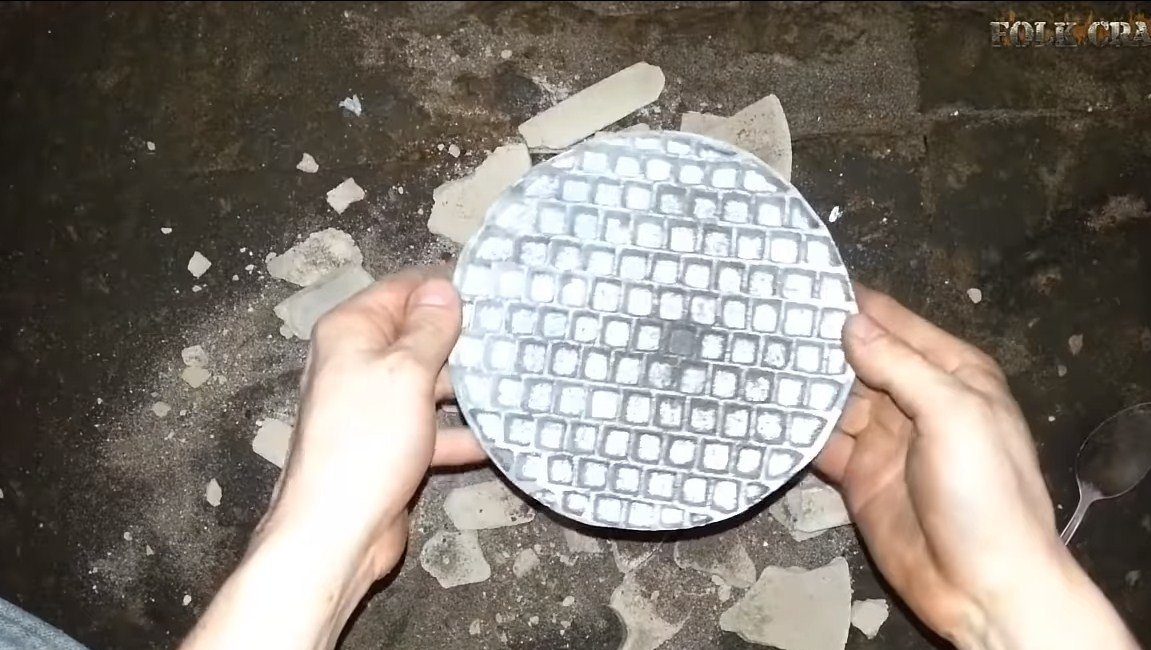
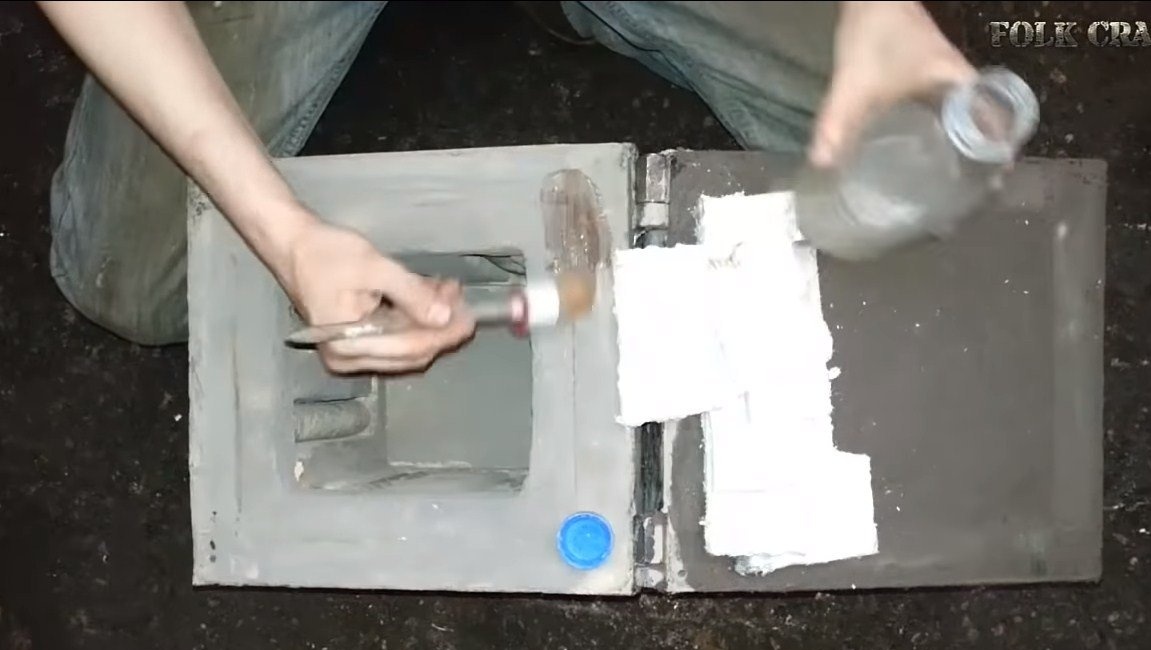
Step Three Plastering work
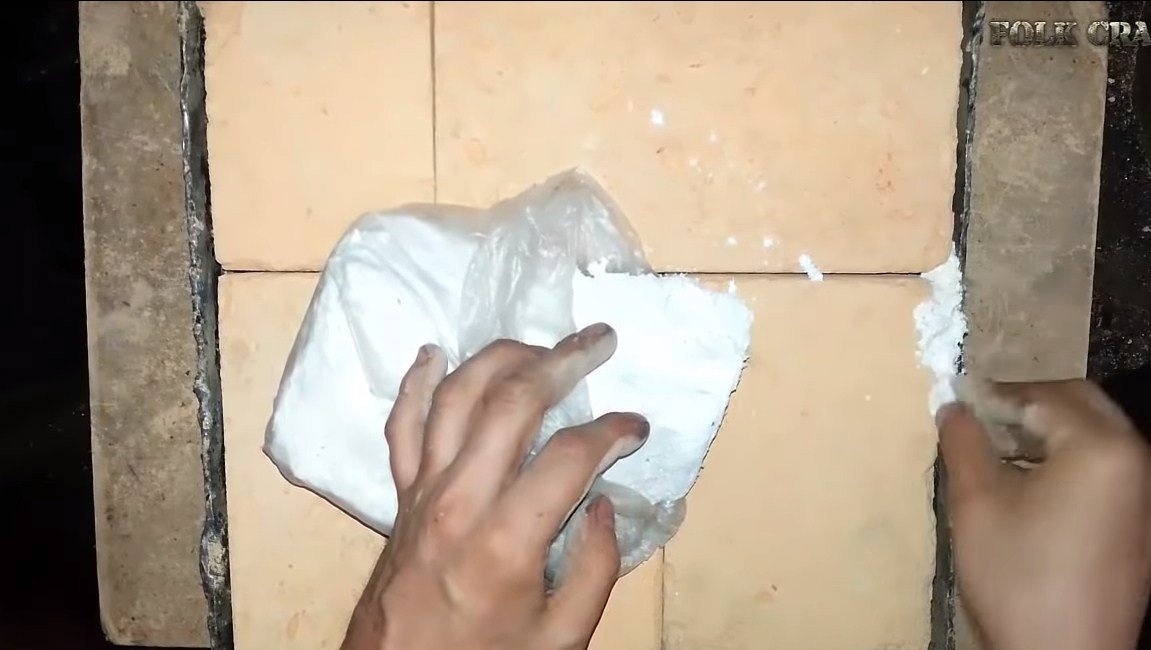
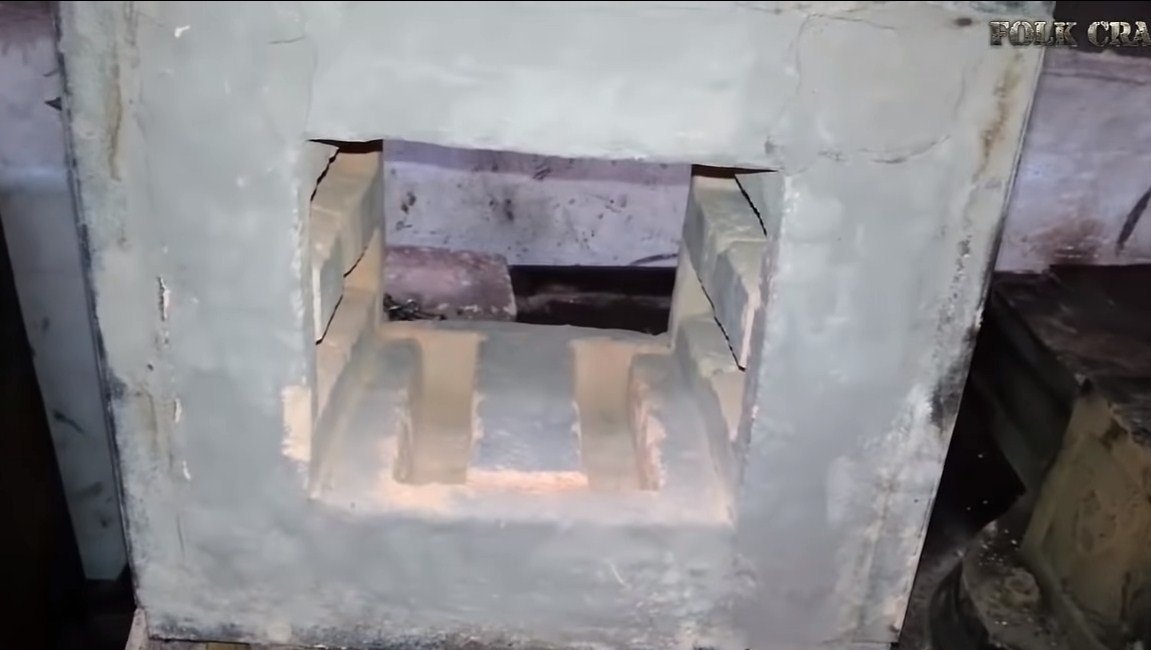
The doors and the back walls are plastered on brick, here we need fireclay clay, which the author interferes with in proportions of 2 to 4 with a crumb of foam-diatomite brick. The layer of plaster should be thin, if the thickness exceeds 3 mm, then this coating will crack and crumble.
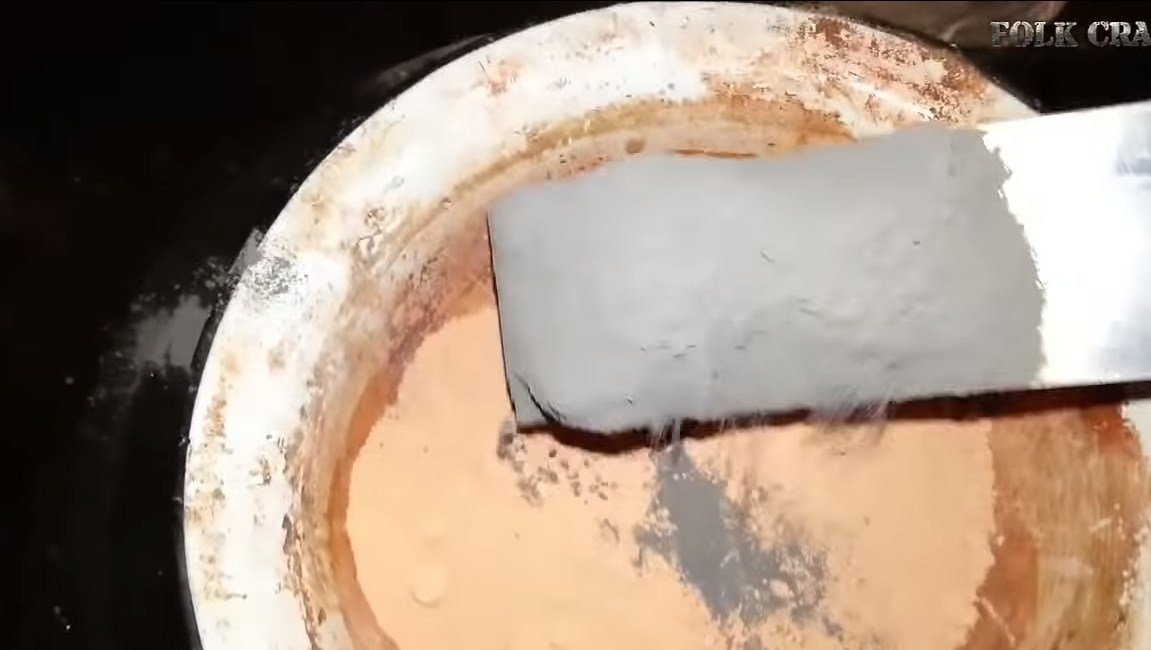
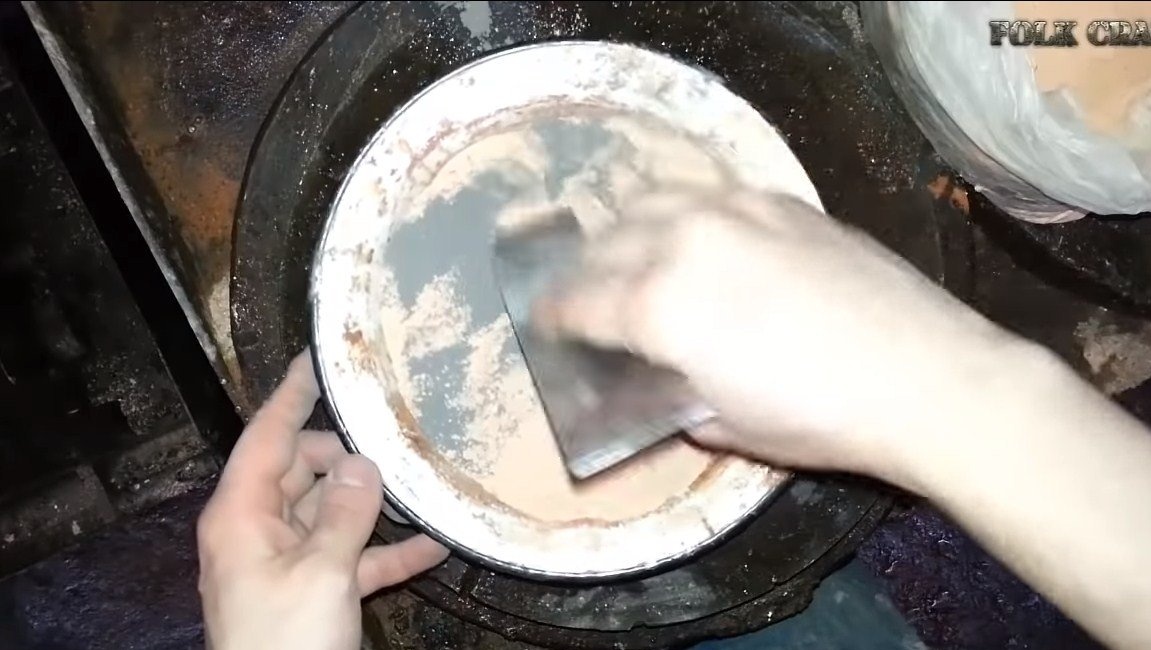
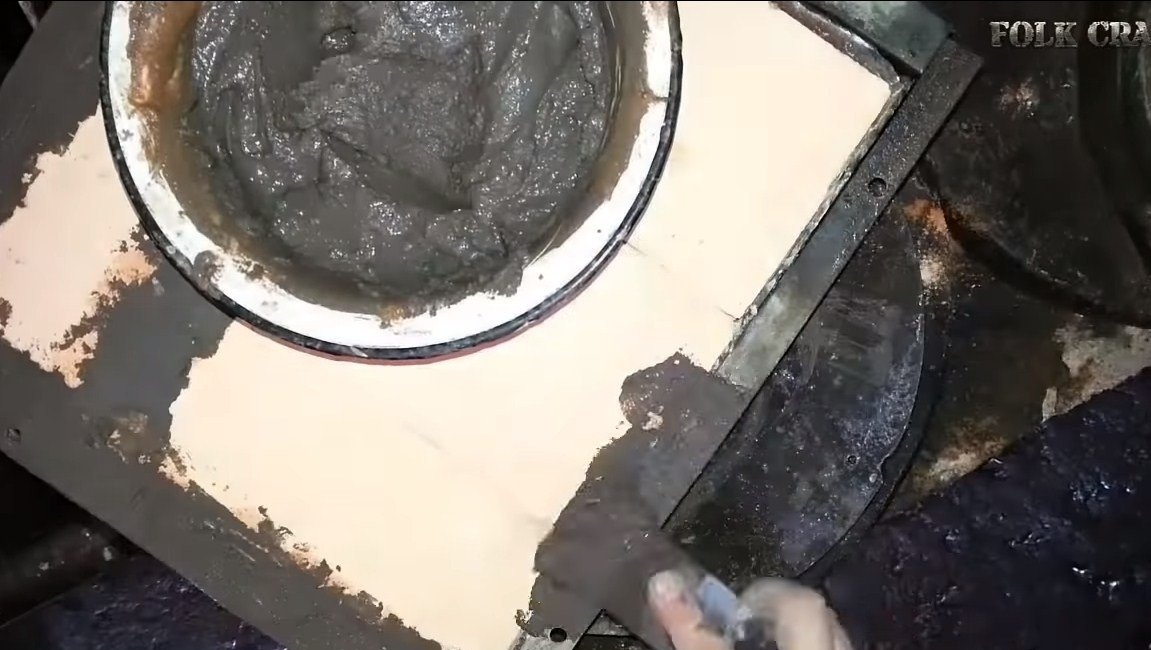
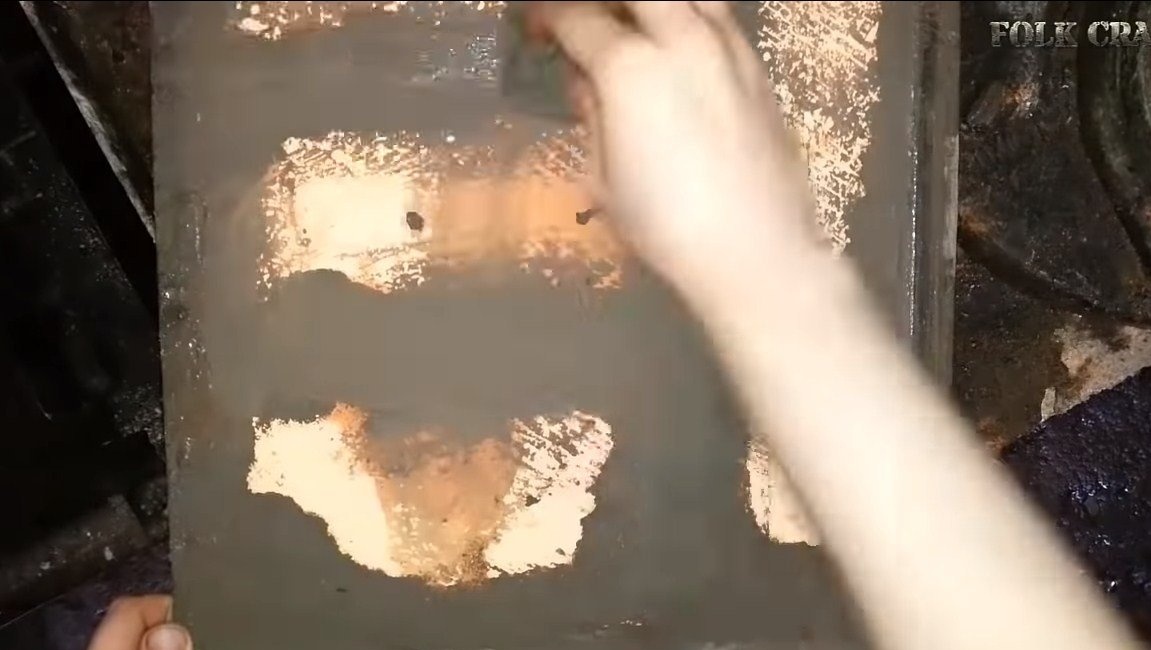
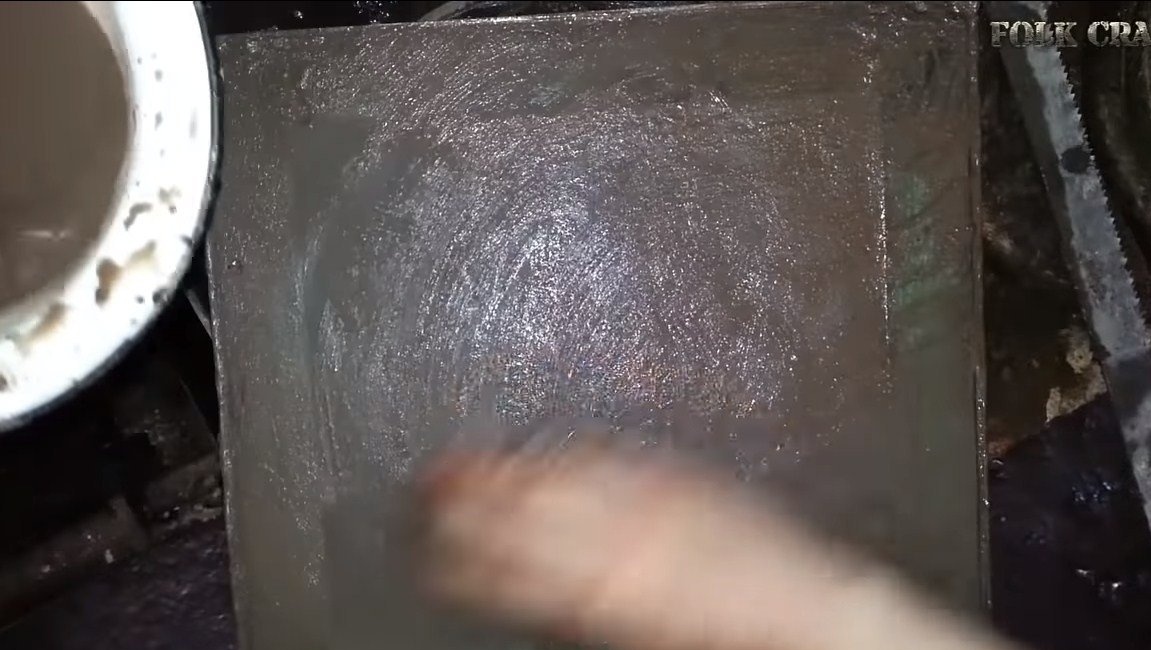
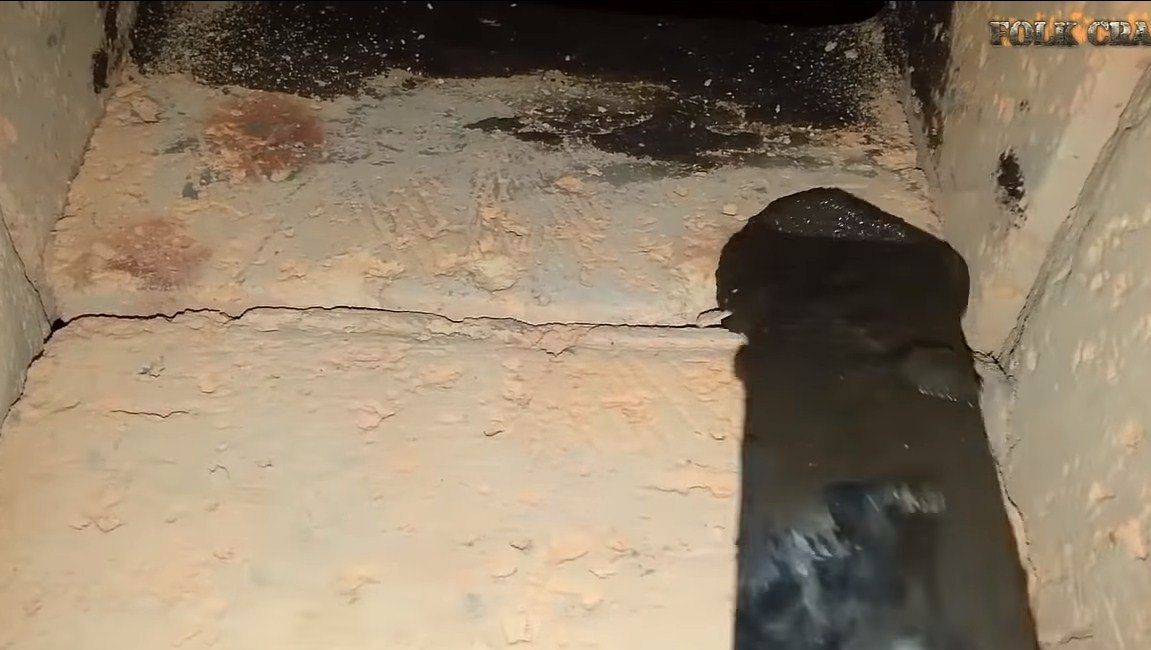
We coat the joints inside the oven itself. Here the author used clay without anything, since there will be very large temperature loads. To smooth the coating, wipe it with a cloth moistened with water.
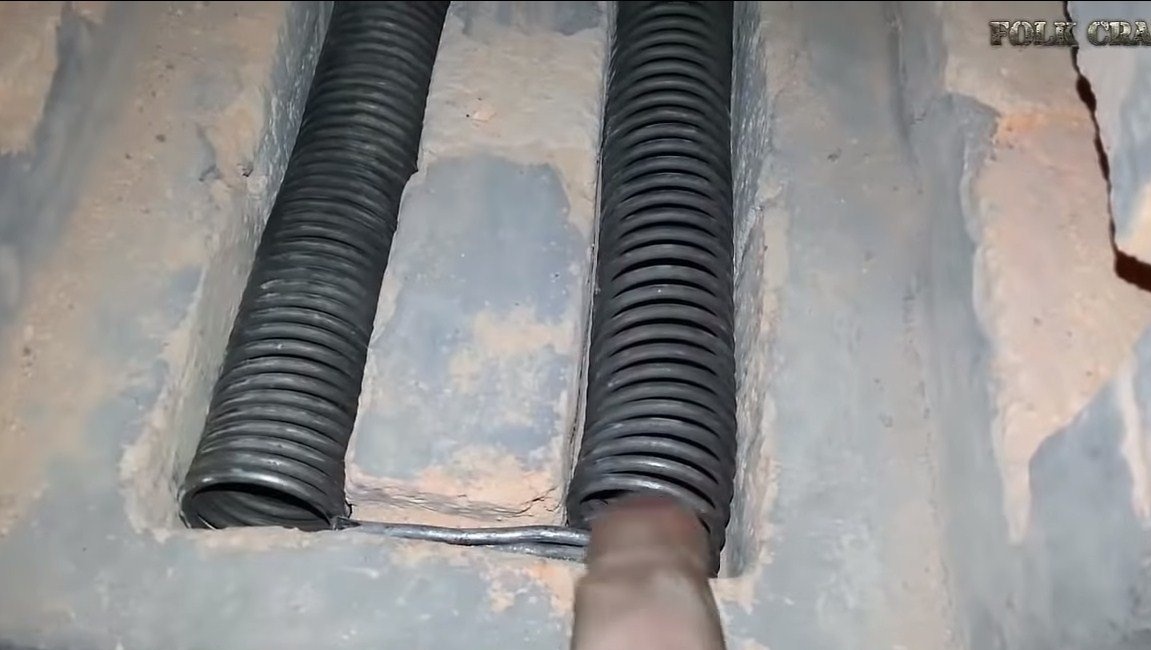
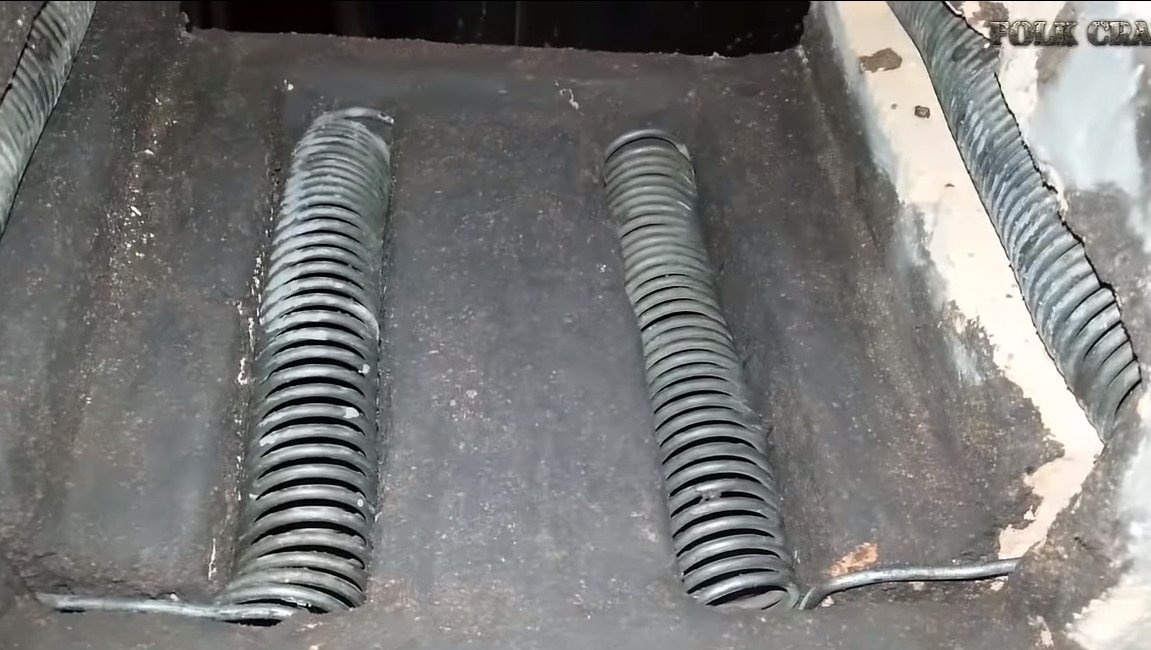
Step Four Installation of heating elements
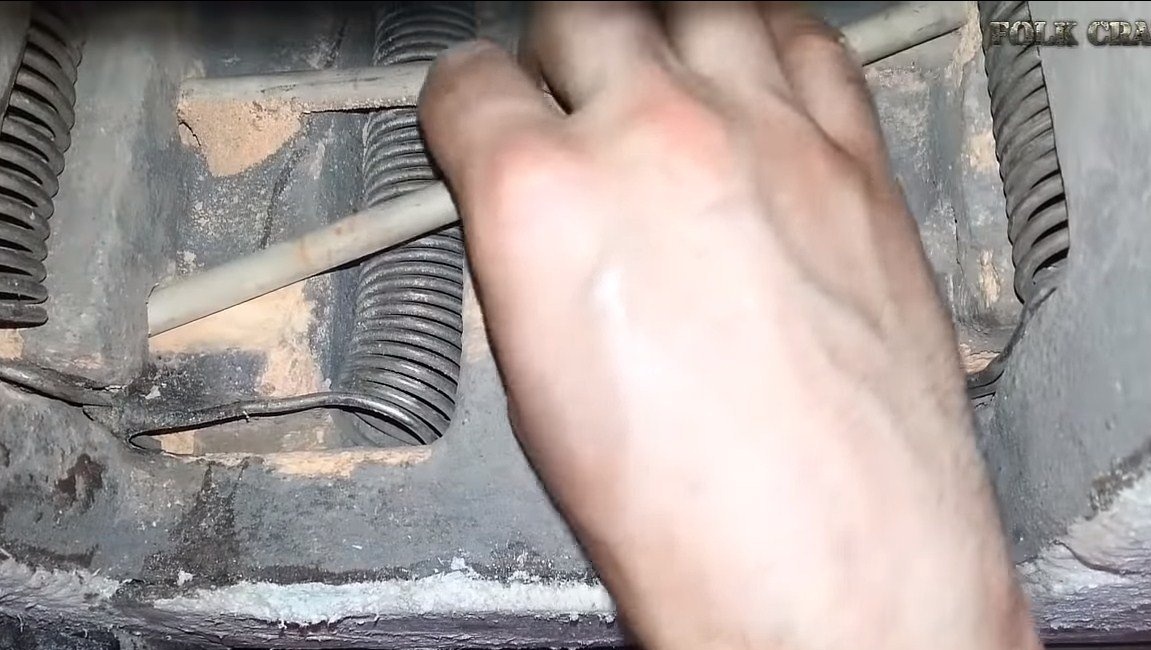
Under the heating elements you need to make recesses. This material is quite soft, so everything can be done with the help of different "picks". All spirals are then welded together using a welding machine with an electrode for stainless steel.

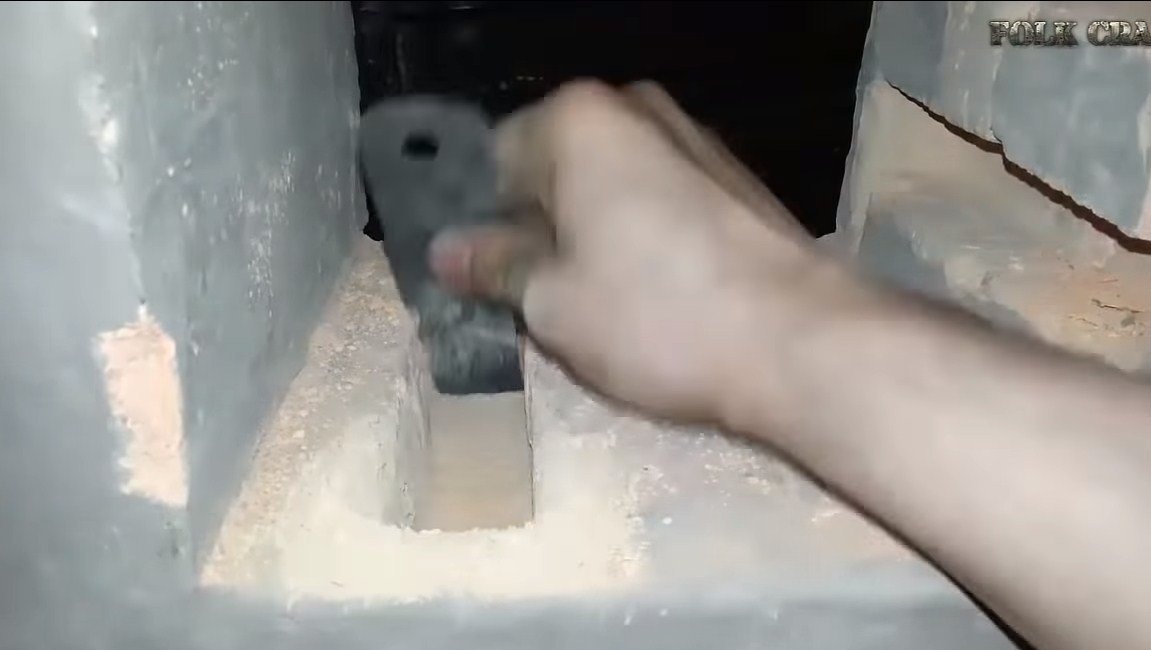
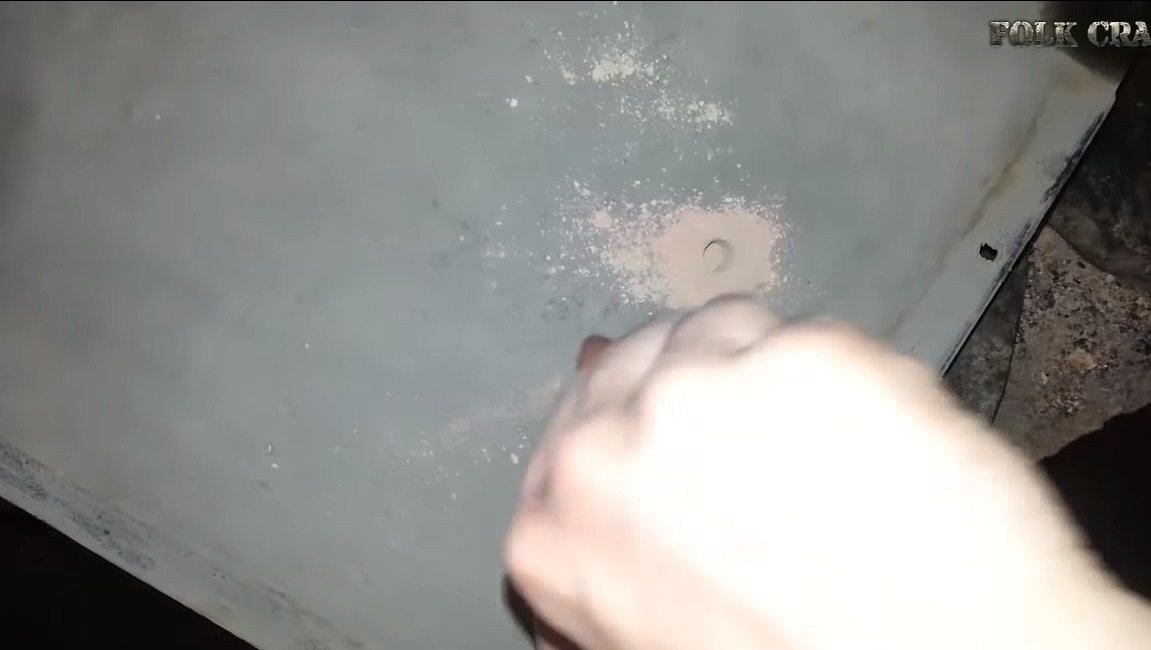
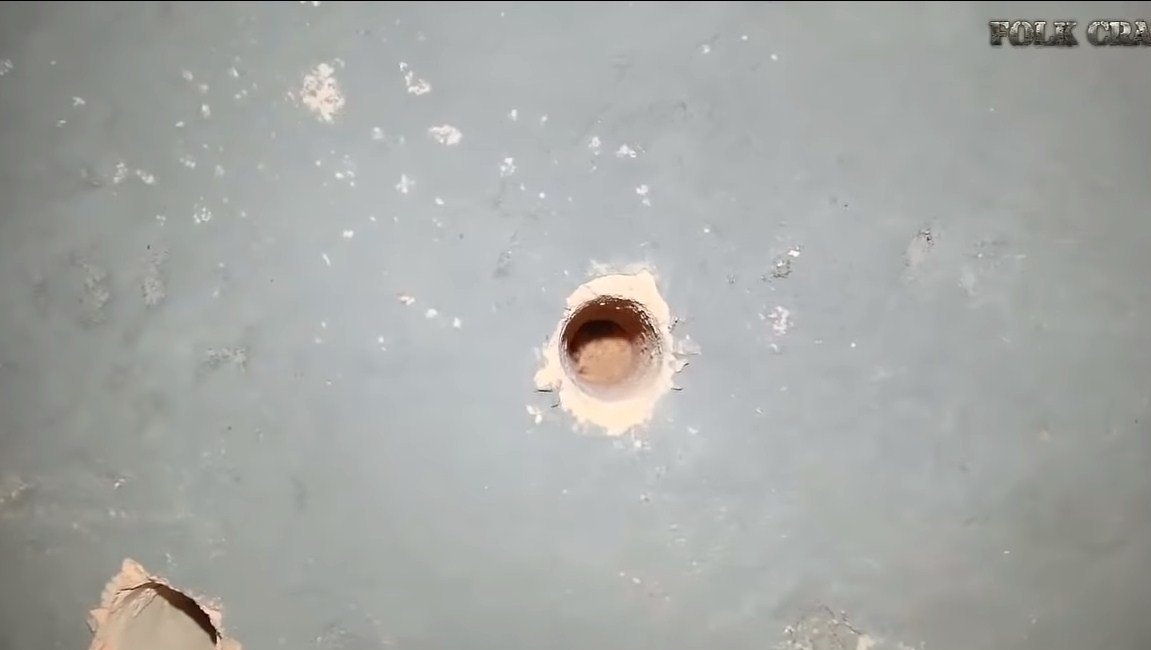
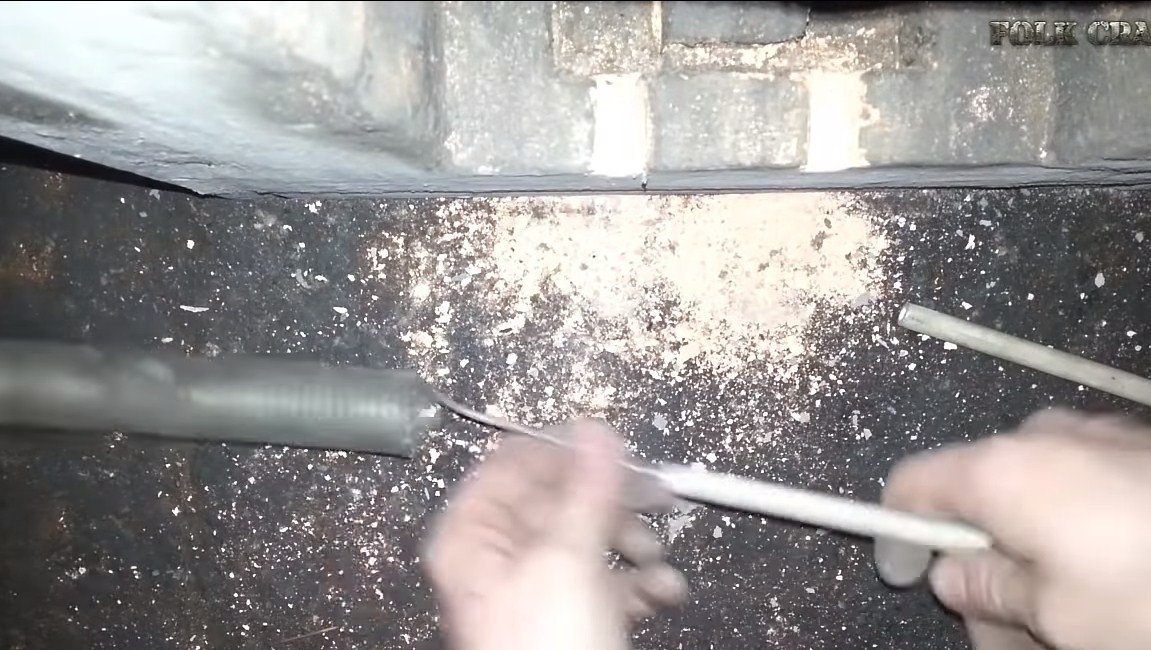
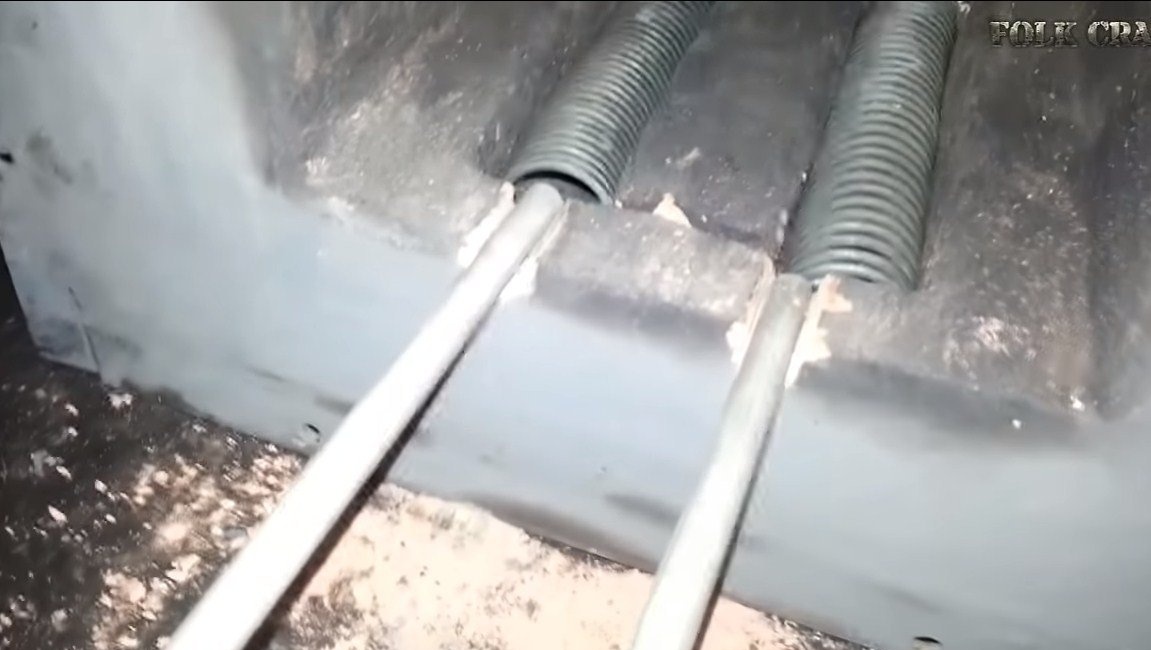
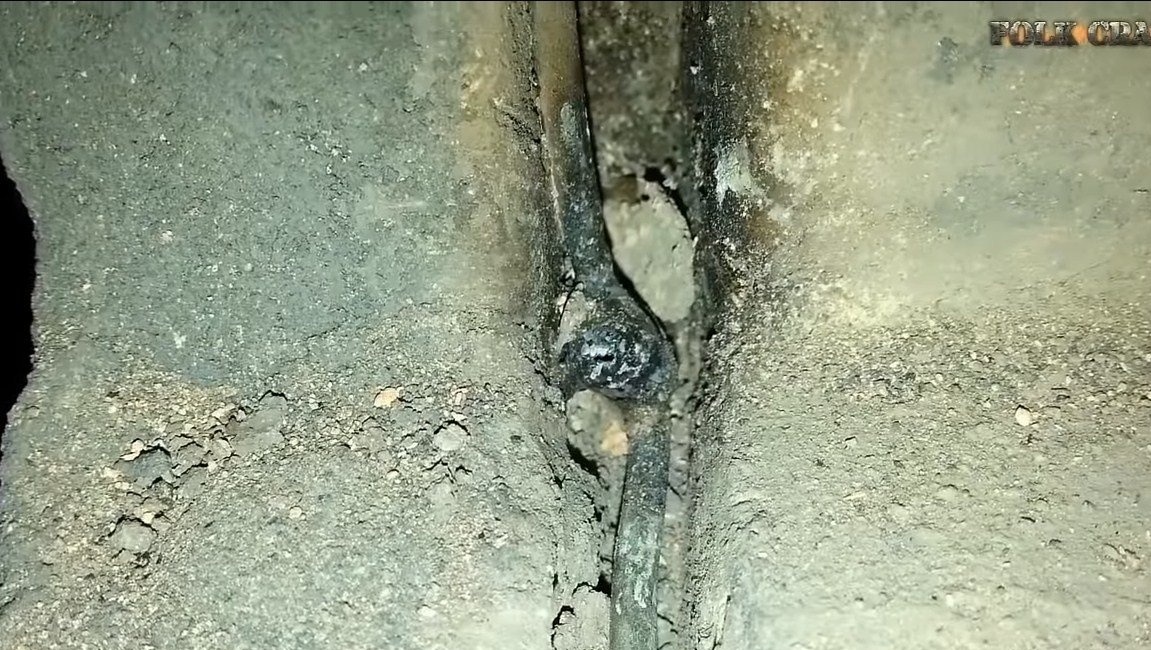
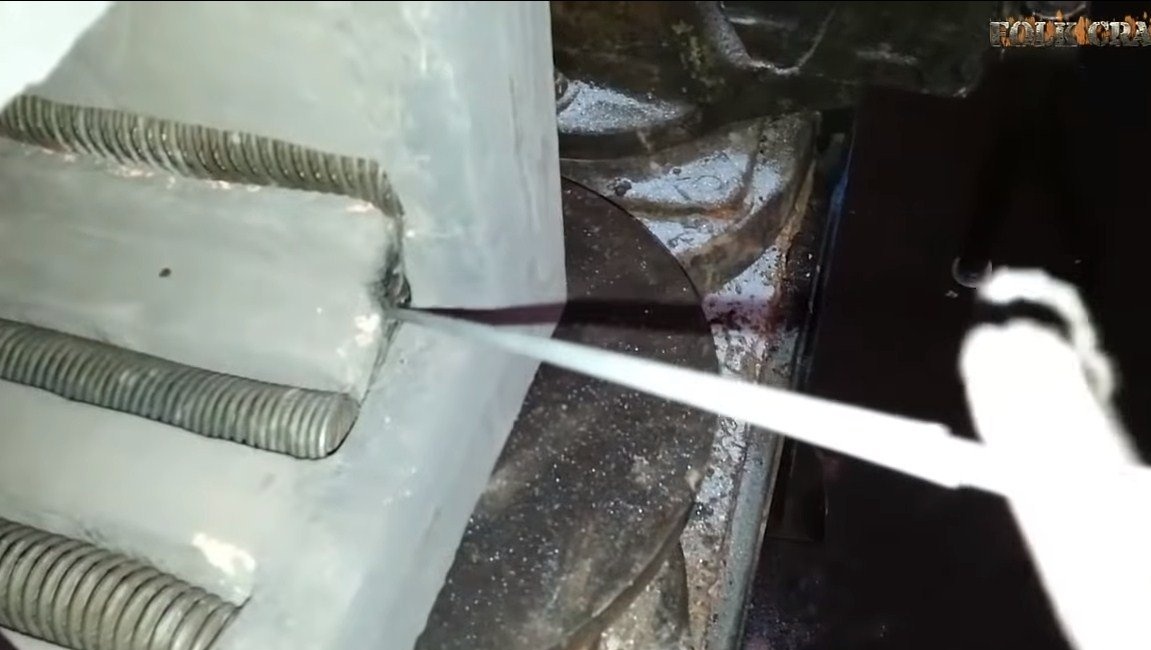
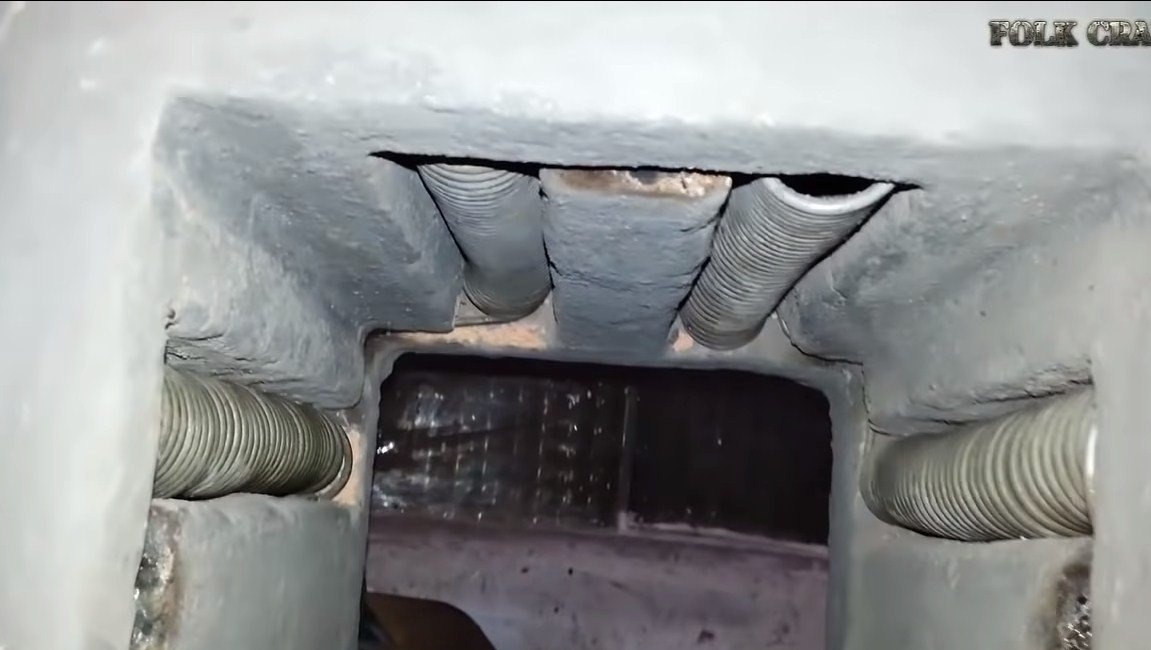
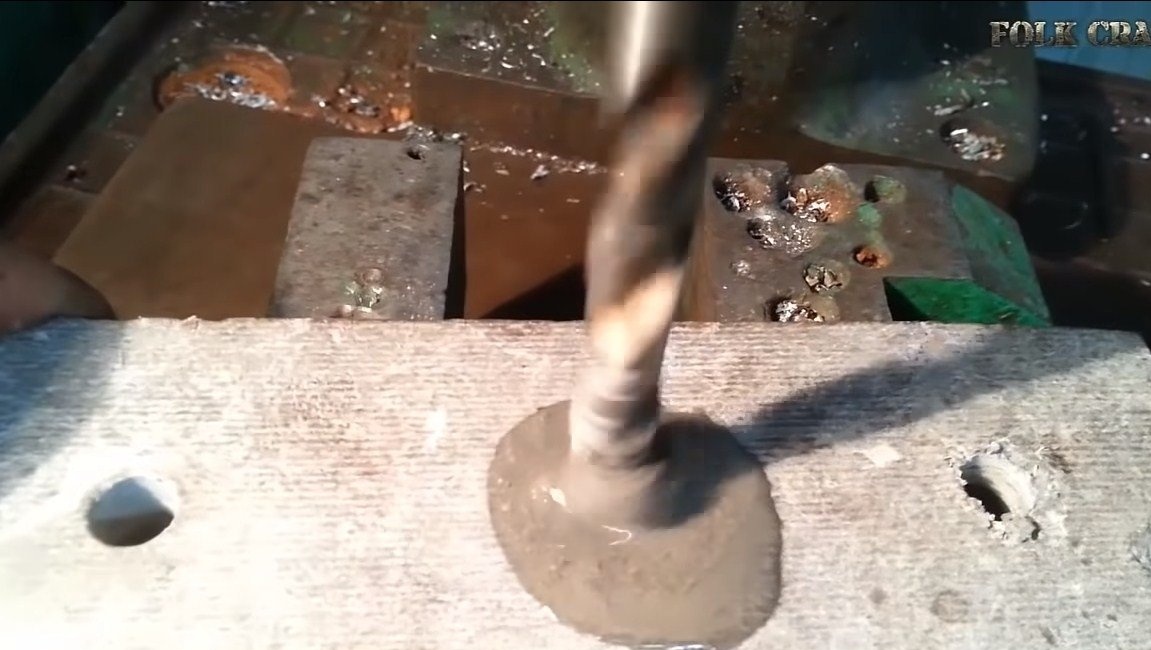

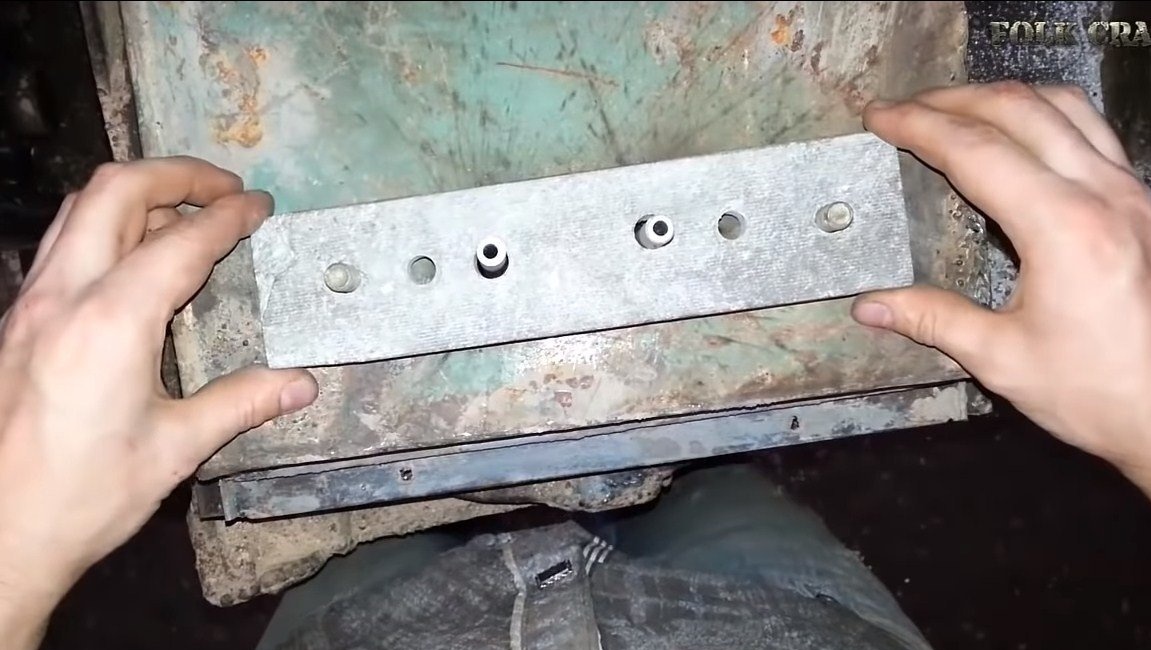
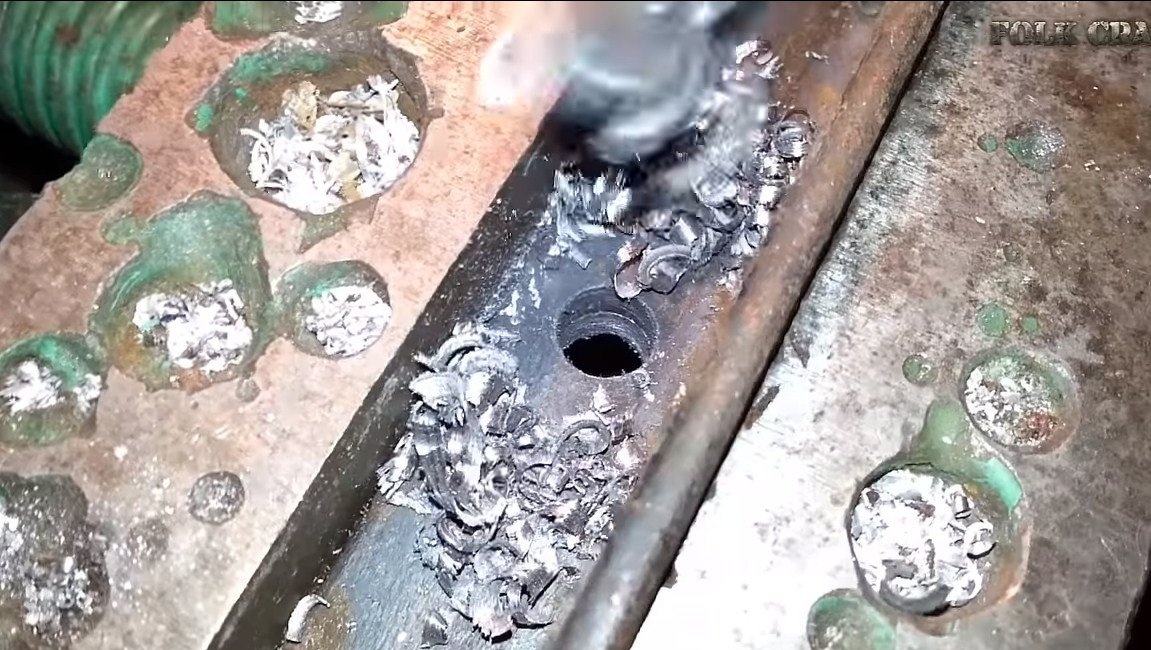
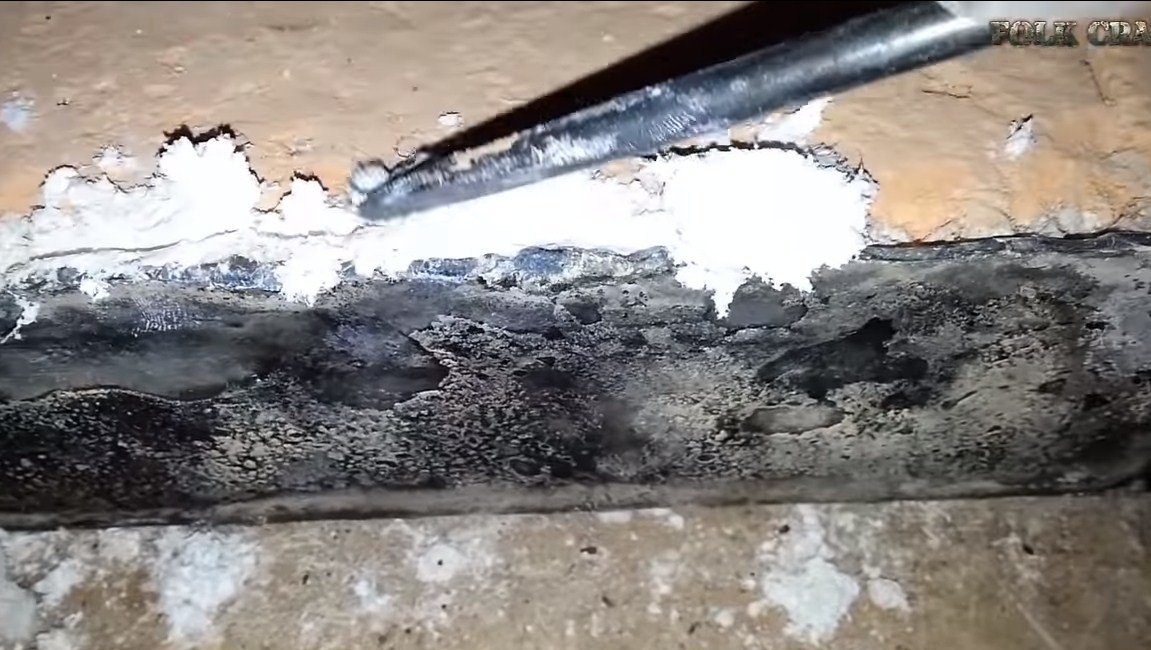
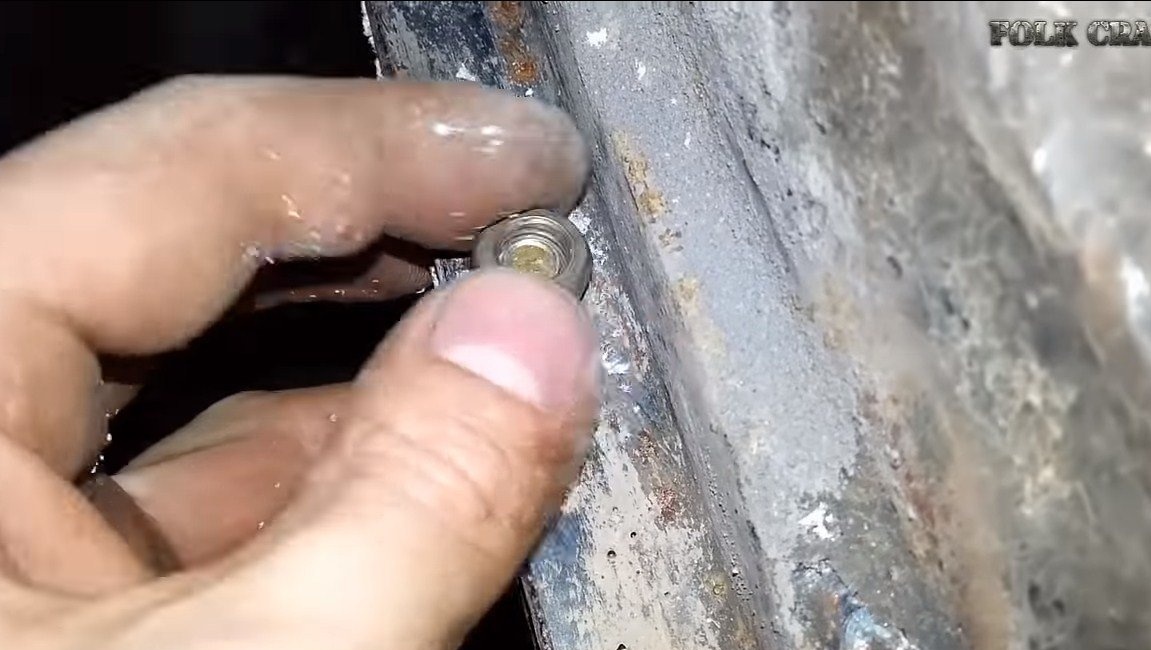
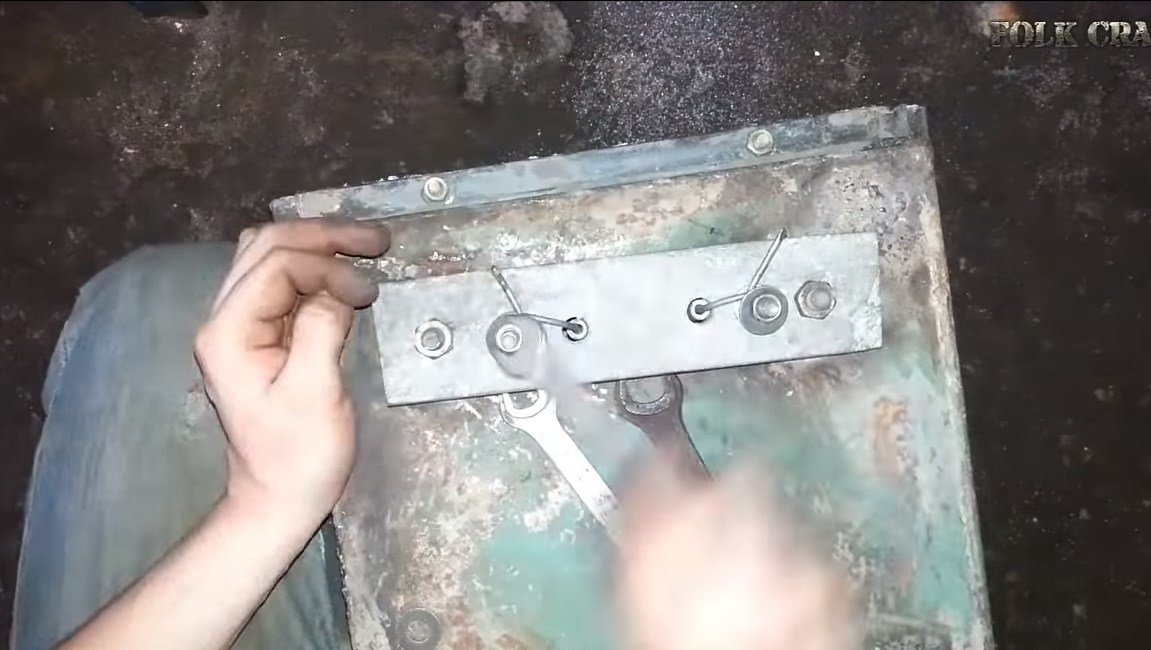
In the back wall we drill and burn holes for the contacts, on the wires you will need to put on ceramic tubes as insulators.
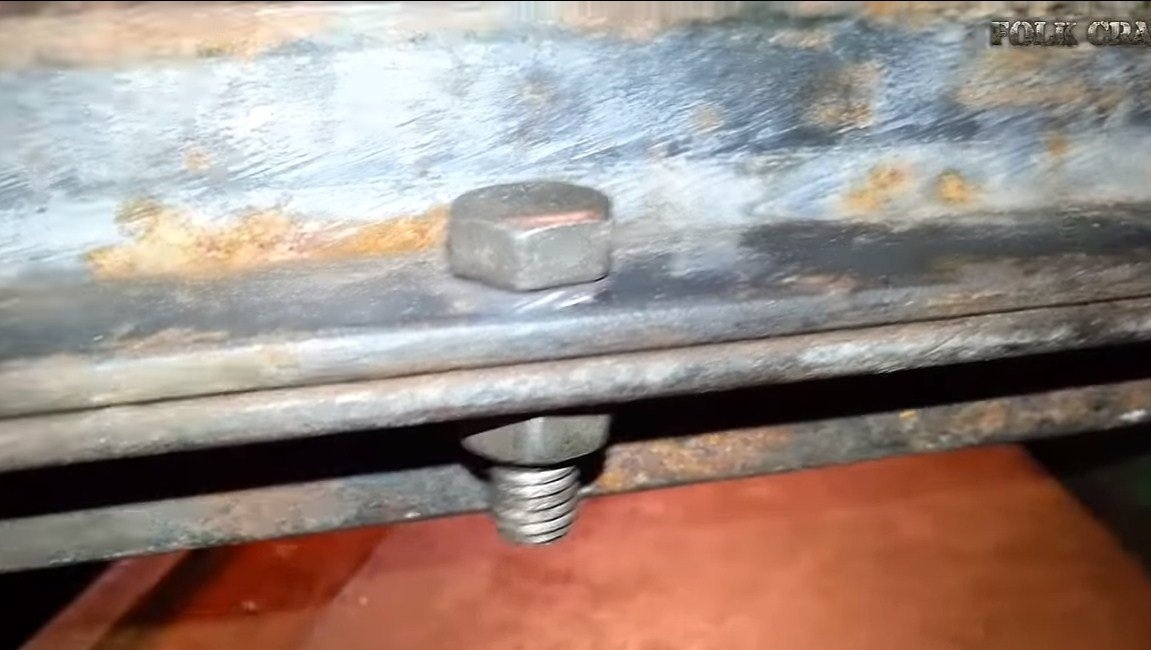
The block with contacts is made of a piece of asbestos plate, it is attached to the body with bolts and nuts, the bolts are welded to the body.
So that the back wall is tightly pressed against the furnace body, we lay asbestos sheets or other insulating material, and then we carefully pull the cover to the body with bolts and nuts.
Step Five The finishing touches of the furnace assembly
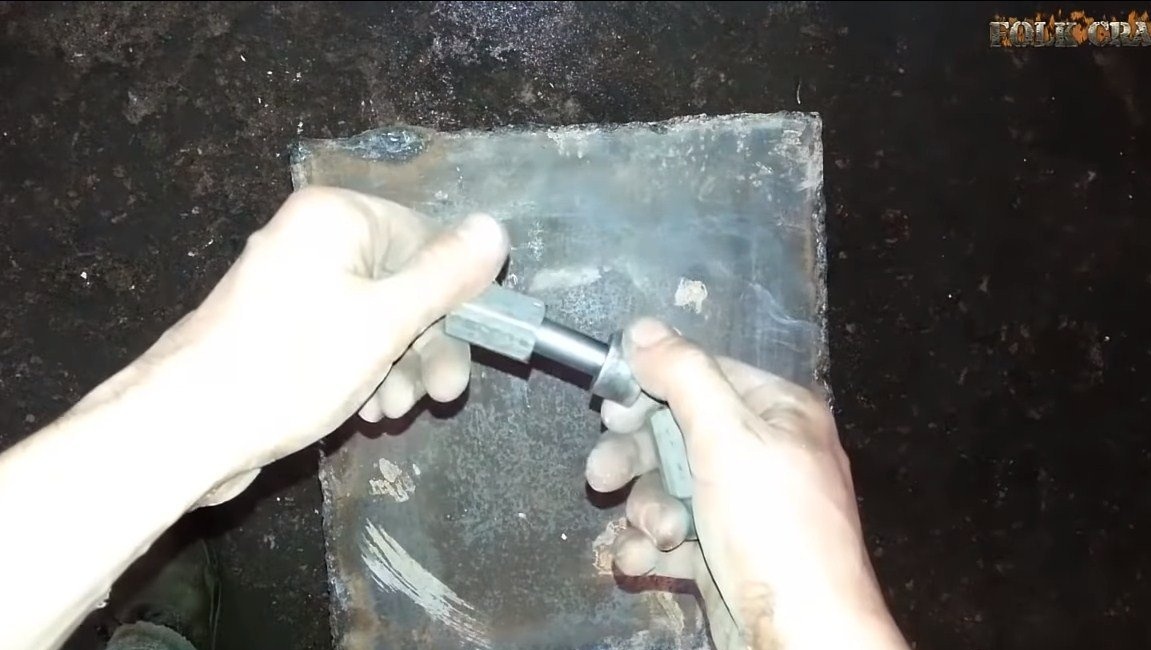
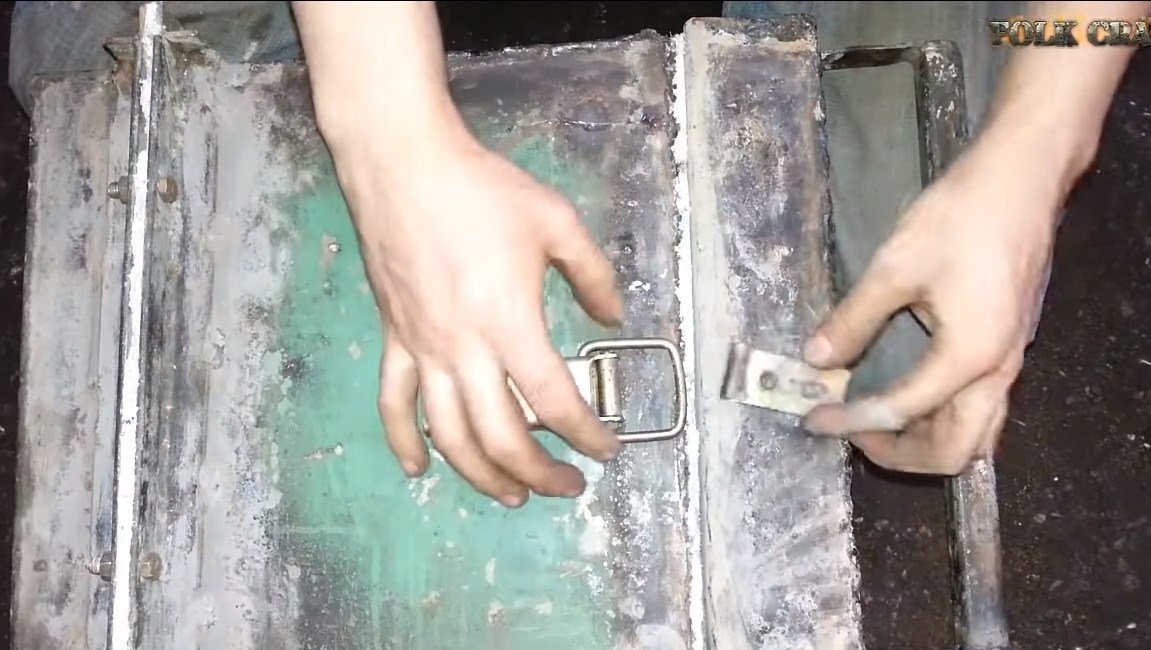
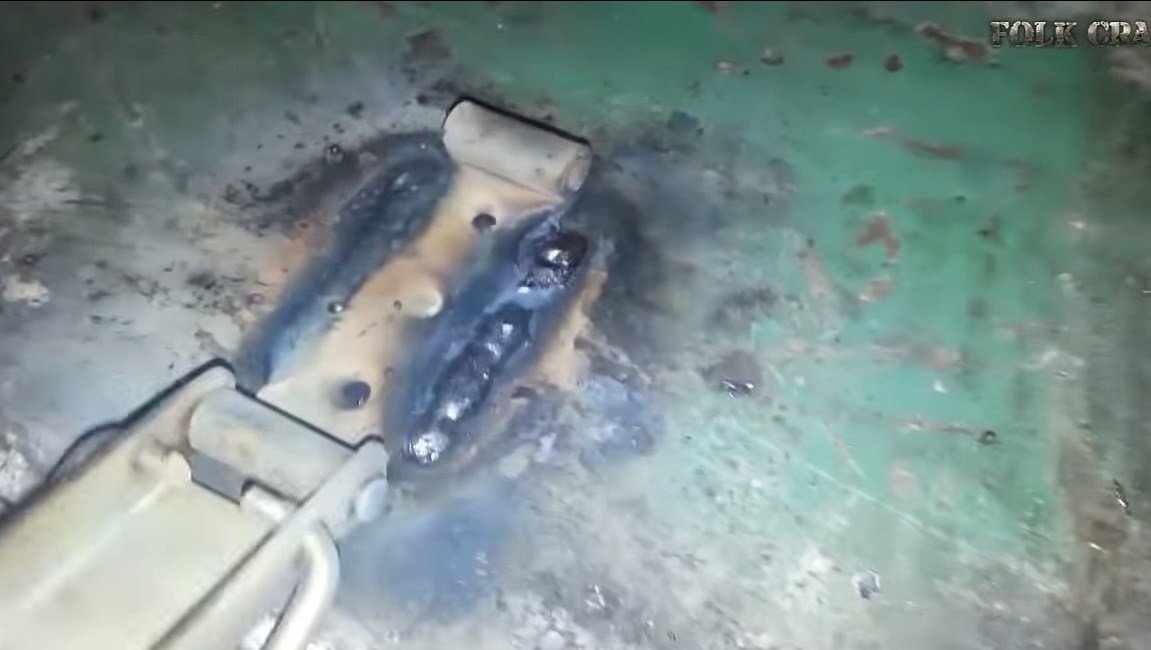
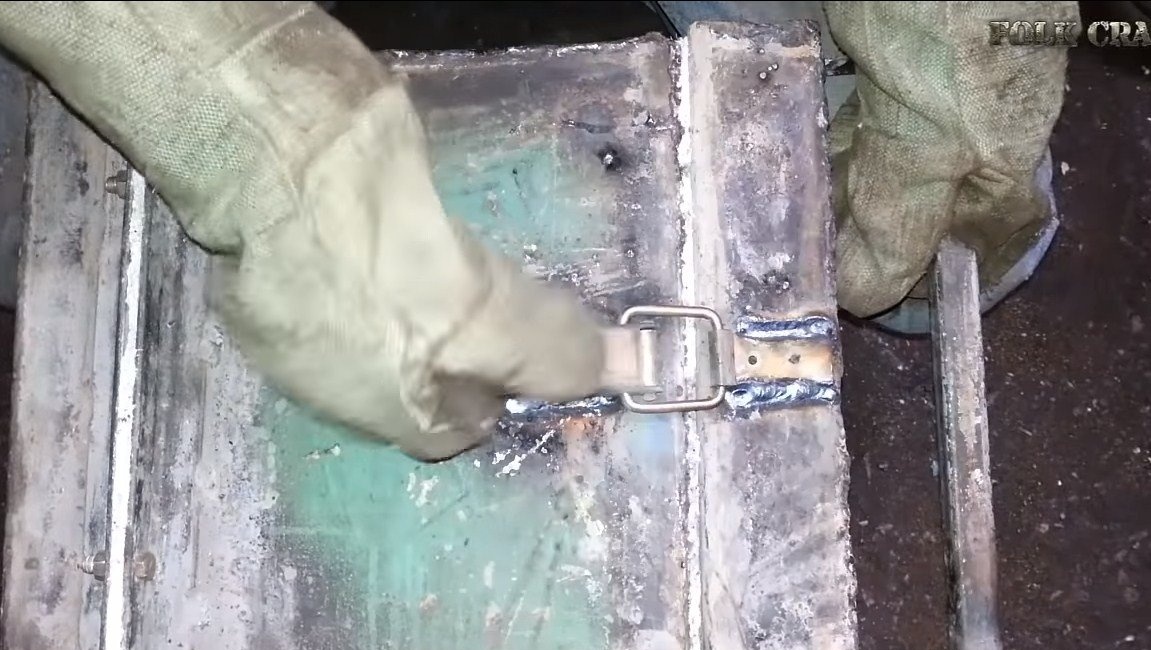
In conclusion, we need to hang the door, we make the hinges ourselves from long nuts and bolts. We also make a reliable locking mechanism that can pull the door to the furnace. We also make a comfortable handle, the author welded it from plates and a profile pipe.
There must be a gasket between the door and the furnace body, the author glued the insulator using liquid glass.
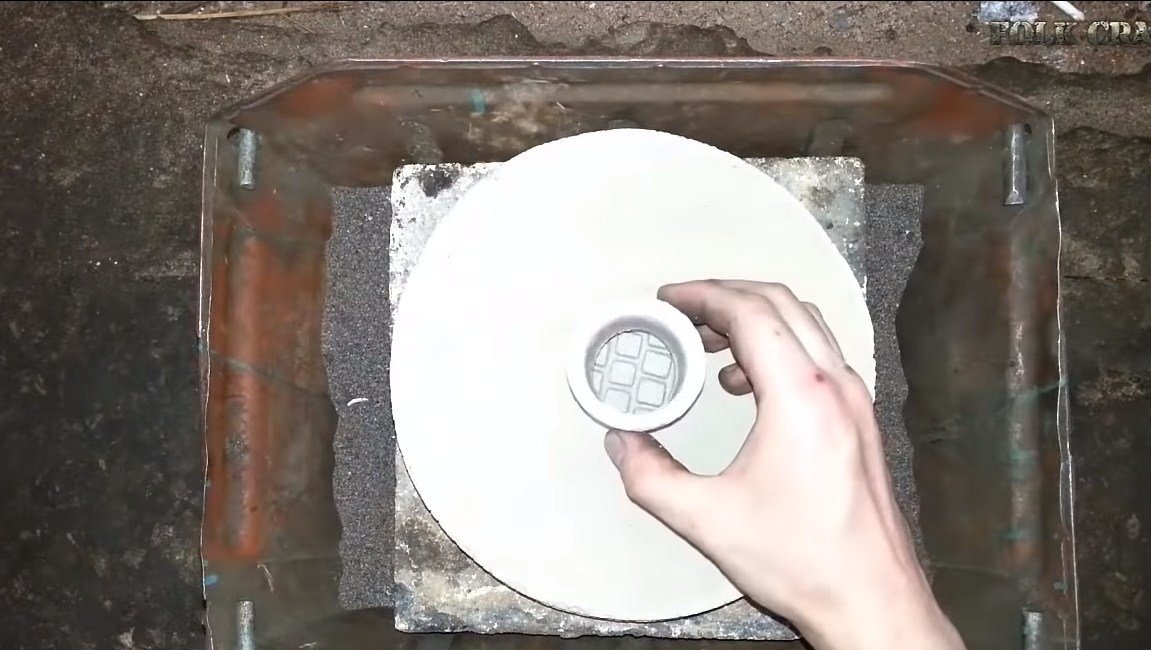
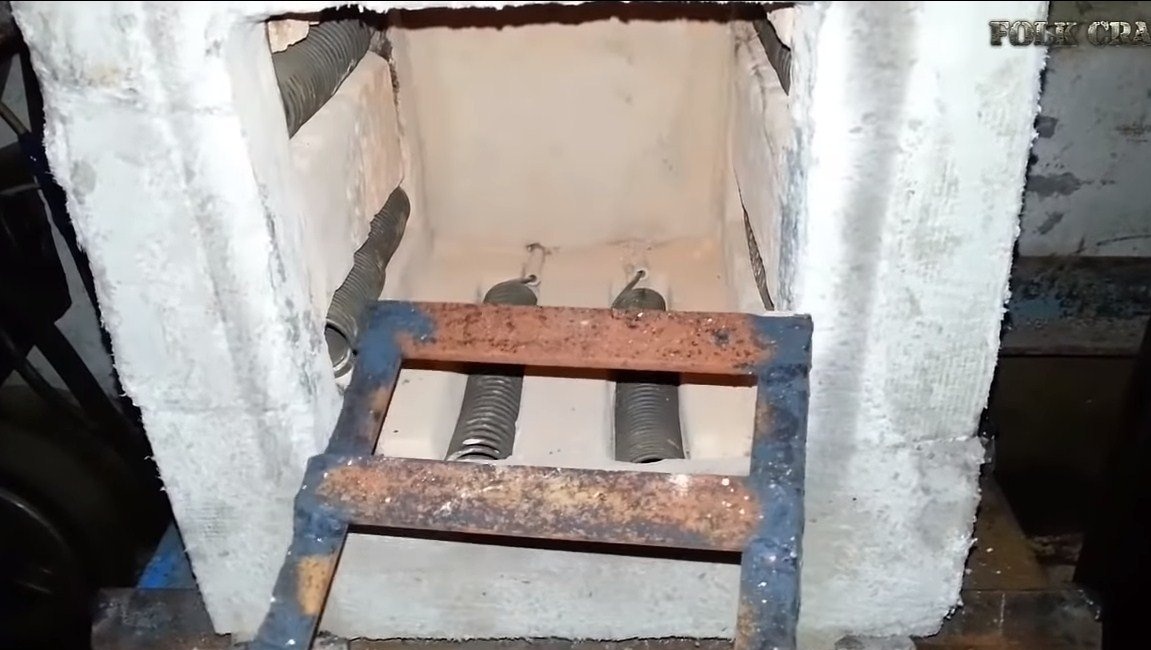
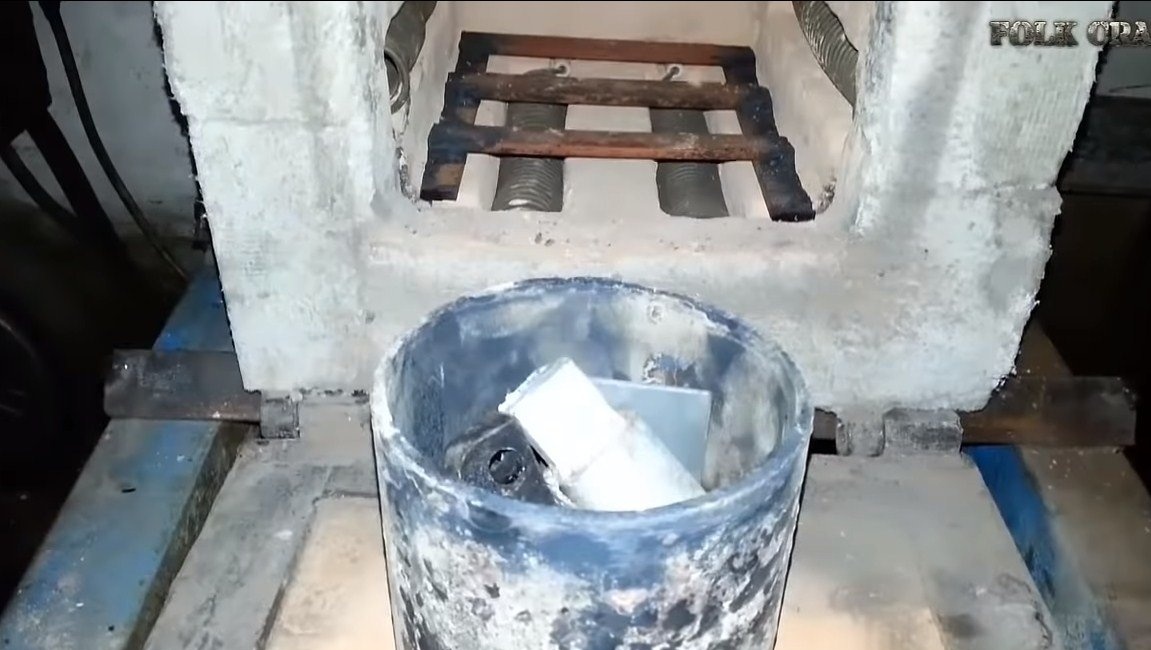
The upper heating elements must be fixed with ceramic tubes so that they do not fall out. You also need to make a stand on which the crucible will be installed, the author has welded it from steel plates.
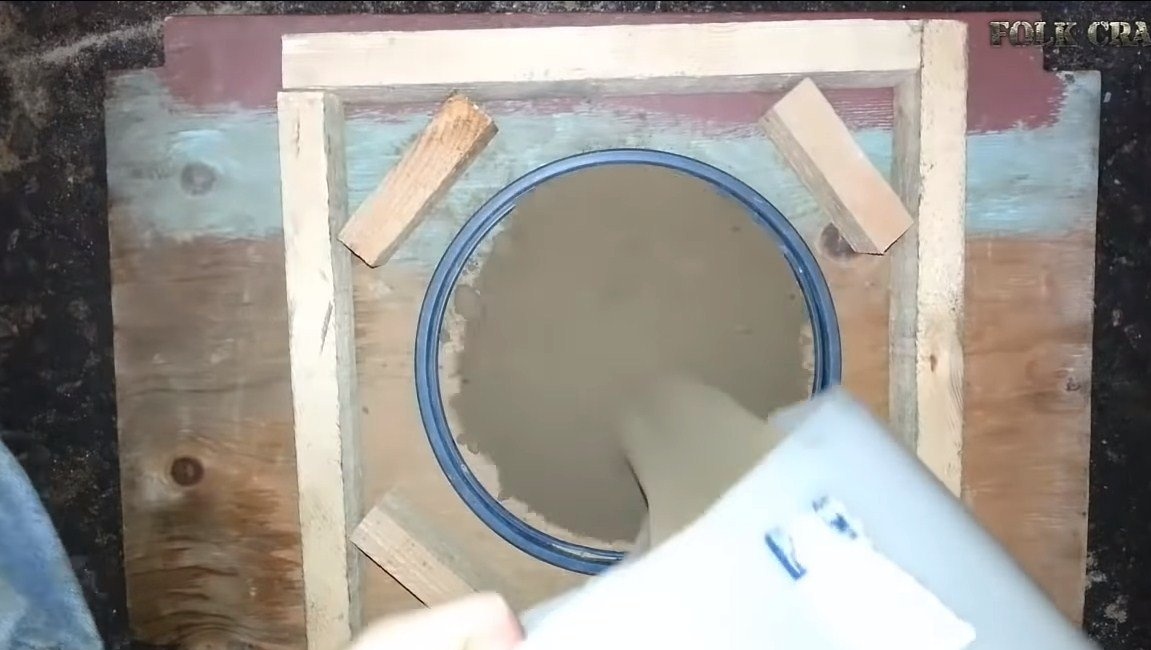
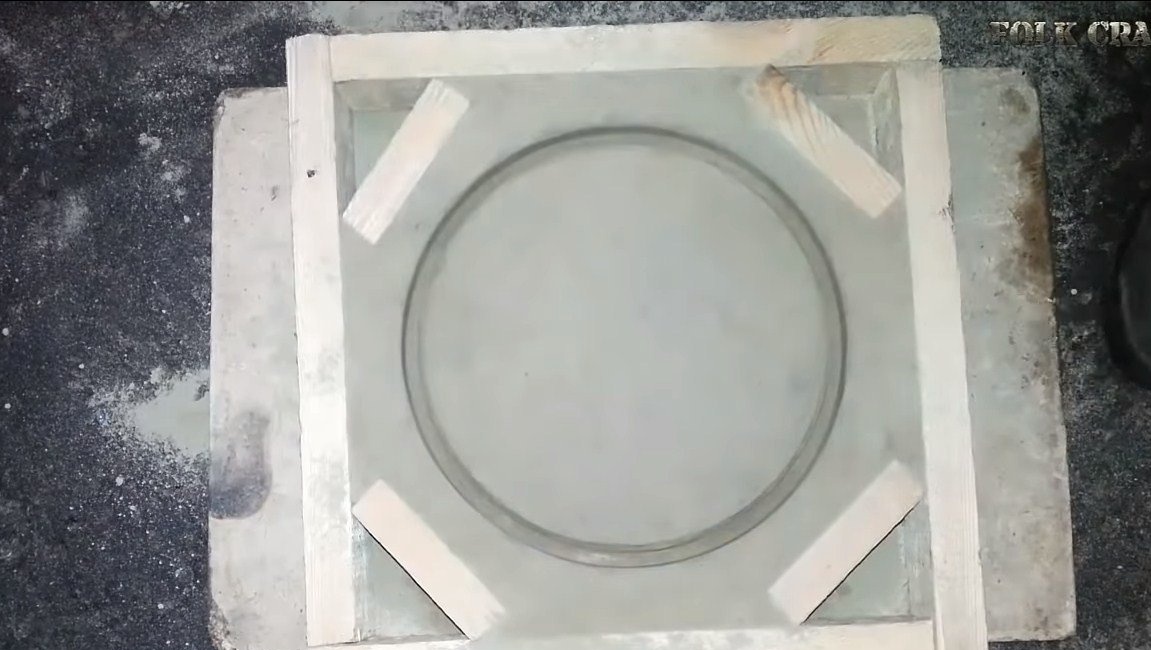
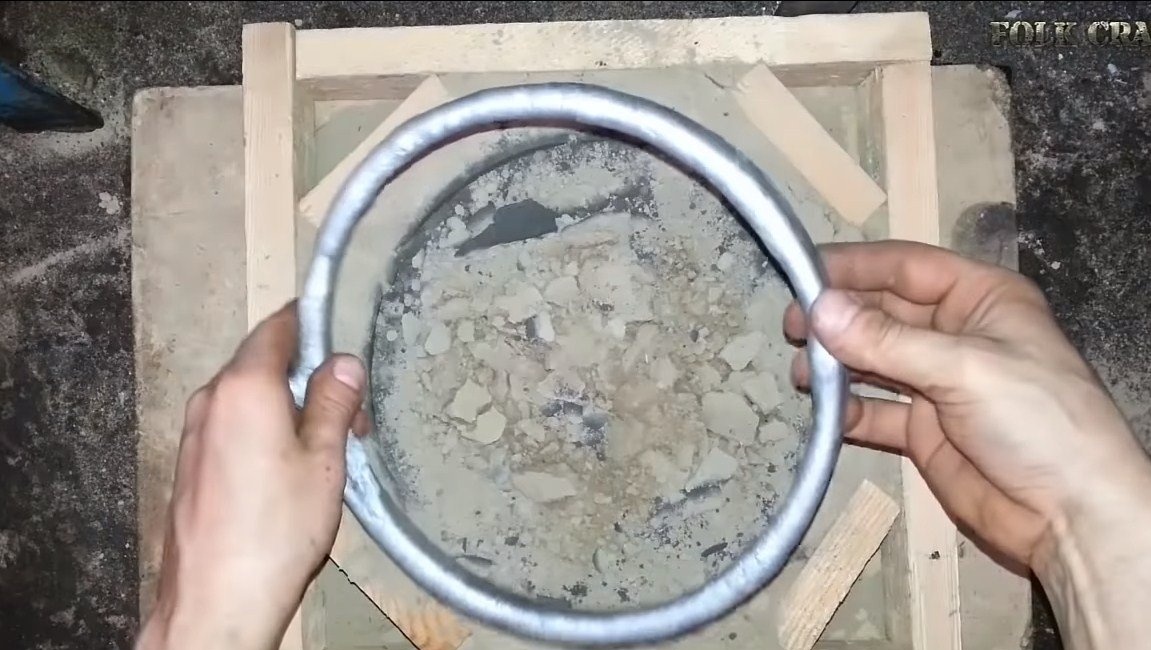
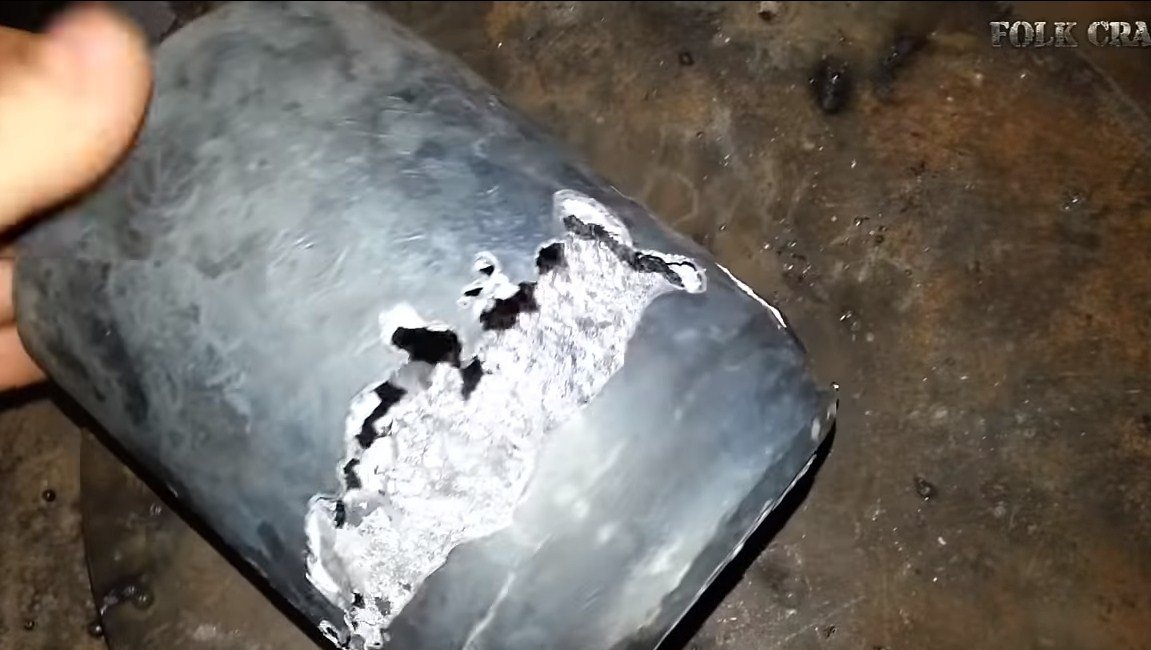
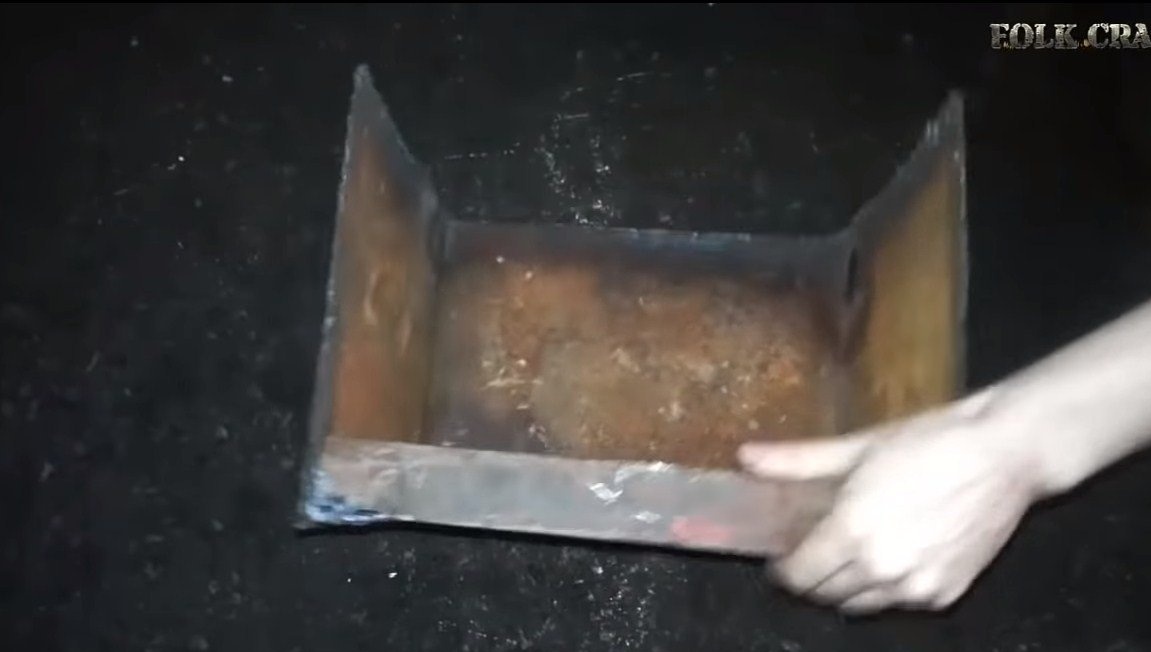
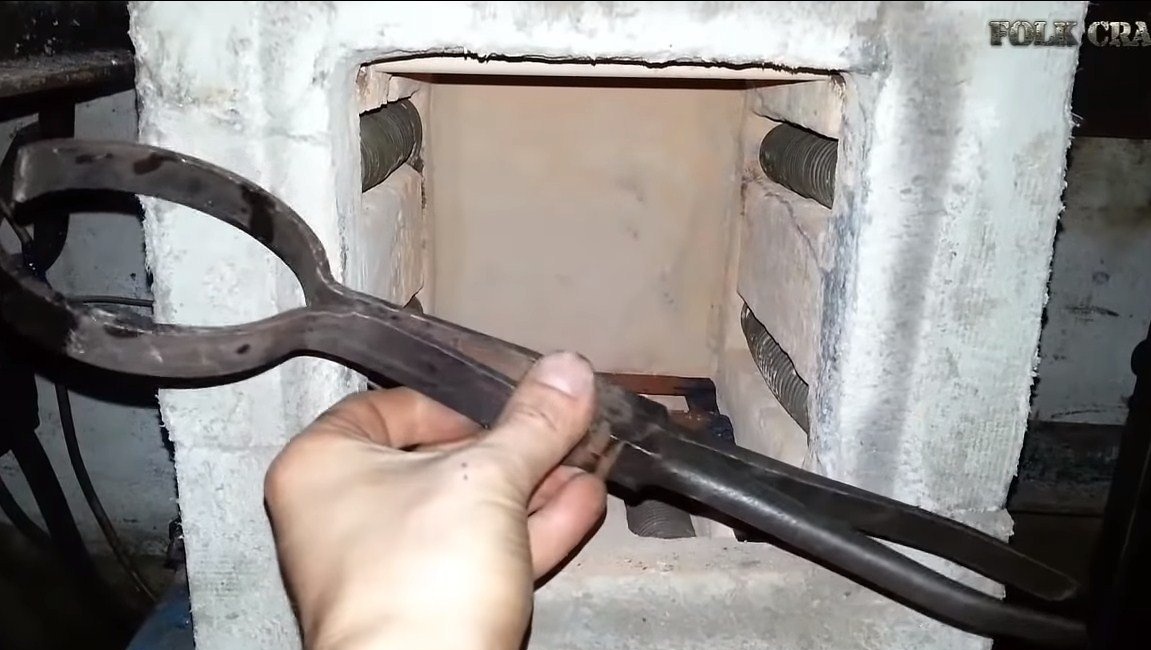
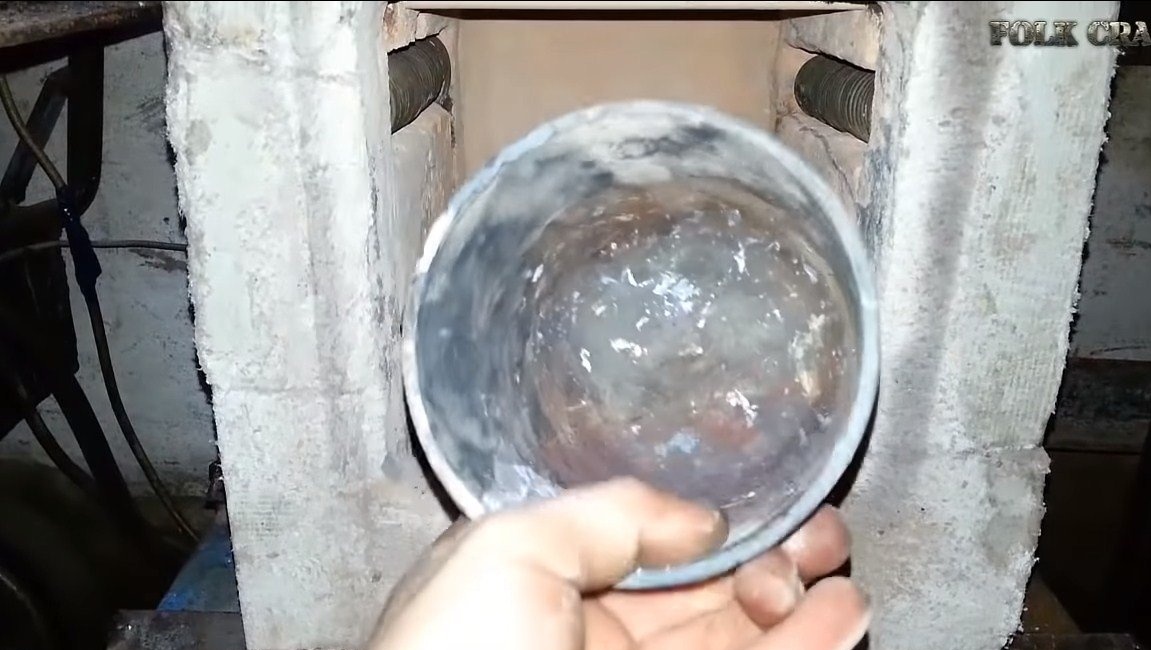
We make the crucible from a piece of a thick-walled pipe, it can be made from the body of a fire extinguisher. The author made a grab from pliers.
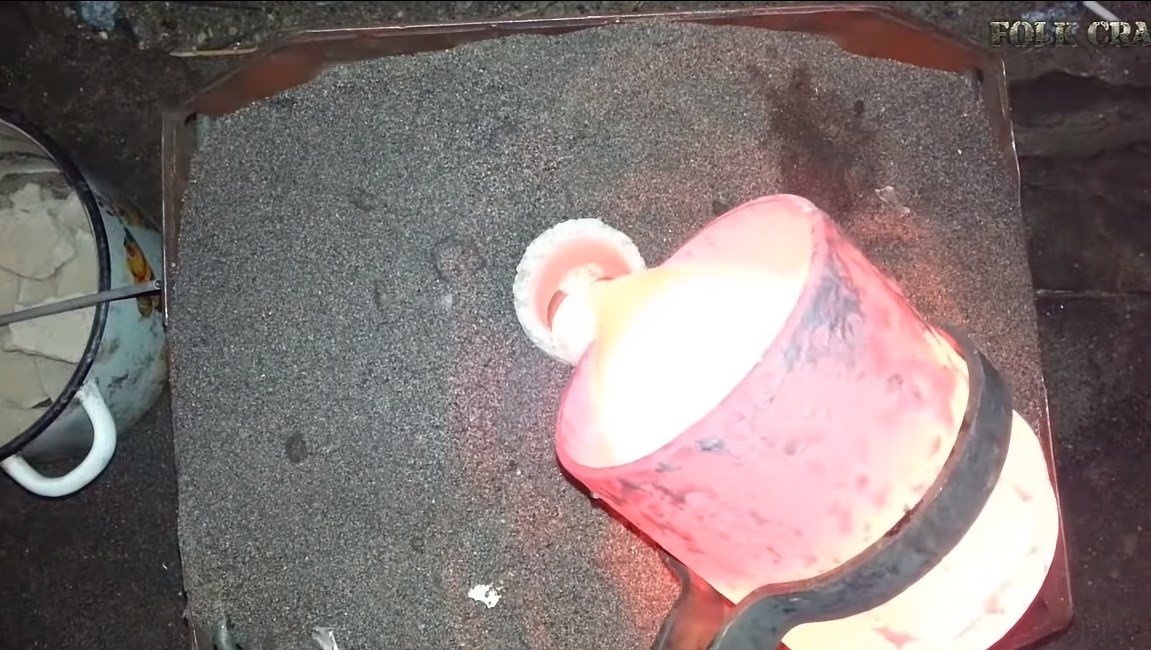
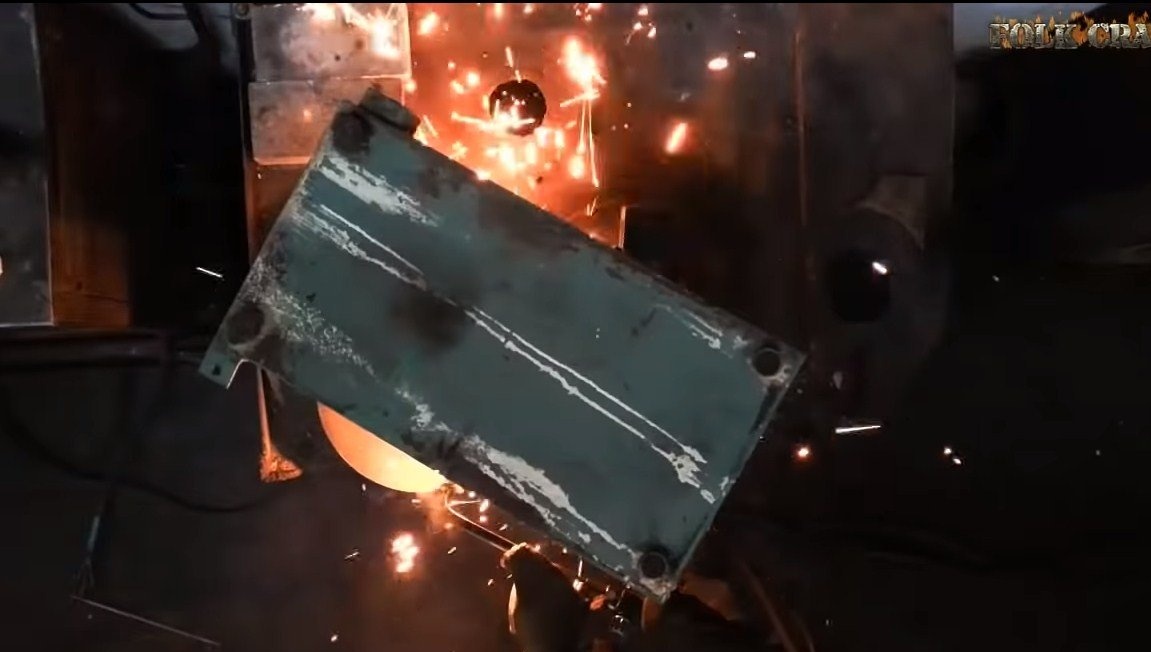
Step Six Test
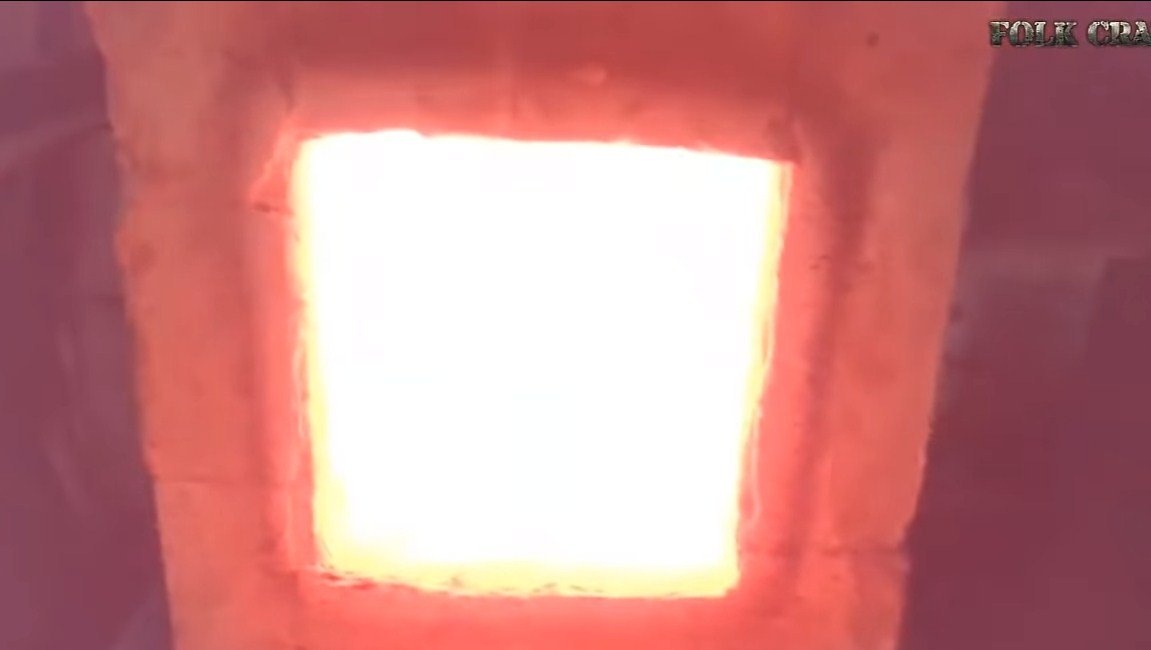
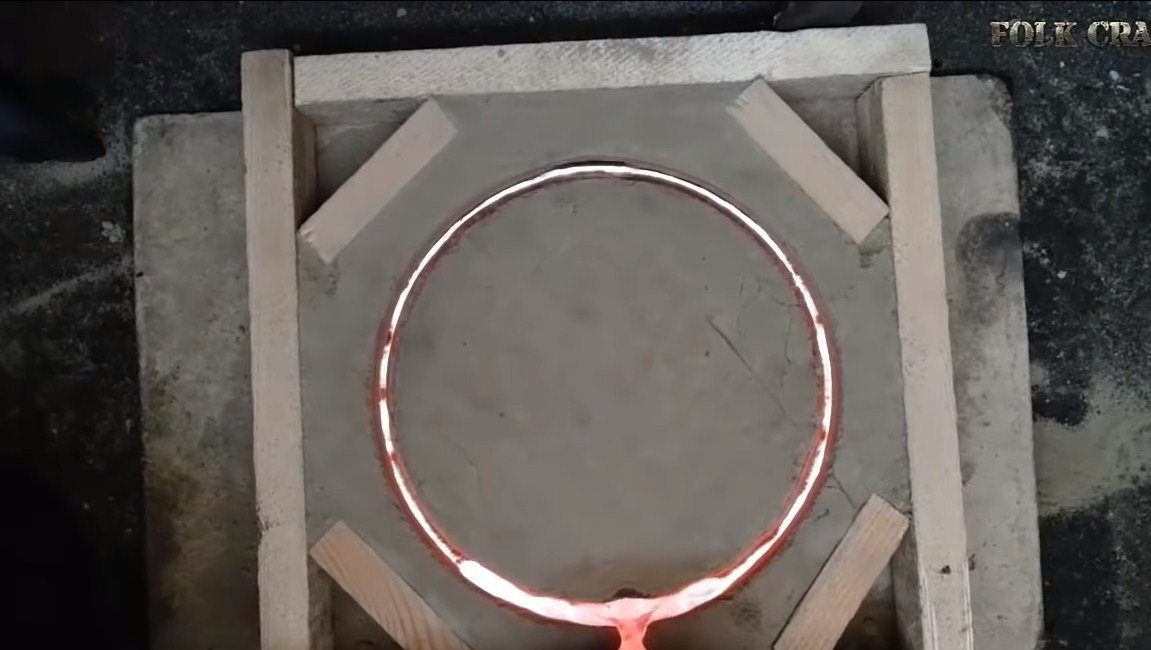
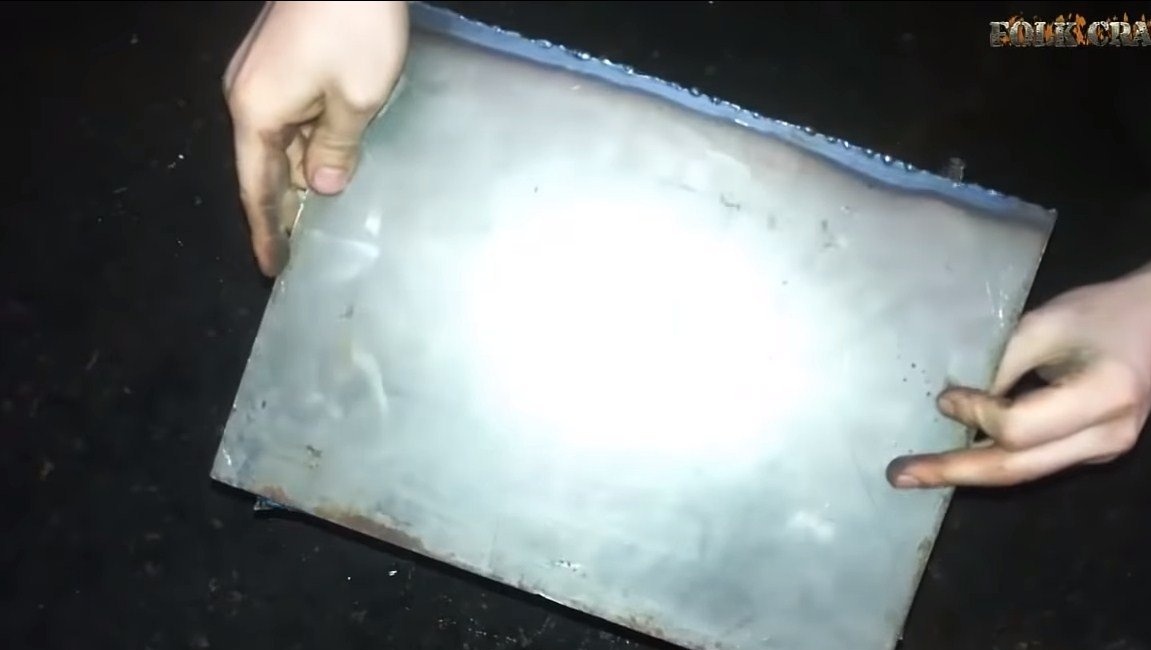
The furnace can be tested, as an experiment, the author decided to melt aluminum. The furnace coped with this quite easily and quickly.
Also, a crucible was left in the furnace, which burned out after 40 minutes, although the wall thickness was 4 mm. According to the author, the temperature in the furnace rises to 1200 ° C, or even more. Here you can melt not only aluminum, but also bronze, brass and other metals with a melting point up to 1200 ° C. It would be nice to install a temperature sensor in the oven.
That's all, the stove is ready, I hope you liked the homemade! Good luck and creative inspiration, if you decide to repeat this. Do not forget to share with us your ideas and homemade products.