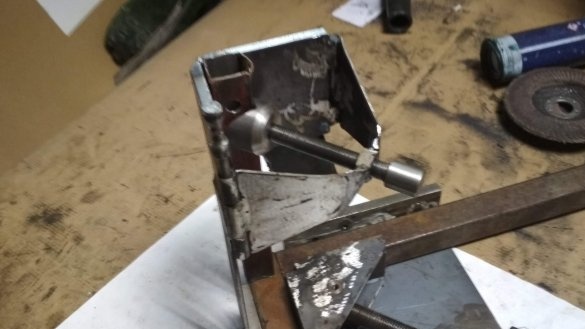
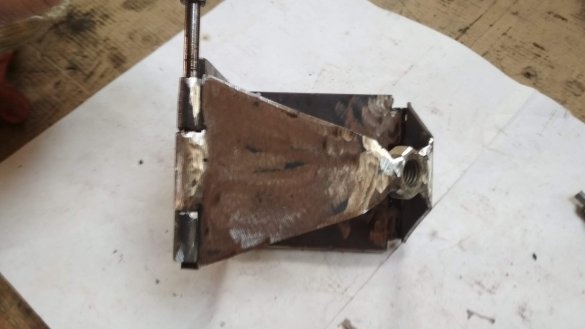
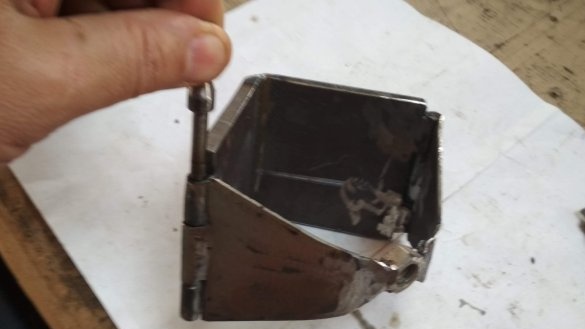
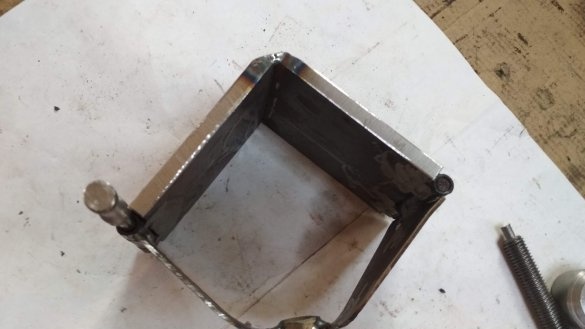
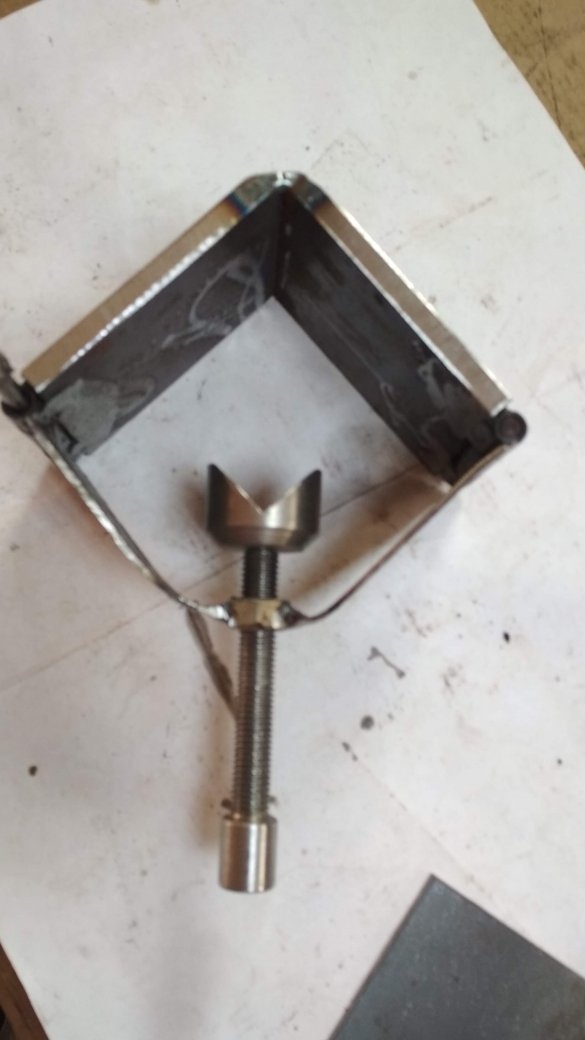
I want to share my revision fixtures "Angular clamp". The clamp is very convenient for welding parts at right angles, but sometimes it becomes necessary to assemble three-dimensional (3D) frameworks of boxes in which three parts must be welded at right angles to each other. Here, my revision together with the clamp will provide invaluable assistance in the work ...
For its manufacture, some sheet metal with a thickness of 8-10 mm and a thickness of 3 mm is needed. drill, welding machine, a little lathe and a favorite grinder (angle grinder).
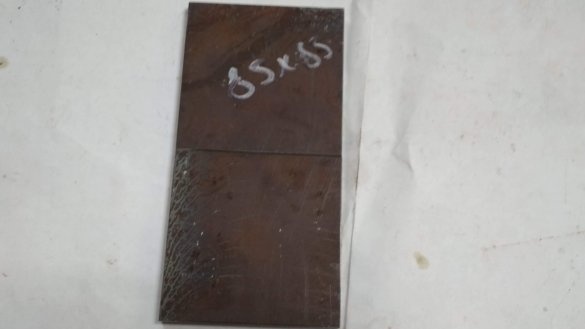
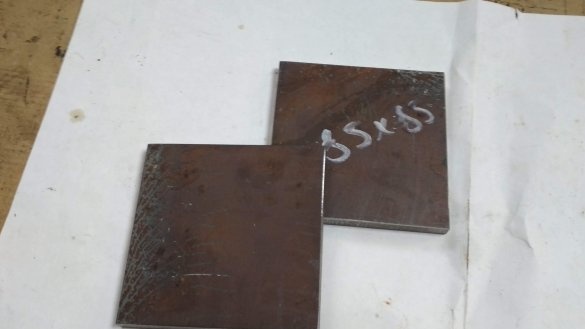
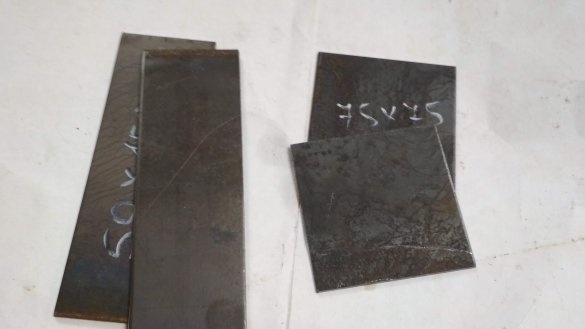
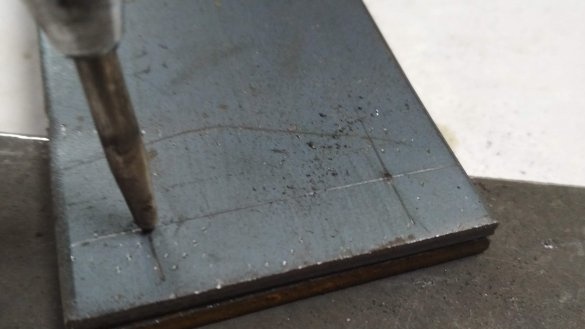
All sizes can be tailored to your conditions and based on available materials. We take a sheet with a thickness of 8 mm, mark out two plates with a size of 85x85 mm, two such blanks are needed for each clamp.
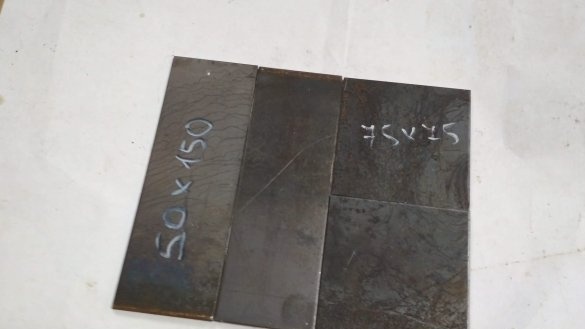
Also from a sheet of 3 mm we cut two blanks measuring 150x50 mm, and two blanks 75x75 mm. a plate measuring 150 by 180 mm was in my presence and sawed from it.
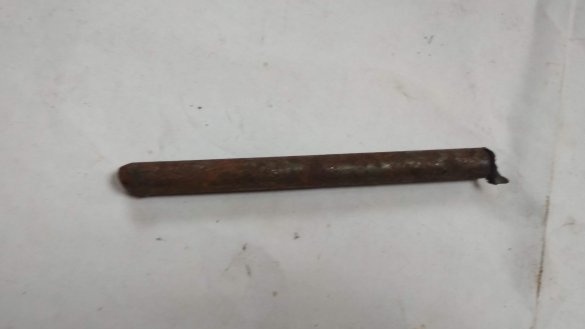
Next, take a bar with a diameter of 10-12 mm
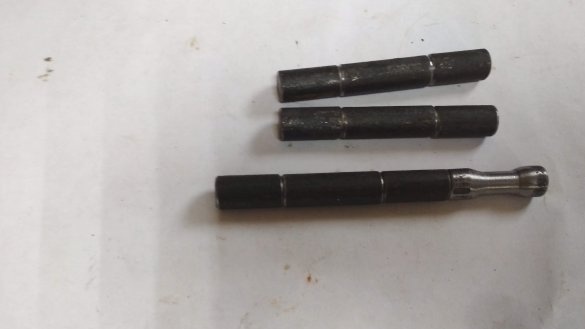
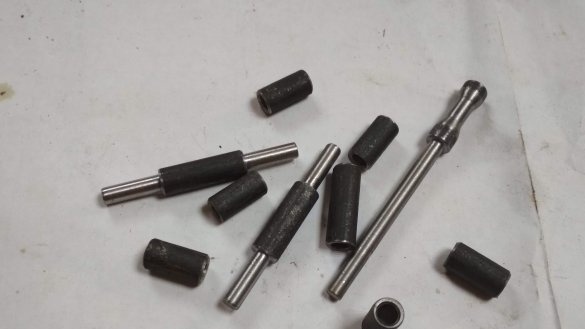
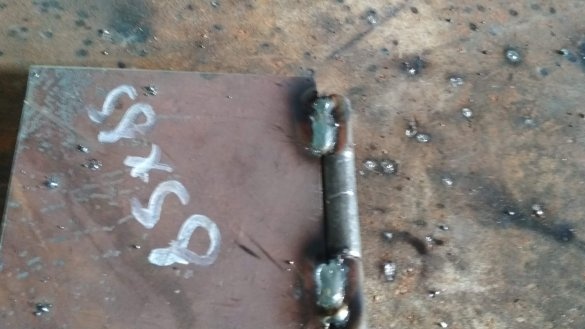
and we produce parts for the loop, for each revision you need one fixed loop and one collapsible. In the beginning, when I was drawing a clamp, I planned it not collapsible, i.e. assemble all the parts for welding, but considering the welding process in my head, I realized that after welding it would be impossible to pull out the finished assembly, so I had to make a detachable connection and a hinge.
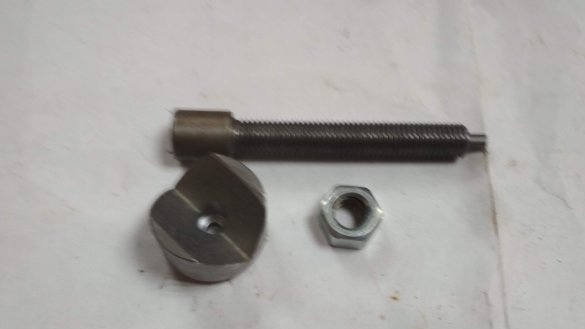
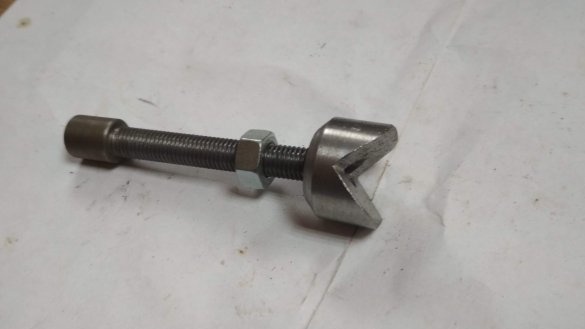
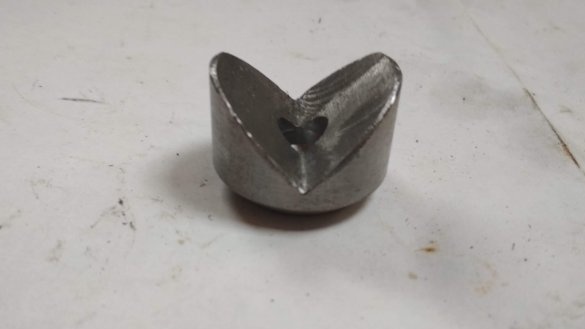
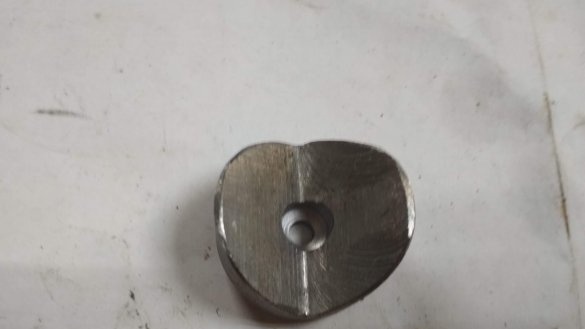
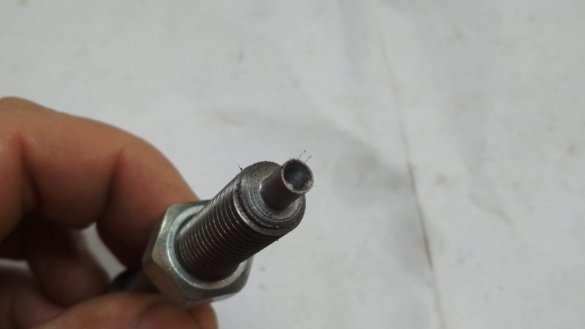
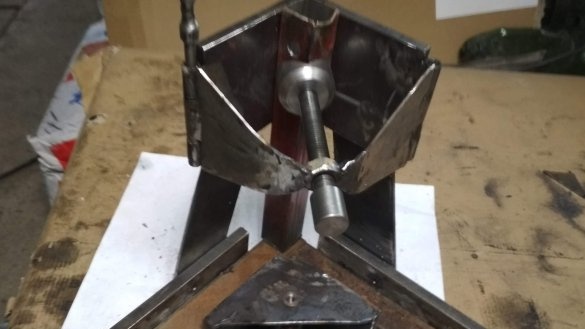
Then, a clamp screw with an M12 thread was machined and a clamping jaw was made. First, a cylindrical workpiece with a hole was machined, and then part was cut off with an angle, so that an angular sponge was obtained. It will be convenient for her to press both professional pipes and blanks of circular cross section.
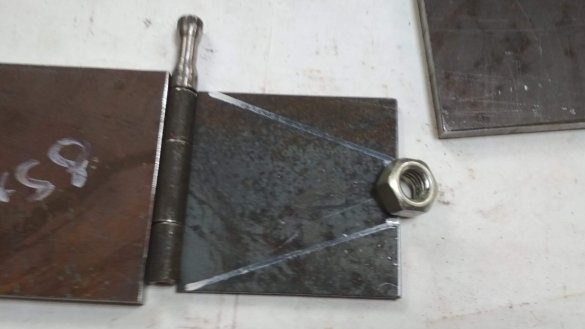
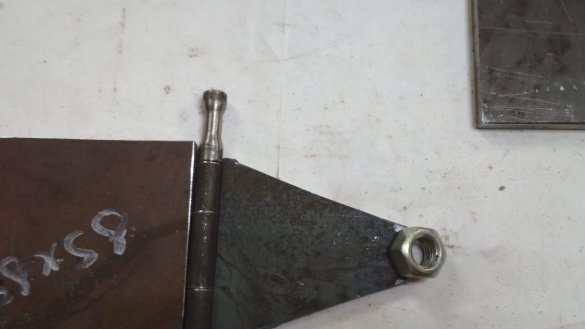
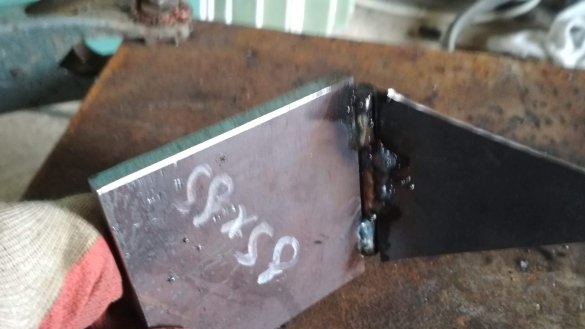
The next step was to do the hinged part on the hinges. I had to cut the corners of the workpieces 75x75 mm a little for a more aesthetic look.
Welded and bent everything in place. It turned out everything as planned. I screwed it in, put on a clamping sponge and riveted it from the inside so that it would not fall off. In this node, mobility in other planes is not needed, only a clamp is needed.
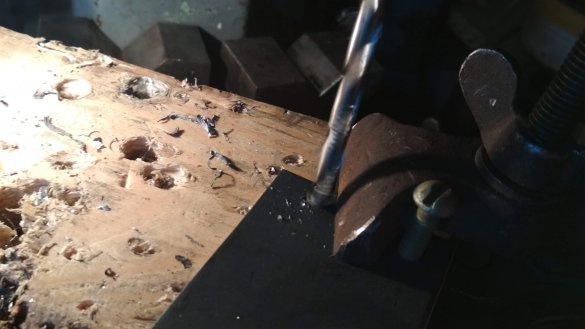
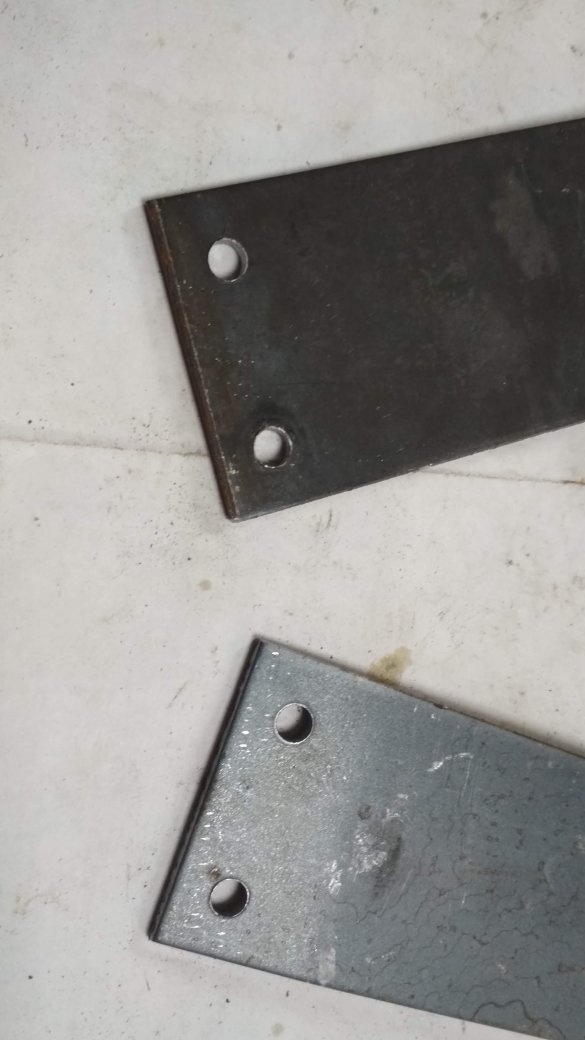
Now it’s the turn for the brackets that will hold our structure on the main clamp part. To do this, I mark the holes in the plates 50x150 mm, drill them with a drill with a diameter of 6 mm.
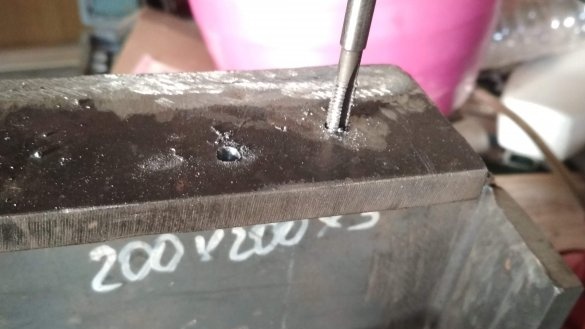
I try on how it will stand on a clamp and mark out holes for cutting M6 threads, two for each bracket.
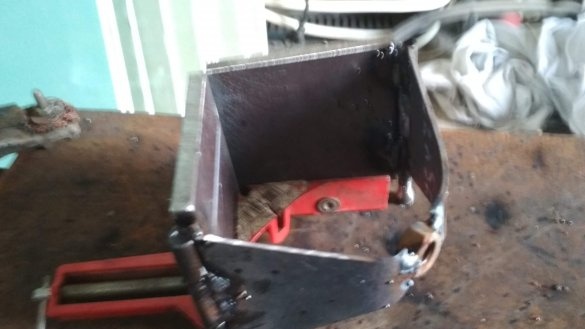
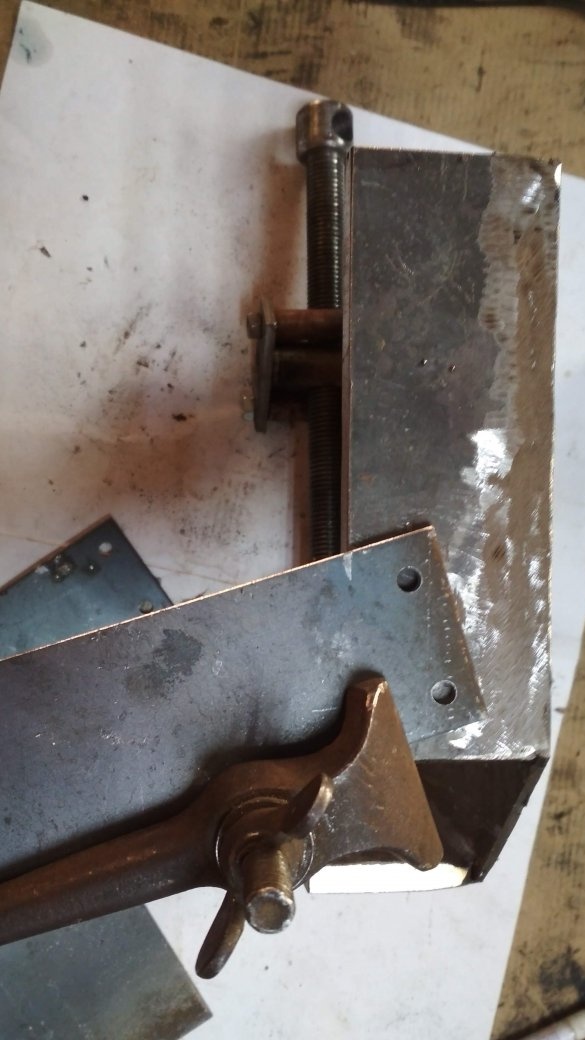
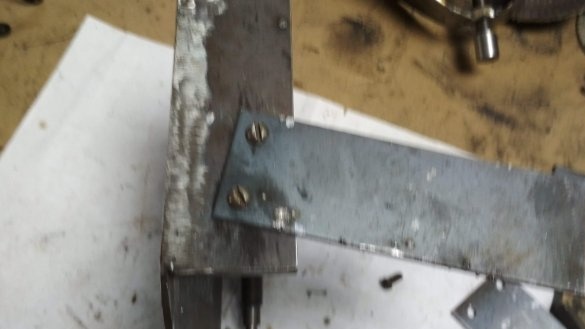
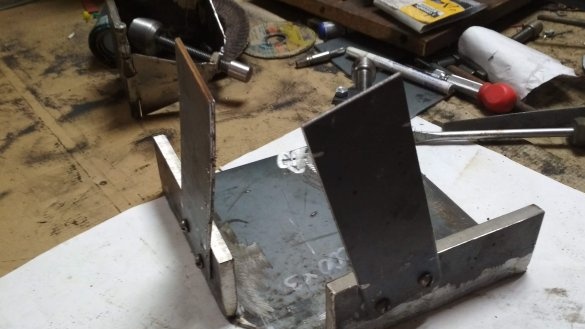
I fix the brackets on the clamp.
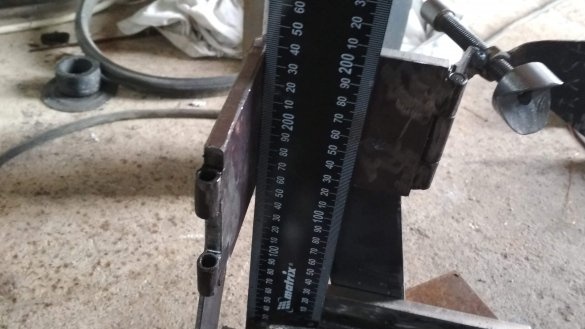
Now you need to install the clamping device on the bracket, so as to observe right angles with respect to the common base.
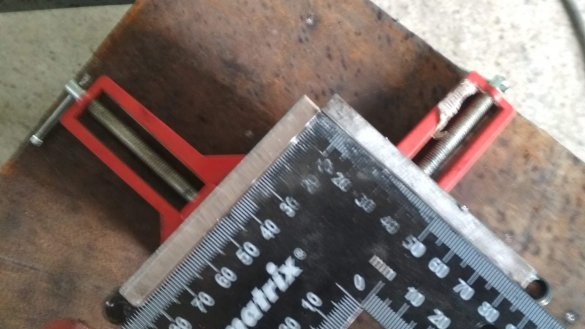
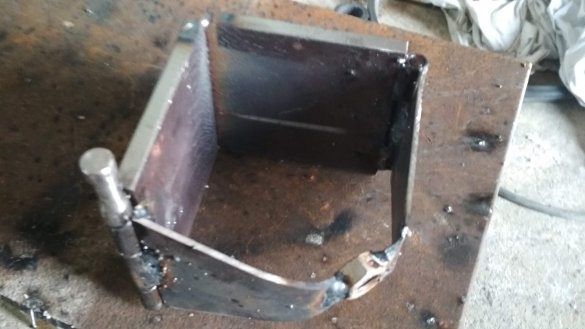
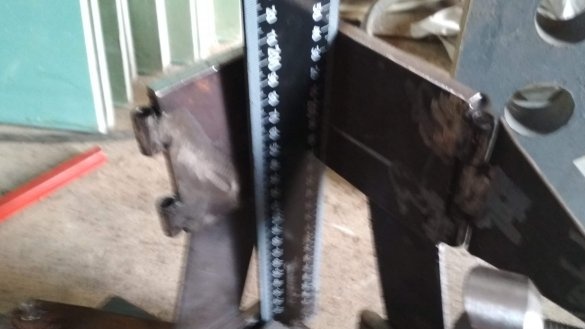
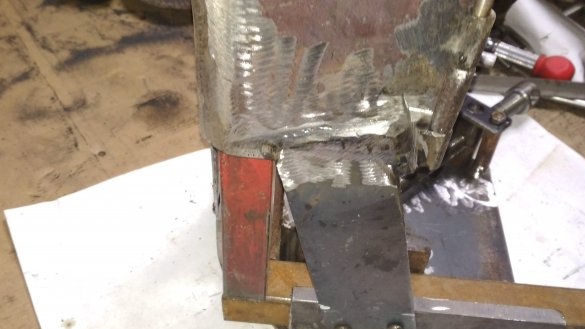
To do this, I installed a plate from the press, after checking the squareness of the faces. Then, having installed and secured with clamps, I grabbed it for welding, cook it with a home-made semiautomatic device, again I check the orientation (right angles), and if necessary, try to correct it. After making sure that the installation is correct, I scald the entire structure.
I clean, remove burrs, prepare for further painting.
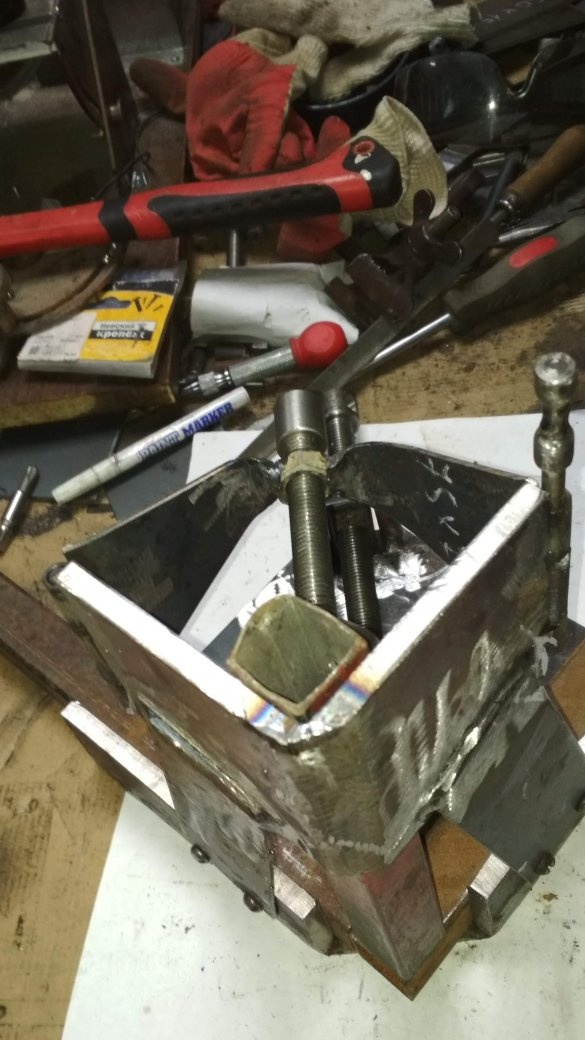
Well, a test installation of blanks in a clamp, now the assembly process will be more accurate and, which is not least important, simpler and faster.
I tried to assemble three trade union pipes in one node, everything worked out fine, unfortunately, the photographs did not survive, but you will see my designs in the following homemade on my channel.
Good ideas and opportunities to bring them to life.


