
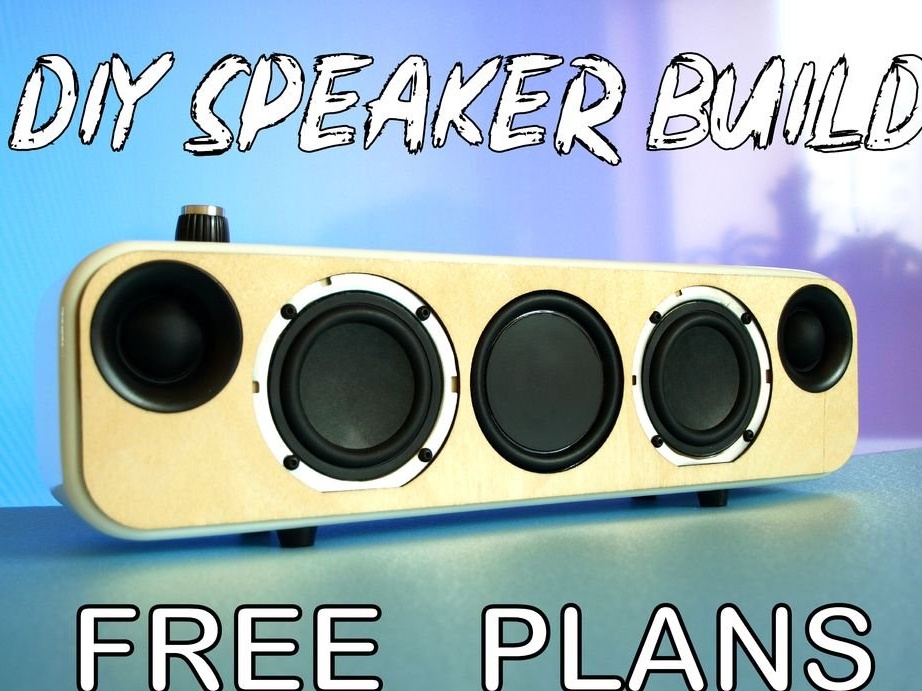
There are already several homemade this wizard. Last it's "Wireless Audio Speaker for Cycling" This time the master presents us with his portable speaker with built-in Bluetooth and WiFi modules. Those. Audio data can be transmitted through one of these channels. To make the column, the master used the following
Tools and materials:
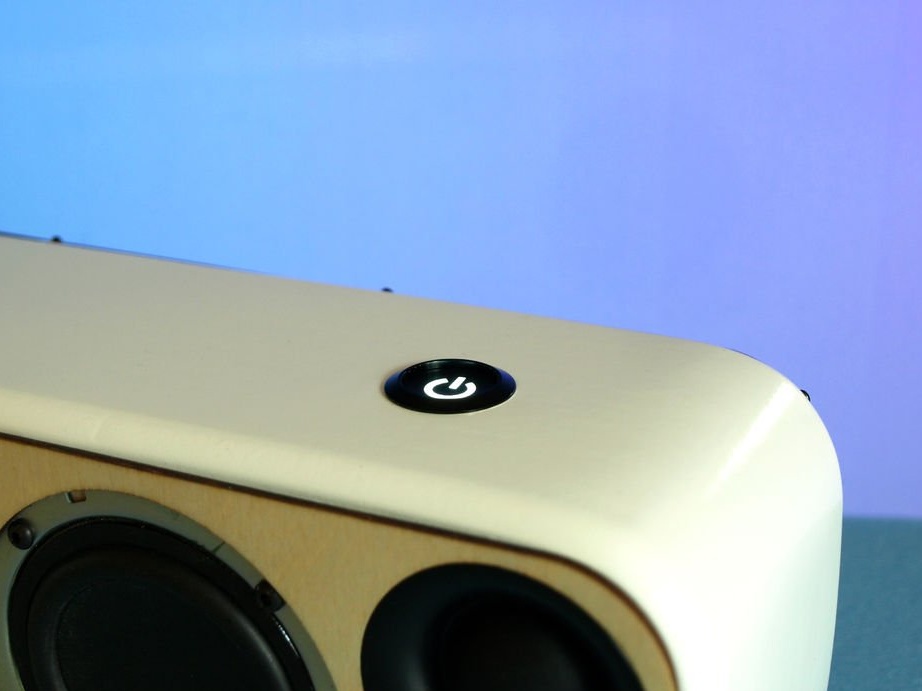
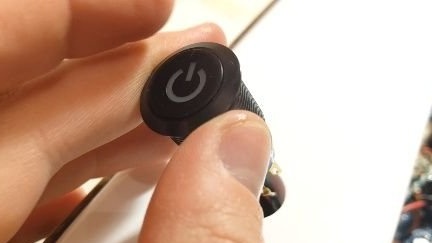
- Backlit button;
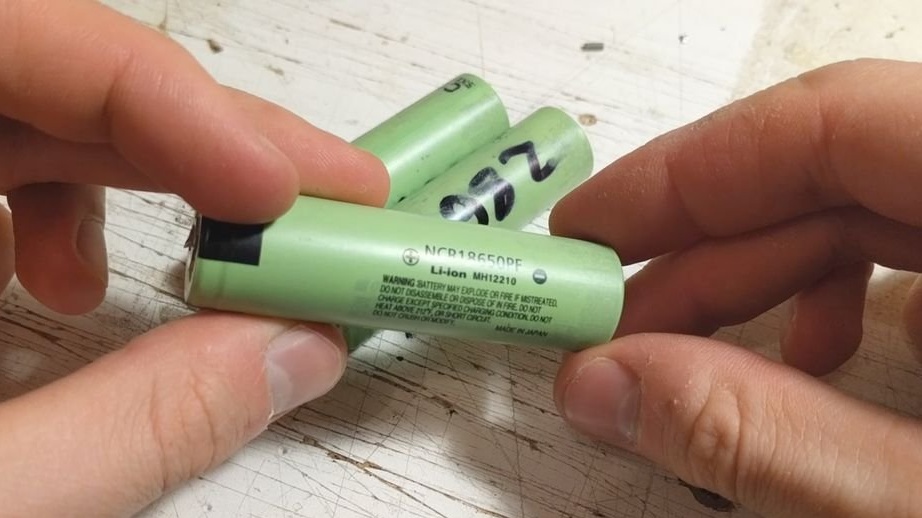
- Batteries 18650 3400 mAh - 3 pcs;
;
- Charger 12.6 V 1A;
- Two-position slide switch;
-Tactile button;
- DC socket;
-Stereo audio jack;
-Audio cable;
- Resistor 1 kOhm;
- Blue LED 2 mm;
-Green LED 2 mm;
- Red LED 2 mm;
-Fasteners;
-Stripper;
-Waterproof carpentry glue;
-Glue gun;
-Milling machine;
-Scotch;
Sponge for polishing;
-Stationery knife;
-Epoxy adhesive;
- Electric jigsaw;
-Drill;
-Soldering accessories;
-Multimeter;
-Punch;
-Plywood;
- MDF 12 mm;
-Tape grinding machine;
- Orbital sander;
- brush;
-Varnish;
-Degreaser;
Aerosol primer;
-Aerosol white paint;
Step one: diagram, drawings, details
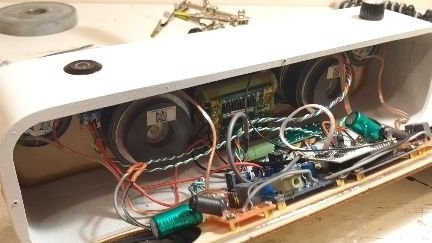
Electronic the part is mounted as follows.
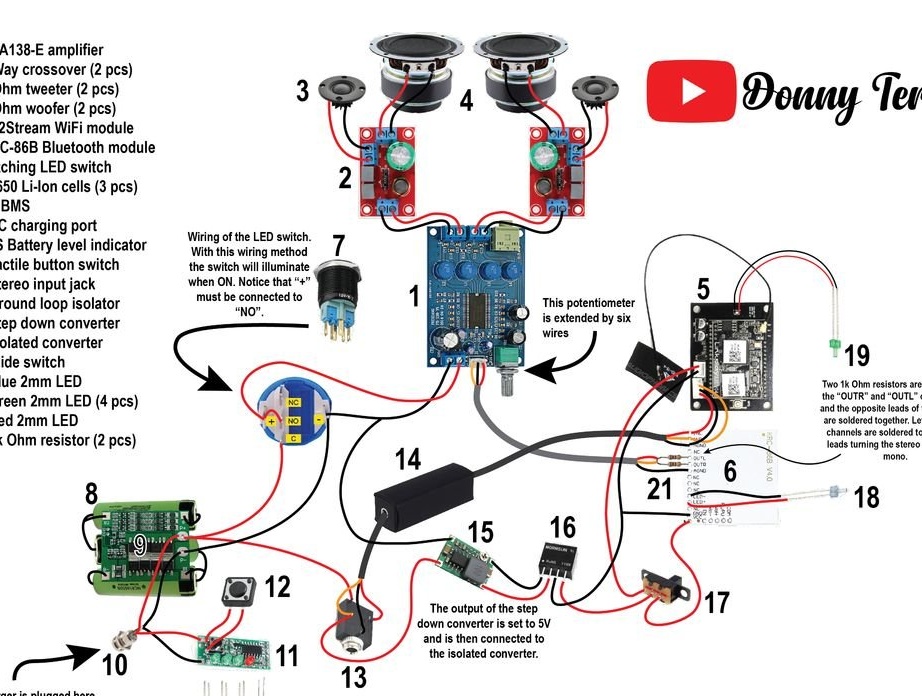
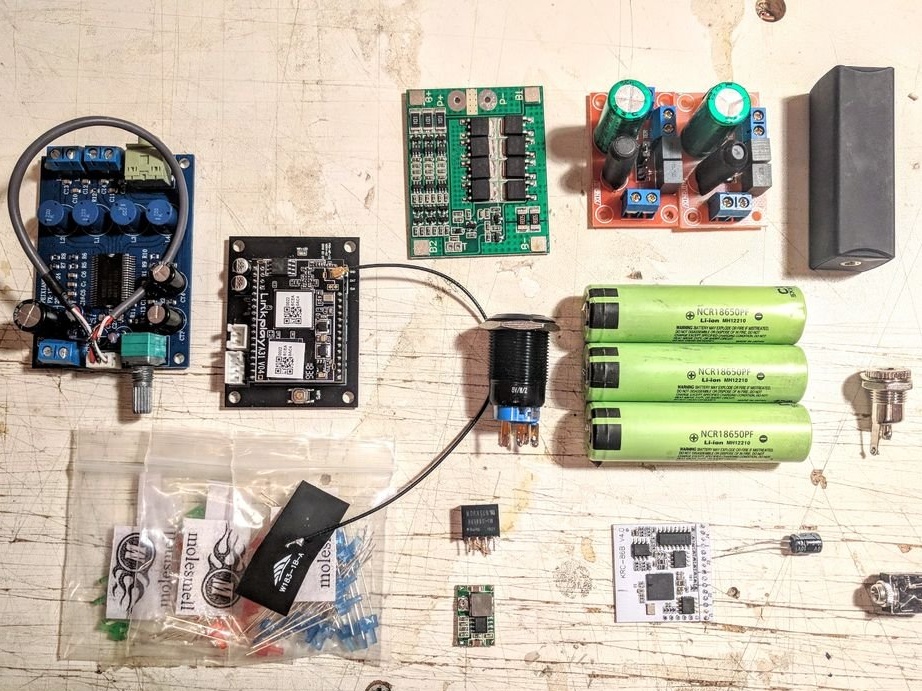
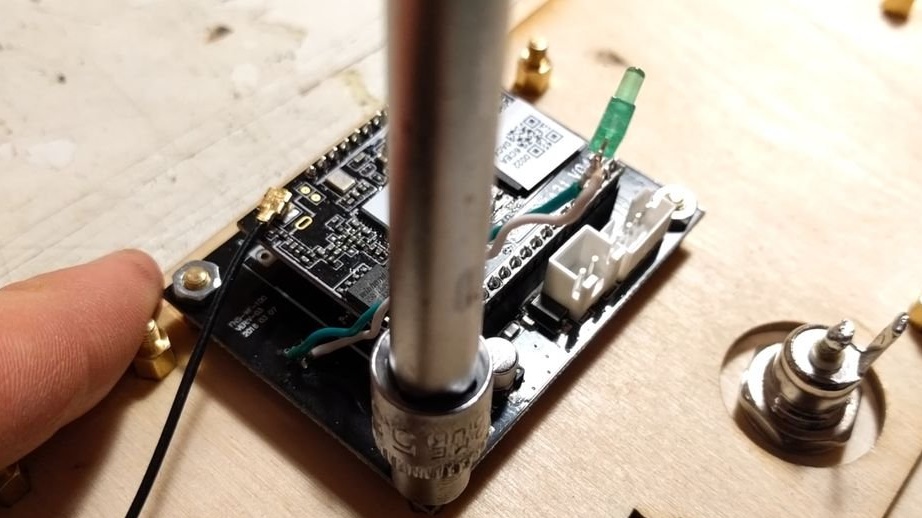
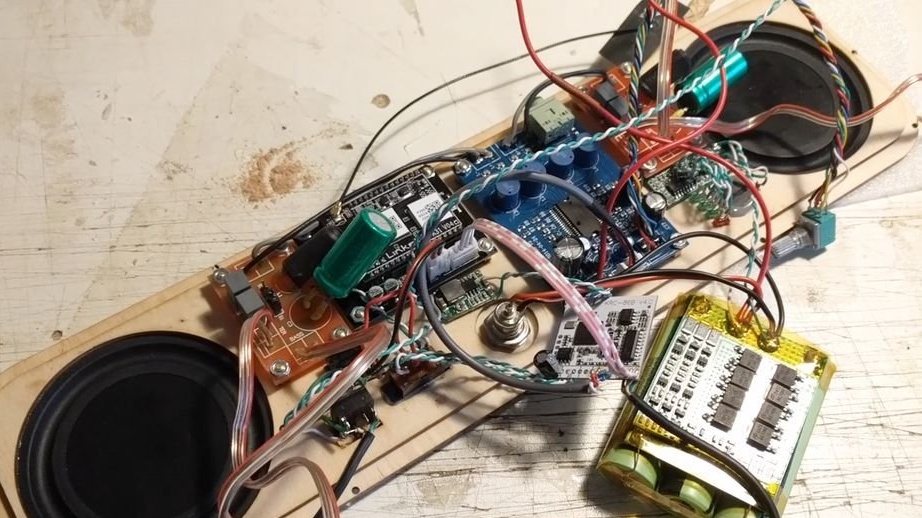
In the scheme, the wizard uses the Up2Stream WiFi module. This module is not bad in terms of price / sound quality. The module has an Aux input, when connected to it, the bluetooth or Wi-Fi connection is automatically turned off.
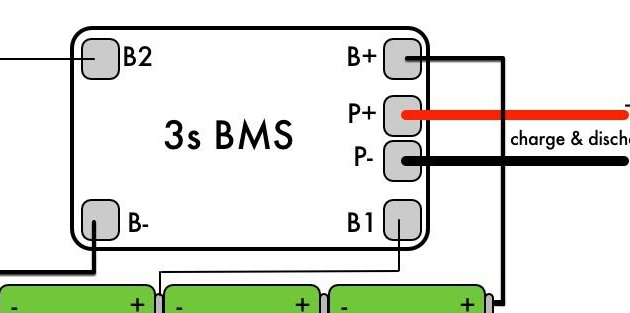
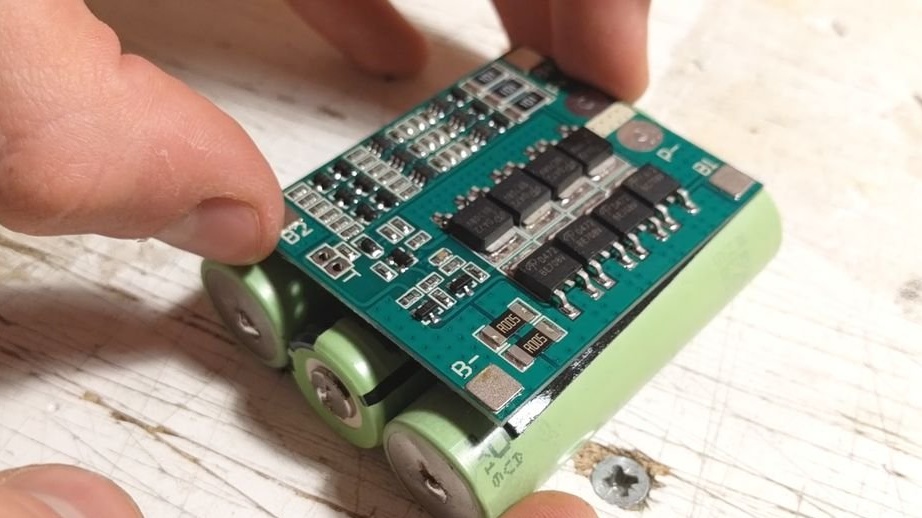
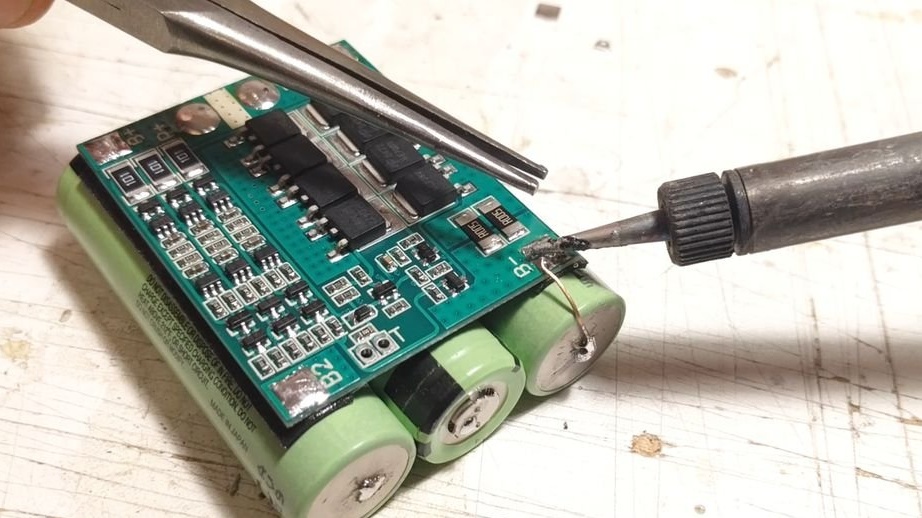
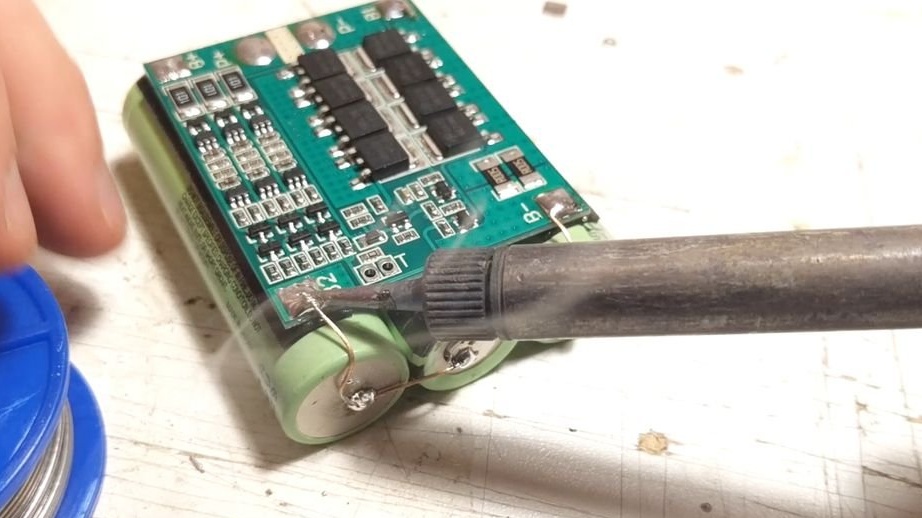
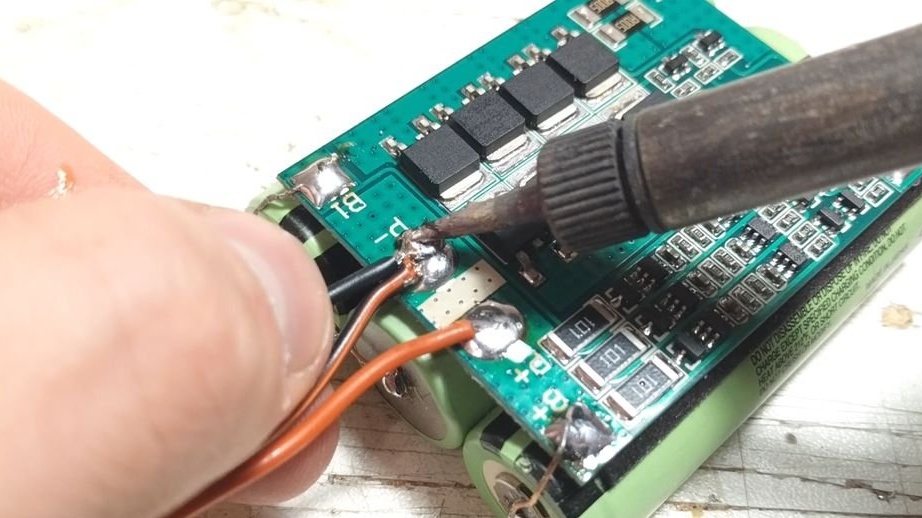
The speaker is powered by three 3400 mAh lithium-ion batteries connected in series. In total, this gives 12.6 V and is able to power the column for about 6-8 hours. BMS controls the charge / discharge of the cell.
According to the master, the Yamaha YDA138-E amplifier, which he uses in this product, is the best price / quality amplifier.
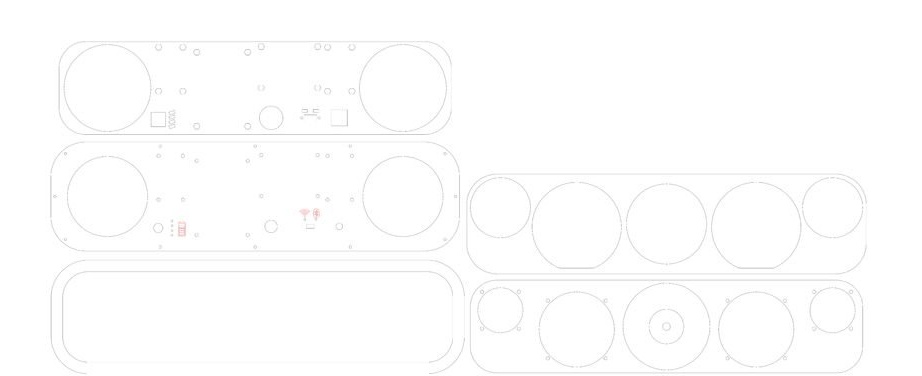
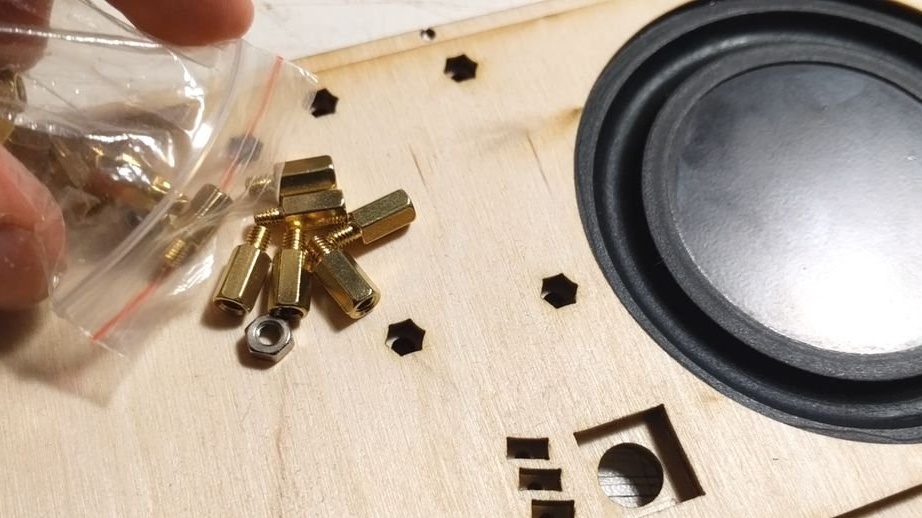
The body of the device is made of plywood and MDF. Parts from plywood the master cut to CNC on order, and from MDF independently. Drawings of the case can be downloaded below.
Step Two: MDF
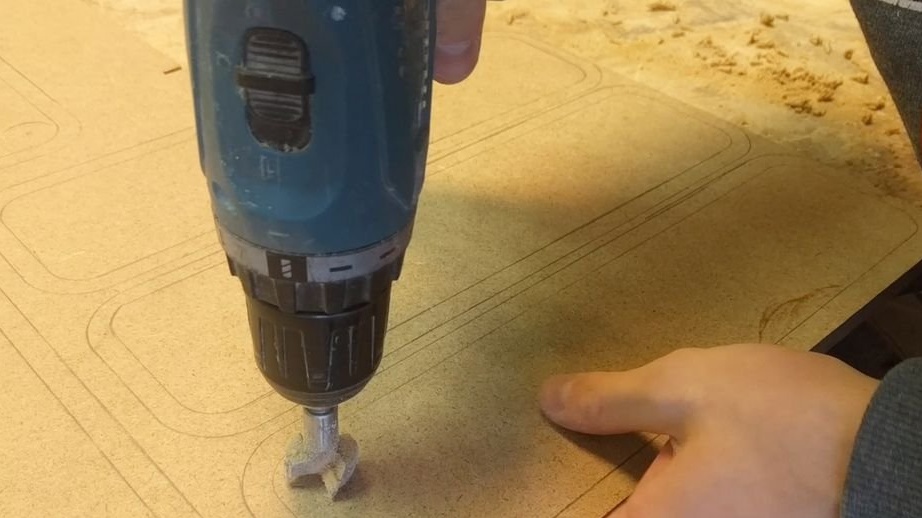
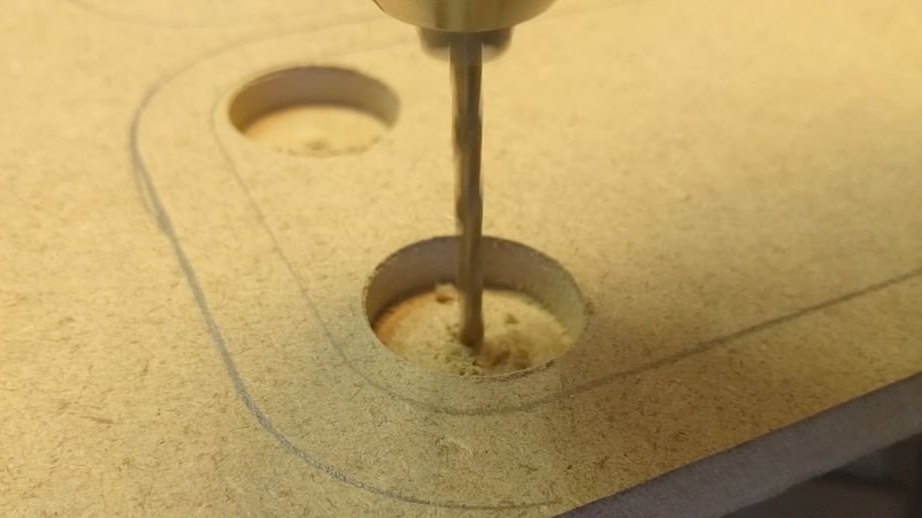
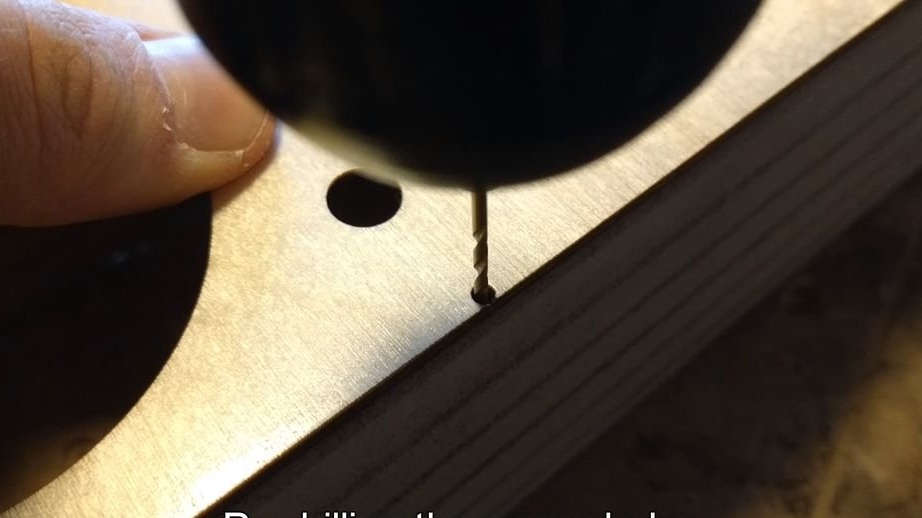
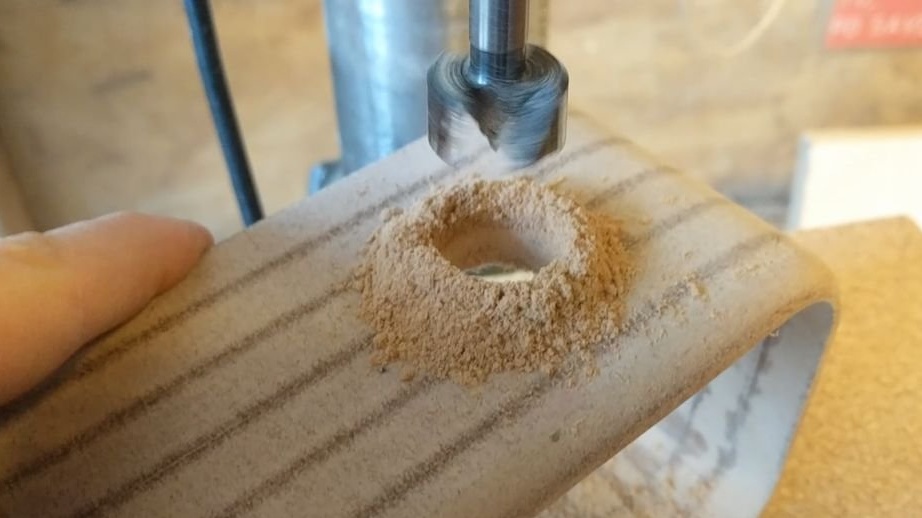
On MDF, according to the template, the master marks the blanks of the body parts. In total, six blanks are needed, 12 * 6 = 72 mm. After marking the corners of the inner contour, the master drills the holes with a Forstner drill.
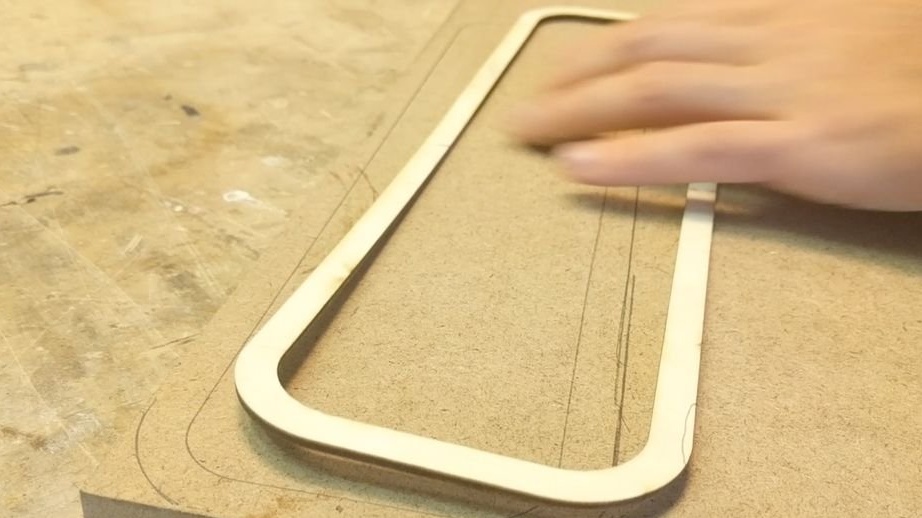

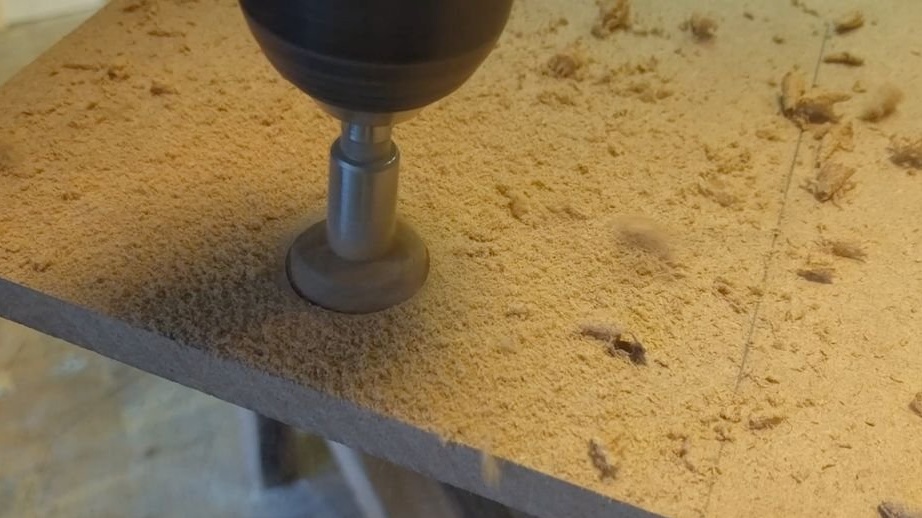

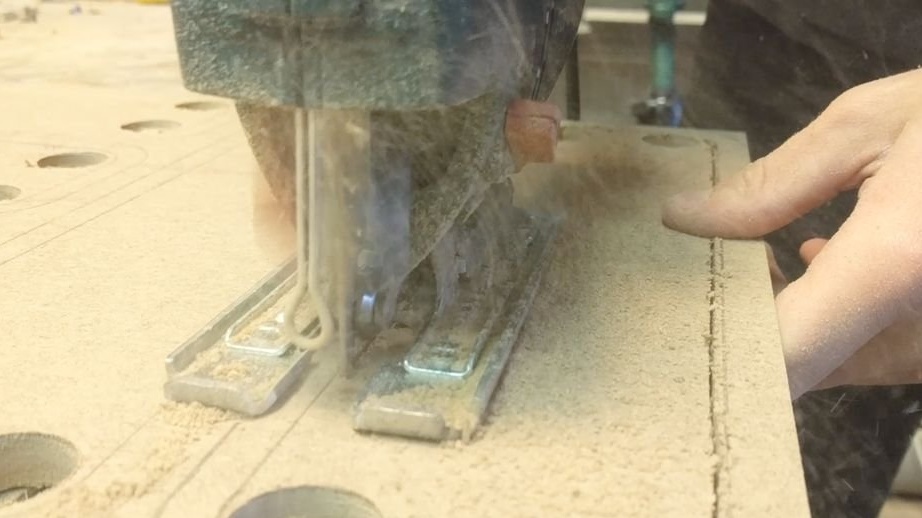
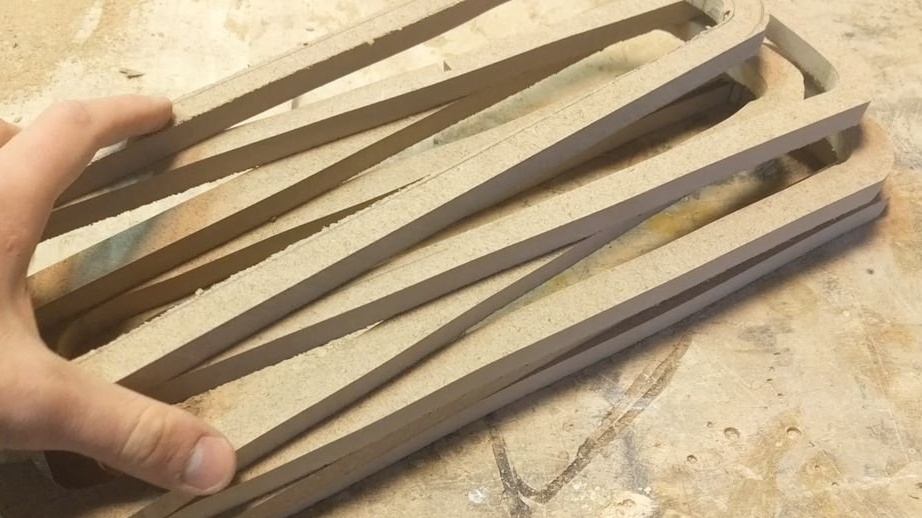
Cuts workpieces.
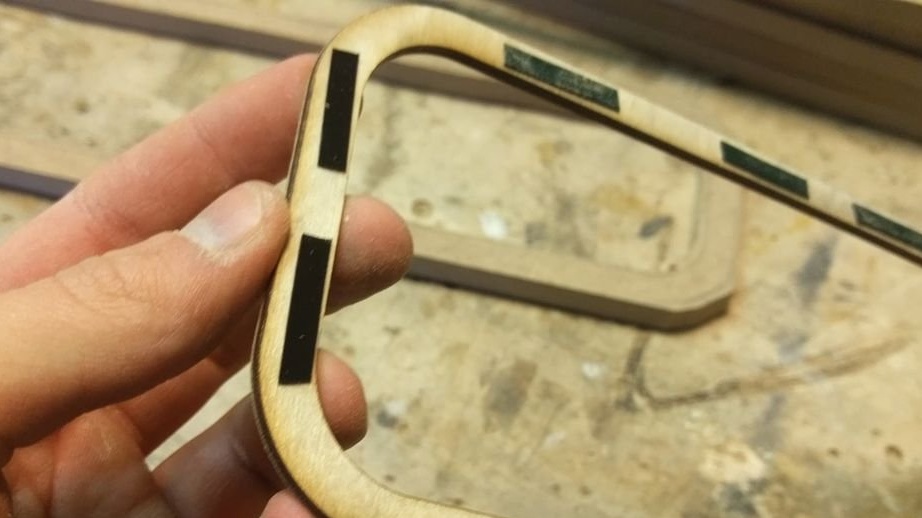
Step Three: Edge Processing
Next, the master cutter processes the edges of the workpieces. Using double-sided tape, the template is glued to the workpiece and the edge is adjusted to fit the template.
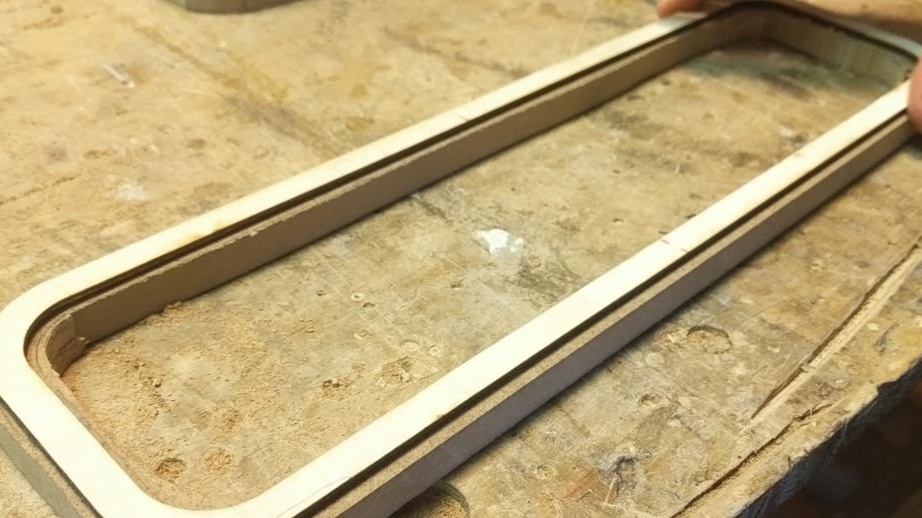

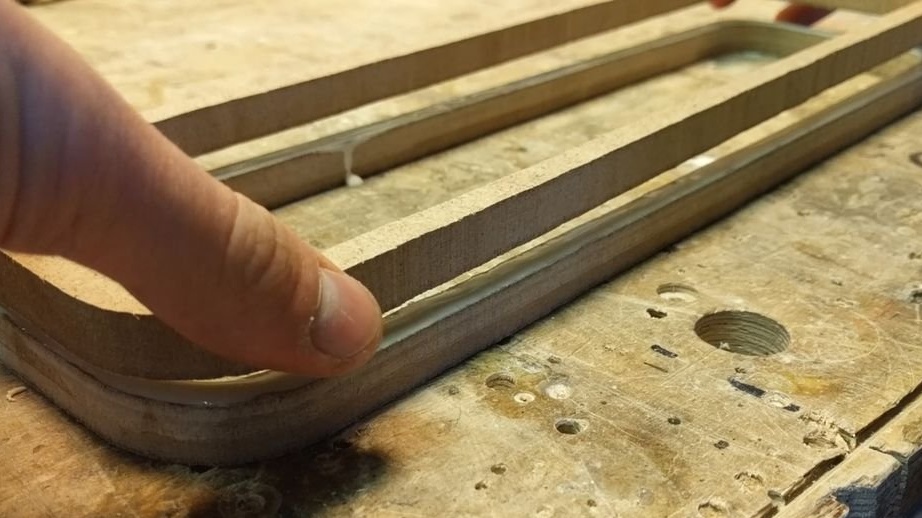
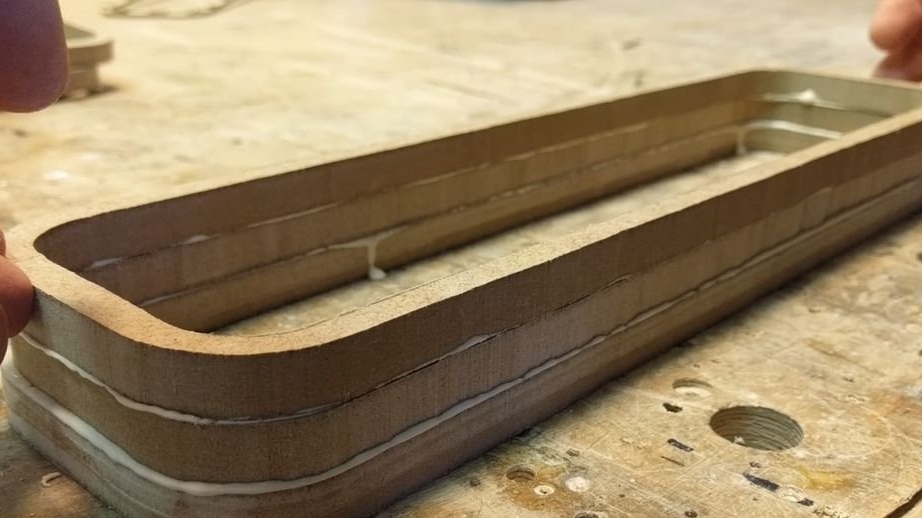
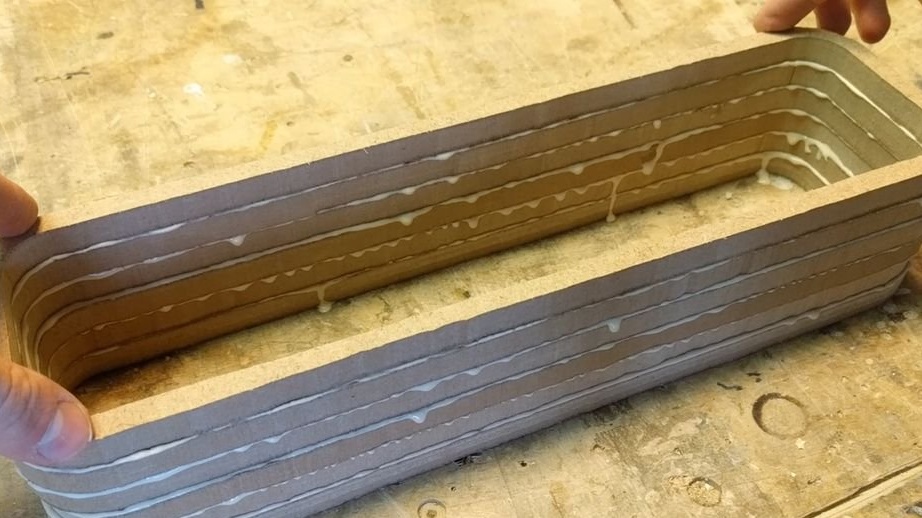
Step Four: Gluing
Glues workpieces into one part.

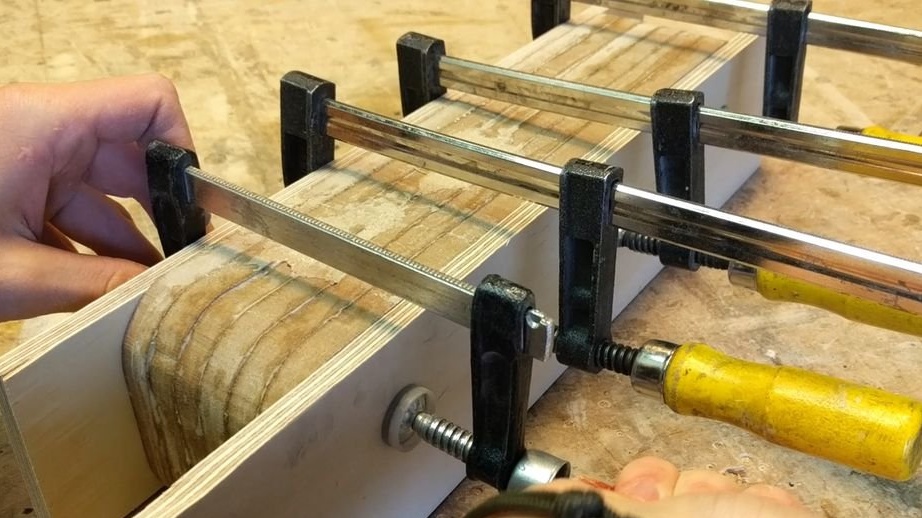
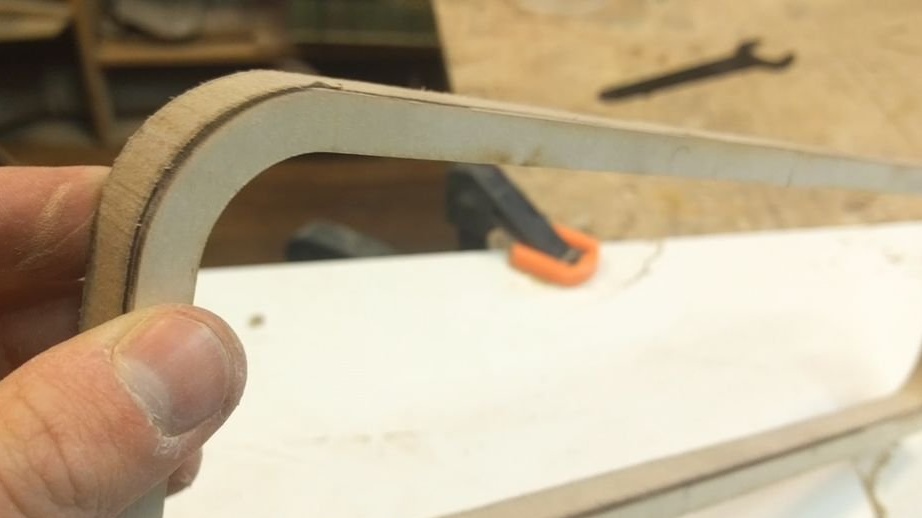
Fifth step: hull refinement
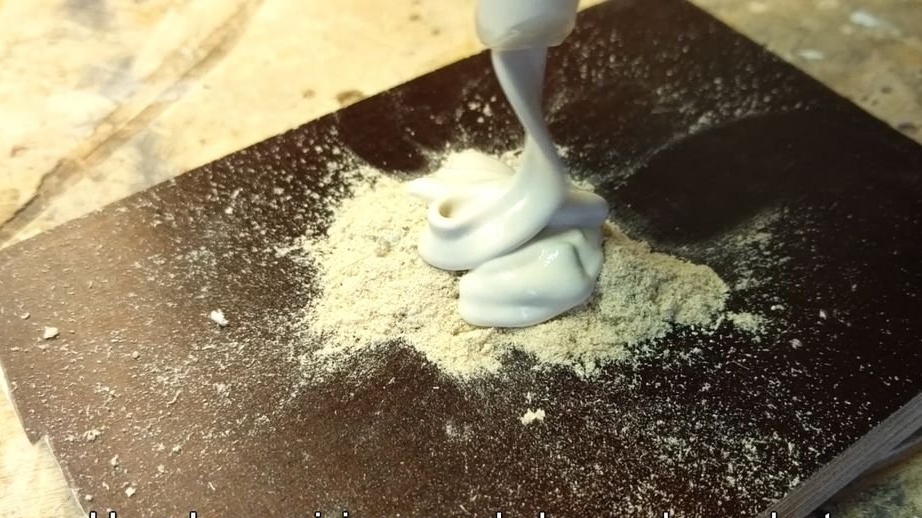
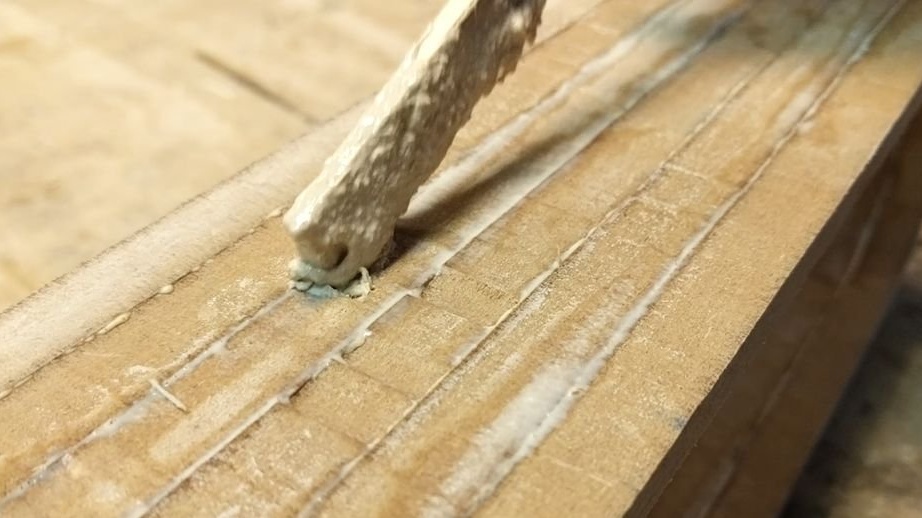
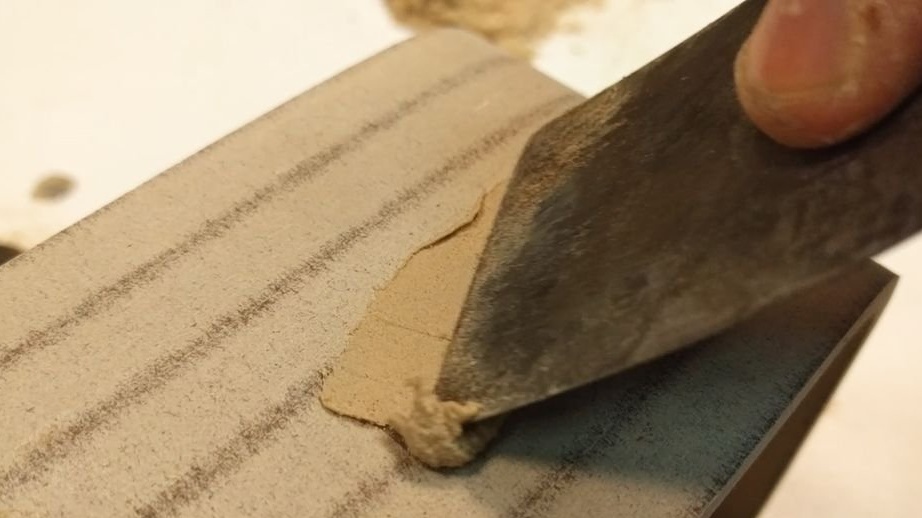
Mixes glue with sawdust and putsty on the end face of the part. After drying, polishes.
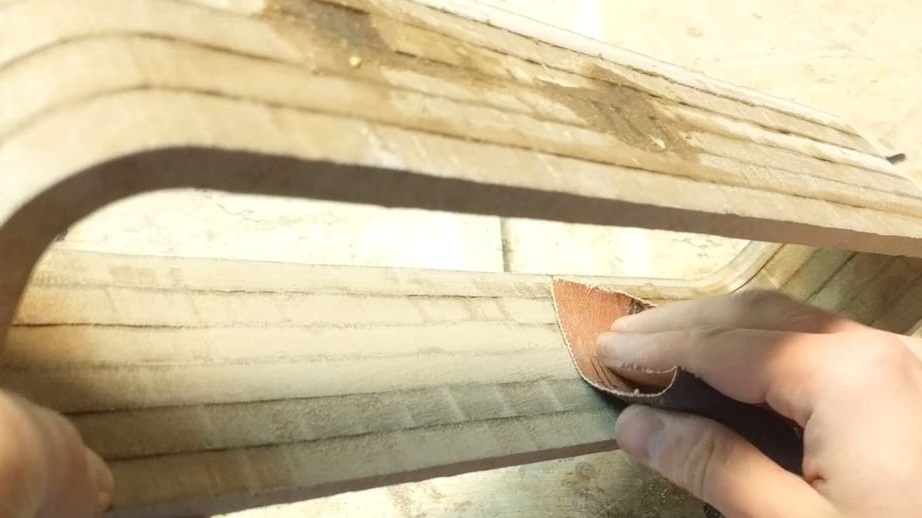
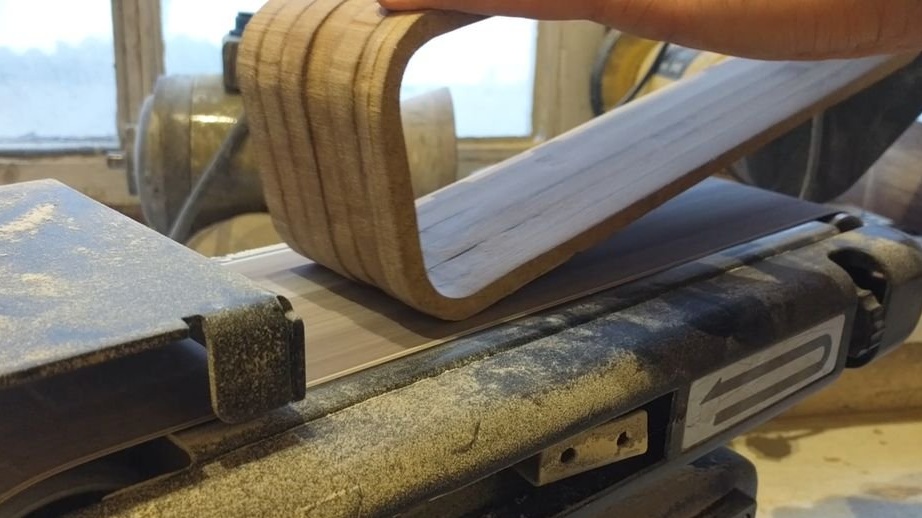
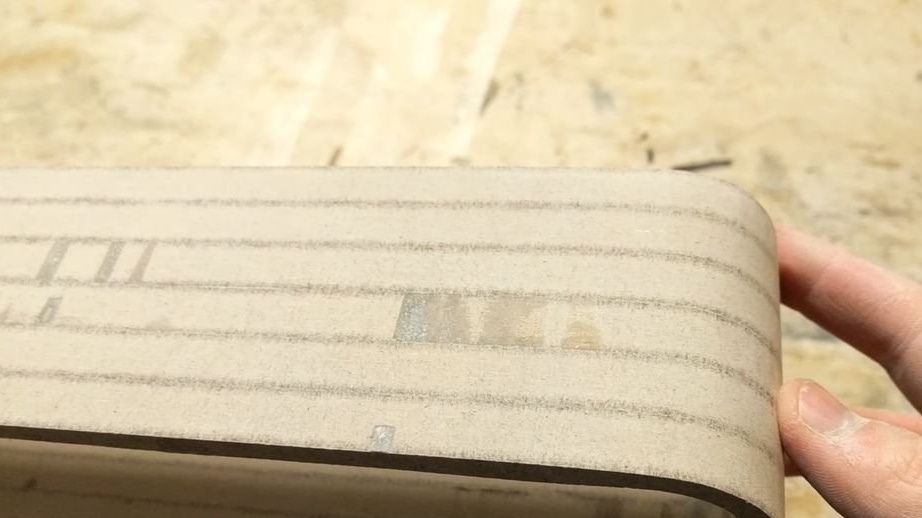
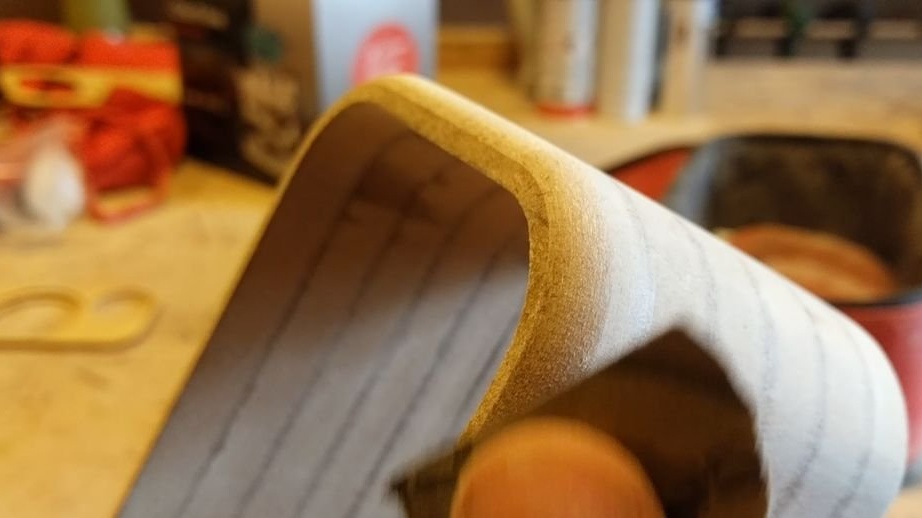
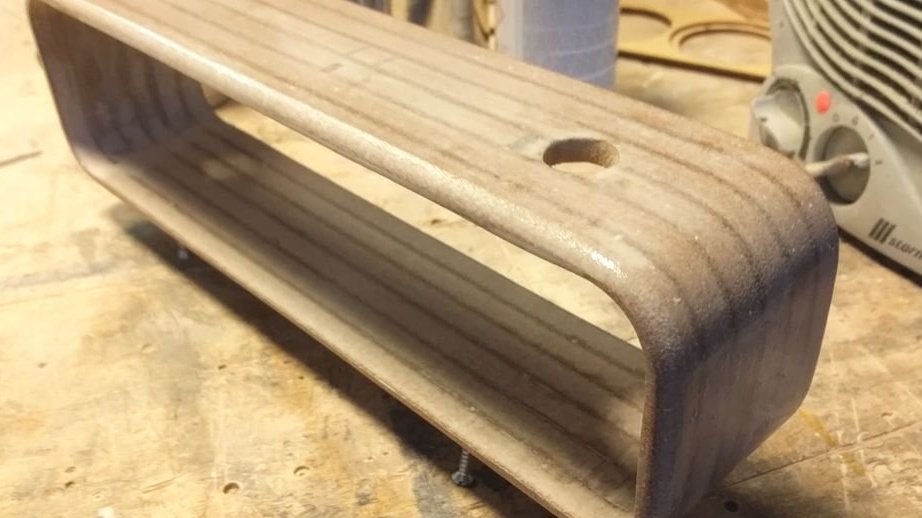
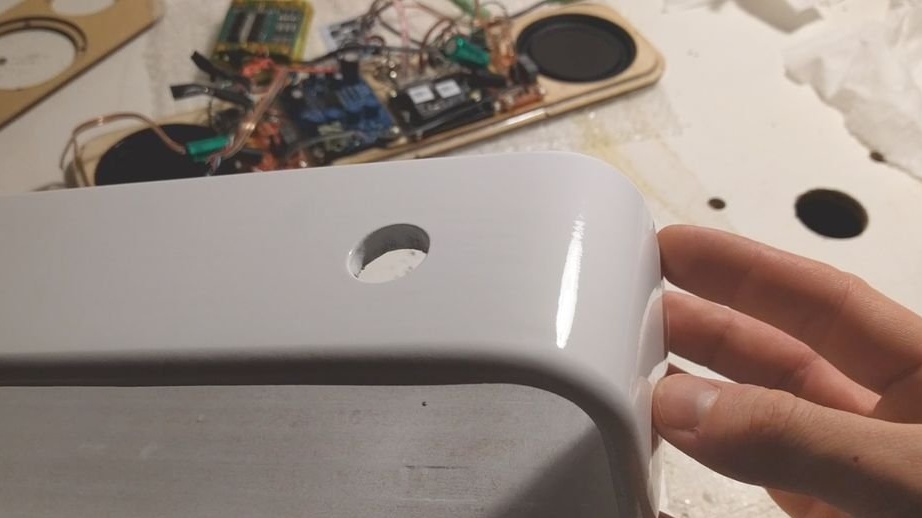
After the glue dries, the edge is milled and then sanded with sandpaper.
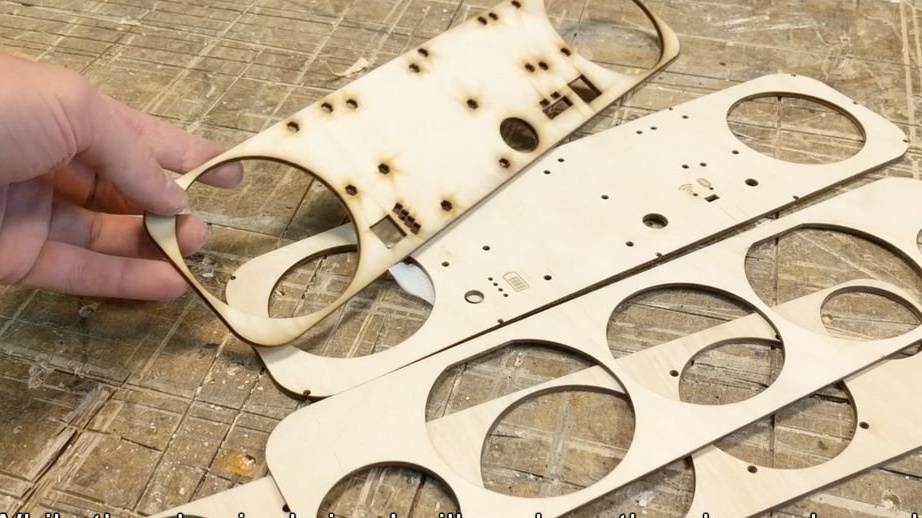
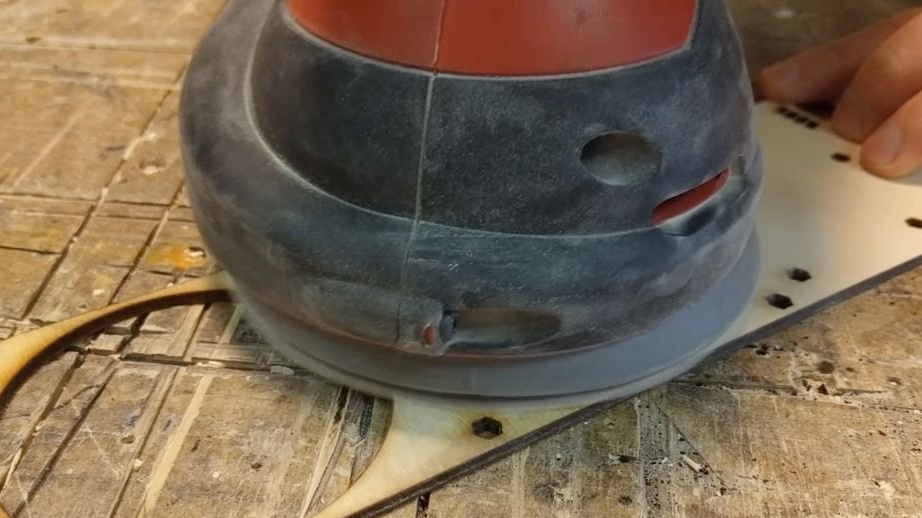
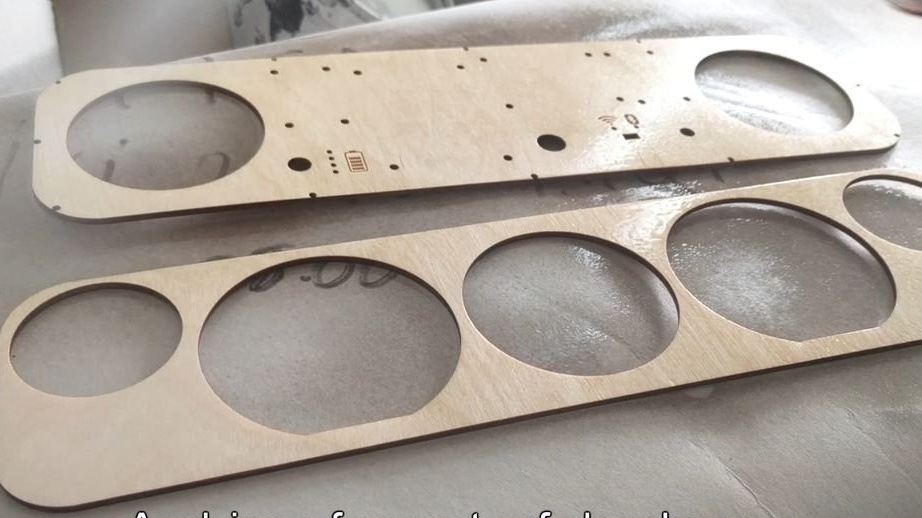
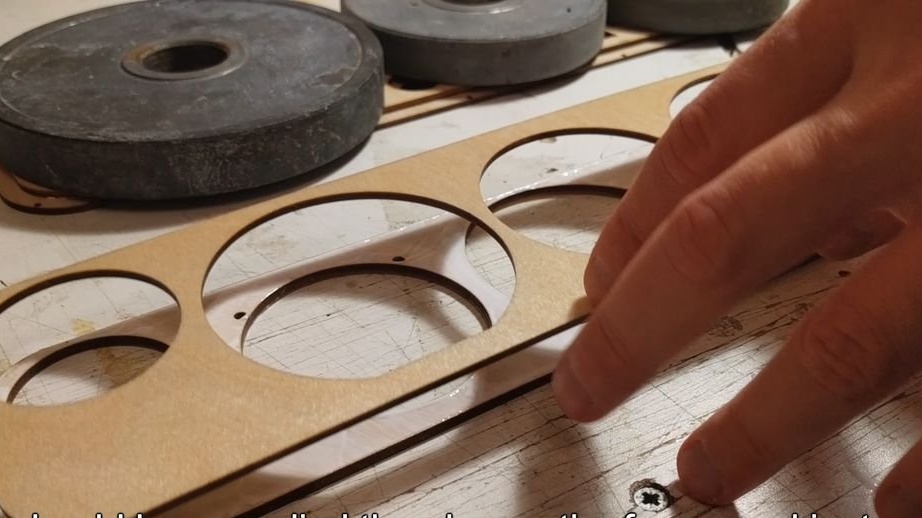
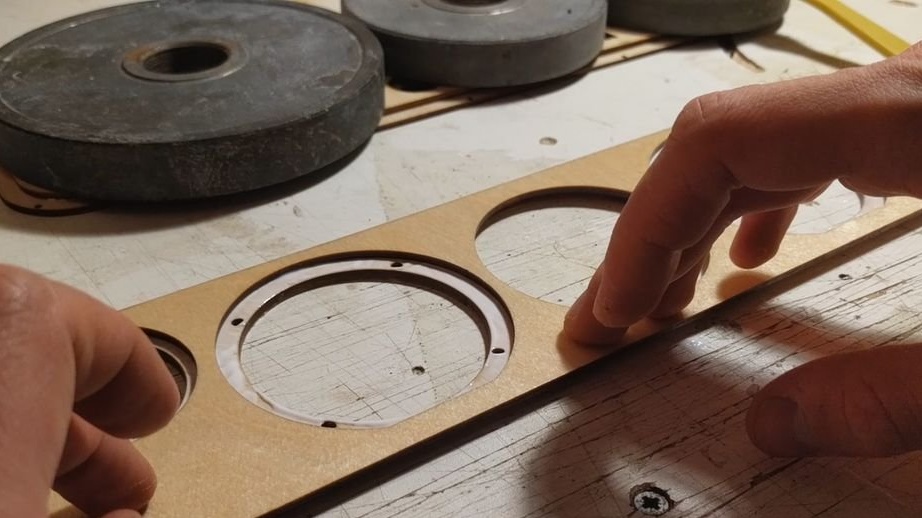
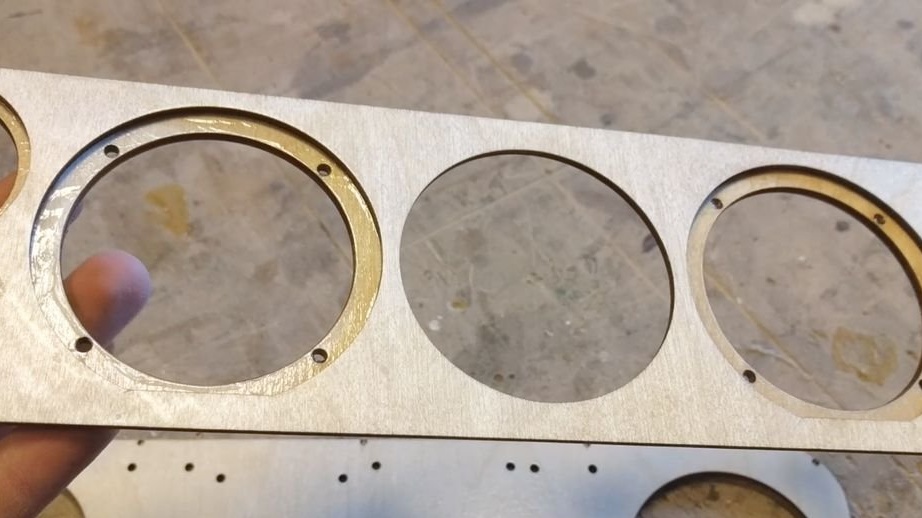
Step Six: Panels
Panels cut on a laser machine must be sanded, tan marks removed. Then it covers the panels with varnish and, after drying, sticks together.
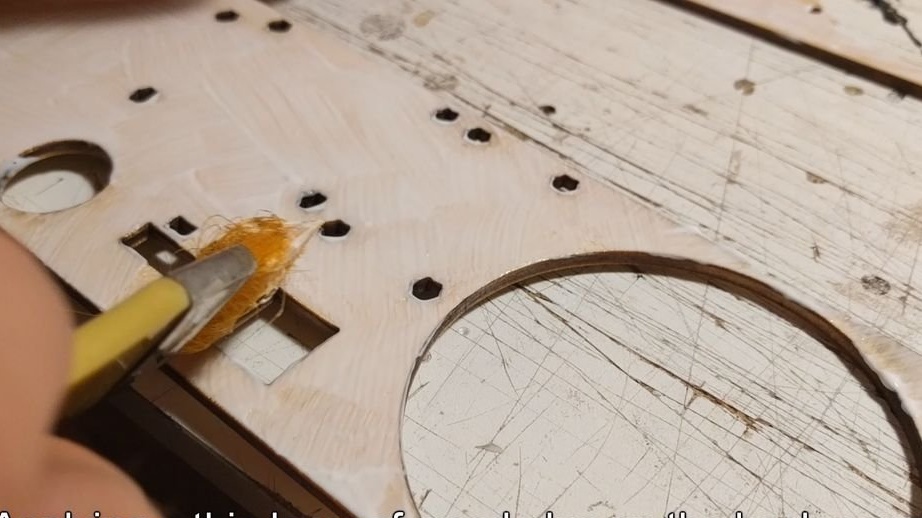
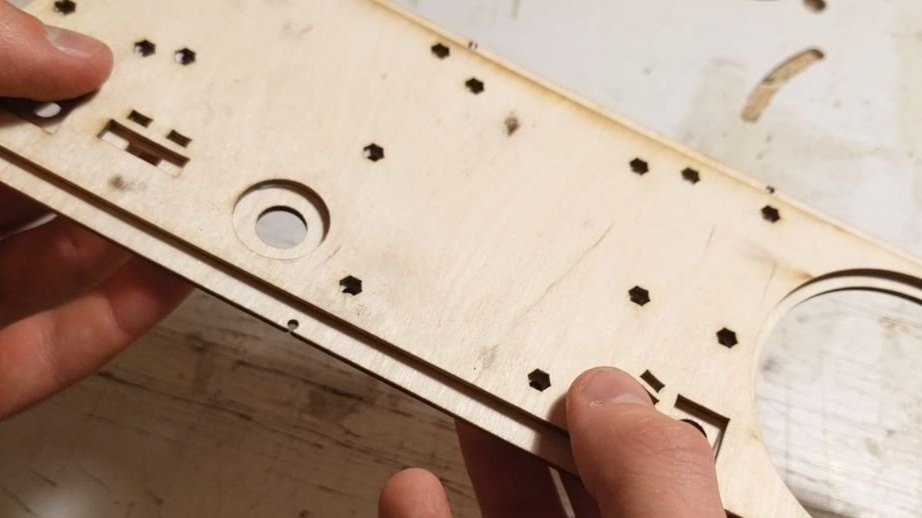
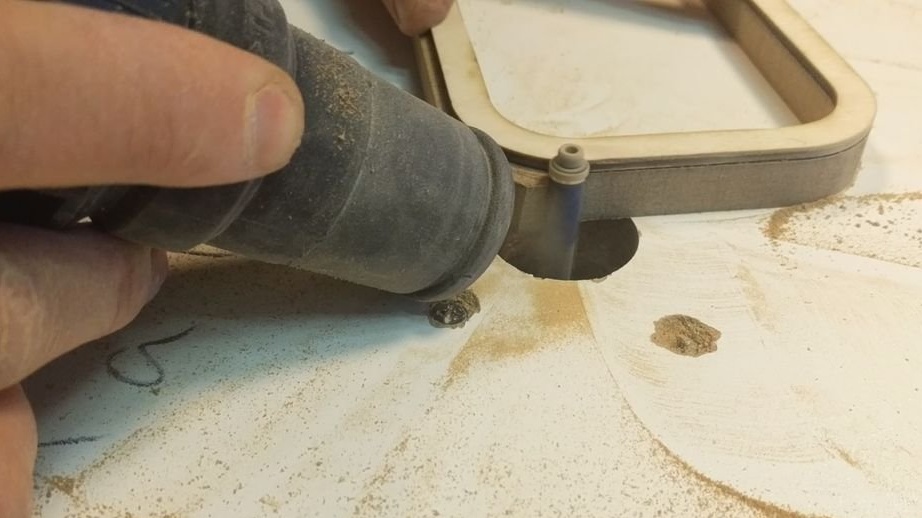
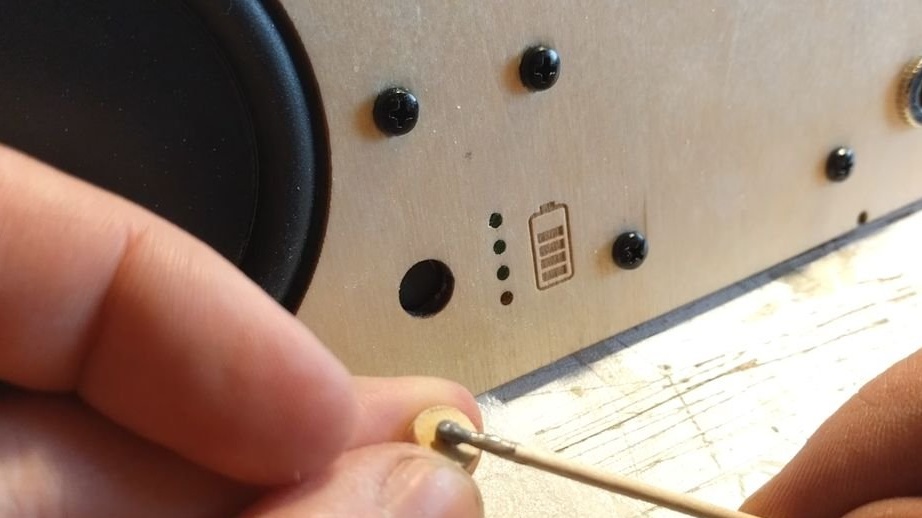
Seventh step: holes
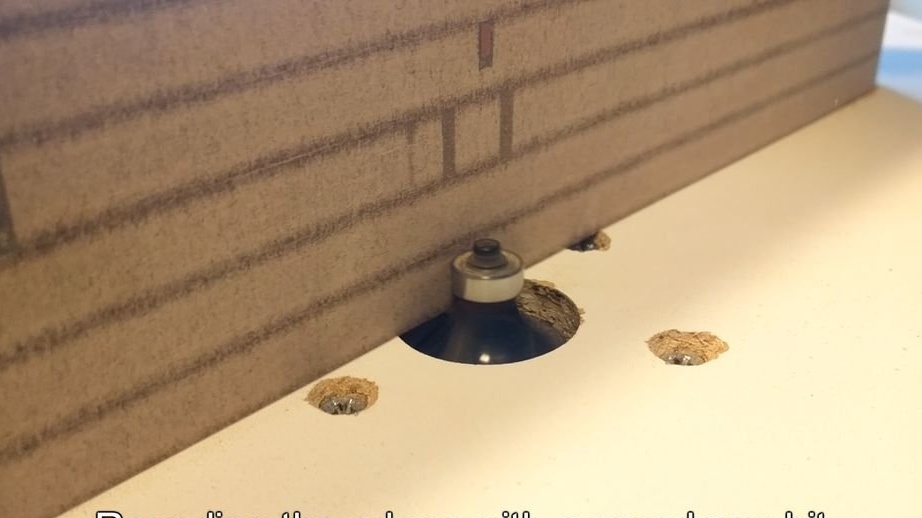
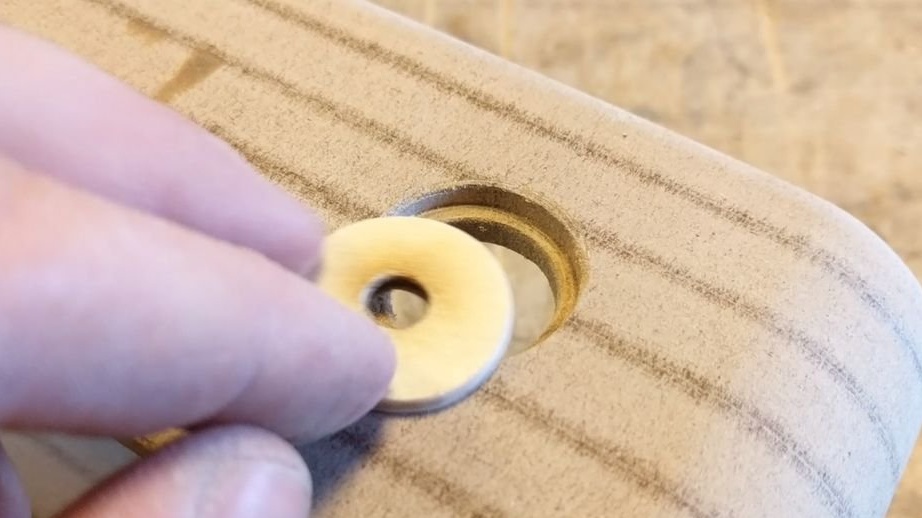
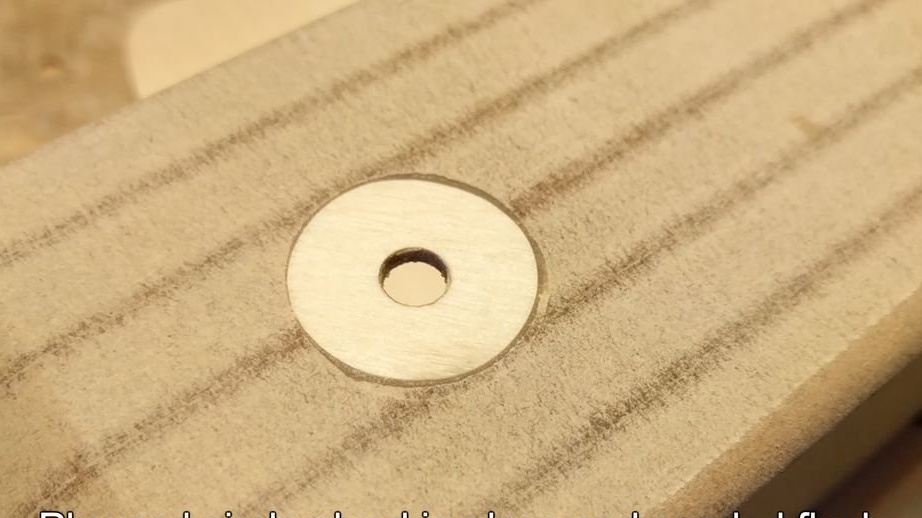
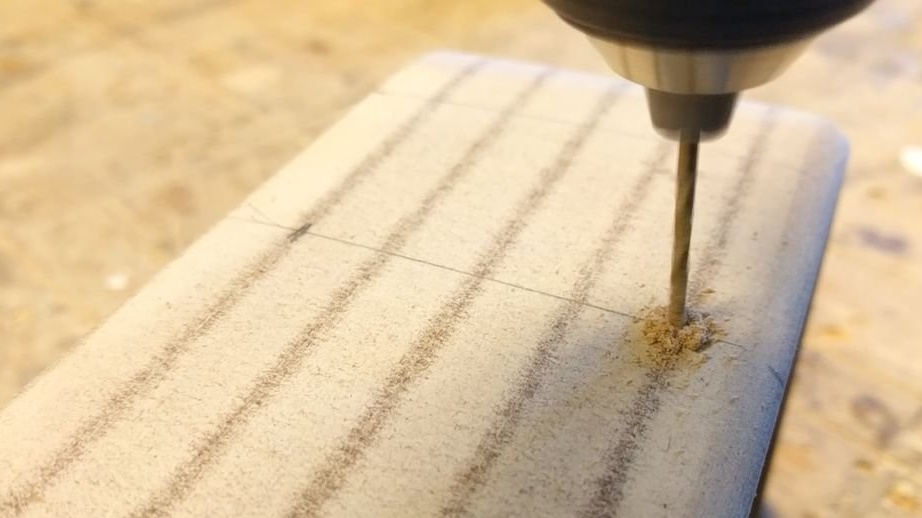
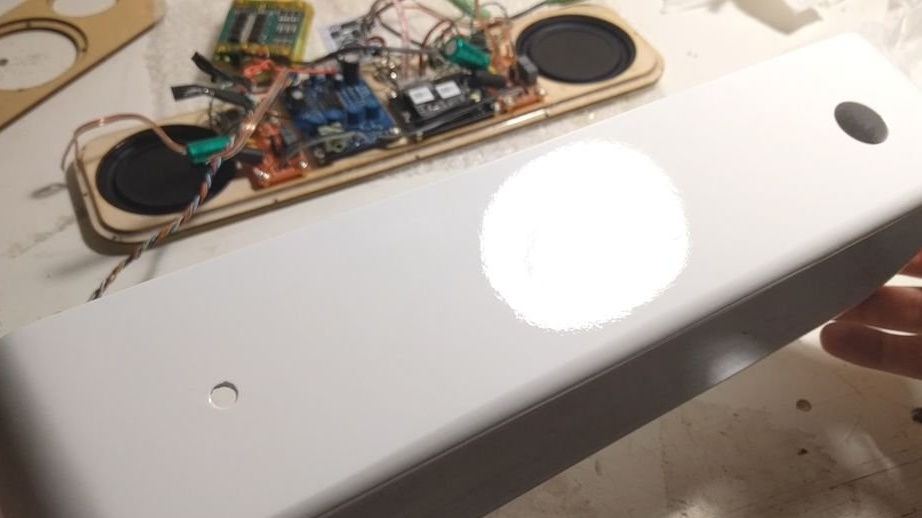
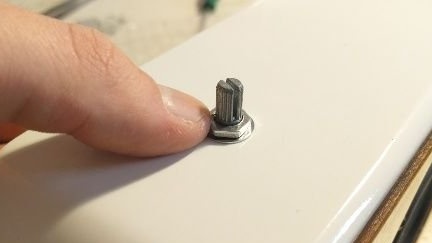
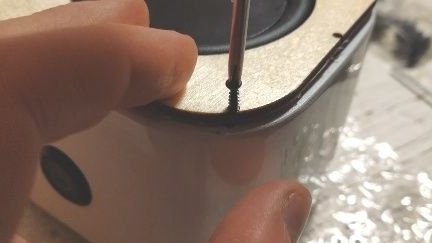
Installs a back cover on the case, marks out and drills holes for its fastening. Drills holes for, on top, potentiometer and power button, bottom, legs.
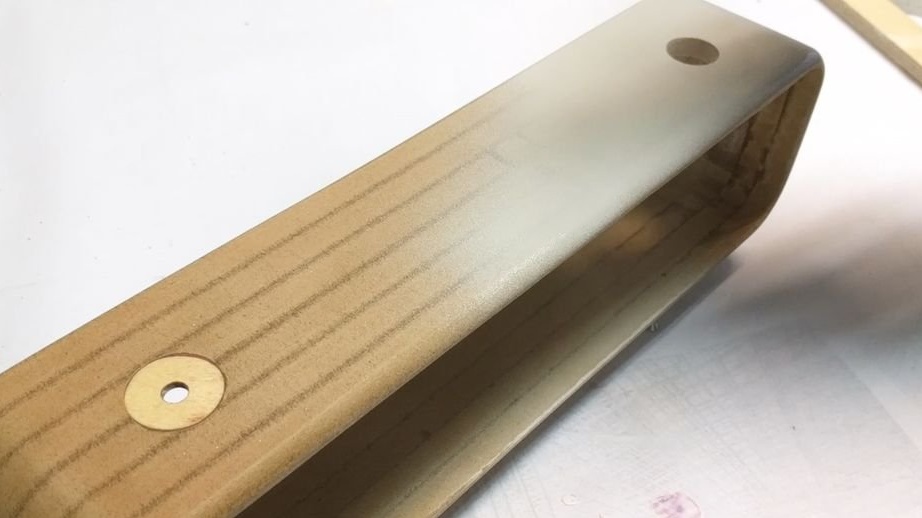
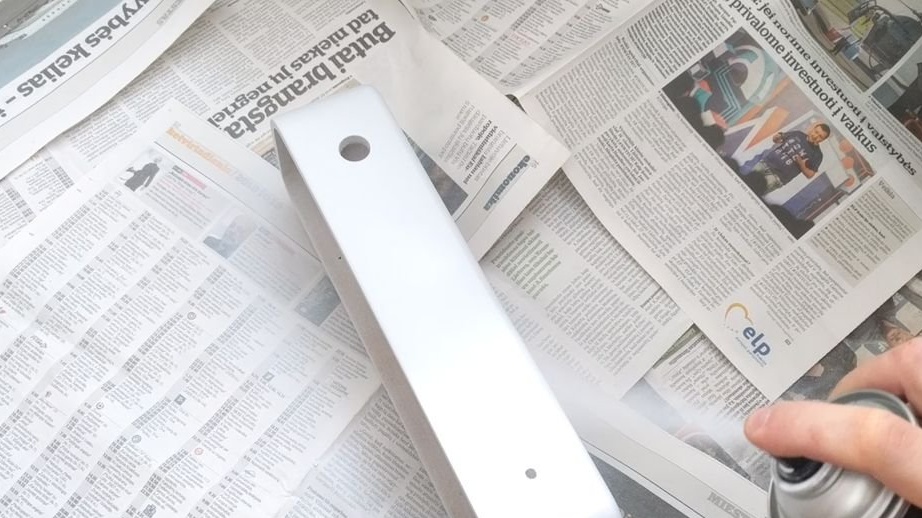
Step Eight: Painting
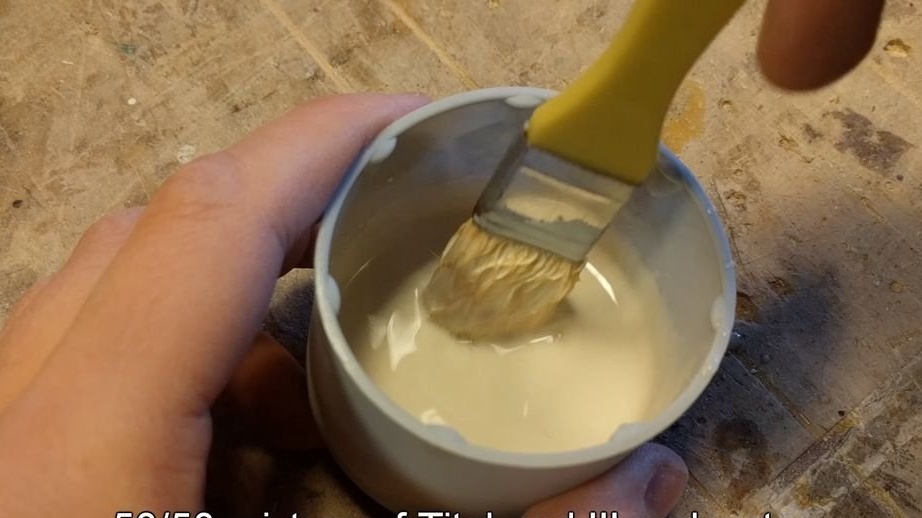
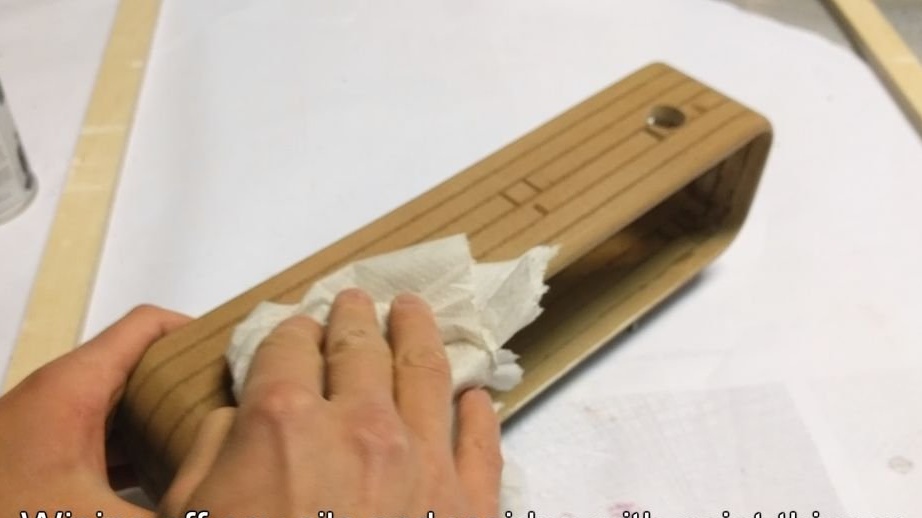
The master plans to paint the building, but first you need to prepare the MDF. Stir Titebond III wood glue with 1 \ 1 water. Brush covers the surface. After drying, the composition is sanded with 200-400 sandpaper.
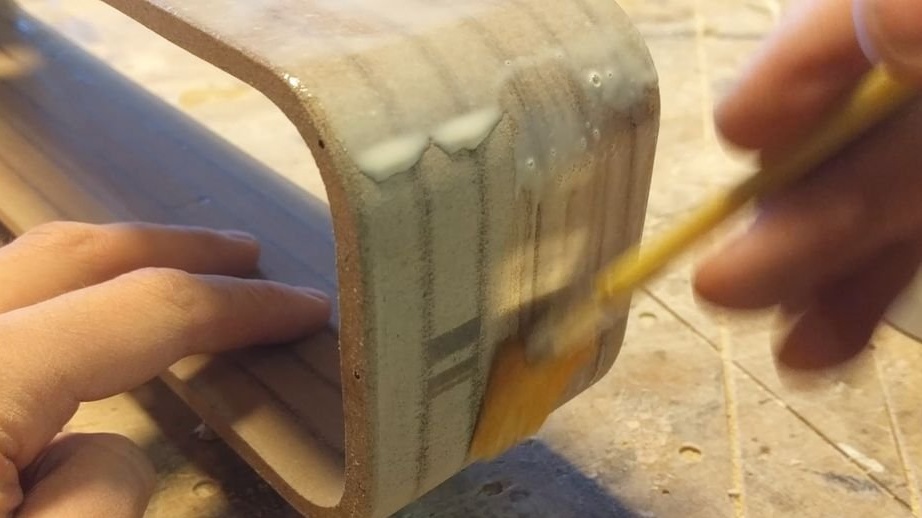
Degreases the body. Apply a primer coat. After drying, it polishes, degreases again and applies several layers of white paint.
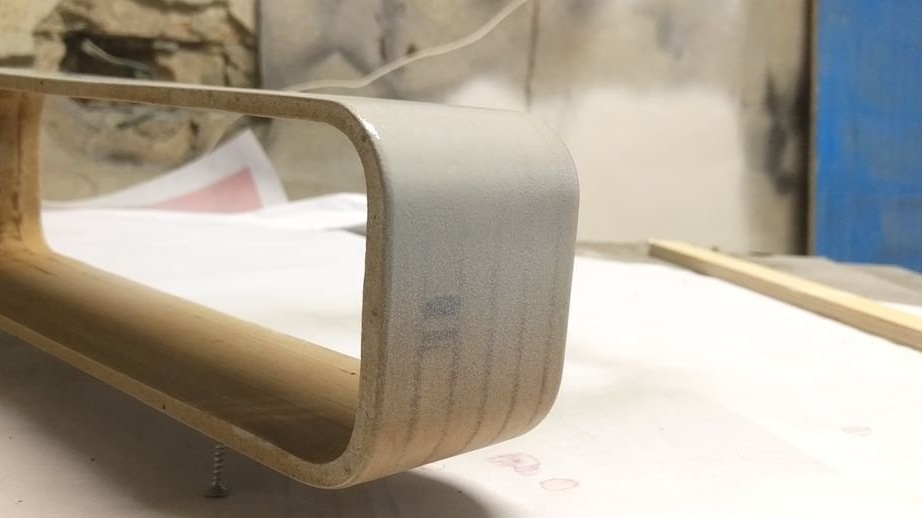
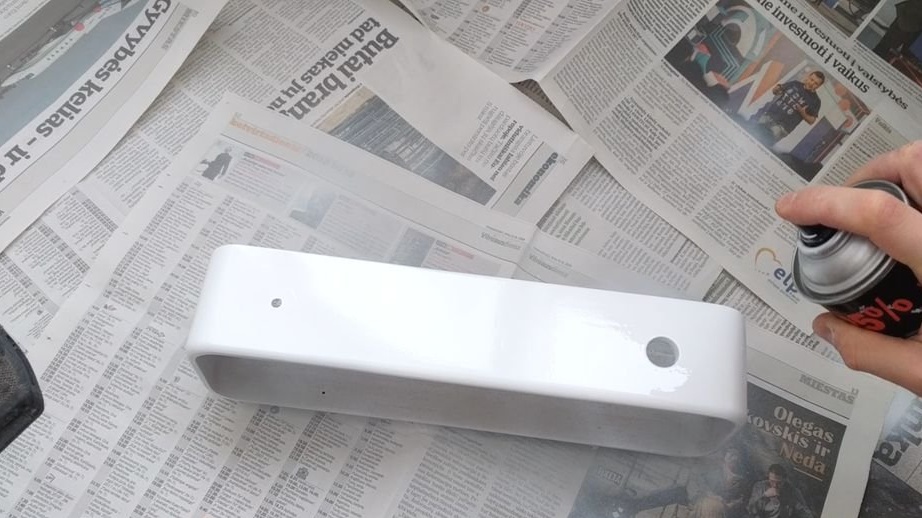
The result of painting is good.
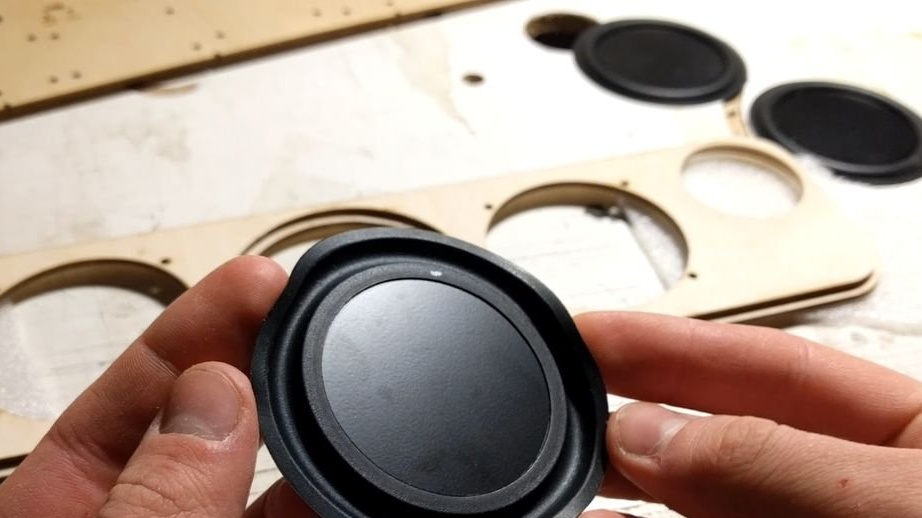
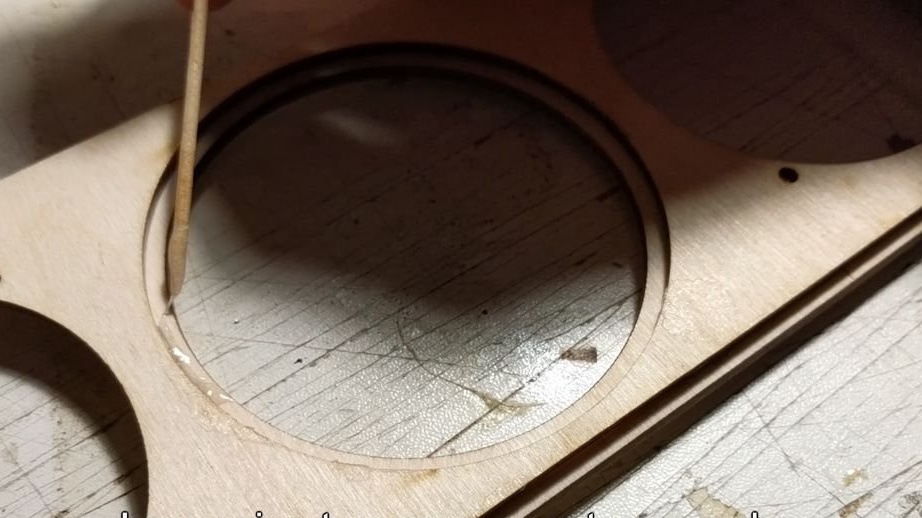
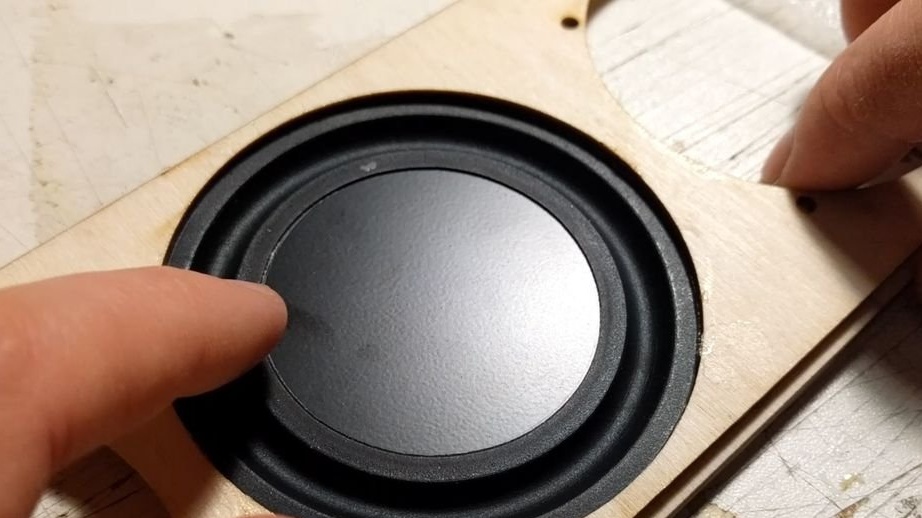
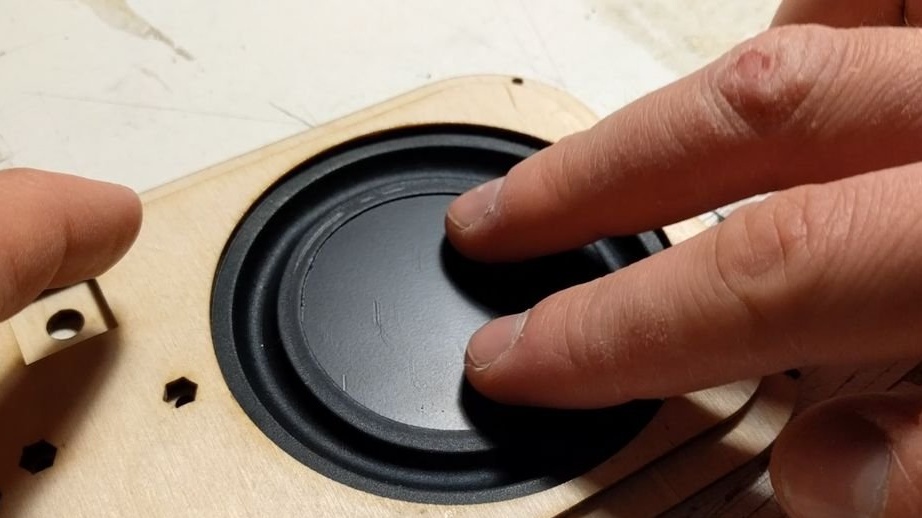
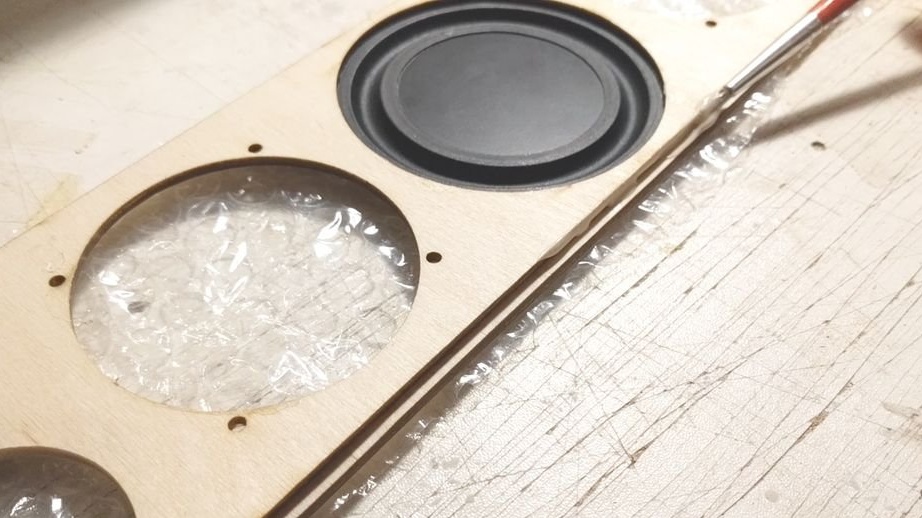
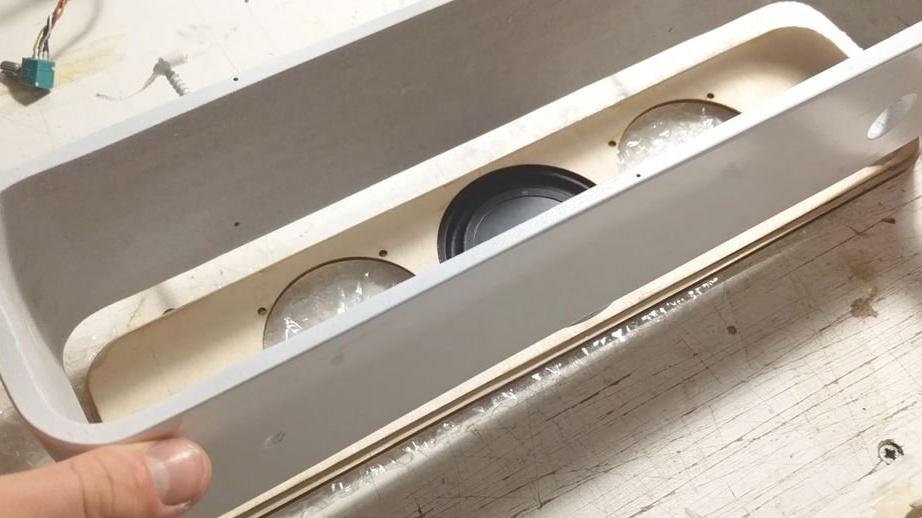
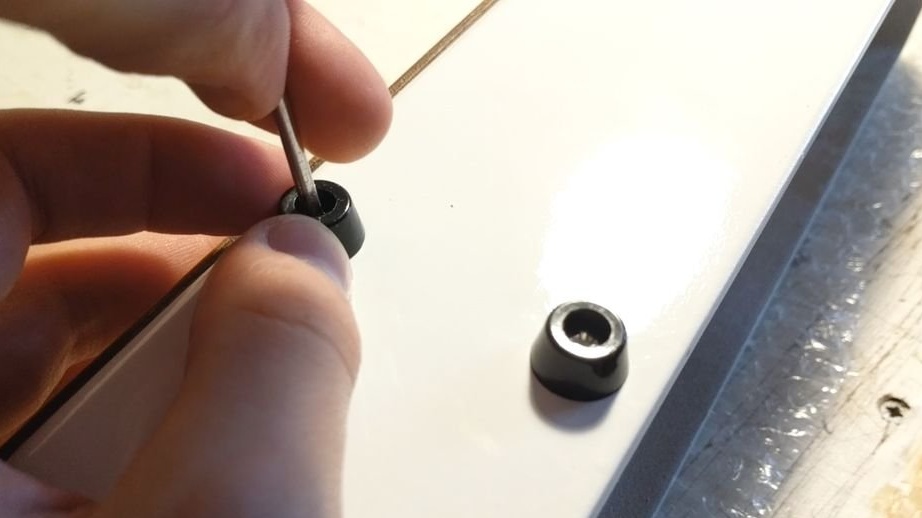
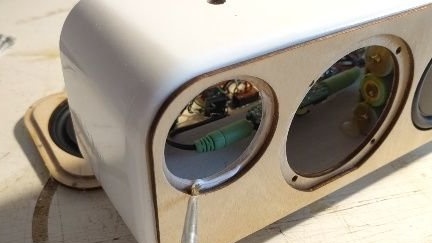
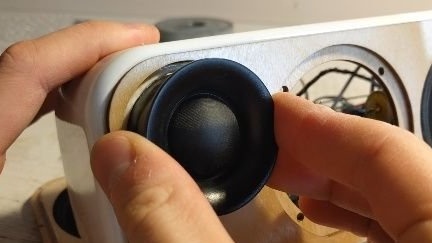
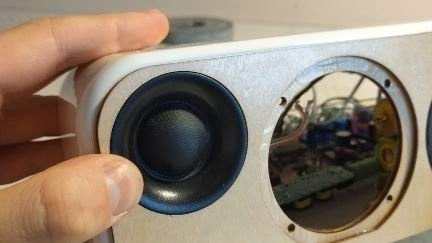
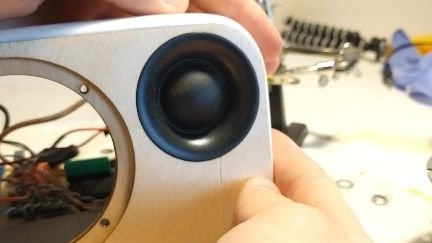
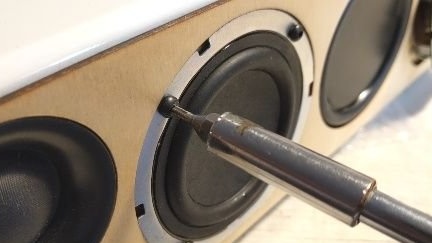
Step Nine: Passive Emitters
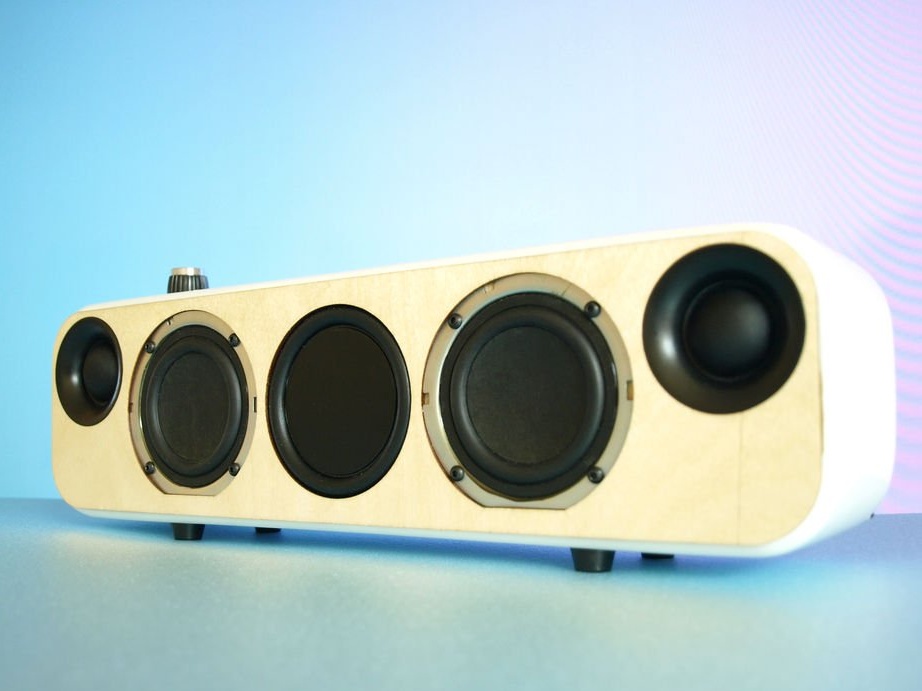
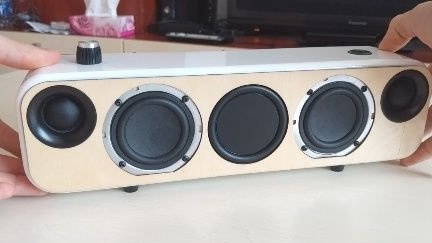
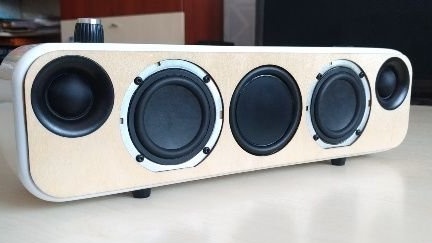
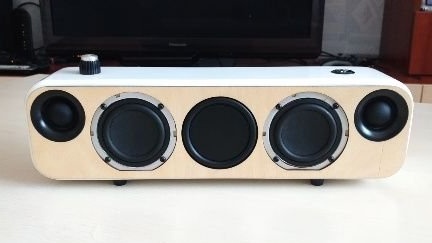
The product uses three passive speakers, one in front and two in the back. Passive speakers are glued to the seat with epoxy glue.
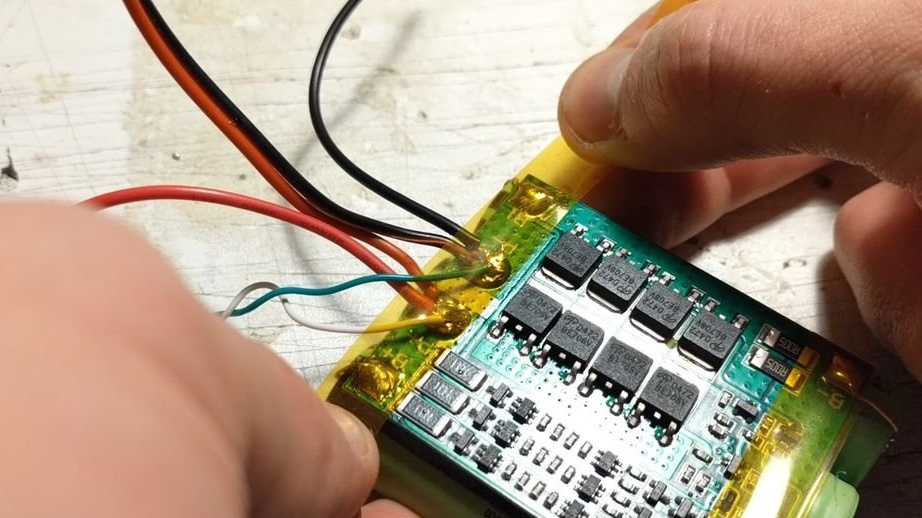
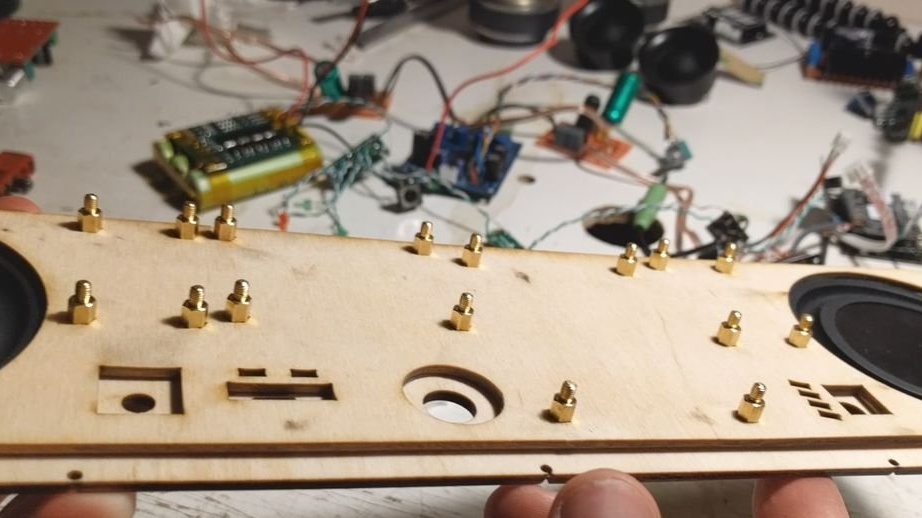
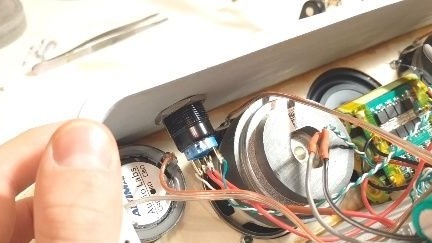
Step Ten: Electronics
The electrical installation diagram is shown above. In detail, the wizard stops at the power supply, leads the connection and assembly of the batteries.
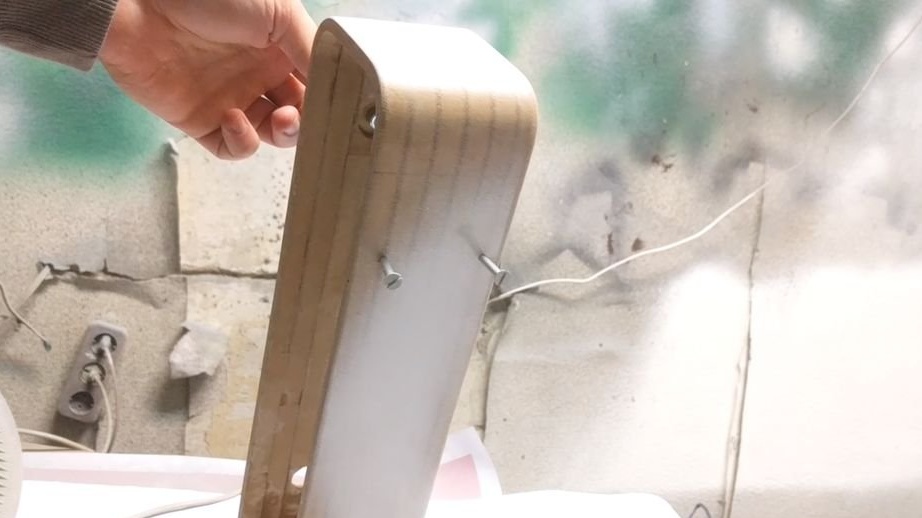
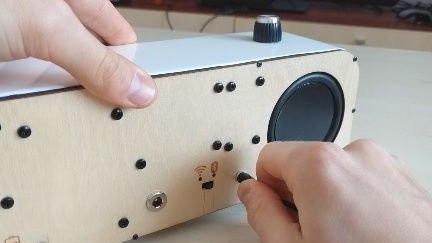
Step Eleven: Build
Starts to assemble the device. Fixes boards.
Glues the front panel to the body.
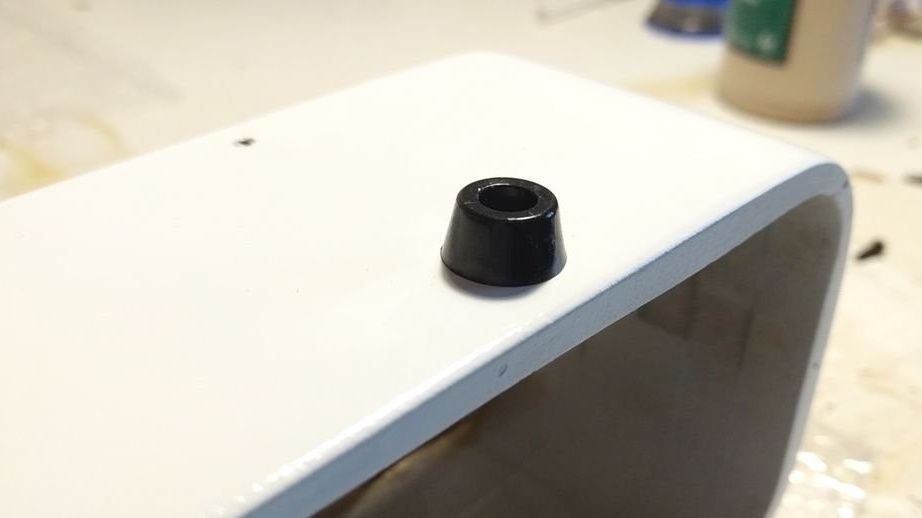
Screws the legs.
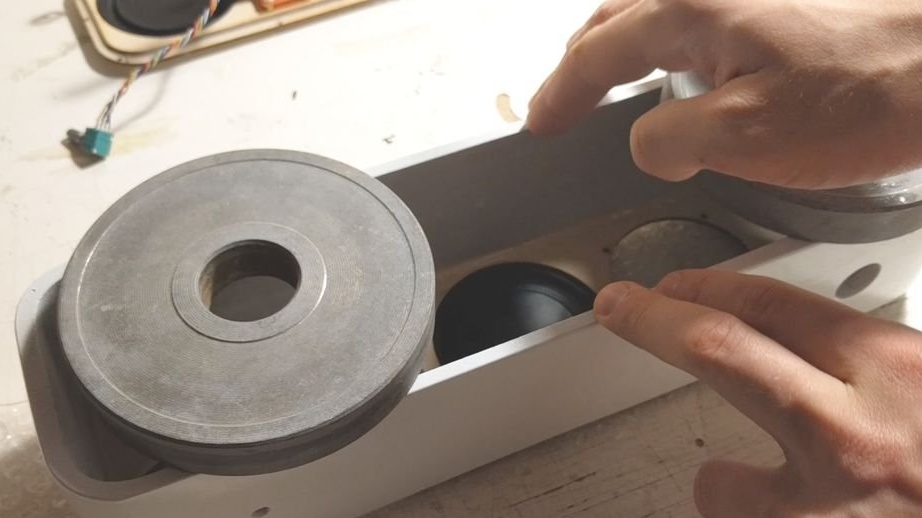
Sets the speakers.

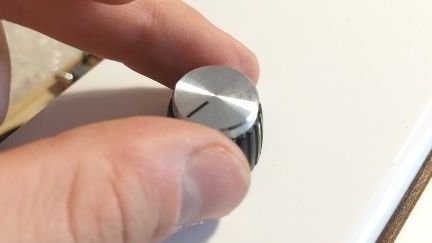
Sets the button and knob to the potentiometer.

Screws back panel.

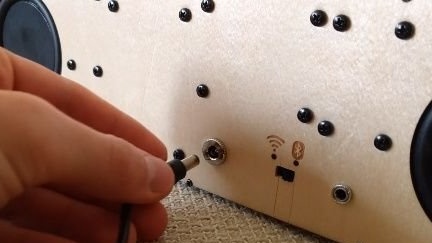
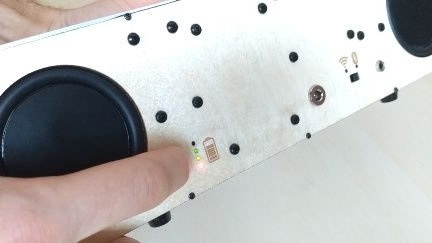
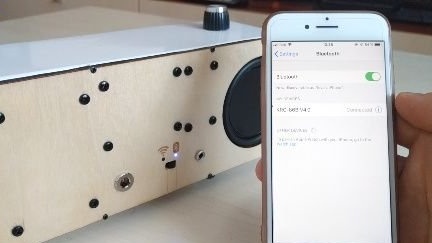
Now it remains to charge the batteries and connect the smartphone.
All is ready. According to the master, he is pleased with the result.
The whole process of manufacturing and assembling an audio column can be seen in the video.