Hello dear lovers homemade!
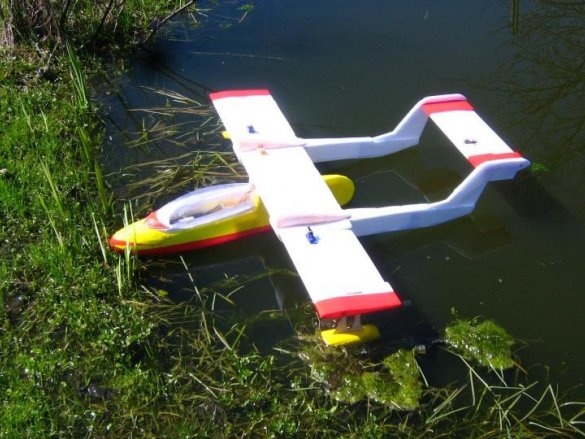
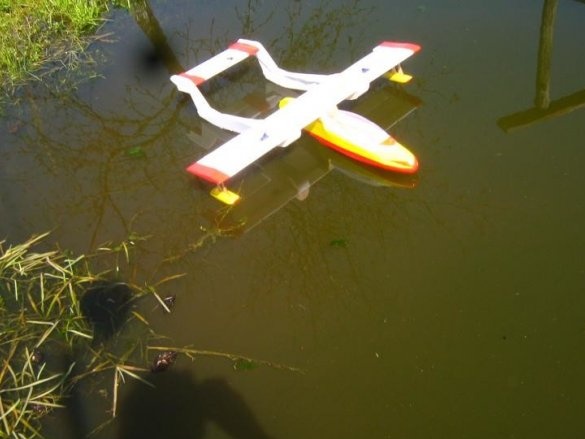
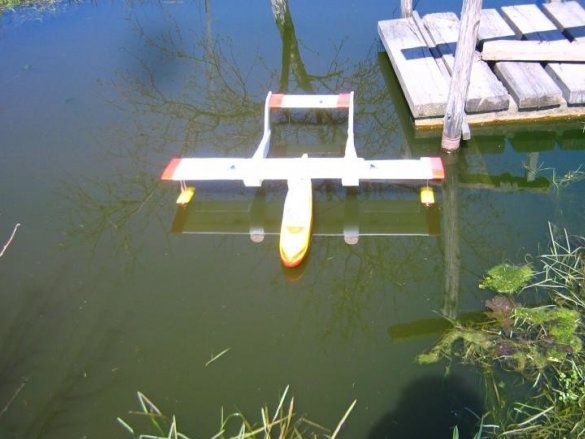
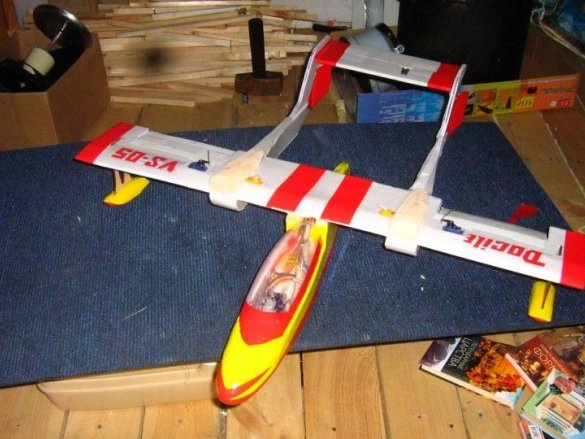
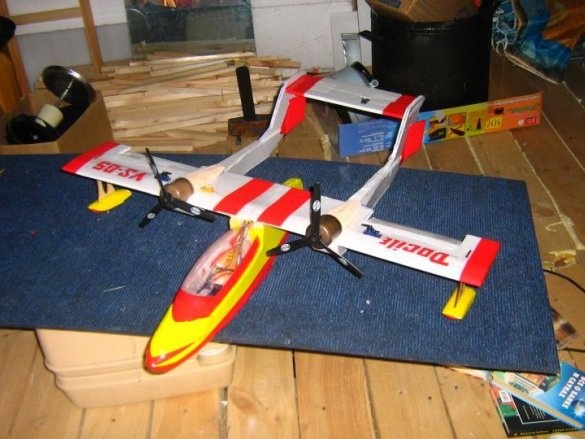
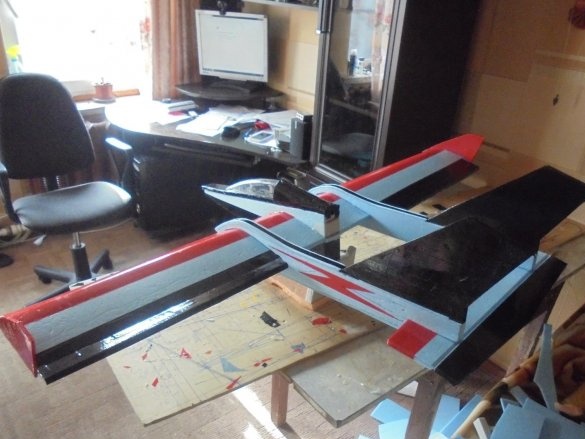
Today I want to share with you my experiments in the construction of aircraft models frame schemes.
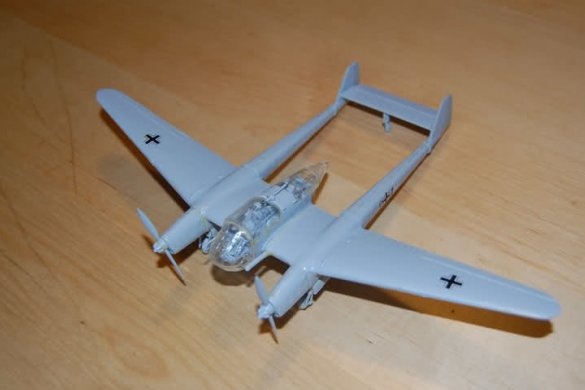
Everyone knows the Focke-Wulf 189, and I wrote about building a model for such an airplane.
At that time, the American medium attack aircraft OV-10 Bronco was taken as the basis.
And again a model with two engines. And I needed a prototype with one engine.
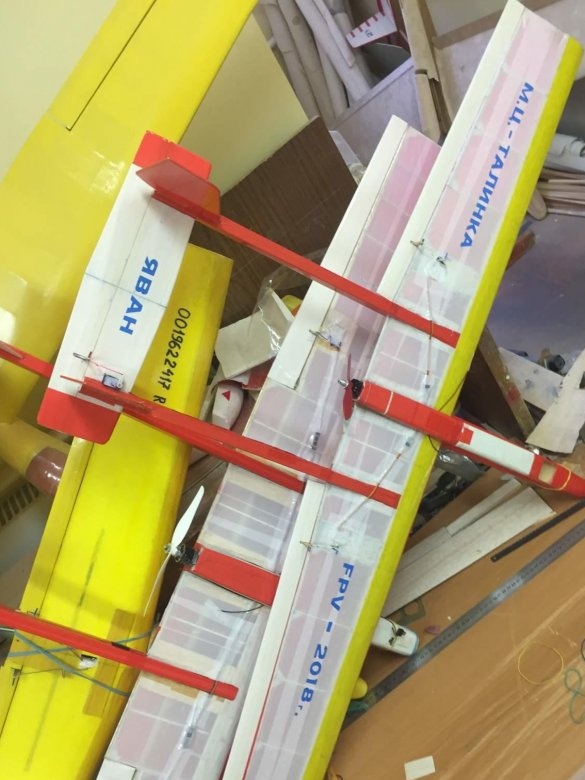
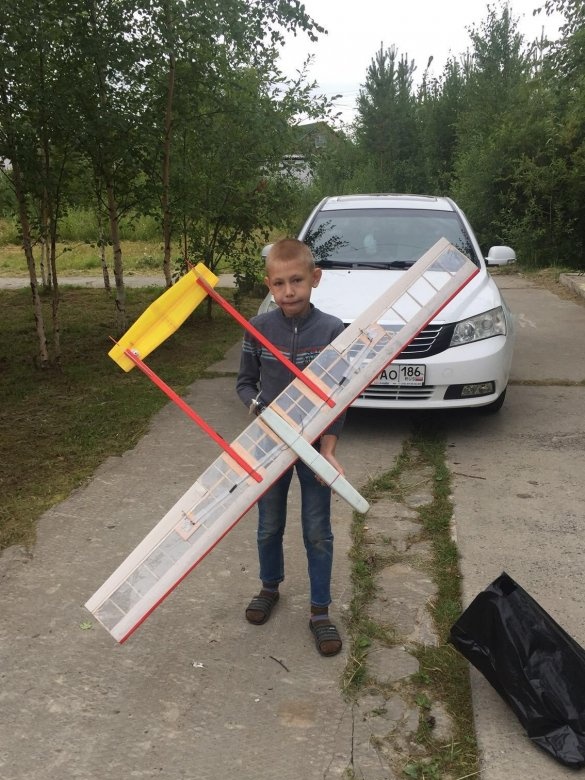
After a long search, I was fortunate enough to meet an aircraft model living in the Far North, beyond the Arctic Circle, which deals with aircraft models and, in particular, pays great attention to models of the frame scheme. He has many models built according to this scheme, and they differ in different wing profiles.
I looked at his model and decided to build my model, but there are no drawings! I found a suitable photo of the model from a friend, copied, enlarged to the desired size, put down the sizes and began to build.
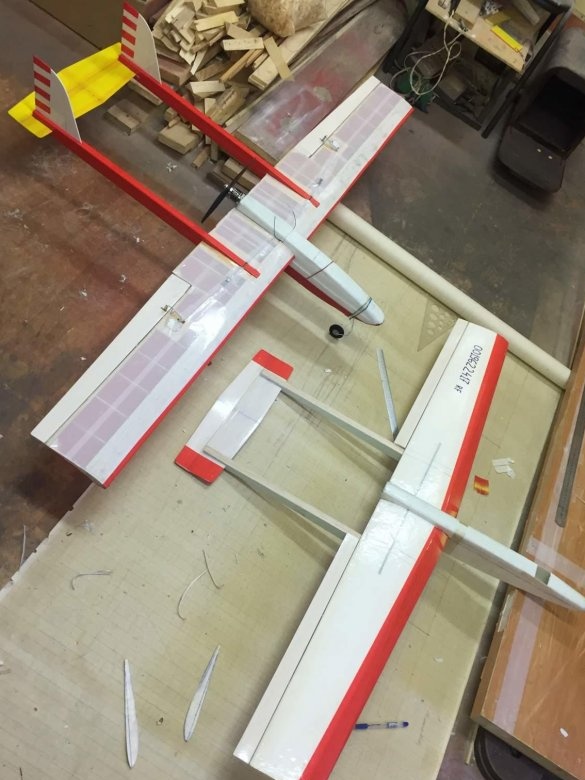
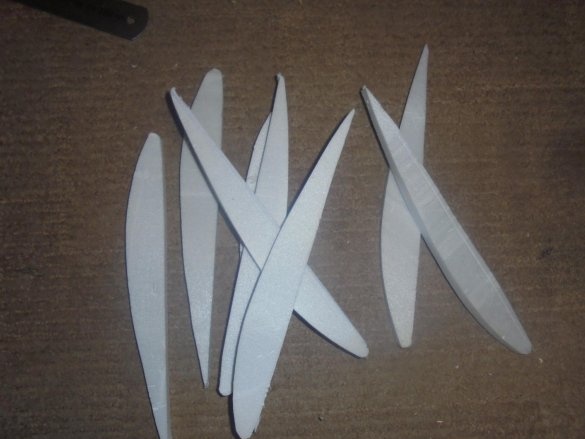
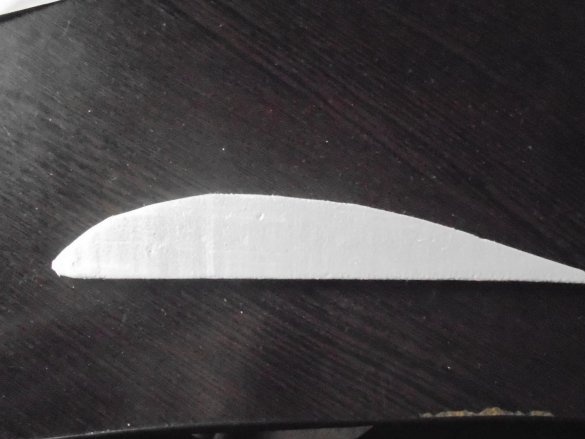
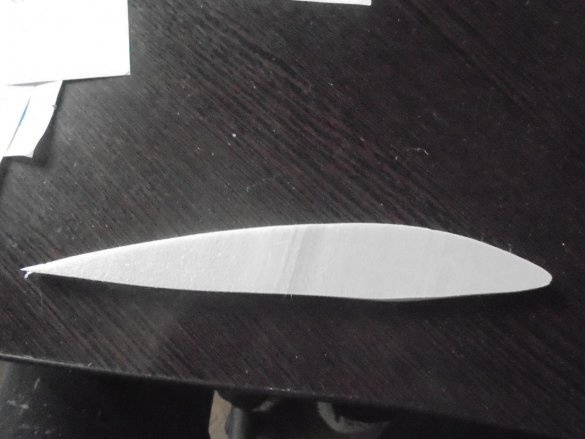
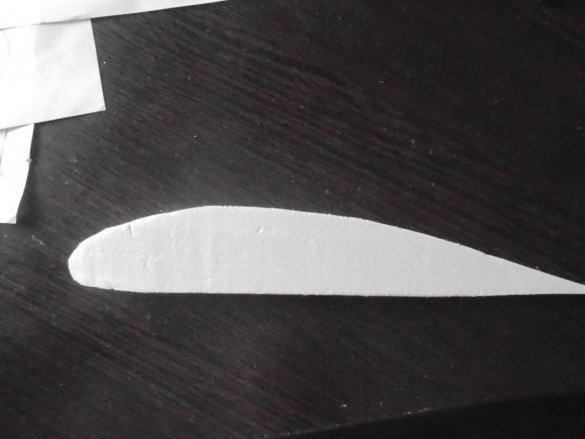
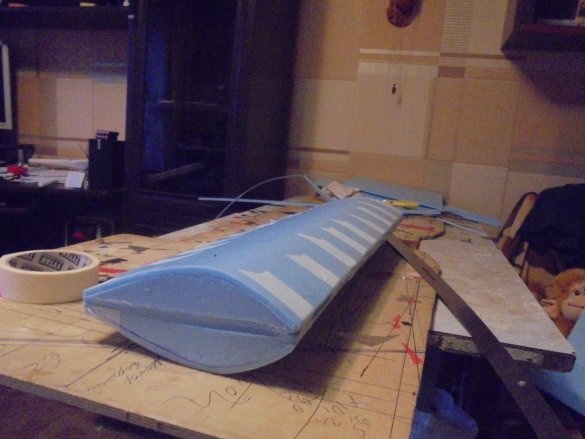
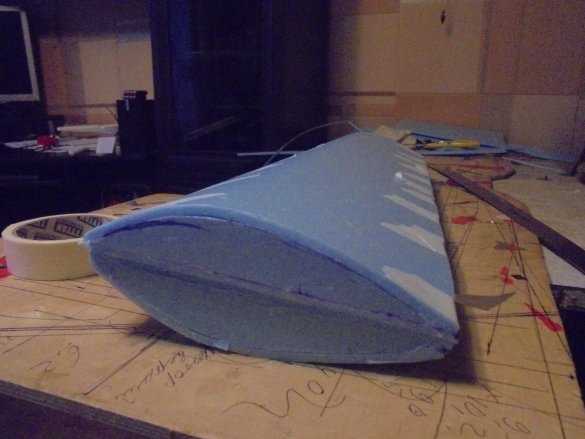
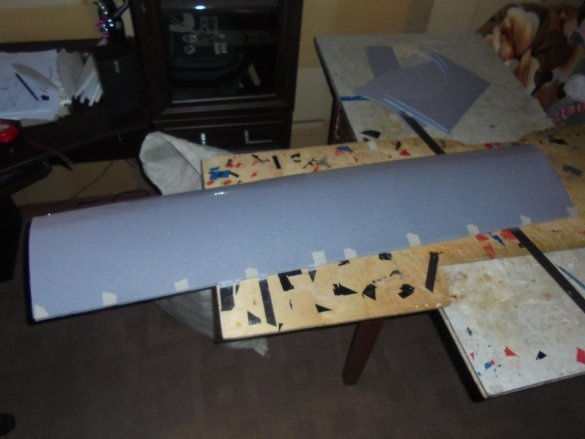
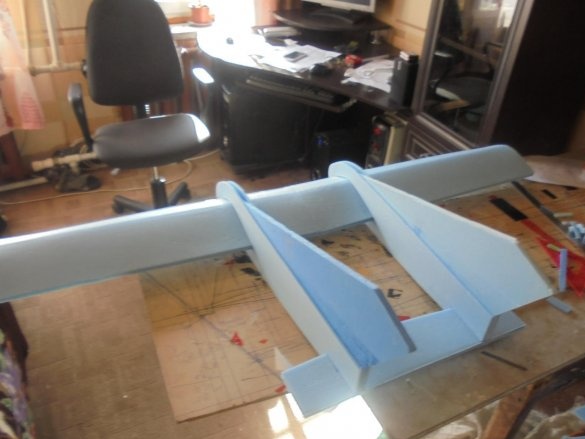
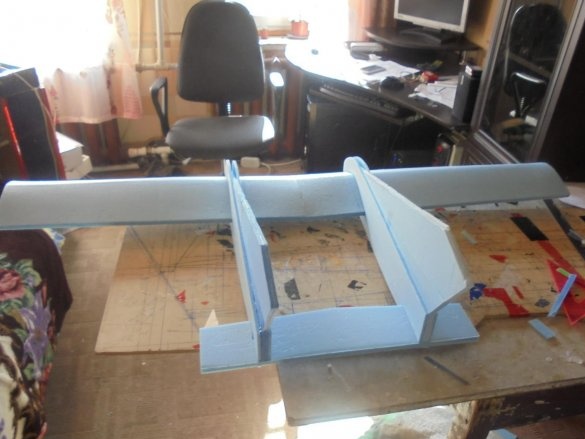
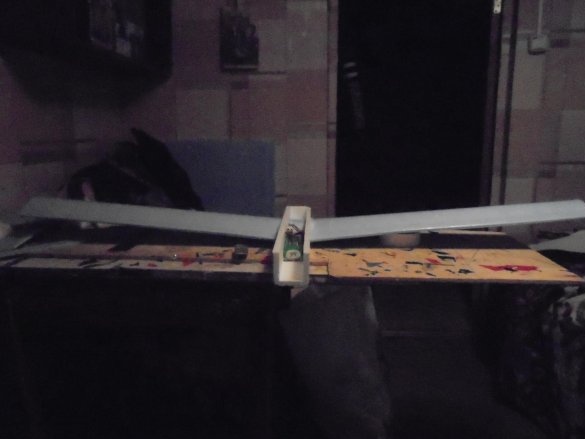
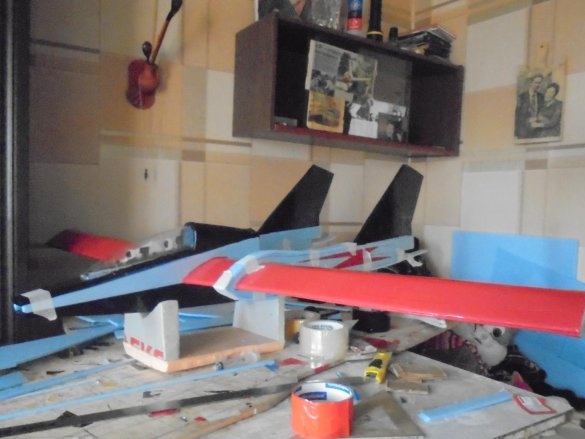
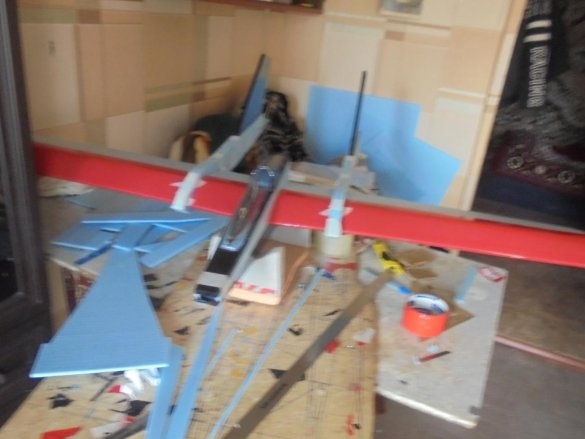
Started with a wing. For a long time I was looking for a suitable profile, I even consulted with a friend. Finally, I picked up a suitable profile, cut ribs.
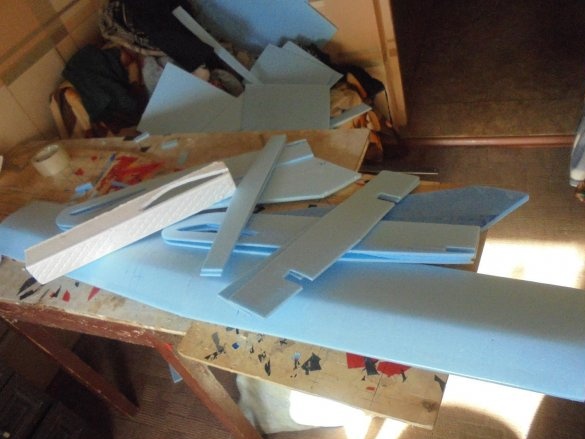
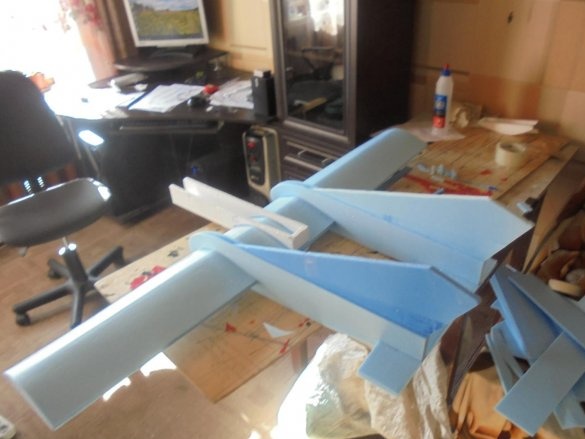
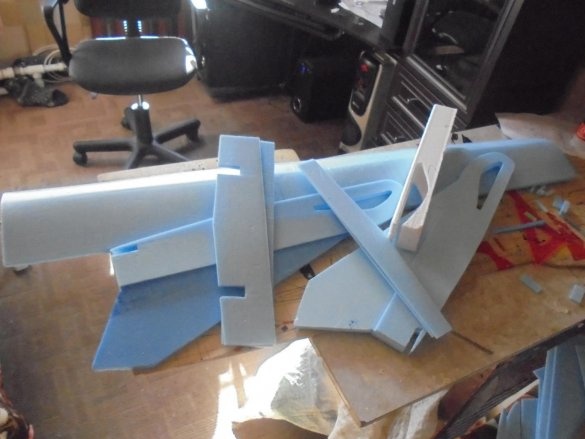
I cut blanks of individual parts of the model from the substrate under the laminate.
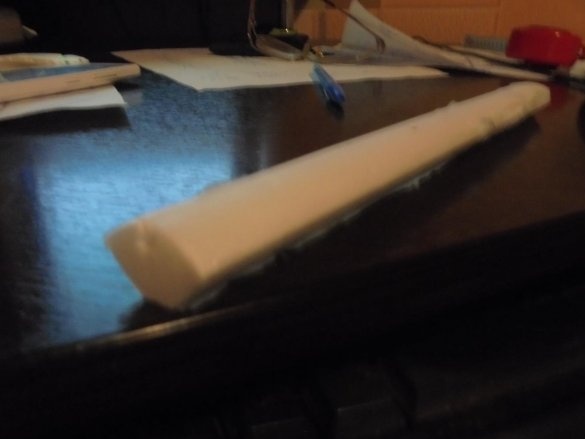
As a spar, I decided to use a profile foam baseboard.
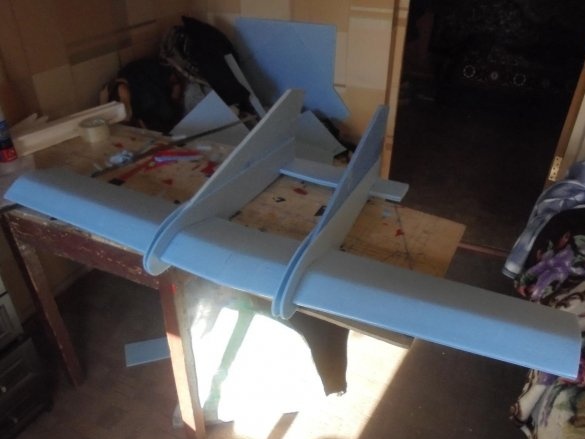
I glued the two consoles, folded them together and fixed them with masking tape until the Titan glue completely polymerized.
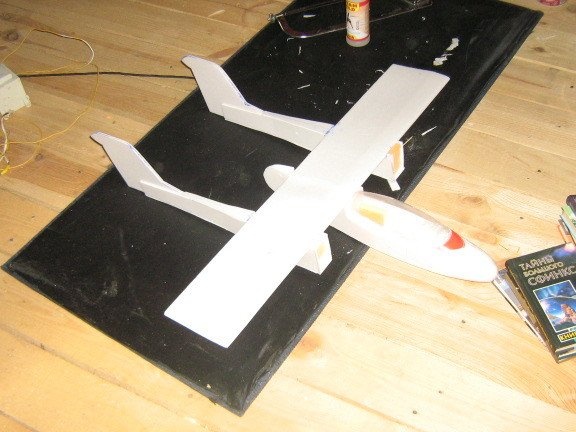
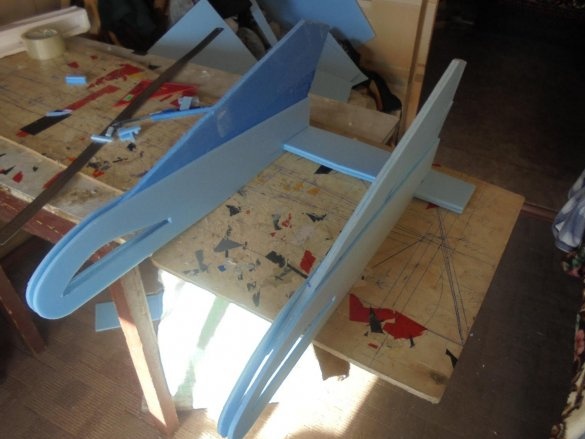
Cut out blanks for beams. All details of the model are made in two layers of the substrate under the laminate, 5 mm thick.
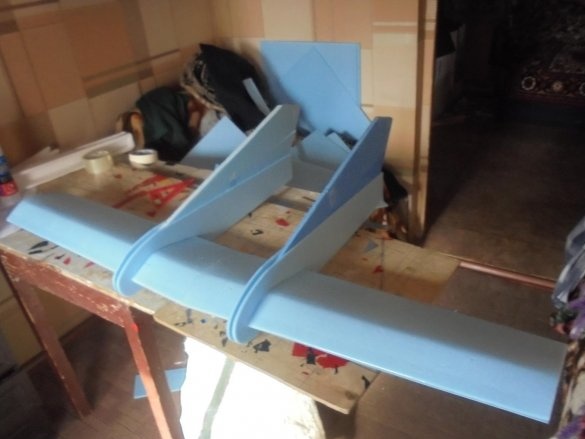
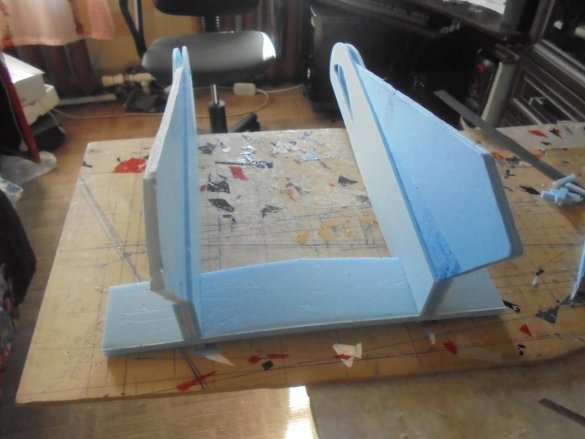
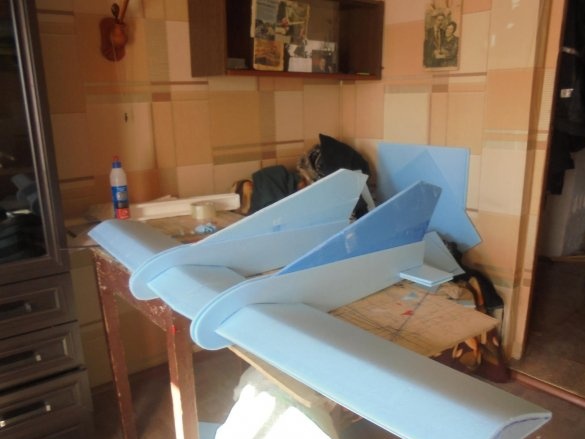
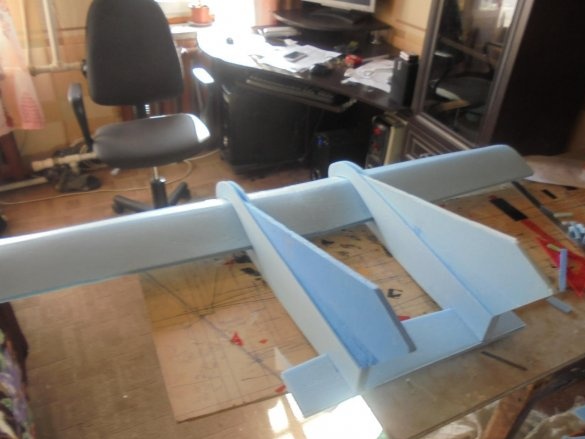
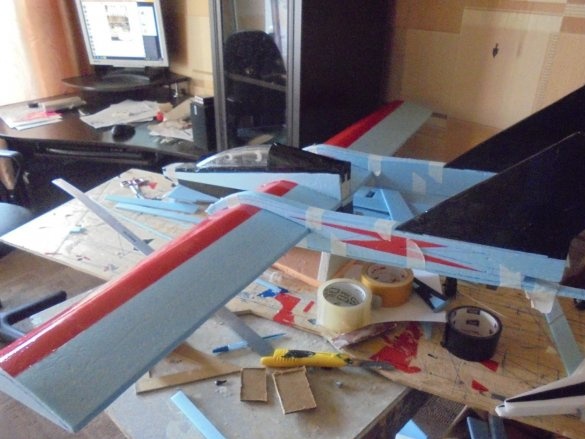
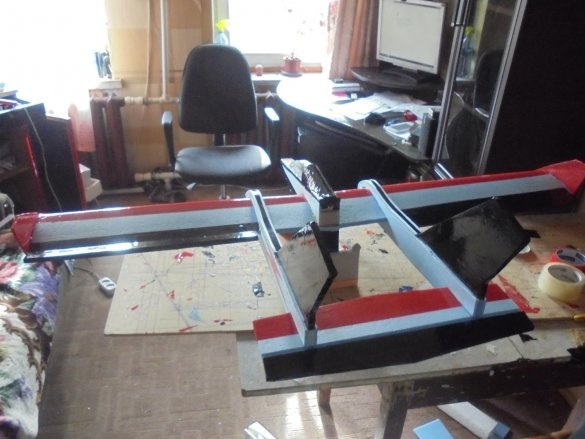
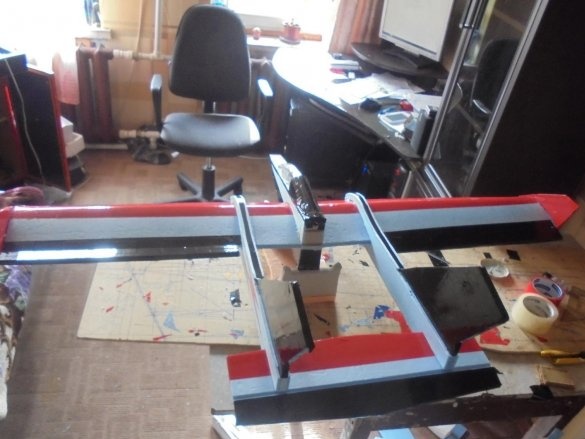
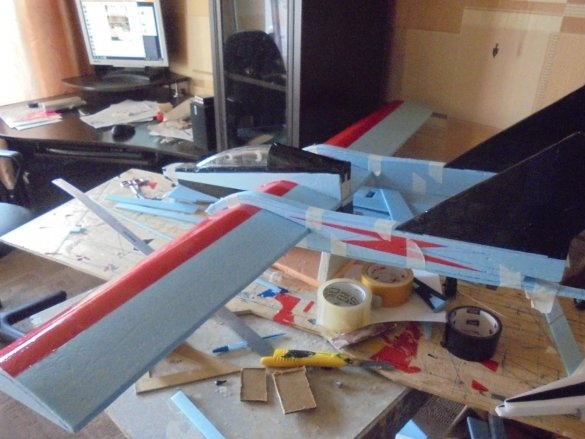
I cut holes for the wing in the beam blanks, tried to fit the holes as tightly as possible under the wing profile.
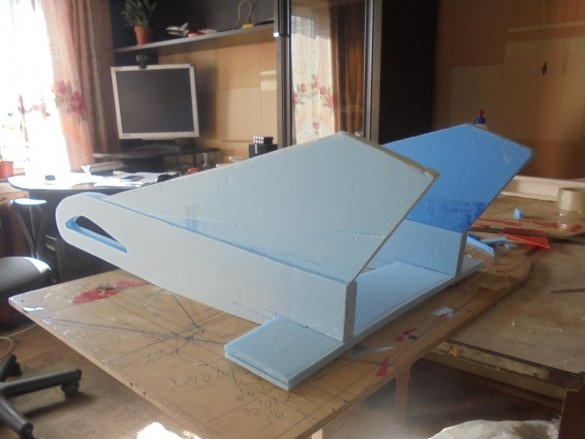
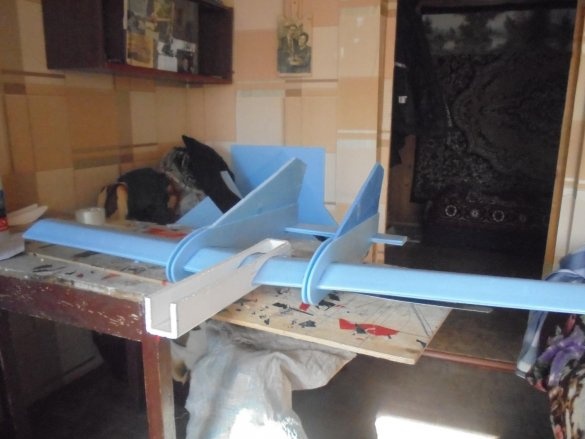
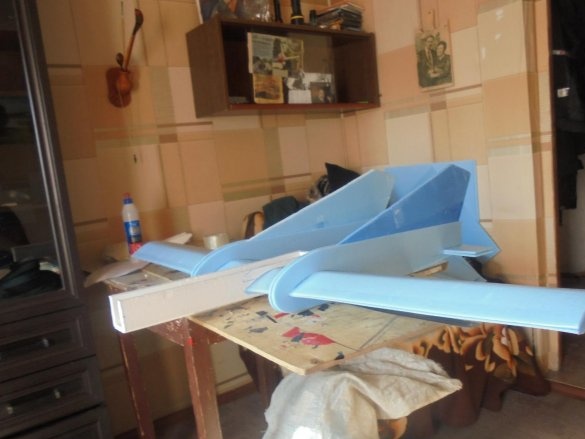
In the first version, the keels inserted into the beams passed through almost the entire beam. Subsequently, I shortened the length of the keels and did it in vain. With long keels, the model would have looked better.
The ends of the beams, after laying the wires from the servos, were sealed with strips of the substrate.
I also had to experiment with the shape of the beams. Removed unnecessary beam height.
In the tail of the beams made slots for the stabilizer, which hung the elevator. All steering surfaces were hung on double-sided tape, the honey of two layers of which was glued with a film from a folder for papers - “File”.
For the fuselage I wanted to use technological foam packaging to protect the doors during transportation. But it seemed to me very fragile, and I decided to make the fuselage from the substrate.
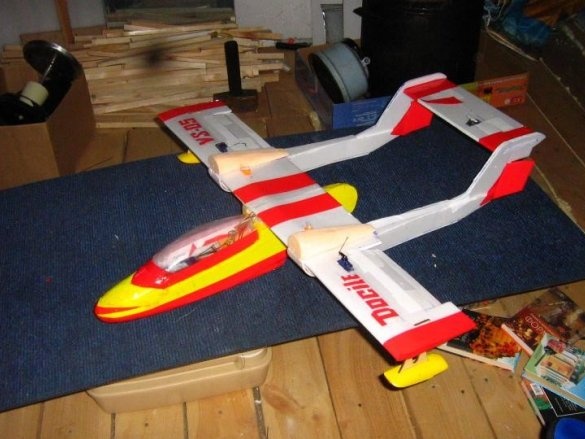
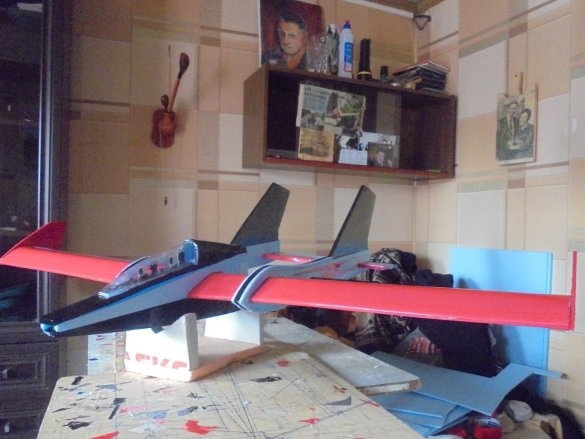
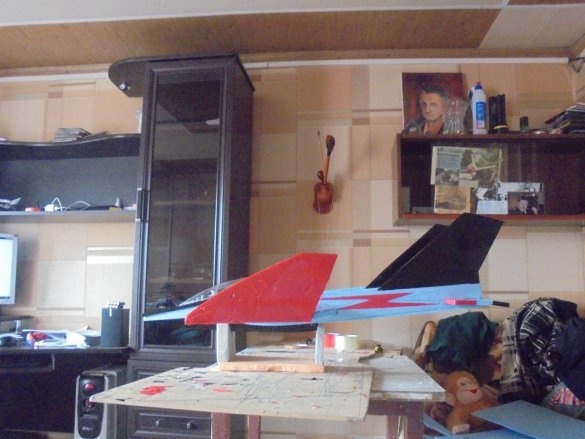
The fuselage shape turned out by itself, as soon as I made a cabin from a plastic bottle and put the pilots in it.
At the end of the fuselage, I pasted an engine mount made from a piece of Penoplex insulation and a piece of hardboard (DVP) glued onto it, 40 X 40 mm.
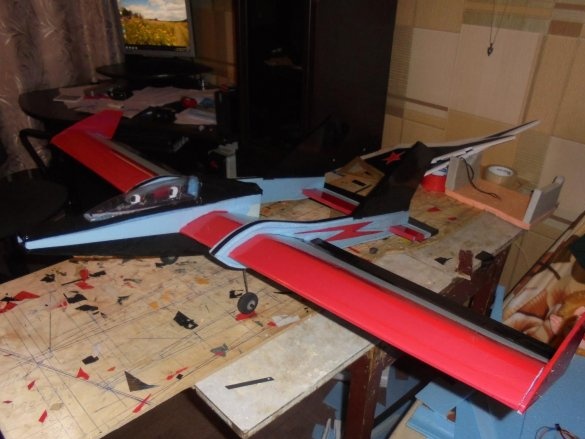
On the bottom surface of the fuselage pasted two pieces of hardboard (fiberboard) - 40 X 60 mm. For mounting the chassis. So far, I have installed only wheels in the central heating model. You can also put the front landing gear, whether it will be necessary, will show the first flight.
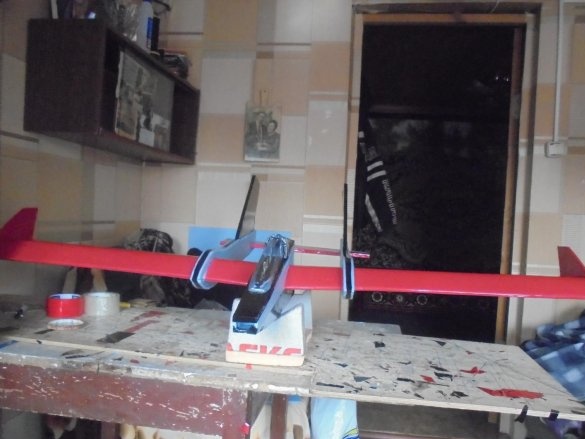
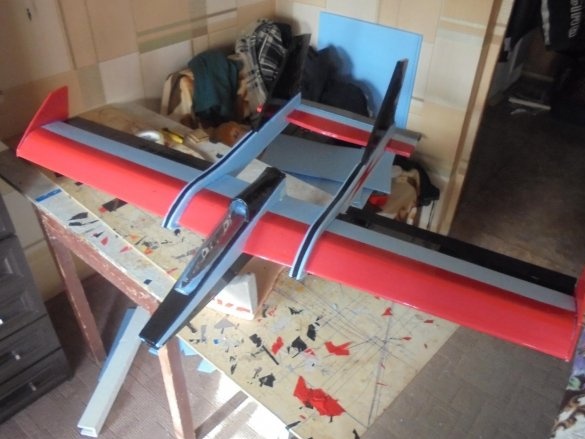
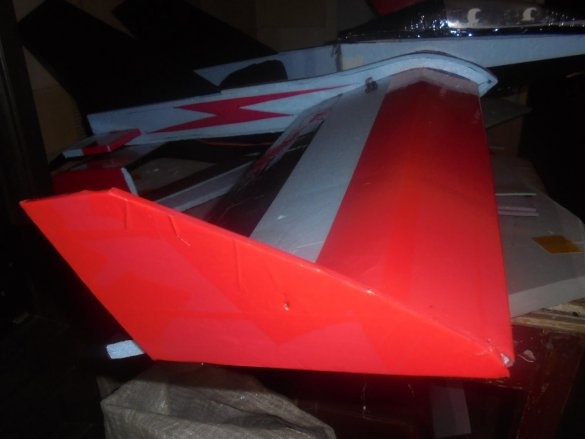
At the ends of the wing installed winglets. After the first flights, they will clearly need them or not.
When installing a winglet on a flying wing, made by me, I strongly doubted the expediency of their installation.
As the various parts of the model’s construction are glued together, I spend the local covering with colored tape.
I installed the servos, I did not set the boars yet and I did not connect the thrust.
I am waiting for a package with a motor for this model.
I don’t want to remove the motor from another model, I just have to wait a bit. The weather is still not flying.
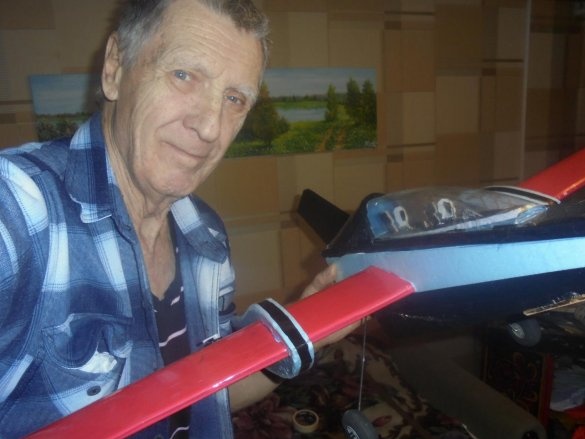
The model has acquired a finished look.
Really eager to see the model in flight.
Electronics for this model
Motor - A32212 1400Kv
Screw - 8 X 6
40 A regulator
Servos - MG90S
Battery - 3S 2200
Model Dimensions
Span - 1300mm
Length - 960mm
Well, dear friends, my story has come to an end. See you soon. Your Valerian master.


